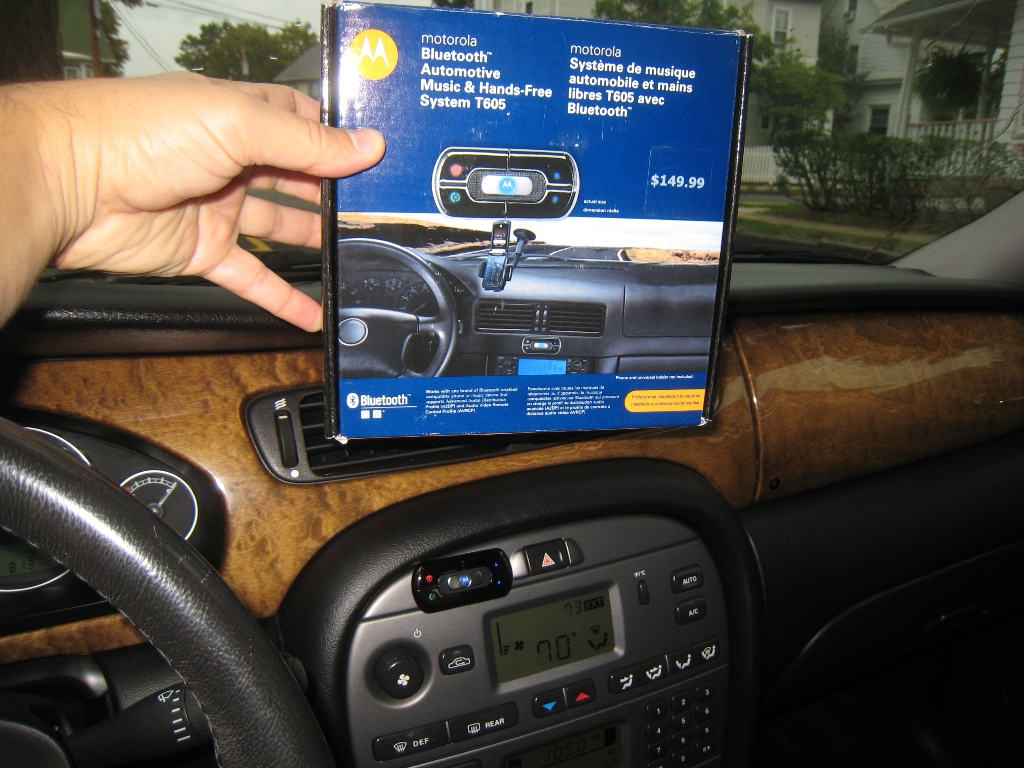
First off - consider this: forty-three ninety-nine. That's $43.99 (US) for a functional Bluetooth solution for your Jaguar. Just Google "motorola t605" - you might even do better than I did.
It's not everything that I wanted, mind you. It won't automatically mute the stereo when a call comes in. Telephone calls don't use the car's speakers for audio. You can't use the steering wheel or head unit controls to control folder or track selection on your Bluetooth music player or smartphone. And you can't use the head unit's numeric keypad to dial a phone number. None of these are limitations of this particular Bluetooth kit, as the kit provides wiring that would work with most other vehicle audio systems. These limitations are related to the factory head unit's use of the Alpine D2B fiber optic network and the interfaces to the vehicle's data networks. I'm not aware of any other aftermarket Bluetooth kit that can overcome these limitations. And I've looked.
On the other hand, you can now play back CD-quality audio, wirelessly, through the Jaguar stereo system. Track control and manual pausing can be done from the Bluetooth user interface module on the dash. And with the Bluetooth kit's included microphone and speaker, you have a hands-free phone option. To answer a call, you'll need to press one of the mute buttons, either on the steering wheel or on the head unit, and then answer your call via the Bluetooth kit's interface, so you're pressing two buttons instead of one. That's the price that you pay for spending only $43.99 on a Bluetooth solution, instead of $800 or more for Jaguar's own Bluetooth and PSE modules. And if you installed Jaguar's solution, you would still have to add the Jaguar Audio Connectivity Module (ACM) and some other stereo Bluetooth receiver if you wanted a Bluetooth music solution. That would probably put you in the $1200-range, just to save yourself from pressing an extra button.
What follows is how I installed a Motorola T605 Bluetooth kit into my 2004 Jaguar X-type. Other years and models (S-Type and 2004-2009 XJ) will be very similar, and the same tips can easily be applied to other Bluetooth adapters, such as Parrot's Bluetooth products. The ACM will be required for this connection, since the factory head units have no line-in audio connections without it. On the other hand, some models/years had the ACM as standard equipment or as an option. So you may already be a winner!
You can read my ACM page for more information about the ACM option.
Also, you can preview the Motorola T605 User's Guide here, but the instructions that follow offer specific steps for the X-Type and similar installations in some other Jaguar vehicles.
Bluetooth ECU and Power Cable
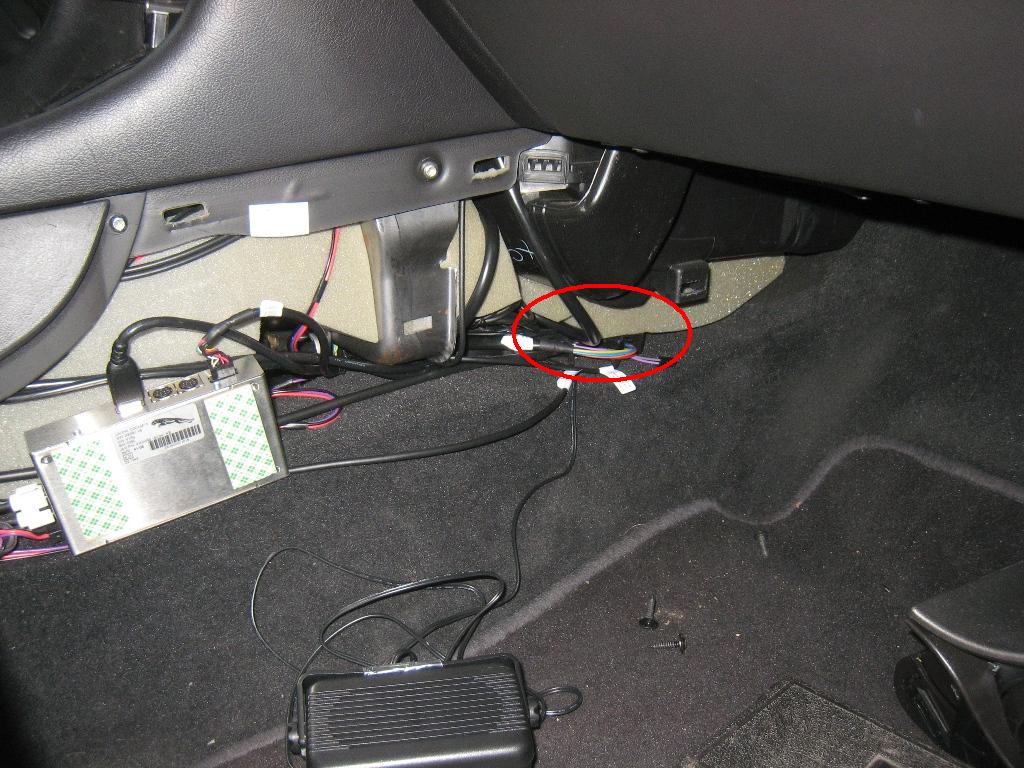
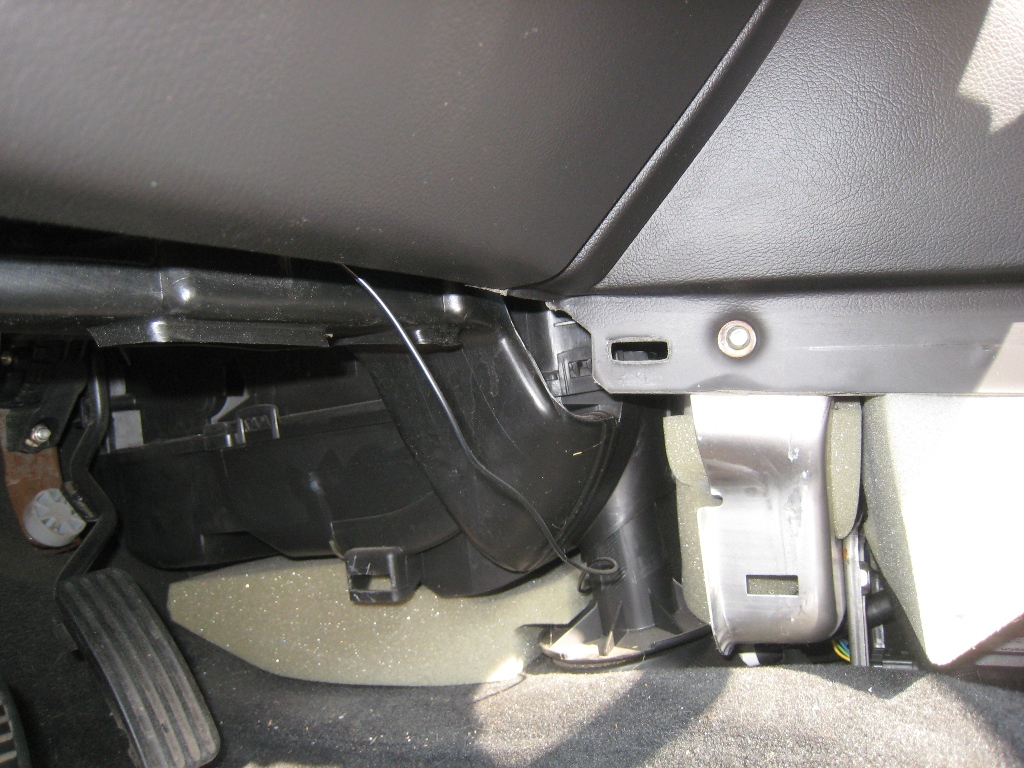
In my X-Type, I found a good spot for the Bluetooth ECU at the very front of the floorboard tunnel, under some foam insulation. Remove the right side tunnel cover to get to this area.
The ECU will sit here.
Those of you with S-Types and XJ models are on your own to find a mounting spot, but most of the rest of this installation guide will be similar for you.
As an aside, many of the steps that I mention here will be familiar to anyone who has already installed their own ACM. For those that haven't had the pleasure, you may benefit from looking at the factory ACM installation instructions.
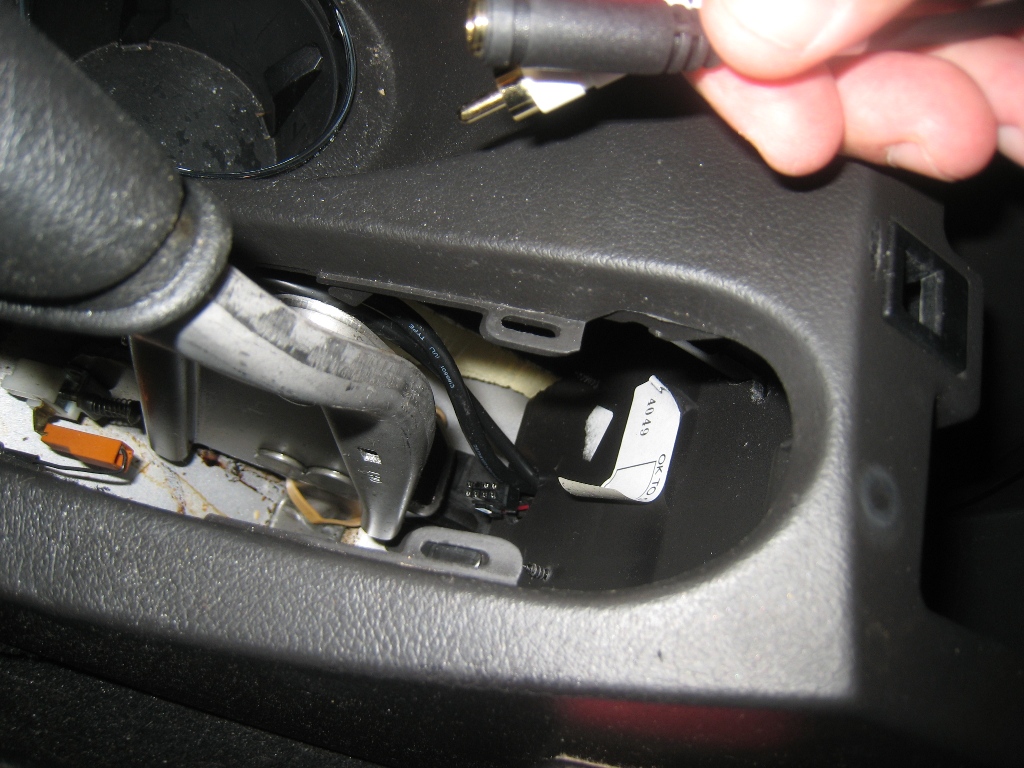
Remove the trim for the head unit and unbolt the head unit from the center console. Slide the head unit out far enough that you can get to the wiring harnesses behind it. You can leave the battery and all head unit wiring connected.
Cut off and discard the white terminal of the Bluetooth kit's power cable, leaving a length from the black terminal to just a few inches beyond the power adapter cable's integrated fuses. Yes - you're removing most of the length of this cable! You only need enough length to get from the head unit's wiring harness to your Bluetooth ECU mounting location.
See the wiring diagrams in section 15.1 or 15.2 of the Electrical Guide. The reference symbols and wiring color codes on pages 12 and 13 will also help. (My expectation is that the wiring into the head unit of other models and years will be the same, but you should confirm this before attempting installation. S-Type and XJ owners will have to find their own wiring diagram - sorry. Let me know what you find out about the wiring, and I'll update this page for the next guy.)
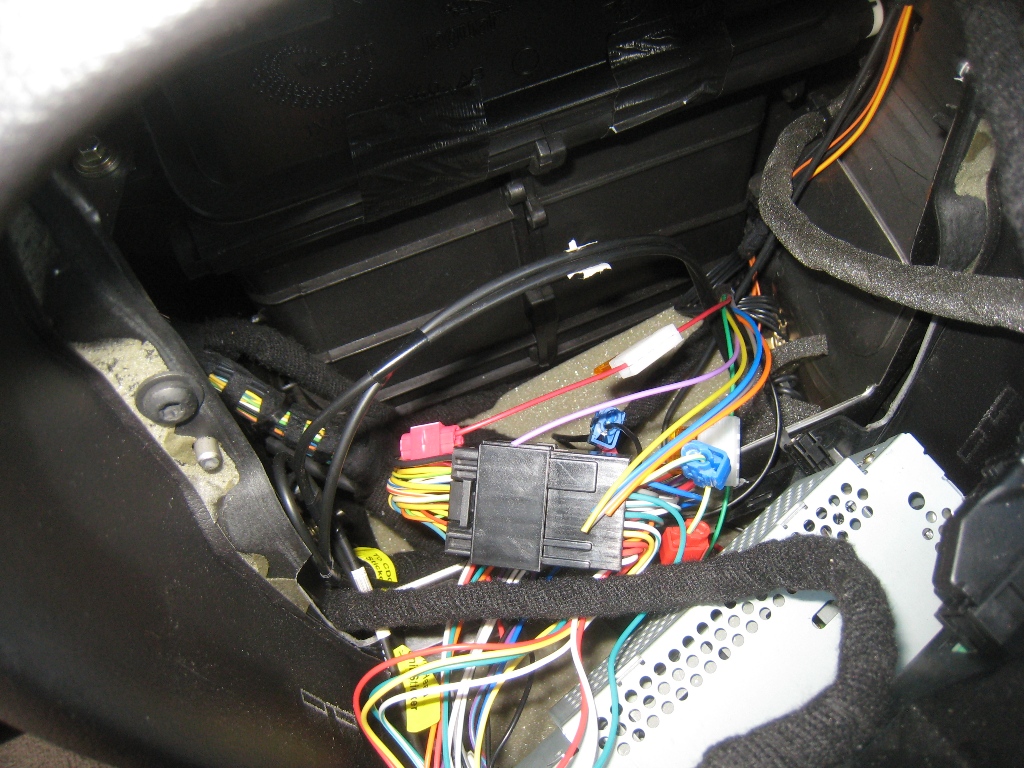
The wiring diagram references this wiring harness:
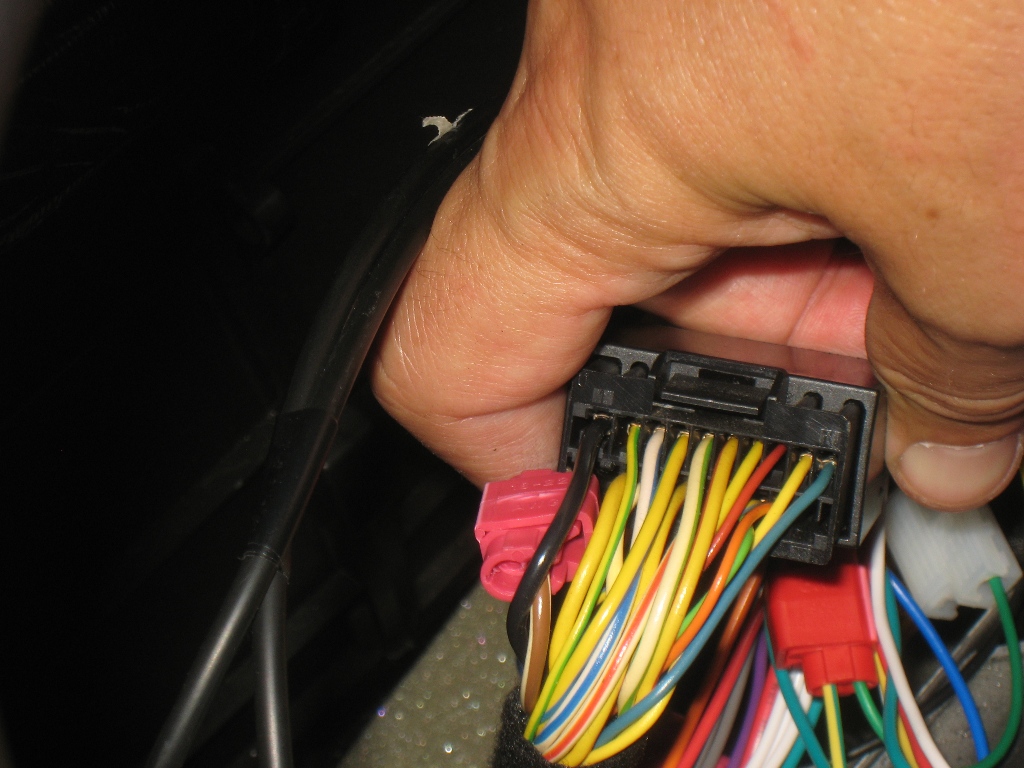
The second photo shows the terminal numbers marked in each corner - terminal 1 in the top left, terminal 10 in the top right. Terminals 11 through 20 are on the bottom row. We're only concerned about three wires: unswitched battery power, switched battery power, and a chassis ground.
I used common squeeze-connector taps to connect the Bluetooth ECU power cable to the head unit's wiring harness. With these, you won't even have to cut the head unit's wiring harness; as such, you won't have to disconnect the vehicle's battery, either. You can get these taps from Radio Shack or many hardware / electronics parts stores. The Radio Shack part that I used was 64-3053 - $1.99 for a 7-pack.
Tap into and connect the wires as below:
Head Unit
Bluetooth module
Brown/White, IP65-11 - full time, unswitched battery +
Red
Yellow/Green, IP65-2 - Accessory I switched battery +
Green
Black, IP65-1 - chassis ground (battery -)
Black
By the way, the wiring diagrams show a yellow wire at IP65-7 that functions as a mute switch. On most car stereos with this feature, these wires are usually "ground to mute" connections, which is what the Motorola kit would require on its own yellow wire. I tried connecting these two, but the mute function is apparently not supported on the Jaguar head unit. My guess is that this function is handled entirely via the data network that connects the steering wheel buttons to the vehicle ECU, and in turn to the head unit, so the physical wire is actually disabled or ignored by our head units. The bottom line with these yellow wires is don't bother to hook them up.
Route the black terminal of the power harness down through the console to the front of the floorpan tunnel where the Bluetooth ECU will go. Do not connect the power harness to the ECU yet.
Also, you might have noticed that we have some unused wires on the power cable. If you ever choose to replace the factory head unit, these will be available to connect the mute function and phone line-out signals. For now, just tape the remaining wires together and tape over the ends, and tuck them out of the way somewhere.
Leave the head unit partially out of the dash and unmounted for now, until you finish routing the user interface cable.
Bluetooth User Interface Module
Rest the User Interface Module on top of the dash, and thread the module's wiring harness through the very top of the center console stack, then behind the head unit and to the right side of the tunnel near where the ECU will reside. Pull the slack down to the tunnel where you will coil it up and tuck it away later. Slide the head unit back into position.
There is foam tape on the back of the user interface module - do not peel the backing off of the foam tape and do not permanently affix the module to the dash until after you test everything.
Microphone
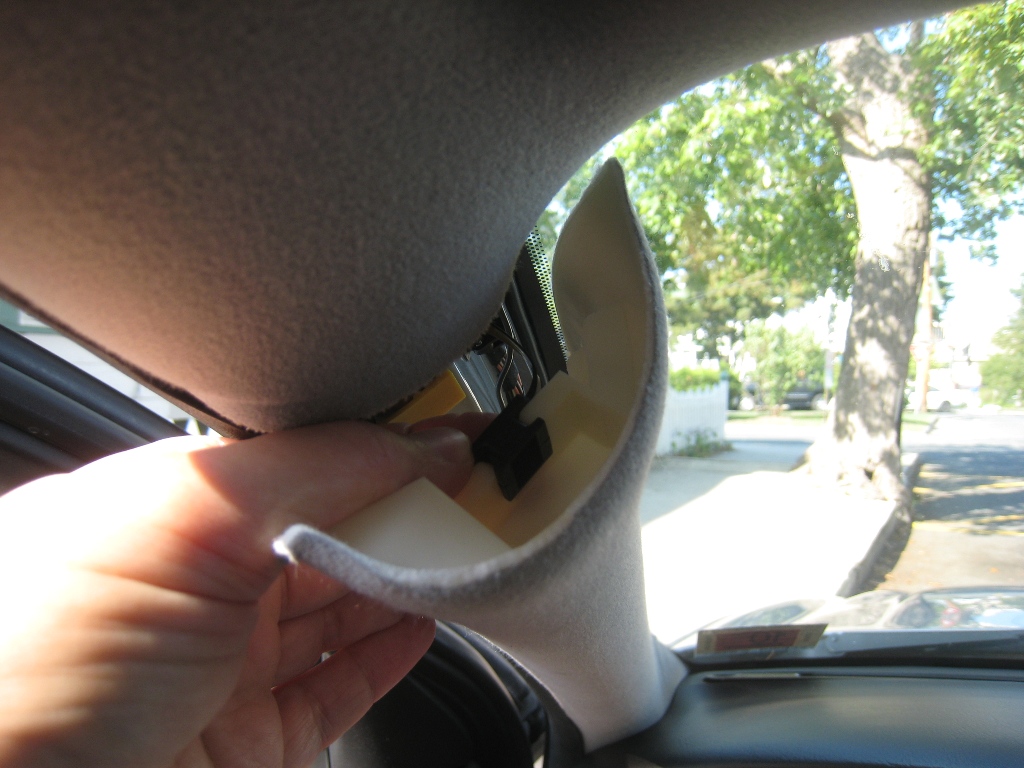
The overhead lighting/sunroof console pulls down from the rear (closest to the back of the car), and snaps out of its retaining clips. Pull it down to facilitate routing the microphone wire.
The A-pillar molding just snaps off - grab it anywhere and pull - then remove the plastic retaining clip at the top of the molding.
Set the molding out of the way.
Fish the microphone wire through headliner; it helps to spread the headliner away from the roof slightly with a screwdriver or some other thin tool, then push a loop of microphone wire from the overhead console area to the front of the headliner.
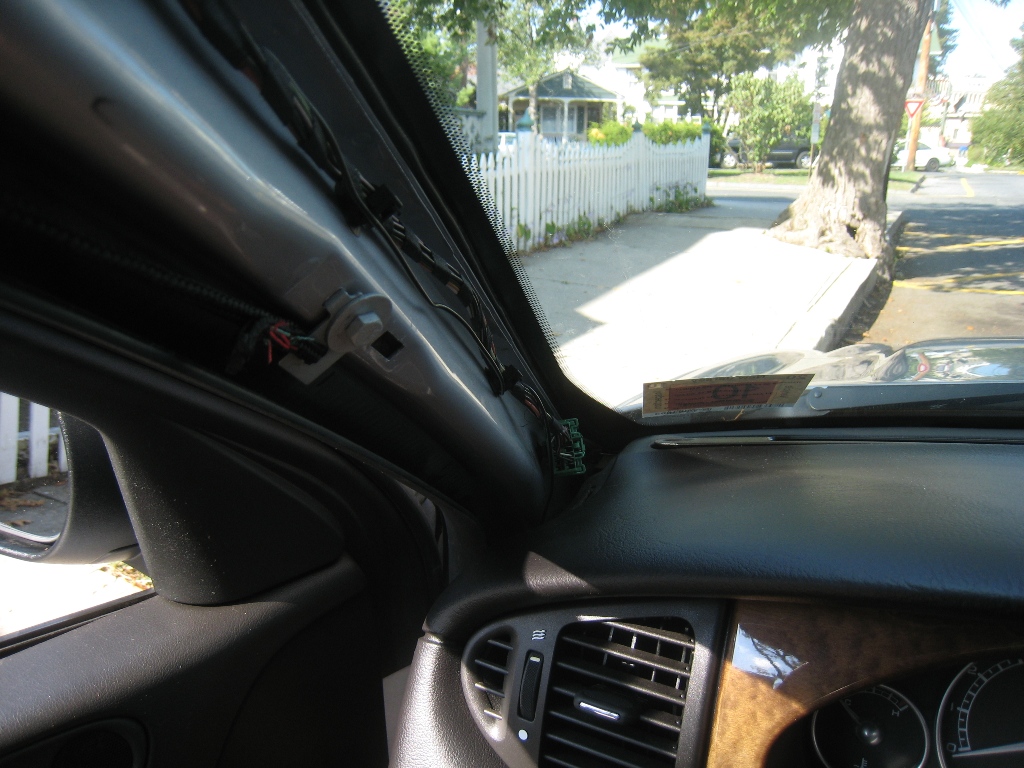
Route the microphone wire across the top of the headliner to the A-pillar. Wrap the wire around the A-pillar wiring harness a couple of times, and then drop the terminal down through the corner of dash so it comes out of the bottom of the dash near the OBDII wiring harness.
Remove center console tunnel cover on left side. Route microphone wire across bottom of dash so that it won't drop down into driver's footwell; I looped mine over the footwell light and heater duct.
Route wire into the center tunnel and then to passenger's side of tunnel where bluetooth ECU will reside.
Reinstall the driver's side tunnel cover. Reinstall the A-pillar cover.
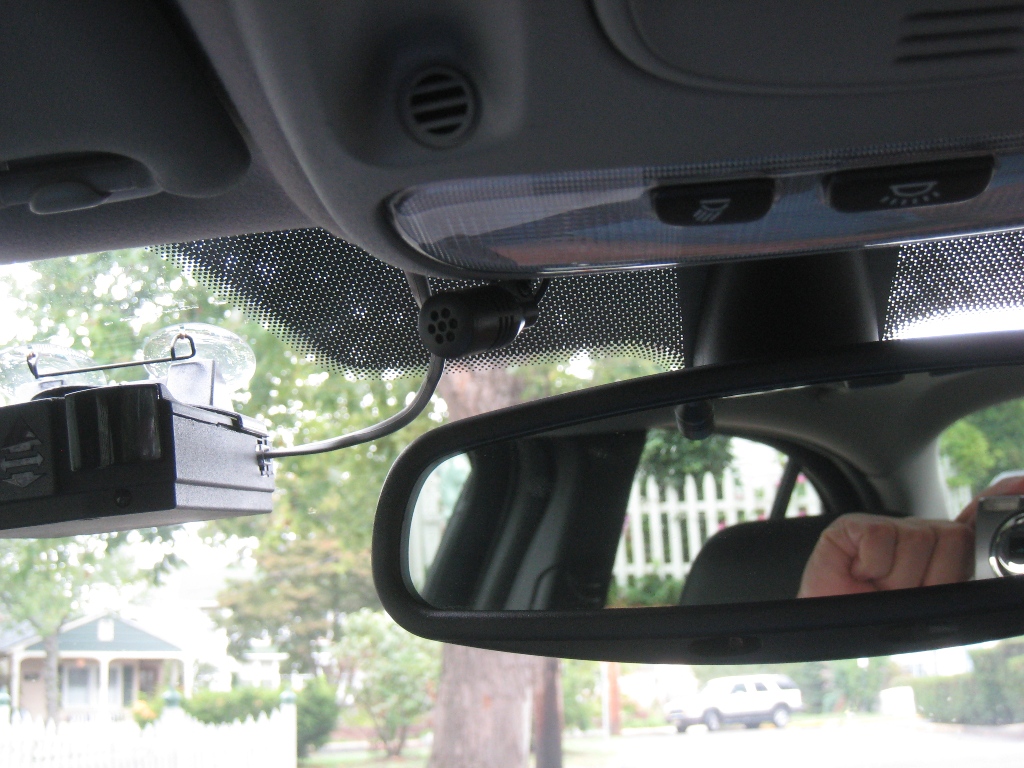
Leaving the microphone dangling outside of the overhead console, reinstall the console. Clip the microphone to the overhead console.
Connection to the ACM
Remove the handbrake boot.
Push the Bluetooth module's audio in/out cable through the ACM wiring hole in the center console. (You may have to remove the retaining plug that fills the wiring hole. I never installed mine when I completed the original ACM install. Leave it out after connecting to the ACM.)
Thread the audio in/out cable along the right side of the tunnel, and plug it into the Bluetooth ECU.
Reinstall the handbrake boot.
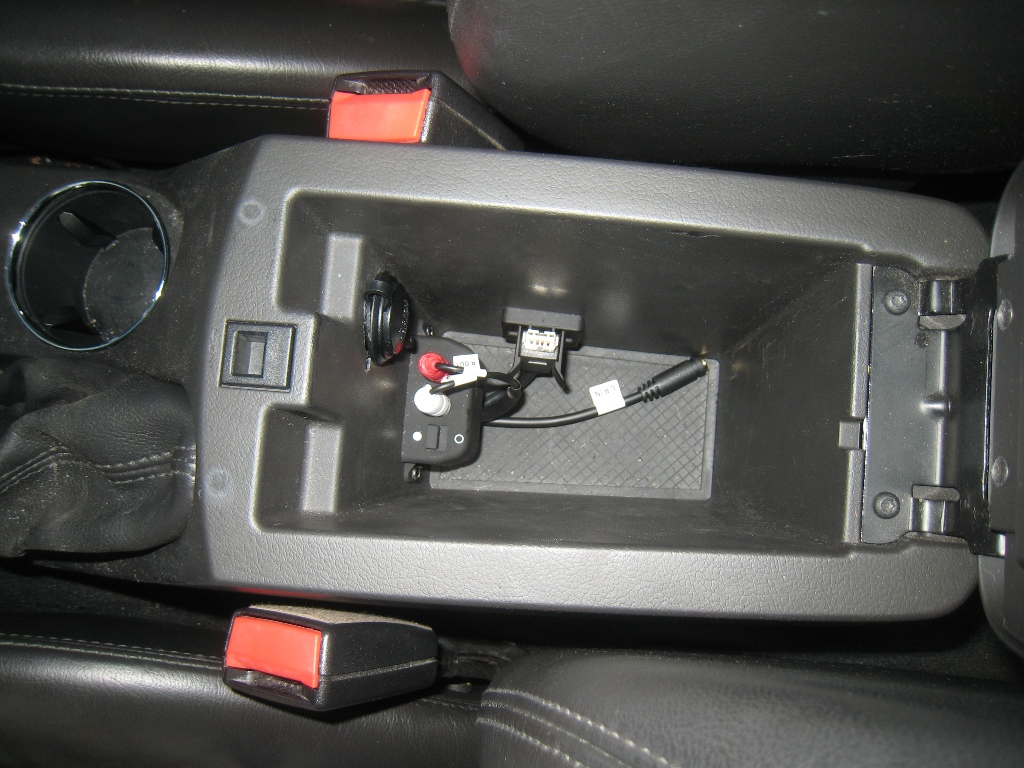
Connect the RCA plugs into the ACM. Note that the Bluetooth kit's line-in jack will lie unused in the console storage bin.
You can also see that I installed another 12-volt outlet in the console not long ago. This just gives me another place to plug in a phone charger.
Speaker
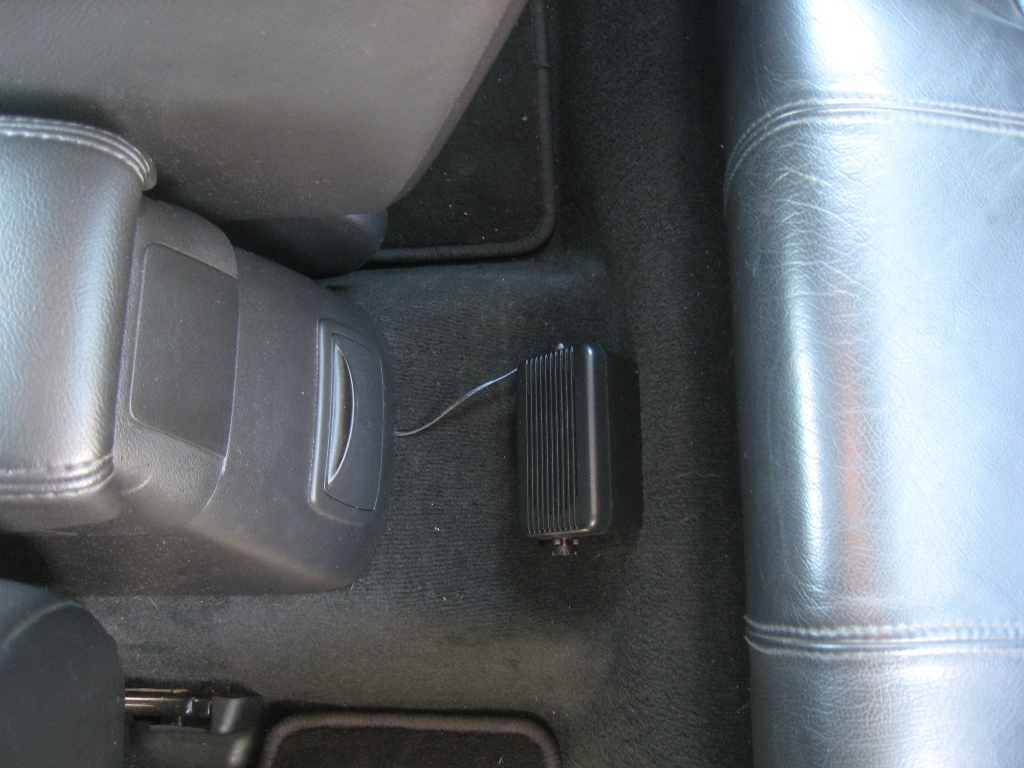
I mounted the speaker to the top of the floorboard tunnel behind the center console. The wiring is (mostly) tucked under the right side of the center console. The kit included a bracket and two sheet metal screws that I screwed right through the carpet and into the floorboard.
This placement is out of the way and perfectly audible to the driver, and won't result in feedback issues with the overhead placement of the microphone.
Final Test and Interior Reassembly
Place the ECU into its final location at the front of the tunnel, and tuck the wiring harnesses away.
Check that your new Bluetooth kit works with your phone and/or music player, and then put everything back together (console, head unit bolts and trim, etc.)
Peel off the foam tape backing and mount the user interface module on the center console.