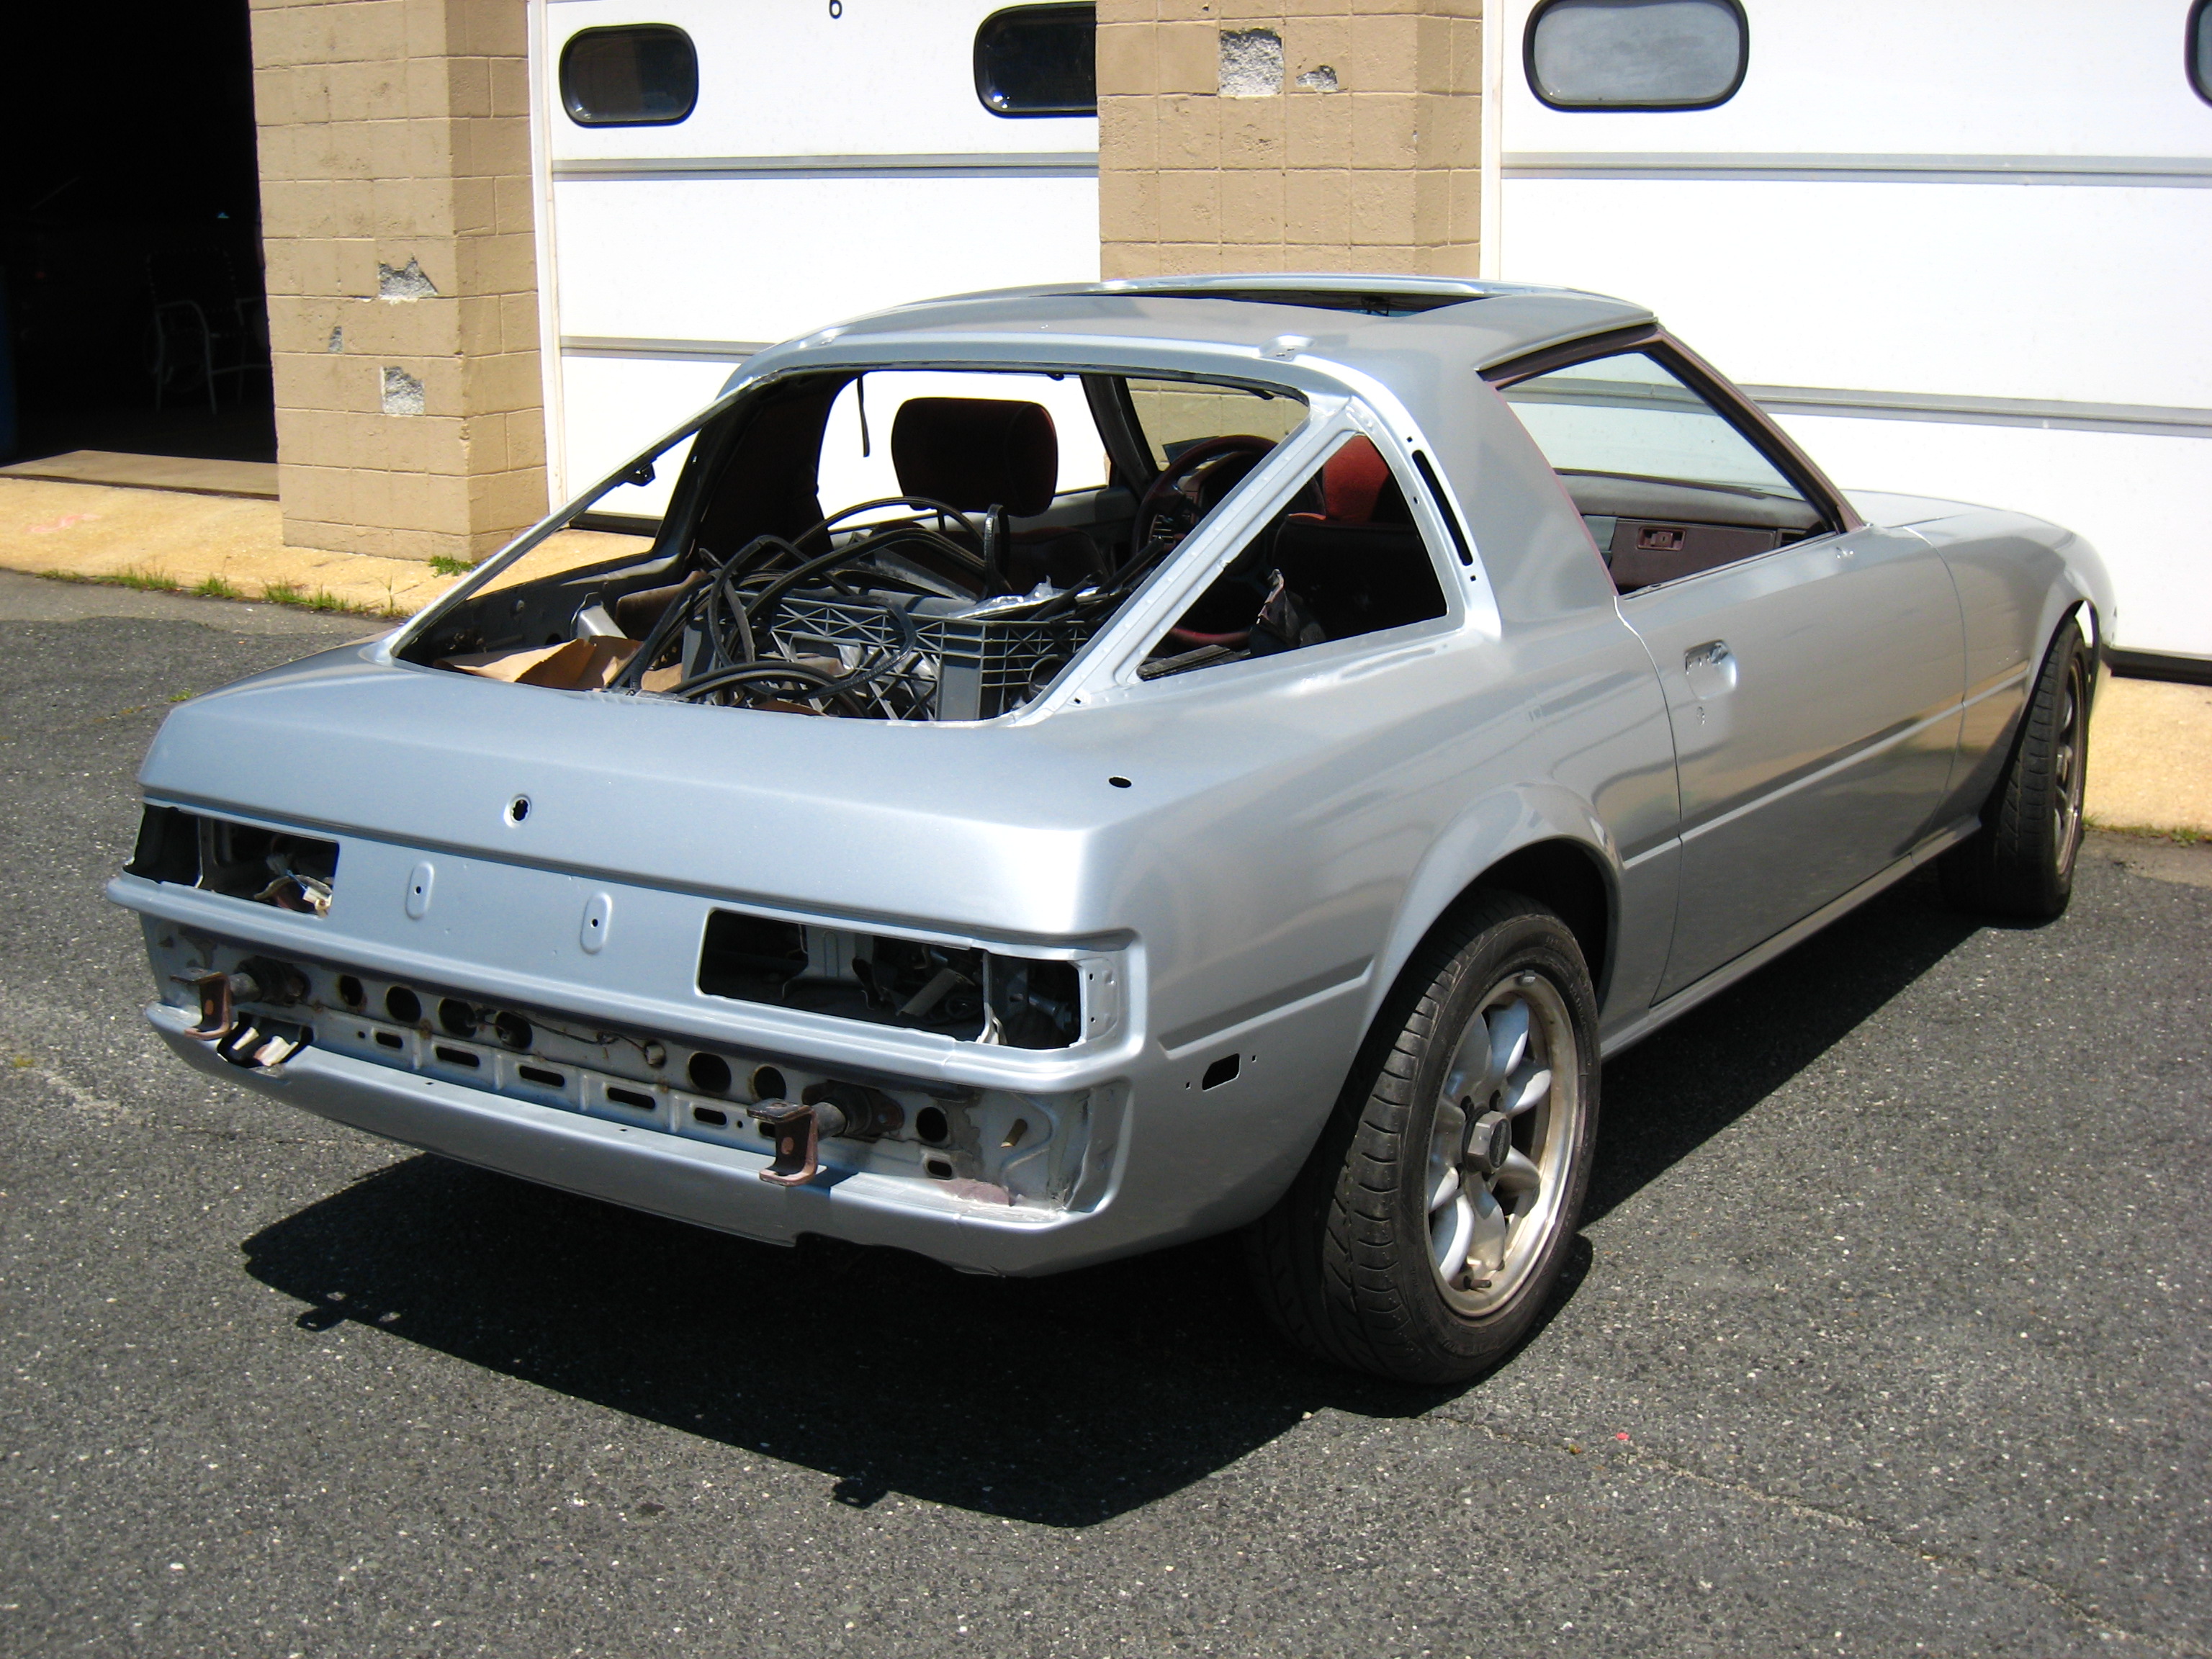
Body Restoration - Page 4
Time to paint!
If you haven't seen any of this yet, you might want to start at page one.
These photos are grouped together, roughly, by "repaired section." This page last updated August 17, 2007.
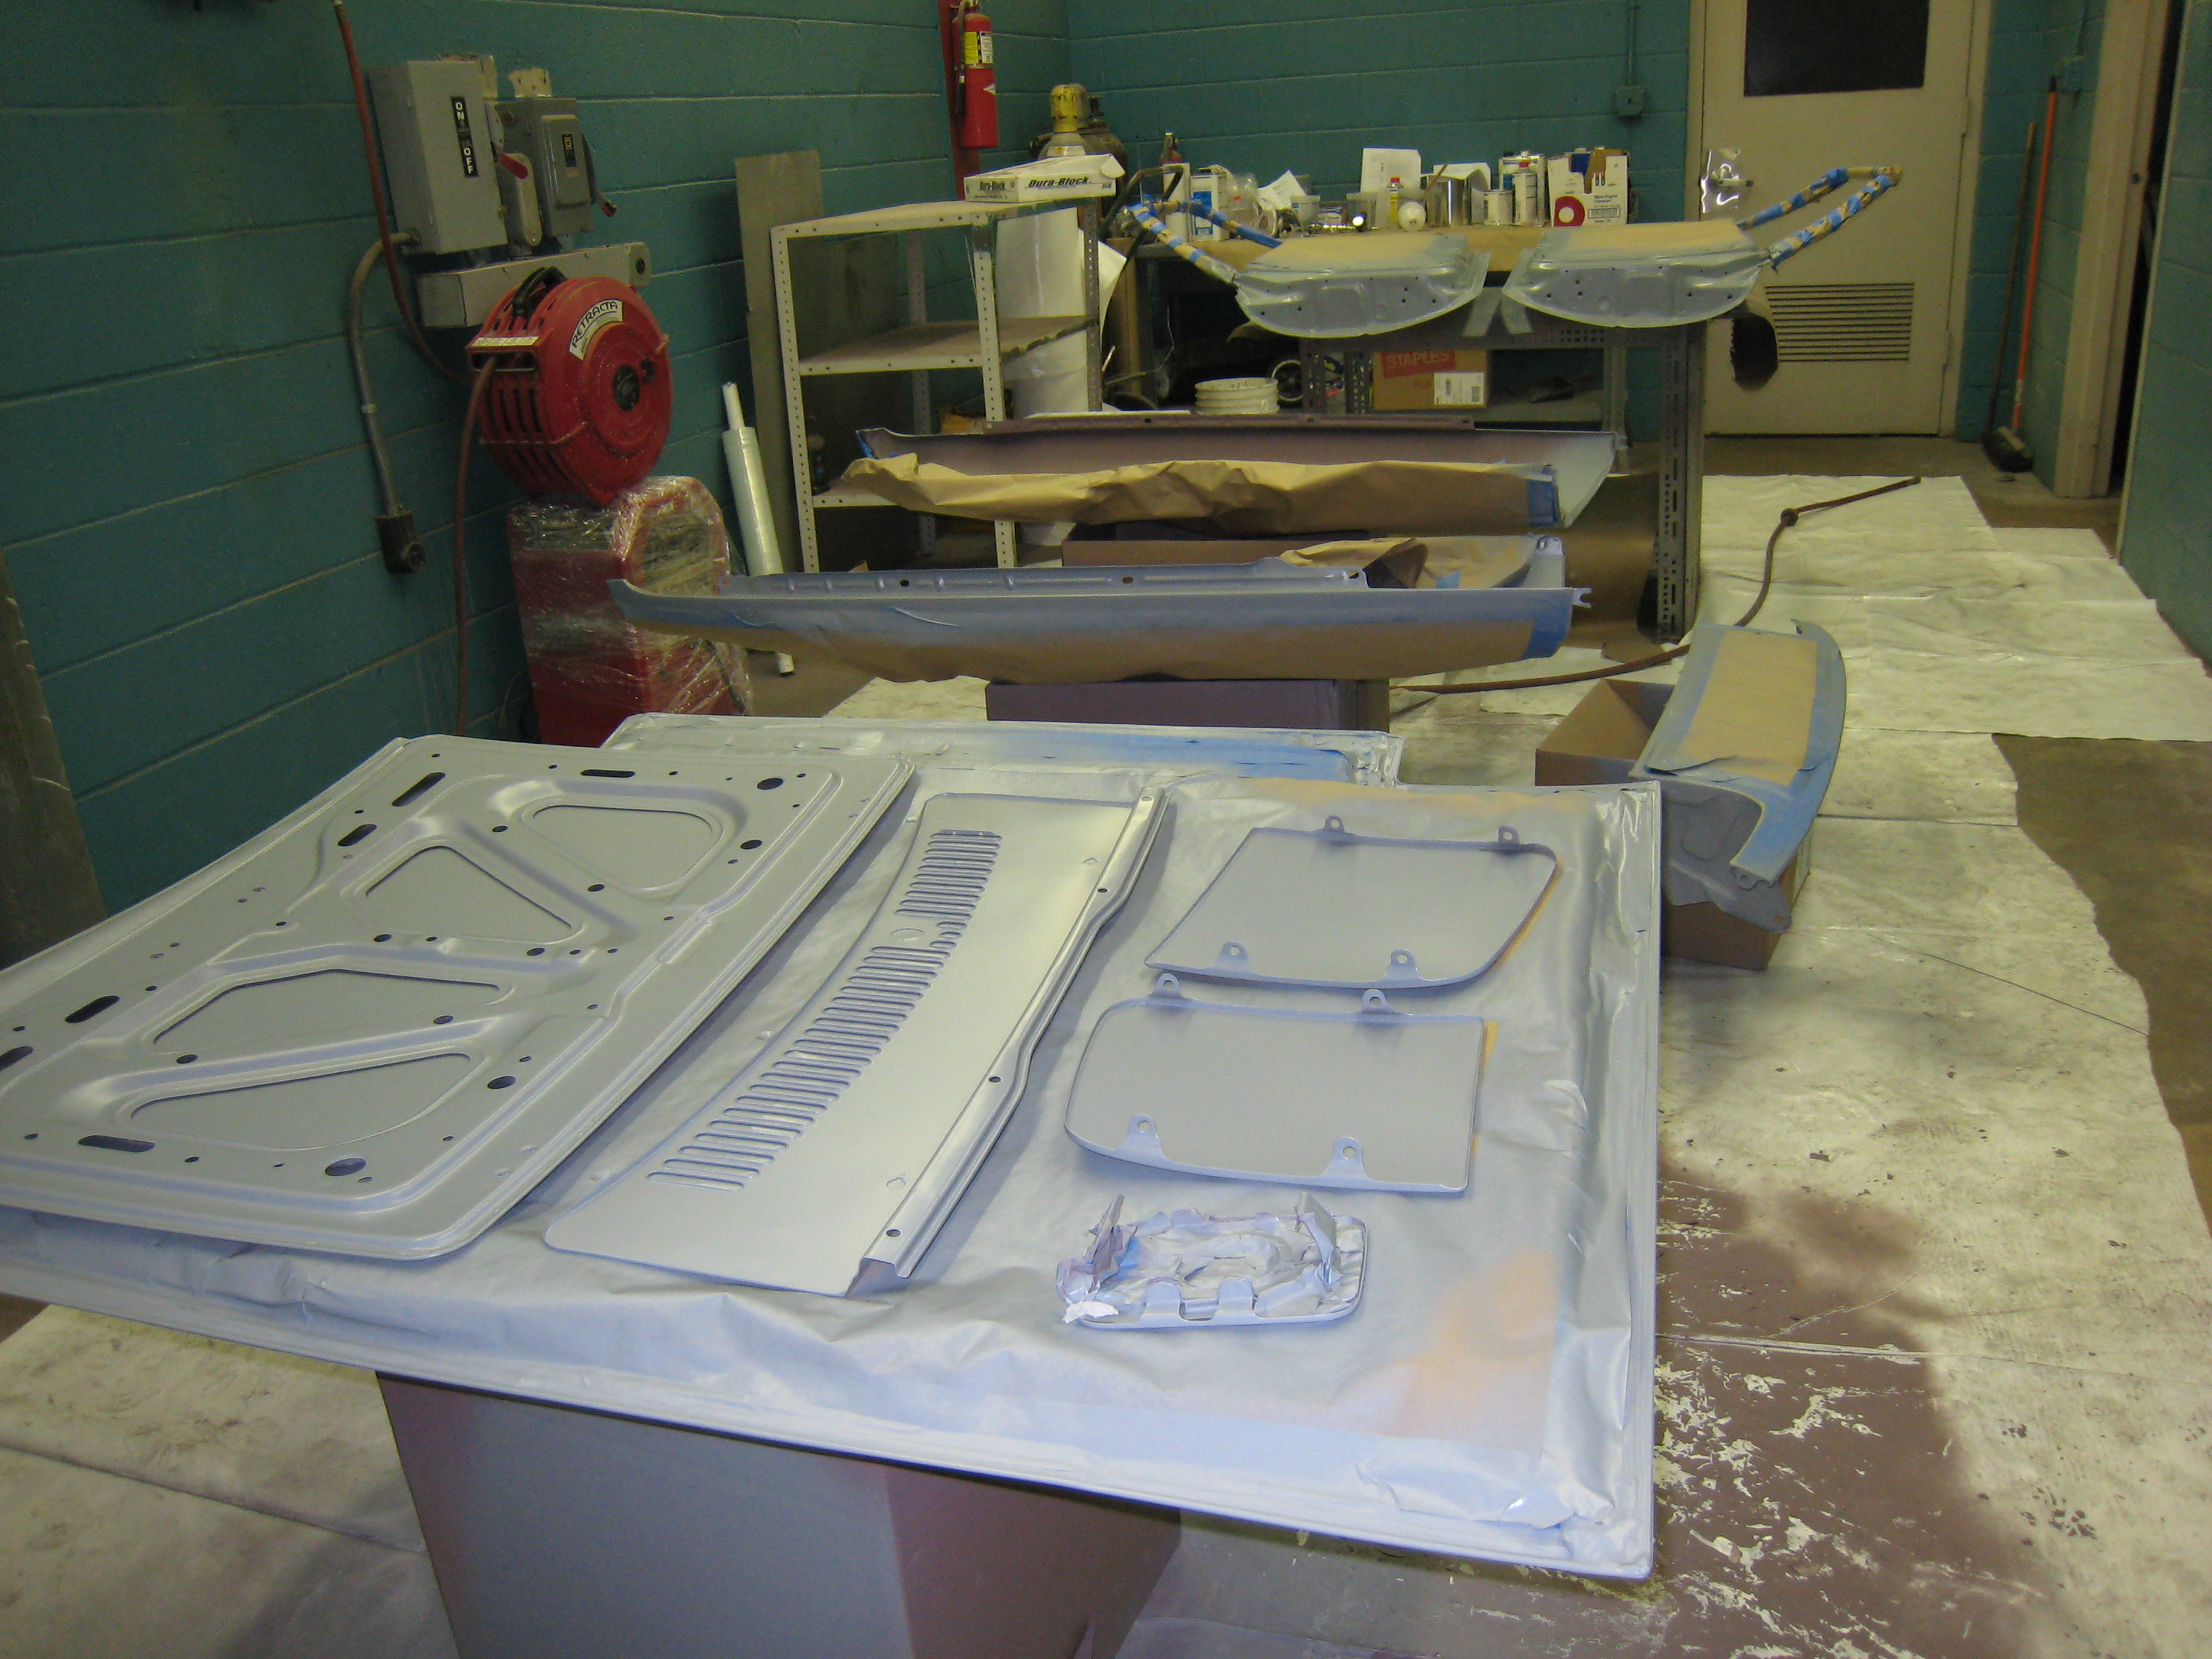
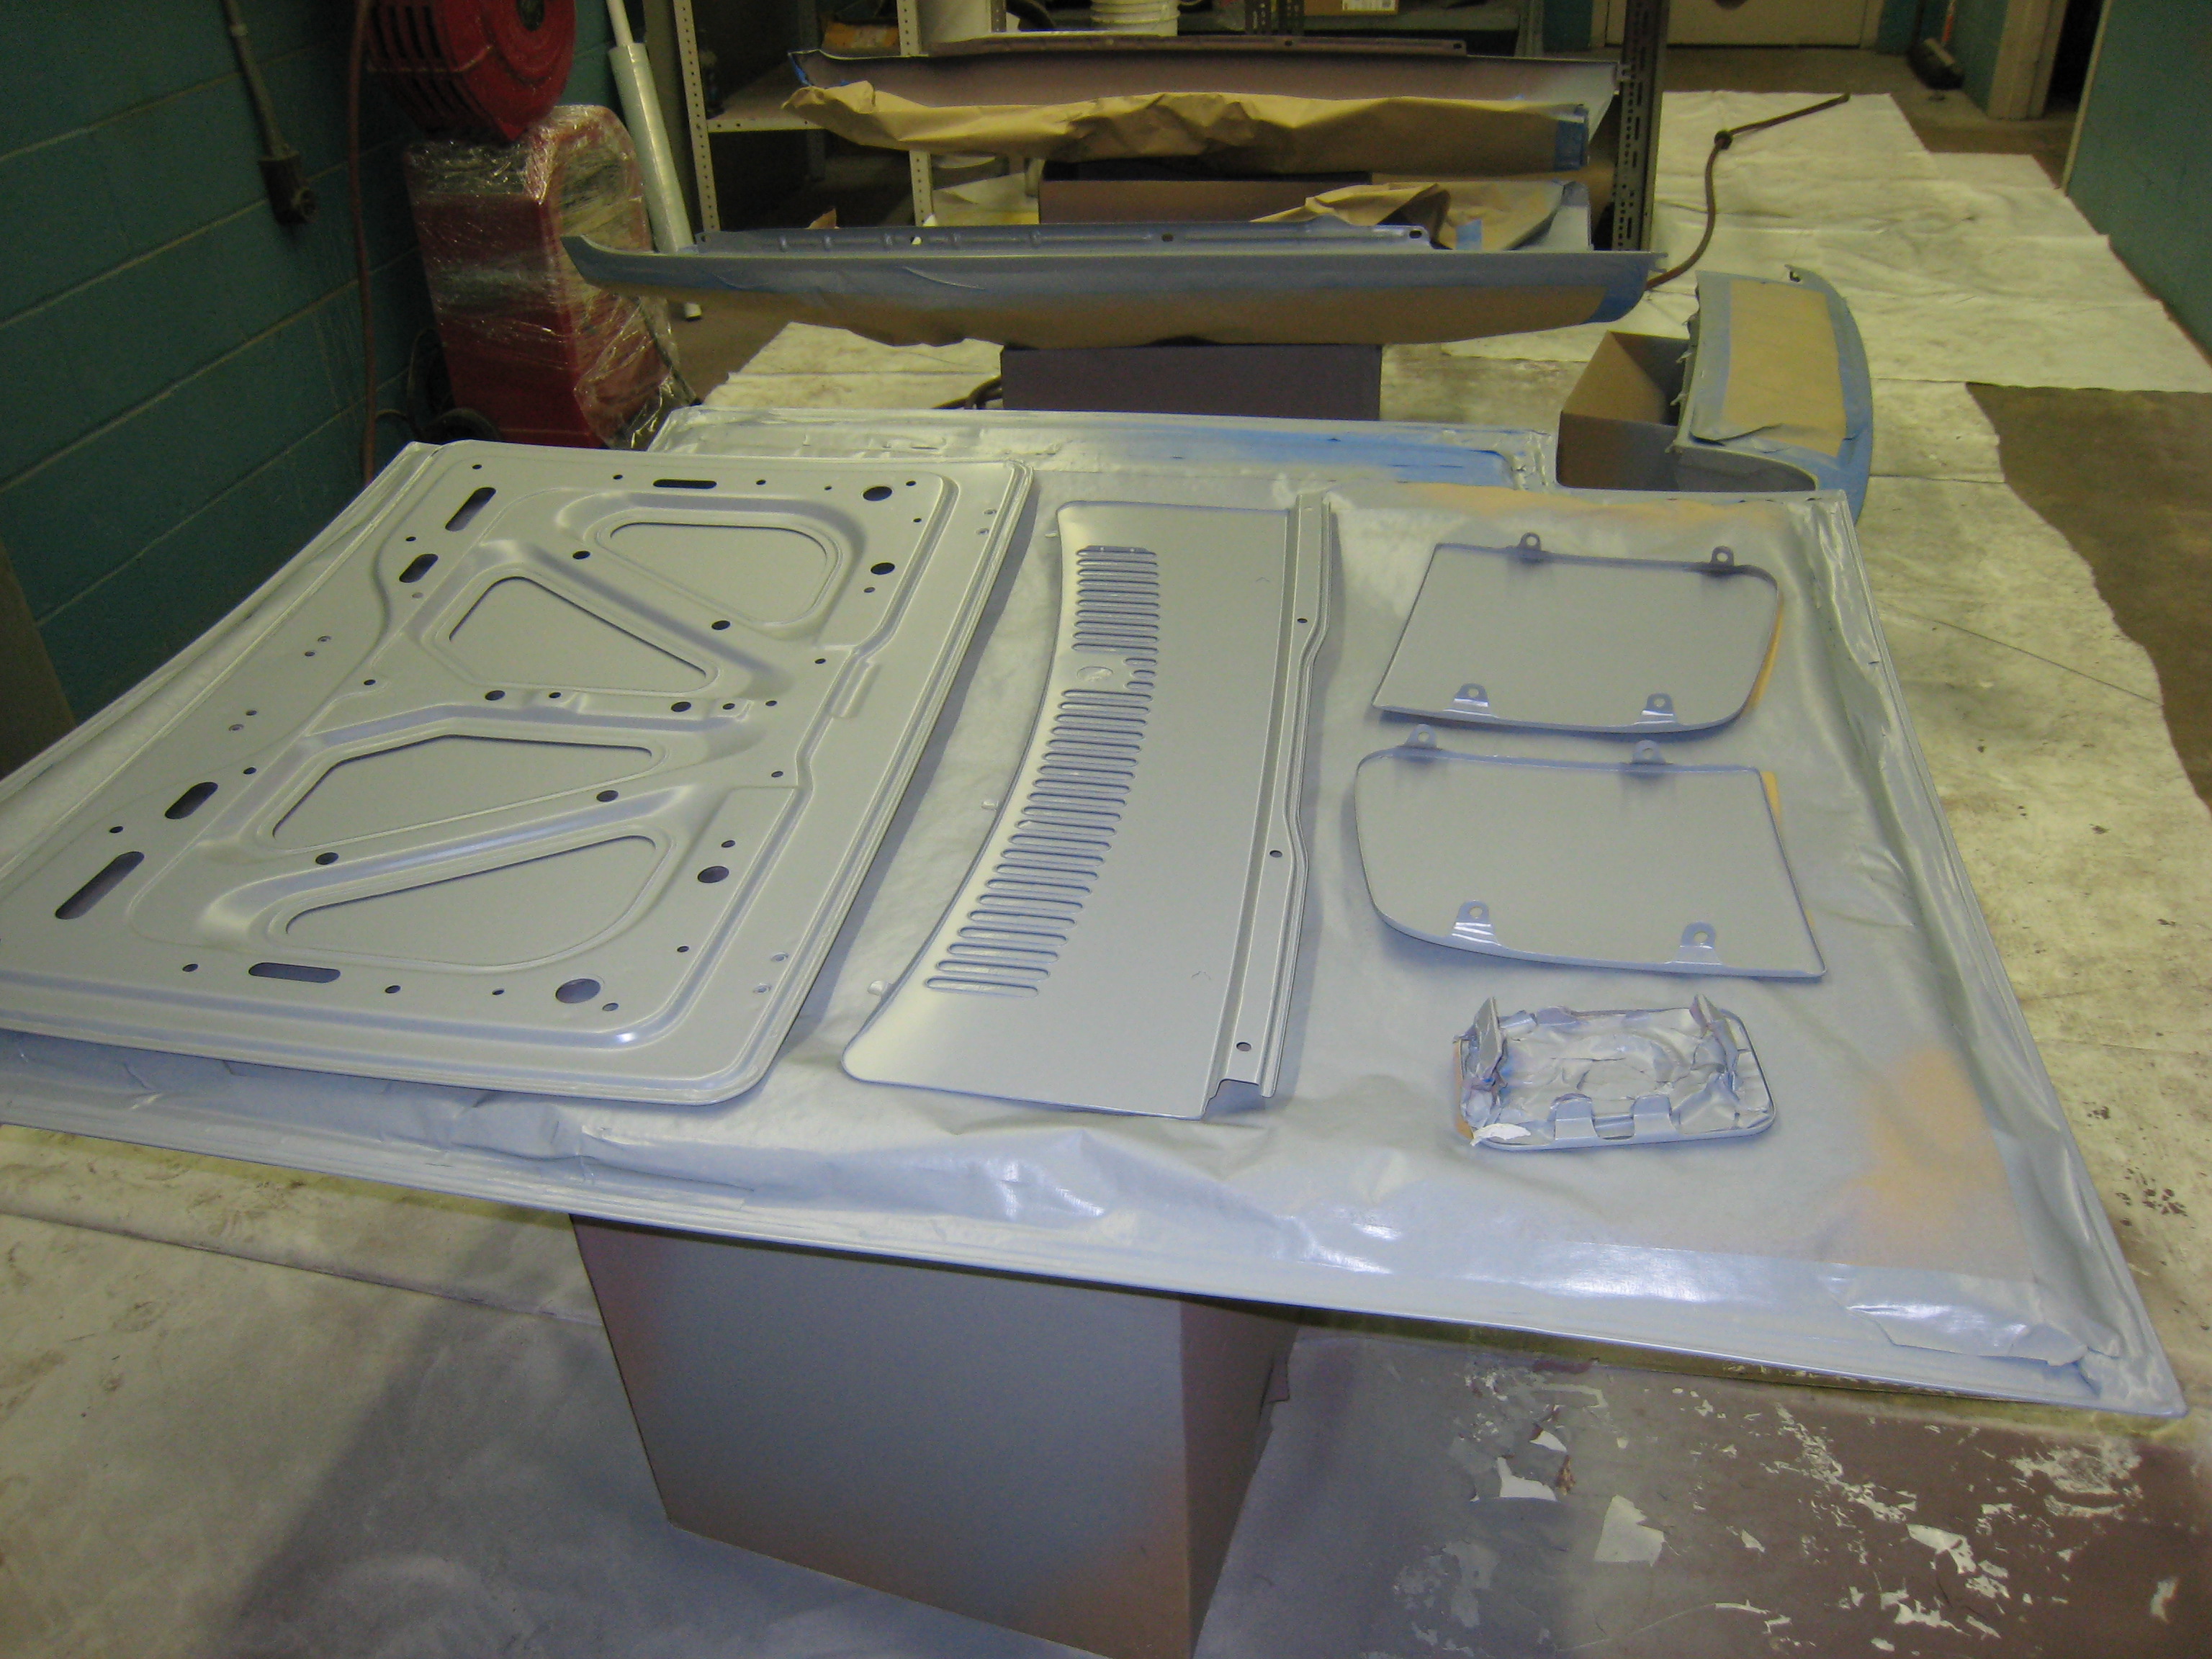
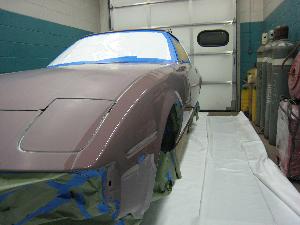
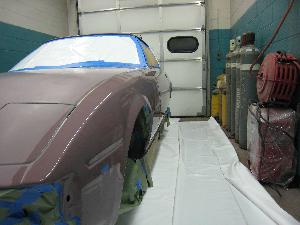
March 12 to 21, 07
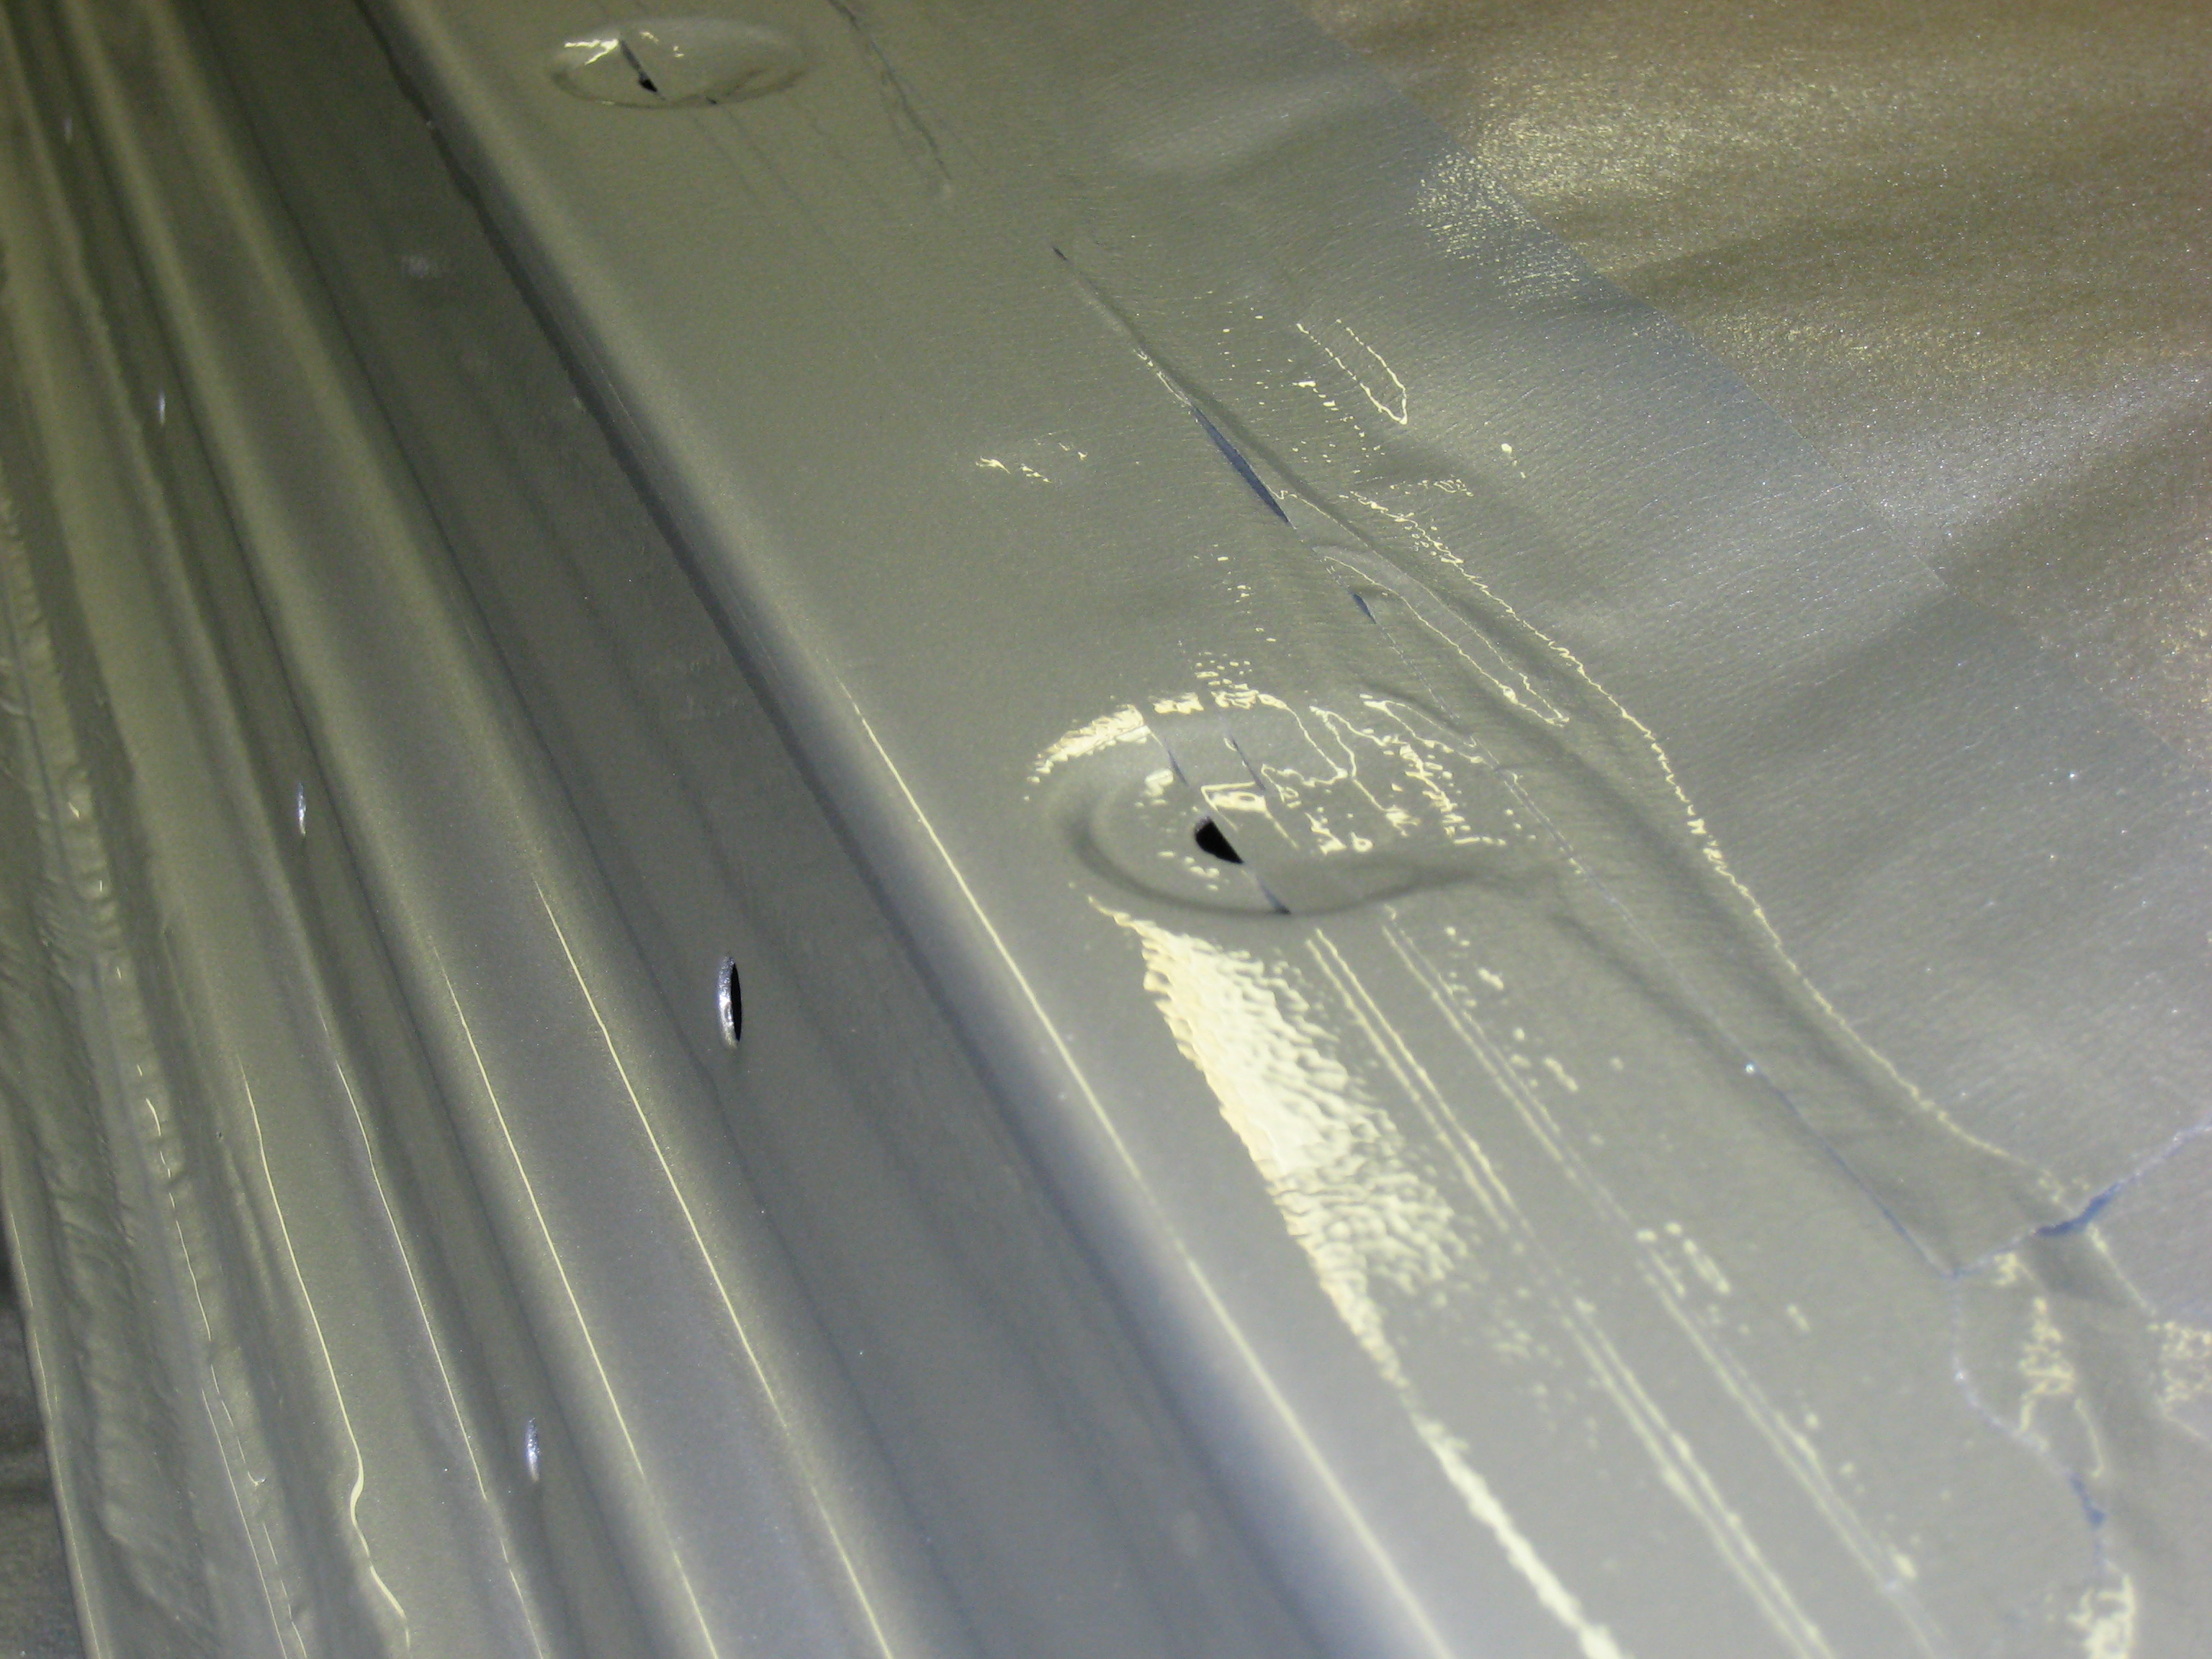
I found a little more unsanded primer that I had apparently missed during my wet sanding. No matter -- just break out the hose and sandpaper again.

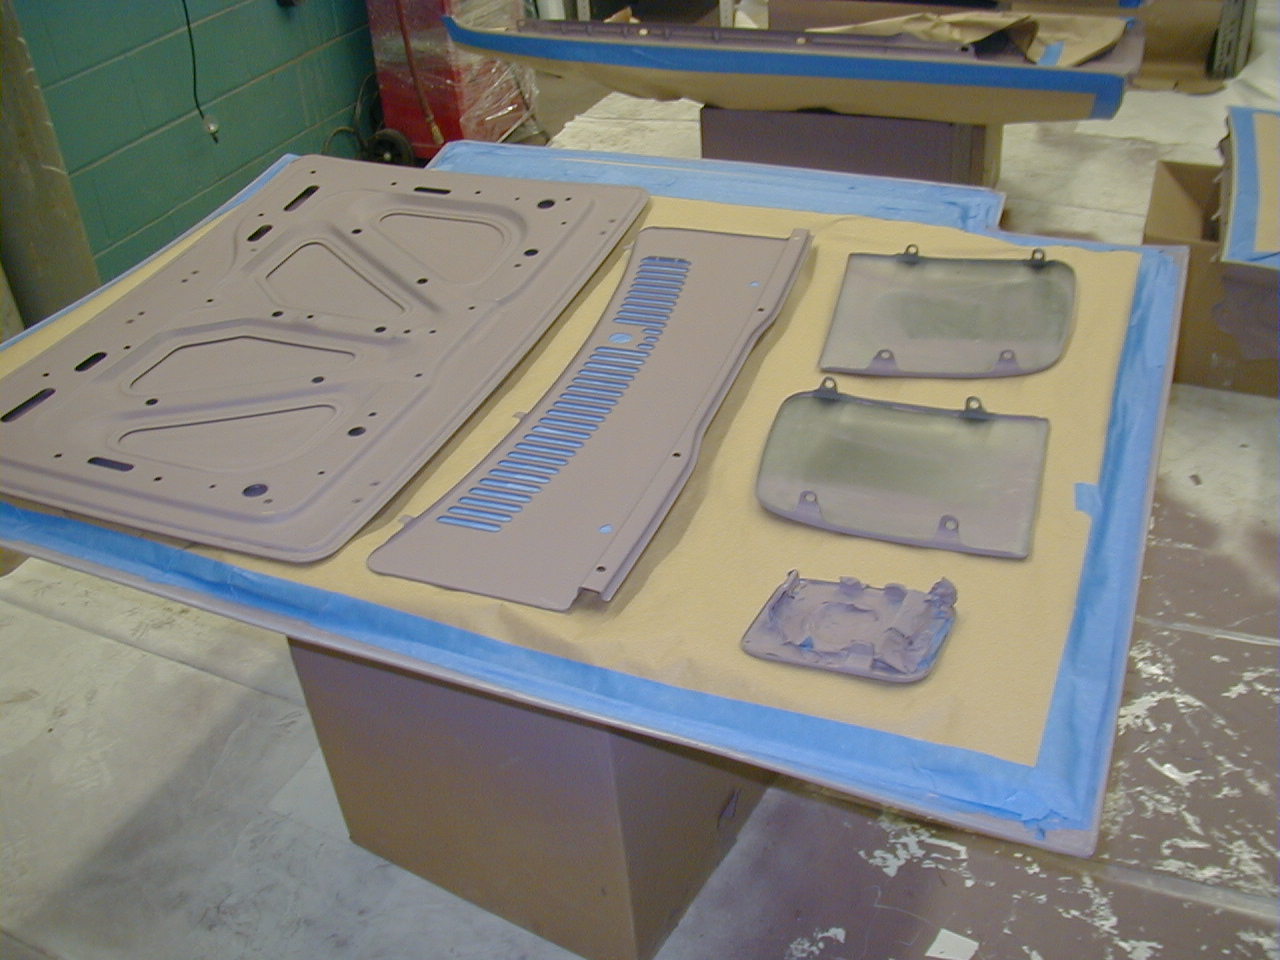
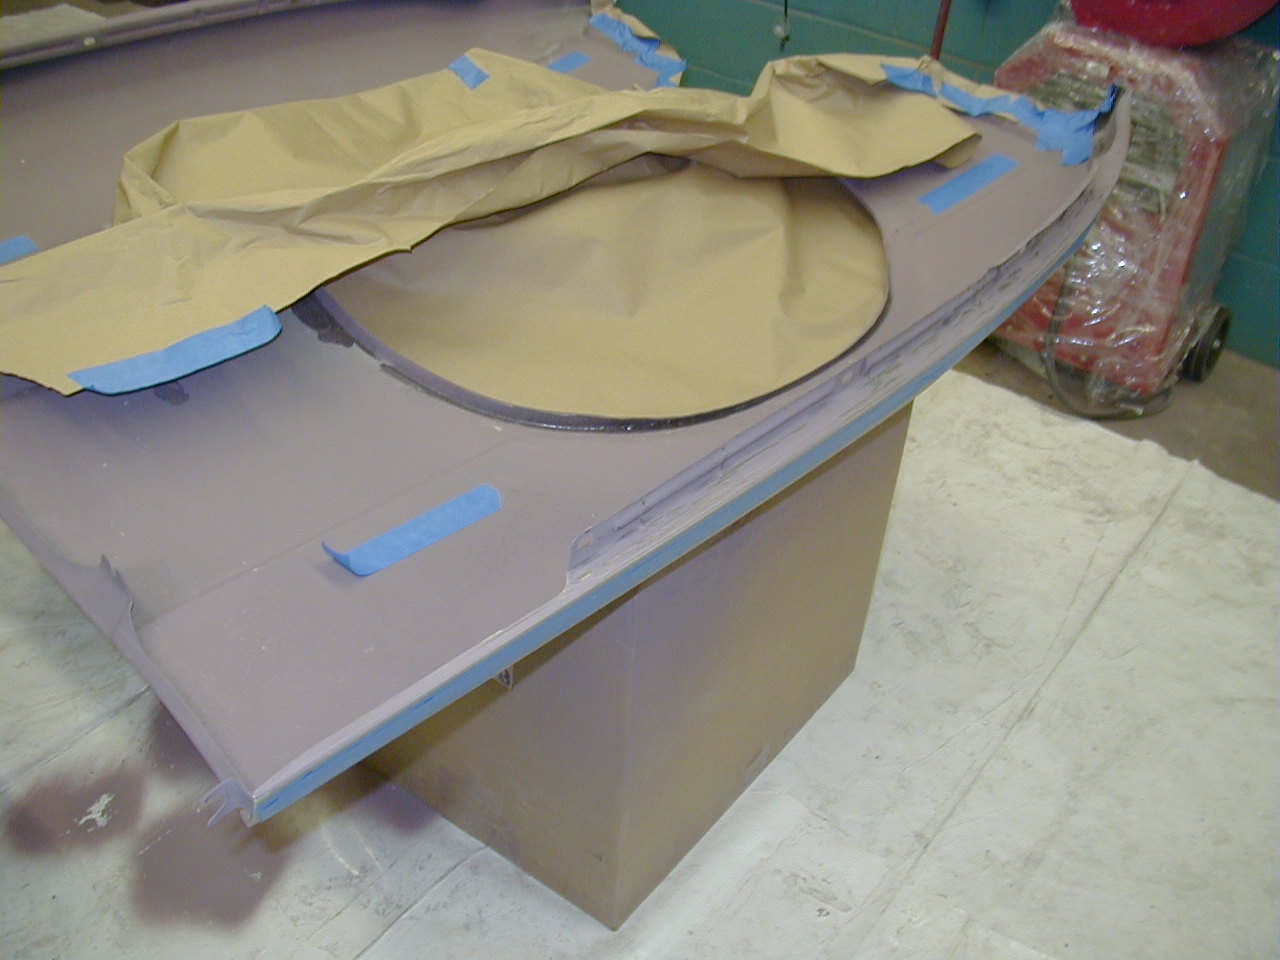
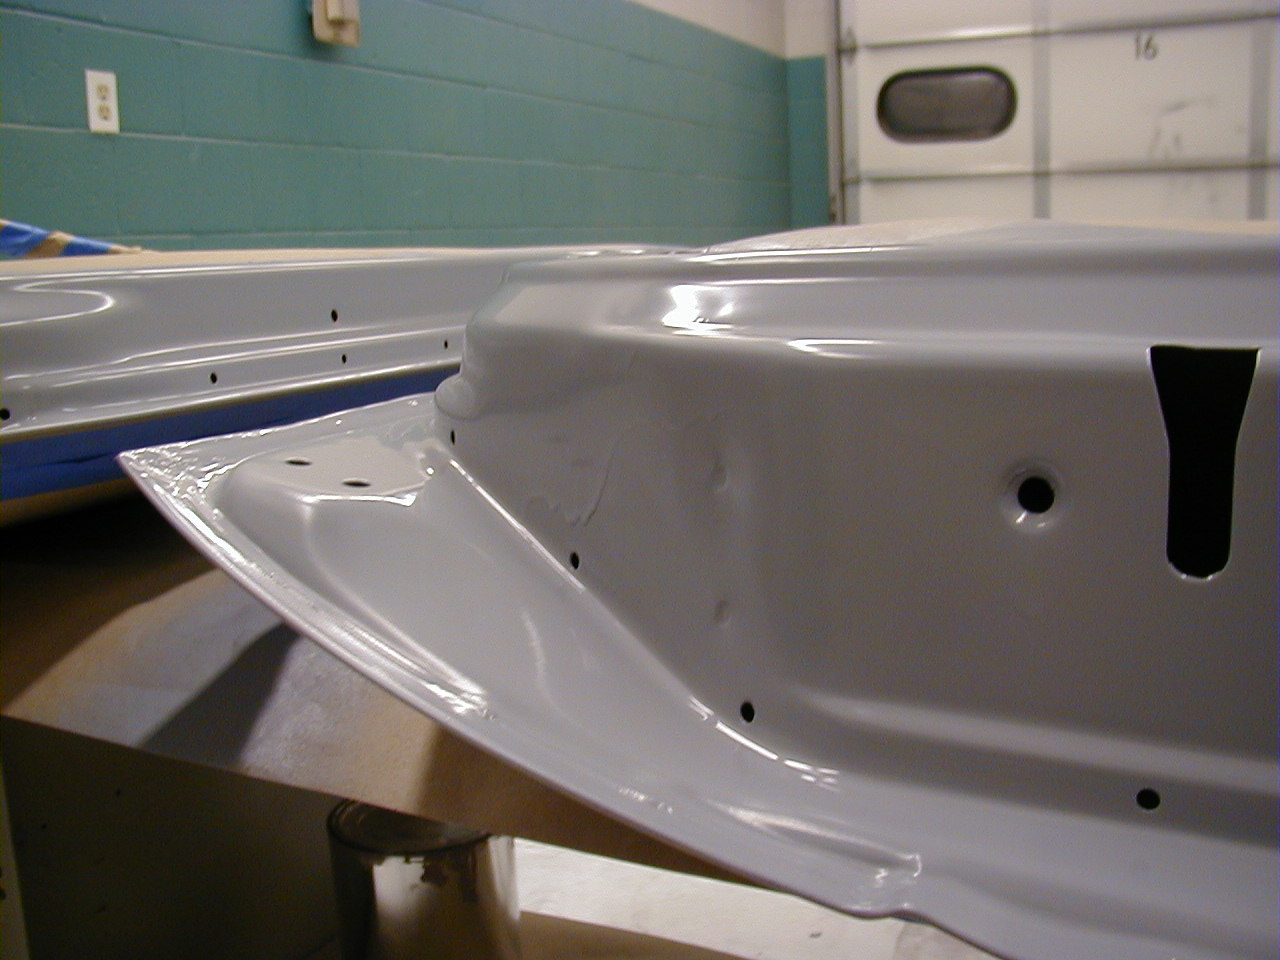
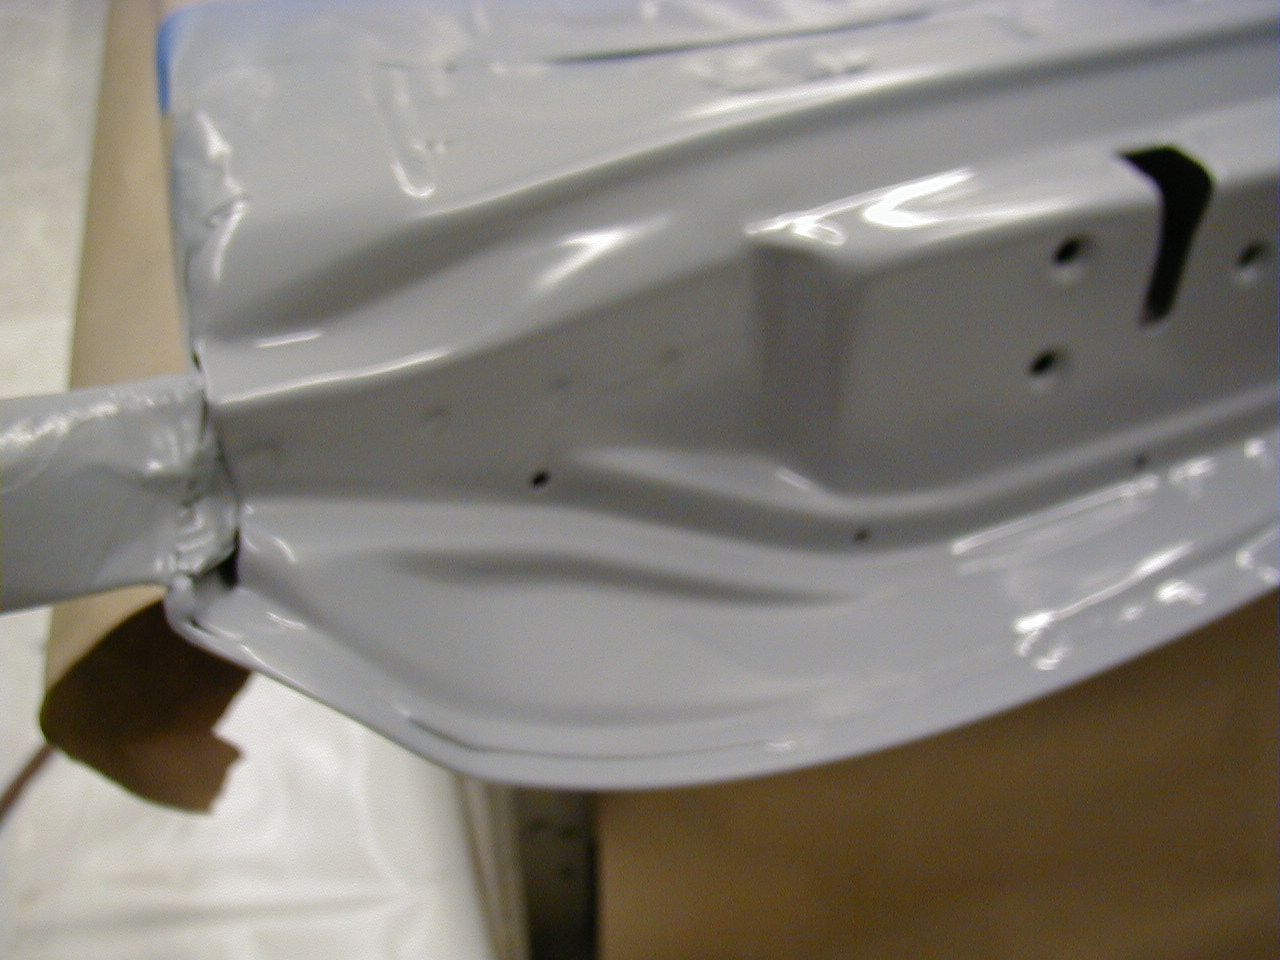
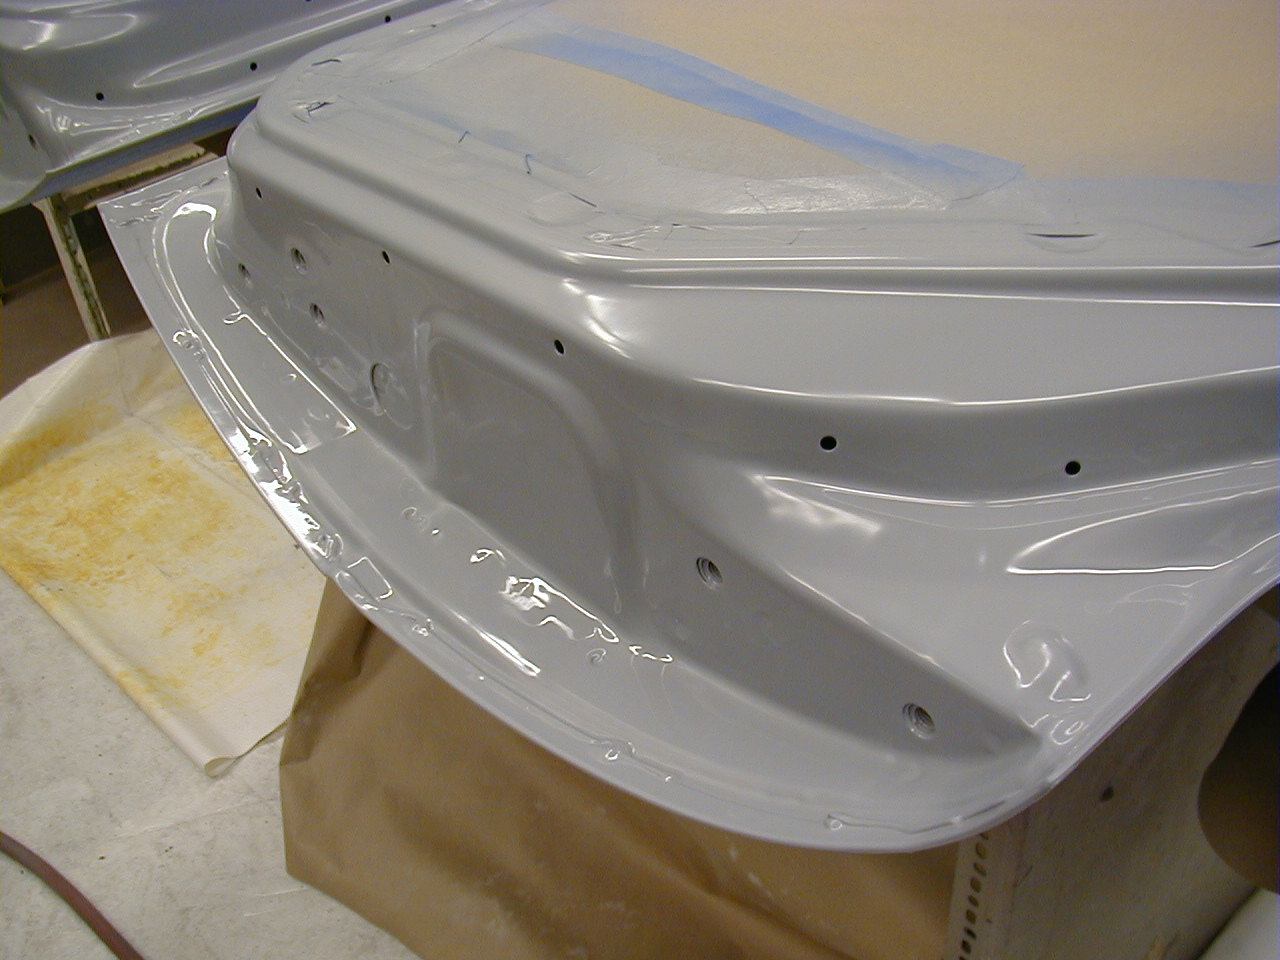
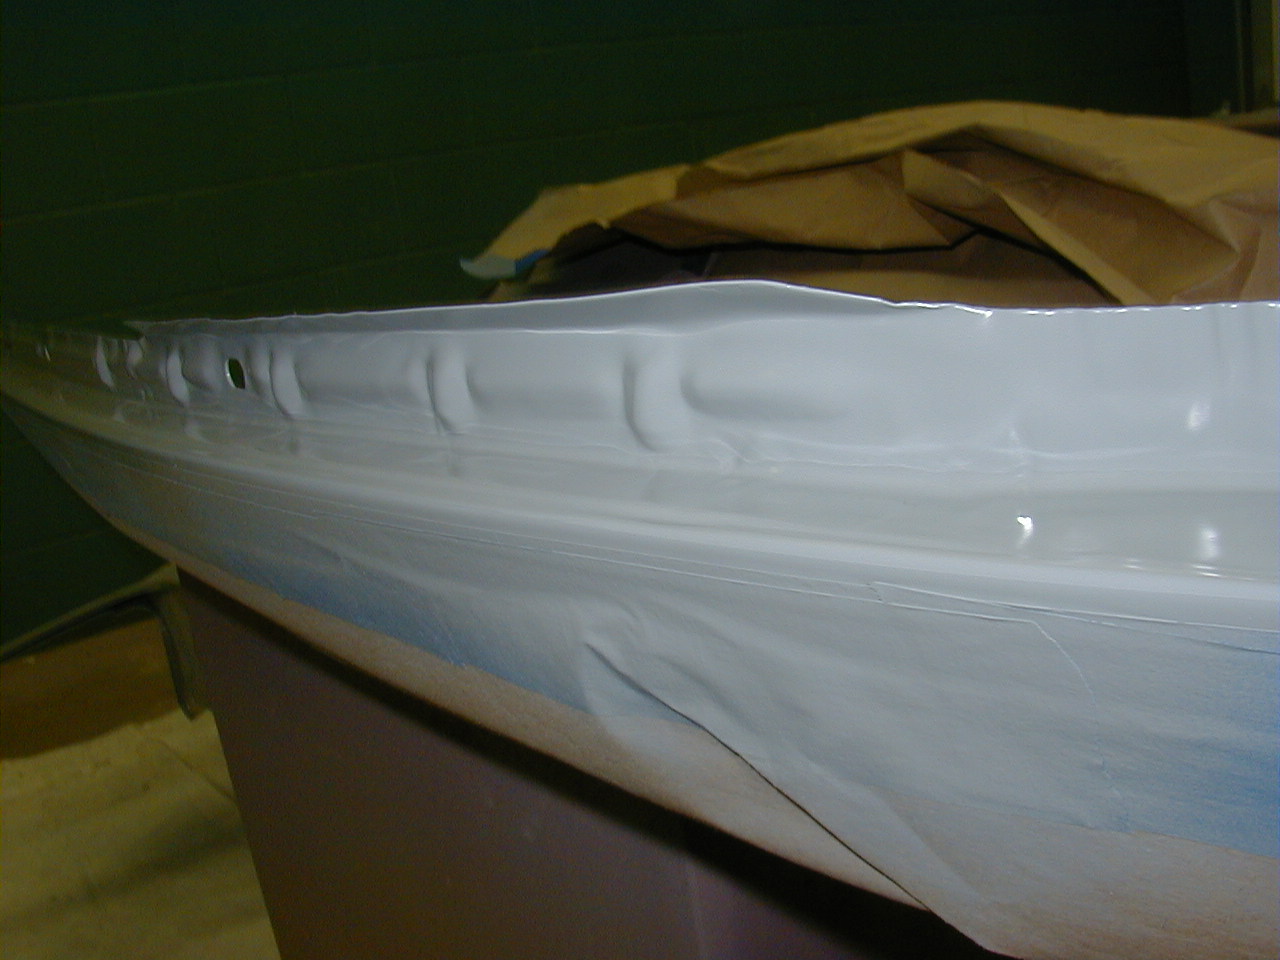
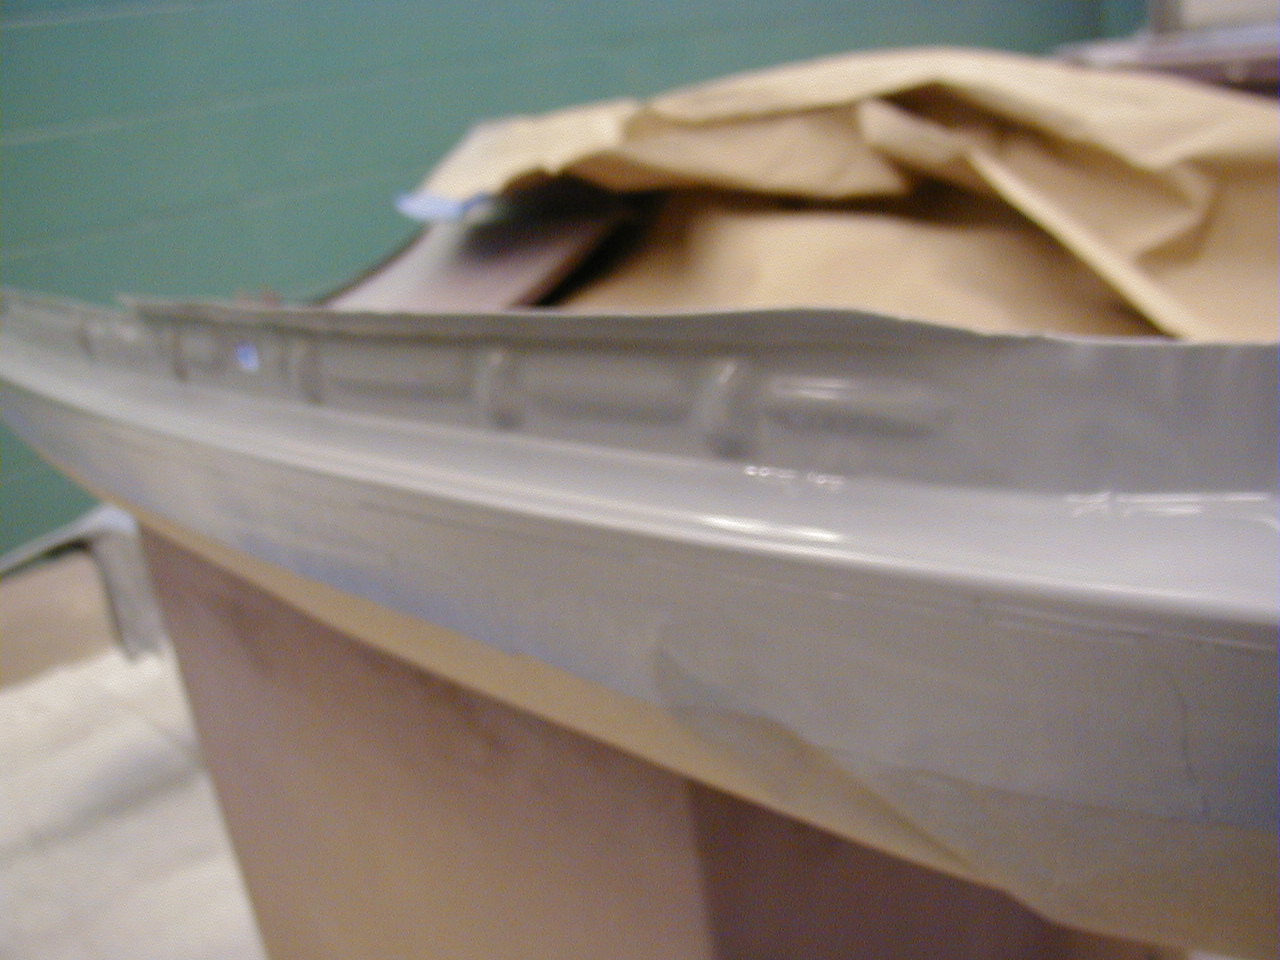
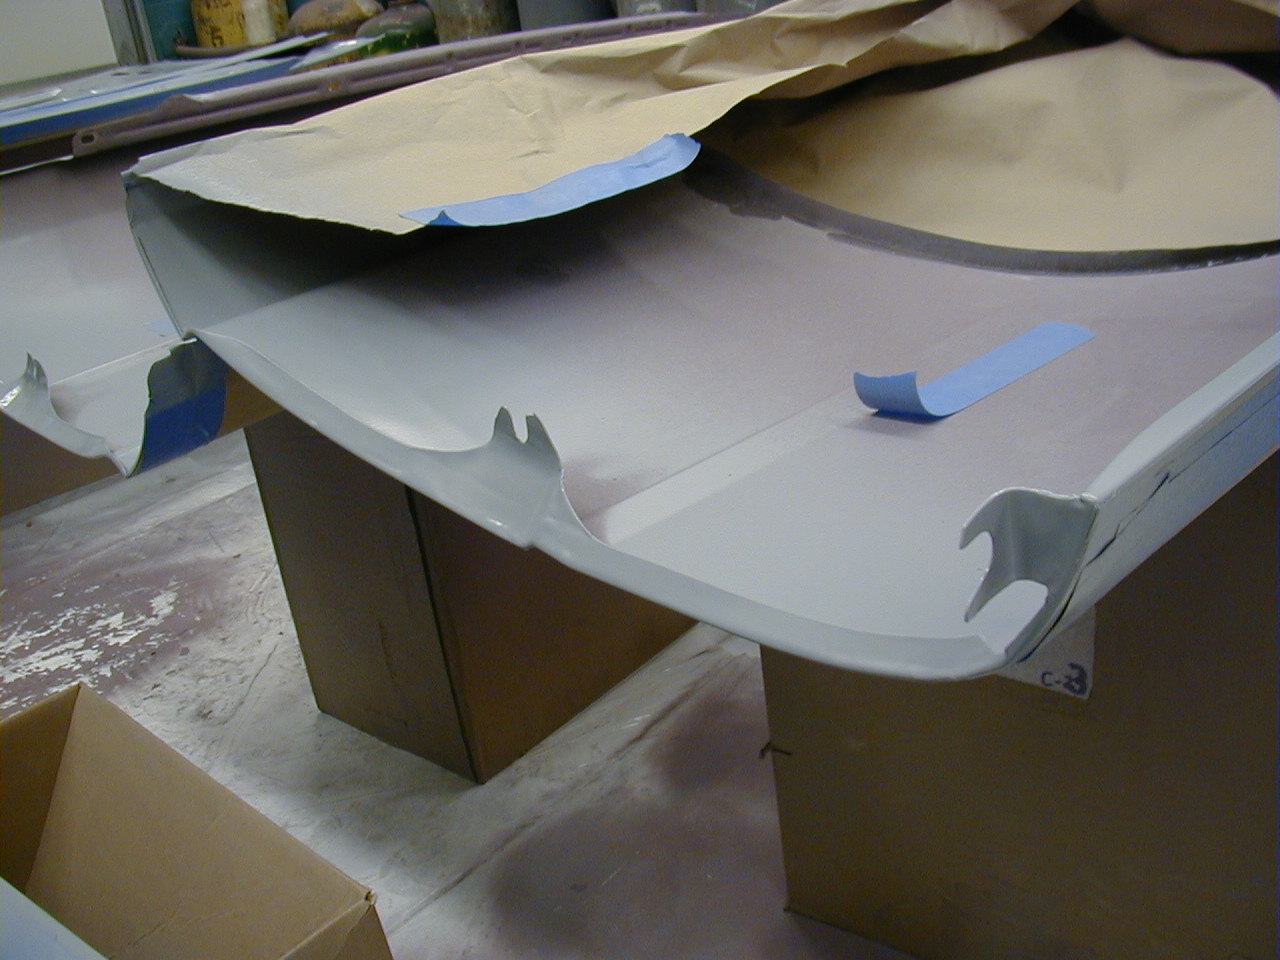
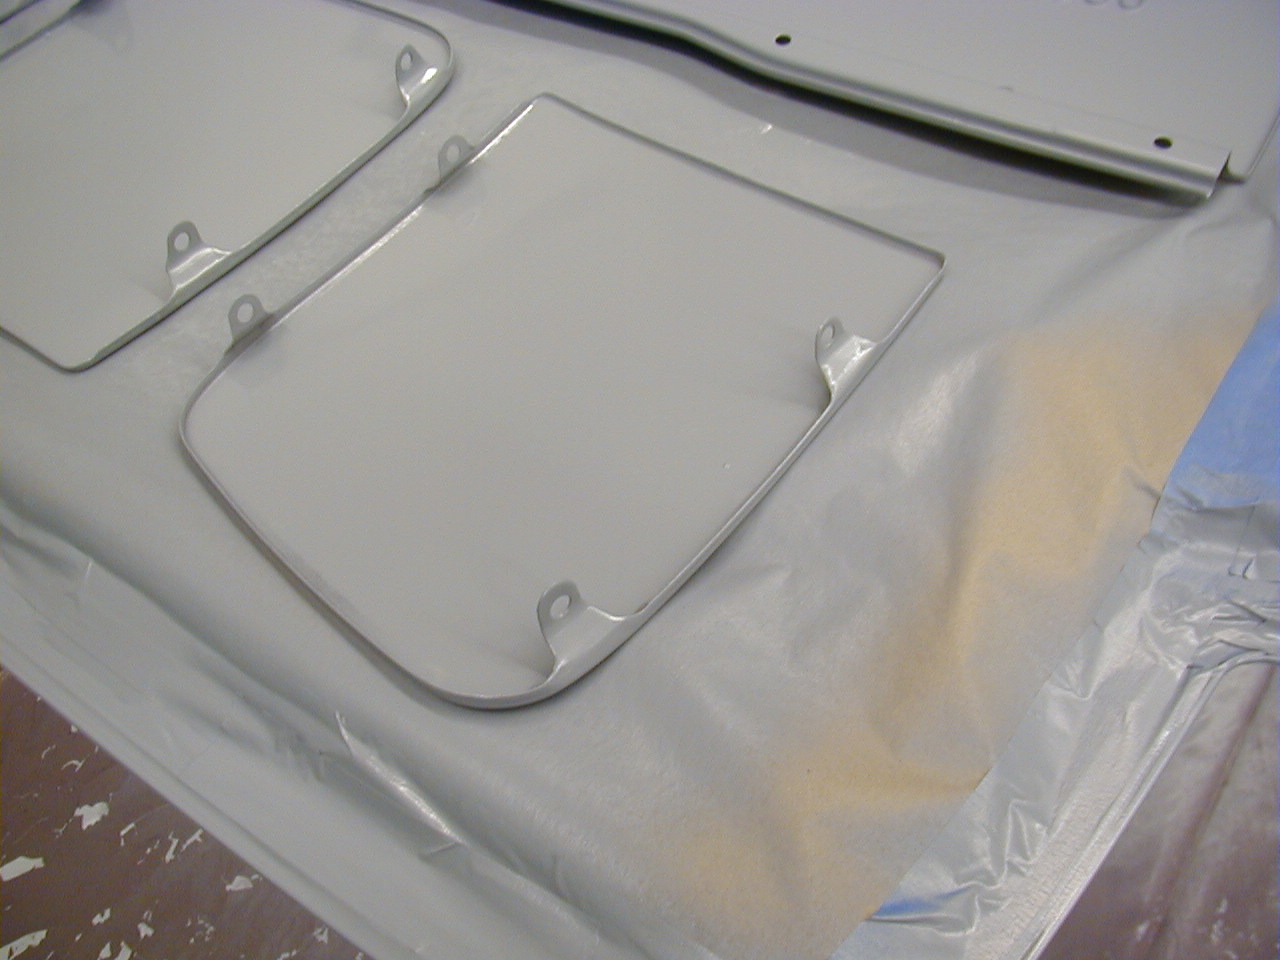
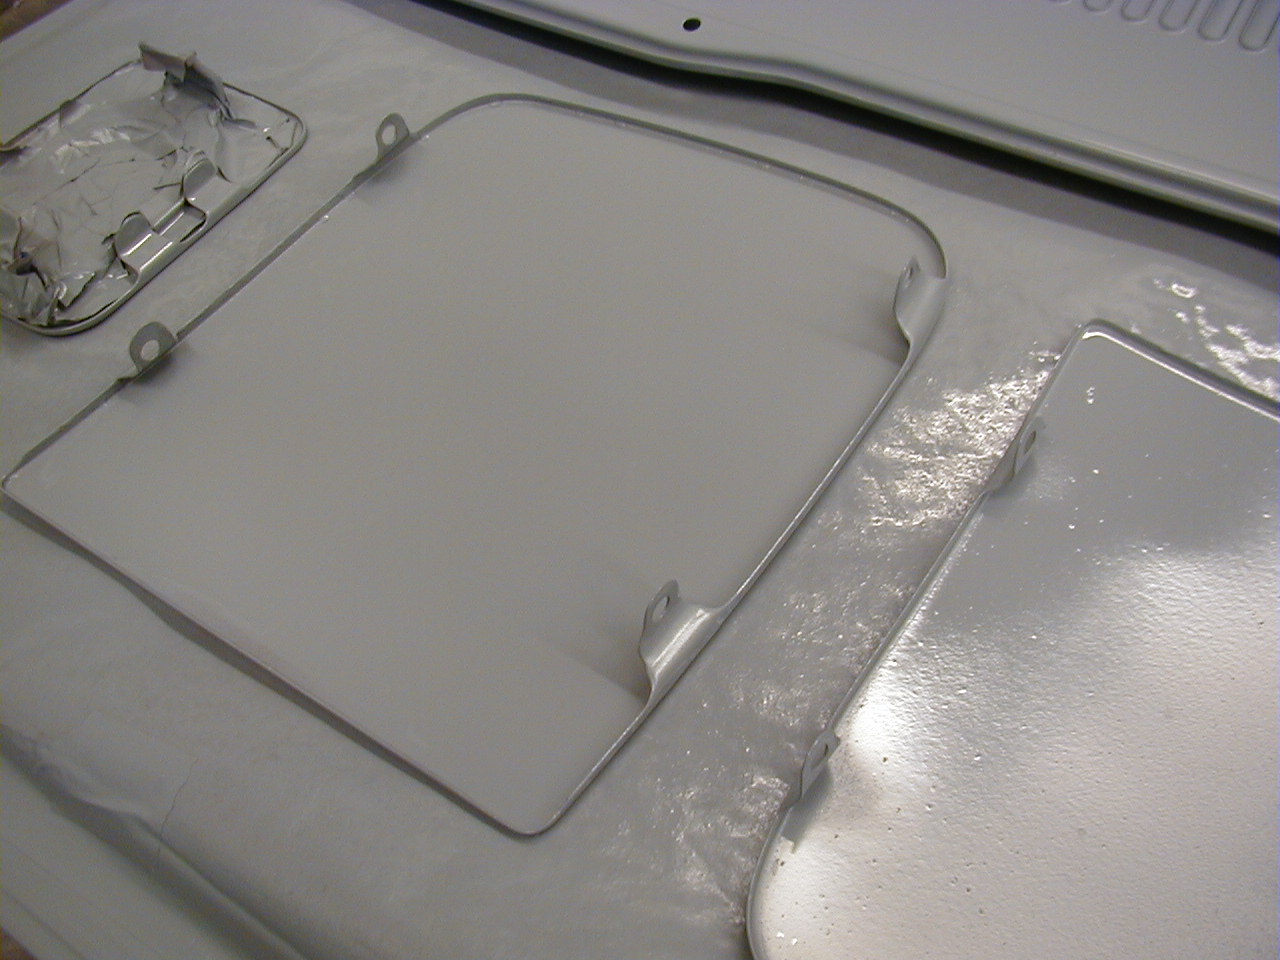
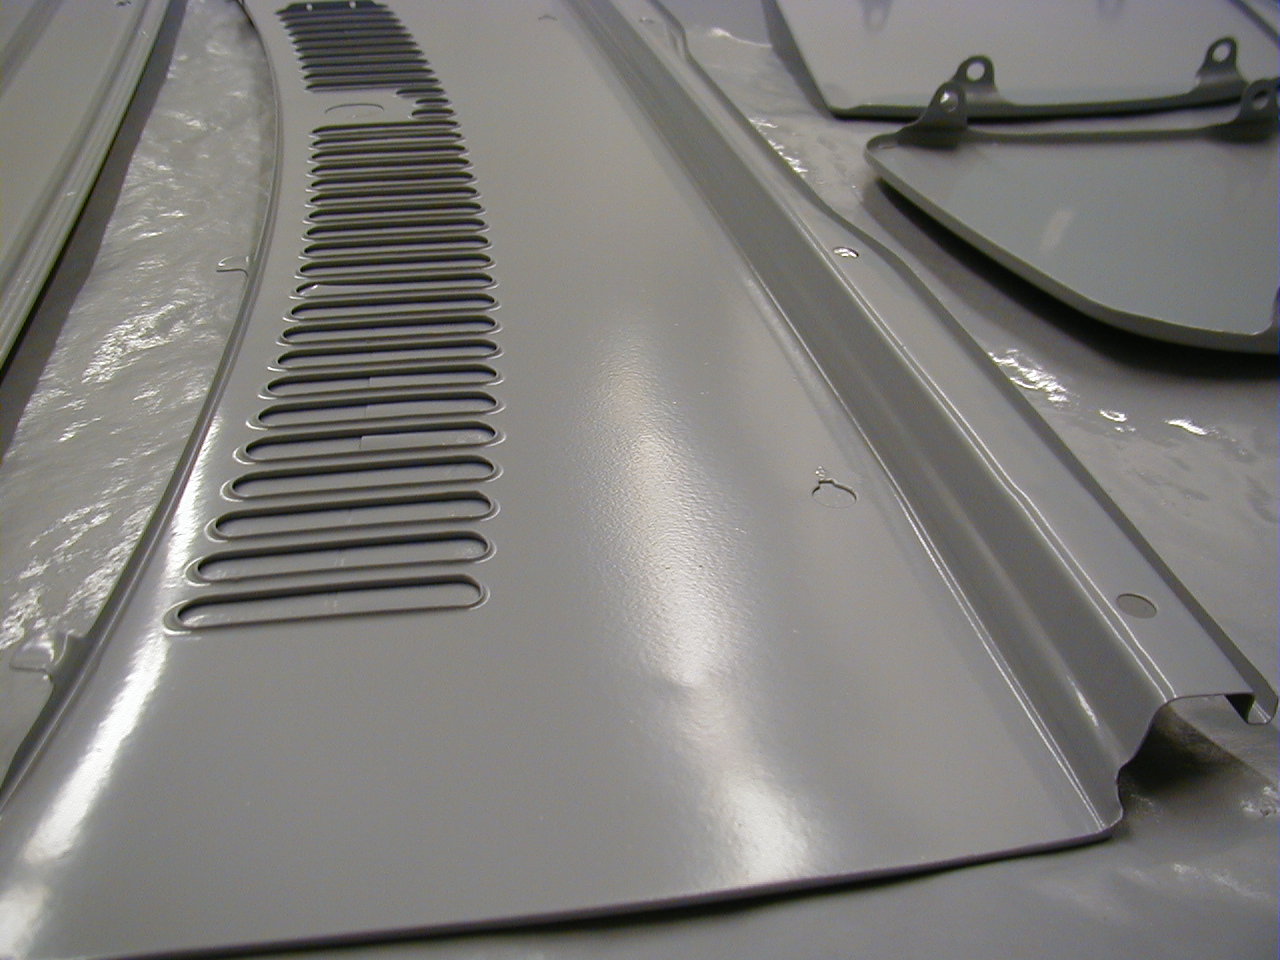
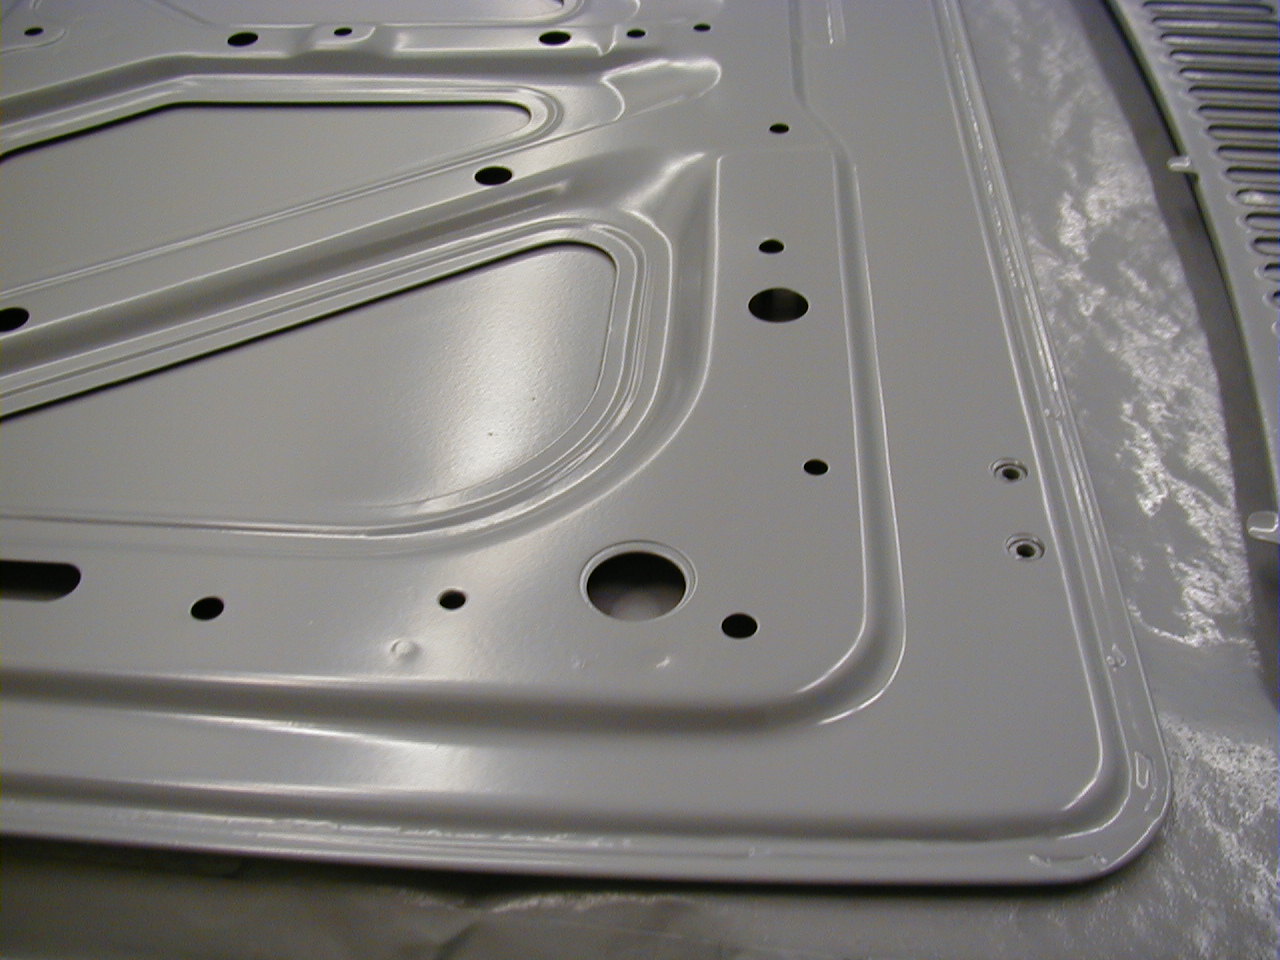
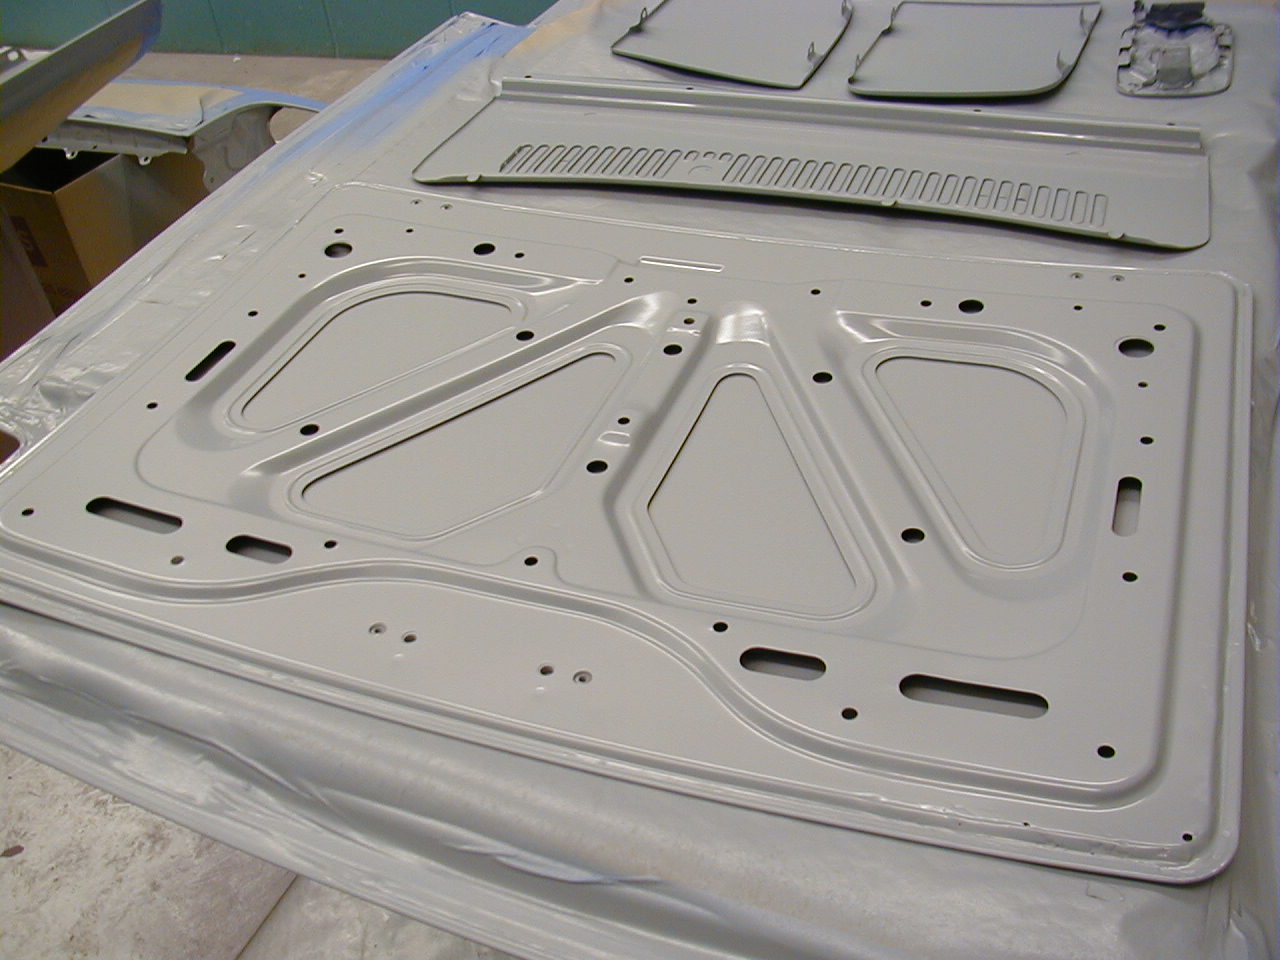
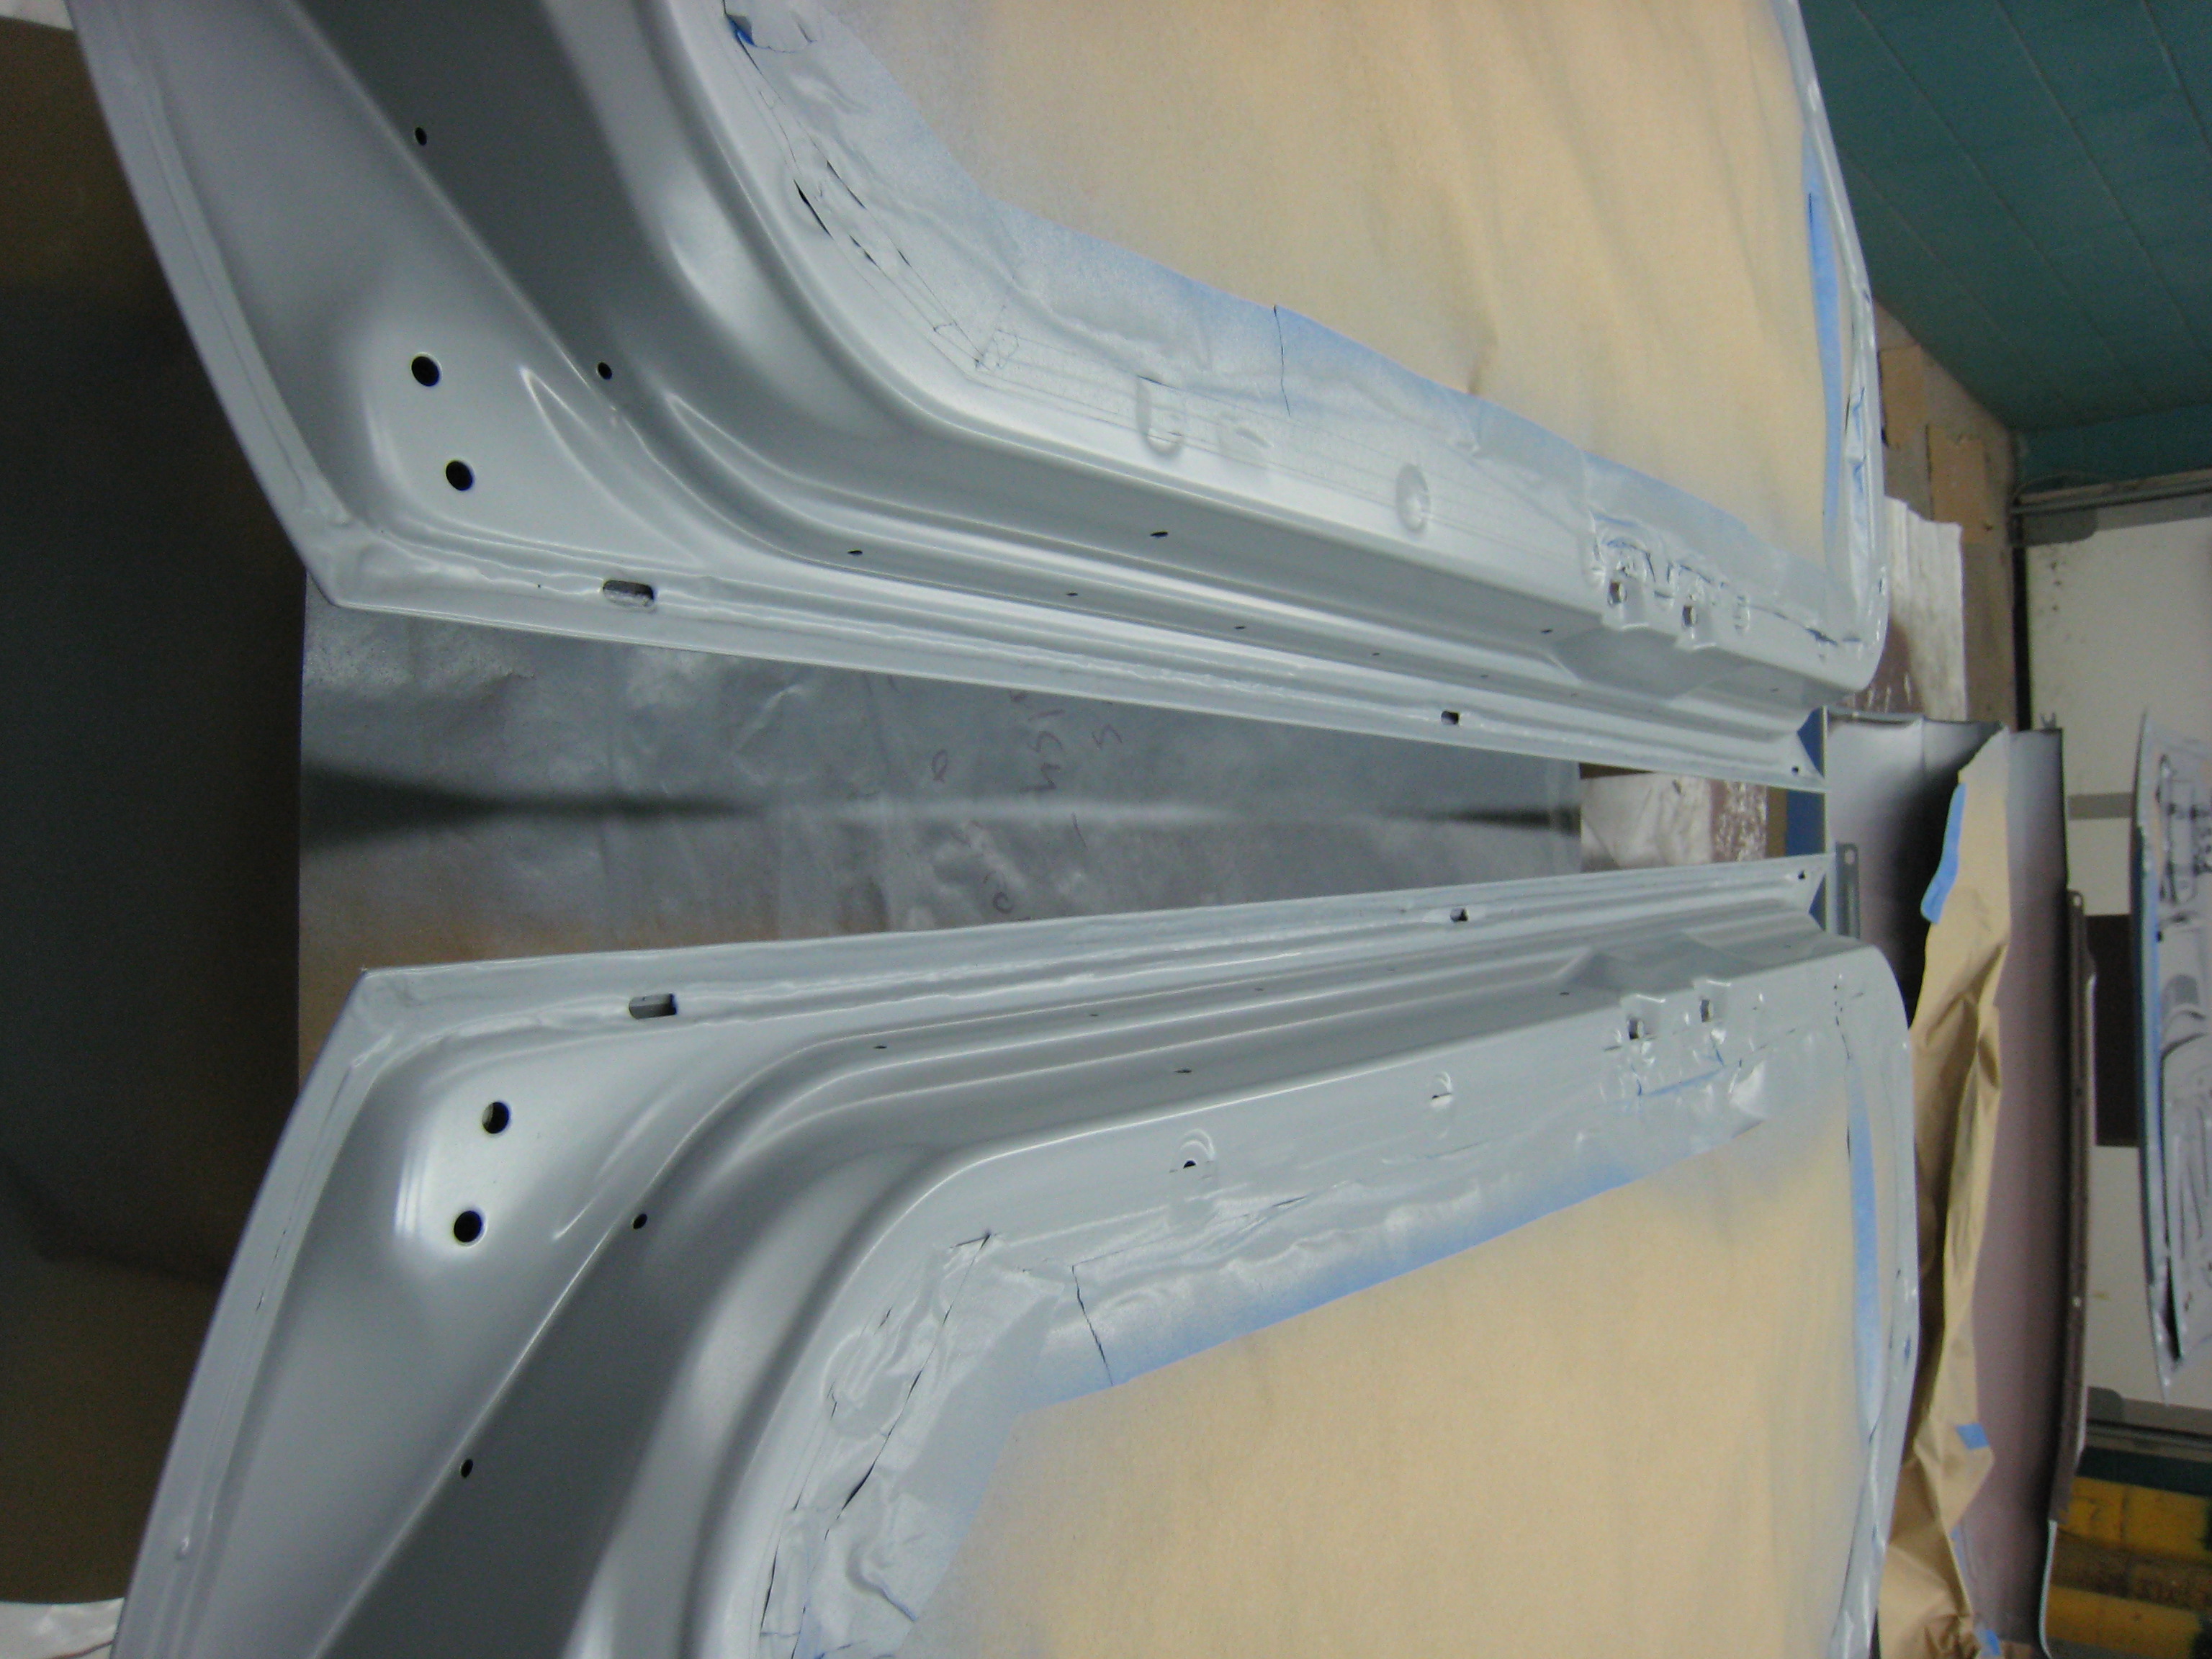
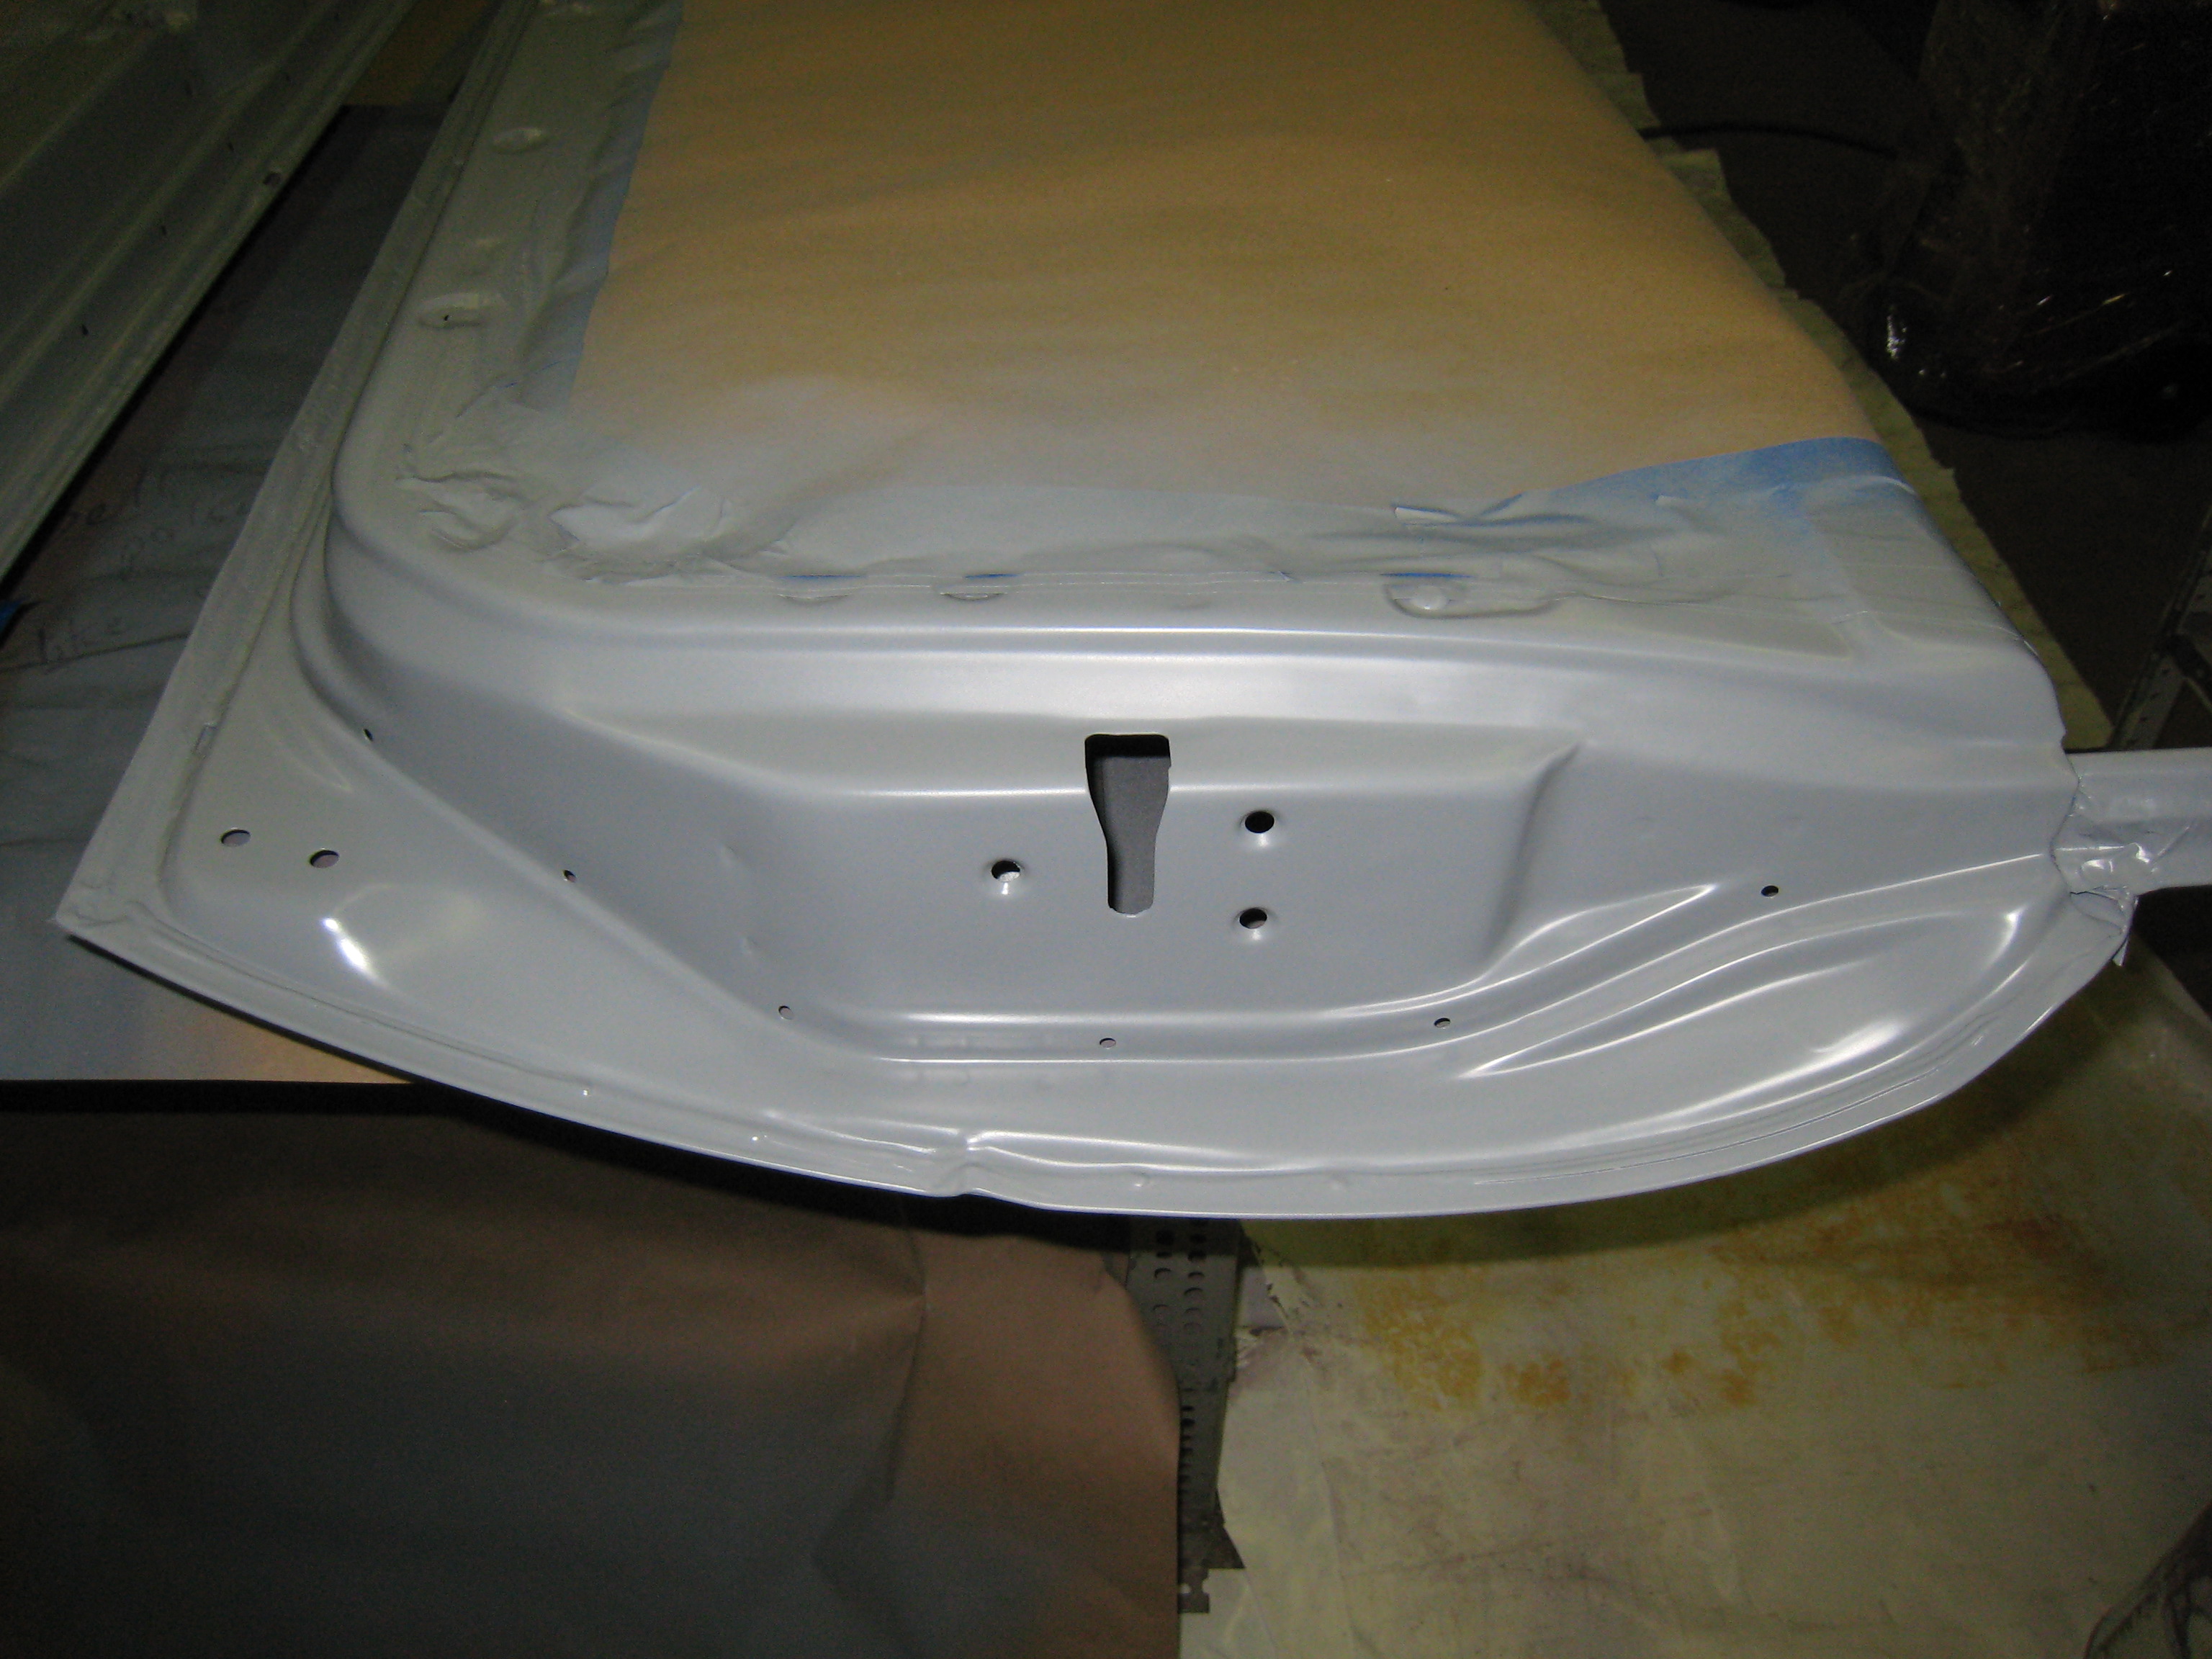
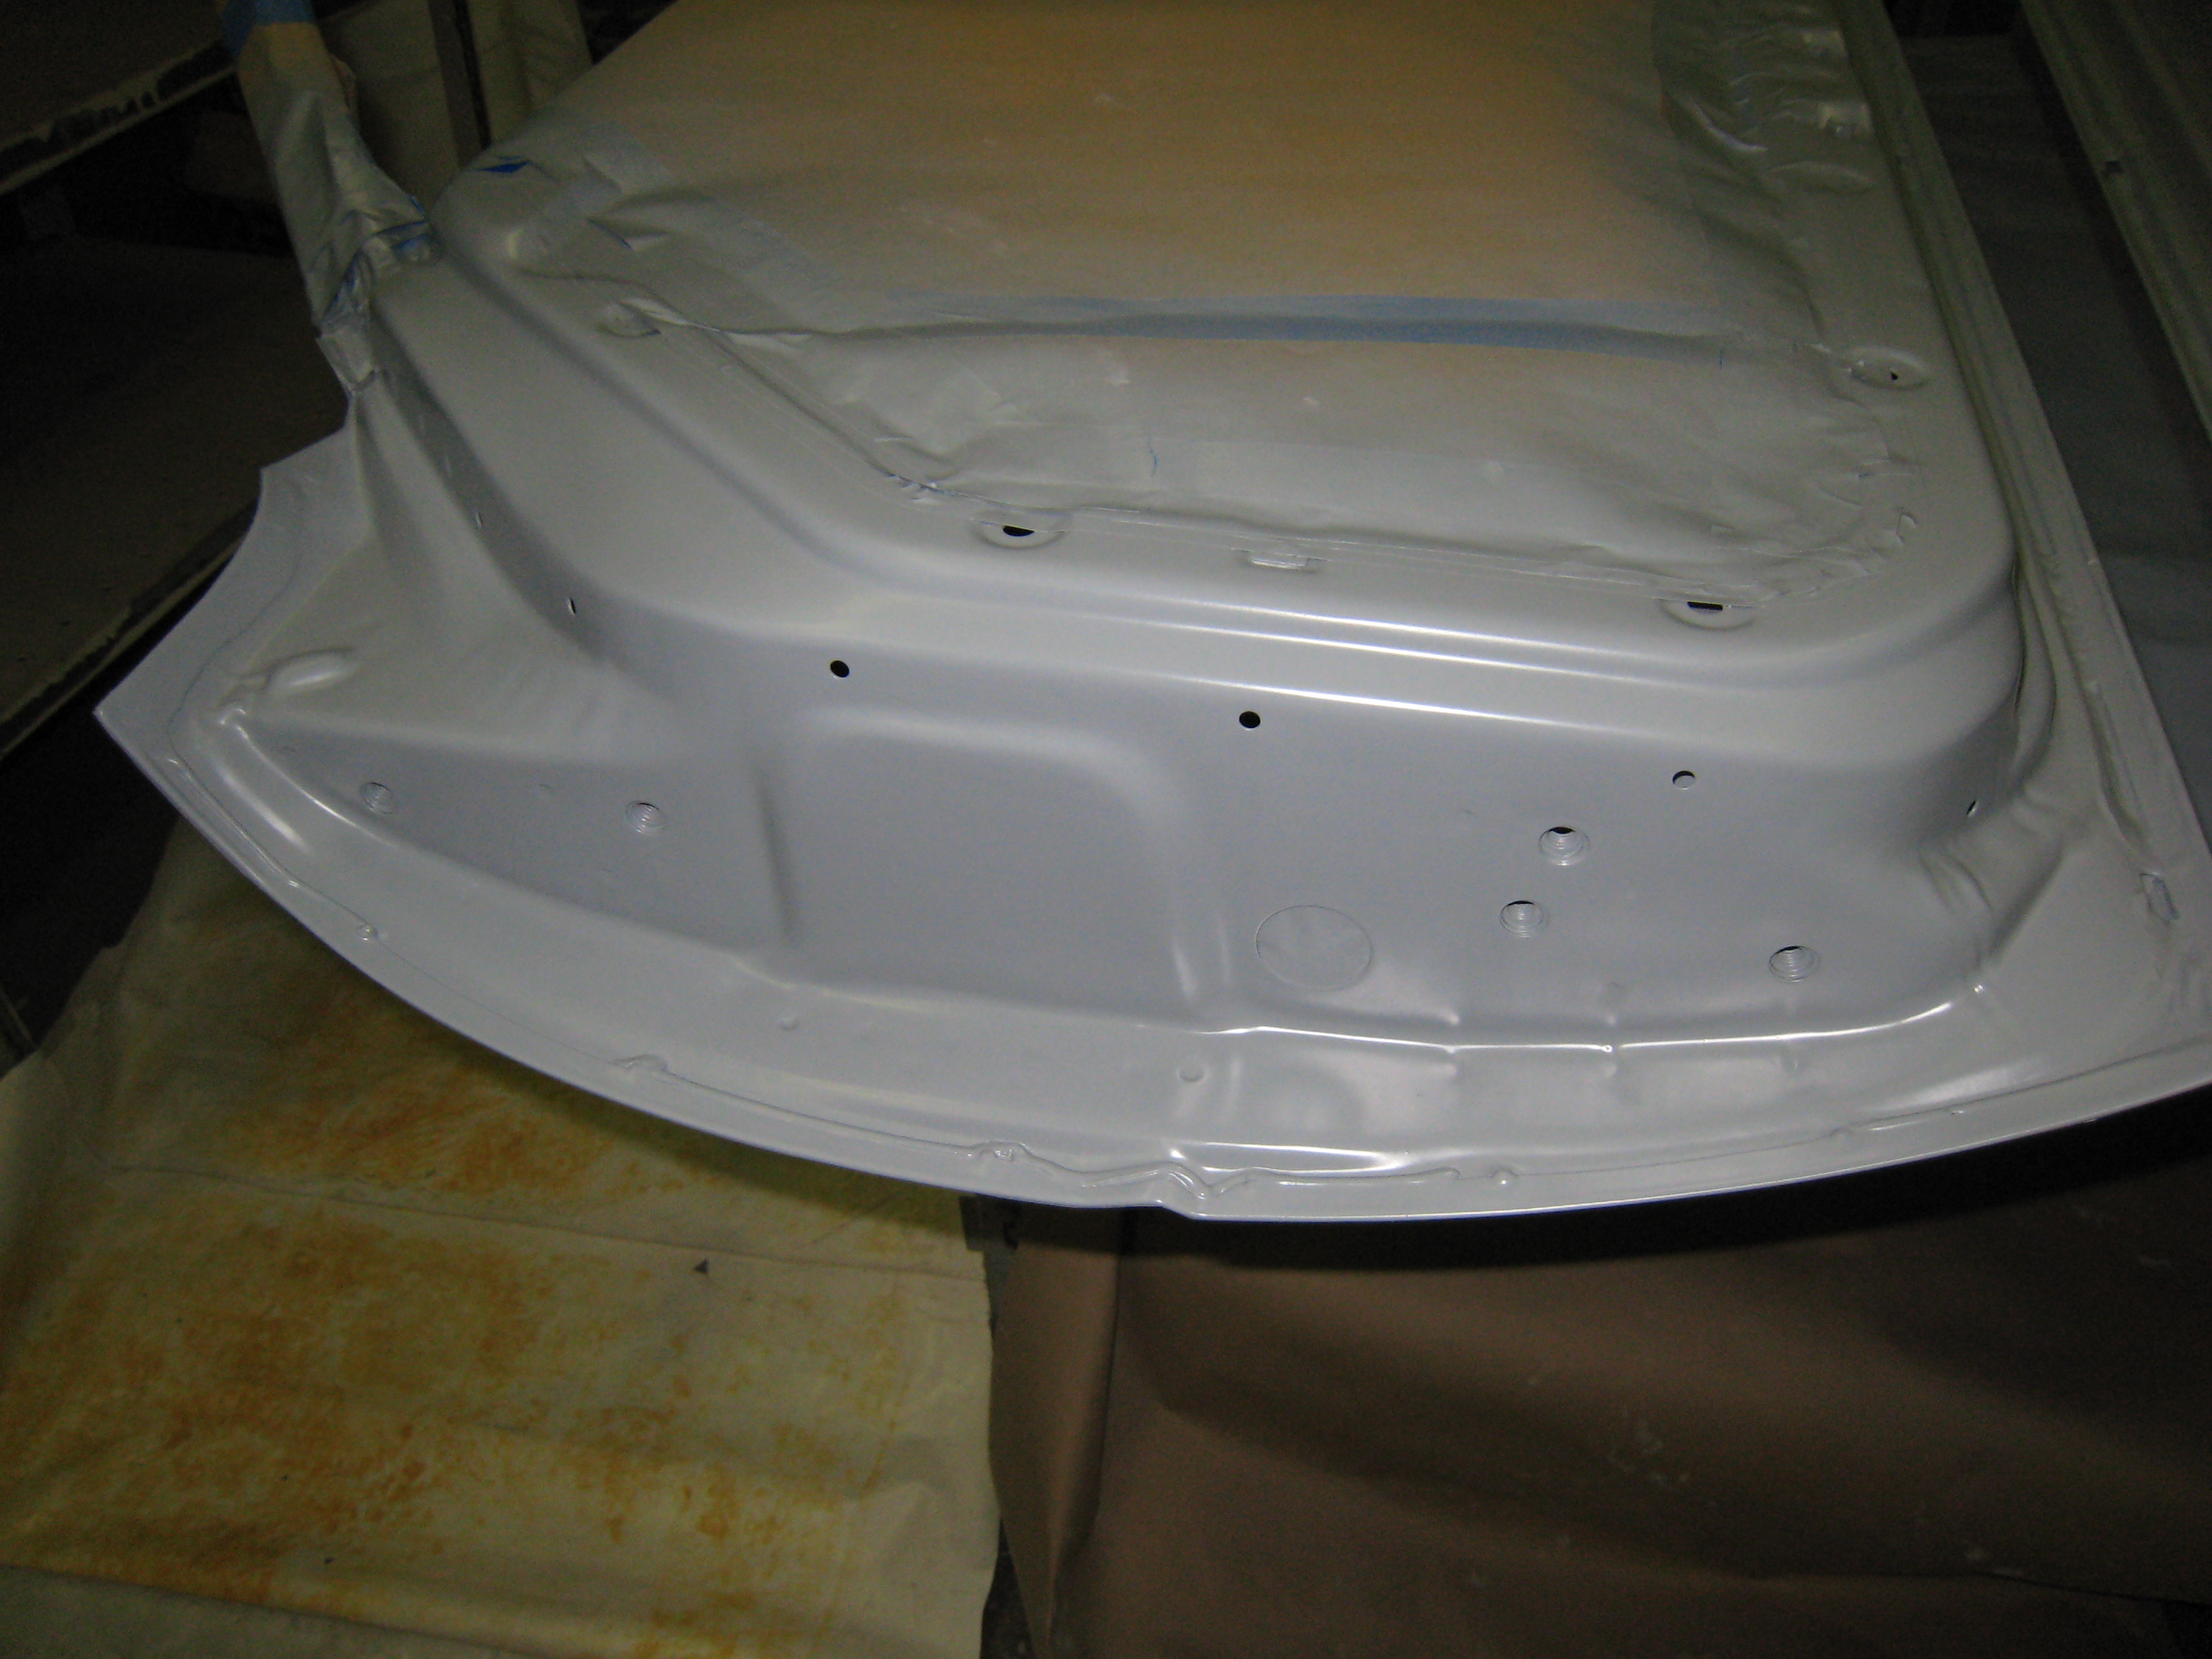
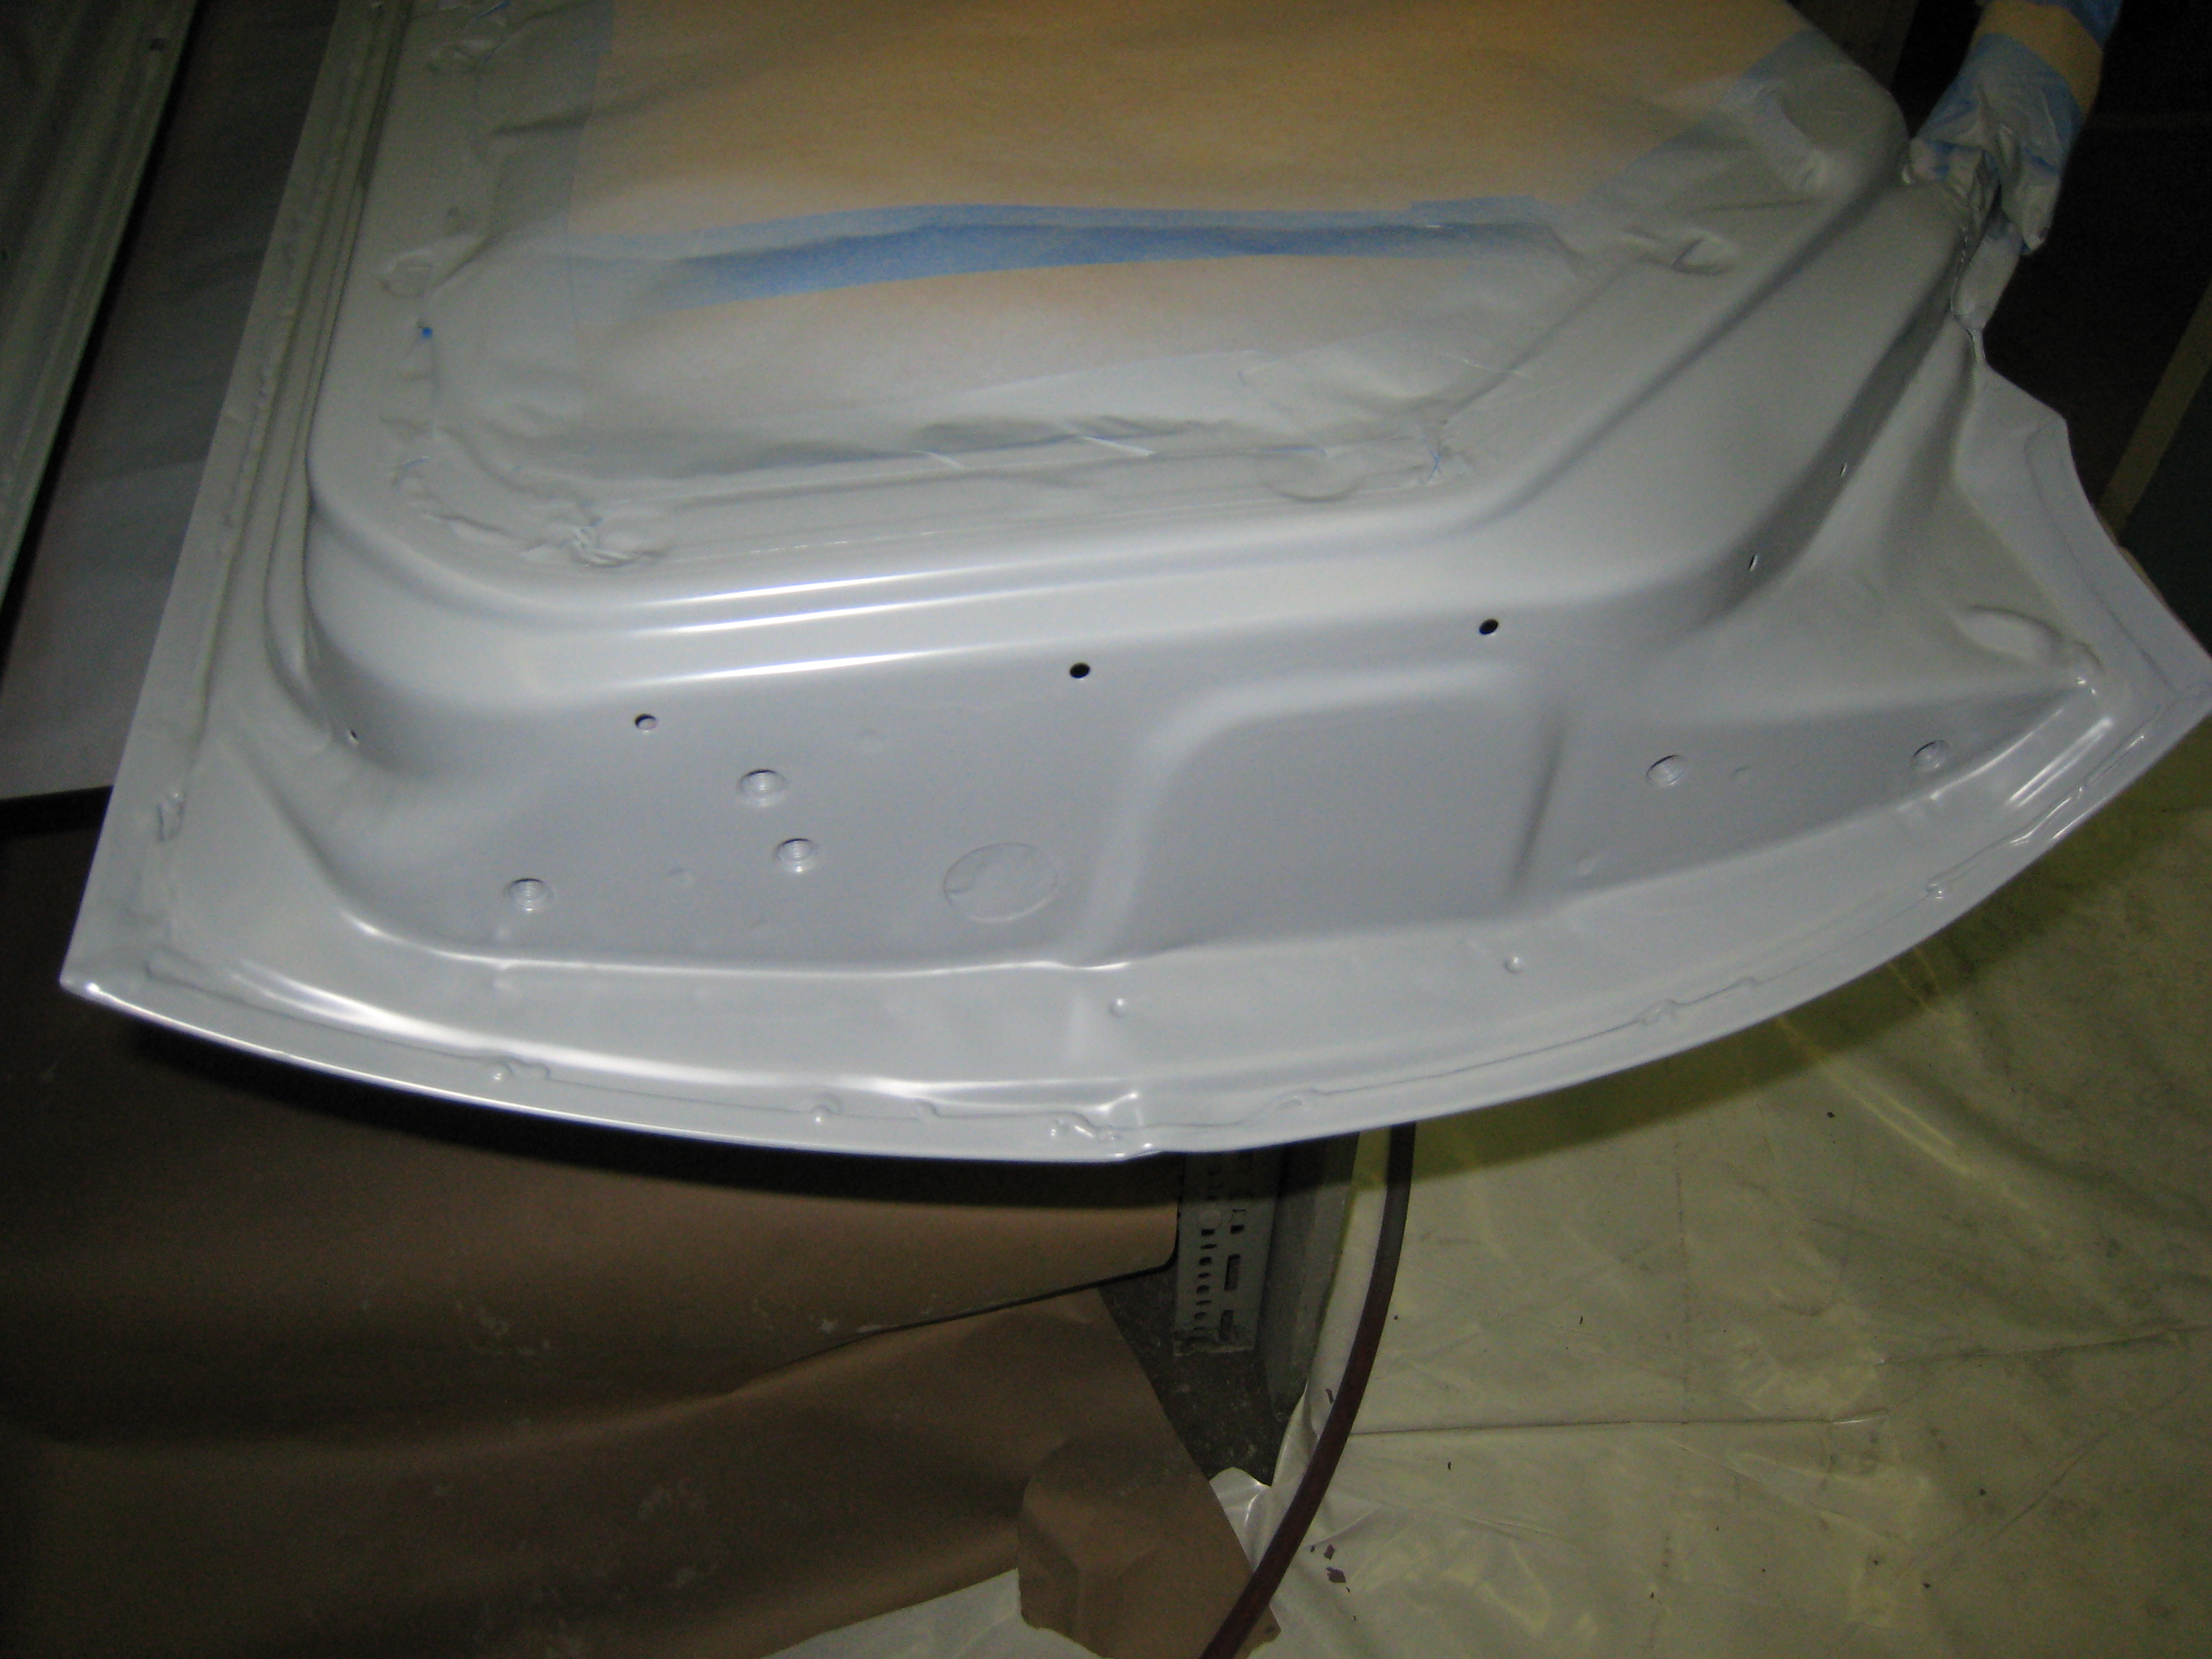
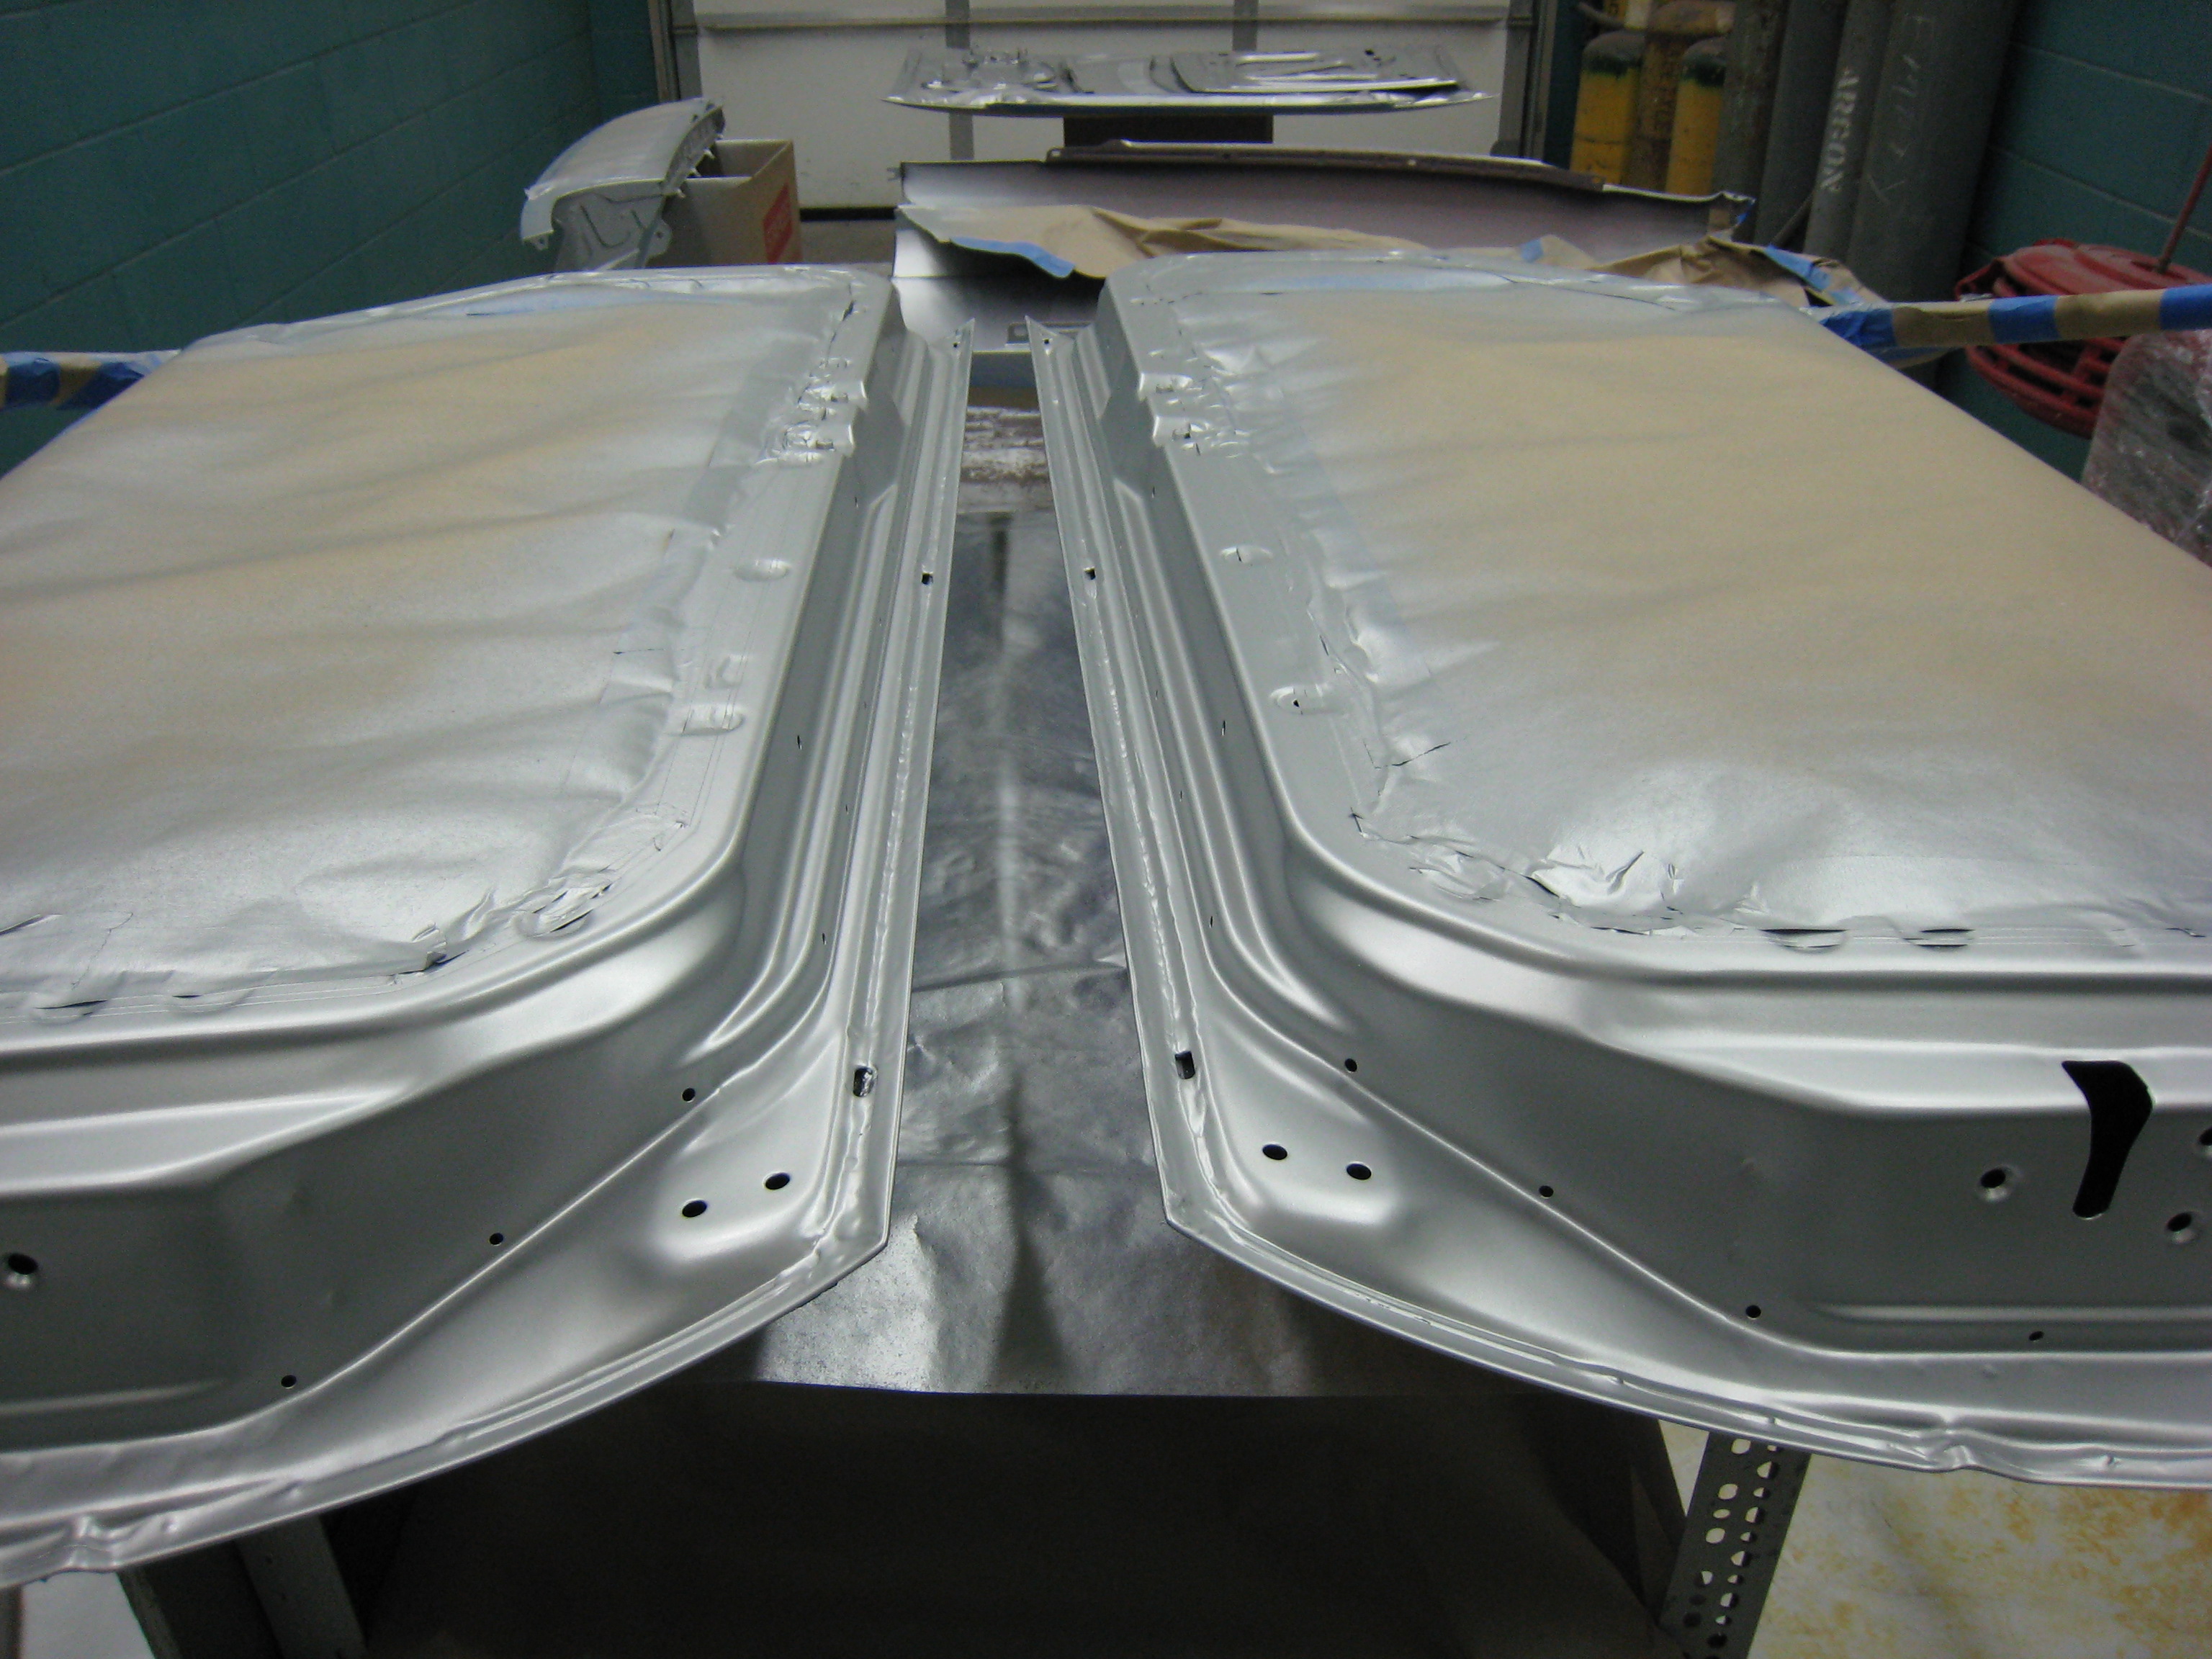
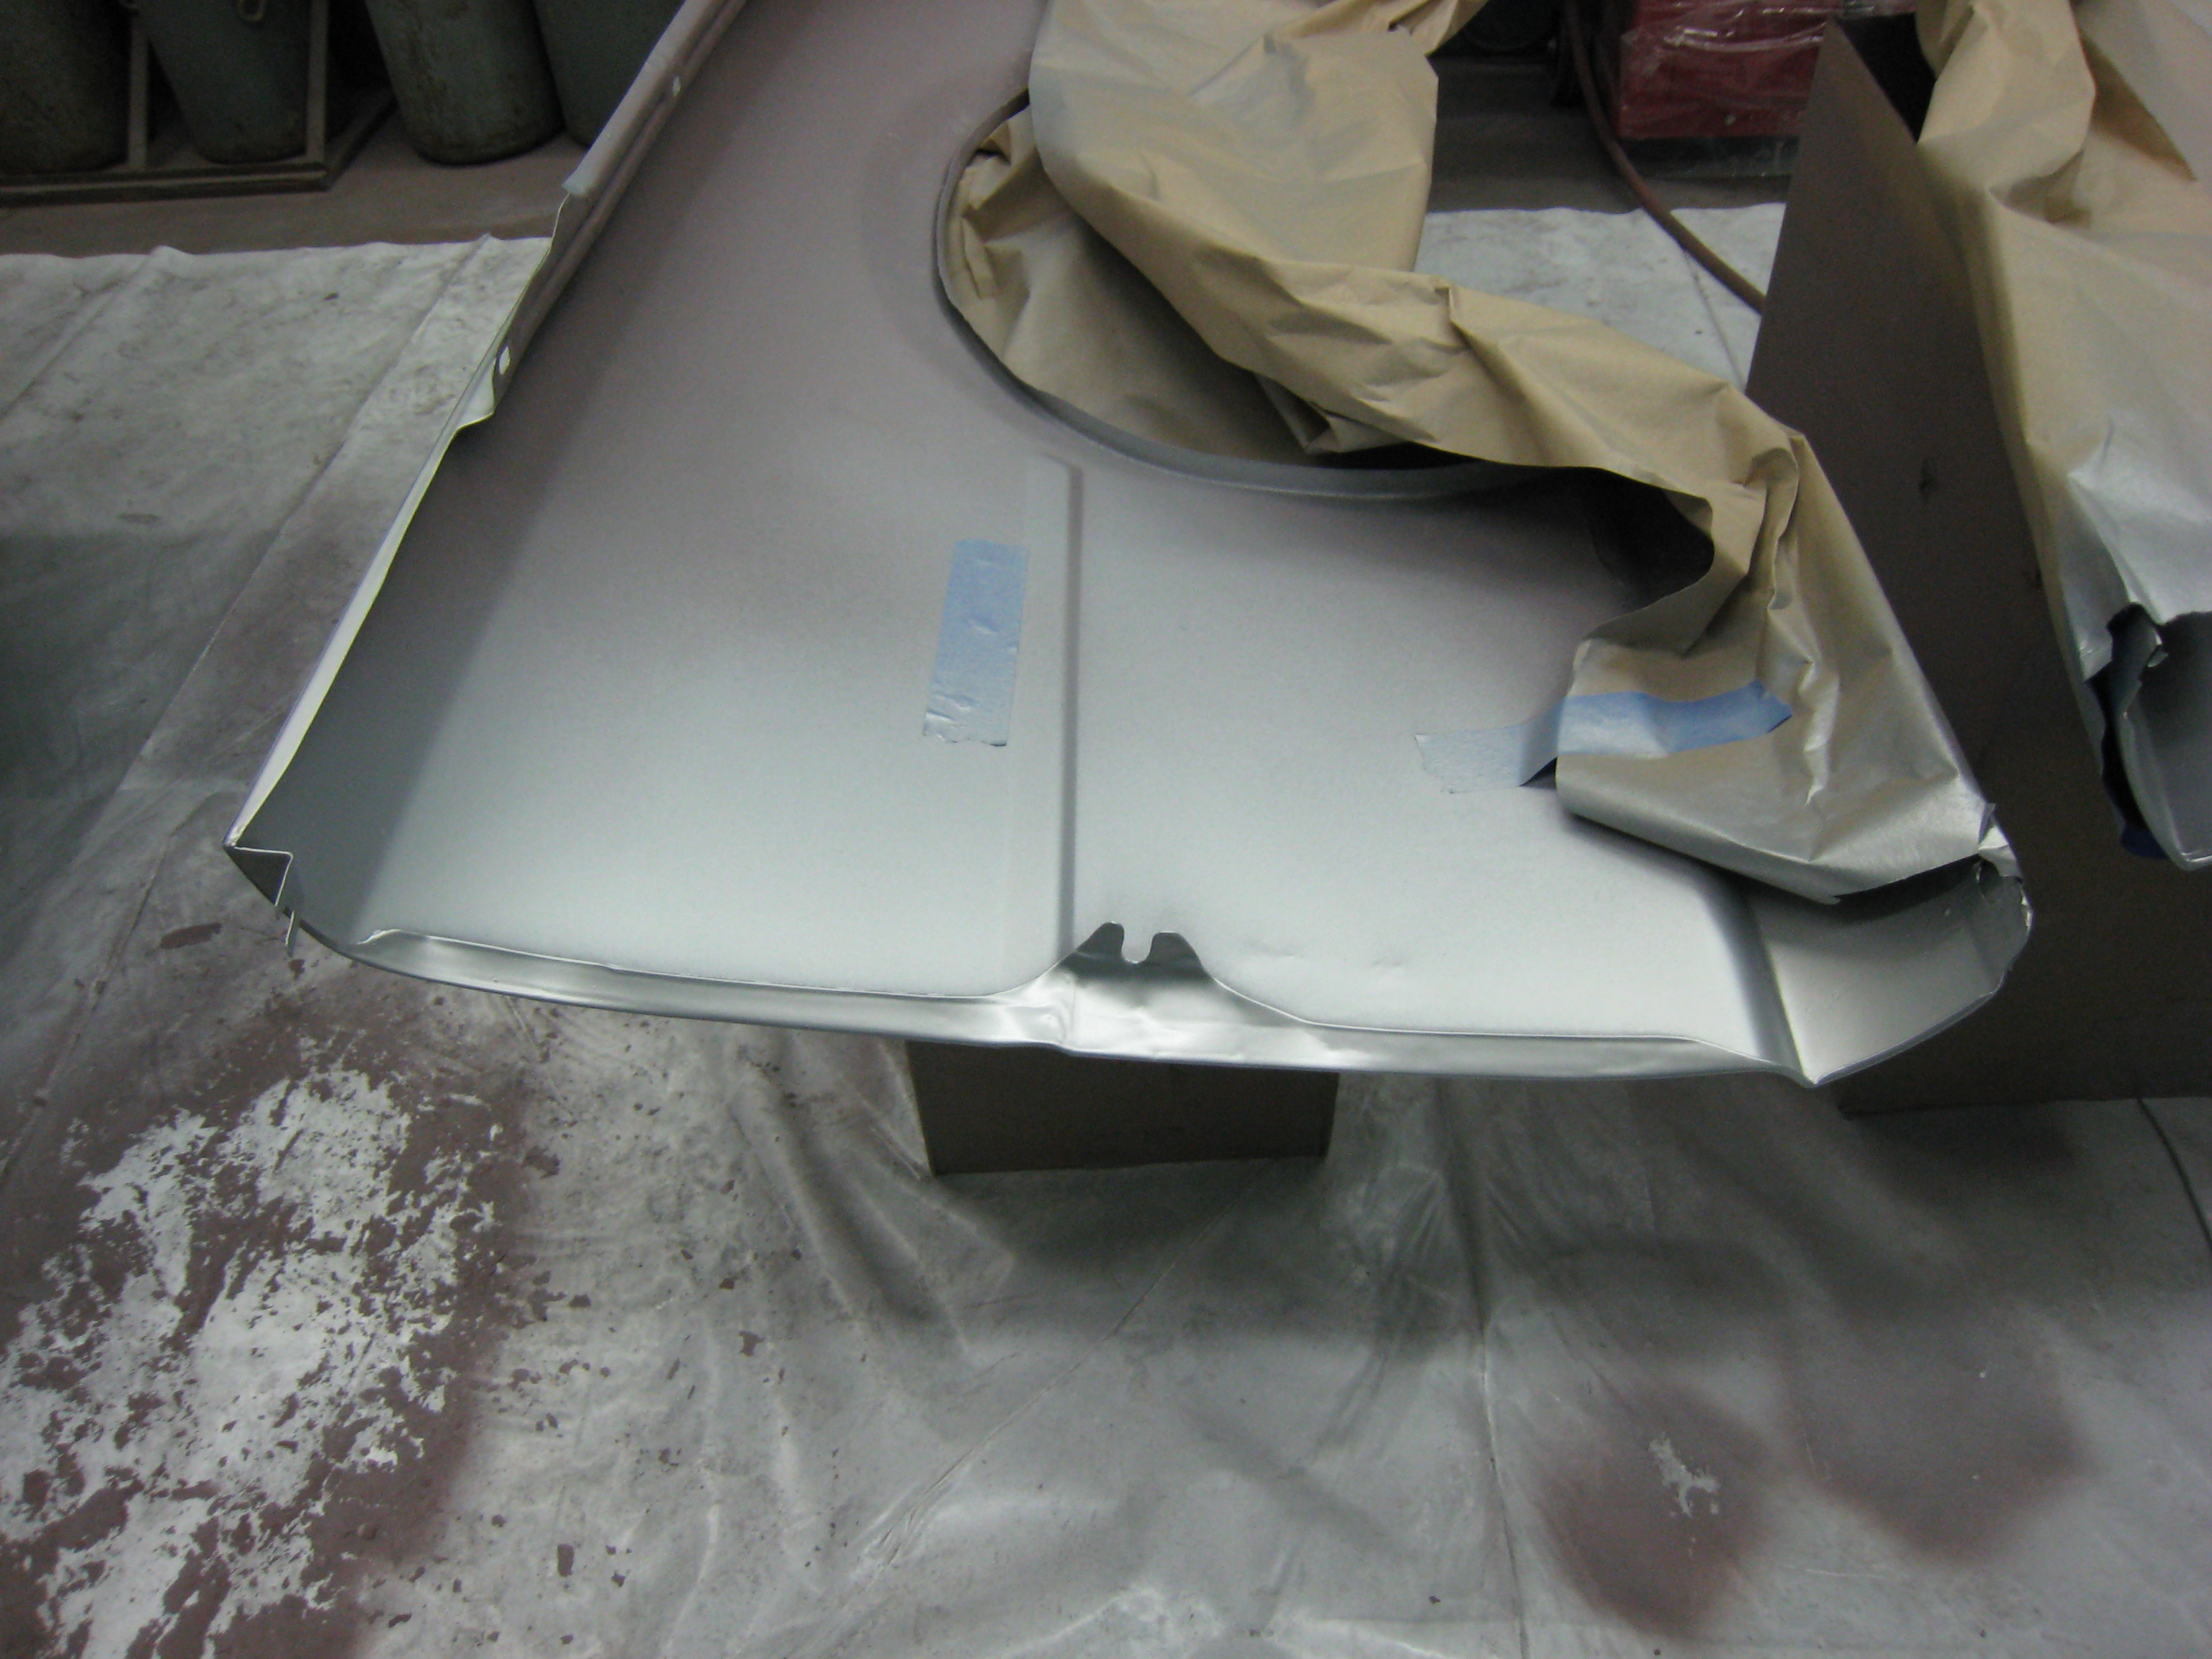
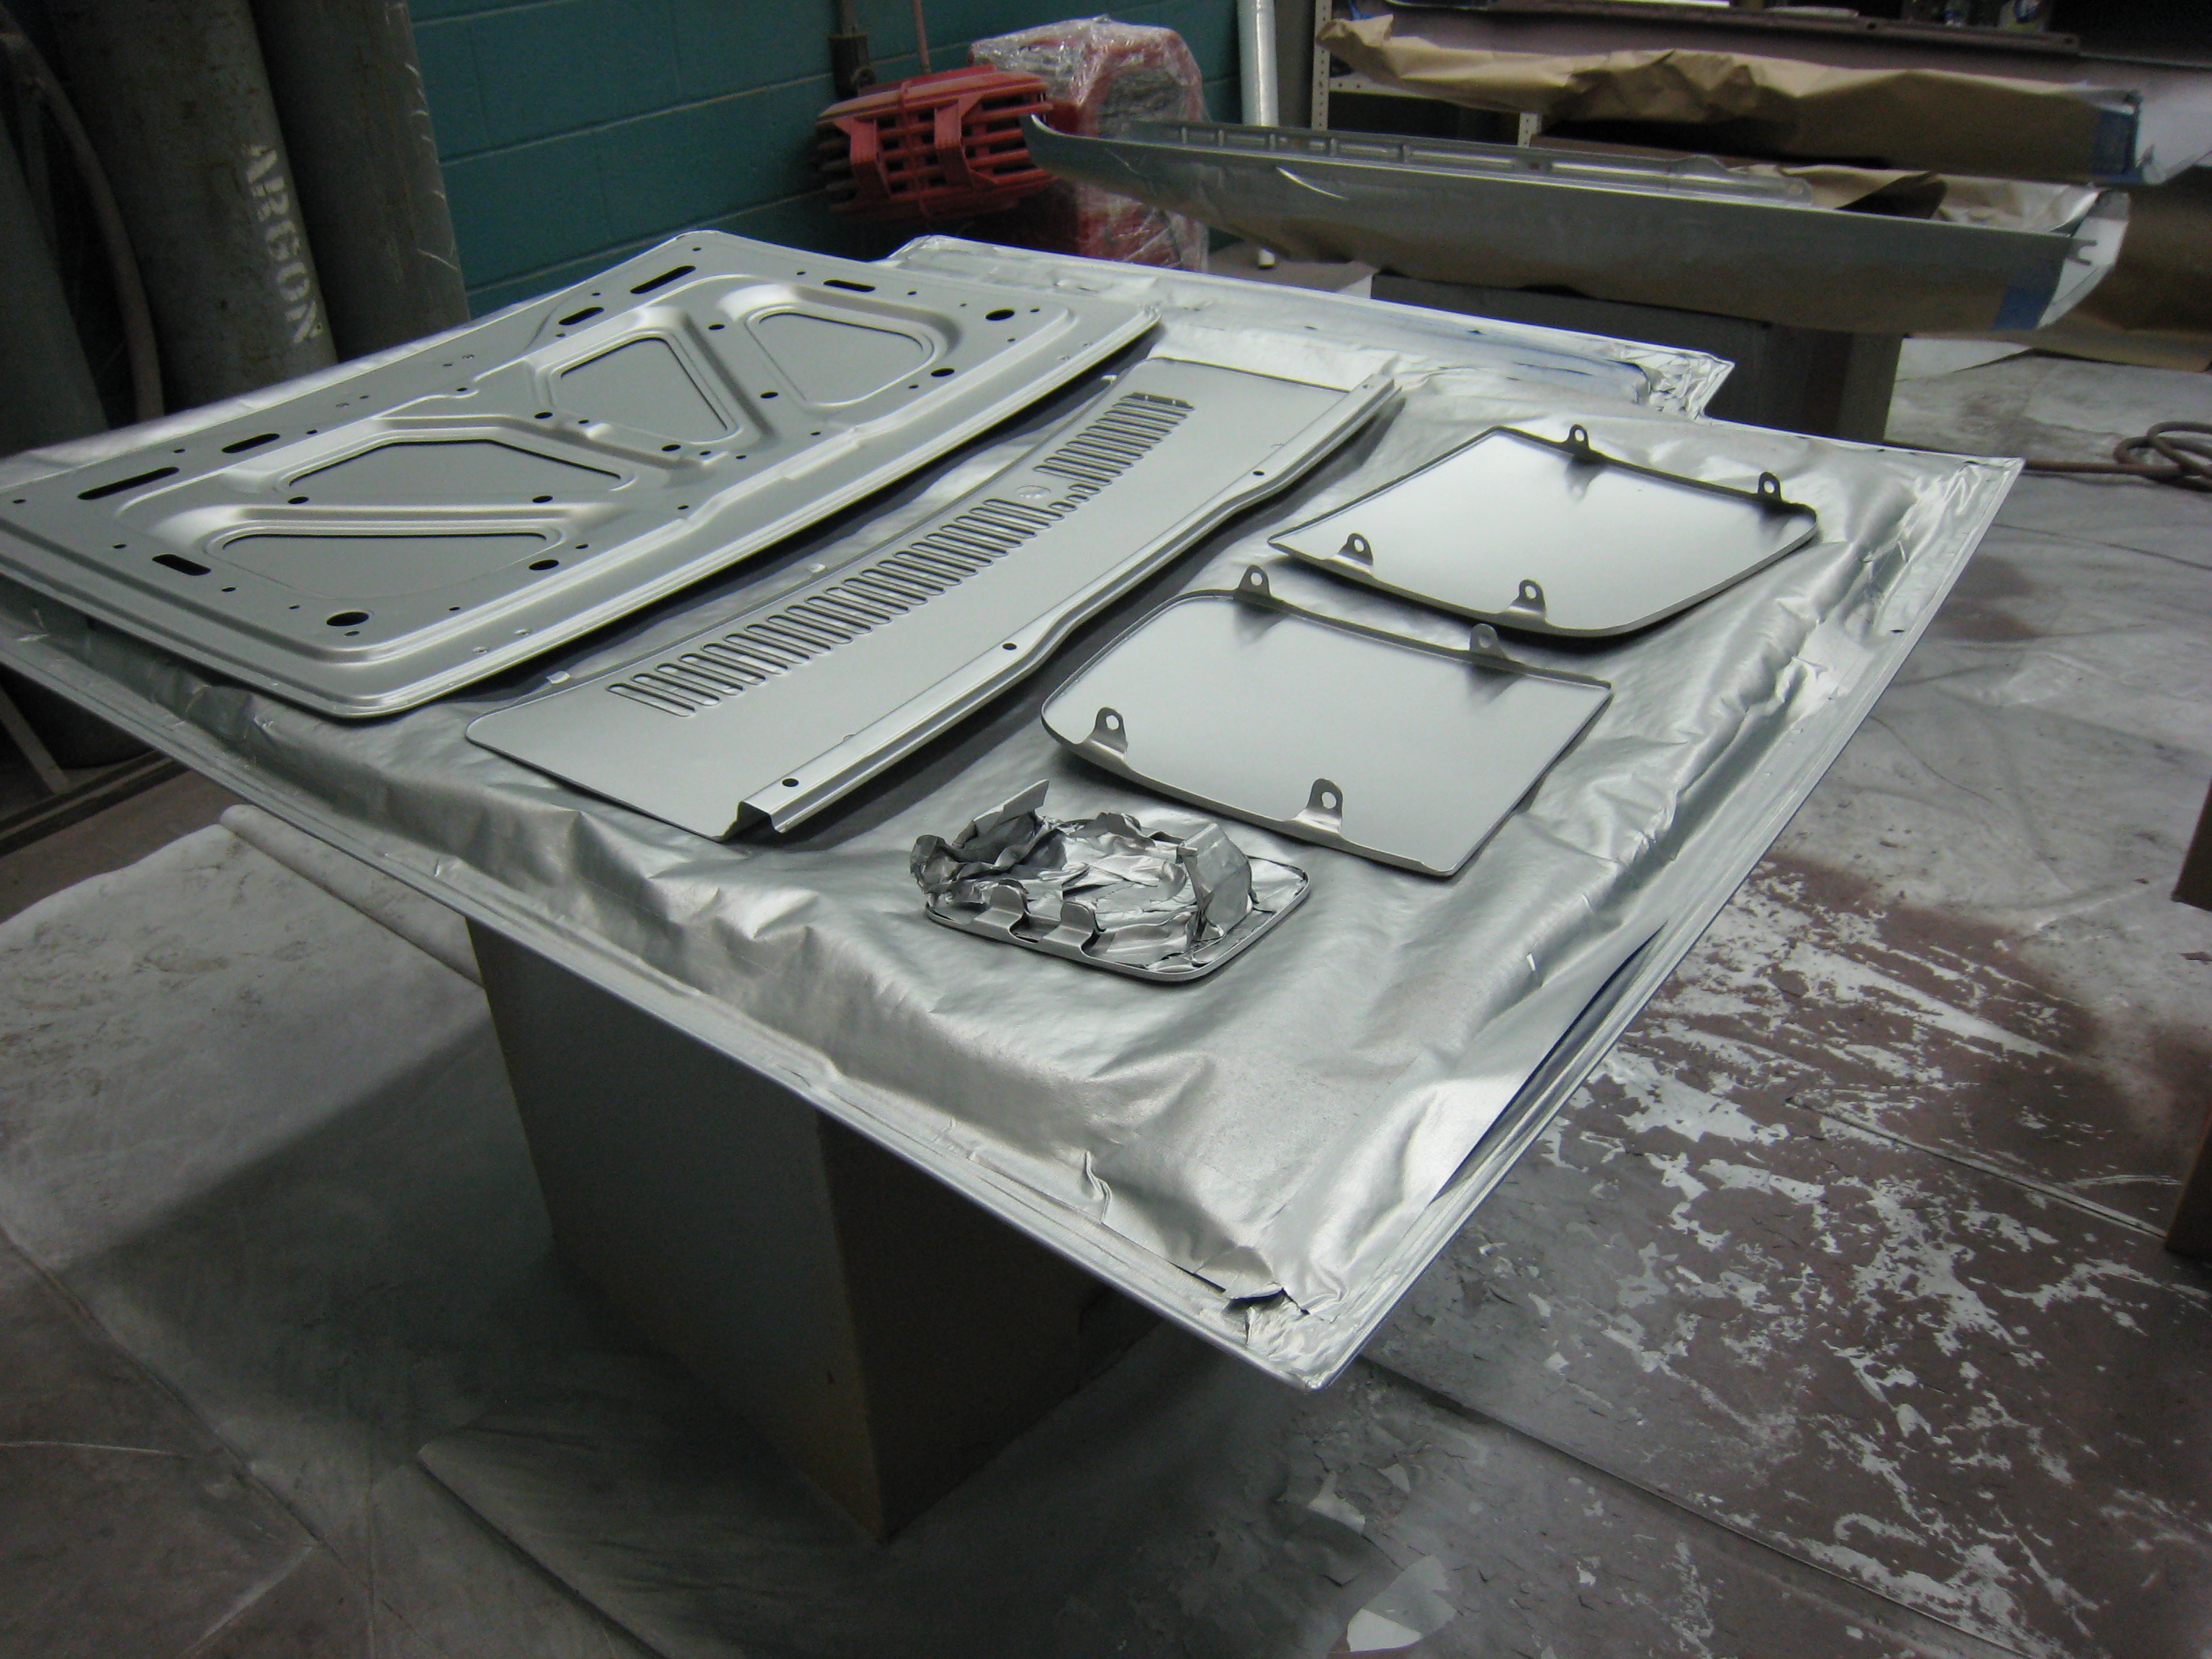
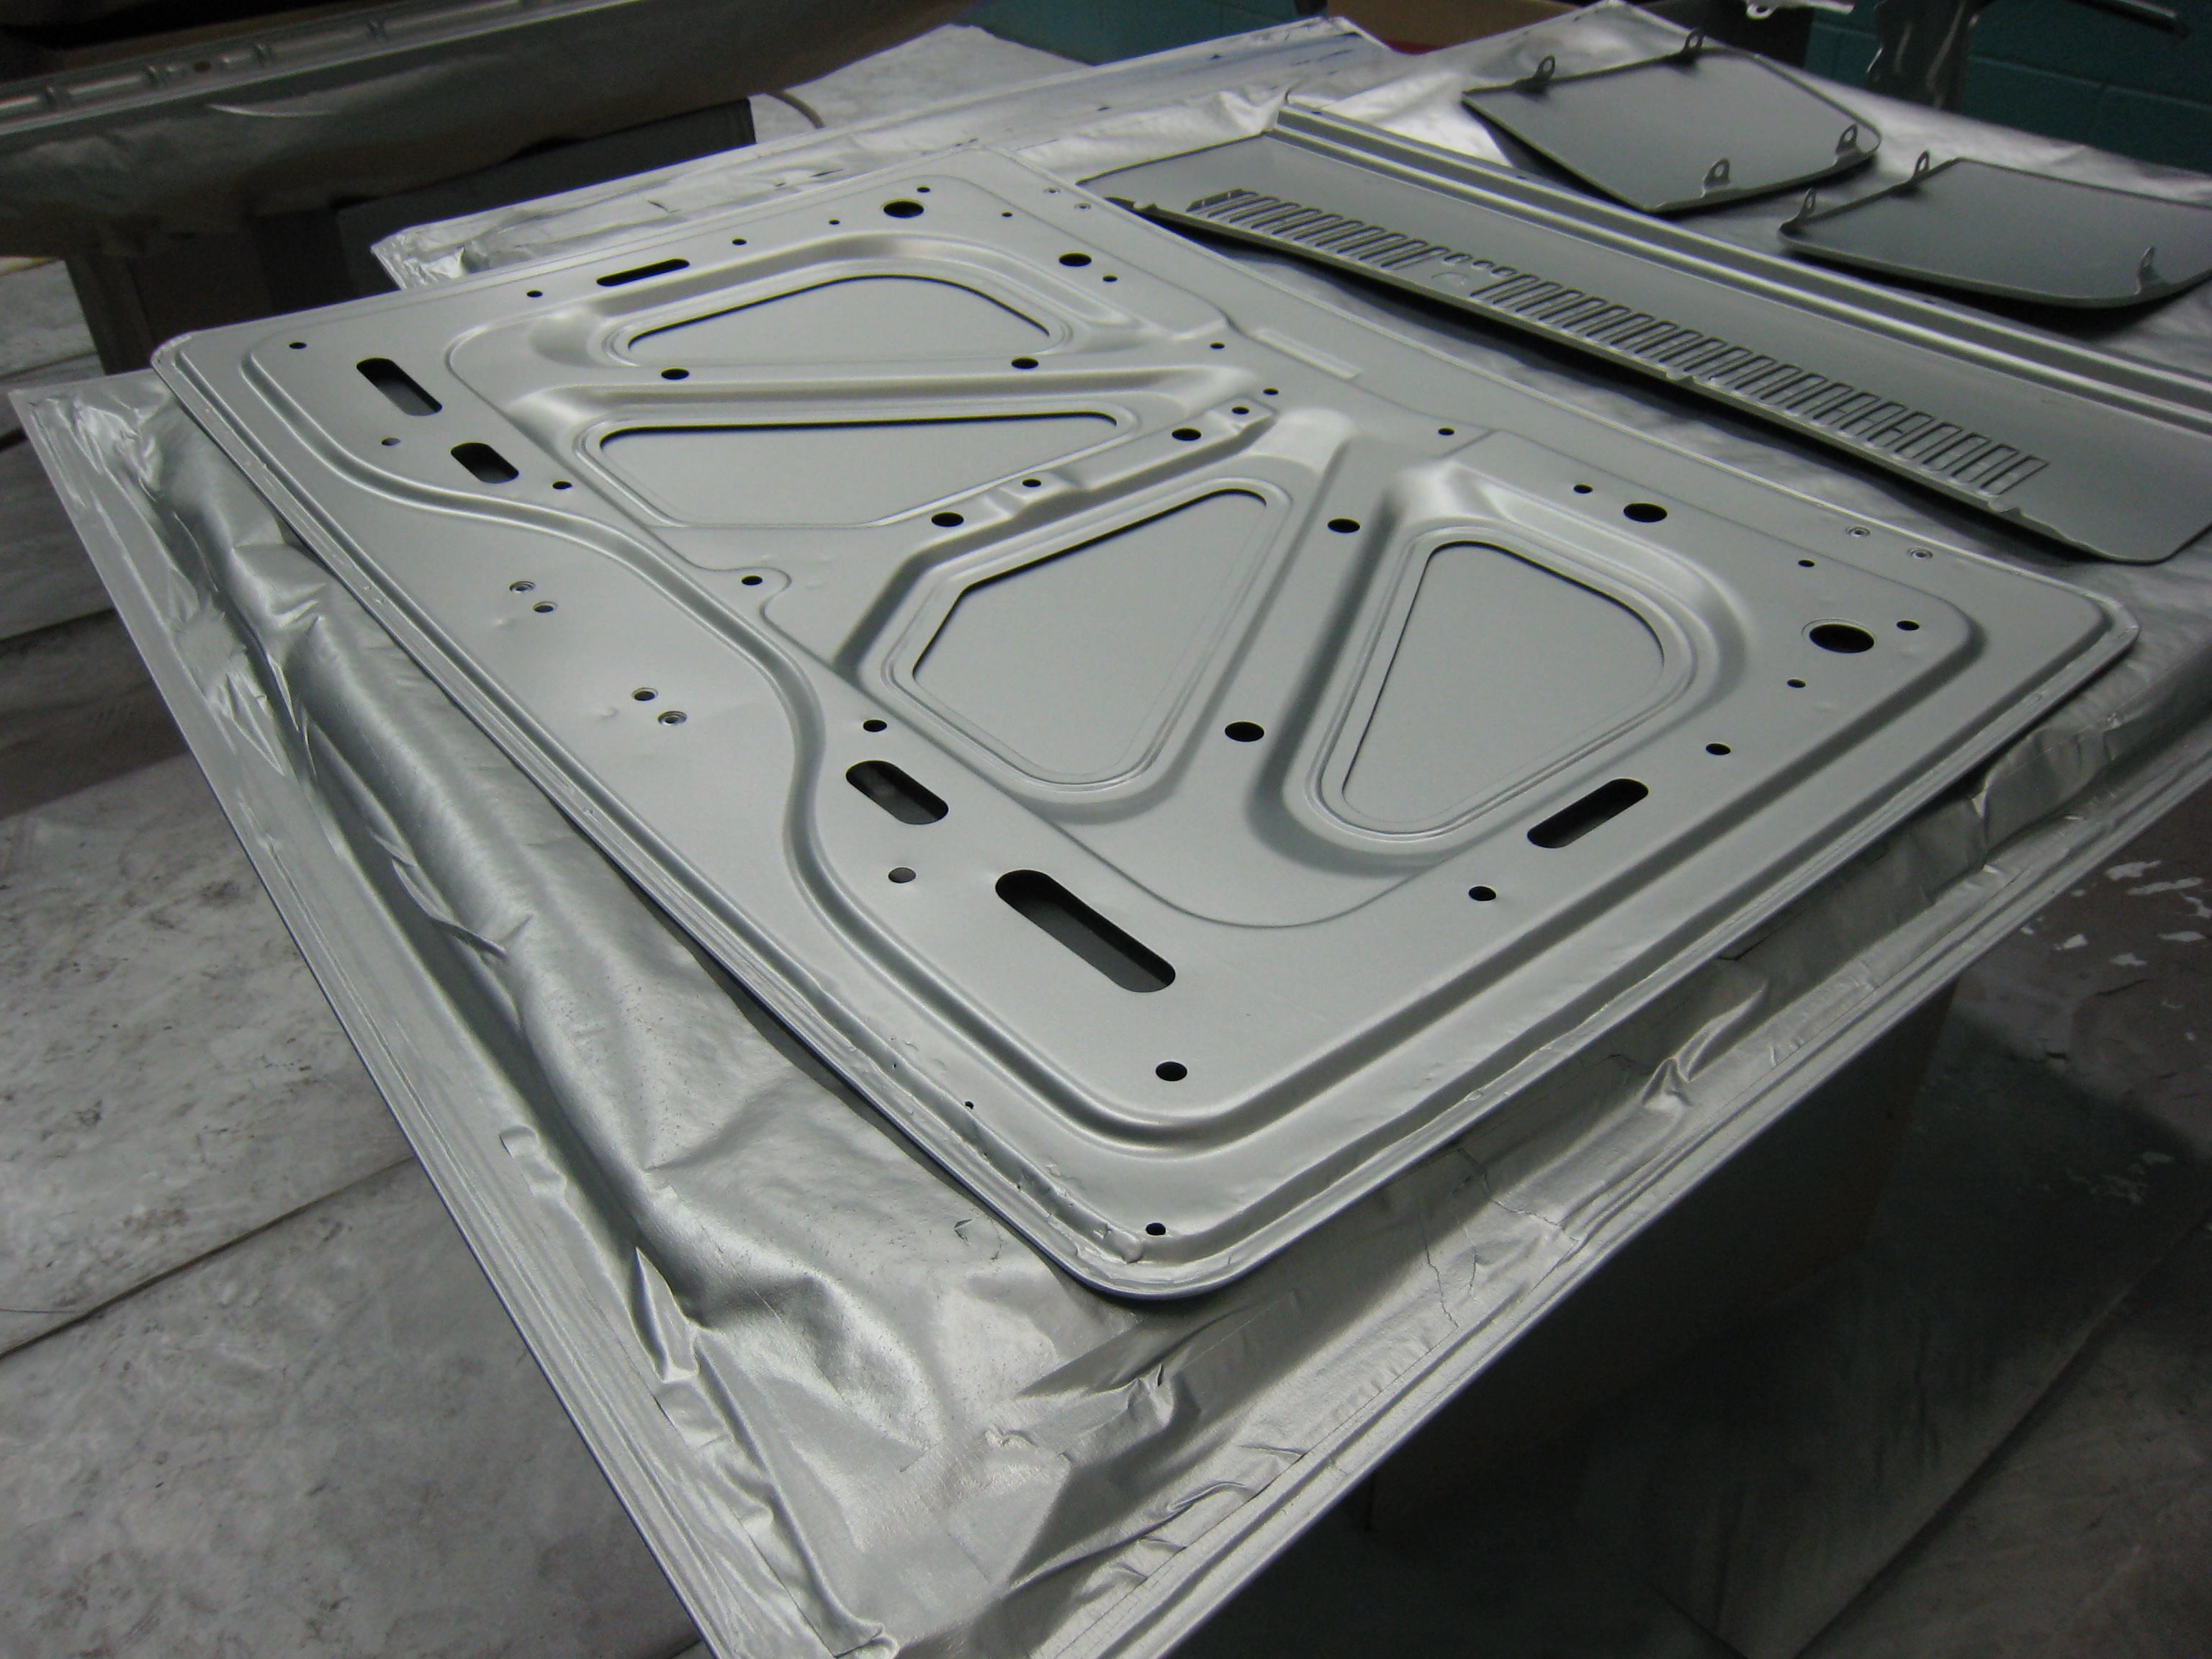
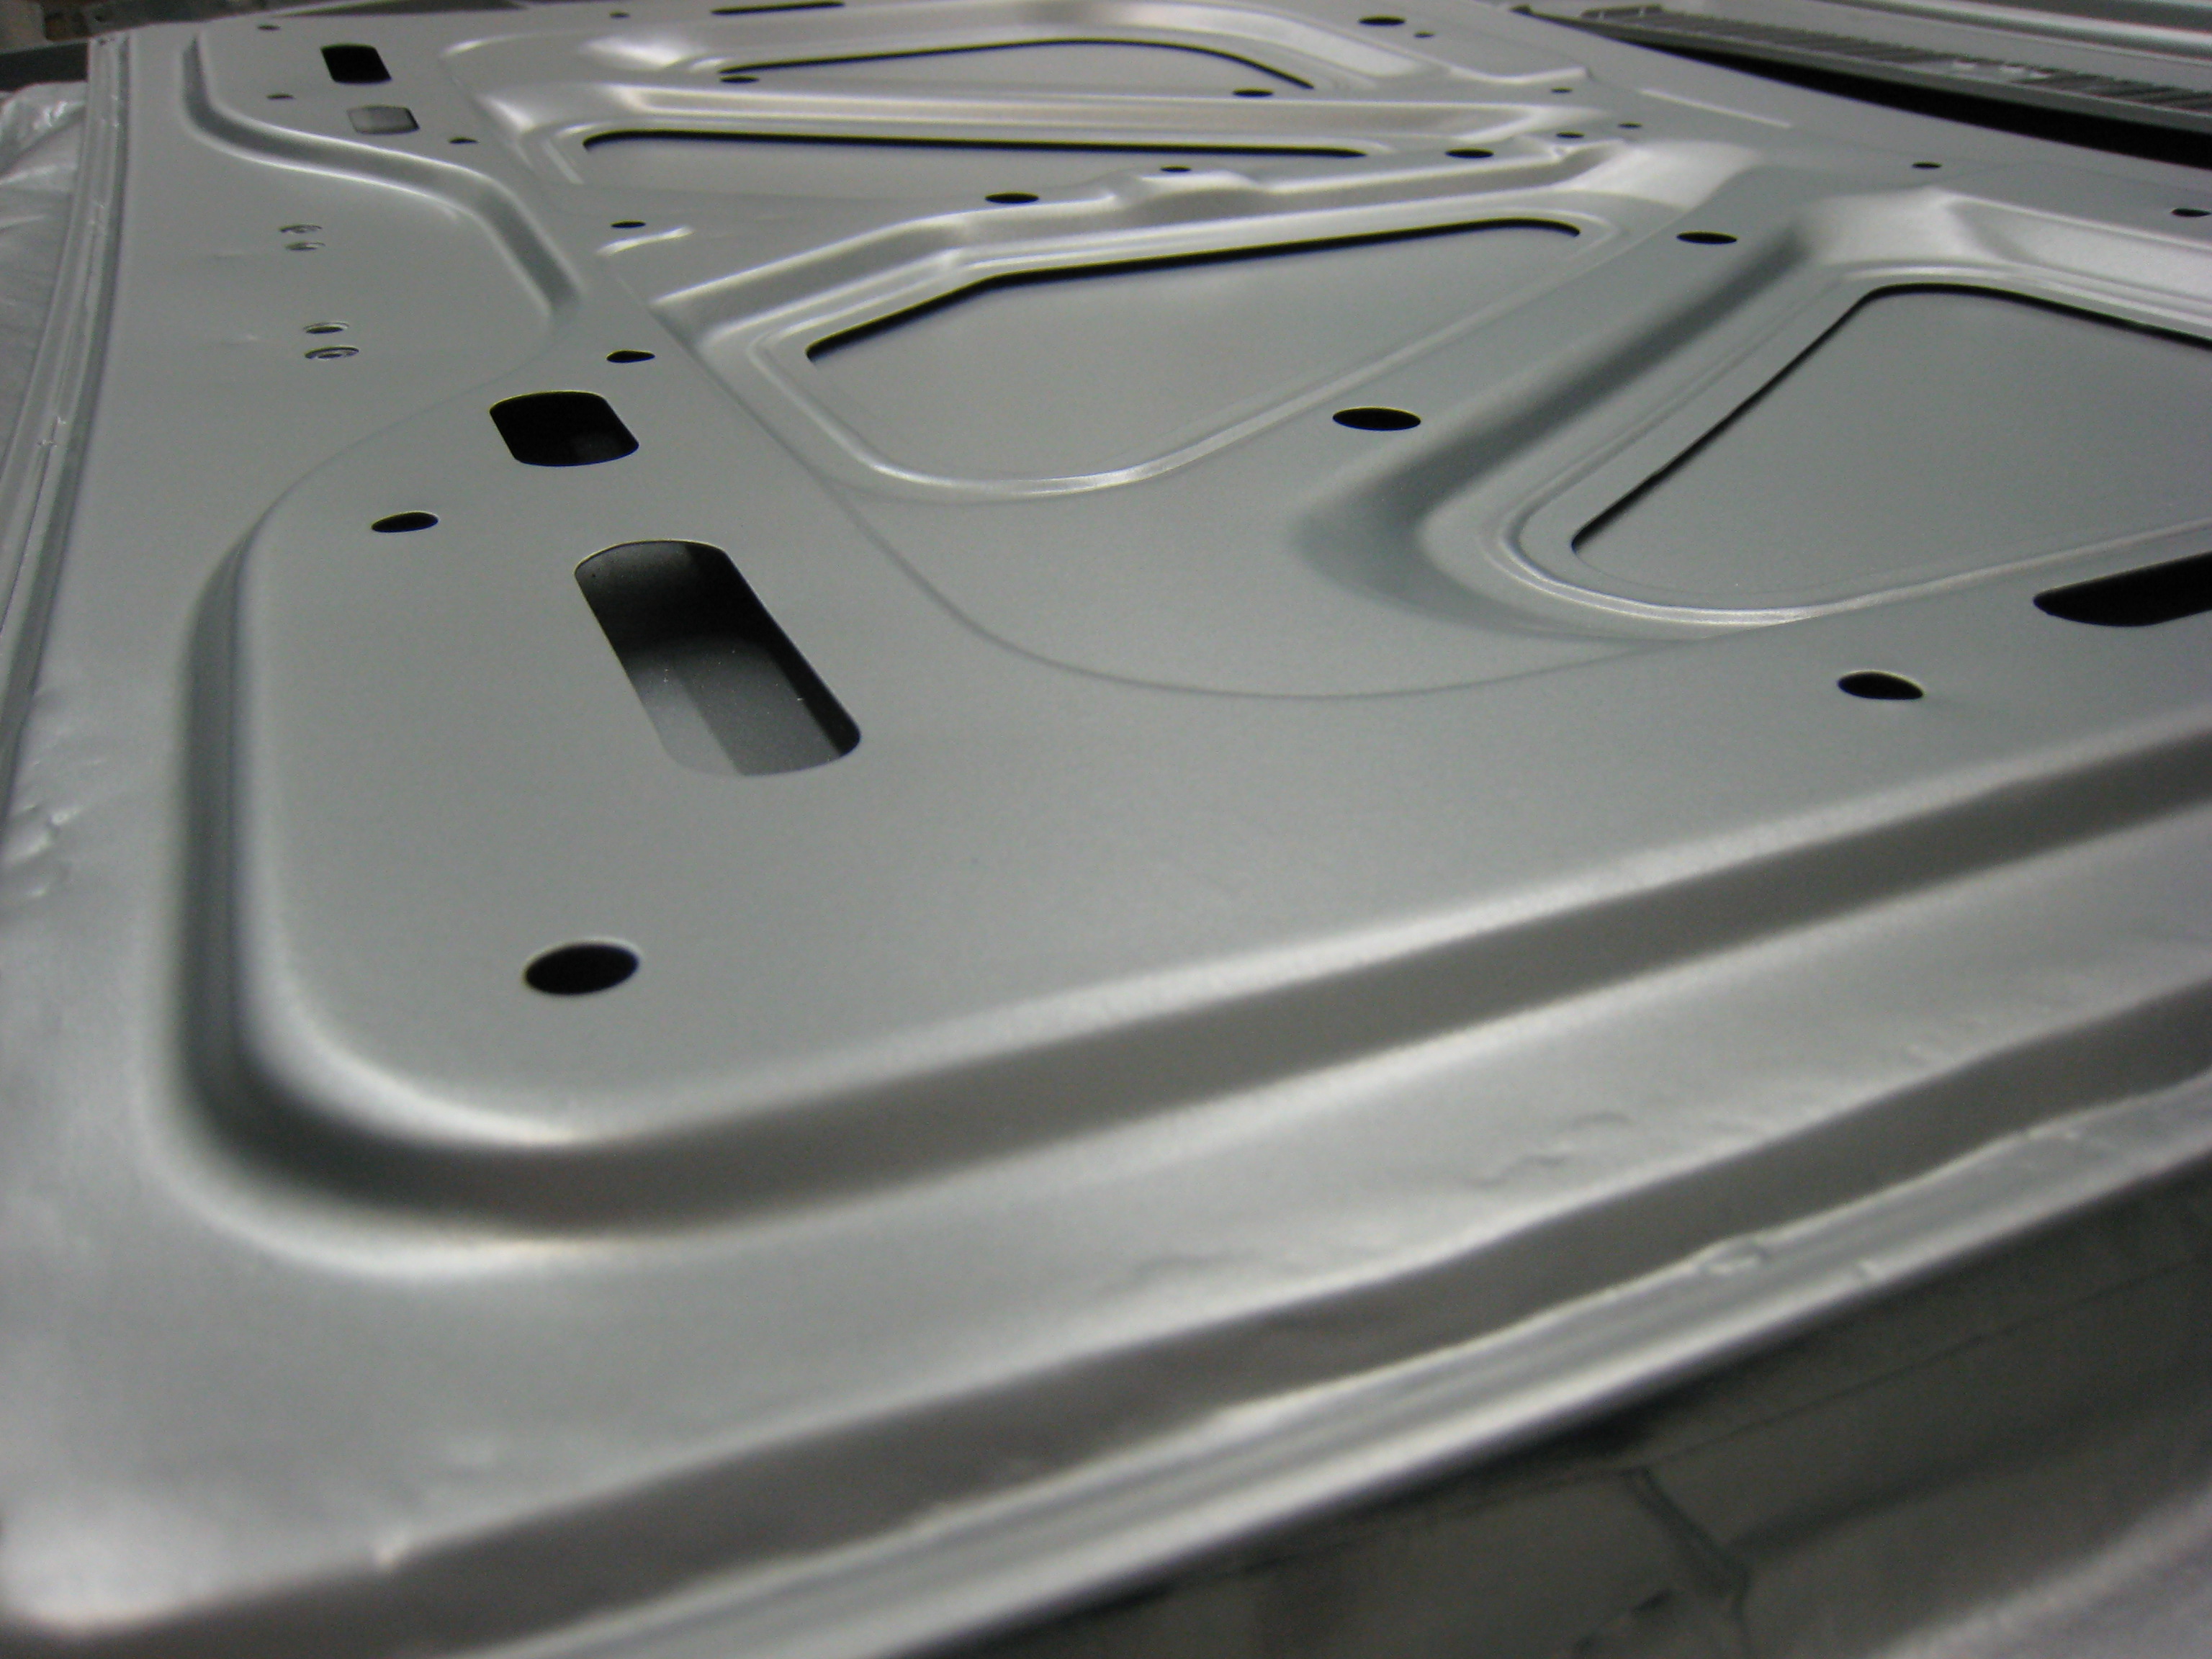
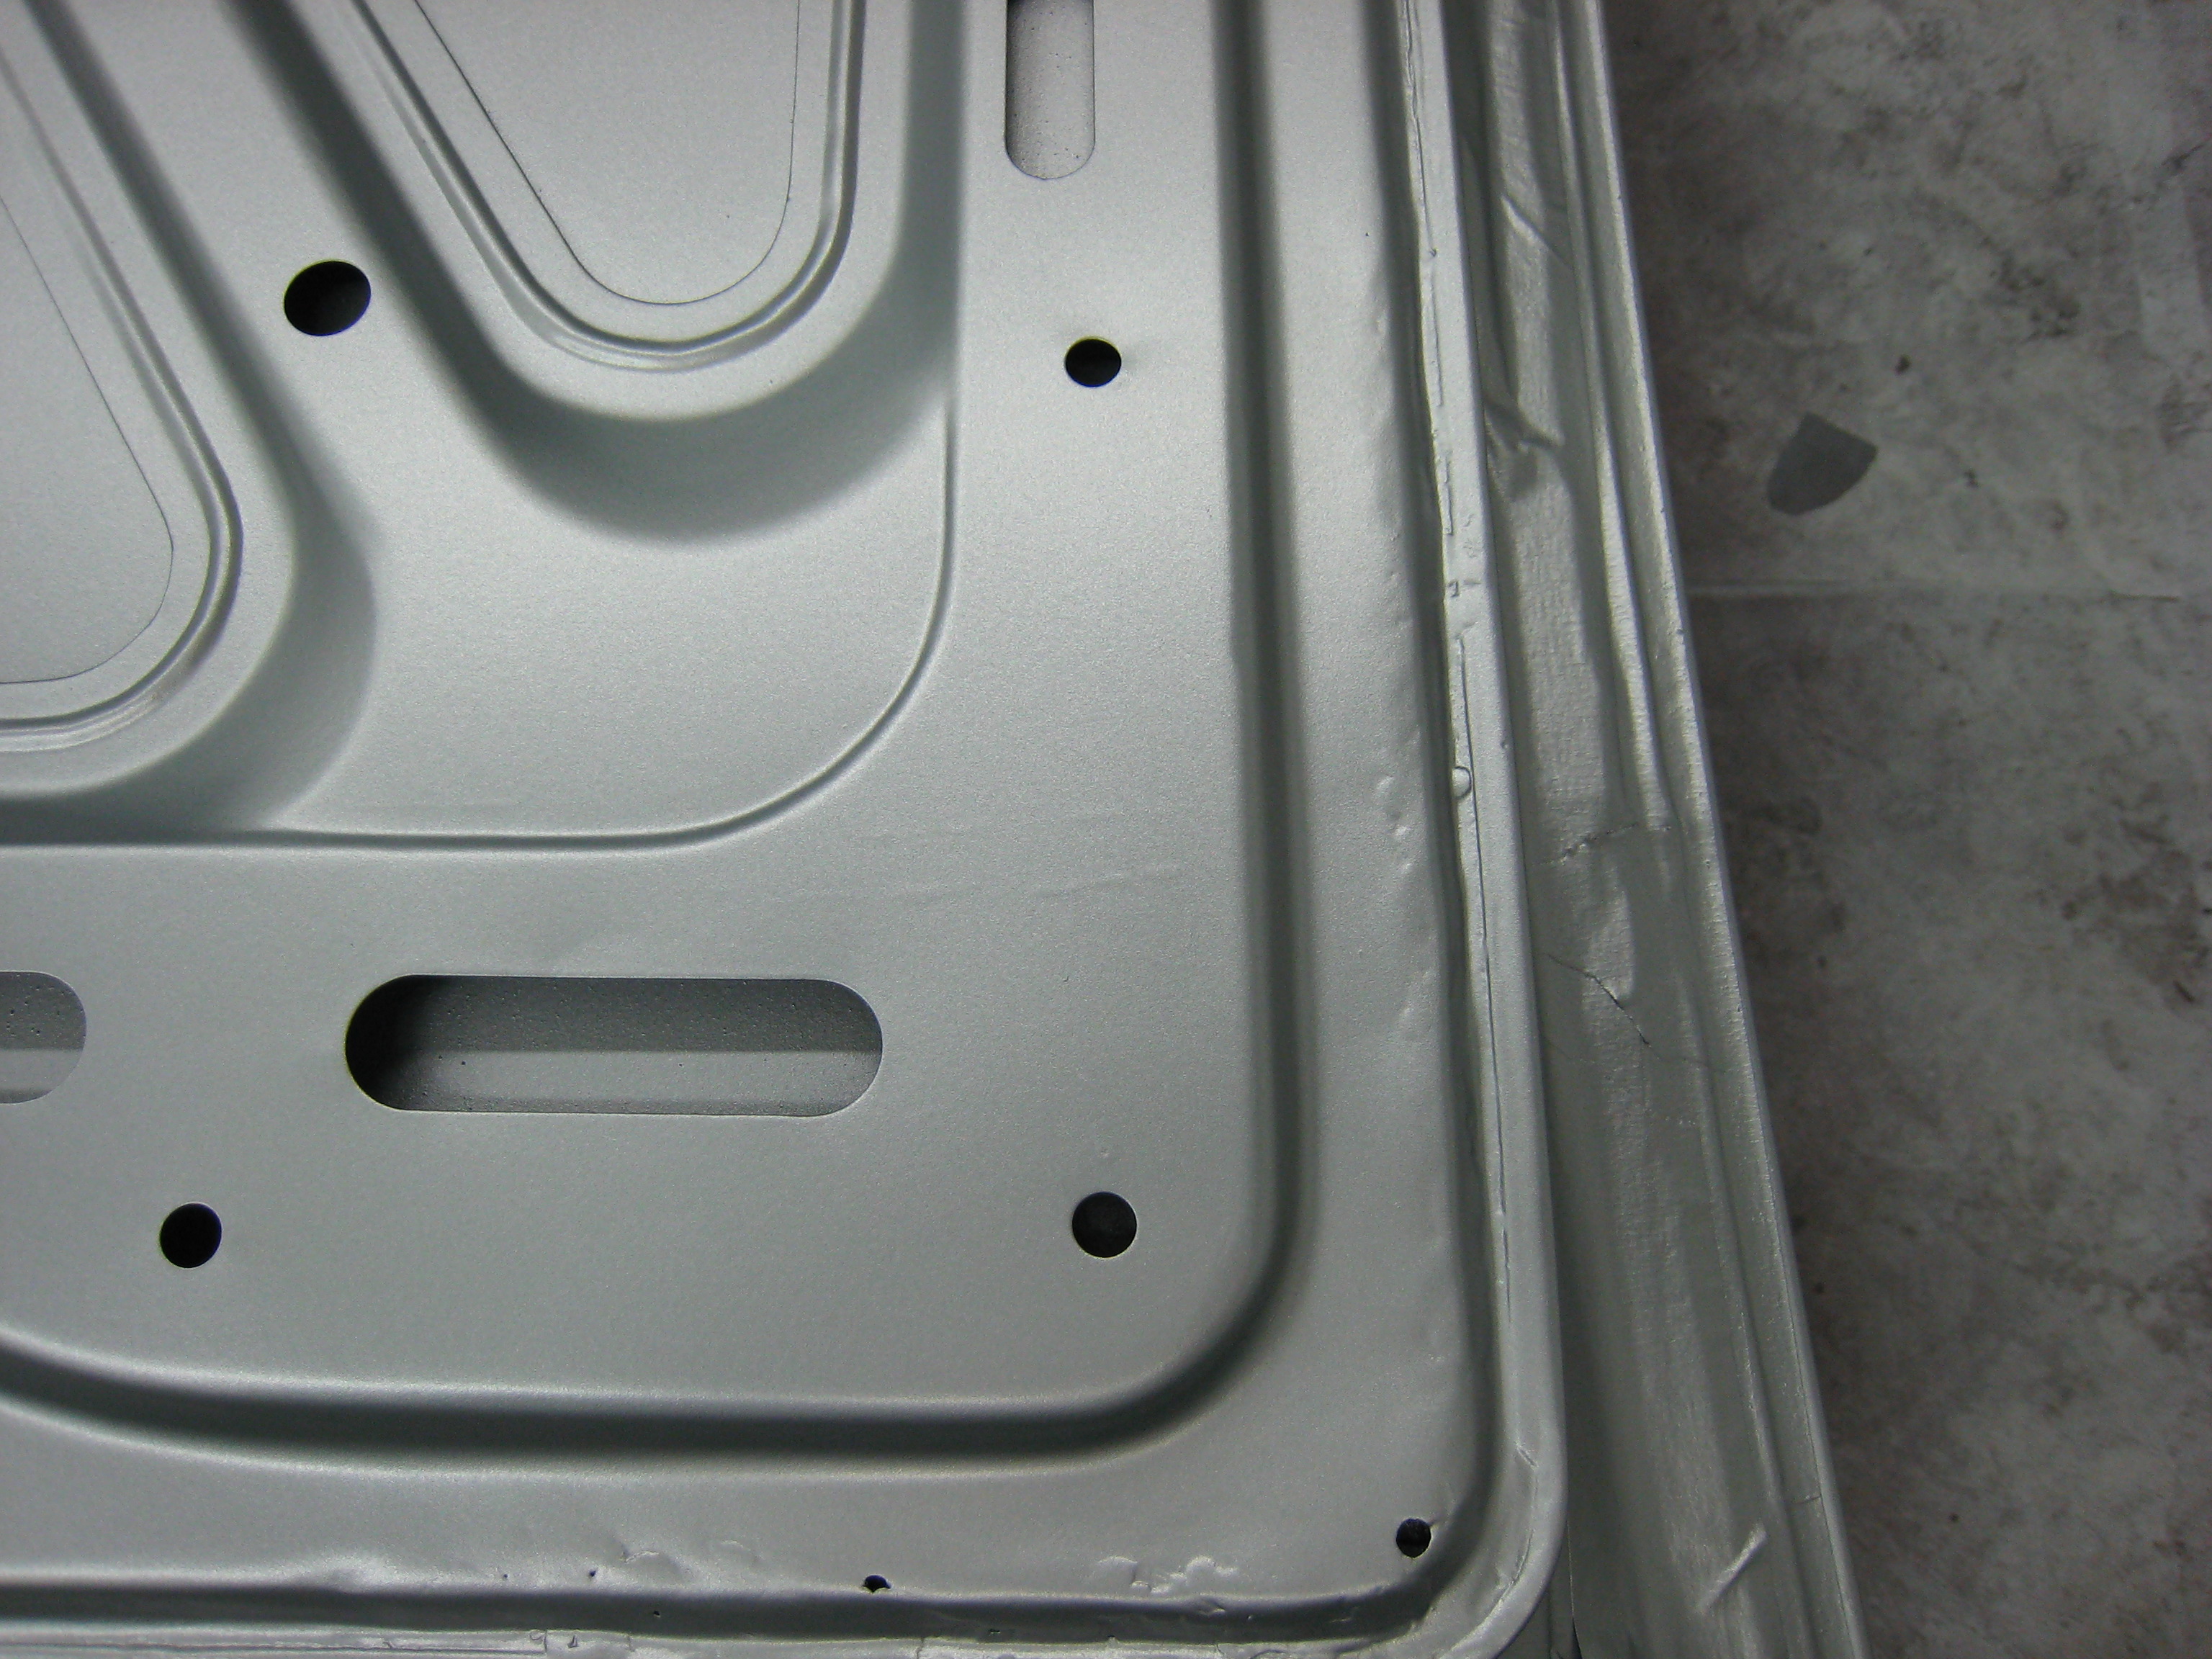
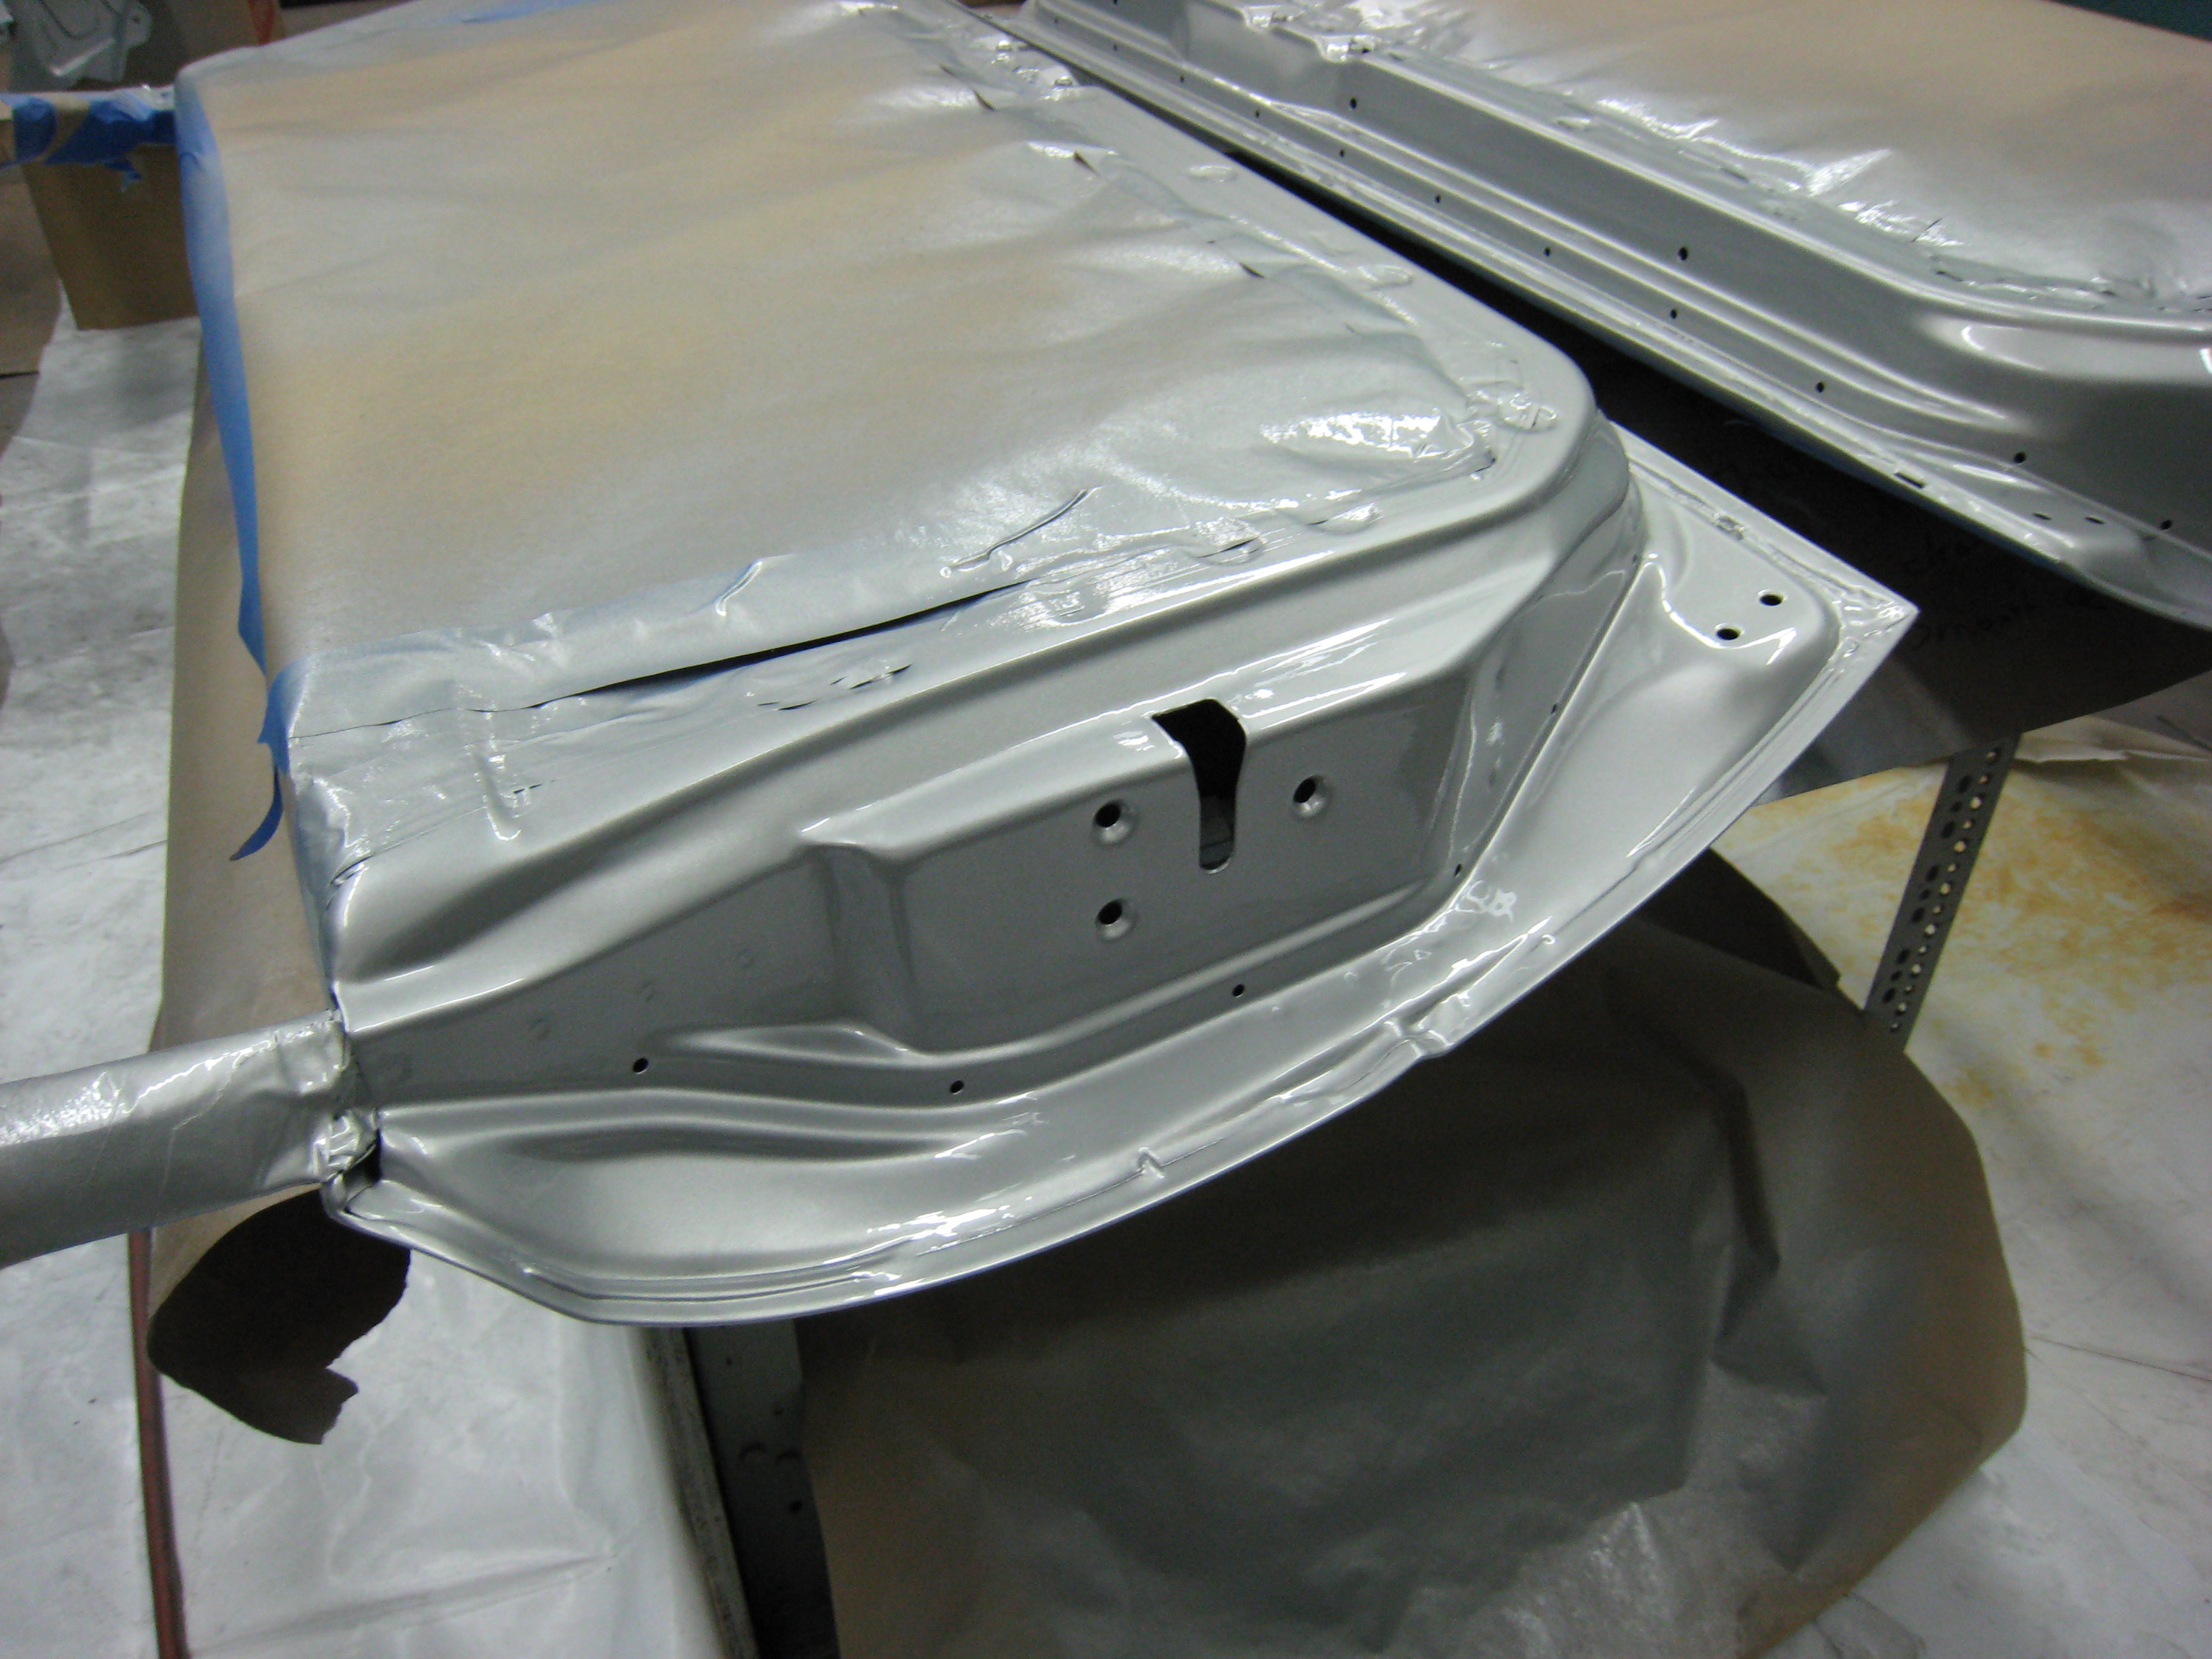
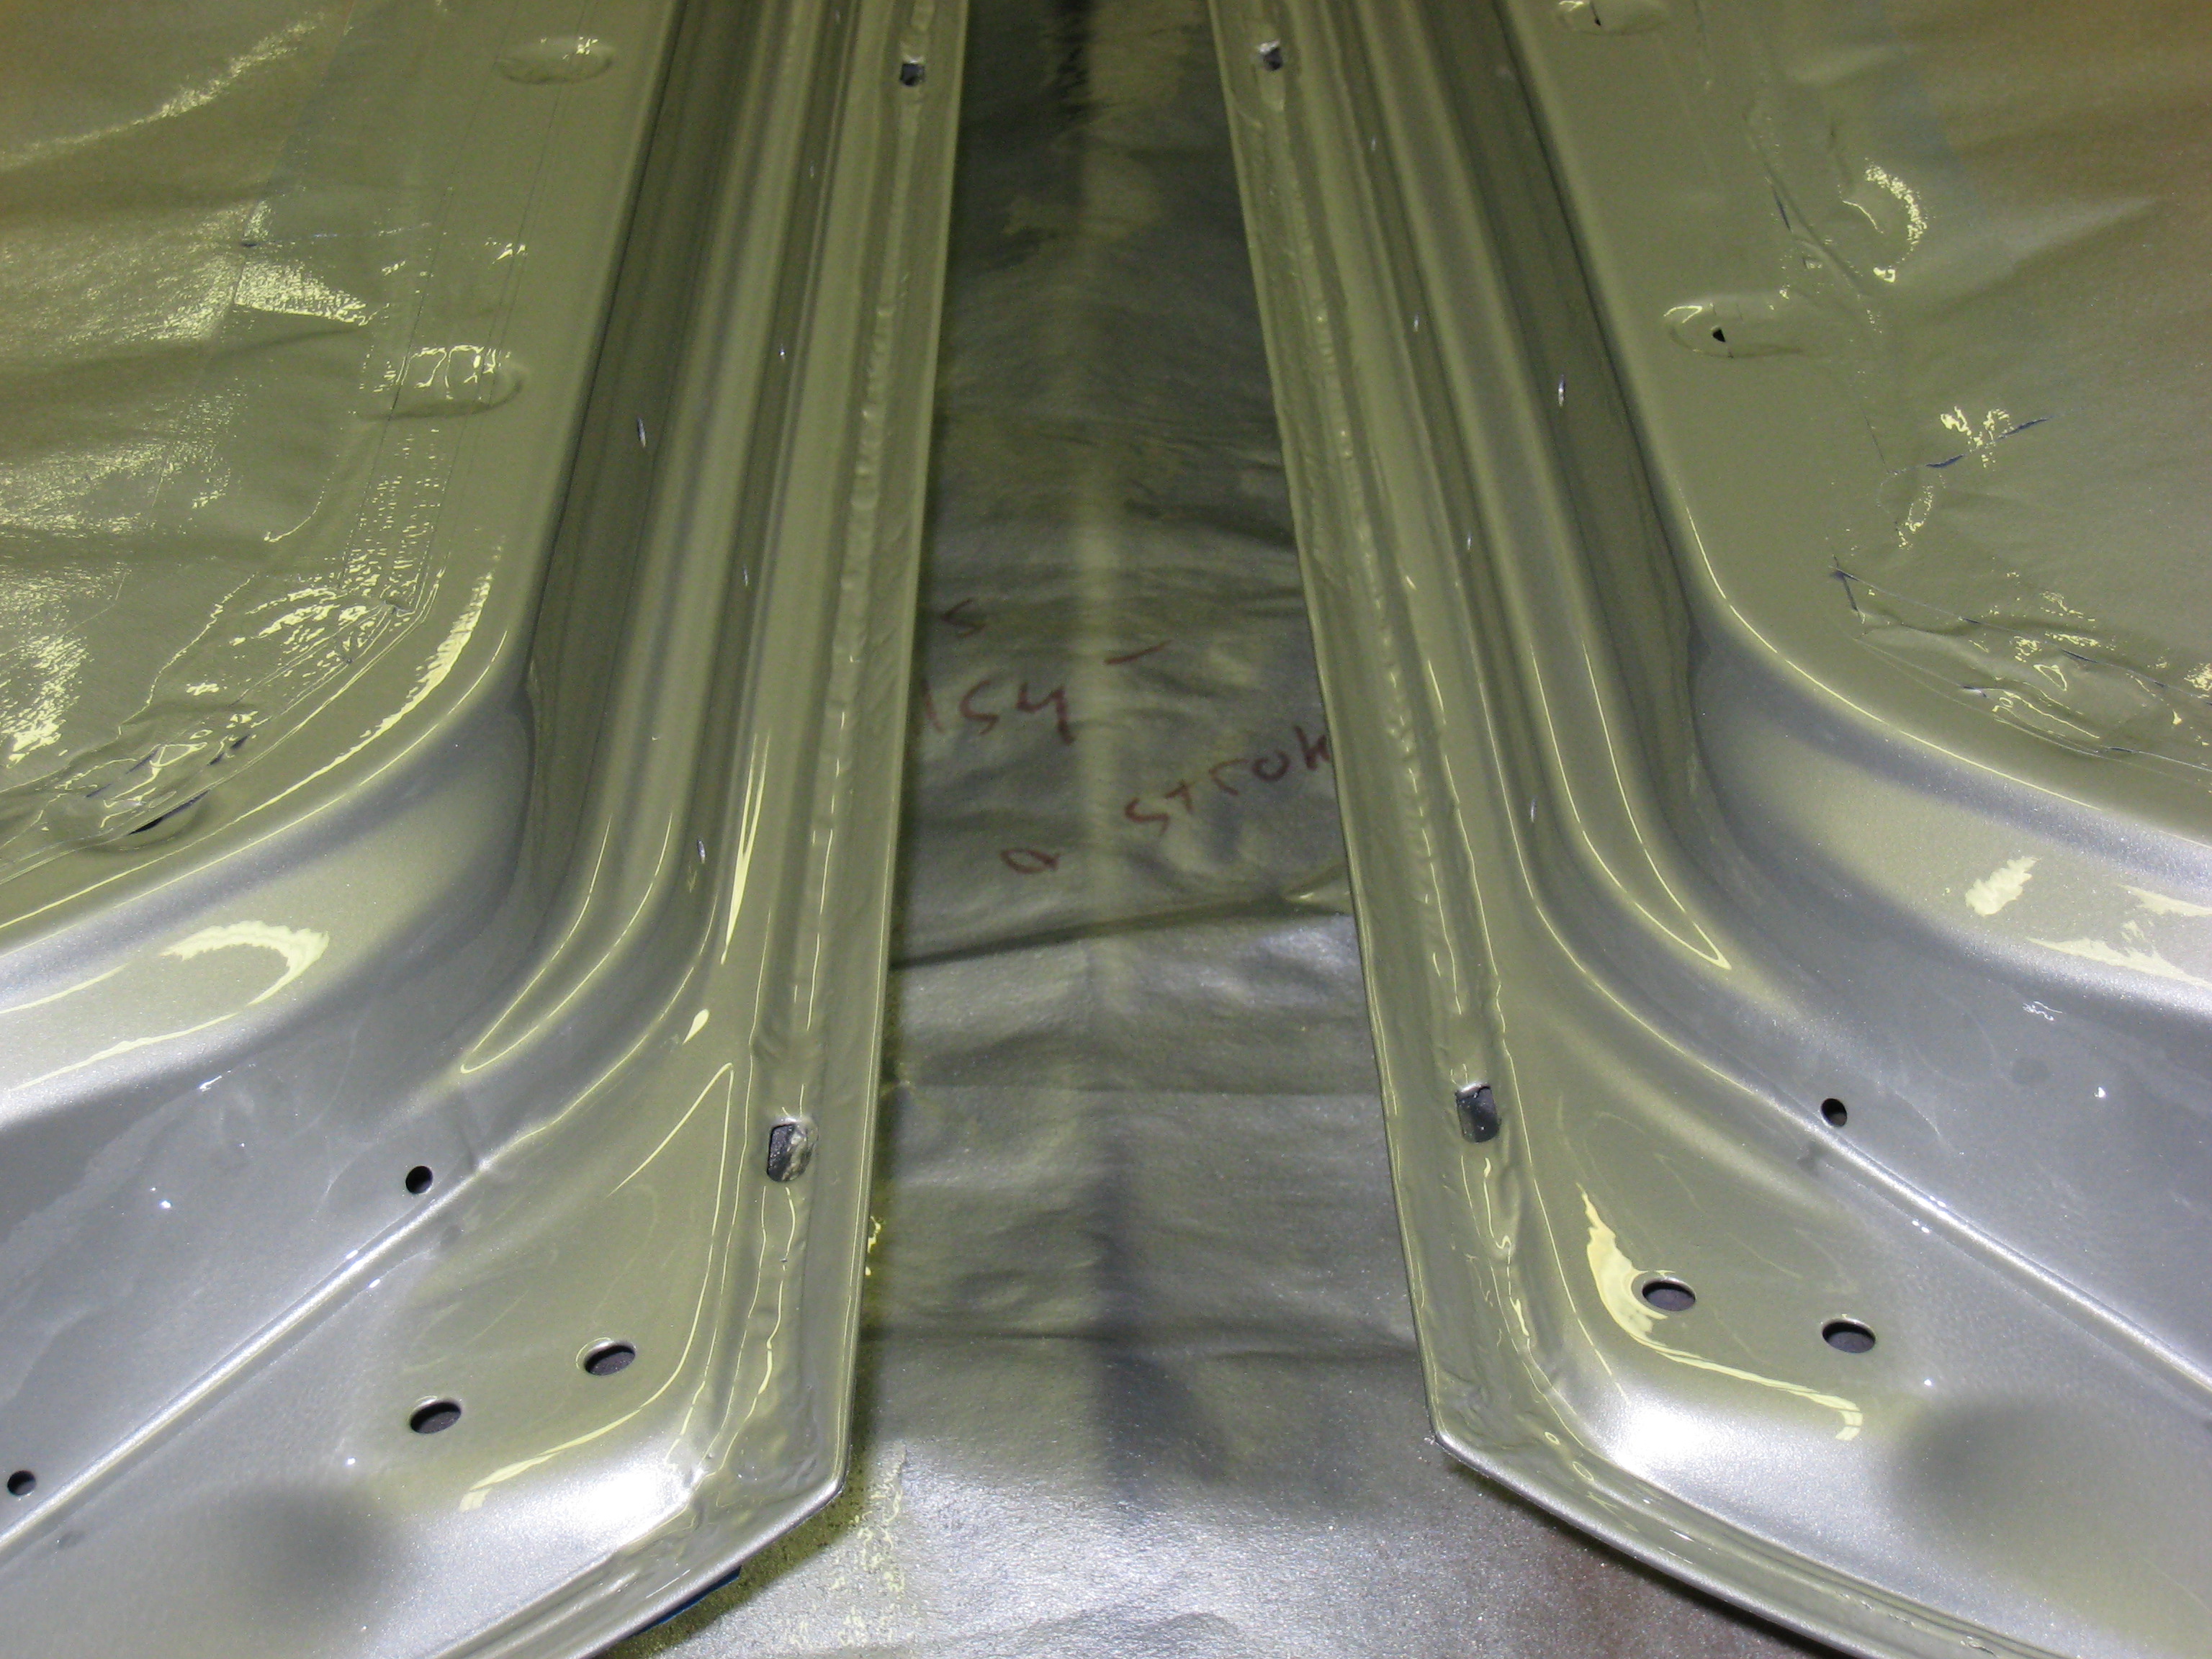
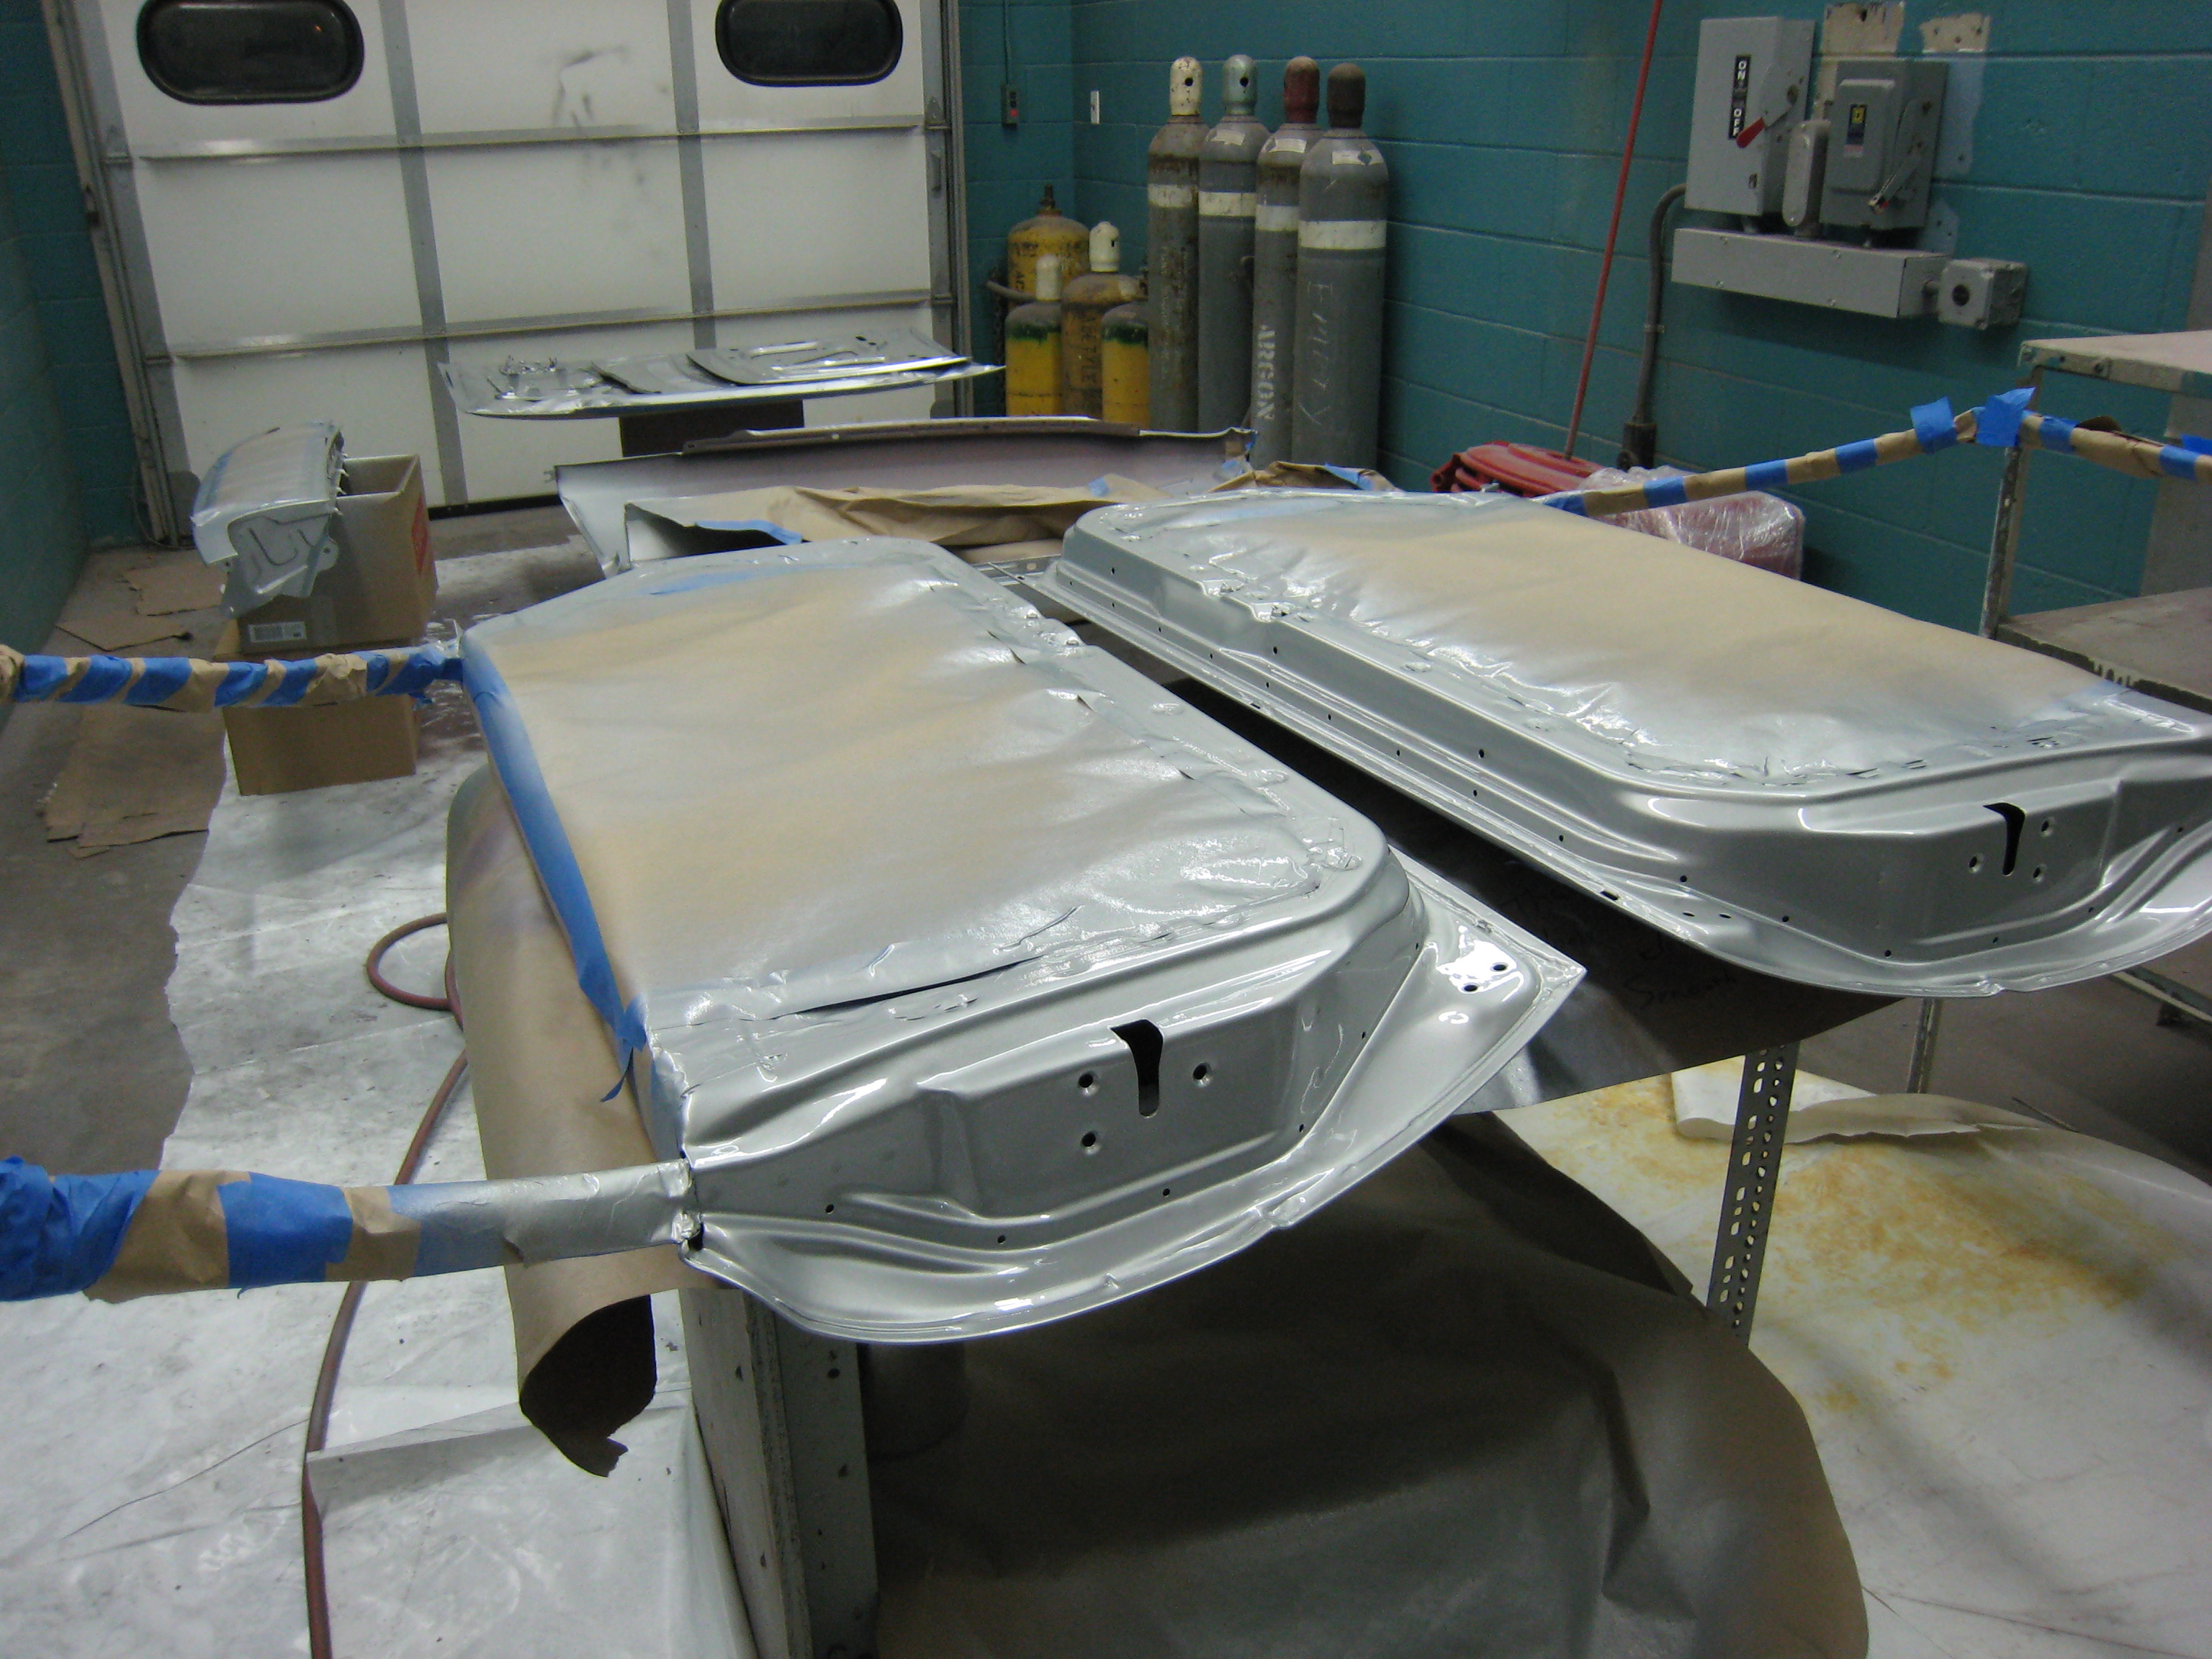
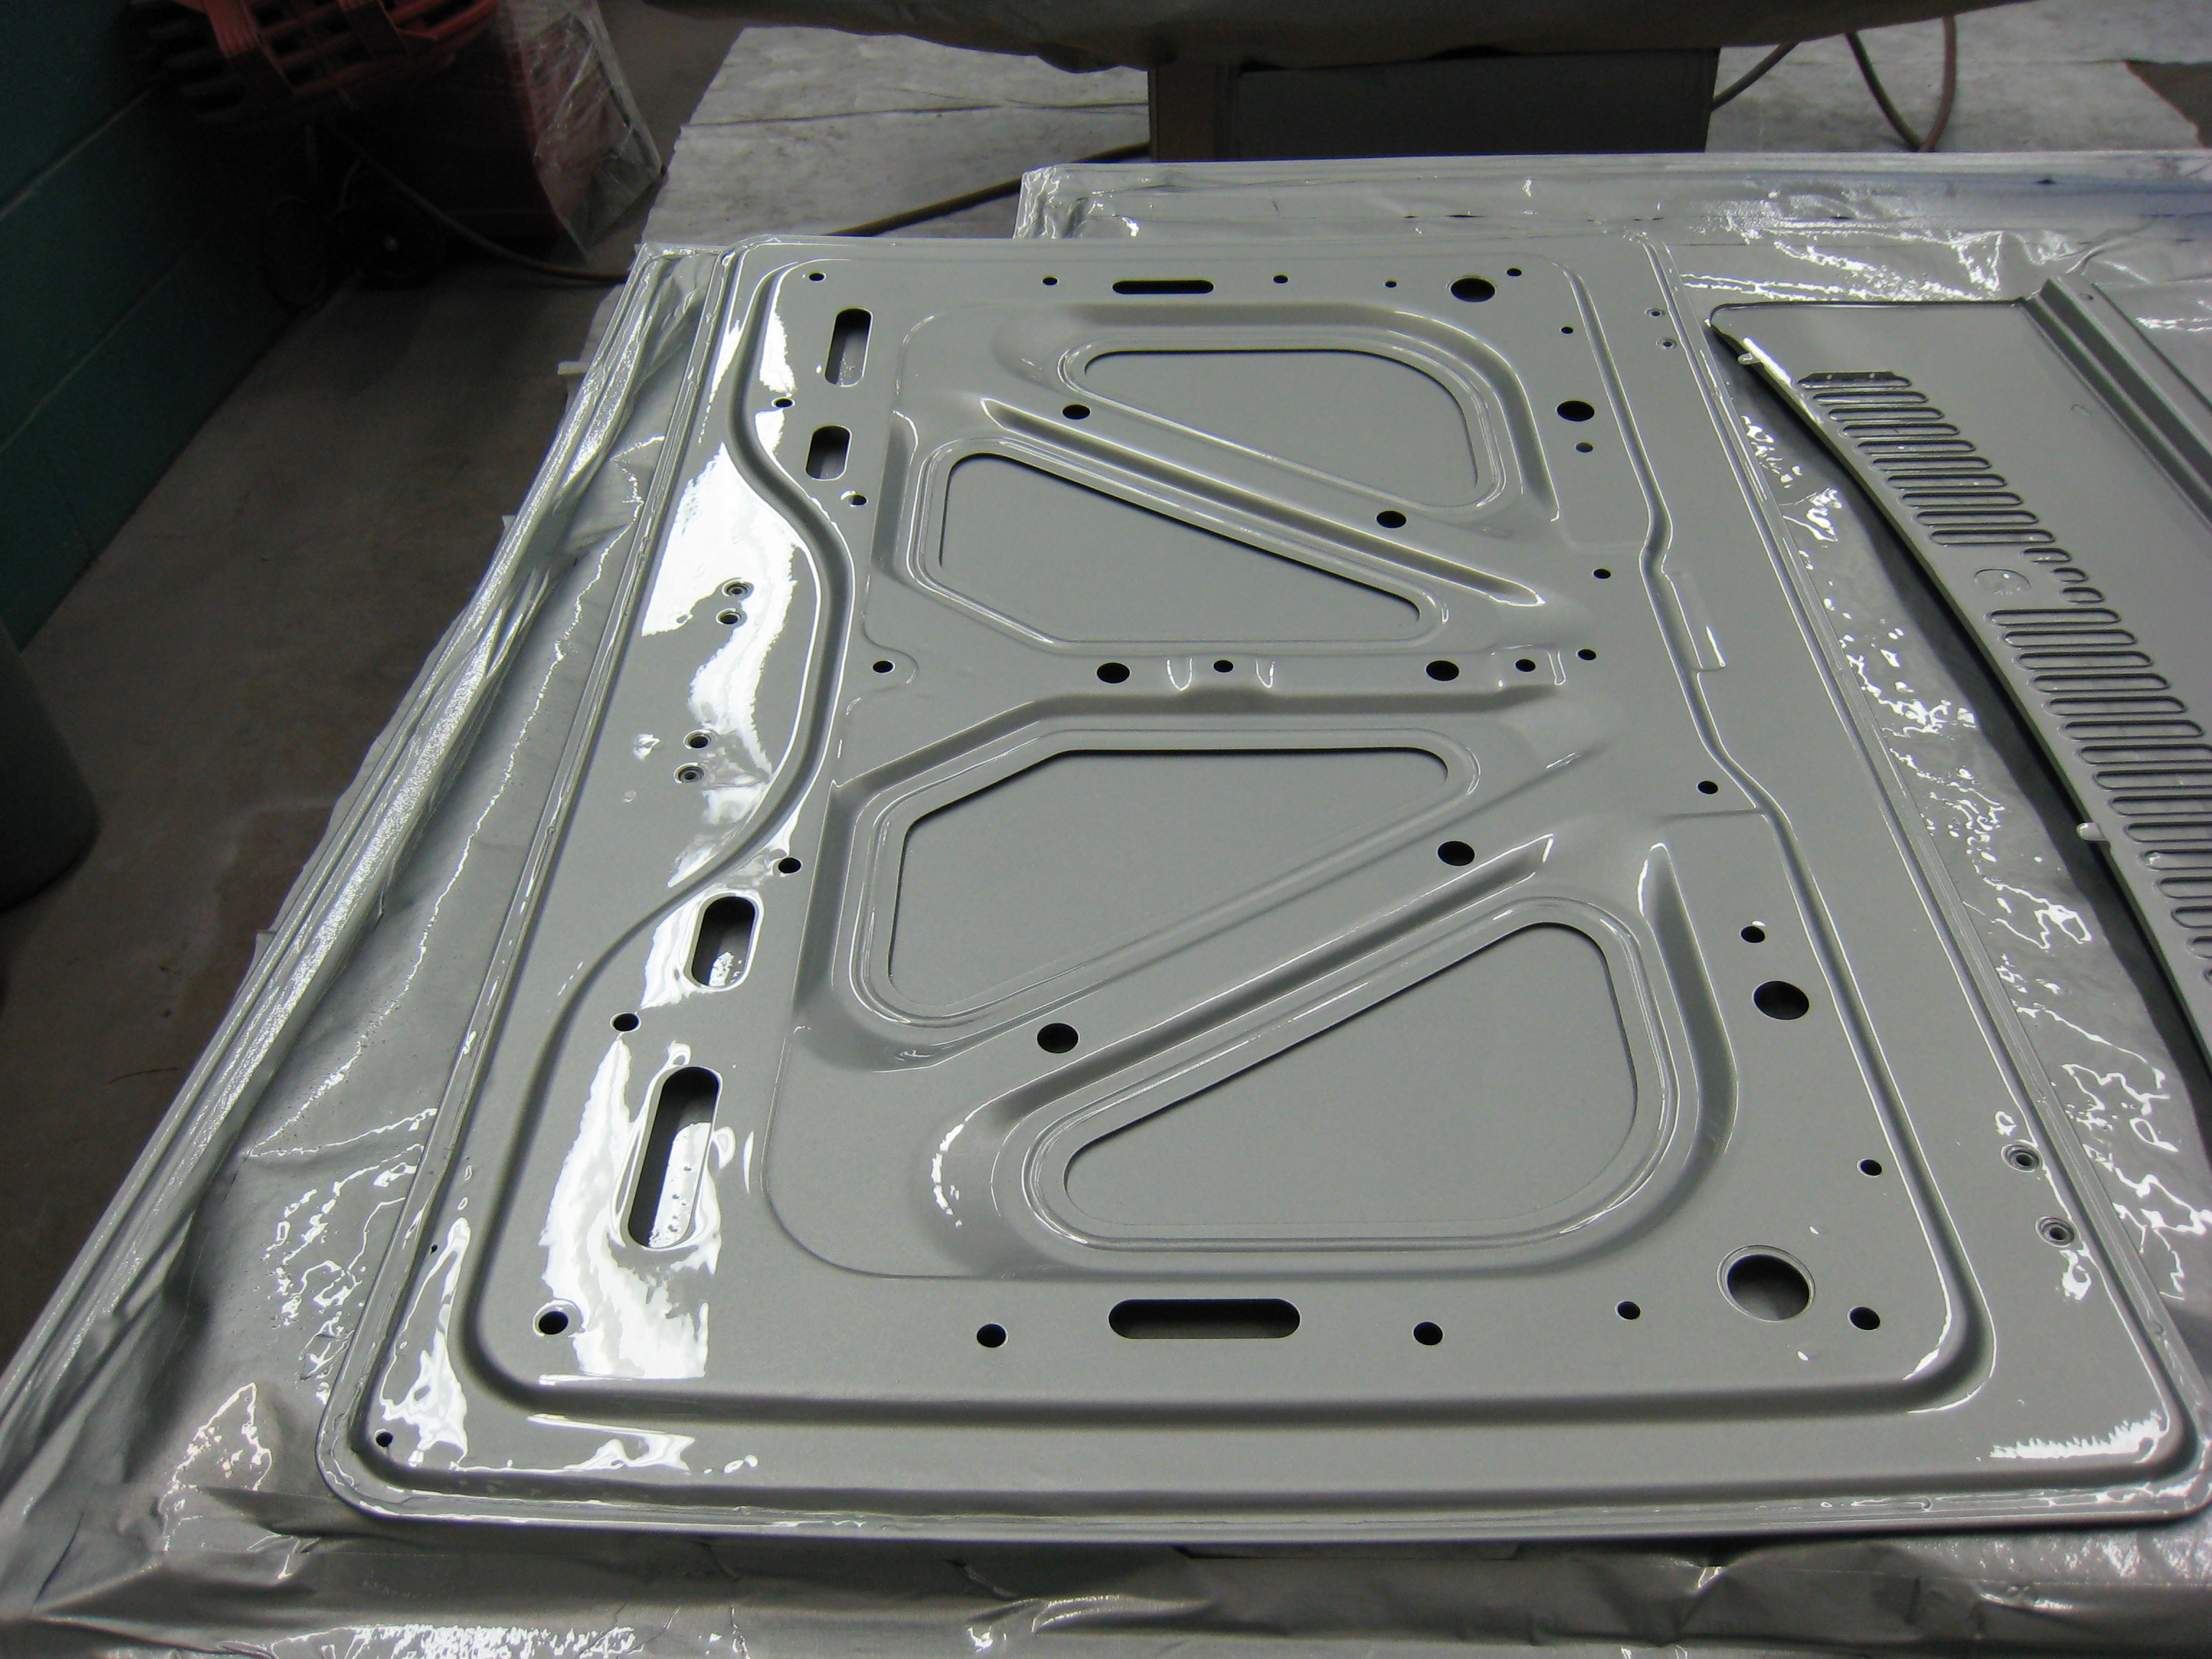
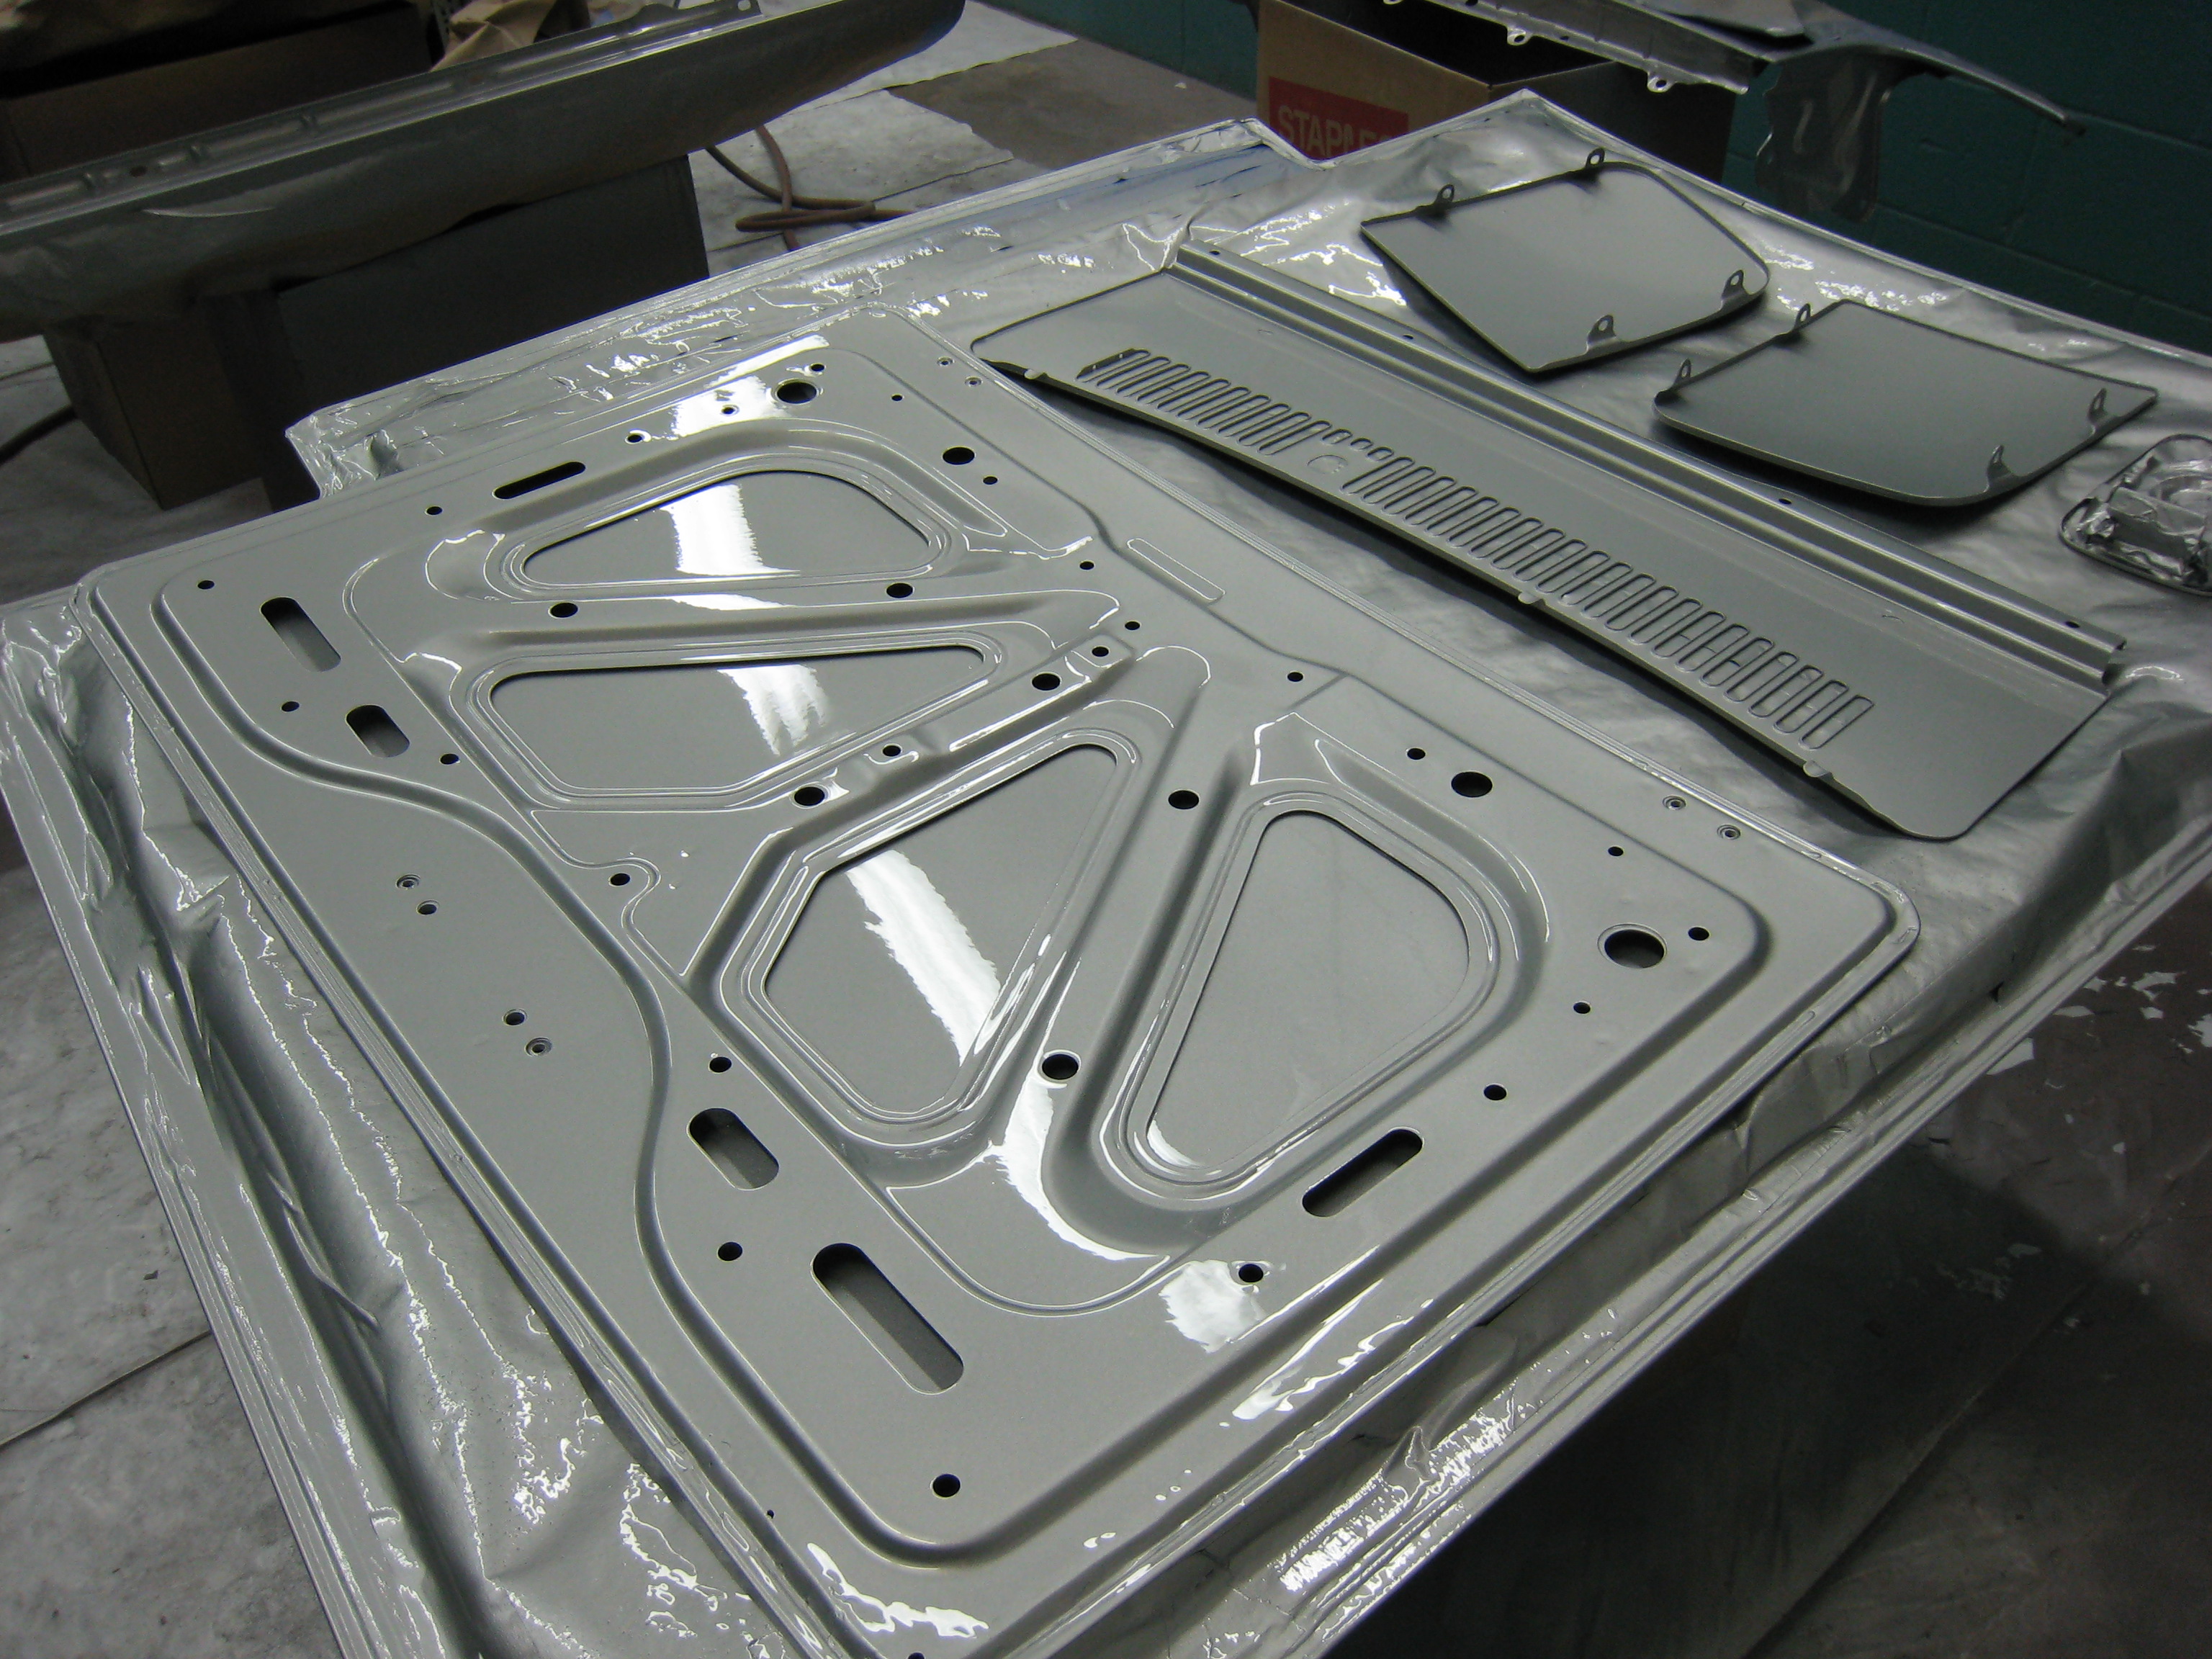
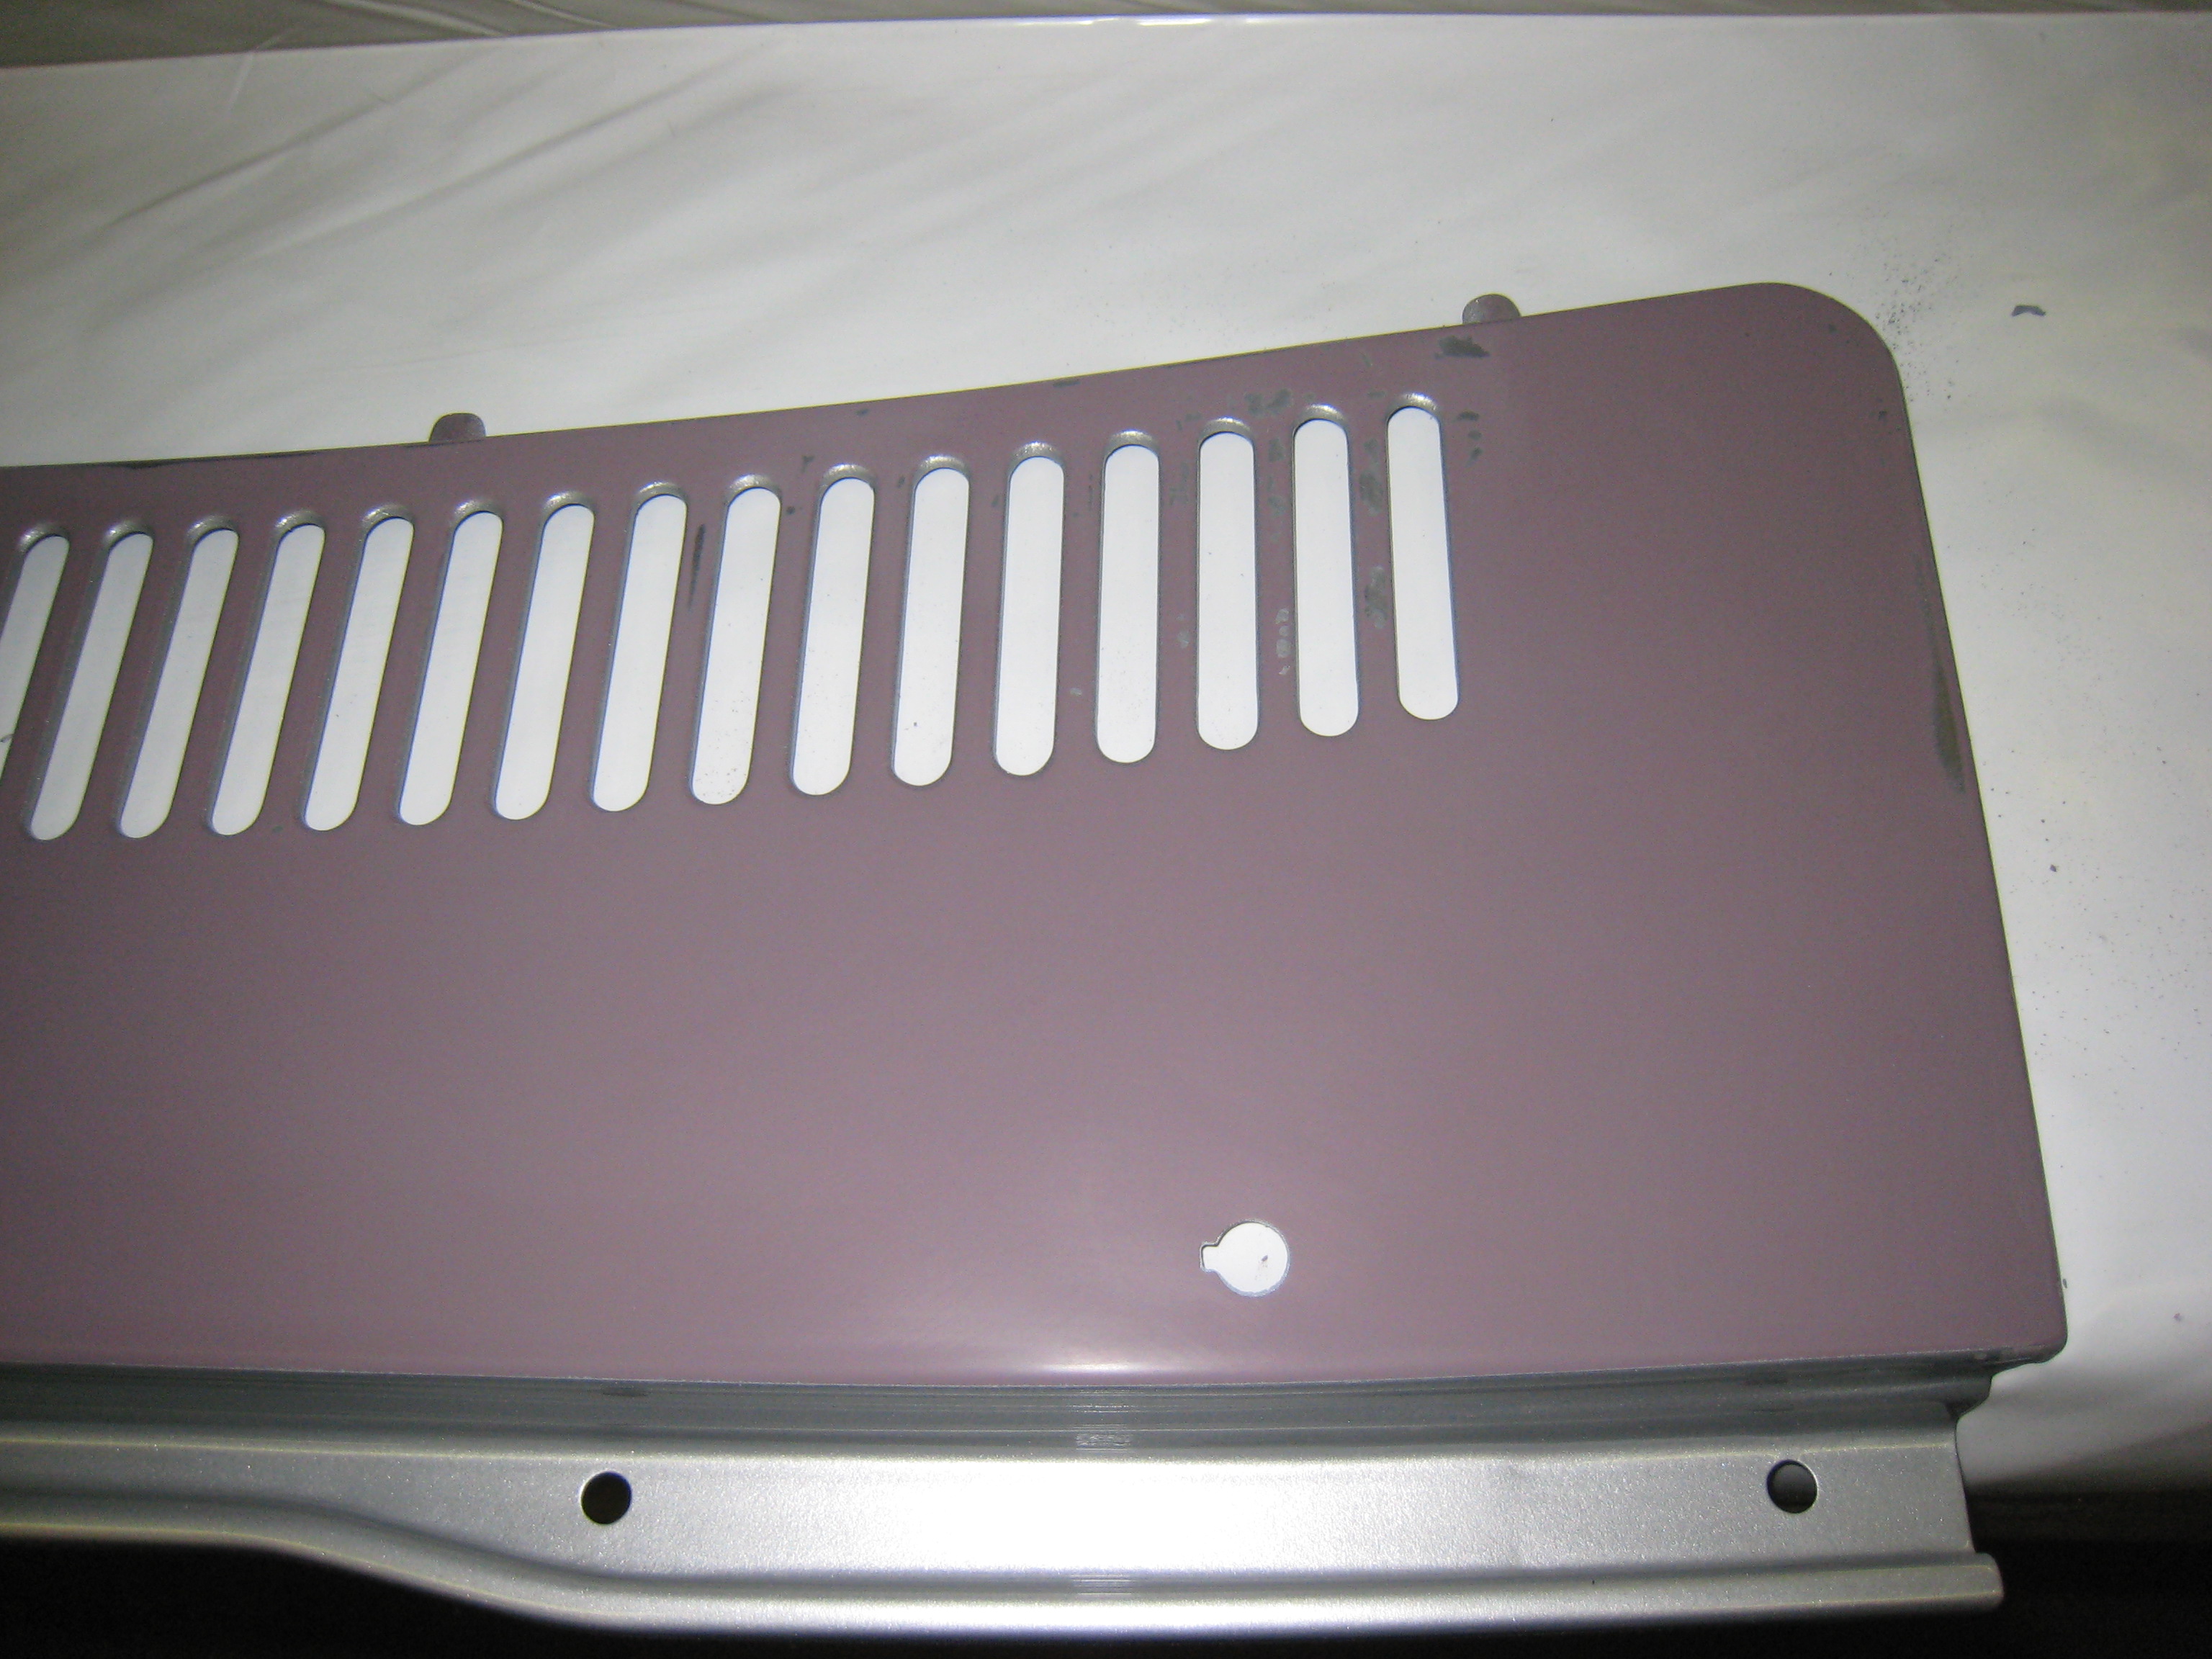
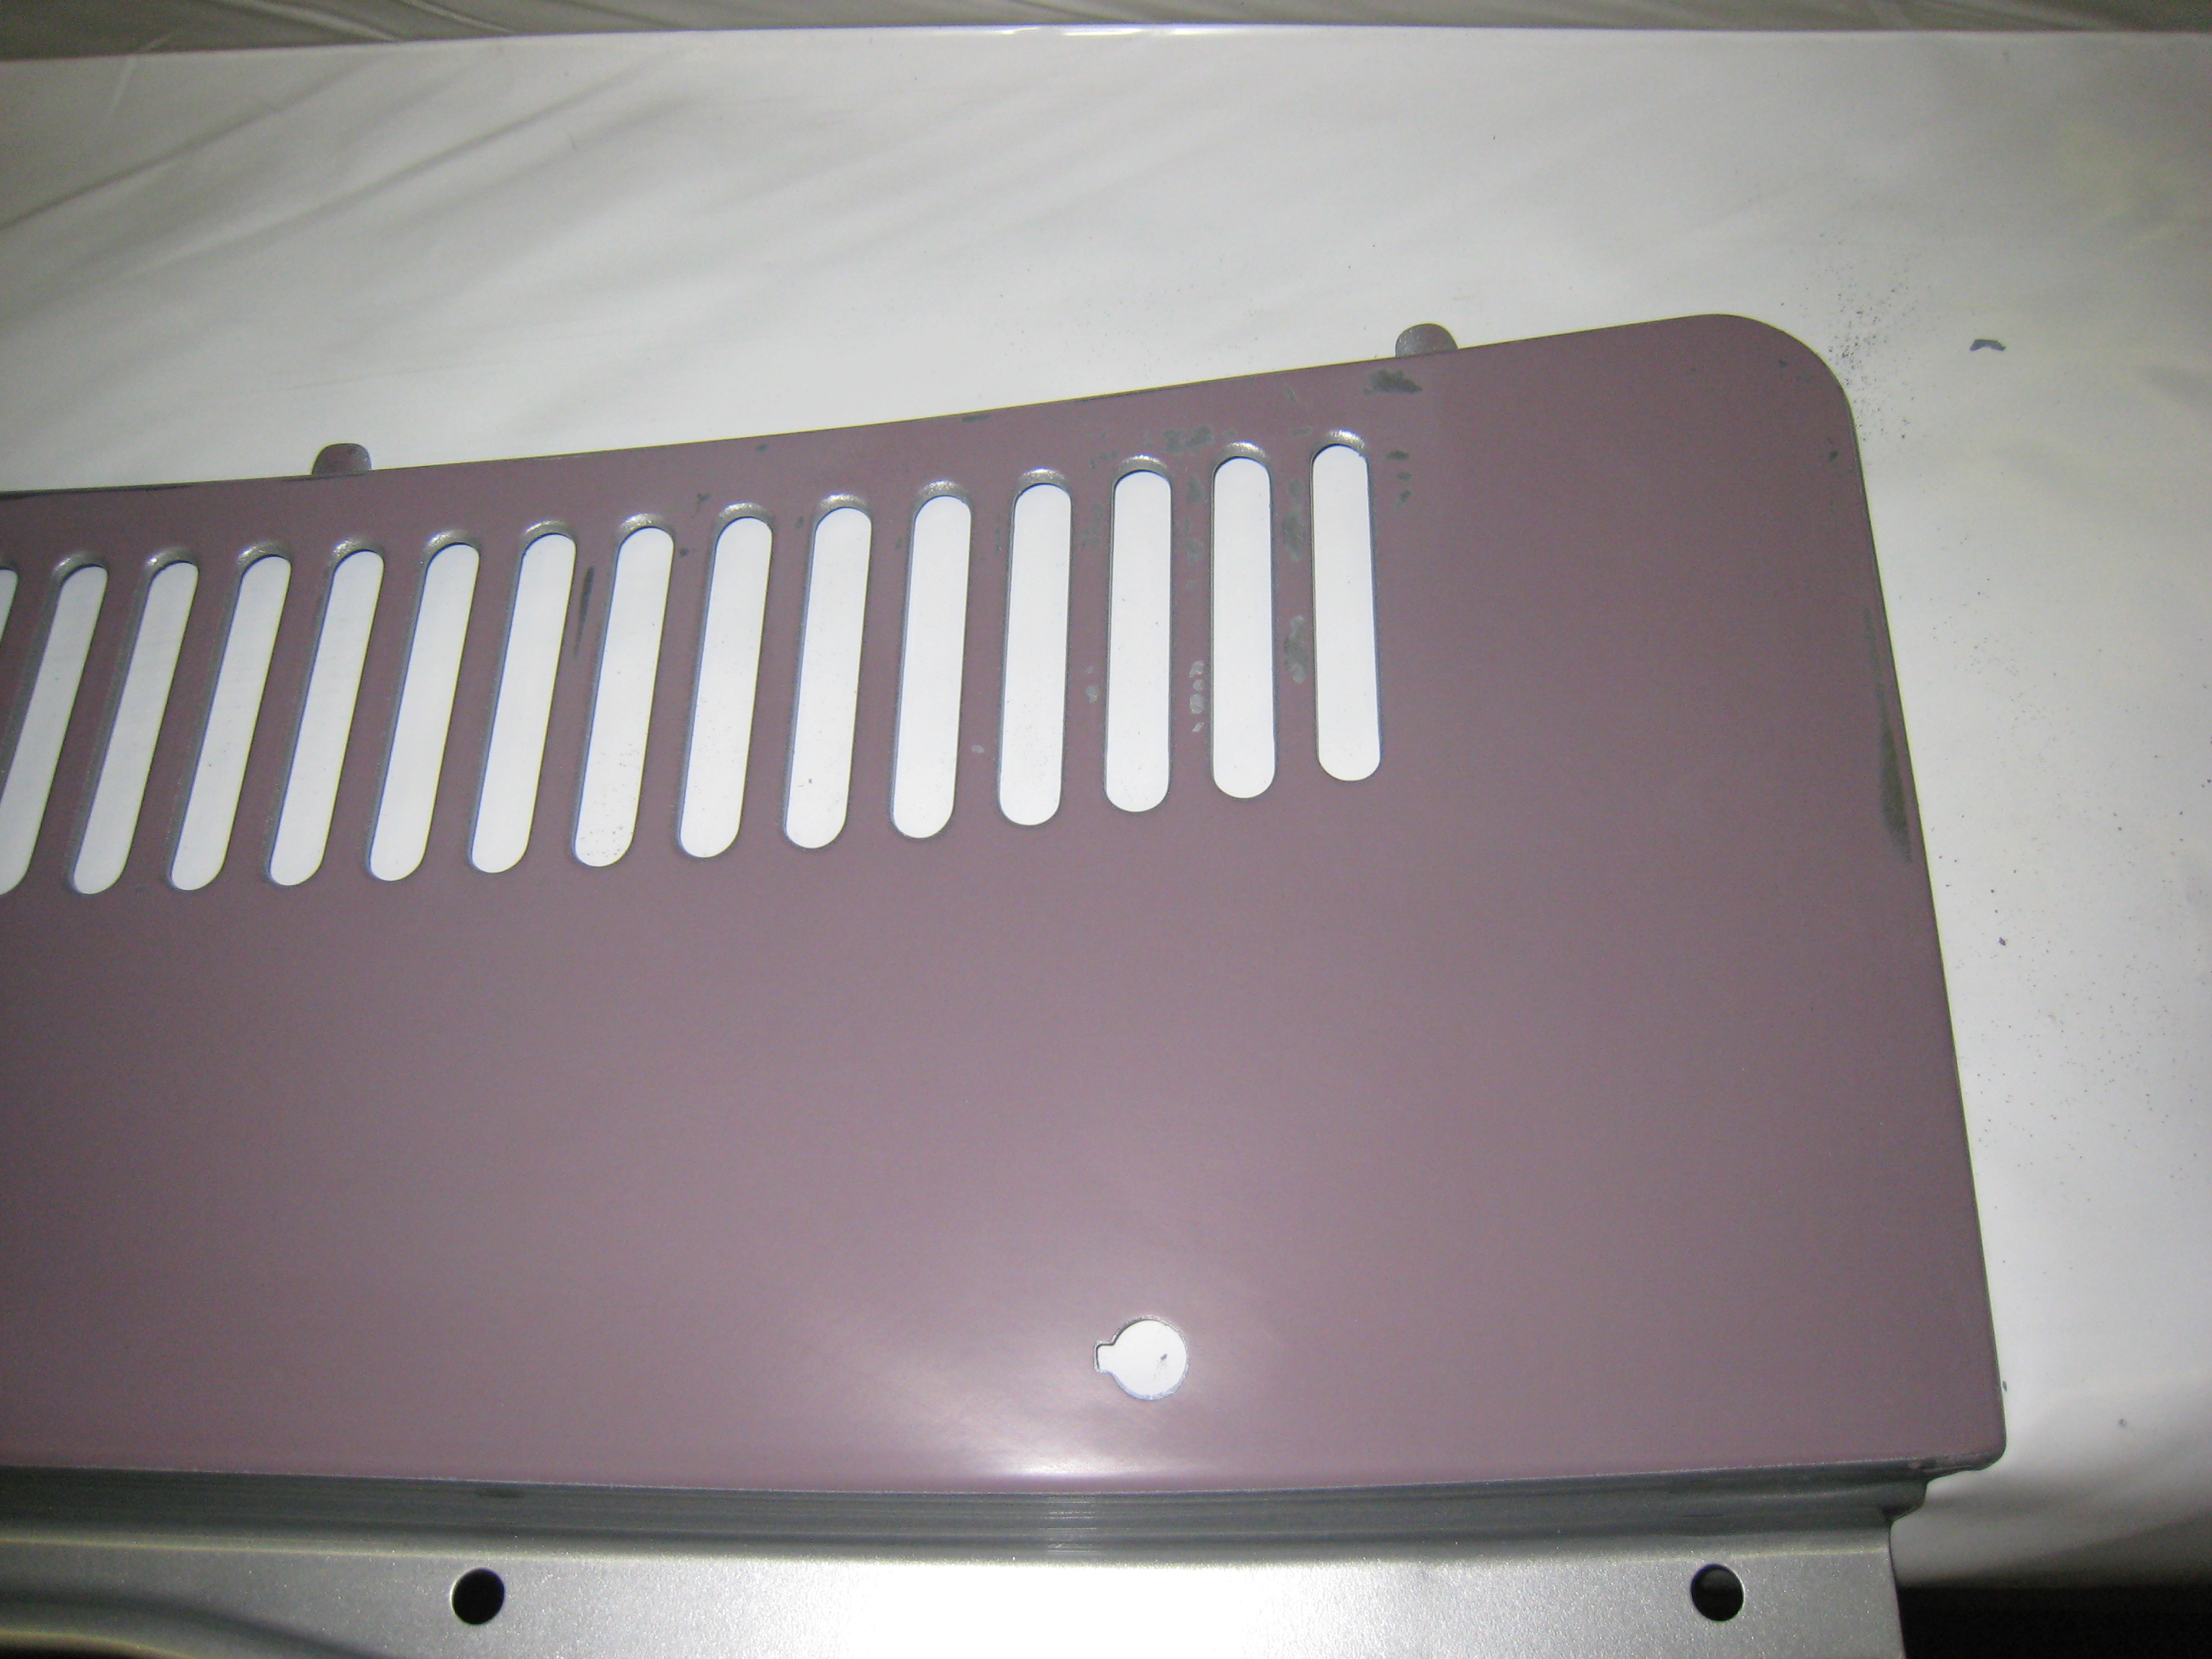
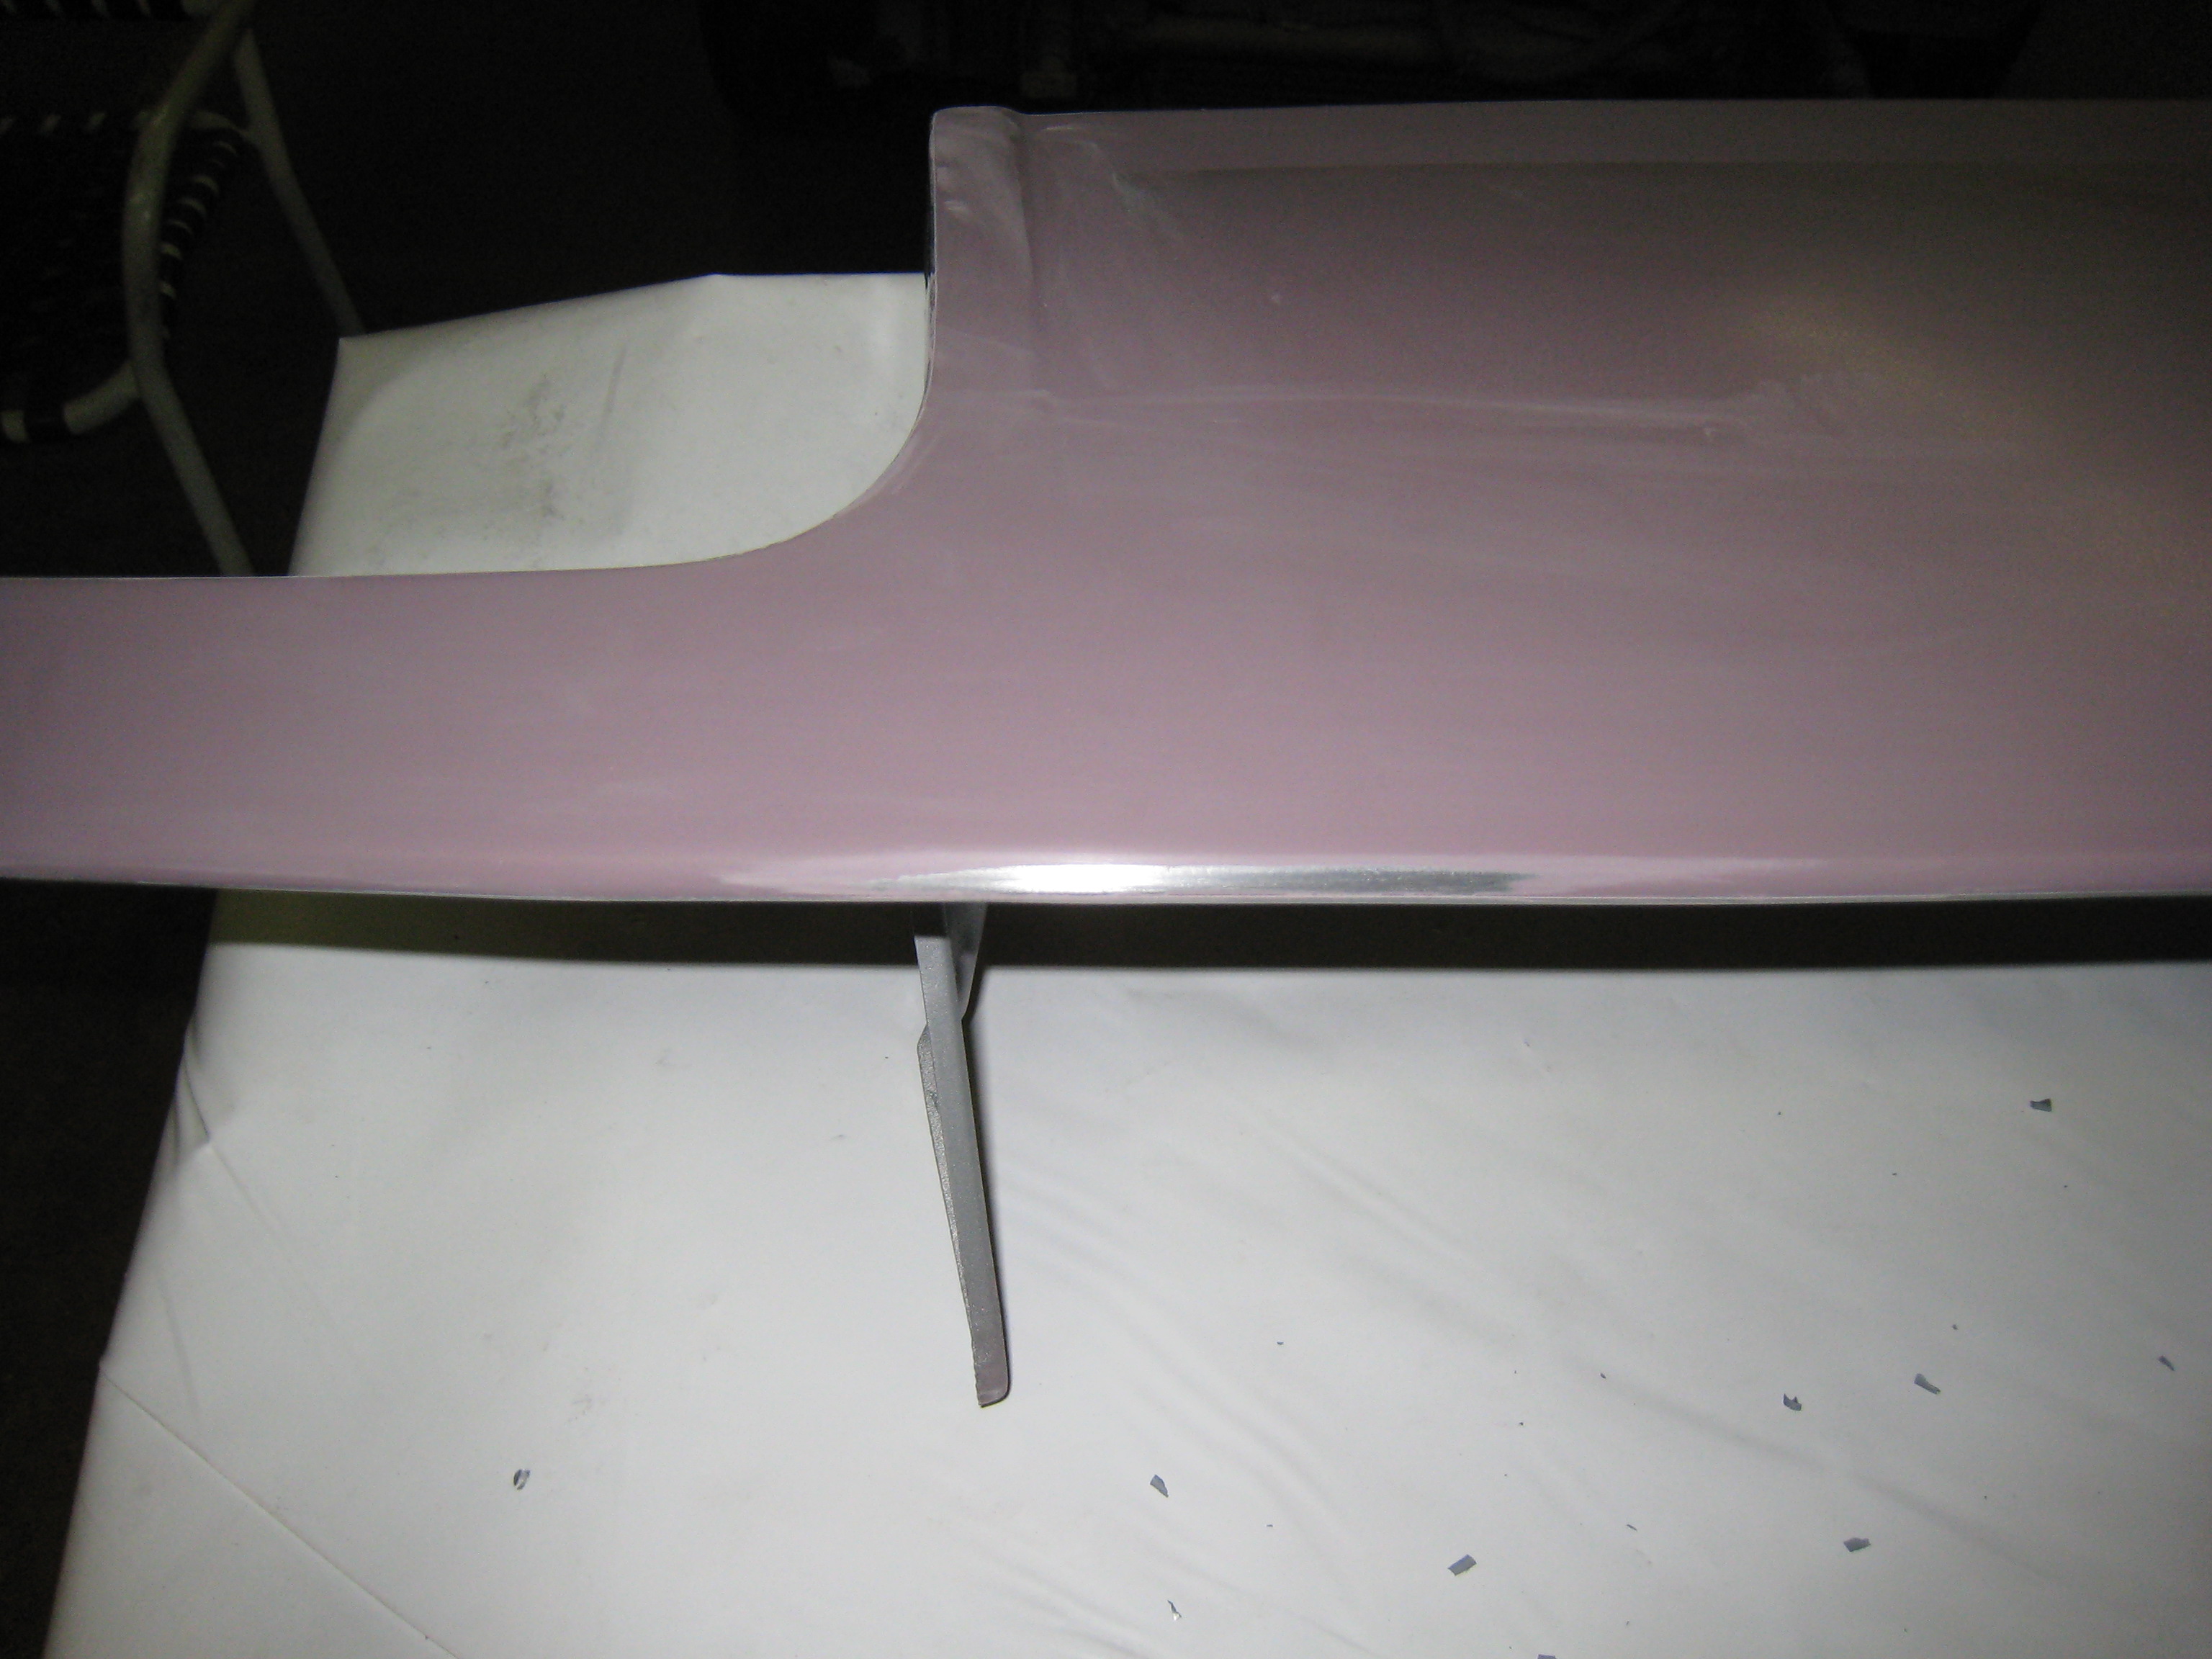
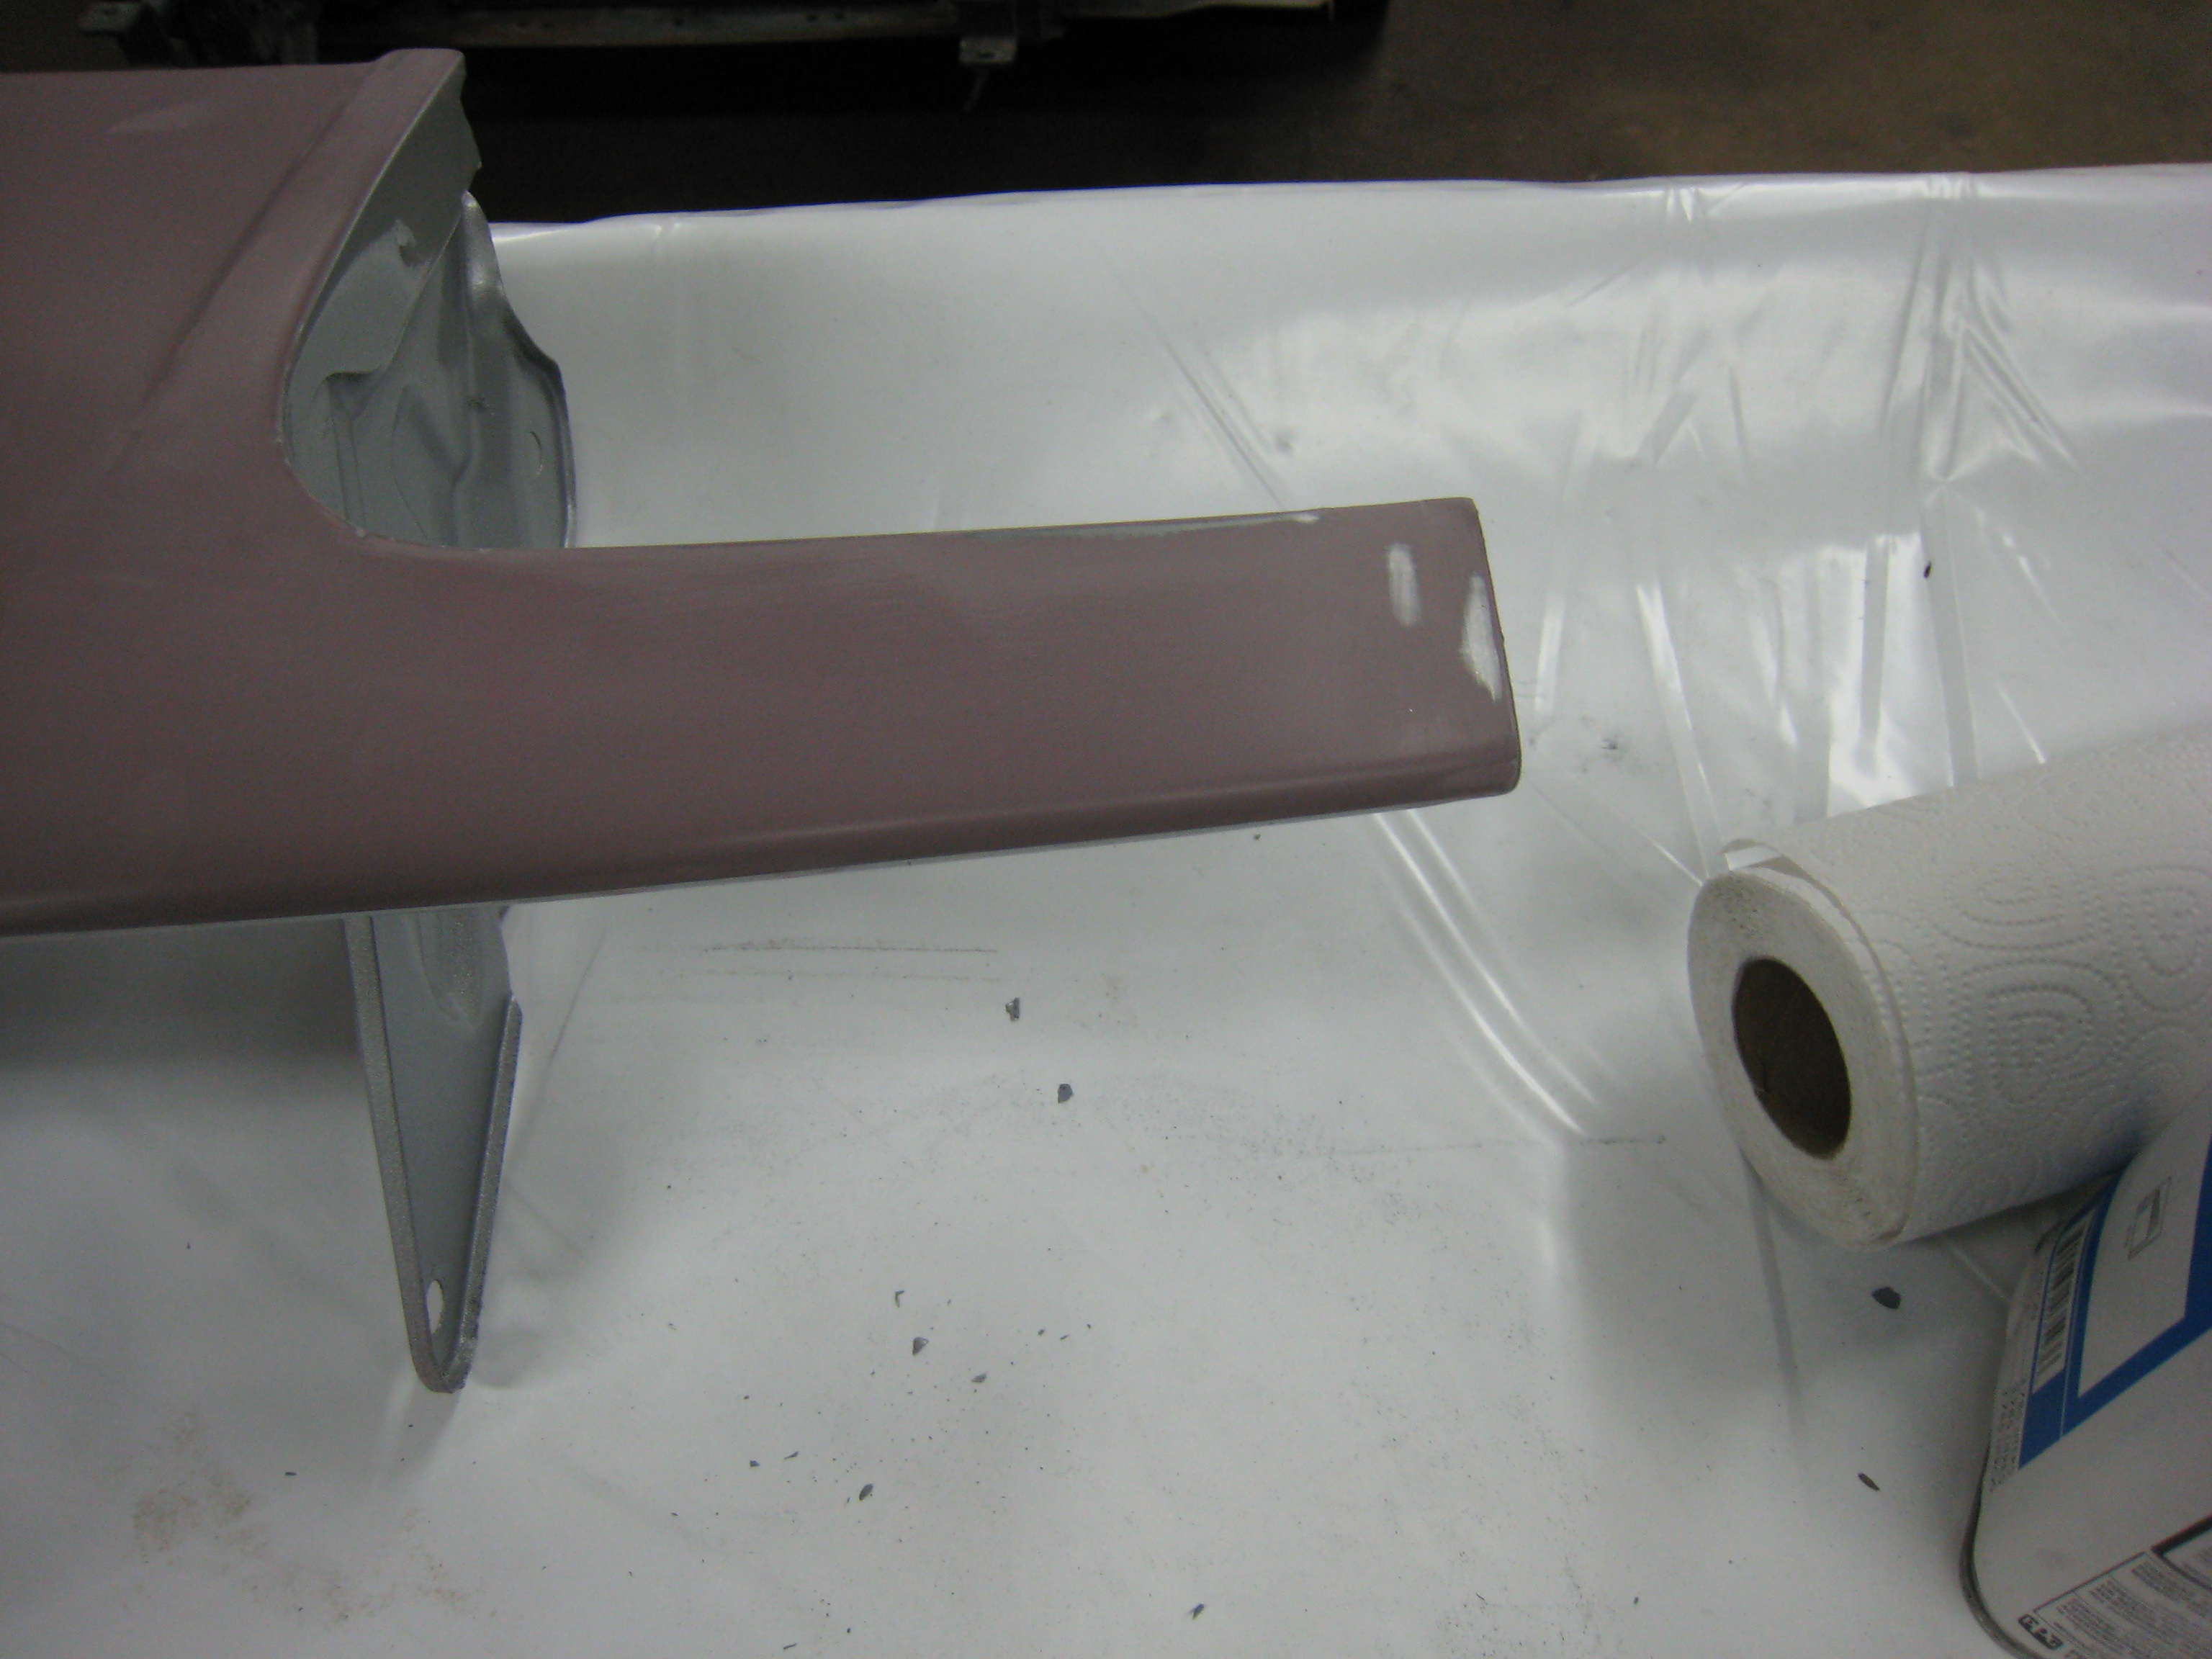
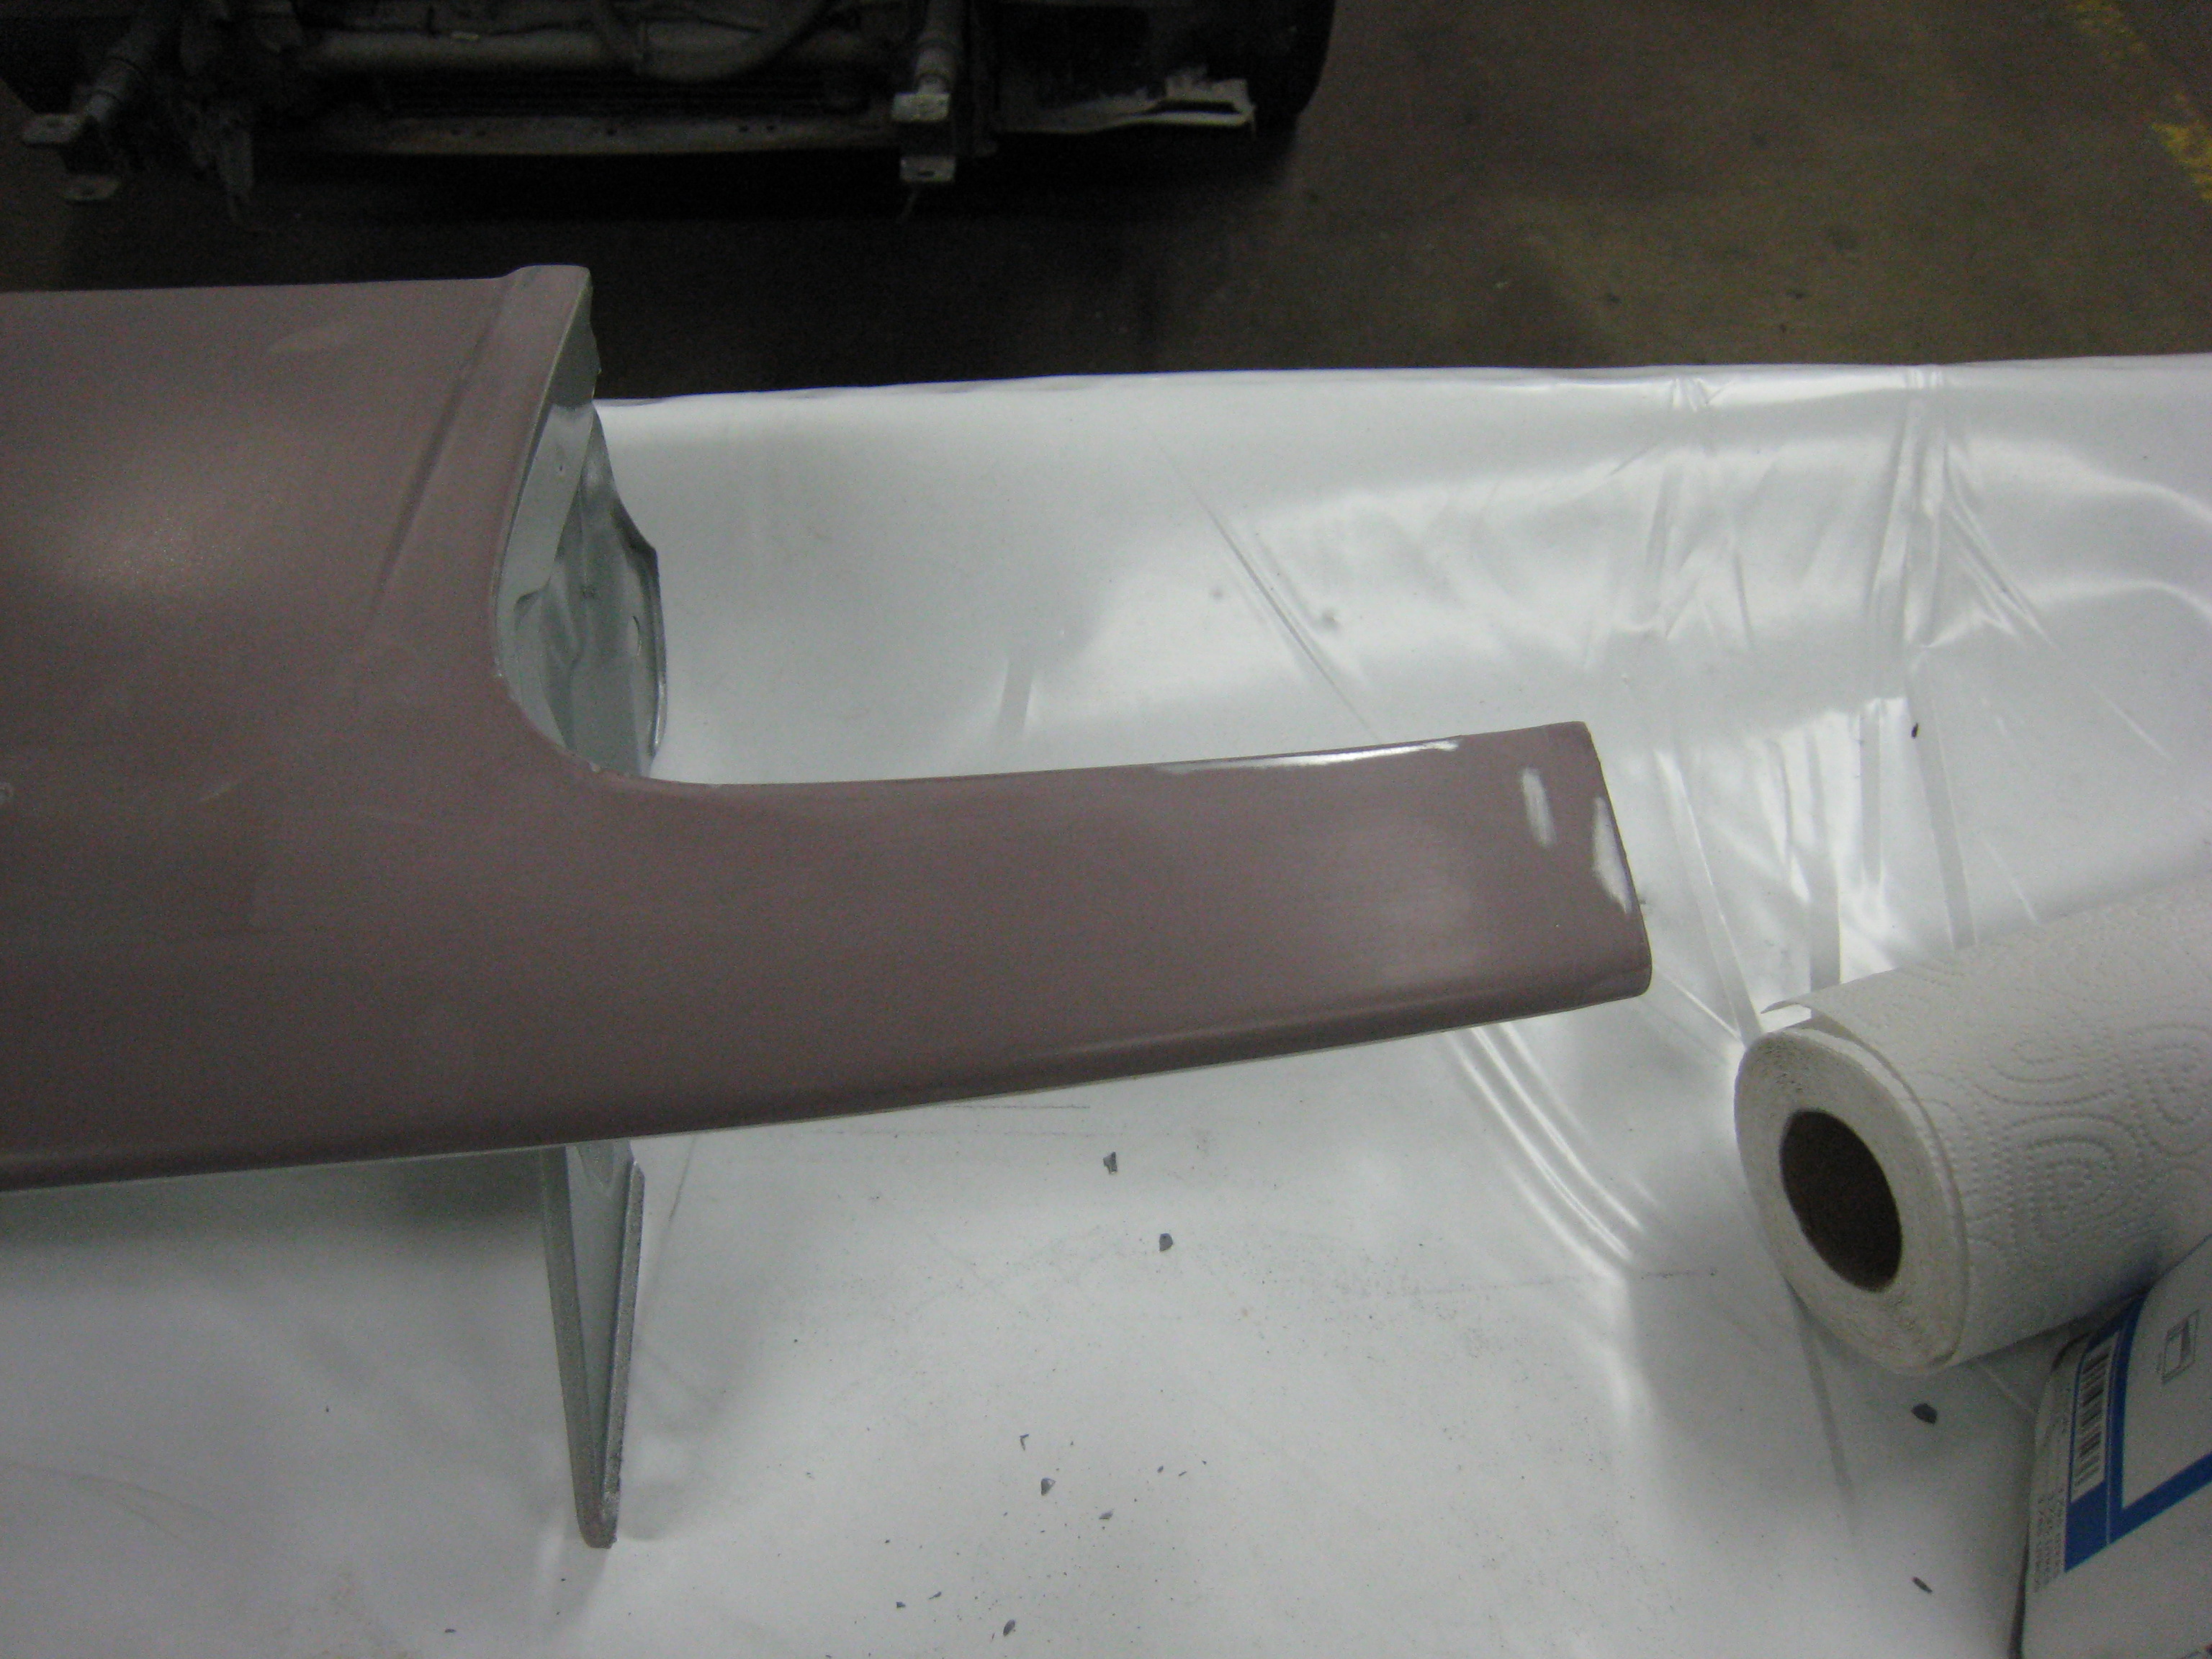
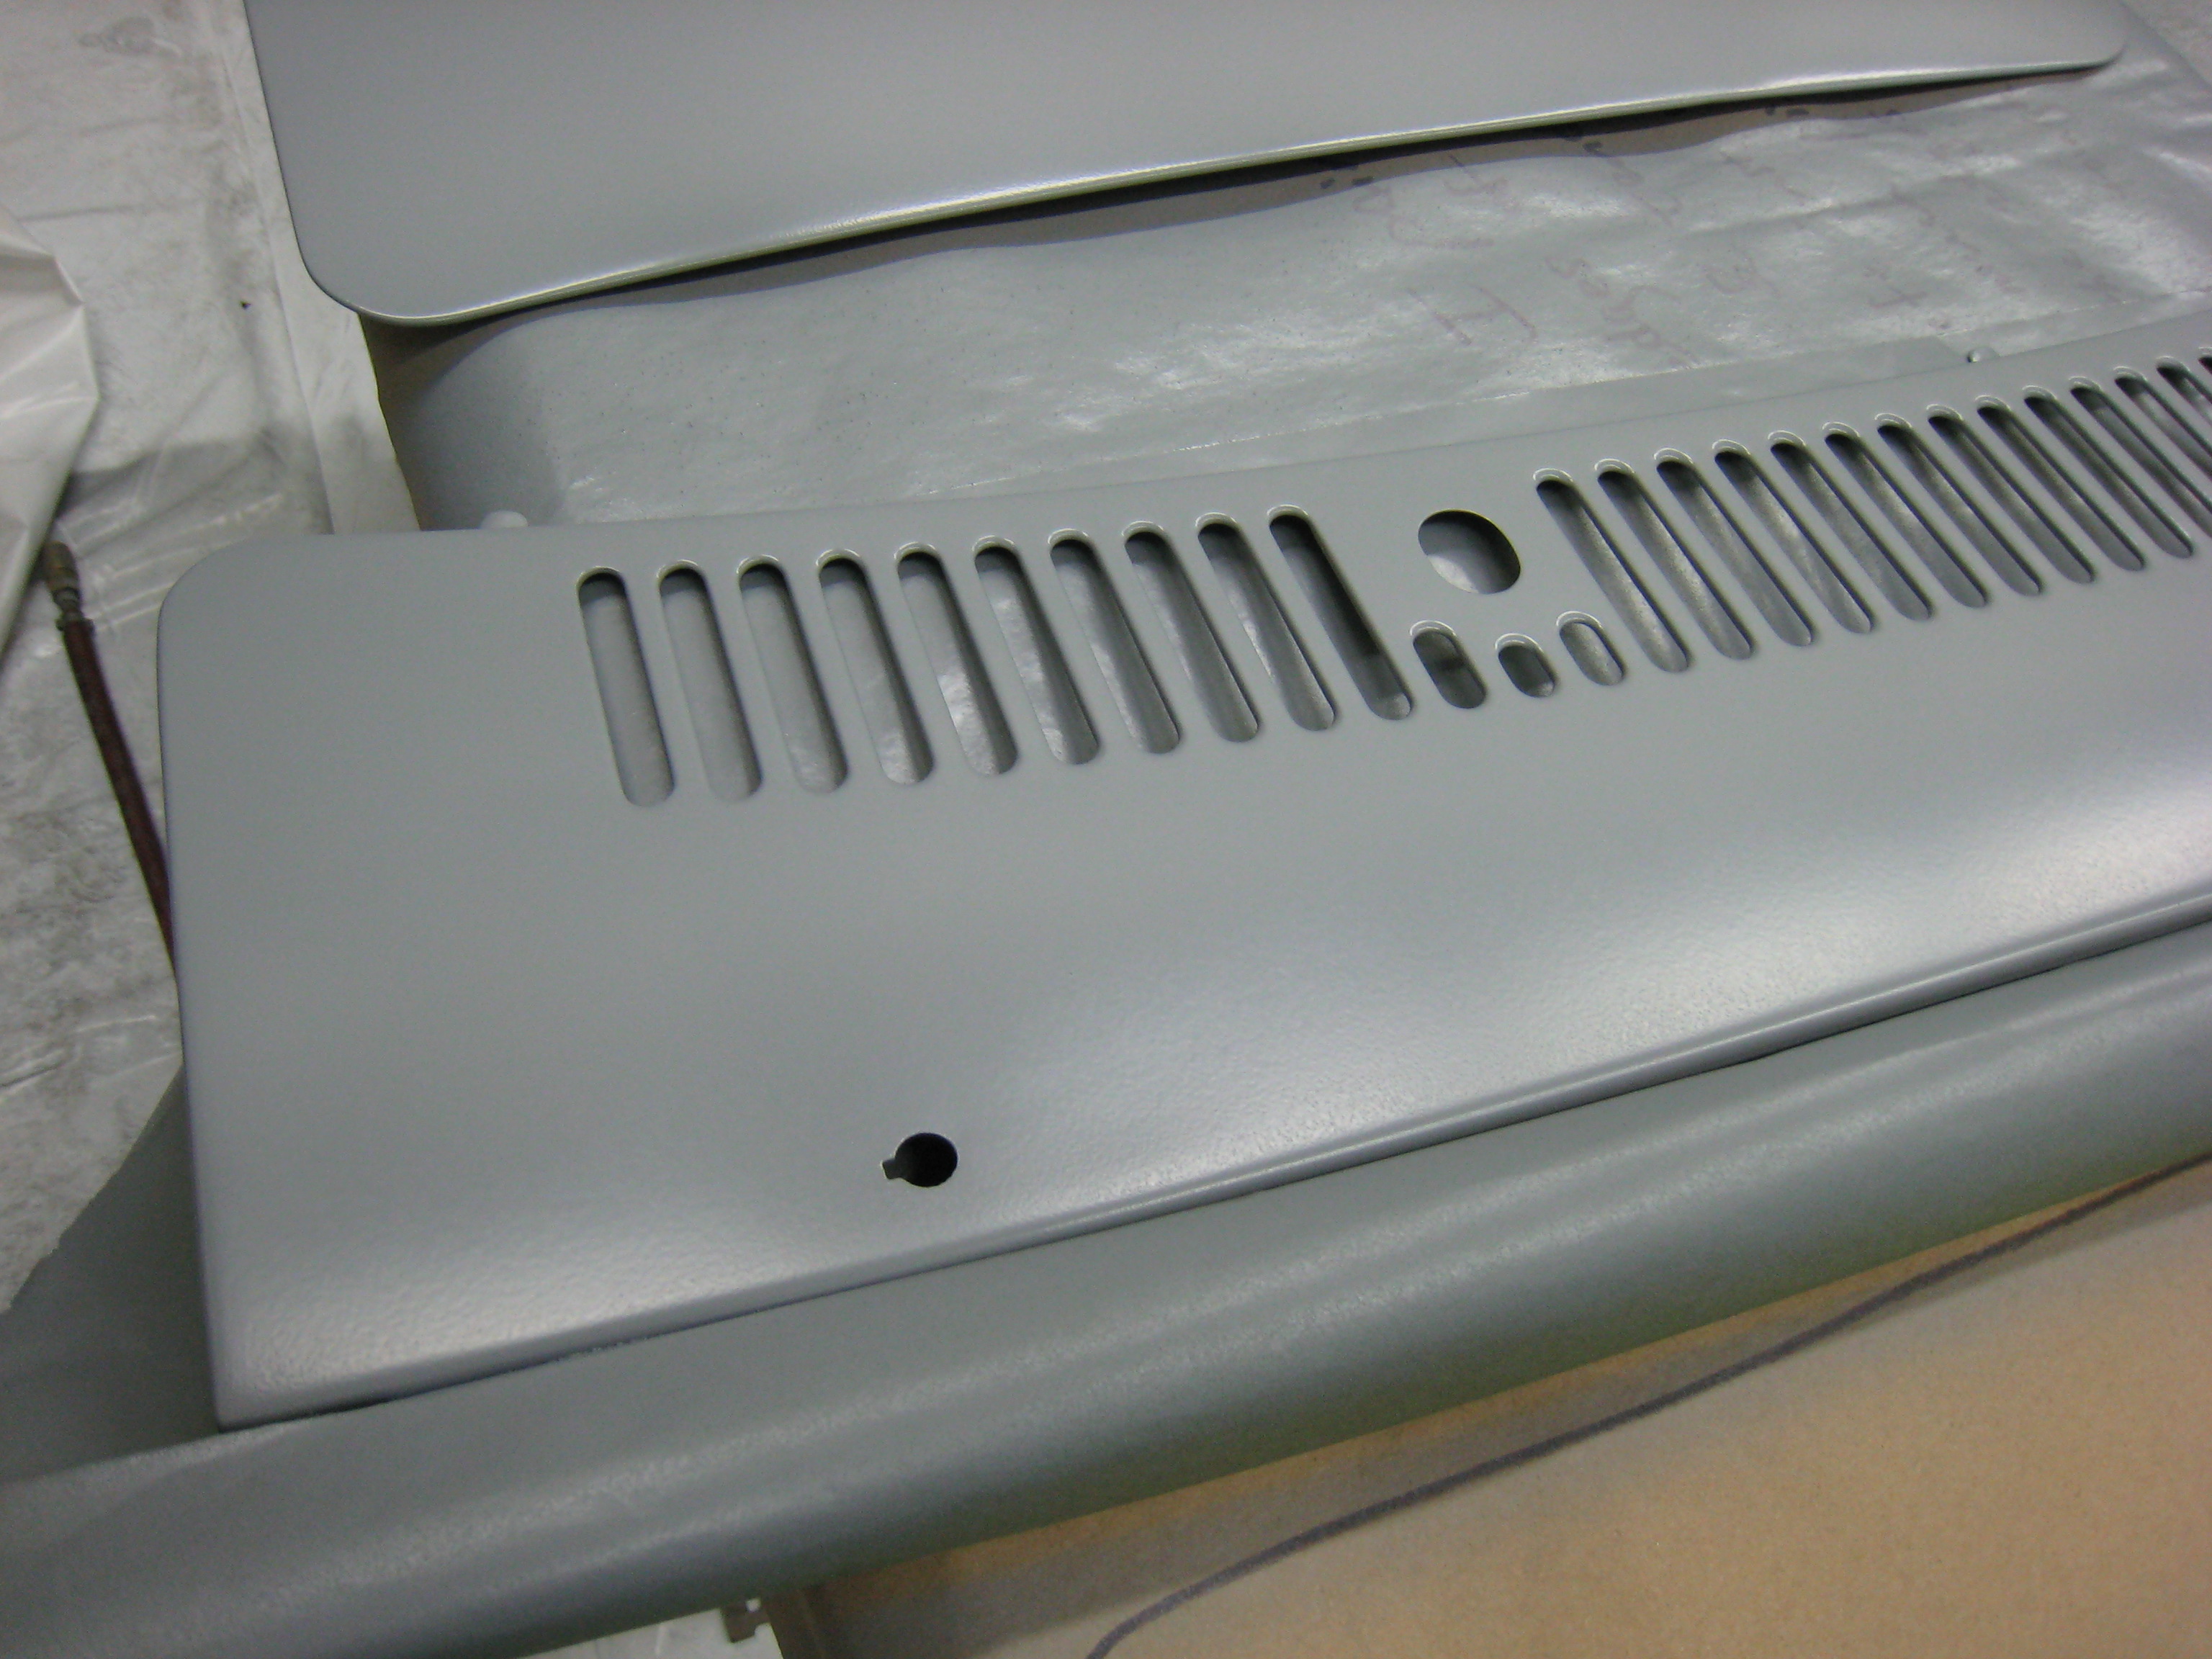
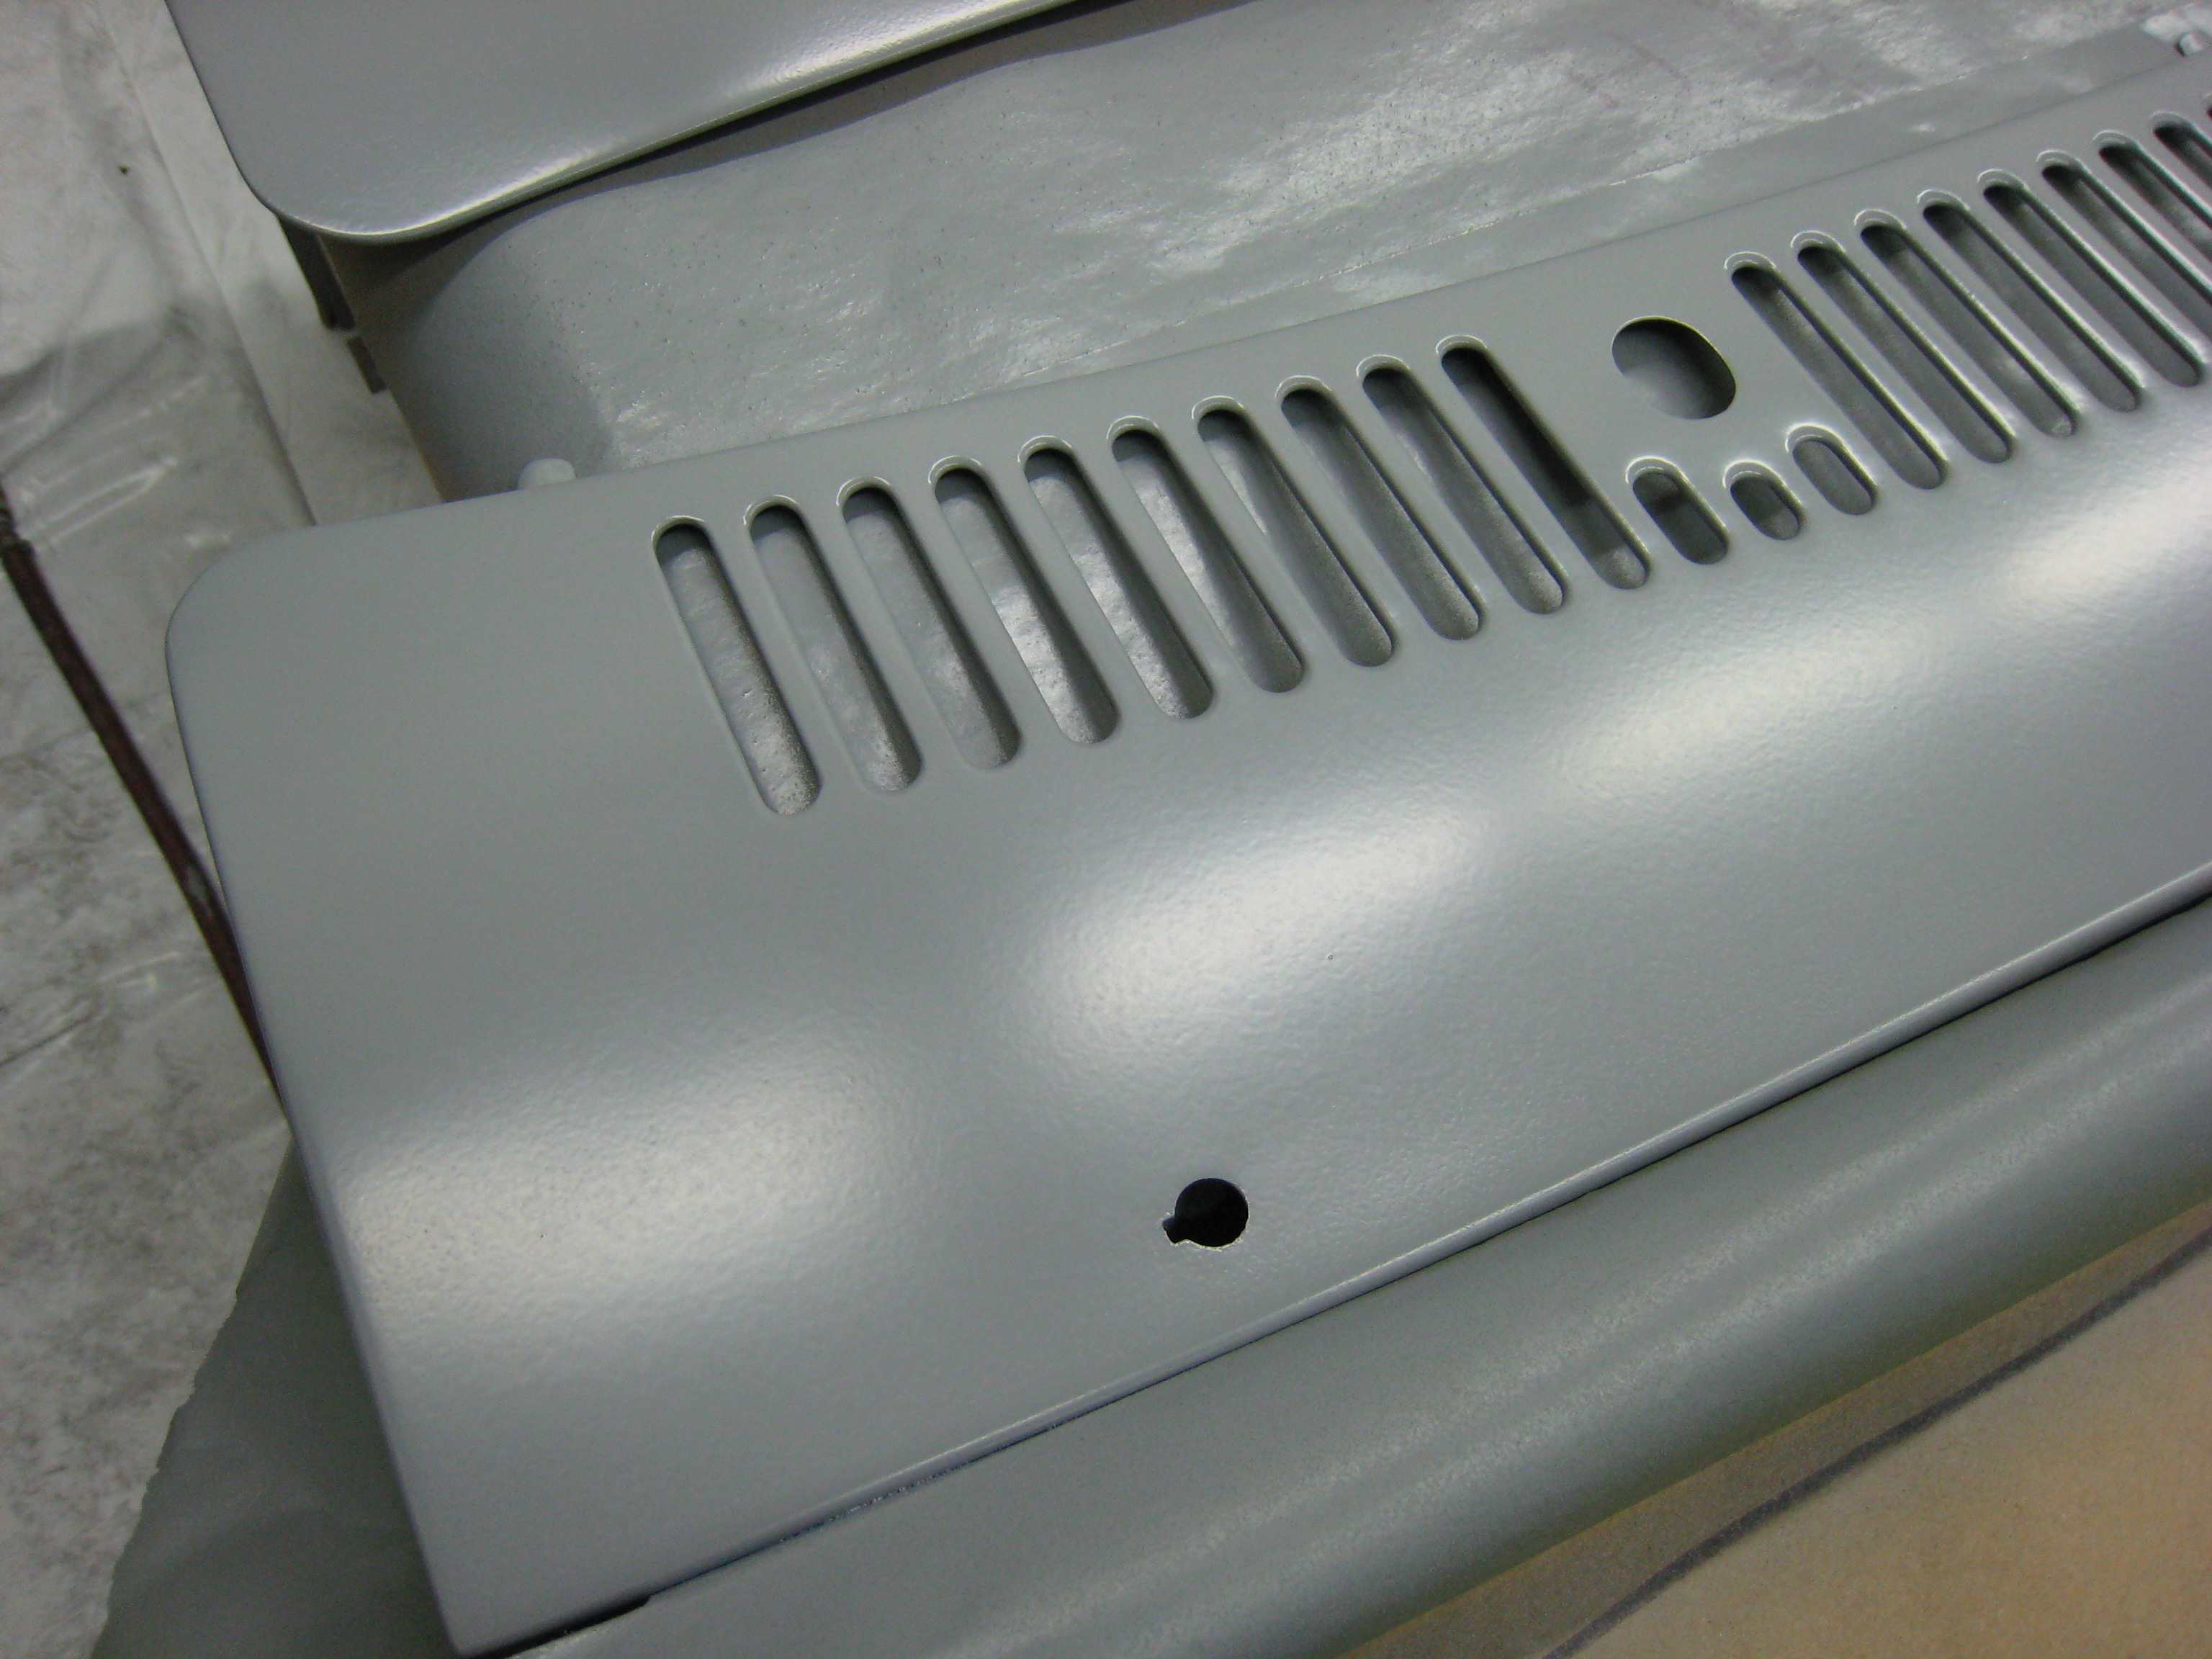
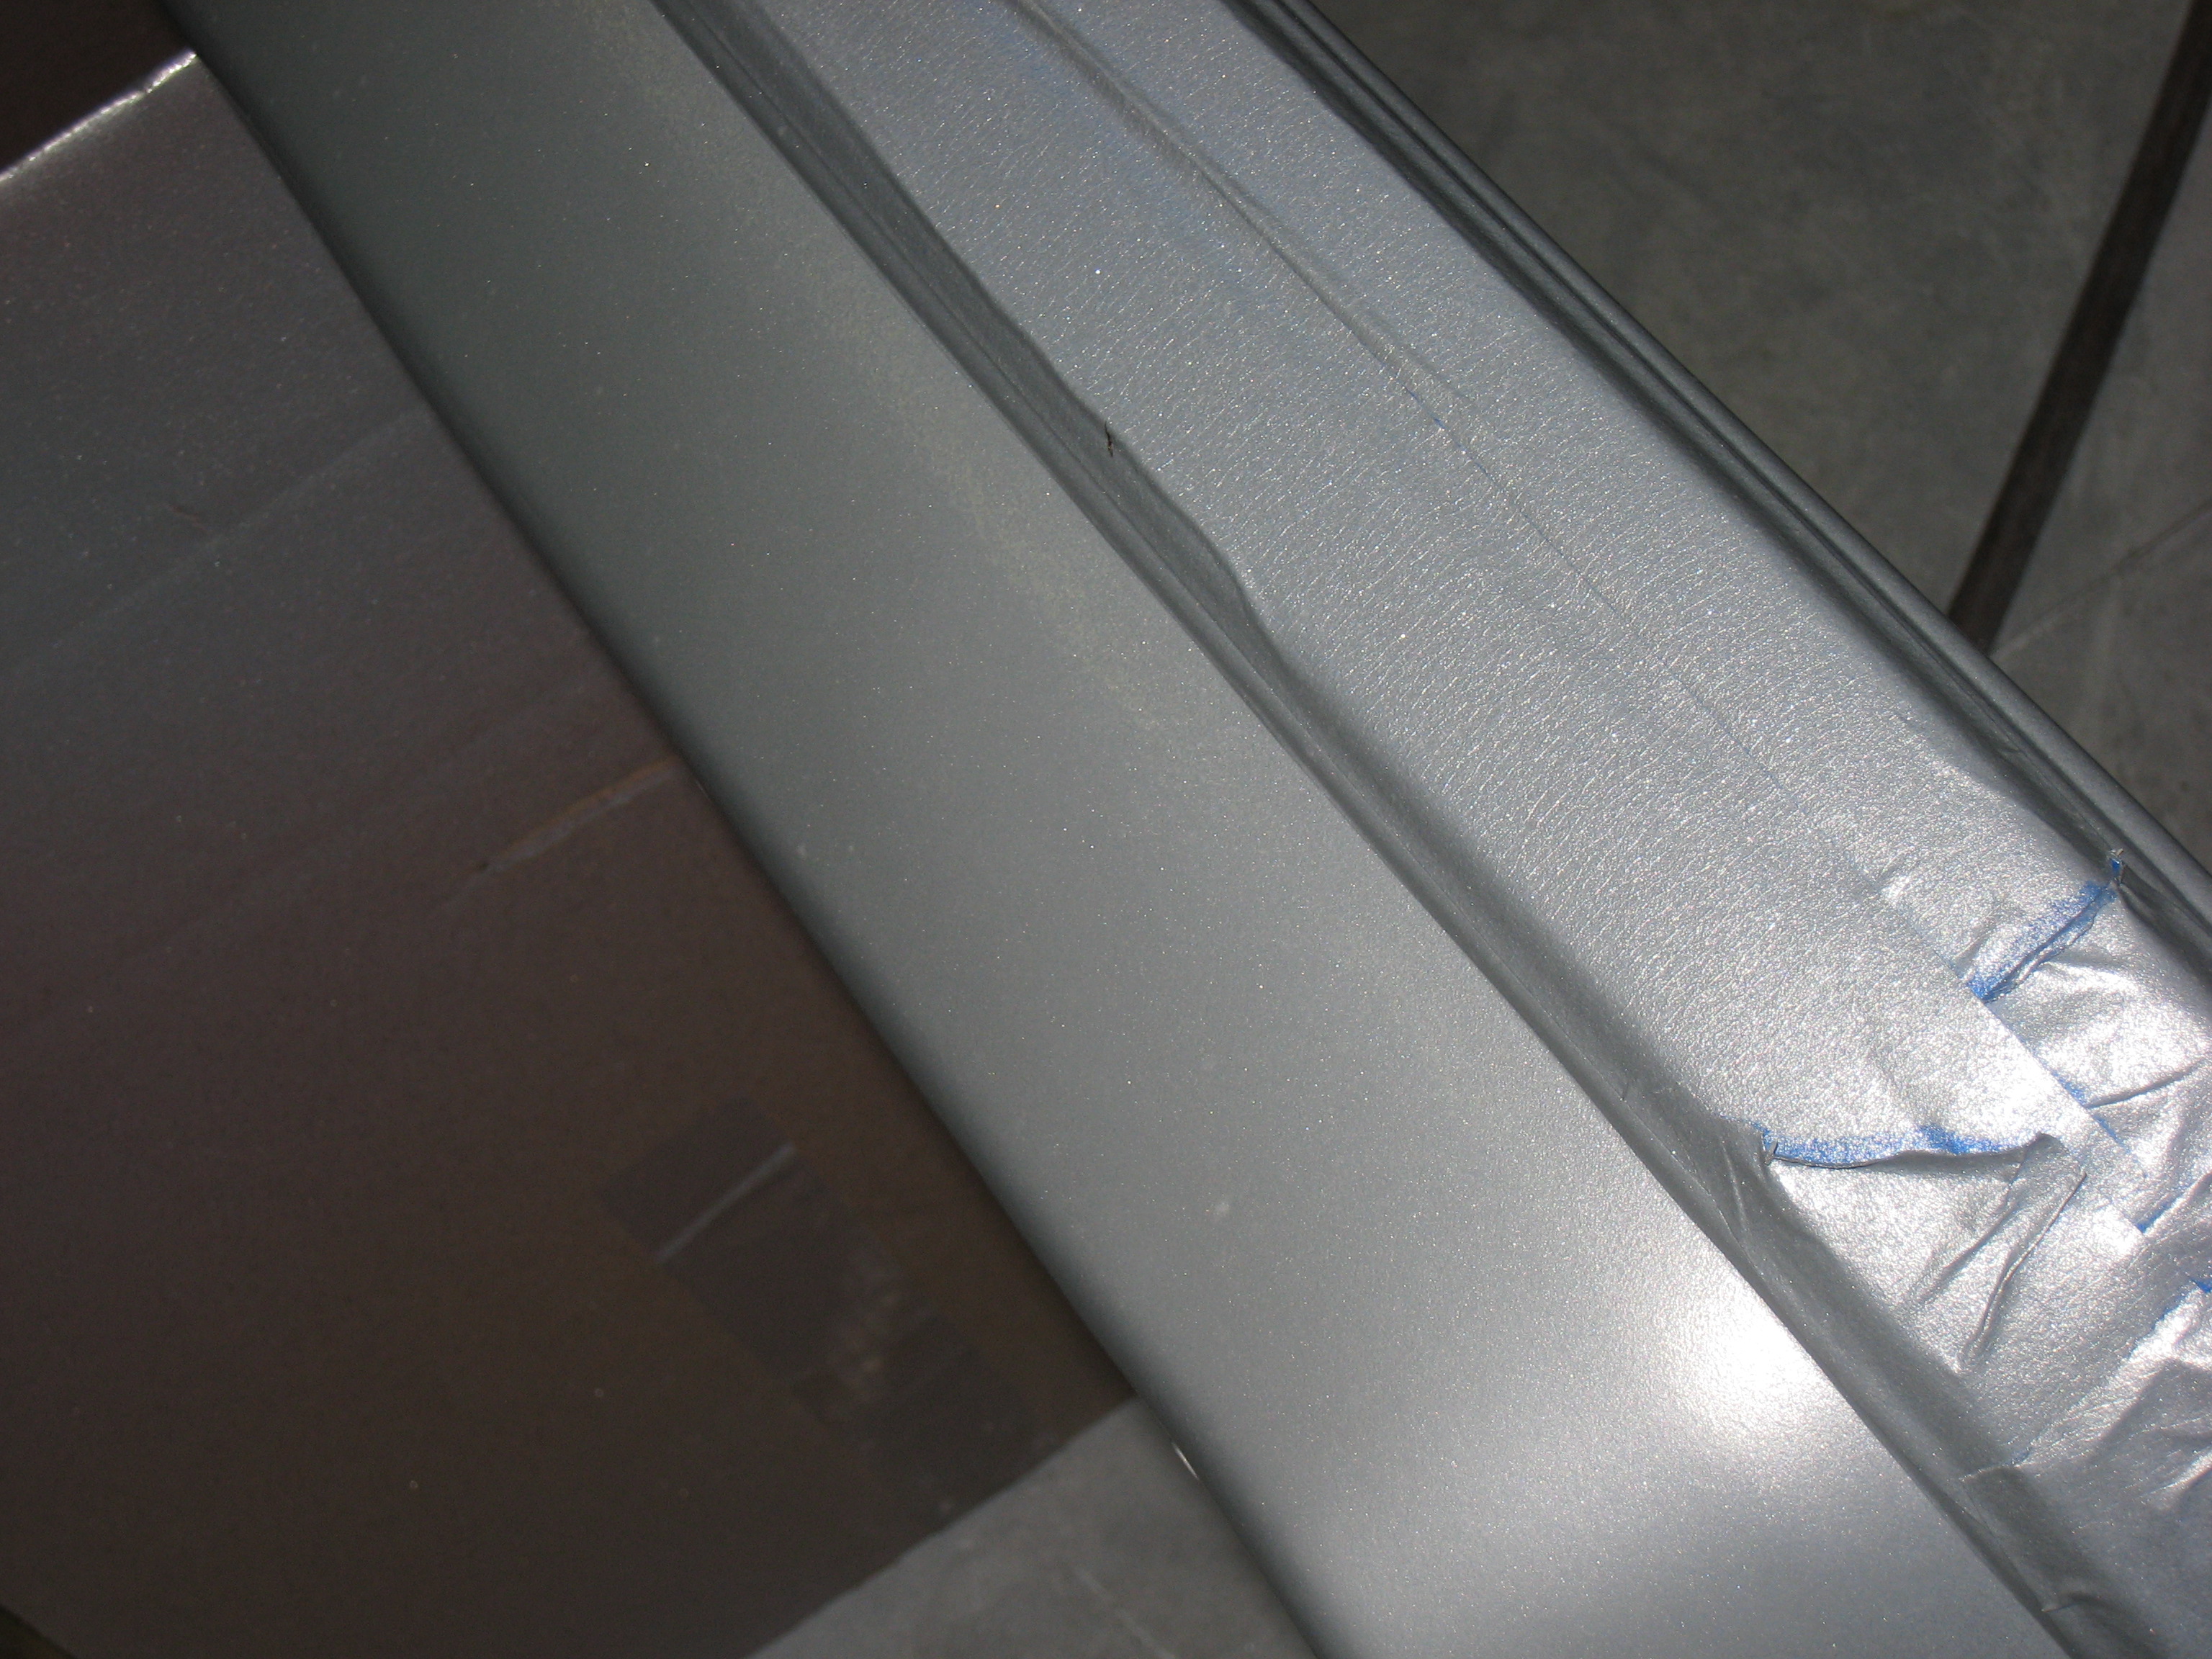
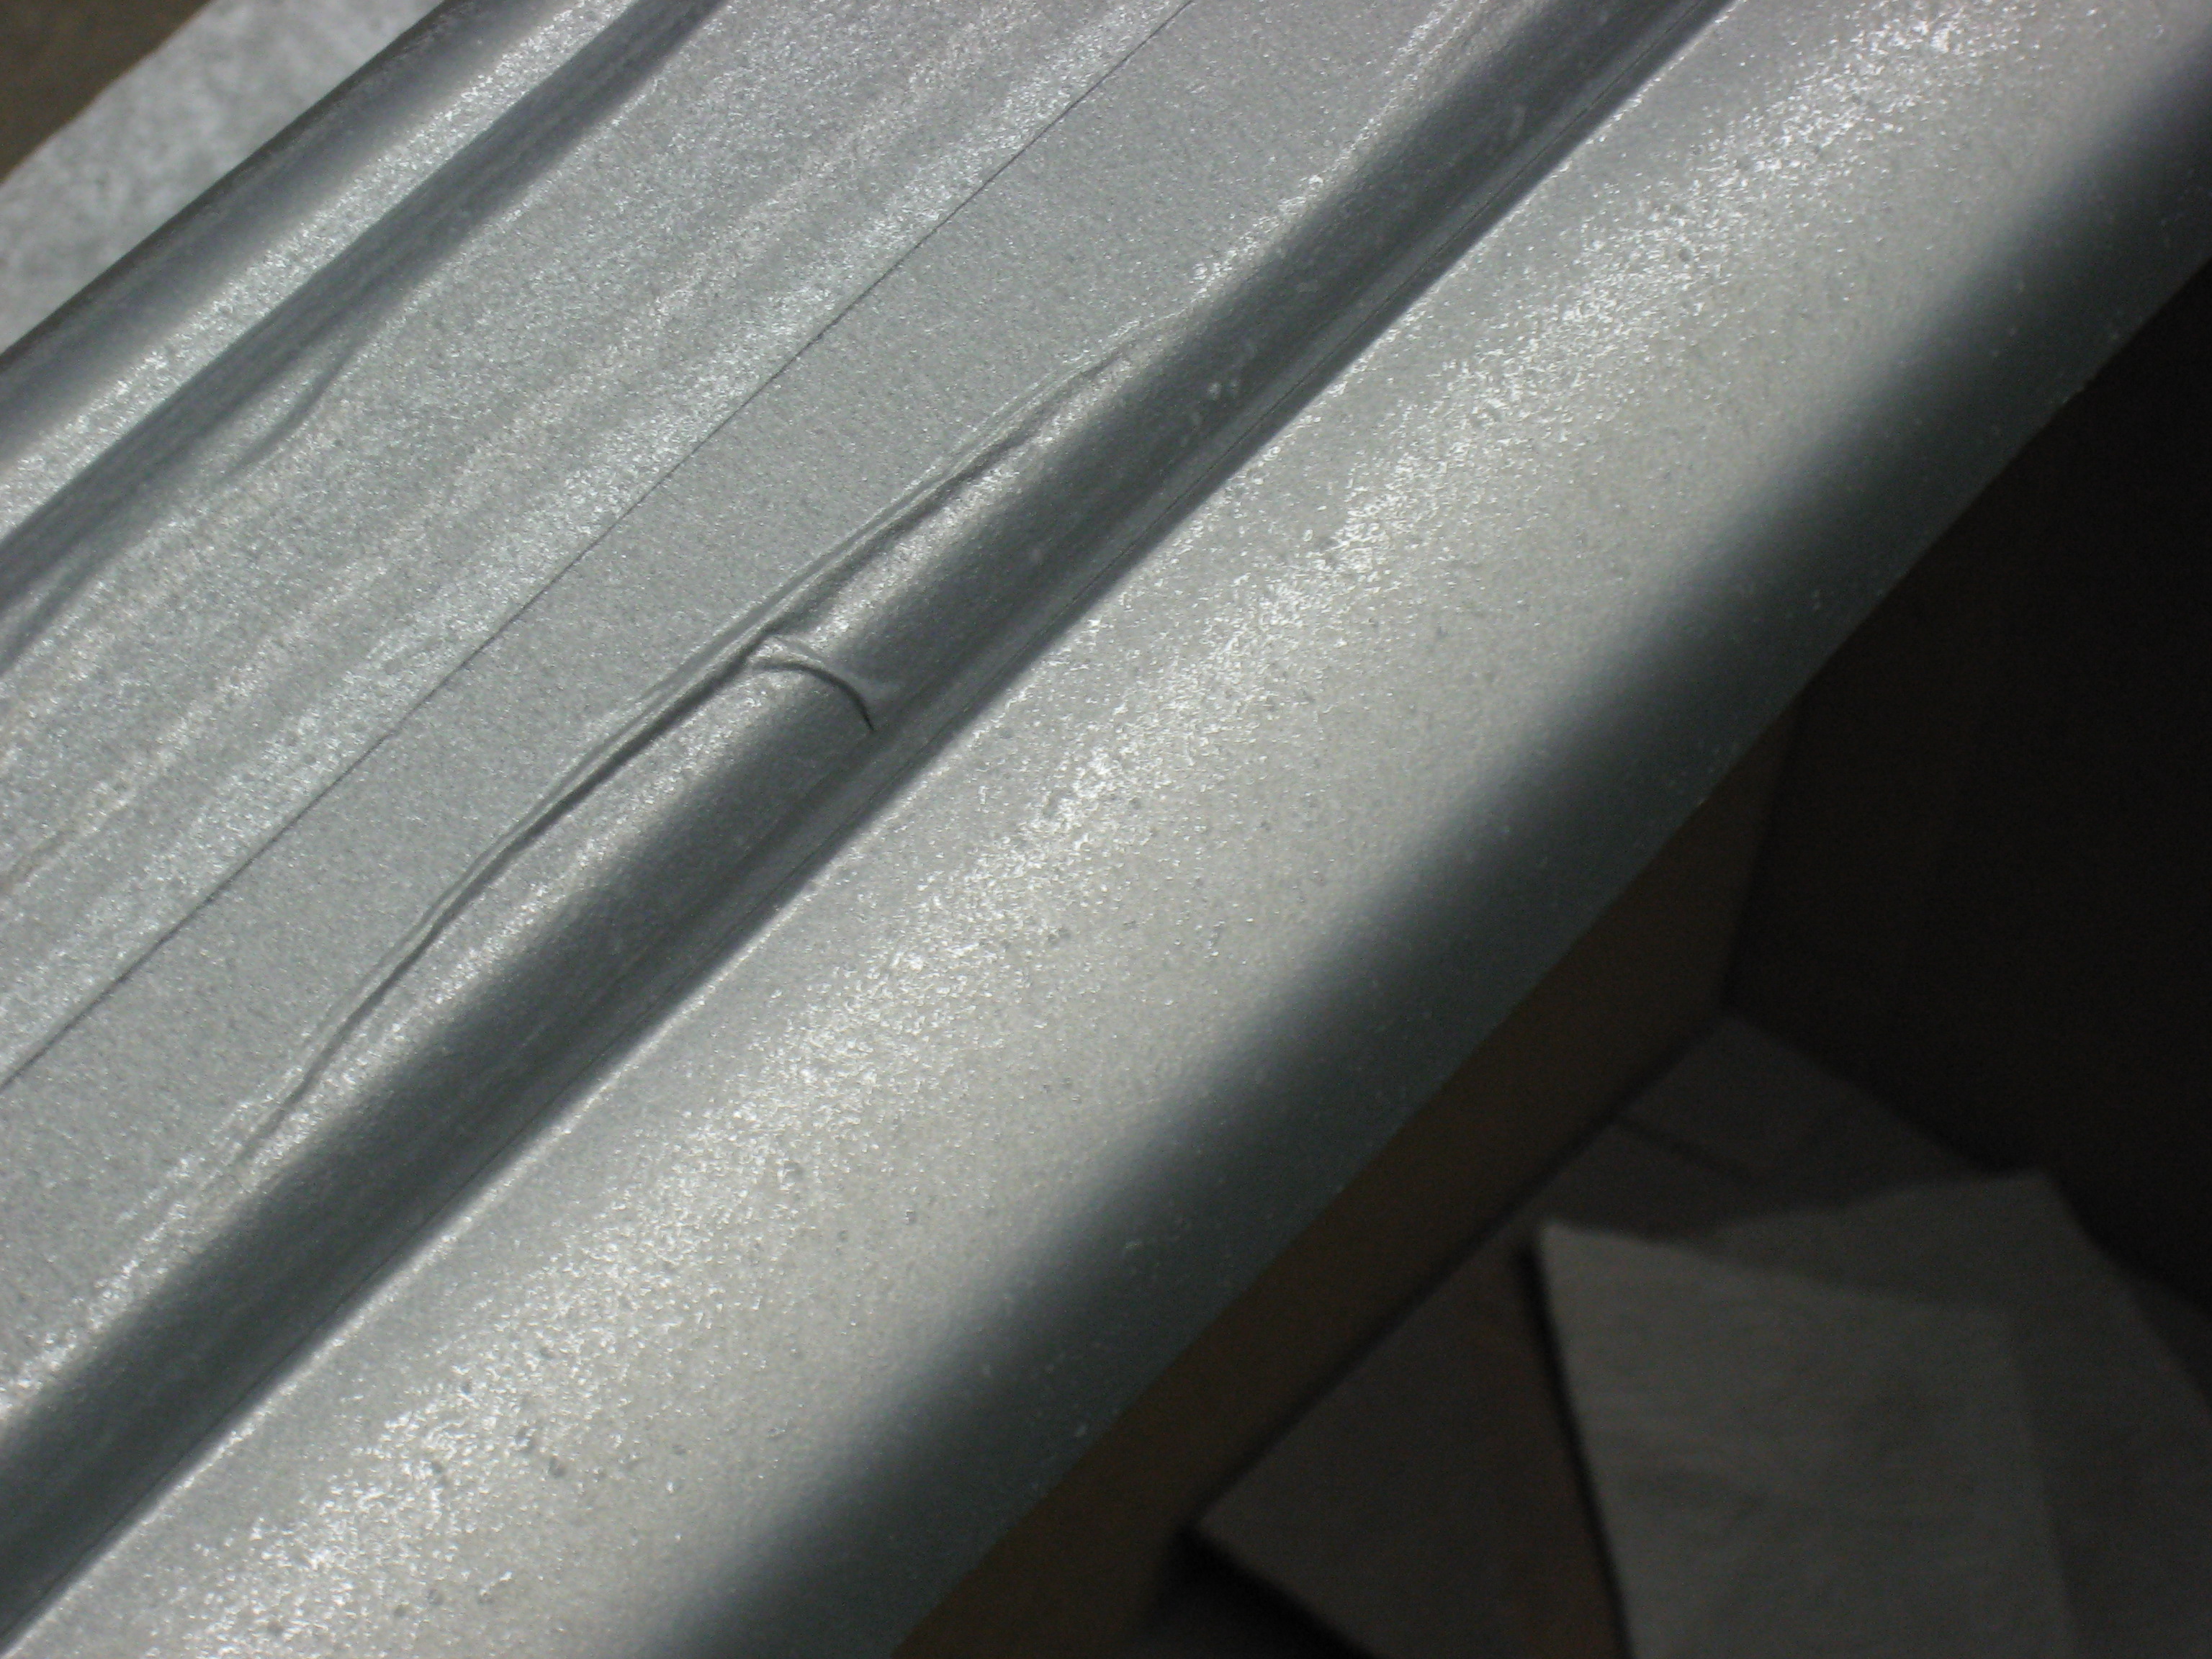
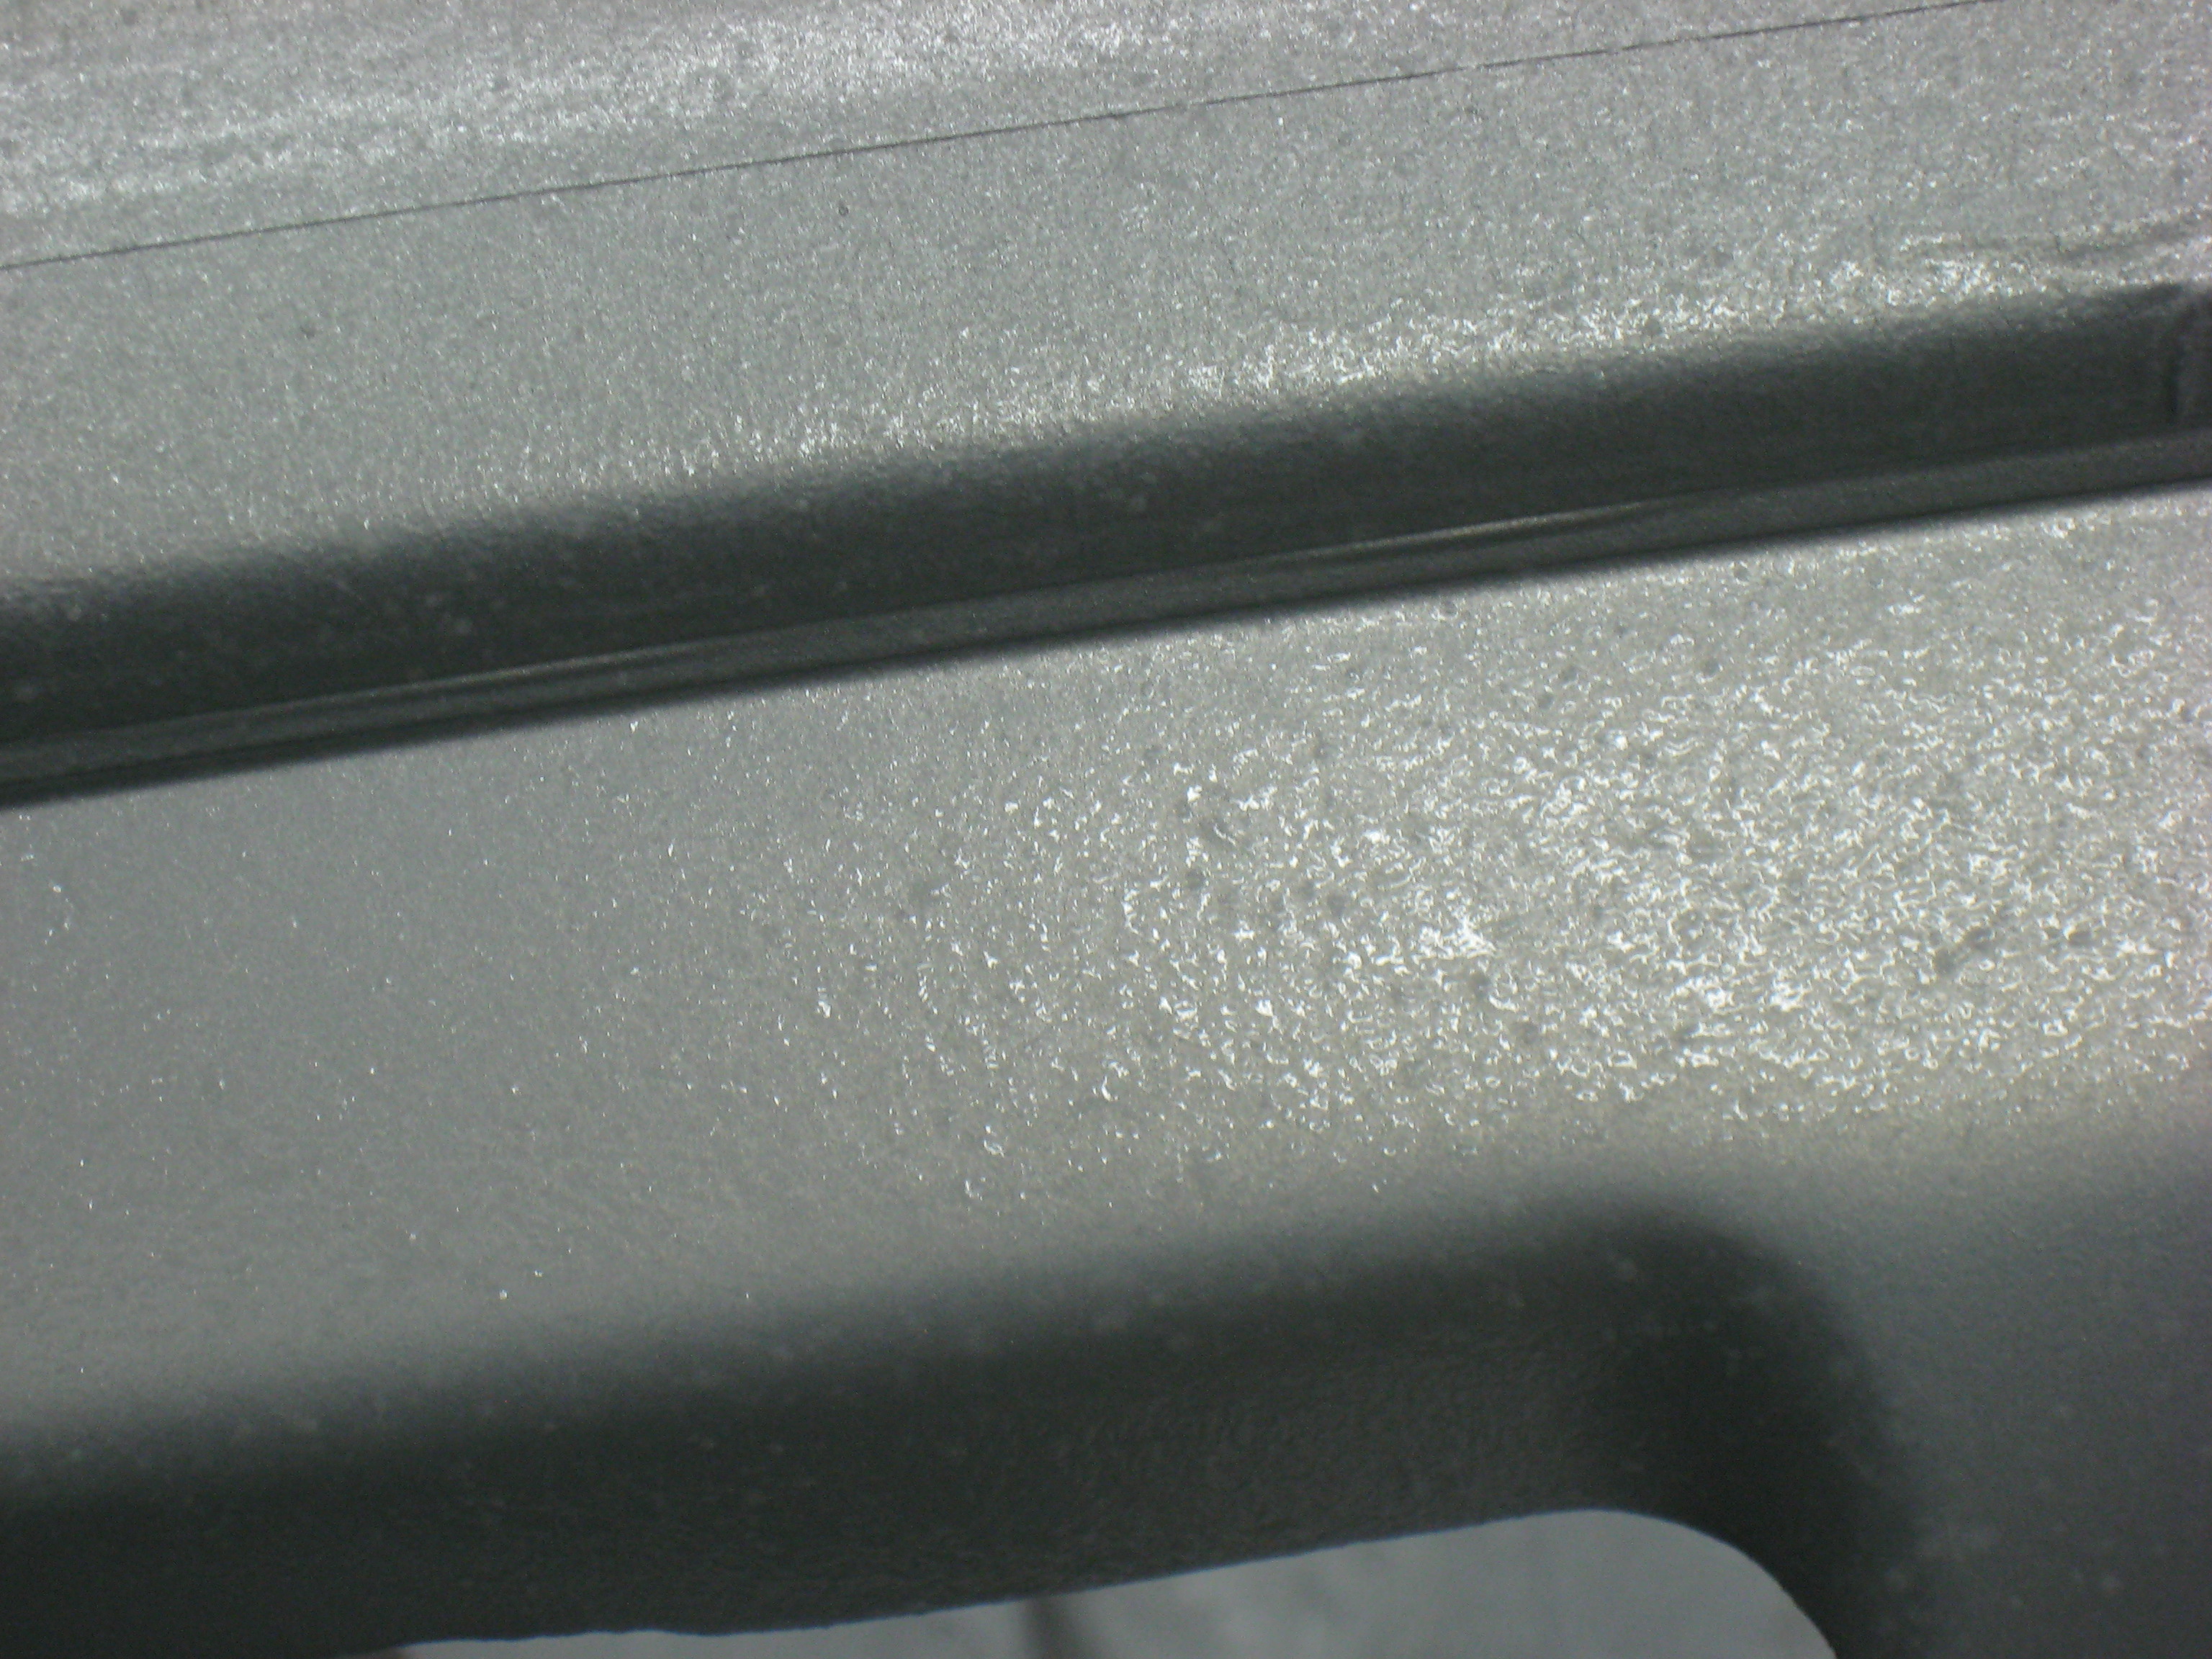
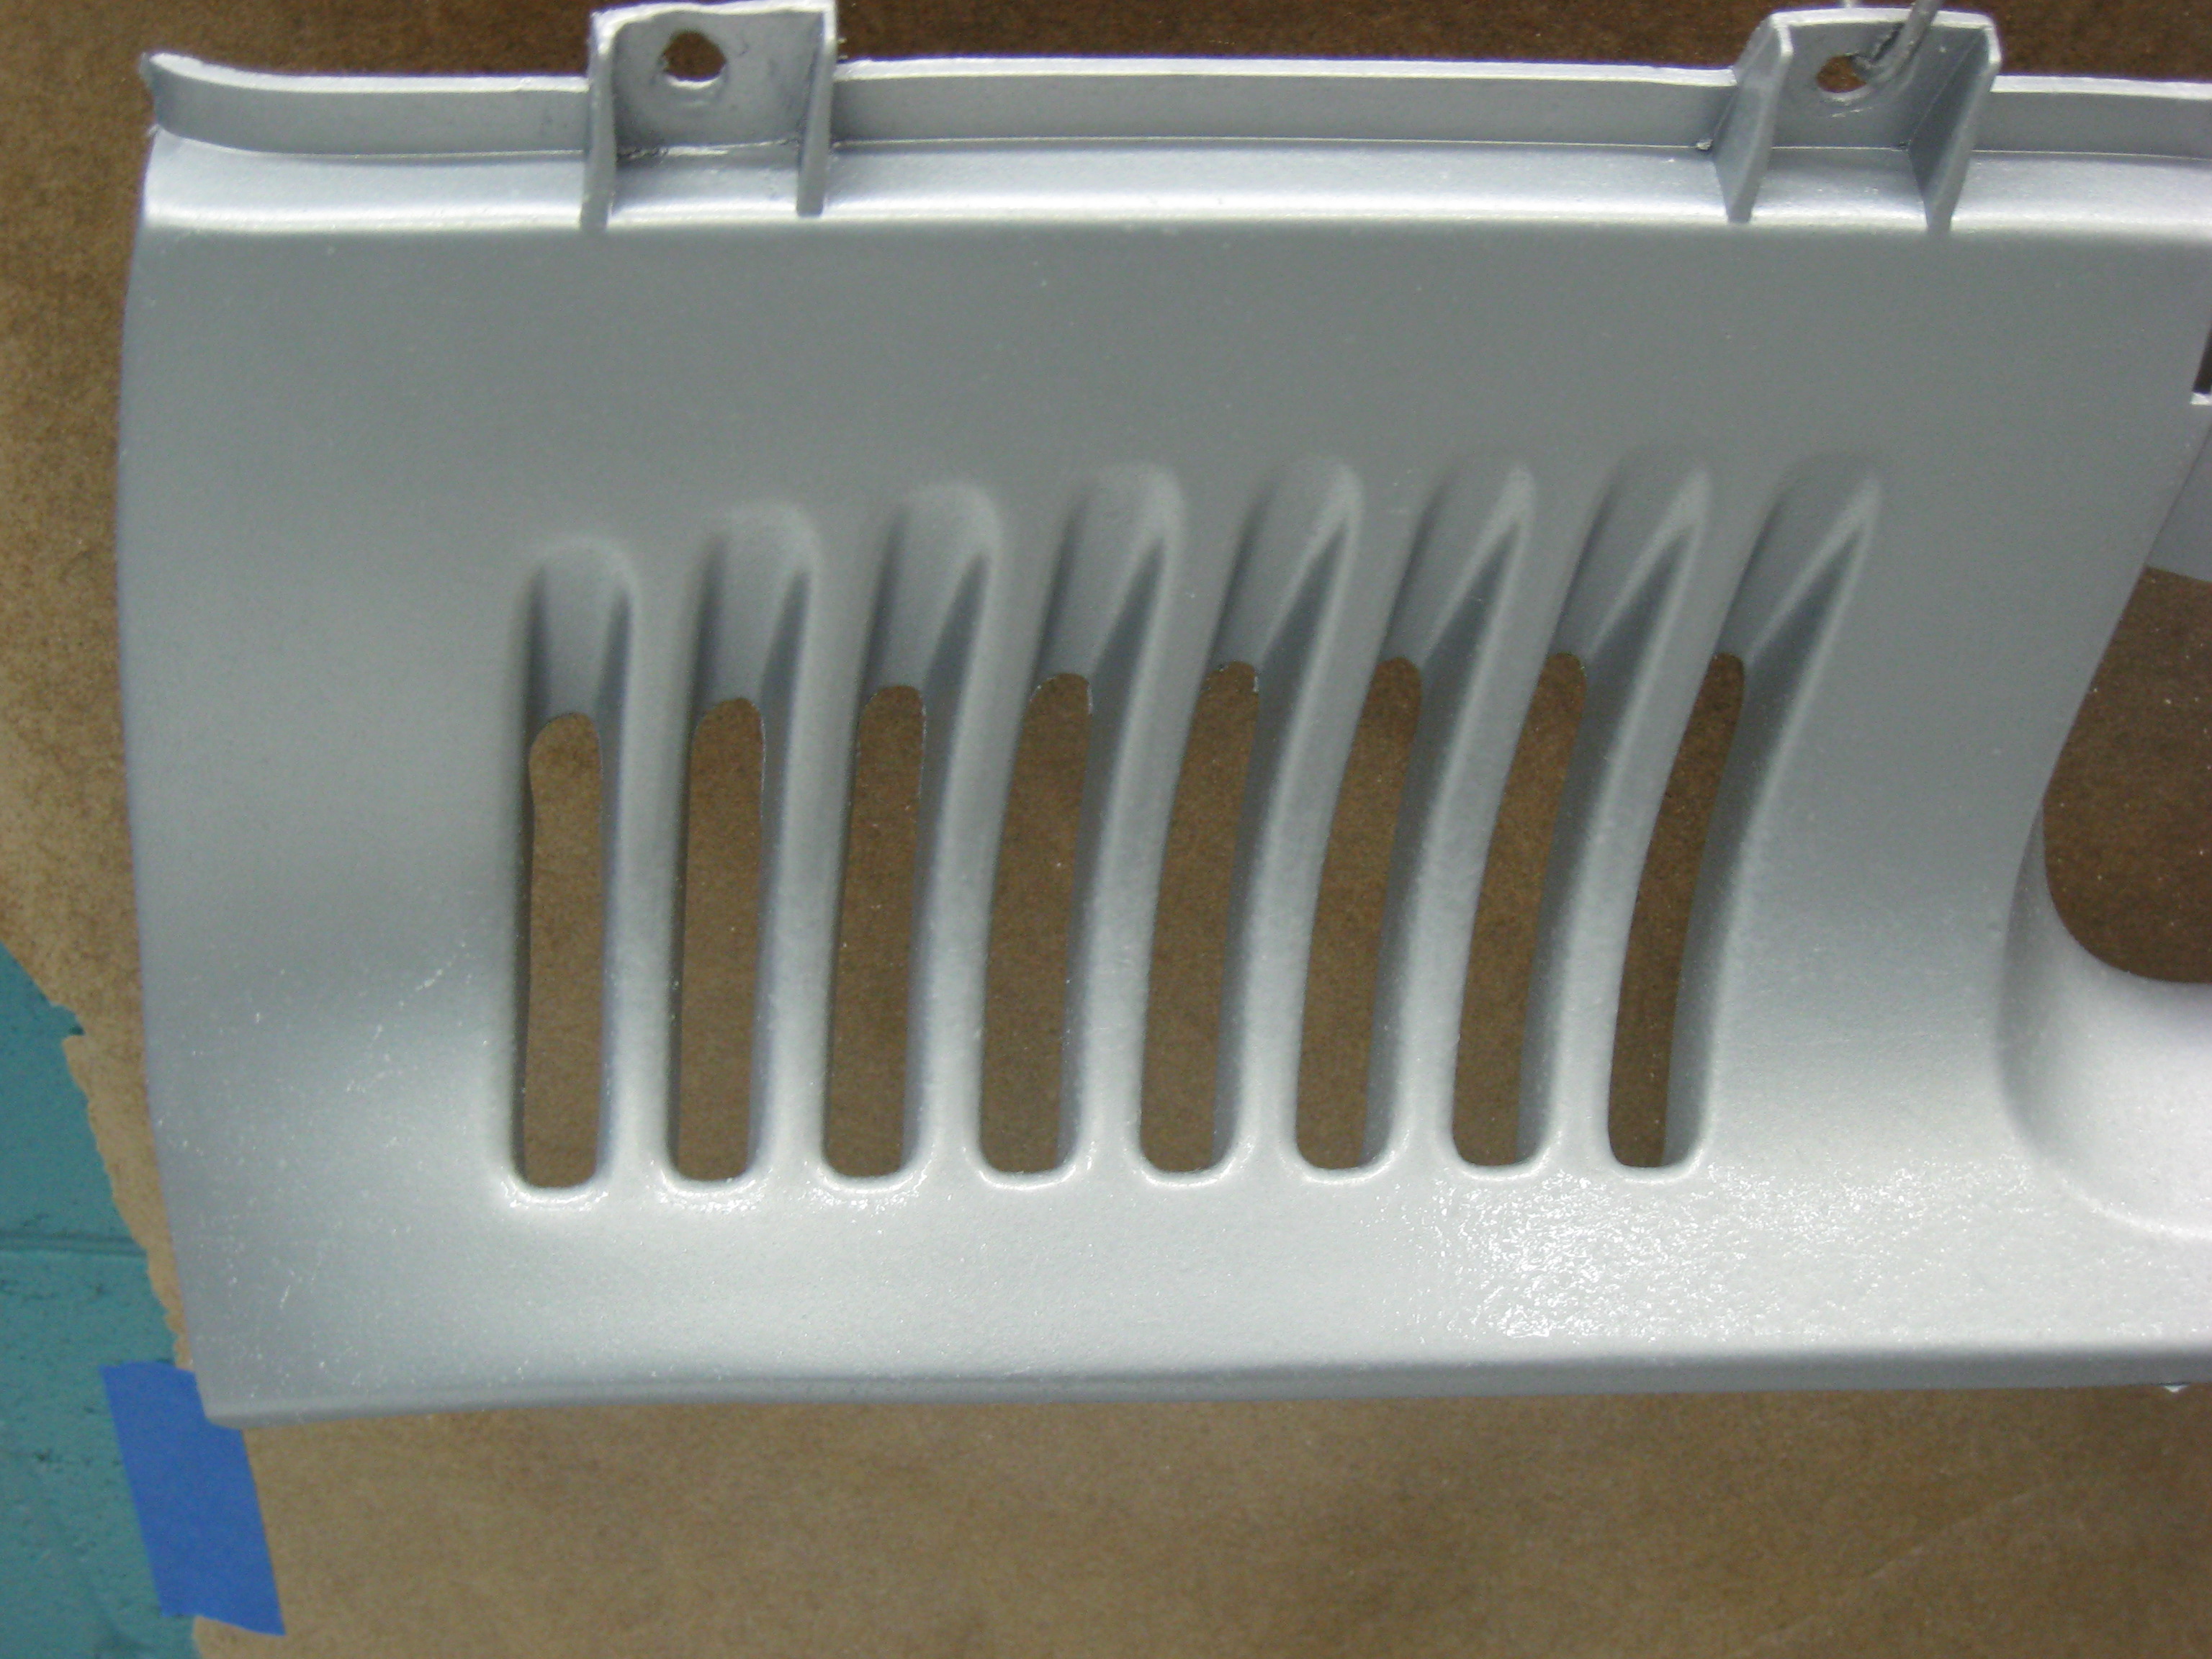
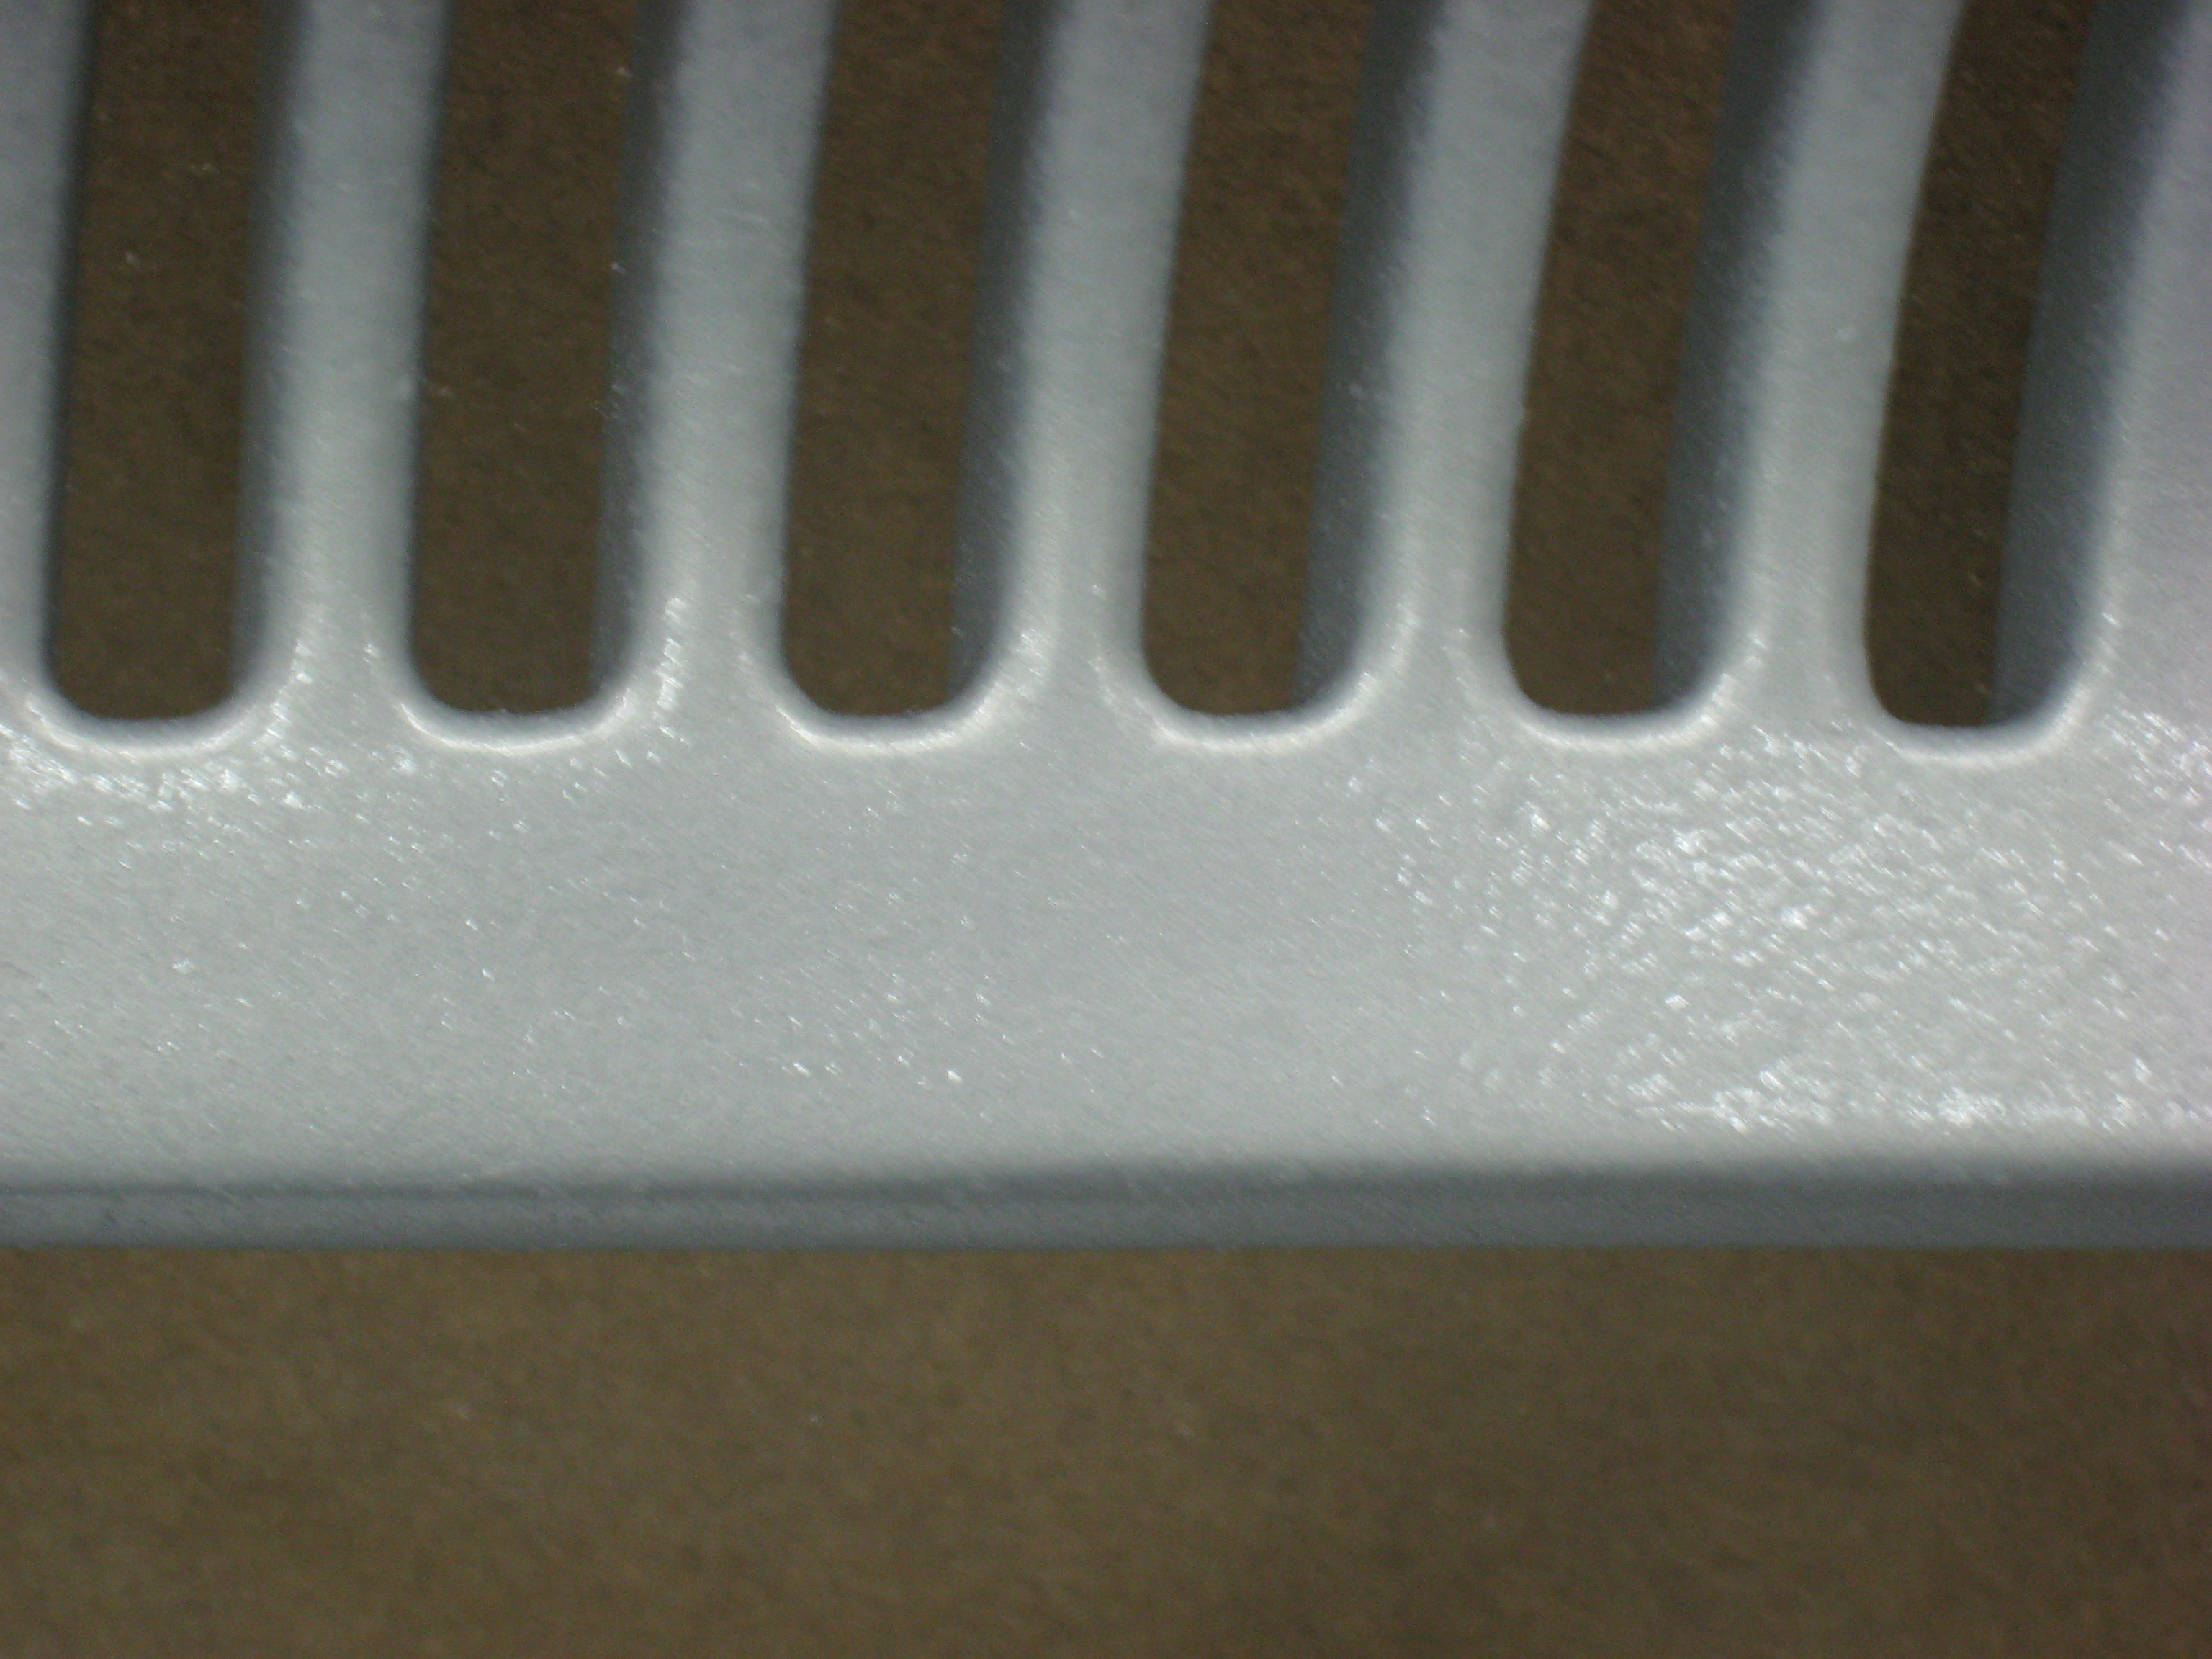
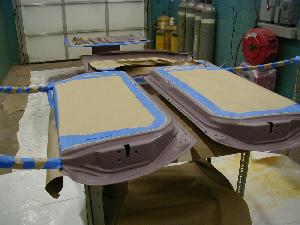
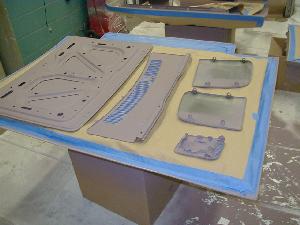
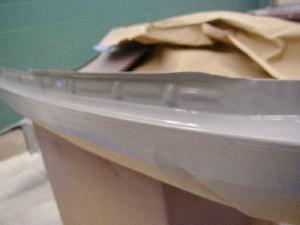
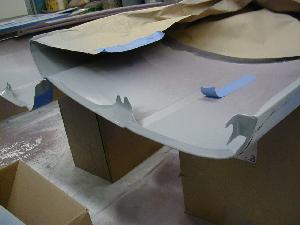
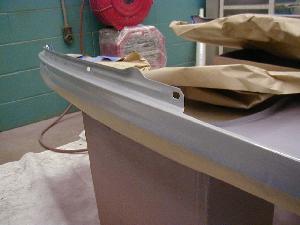
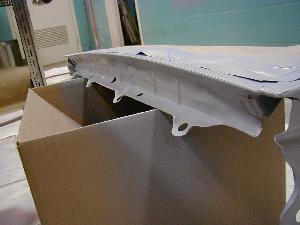
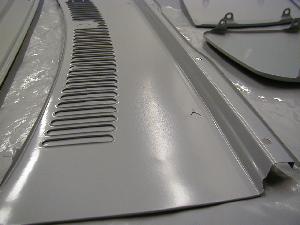
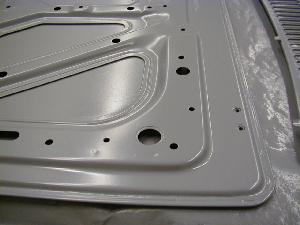
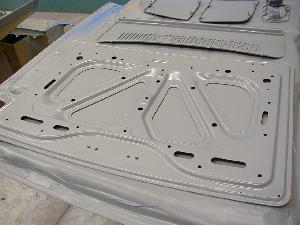
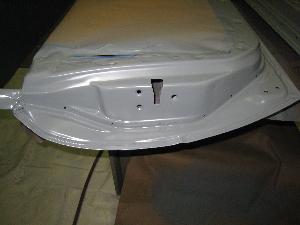
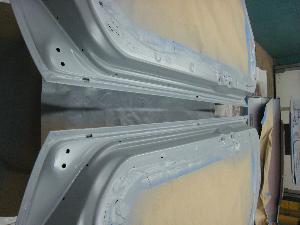
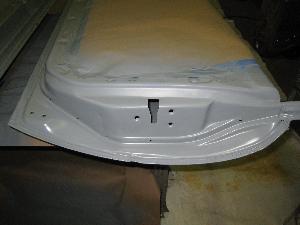
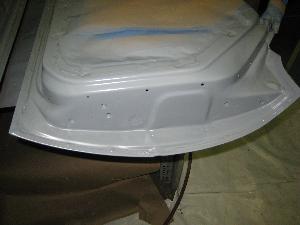
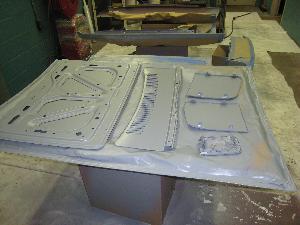
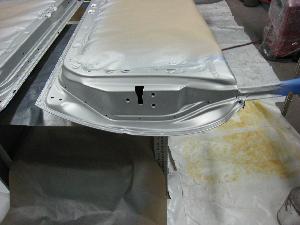
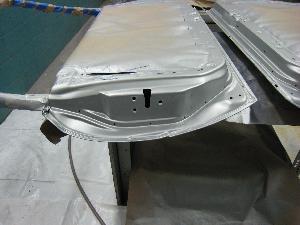
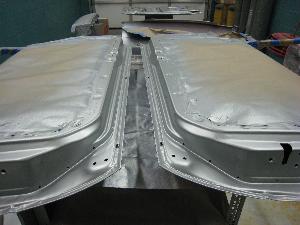
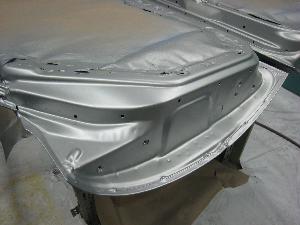
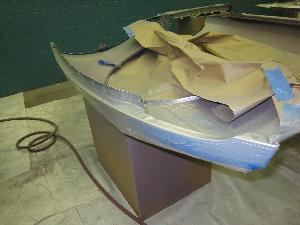
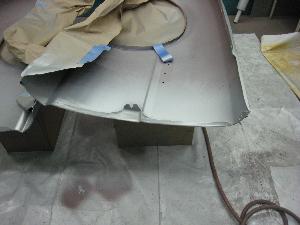
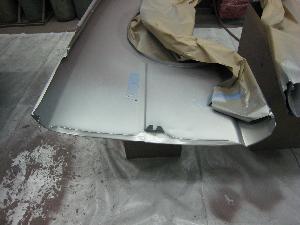
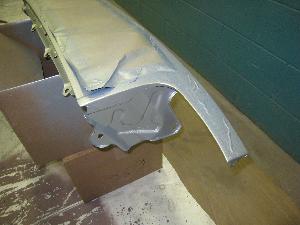
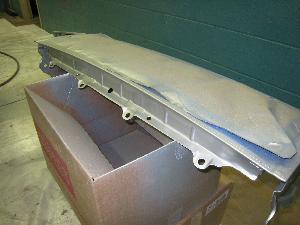
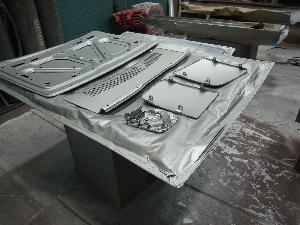
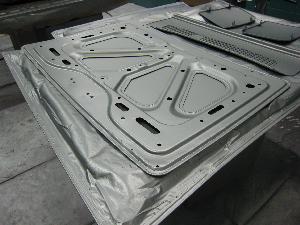
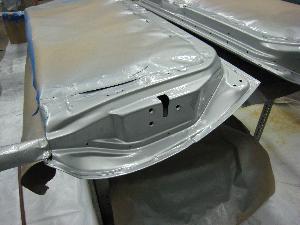
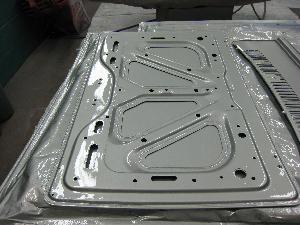
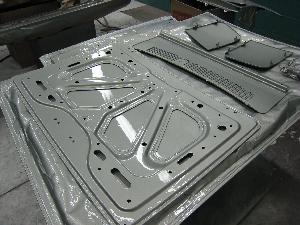
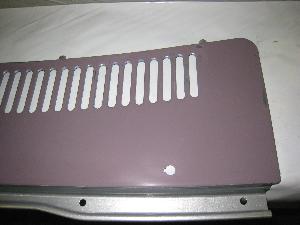
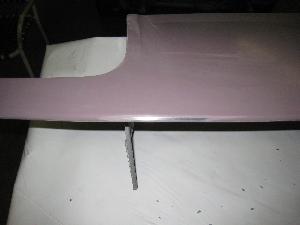
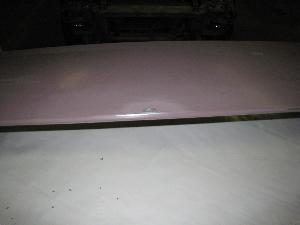
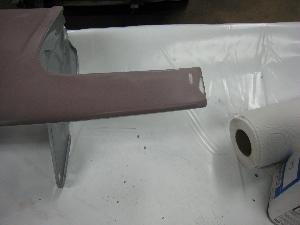
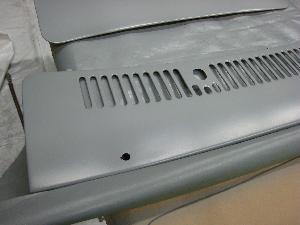
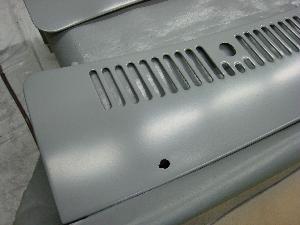
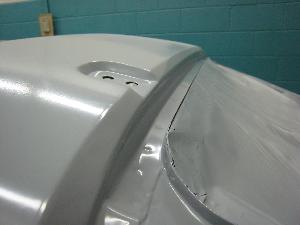
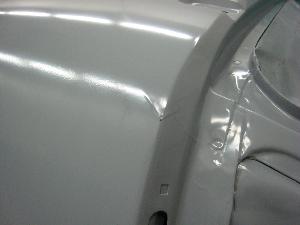
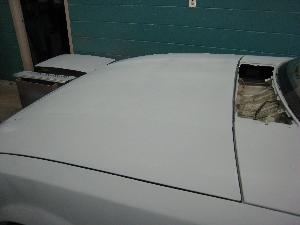
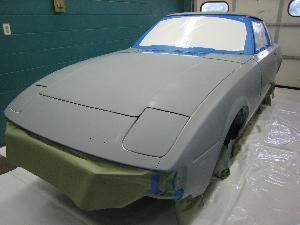
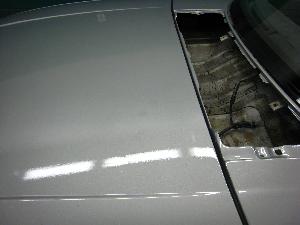
It's time to paint the backs and edges of those parts that can't be reached when the car is fully assembled. I sprayed a primer/sealer first, then followed that up with a basecoat and clearcoat. The sealer came out well enough that I didn't have to wet sand it prior to spraying the basecoat, but there were a few drips that I sanded down the next day and re-sprayed.


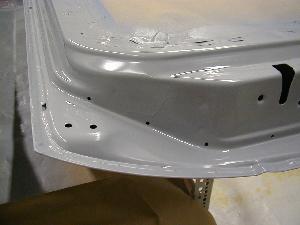
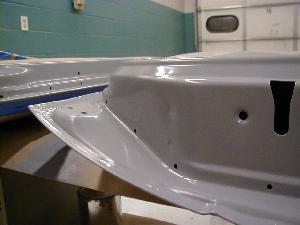


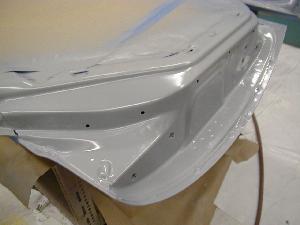
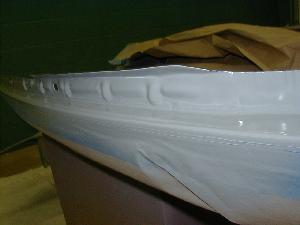

March 22, 07
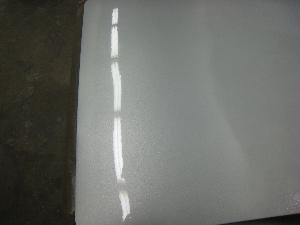
Just cleaning up that sealer:

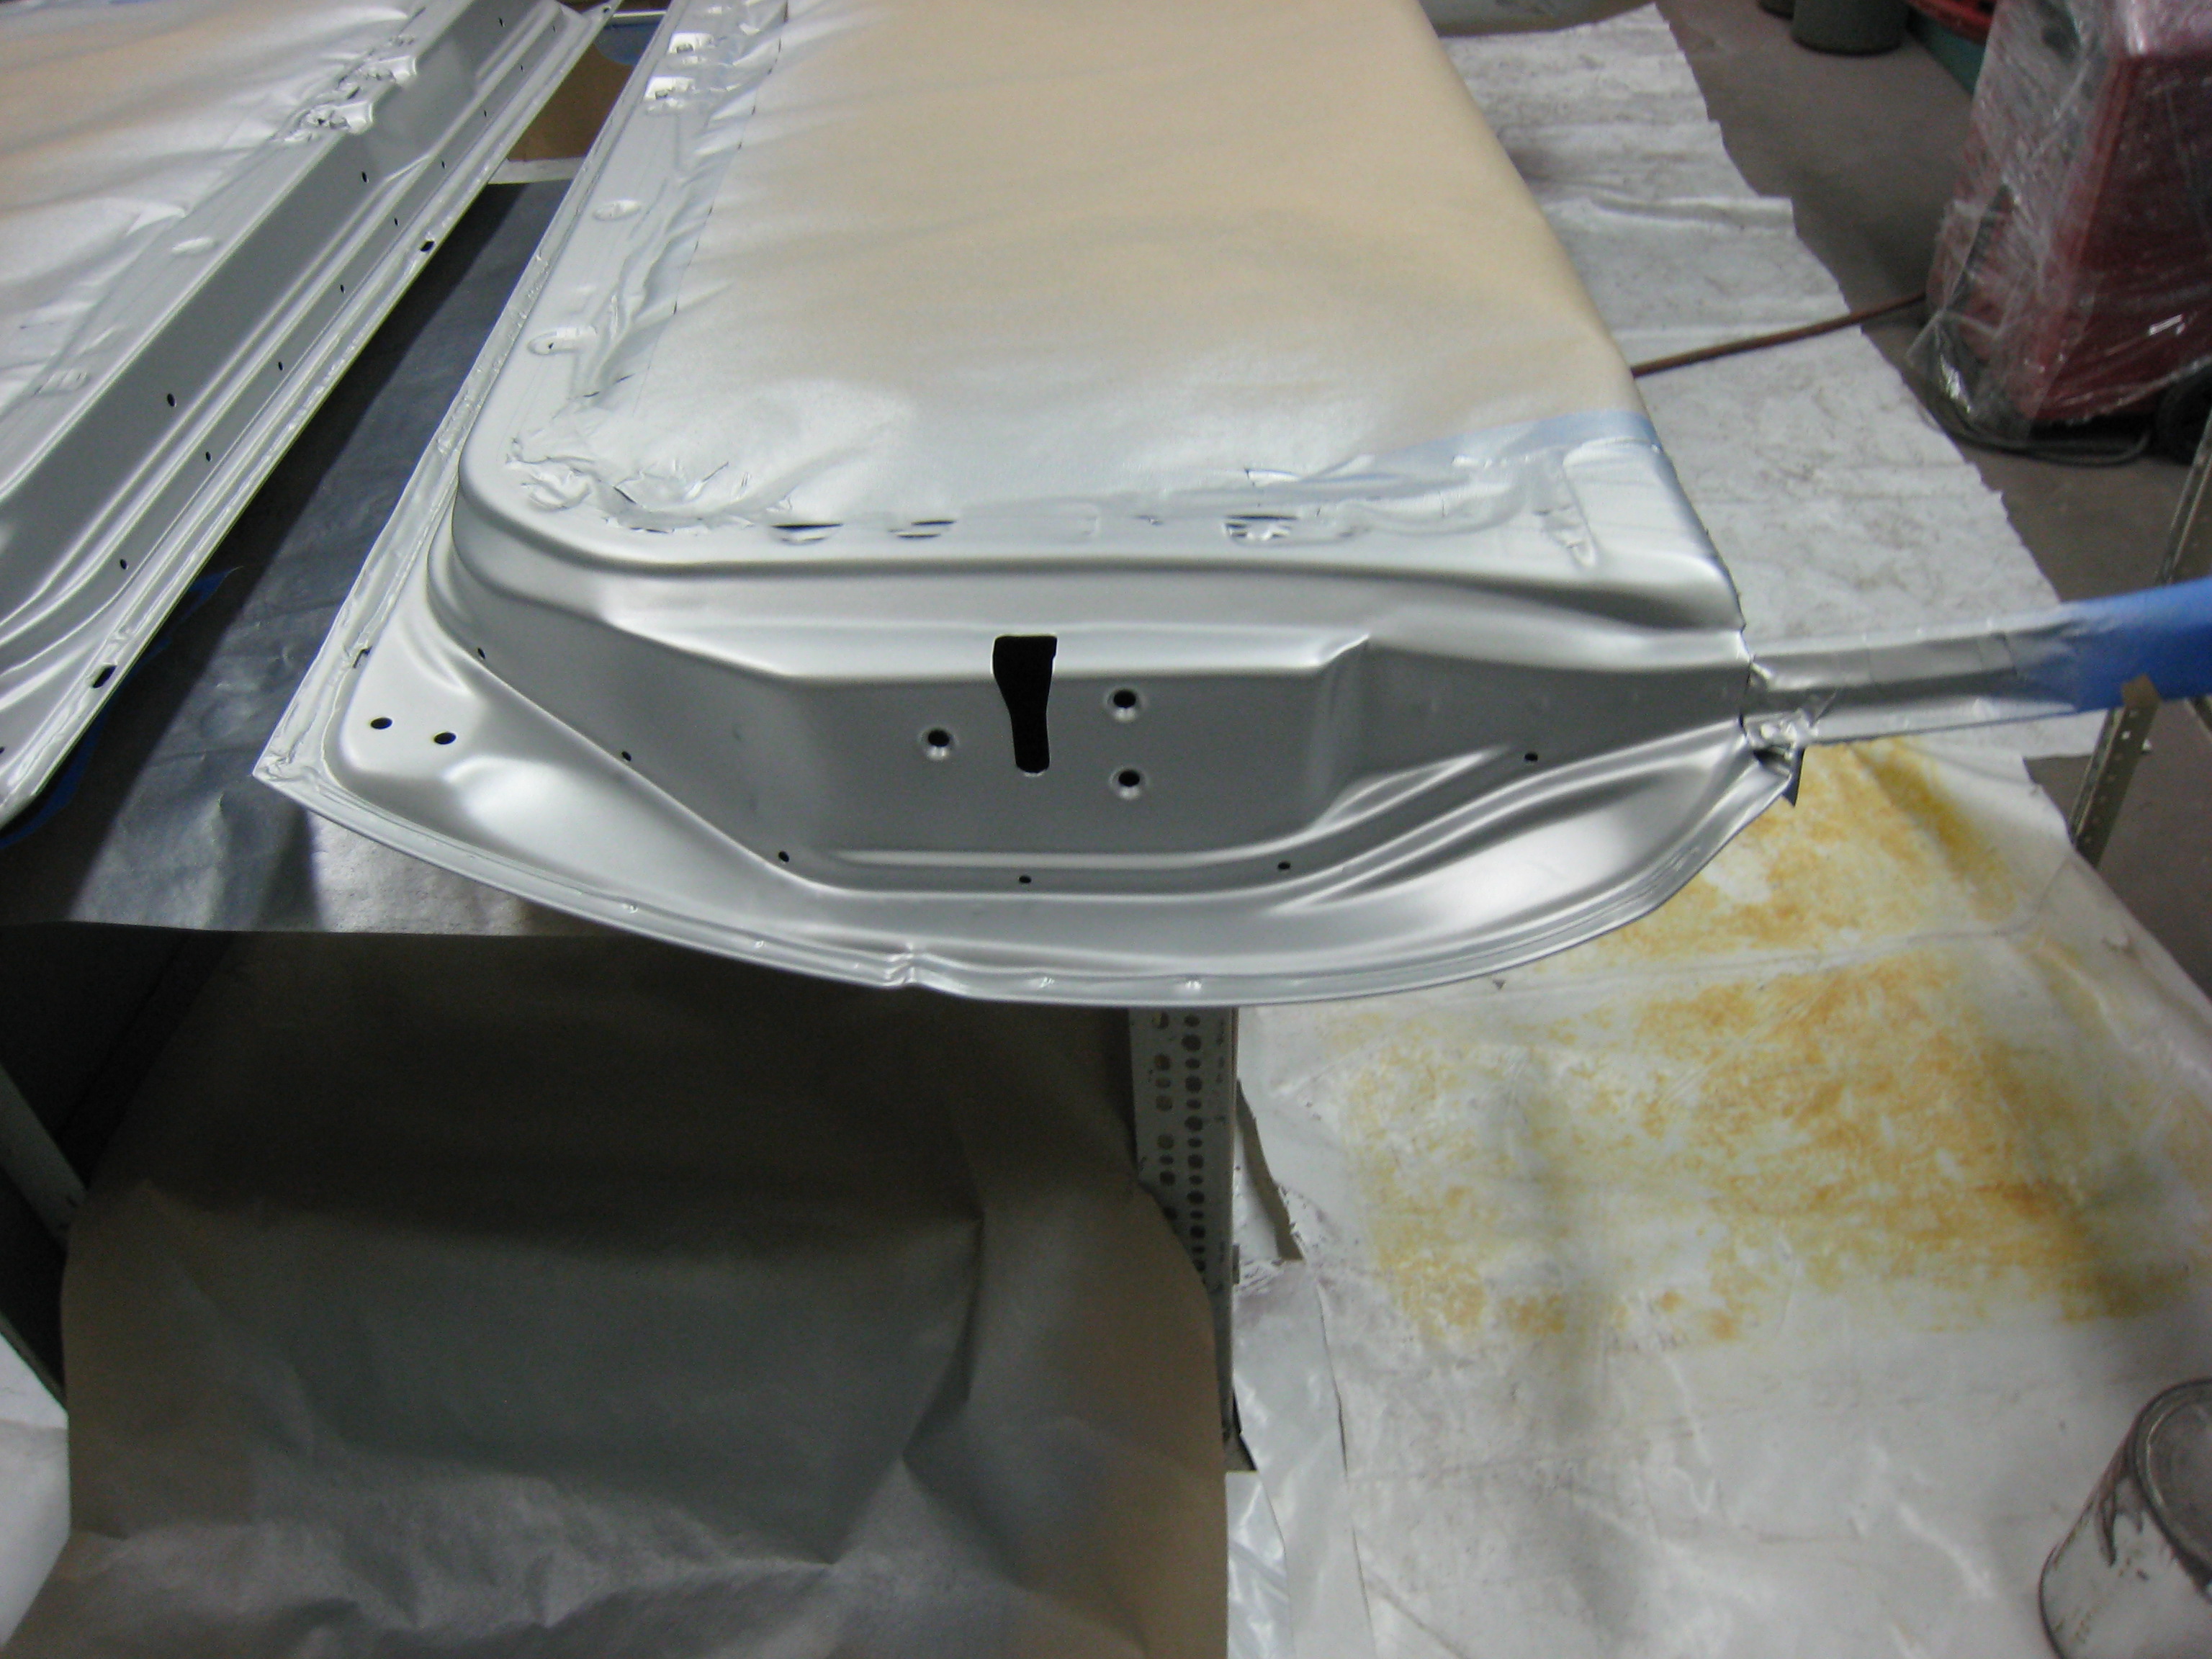
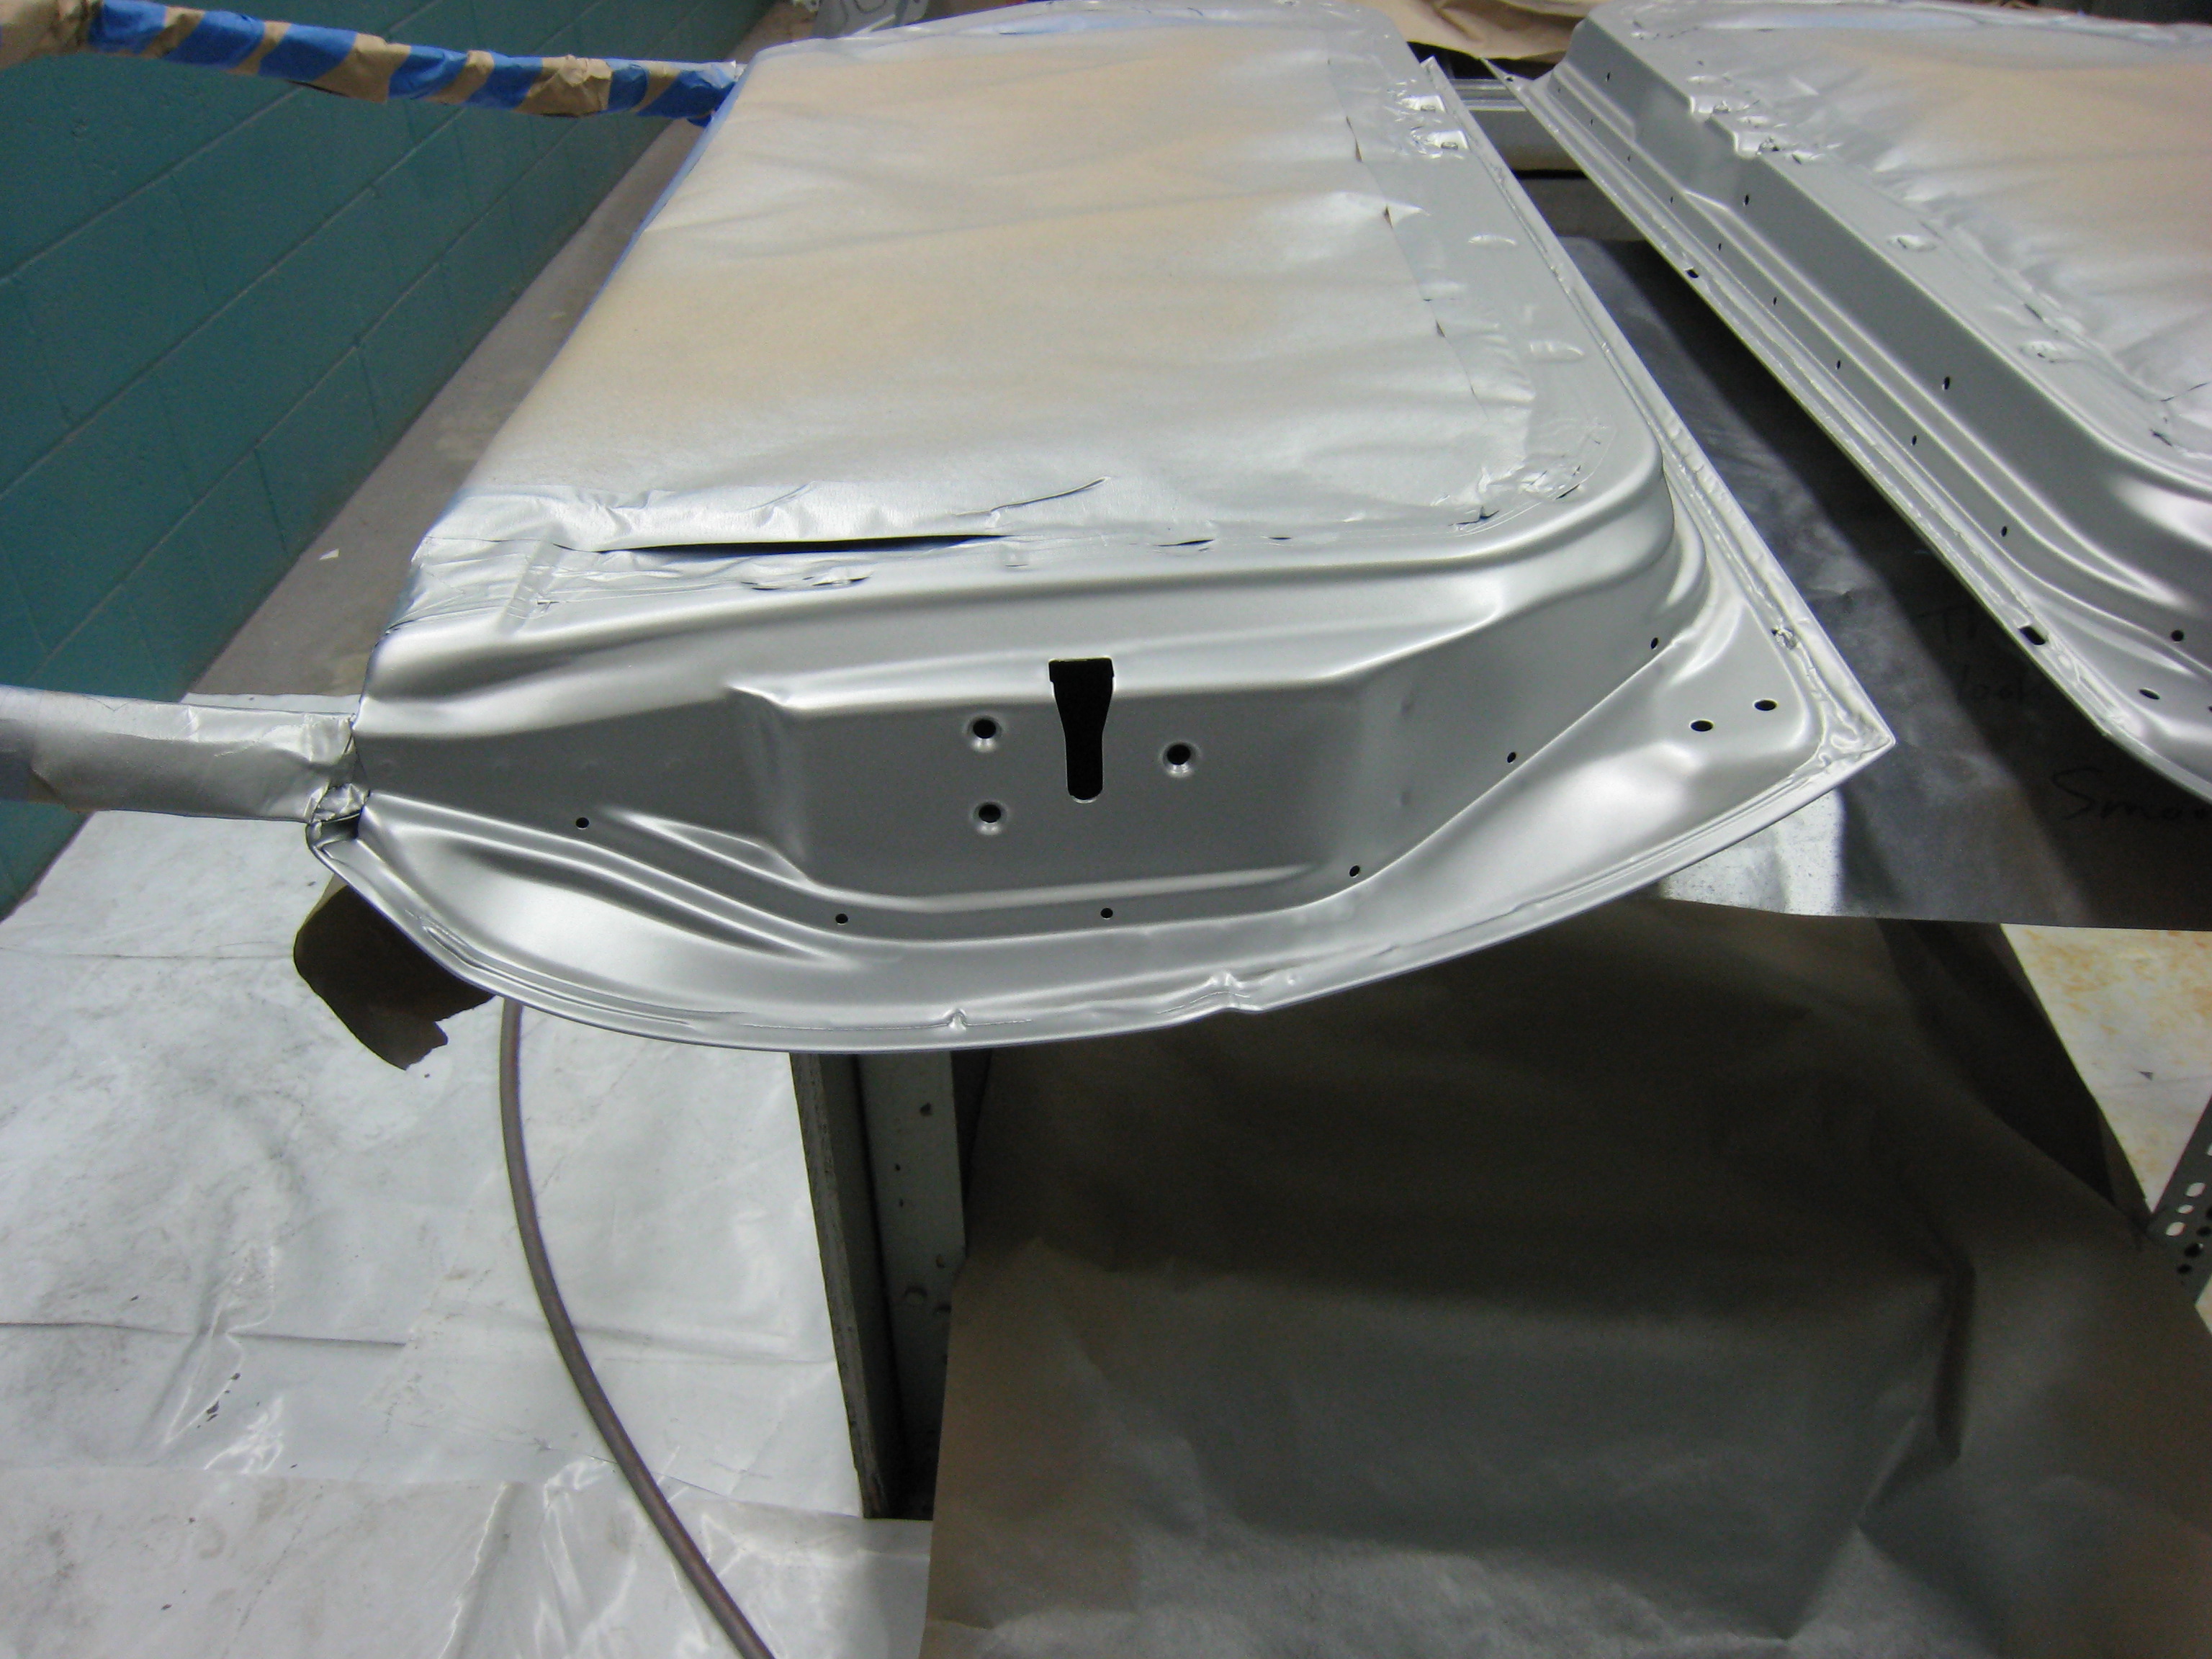
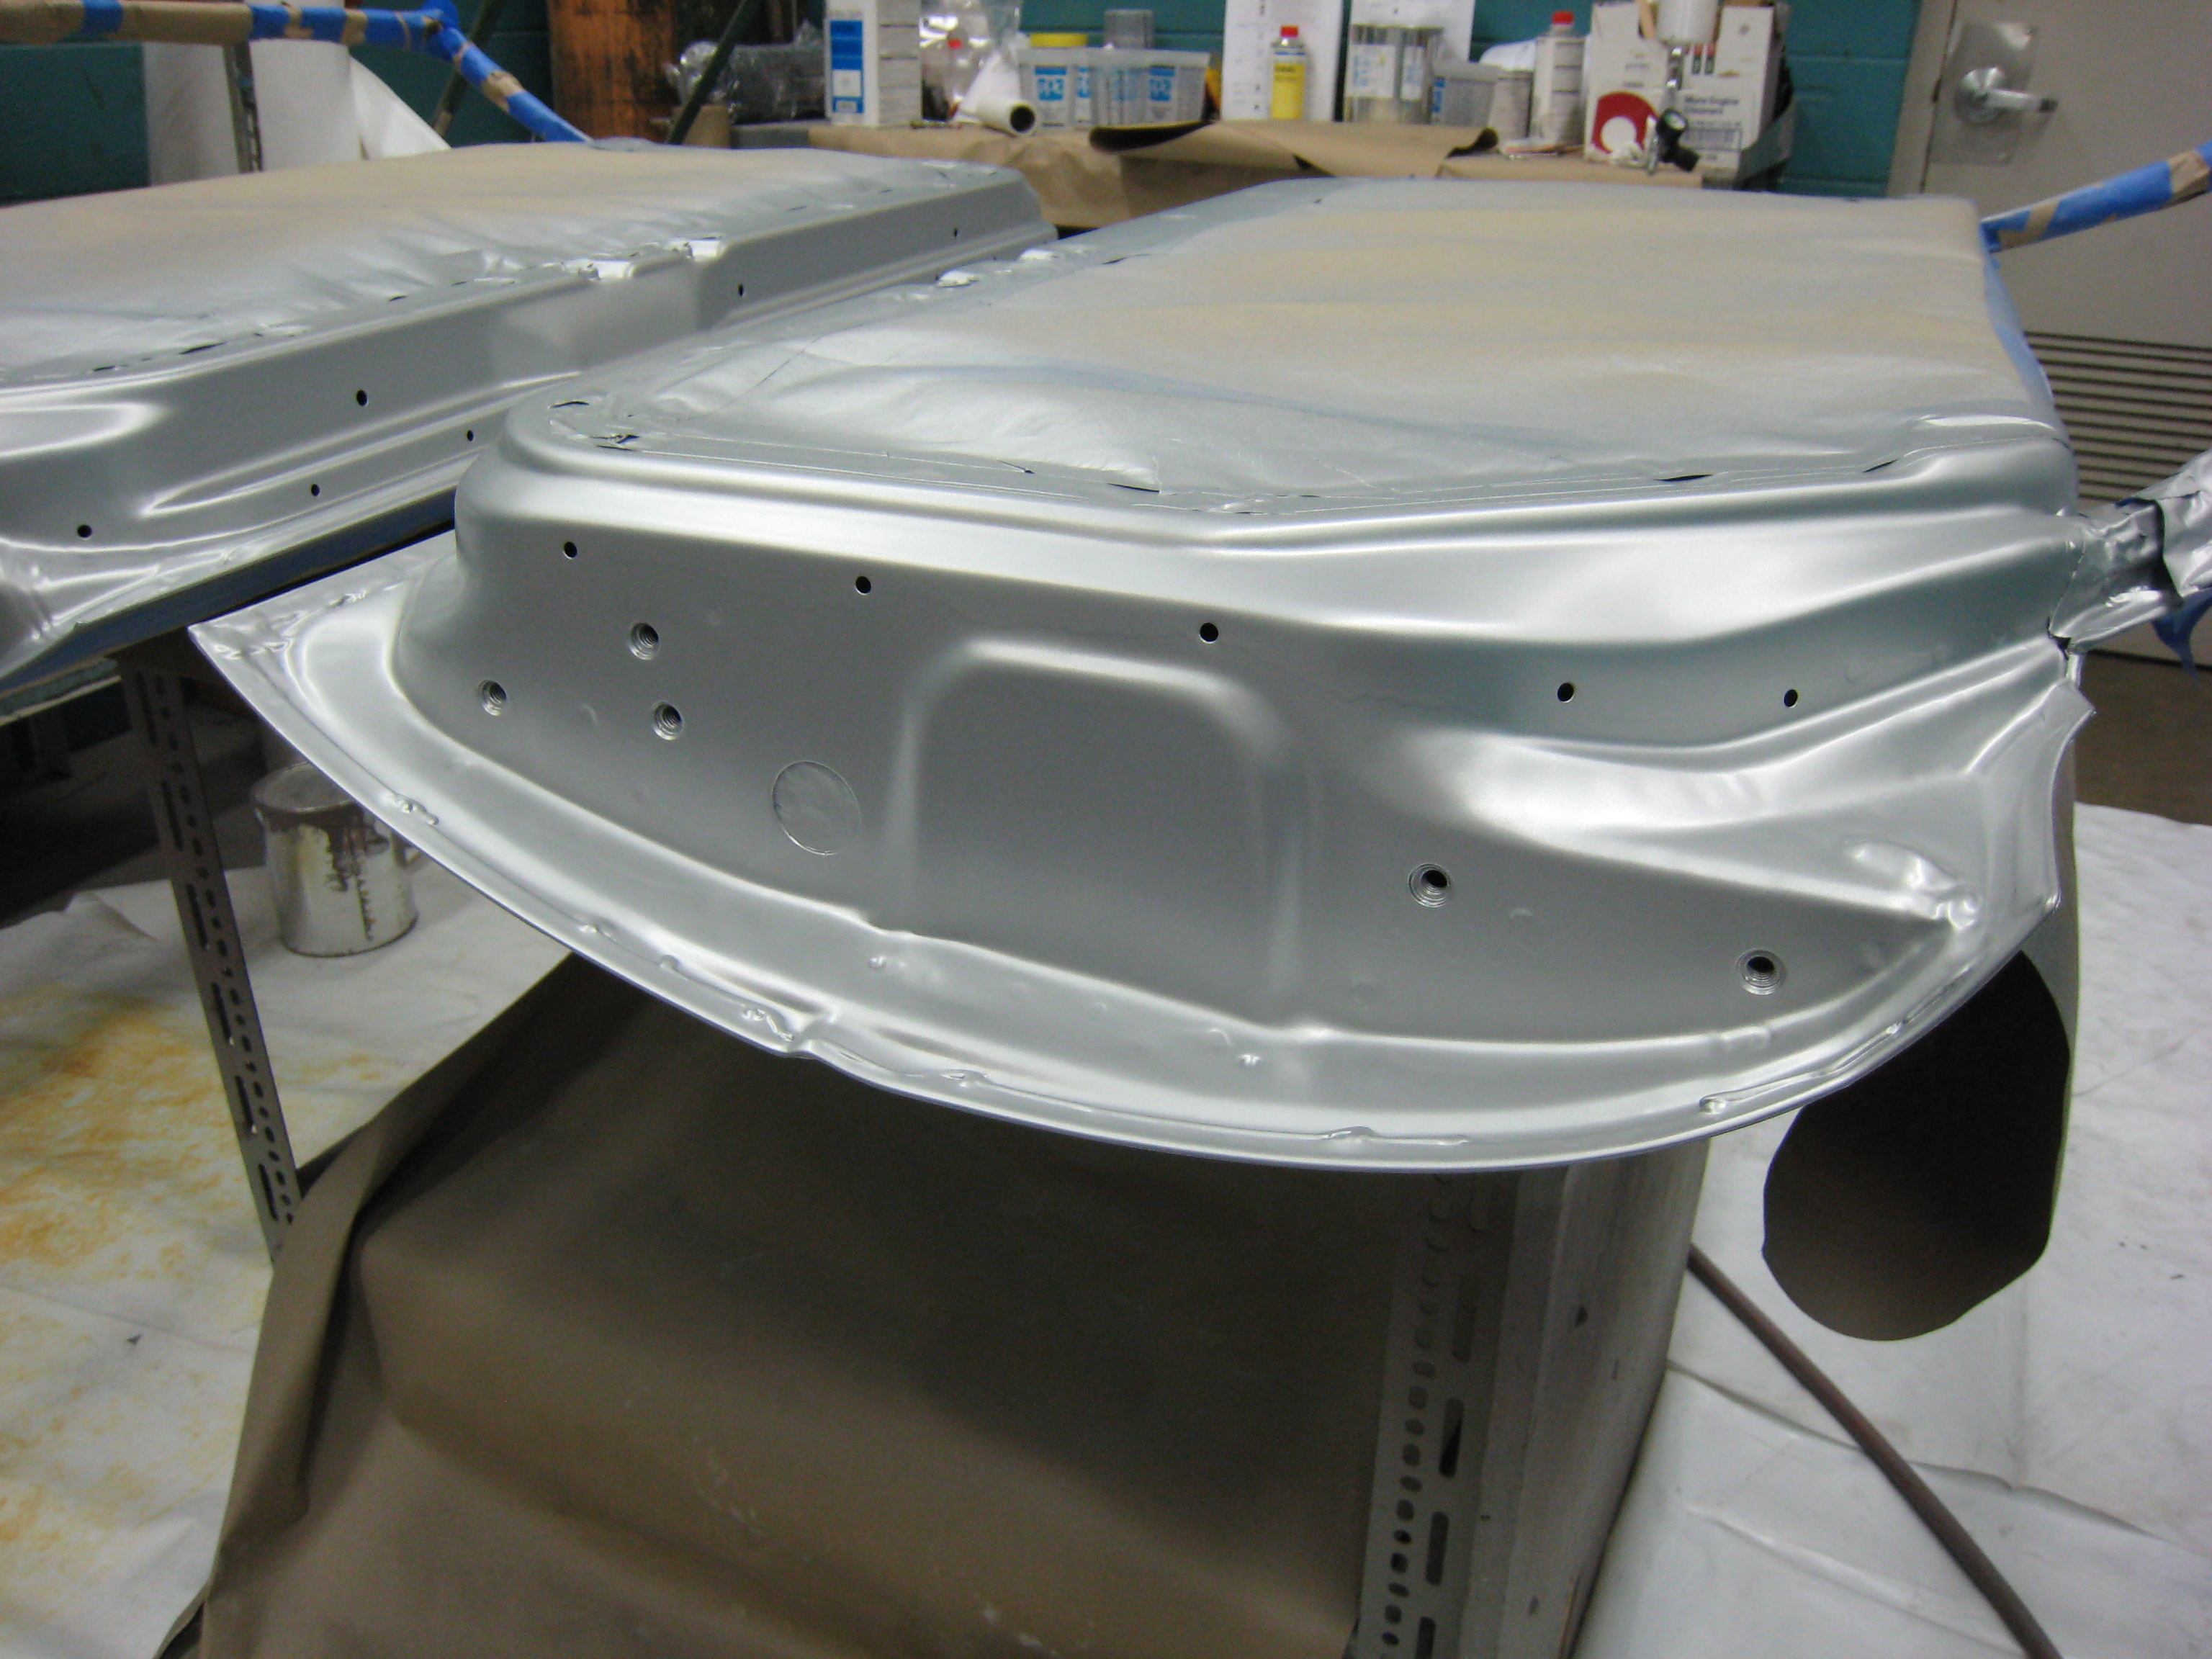
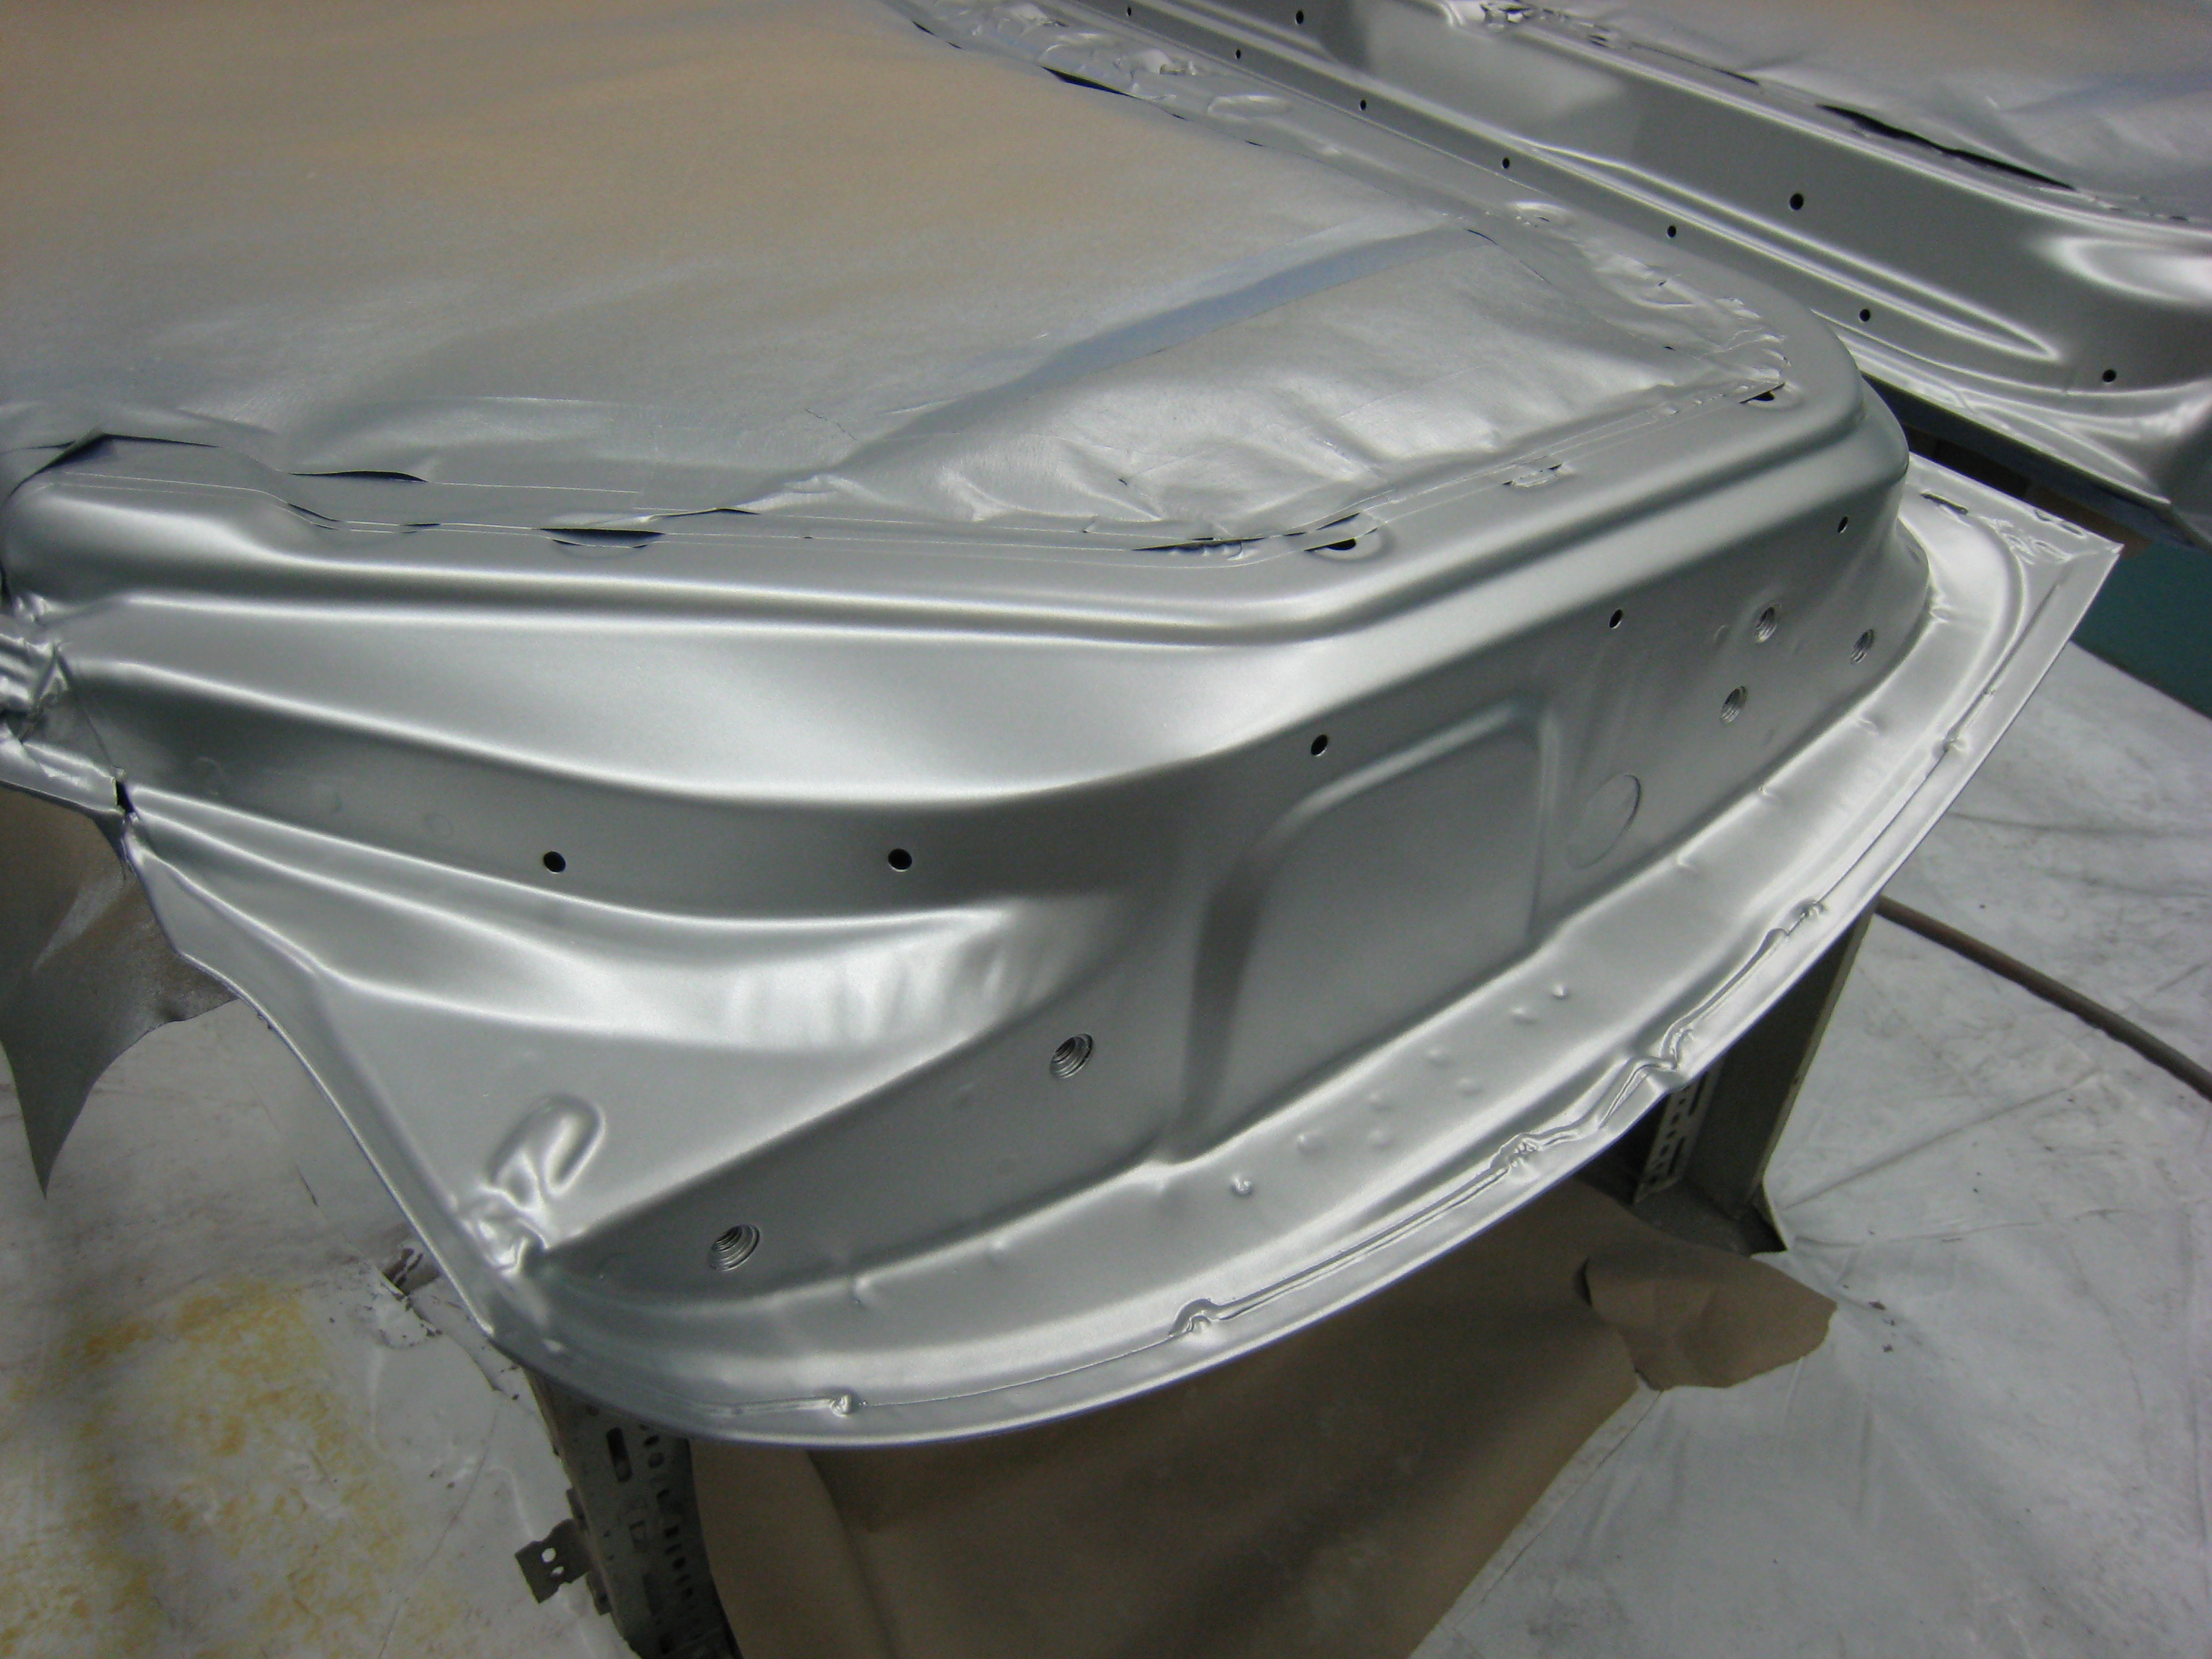
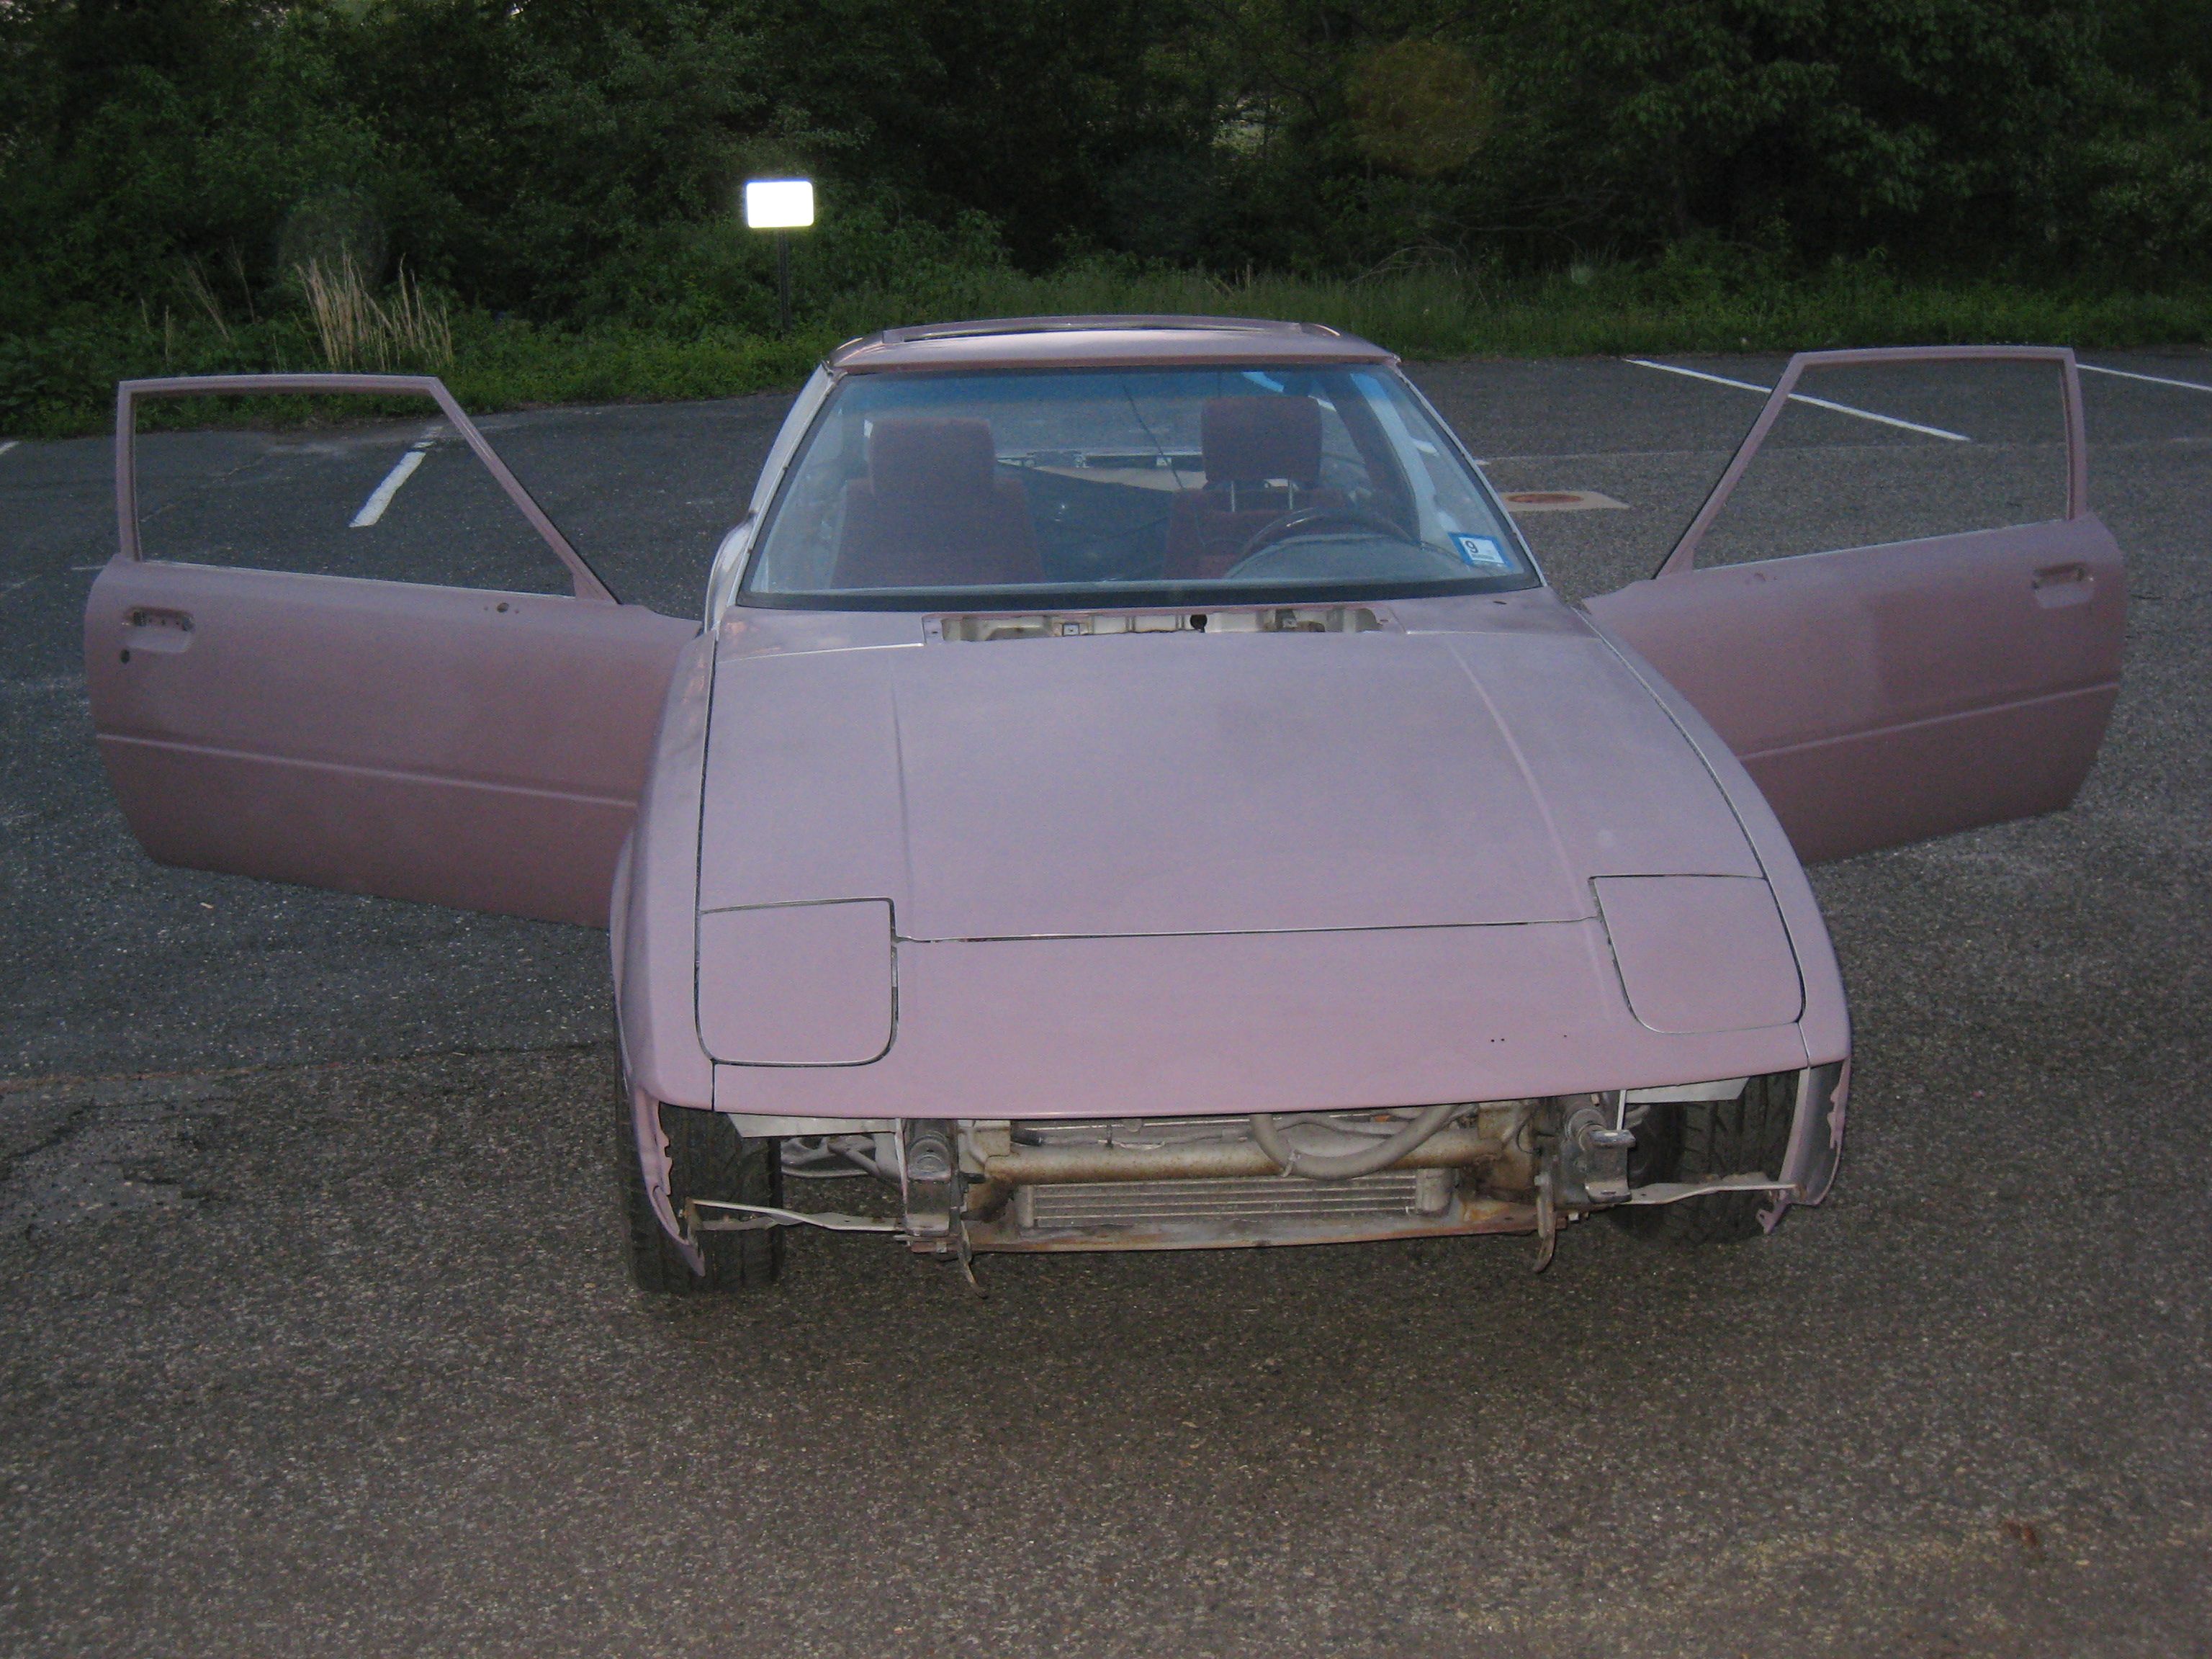
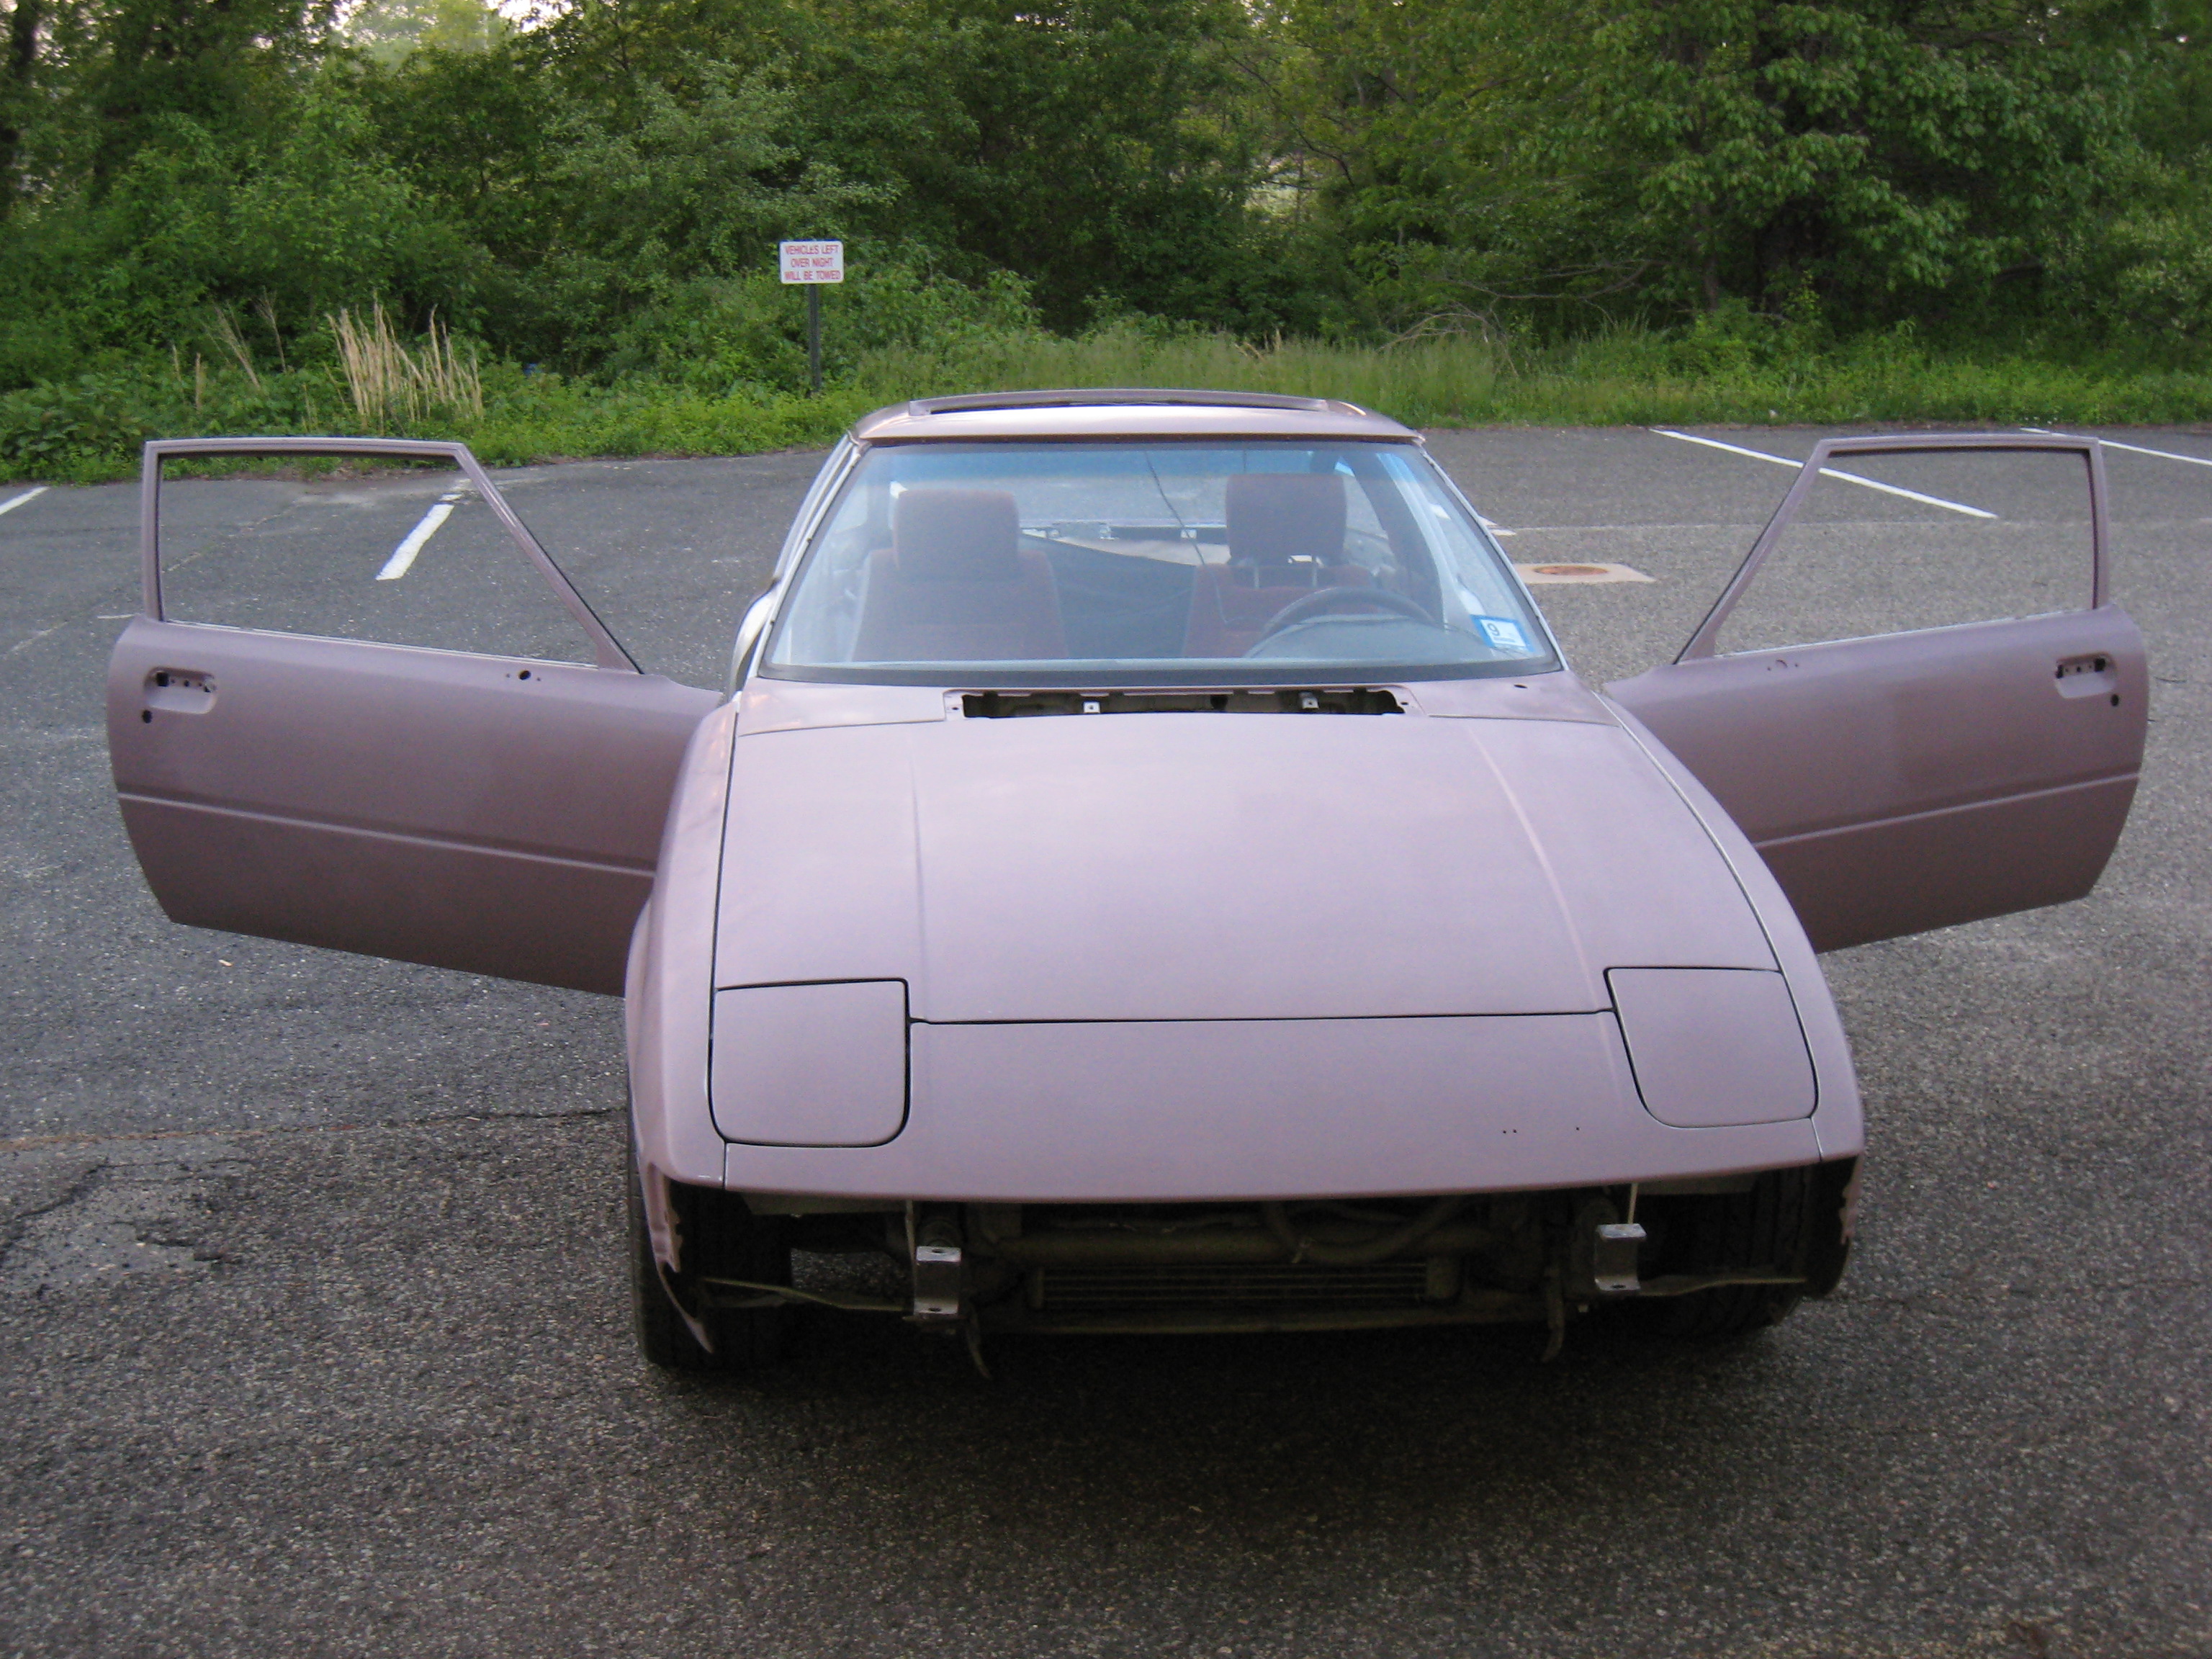
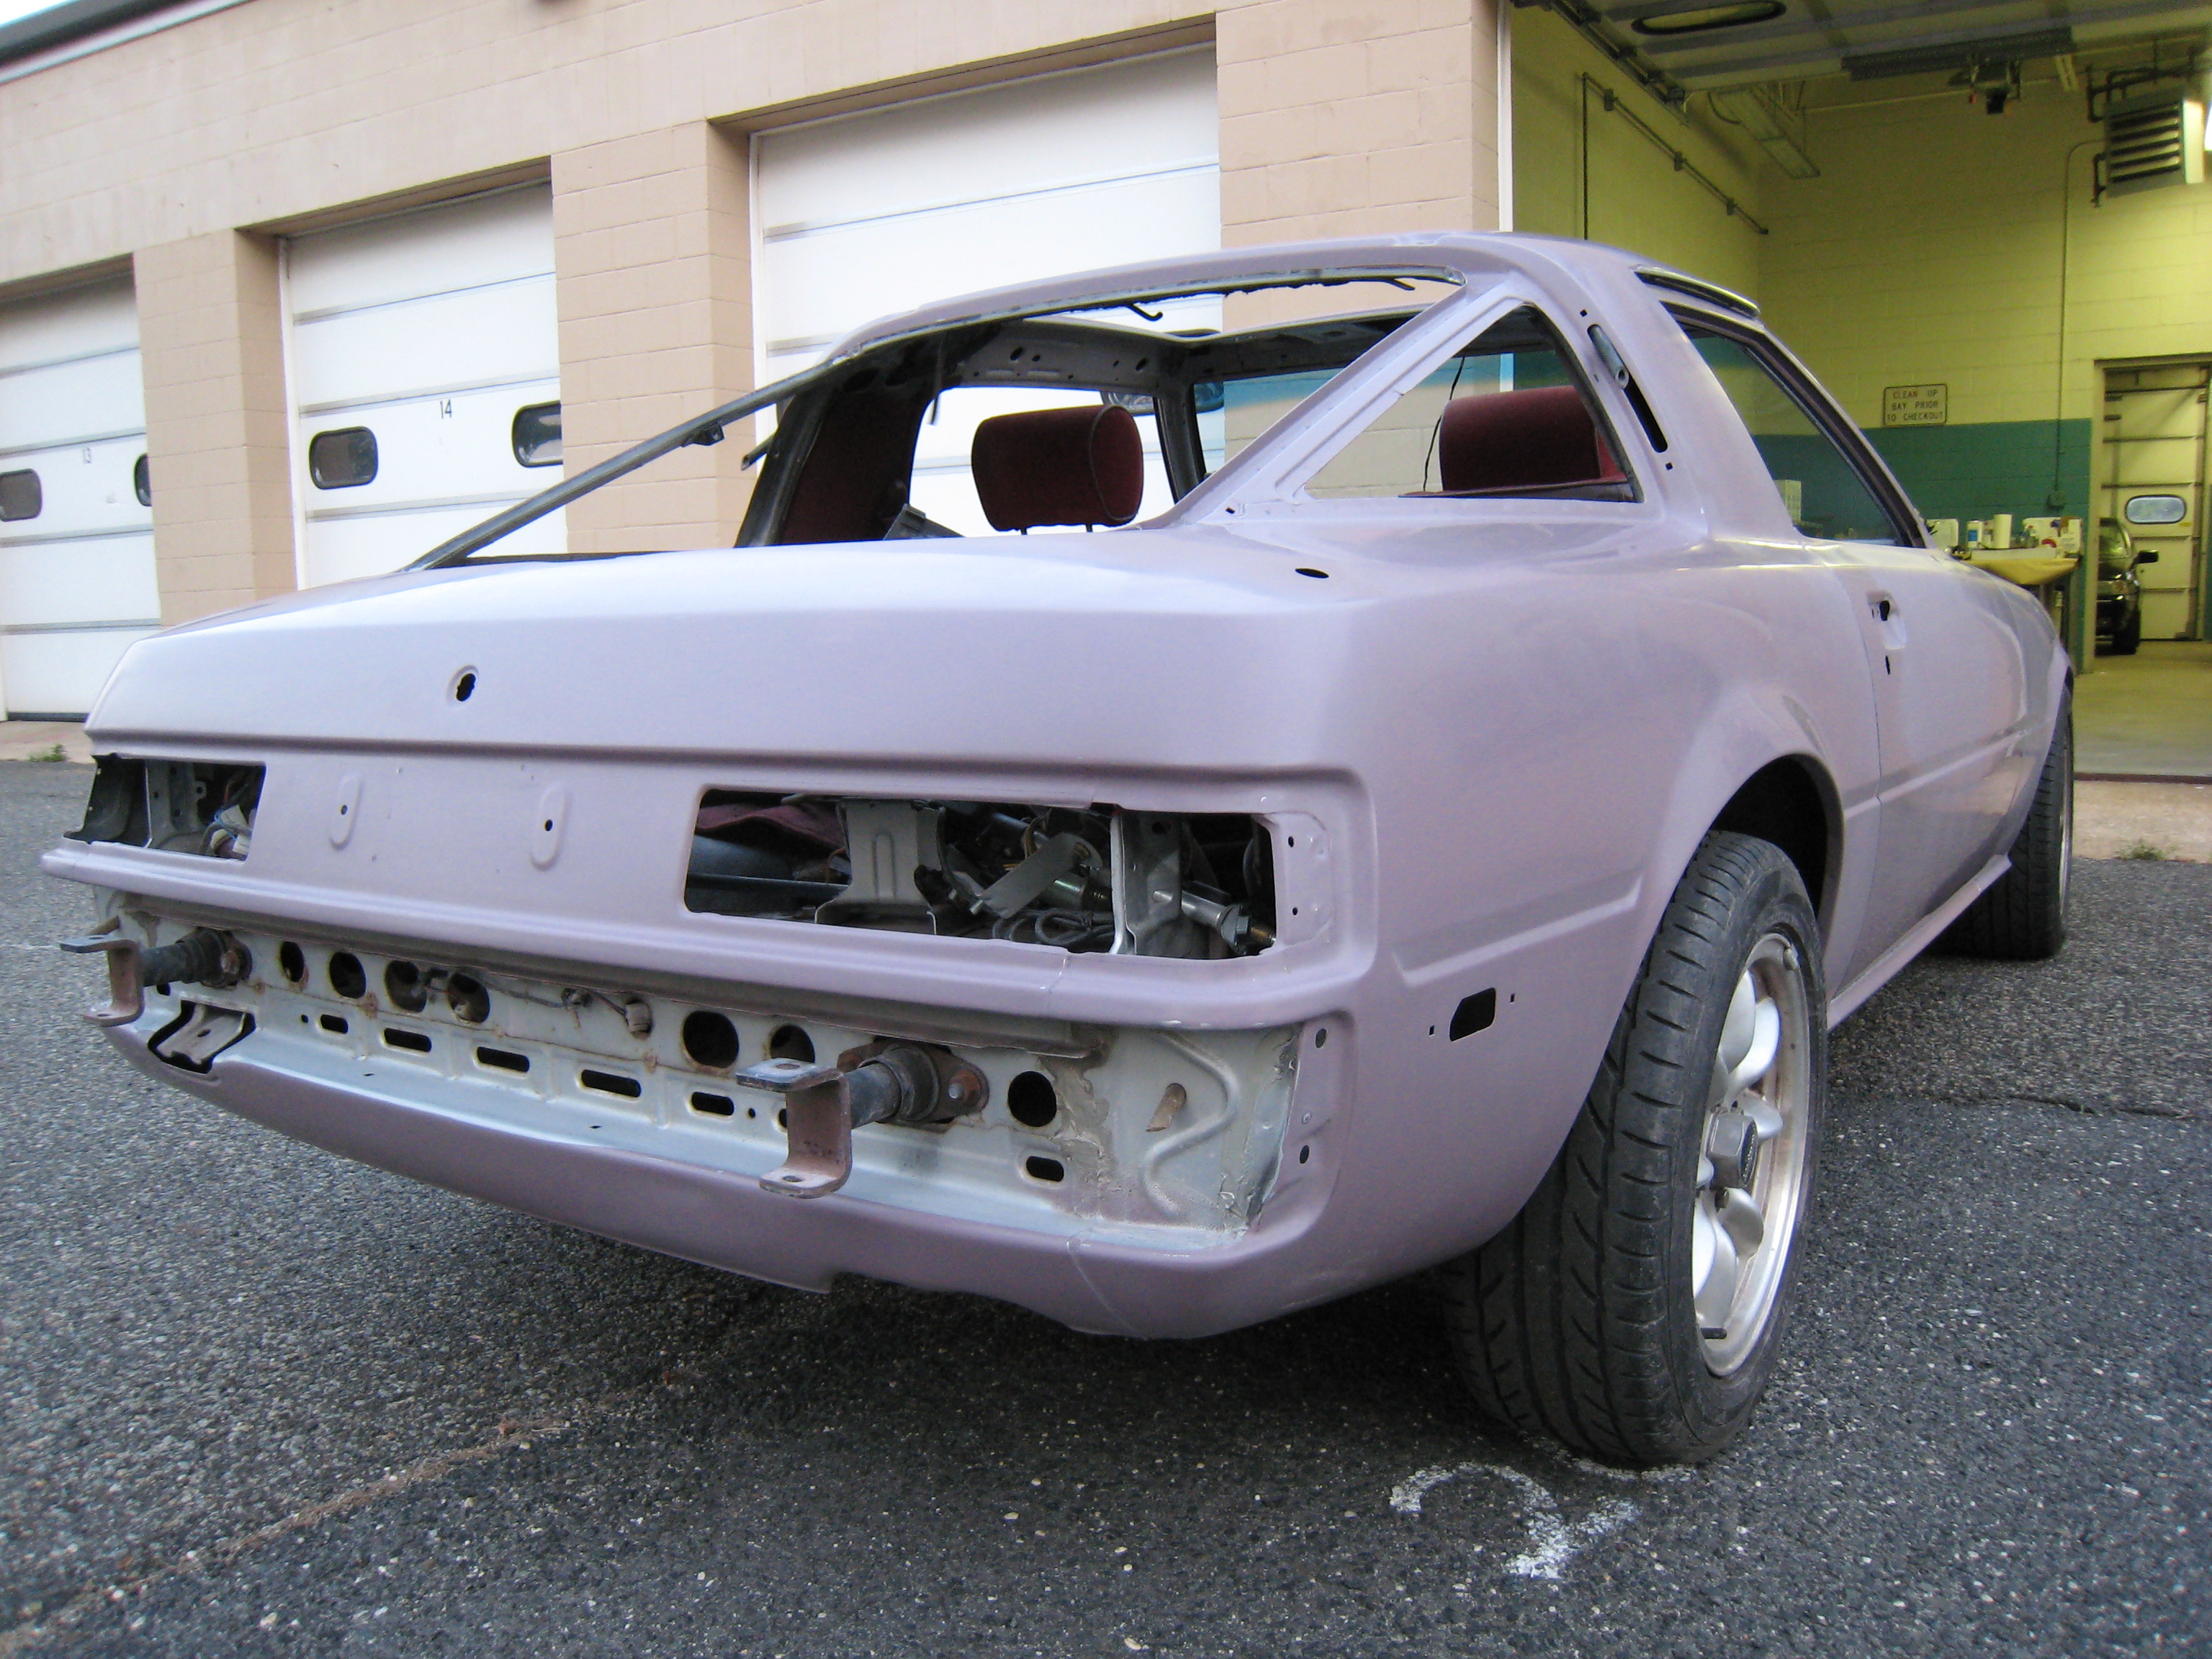
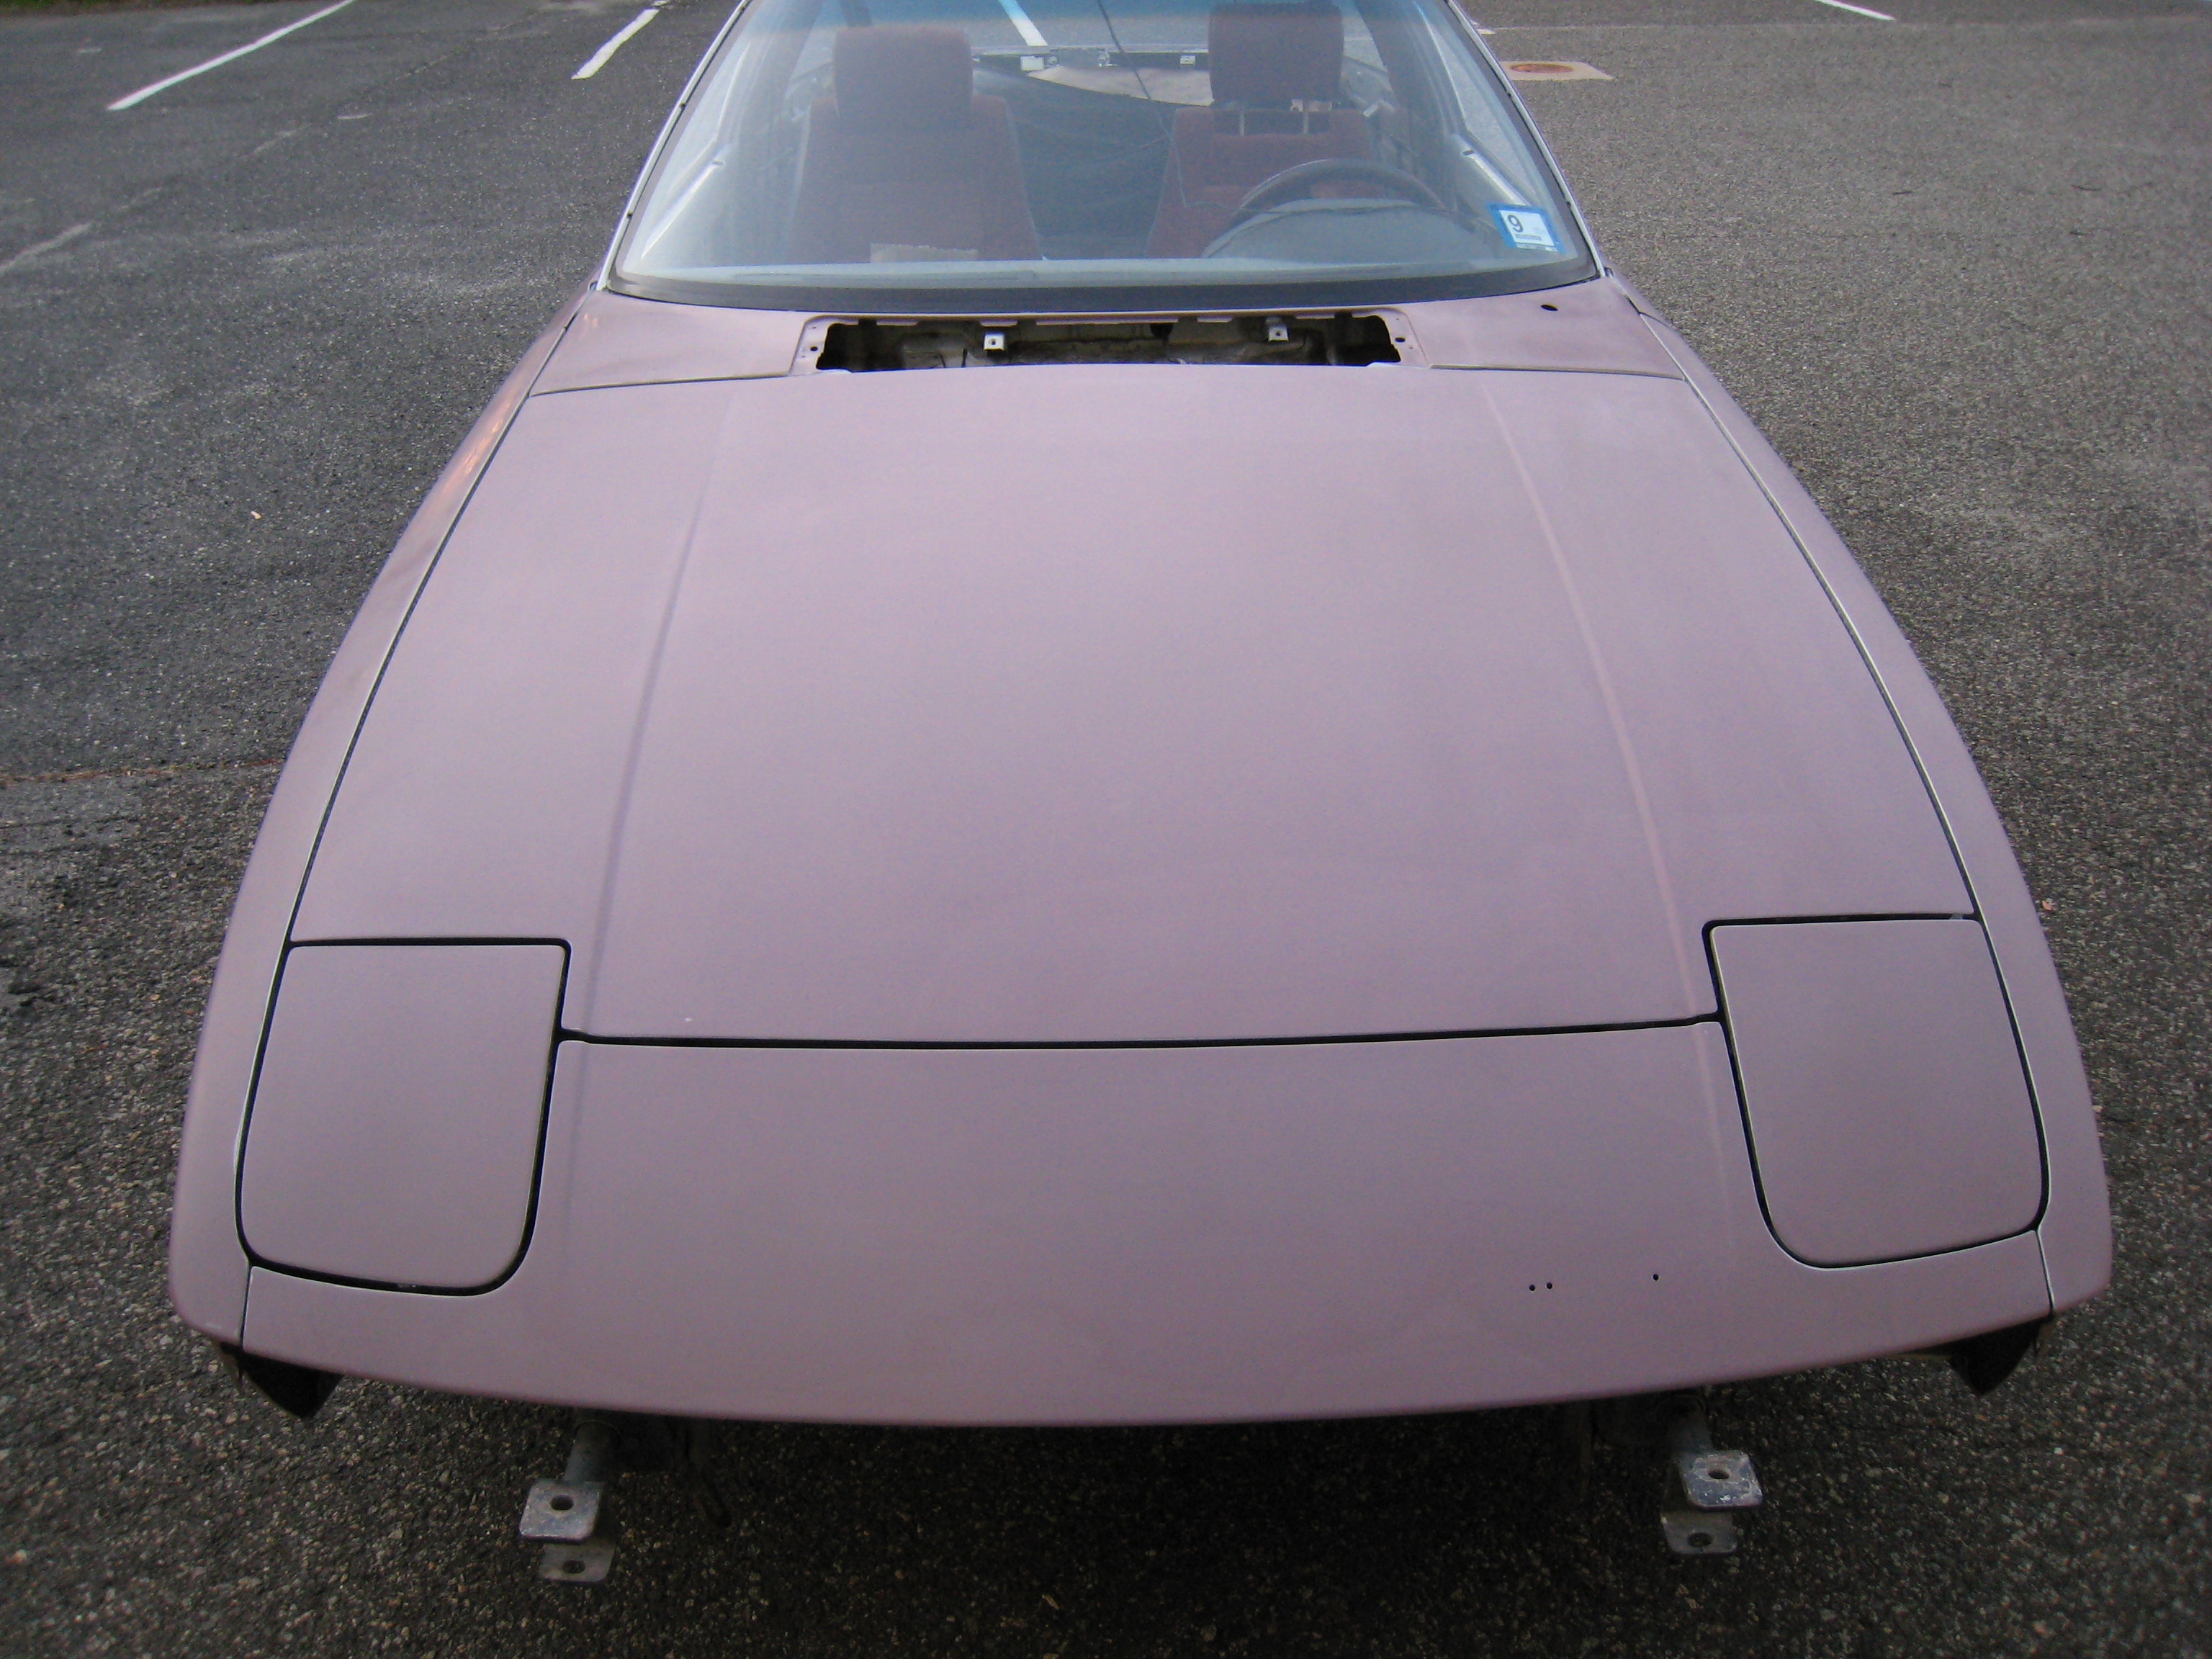
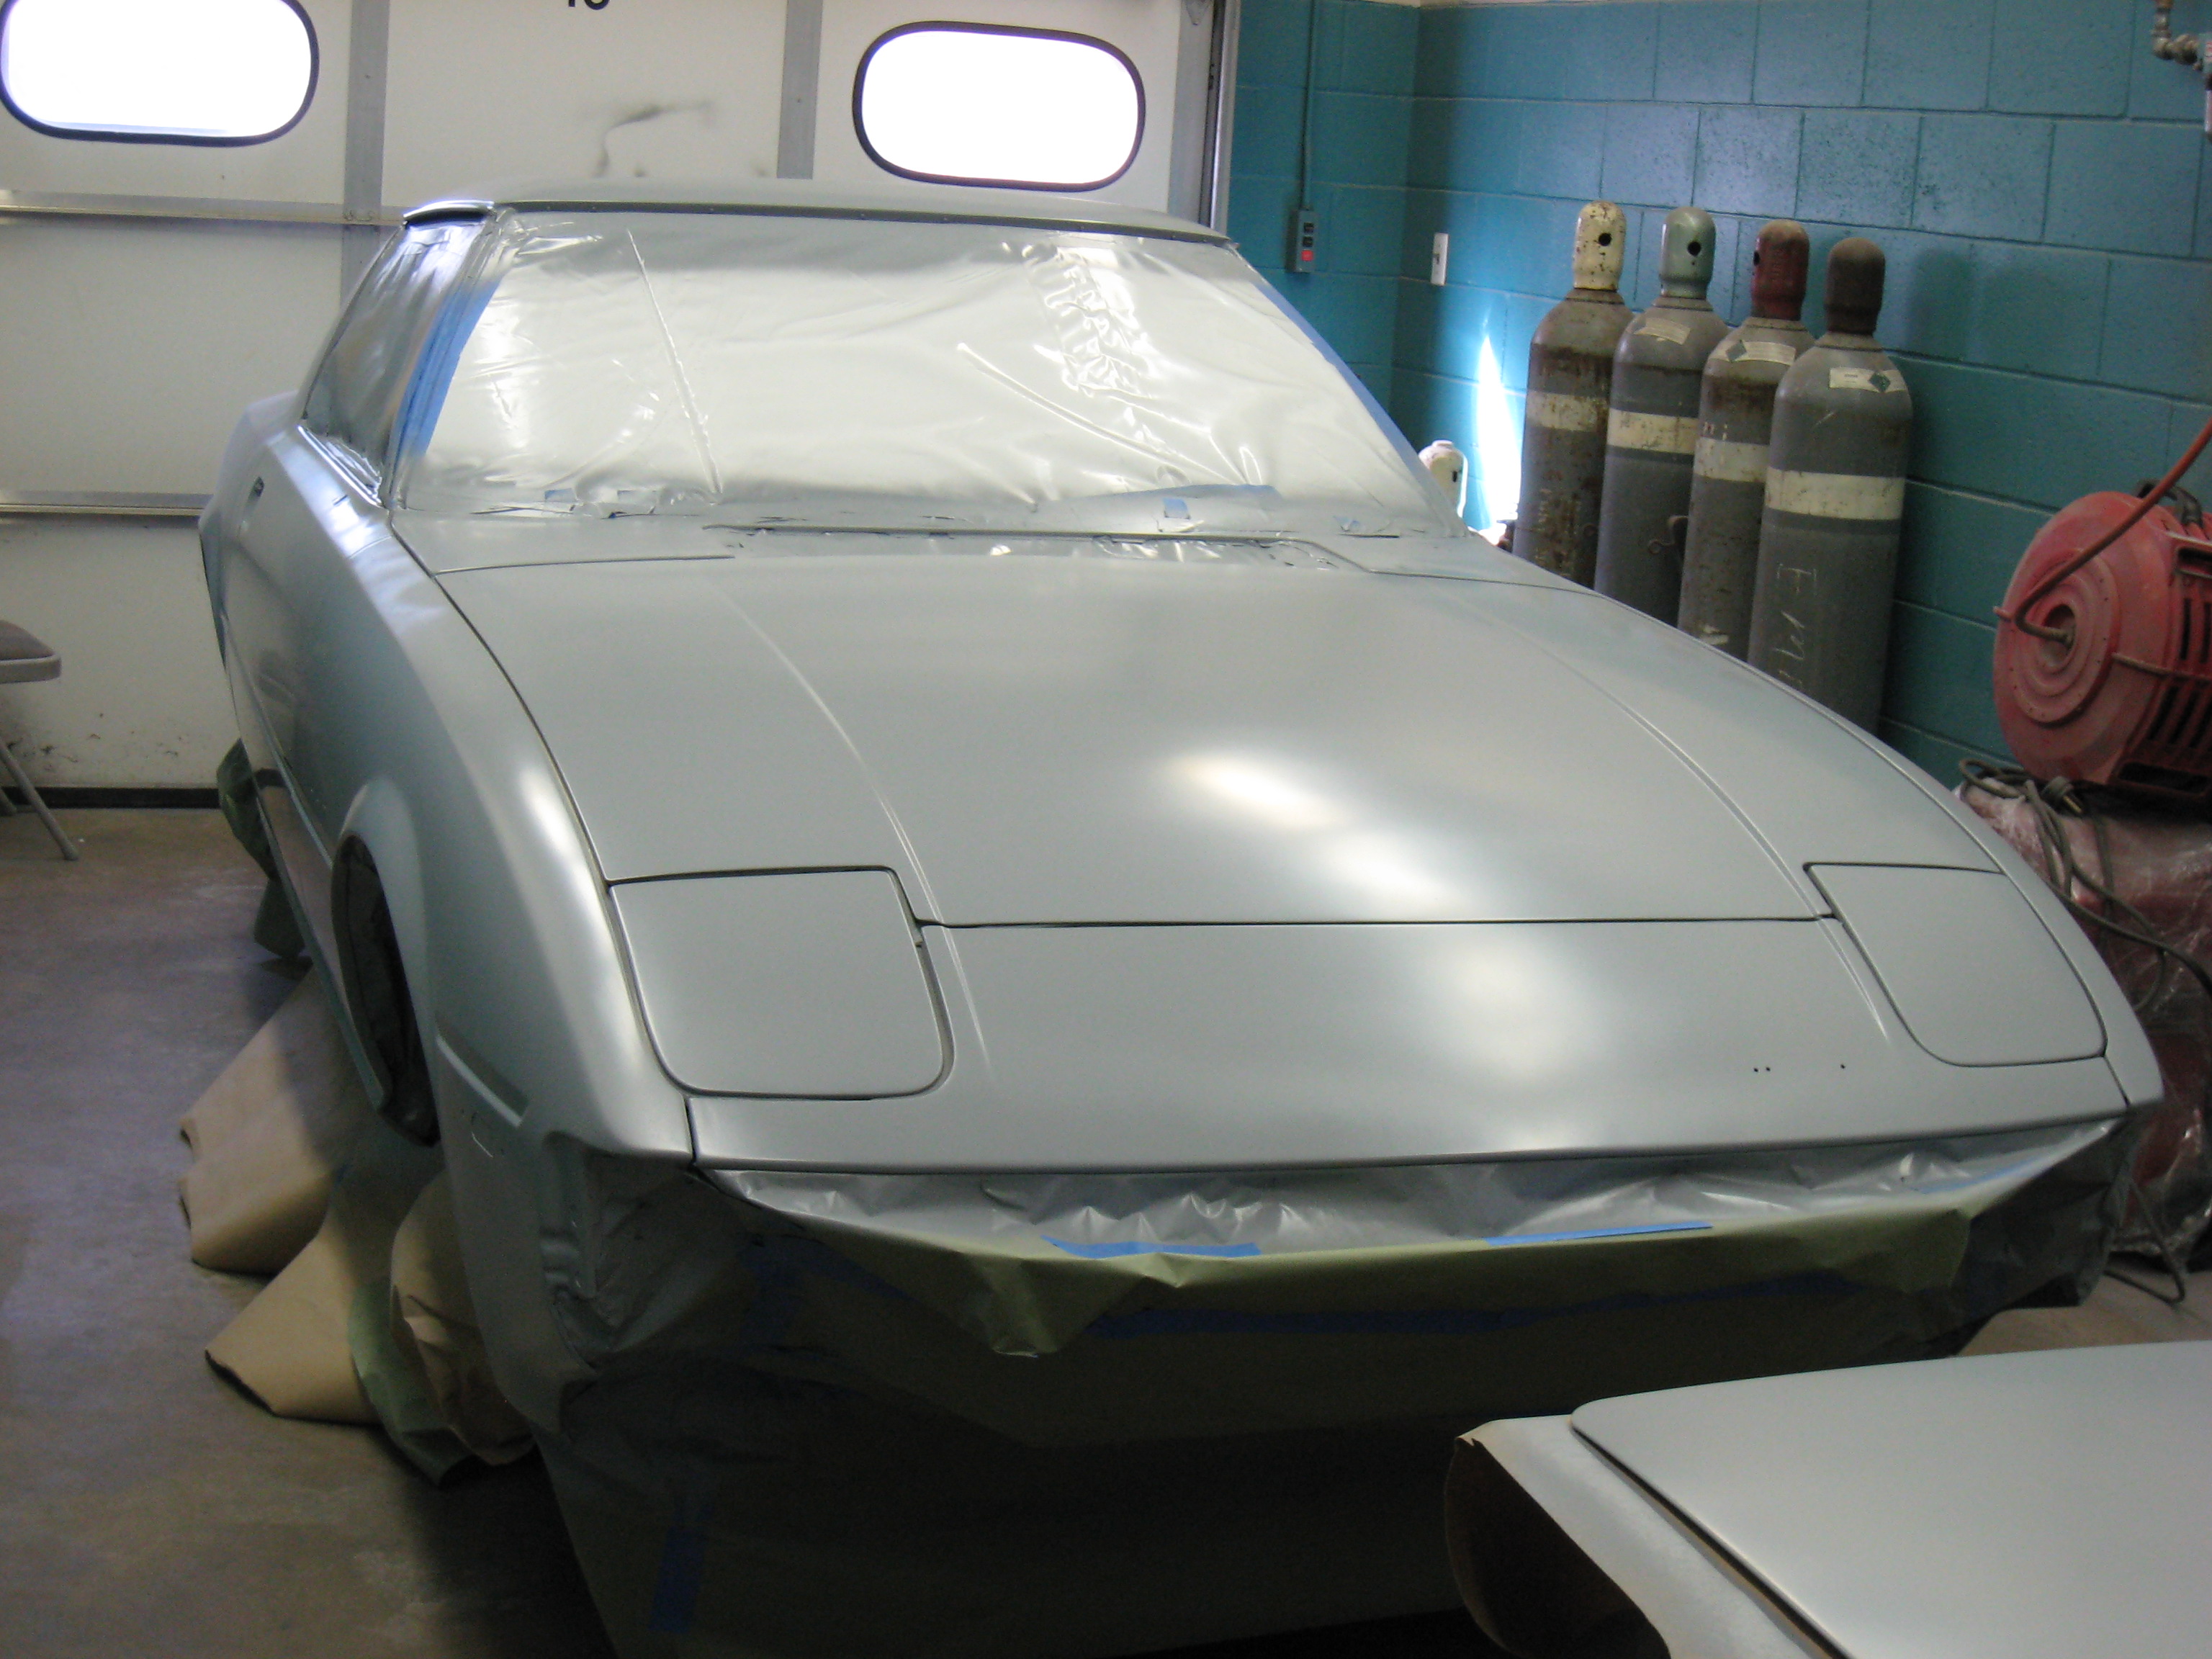
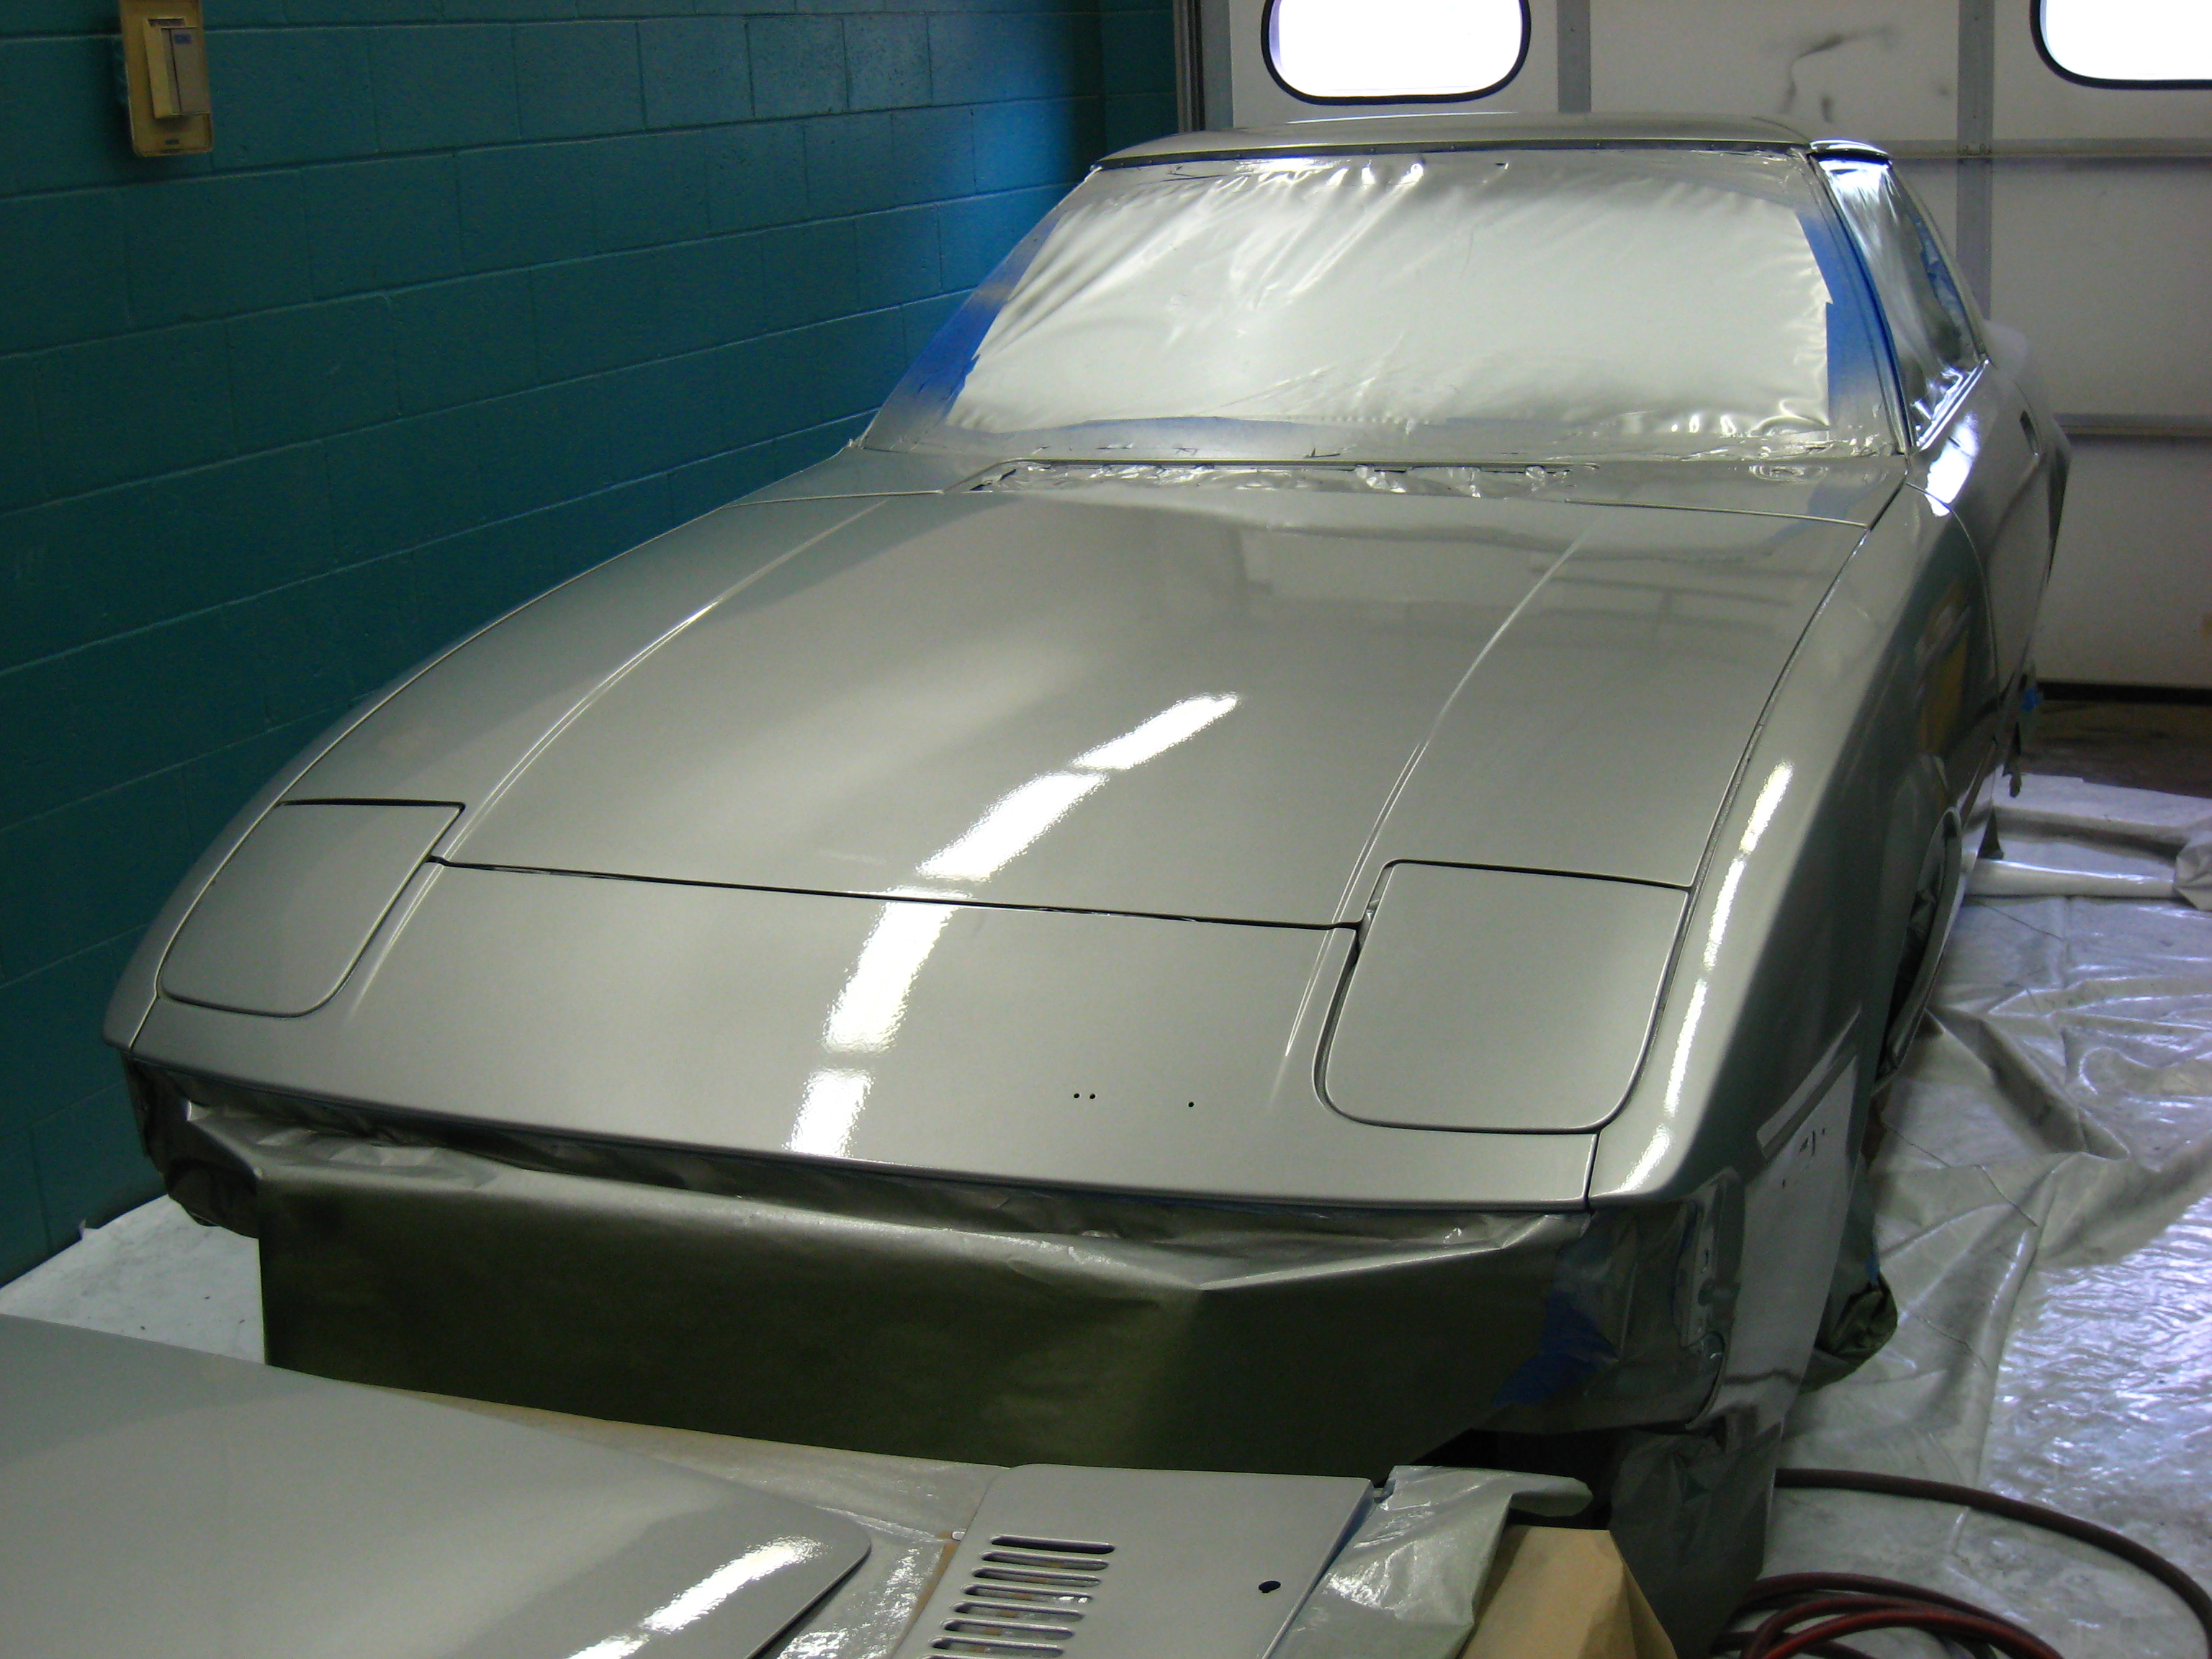
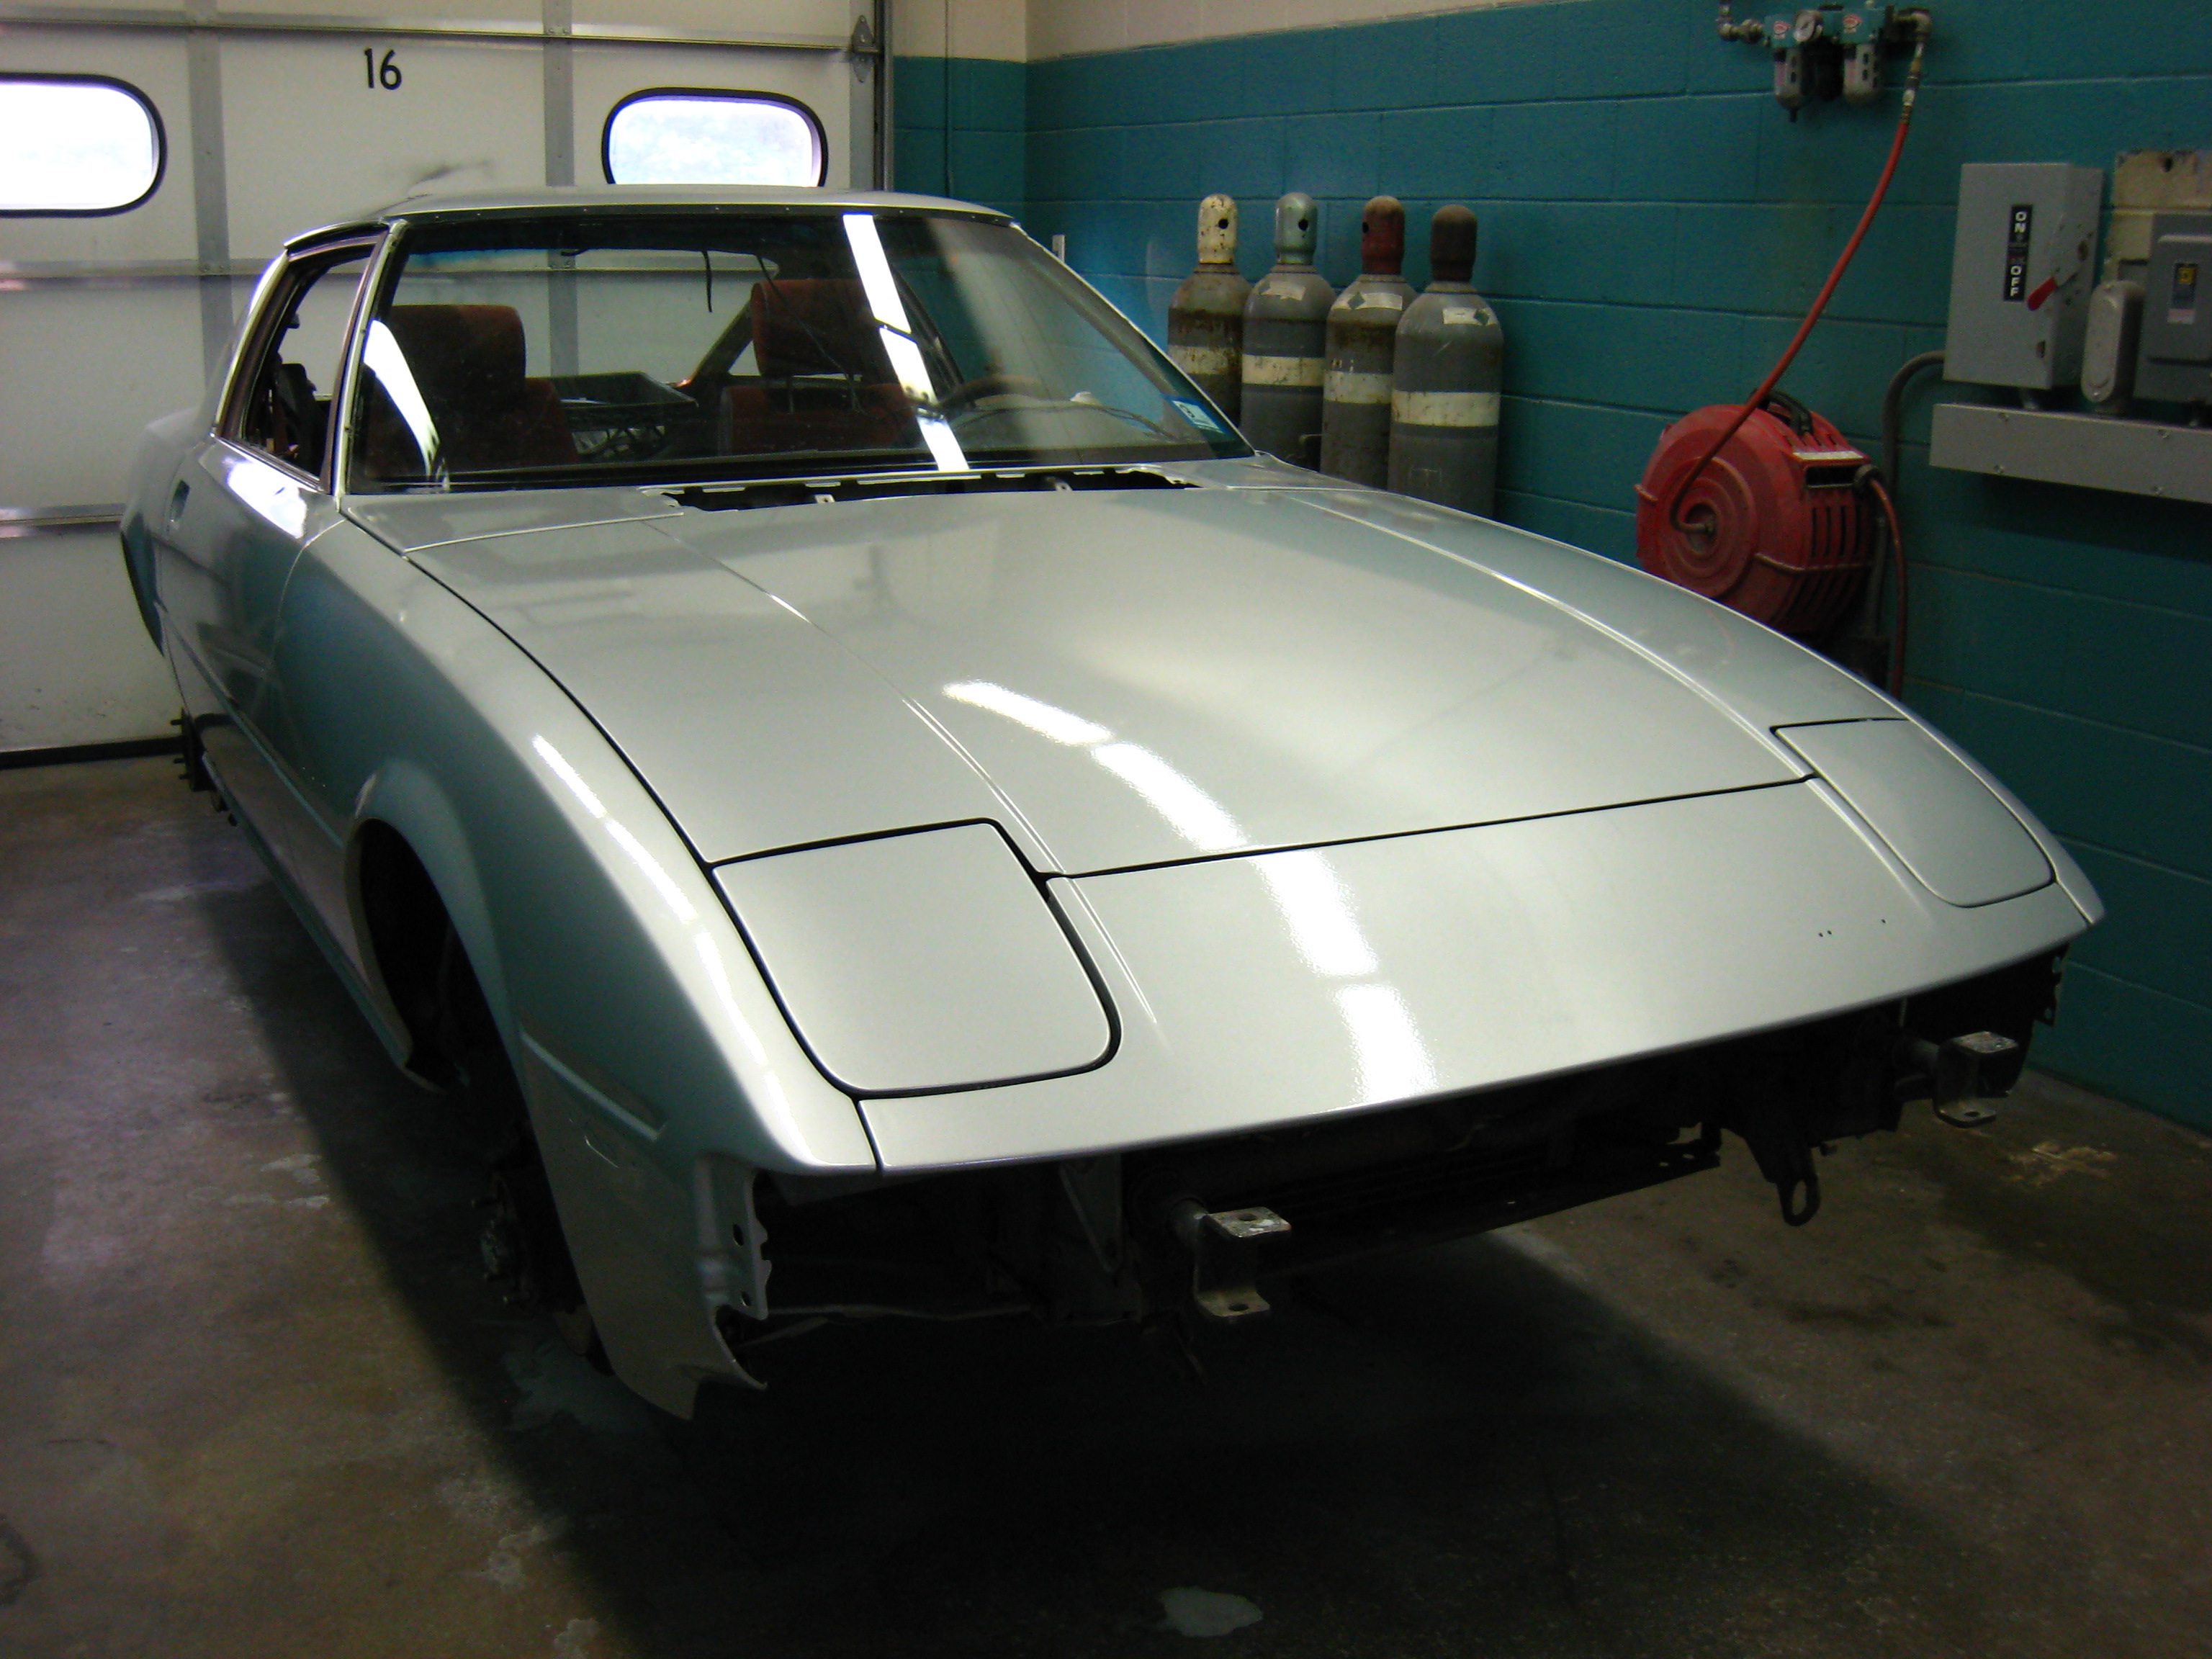
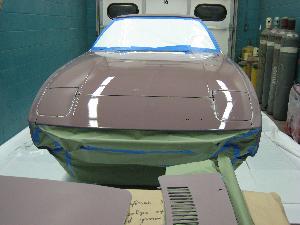
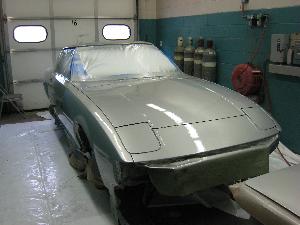
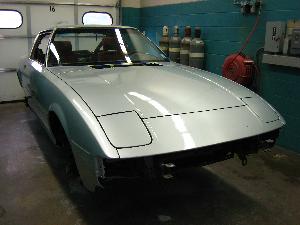
Am I ready?

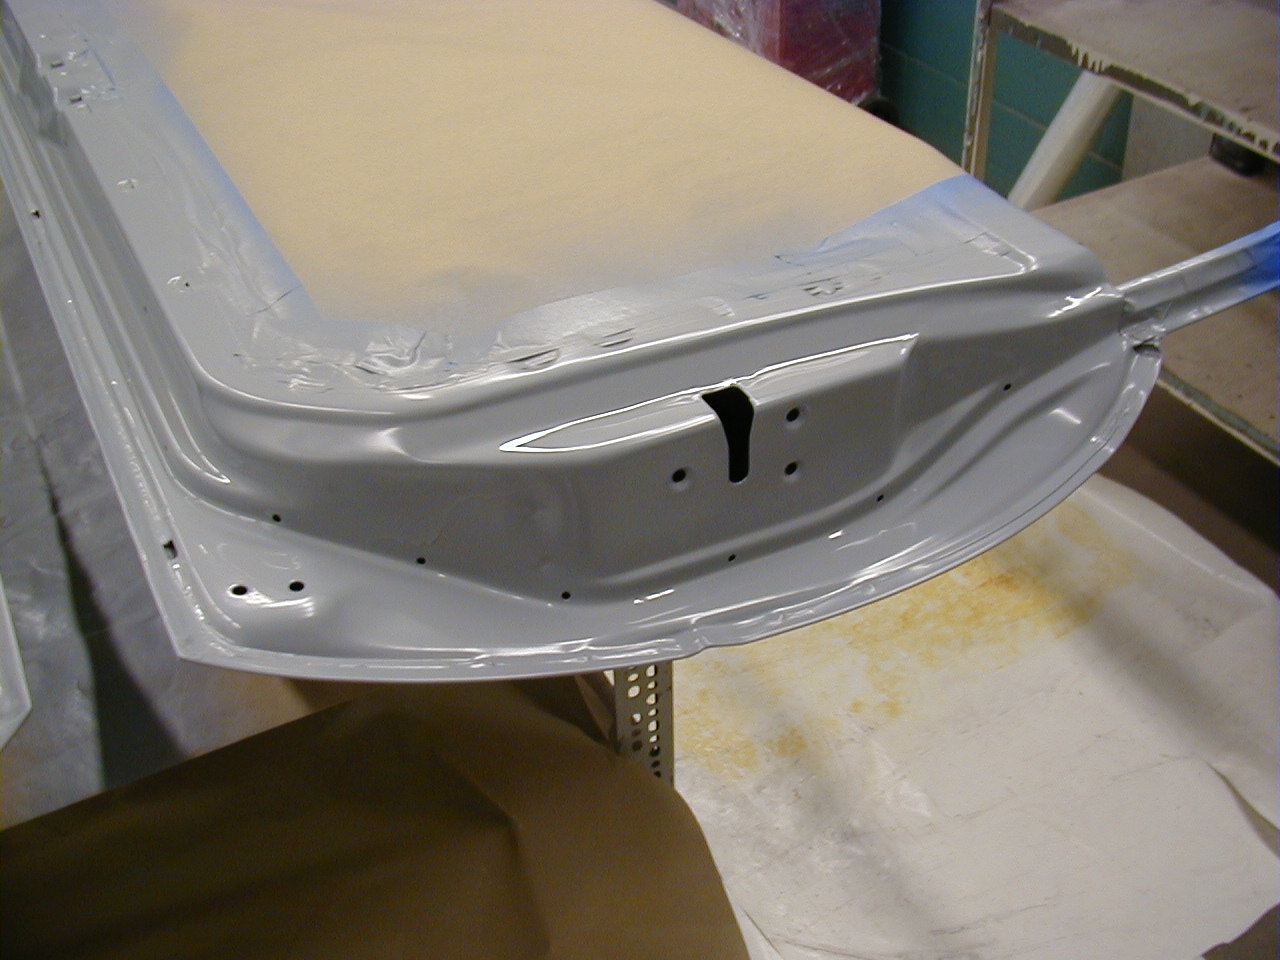
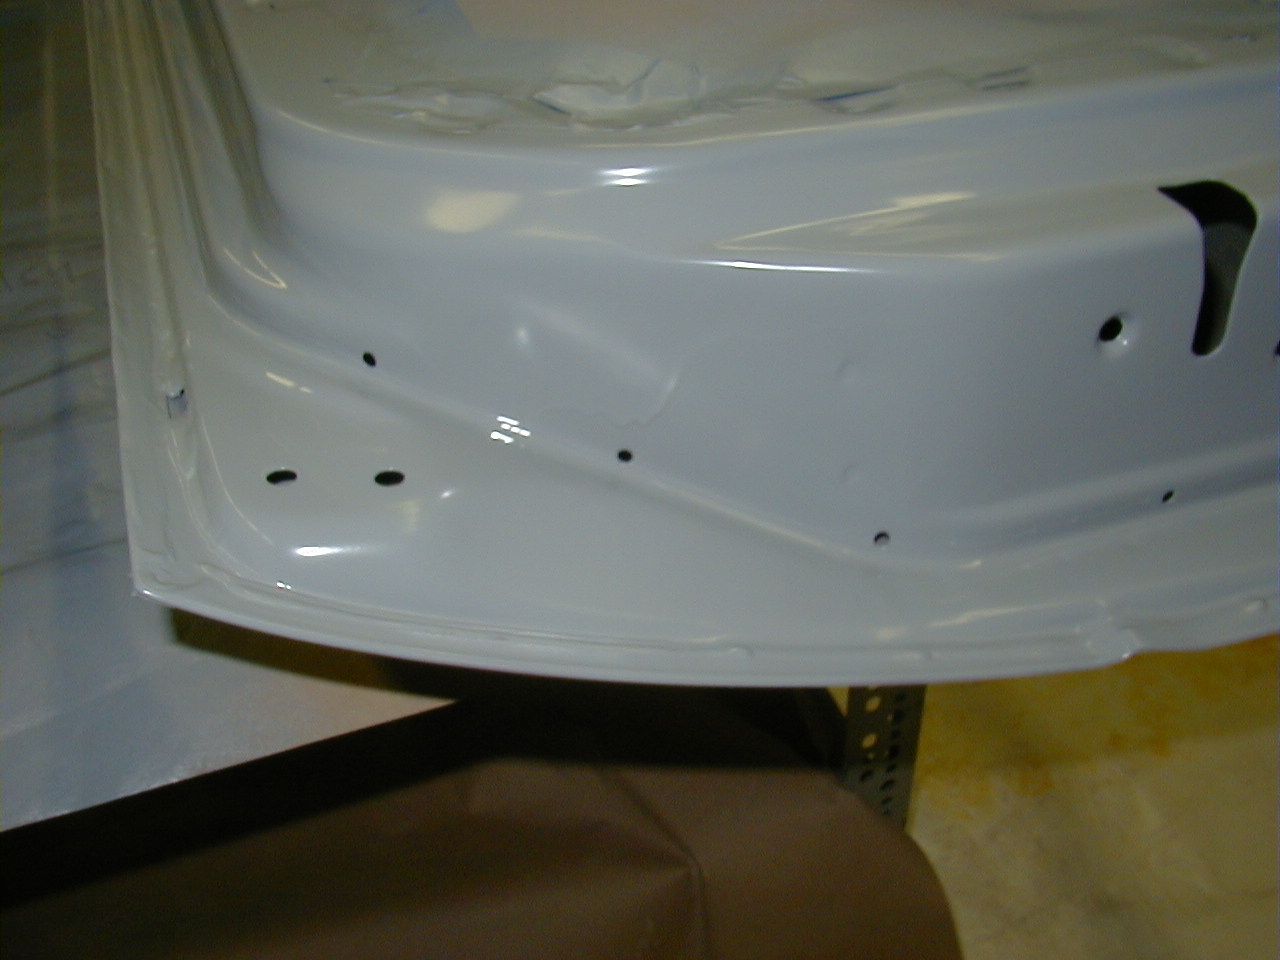
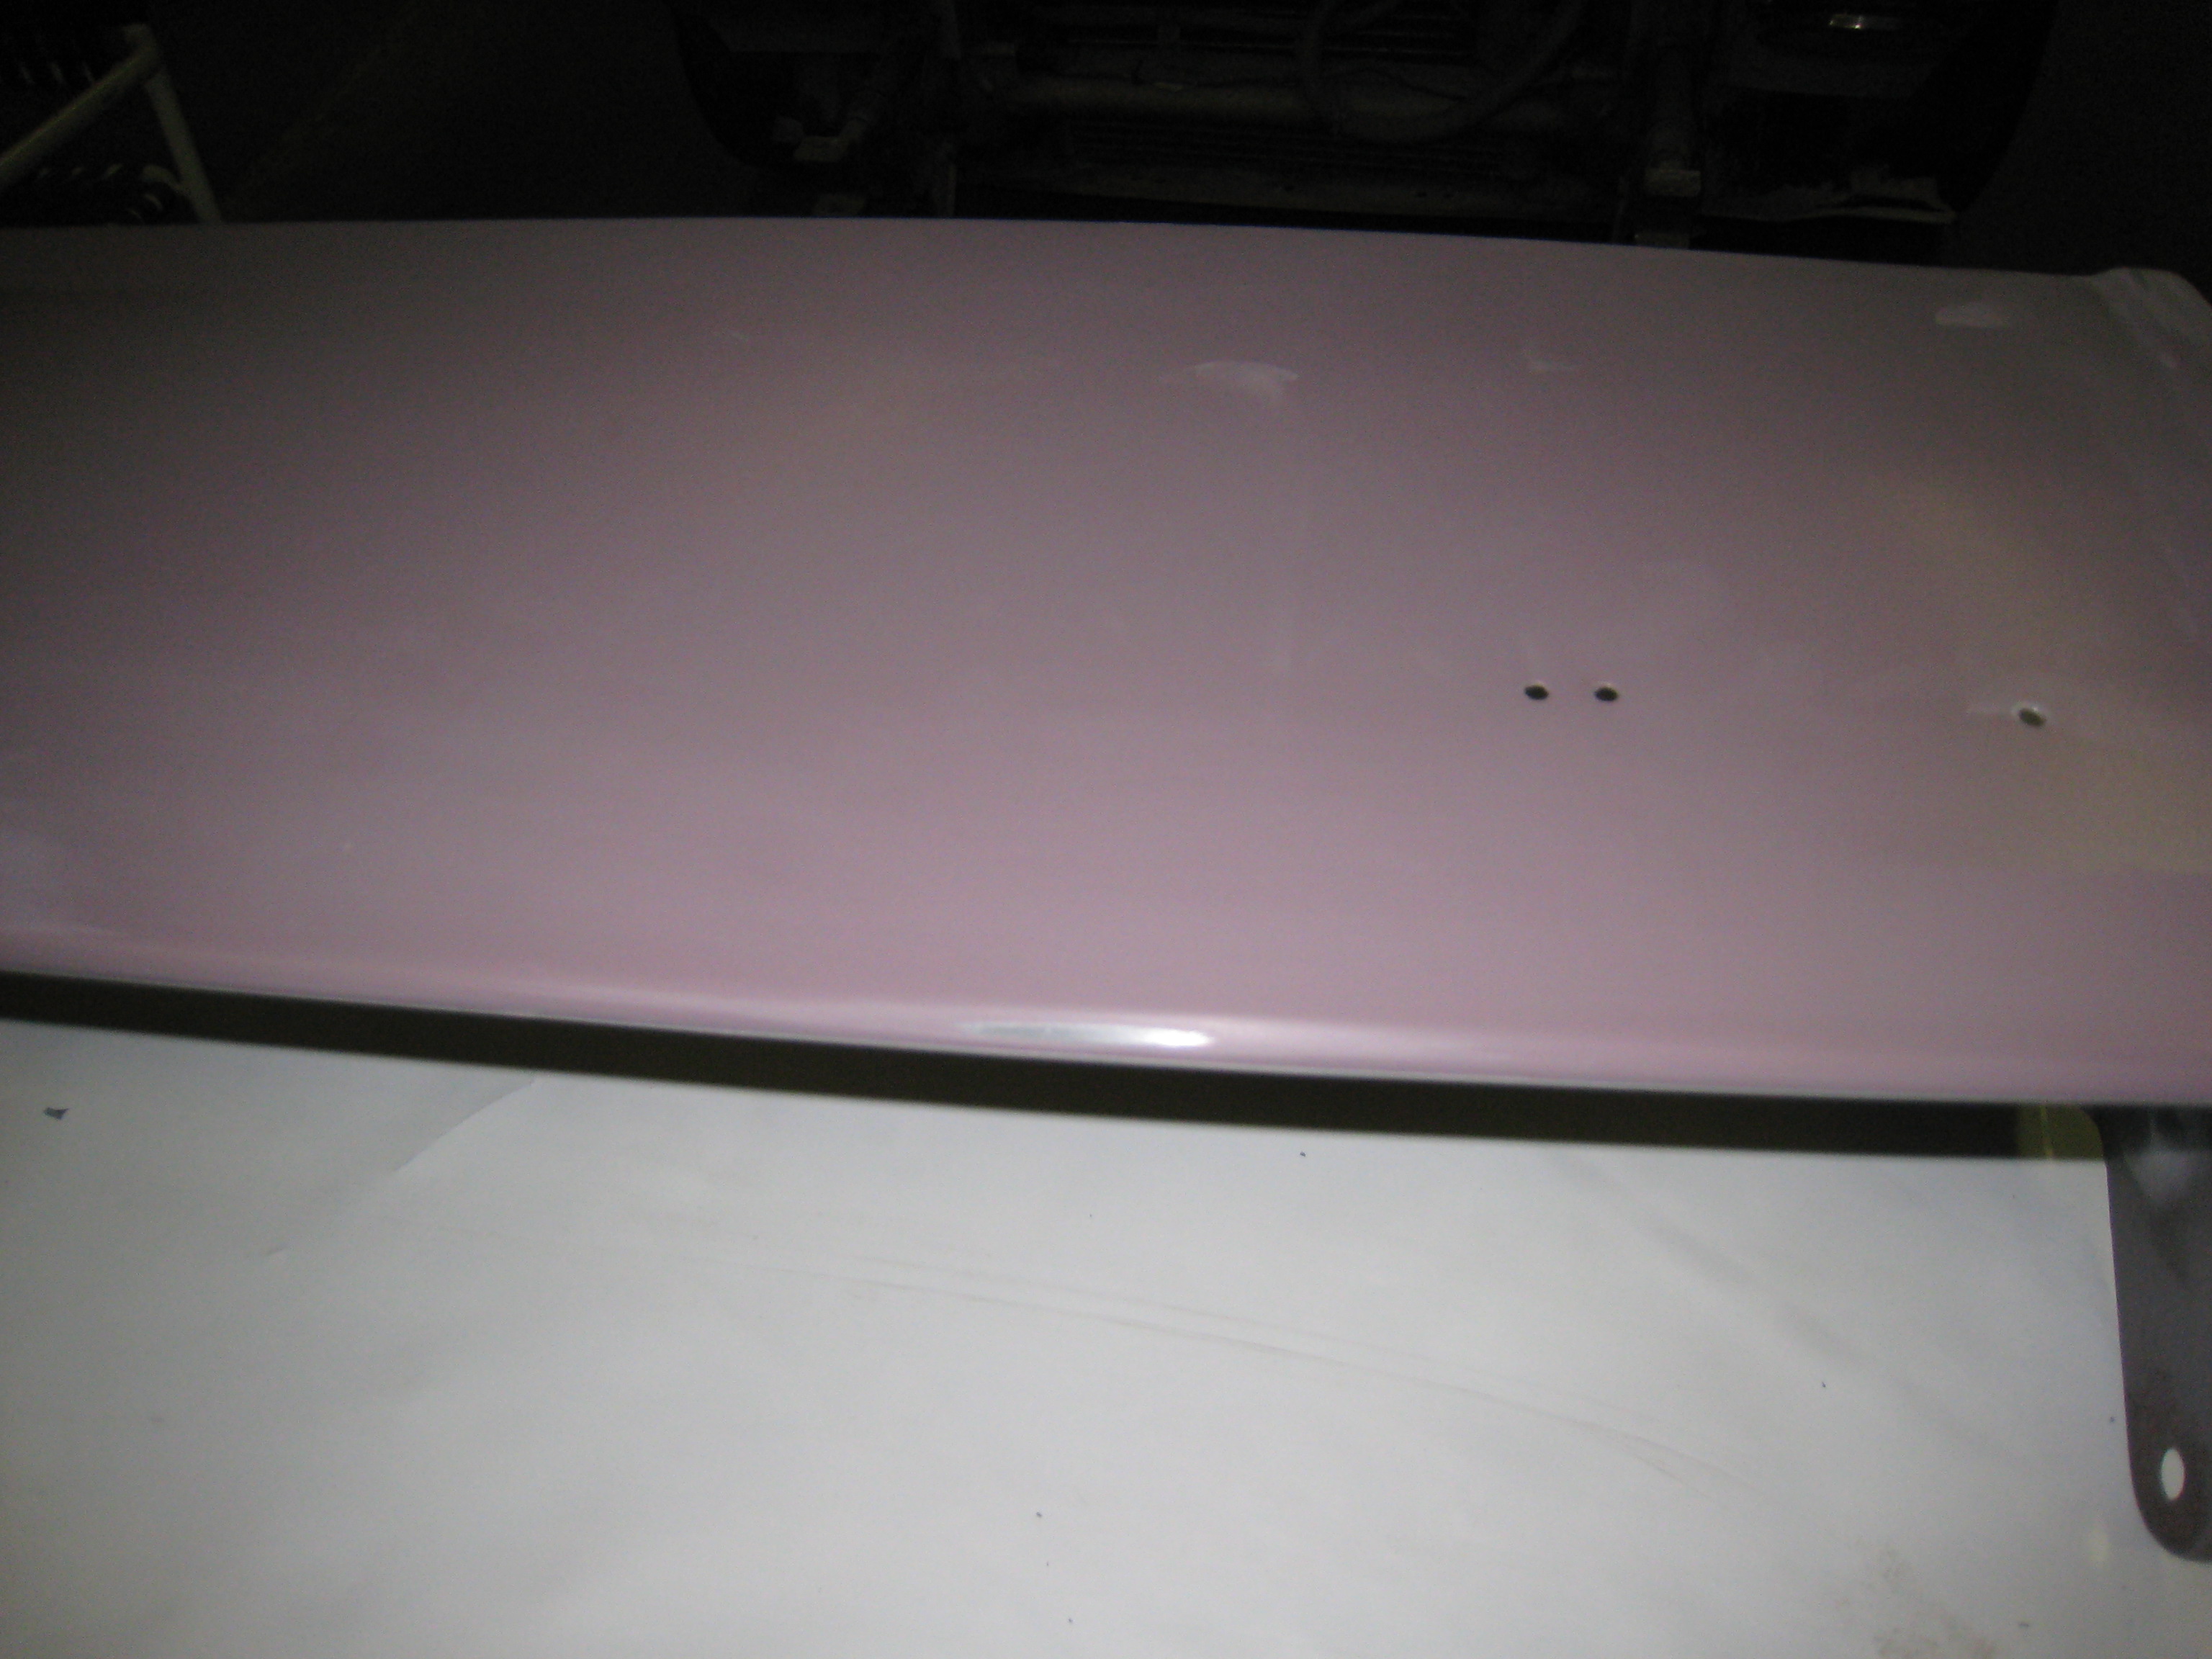
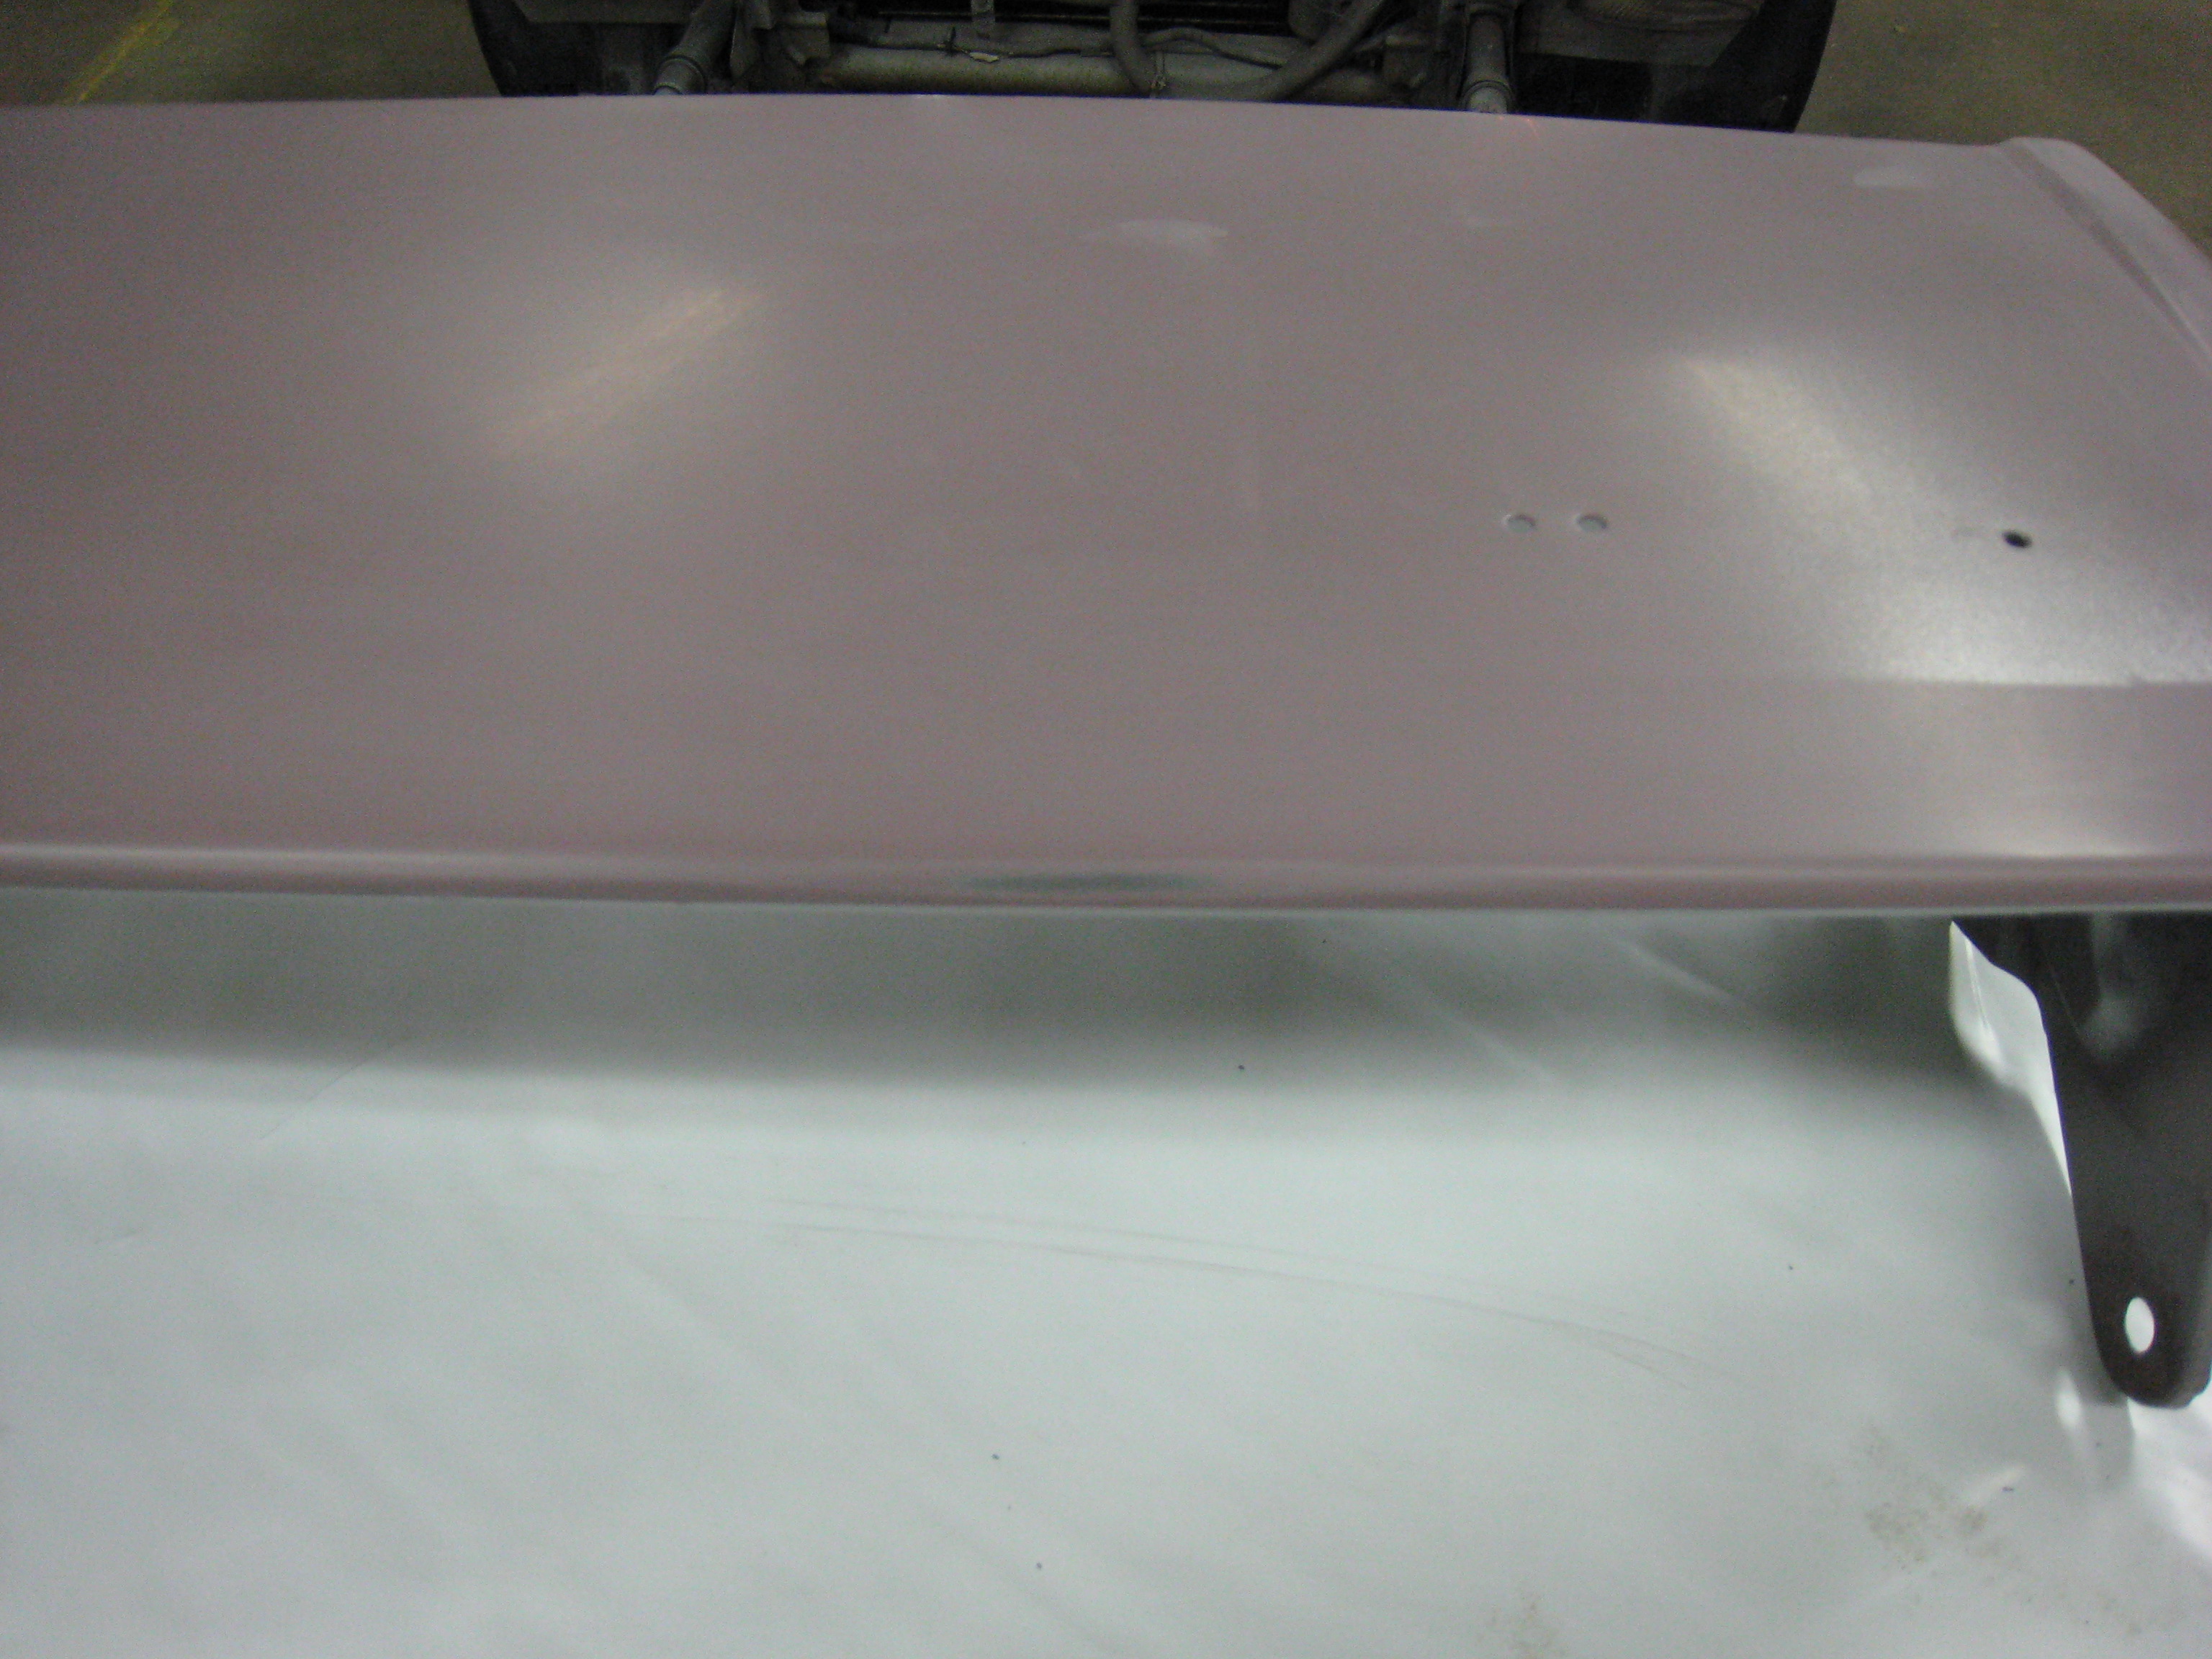
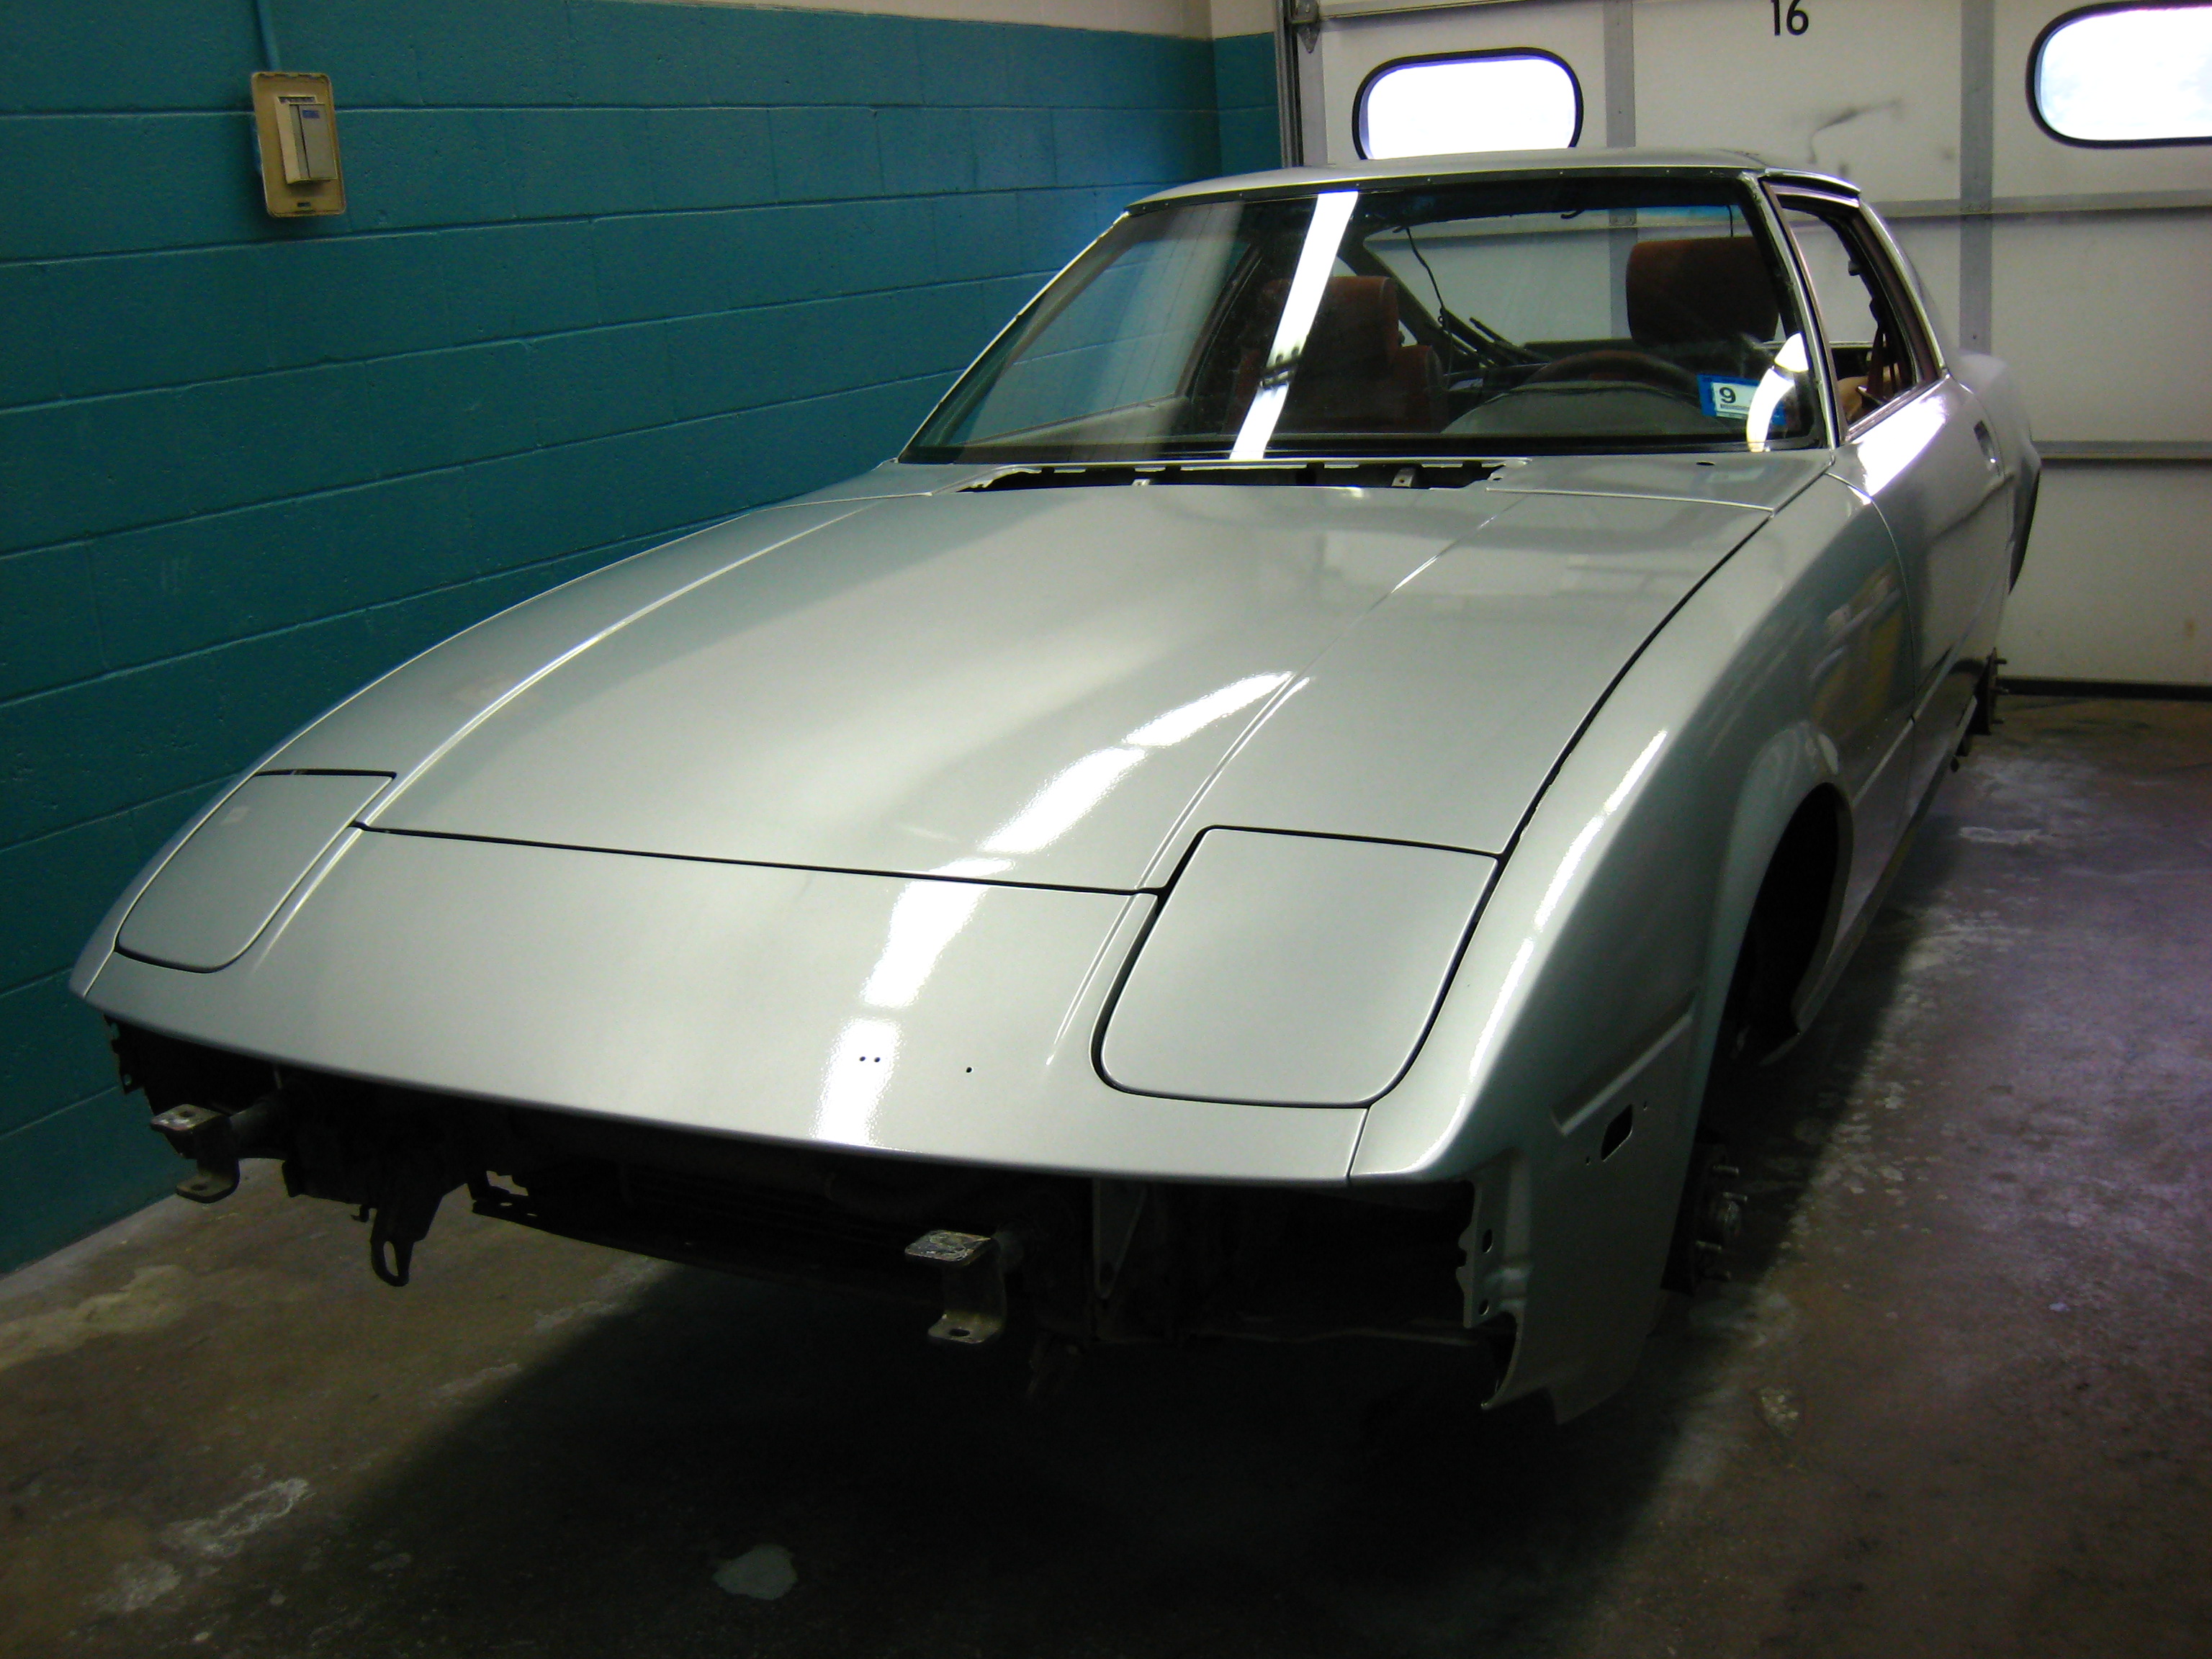
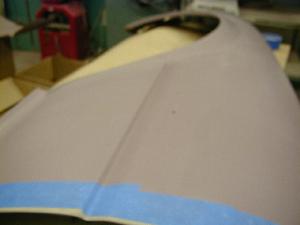
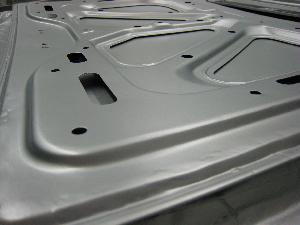
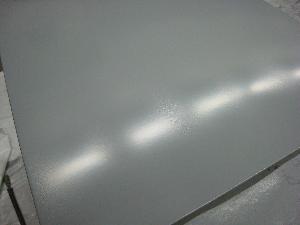
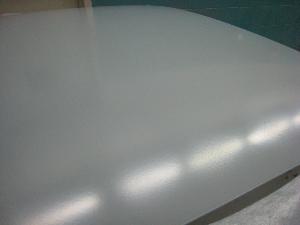
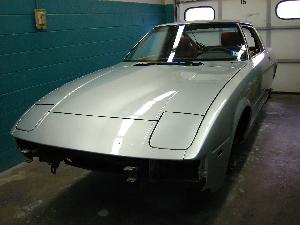
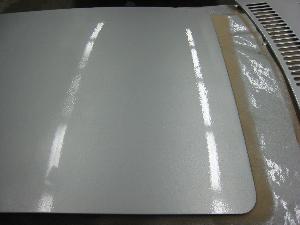
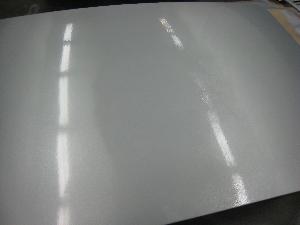
Base coat:

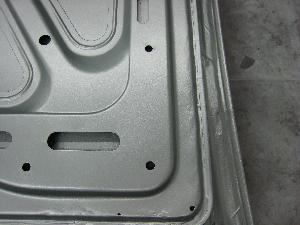
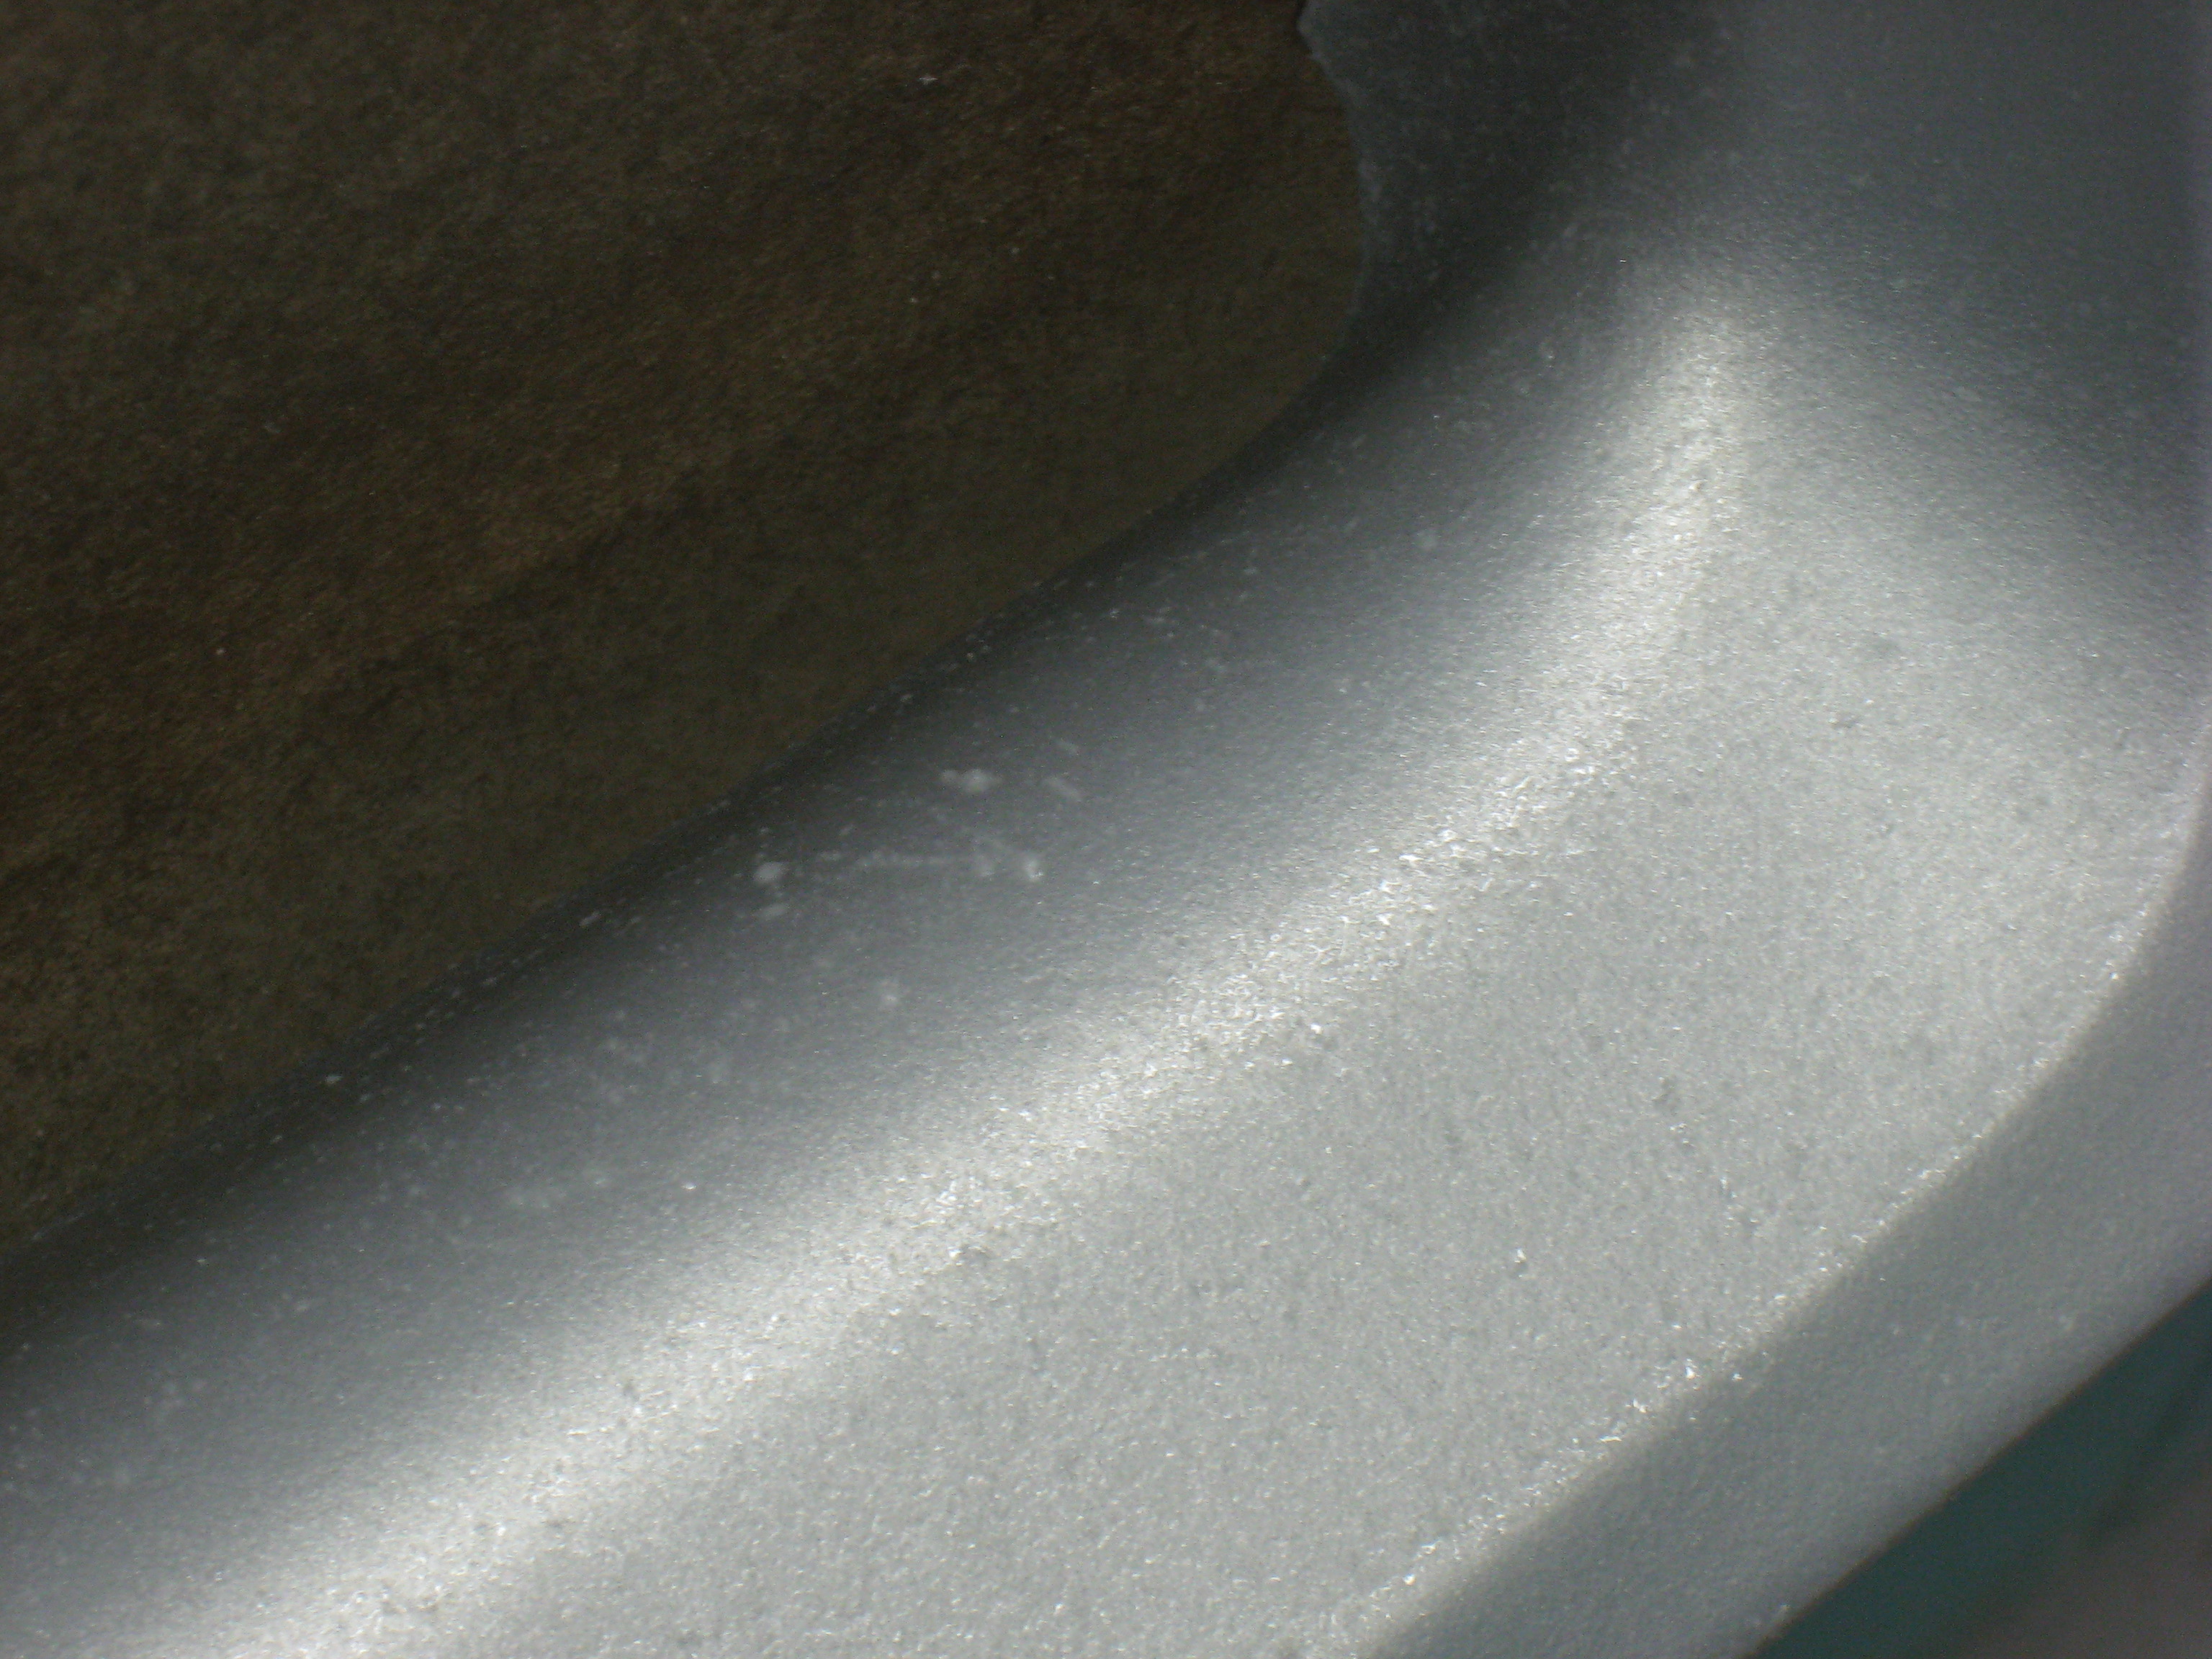
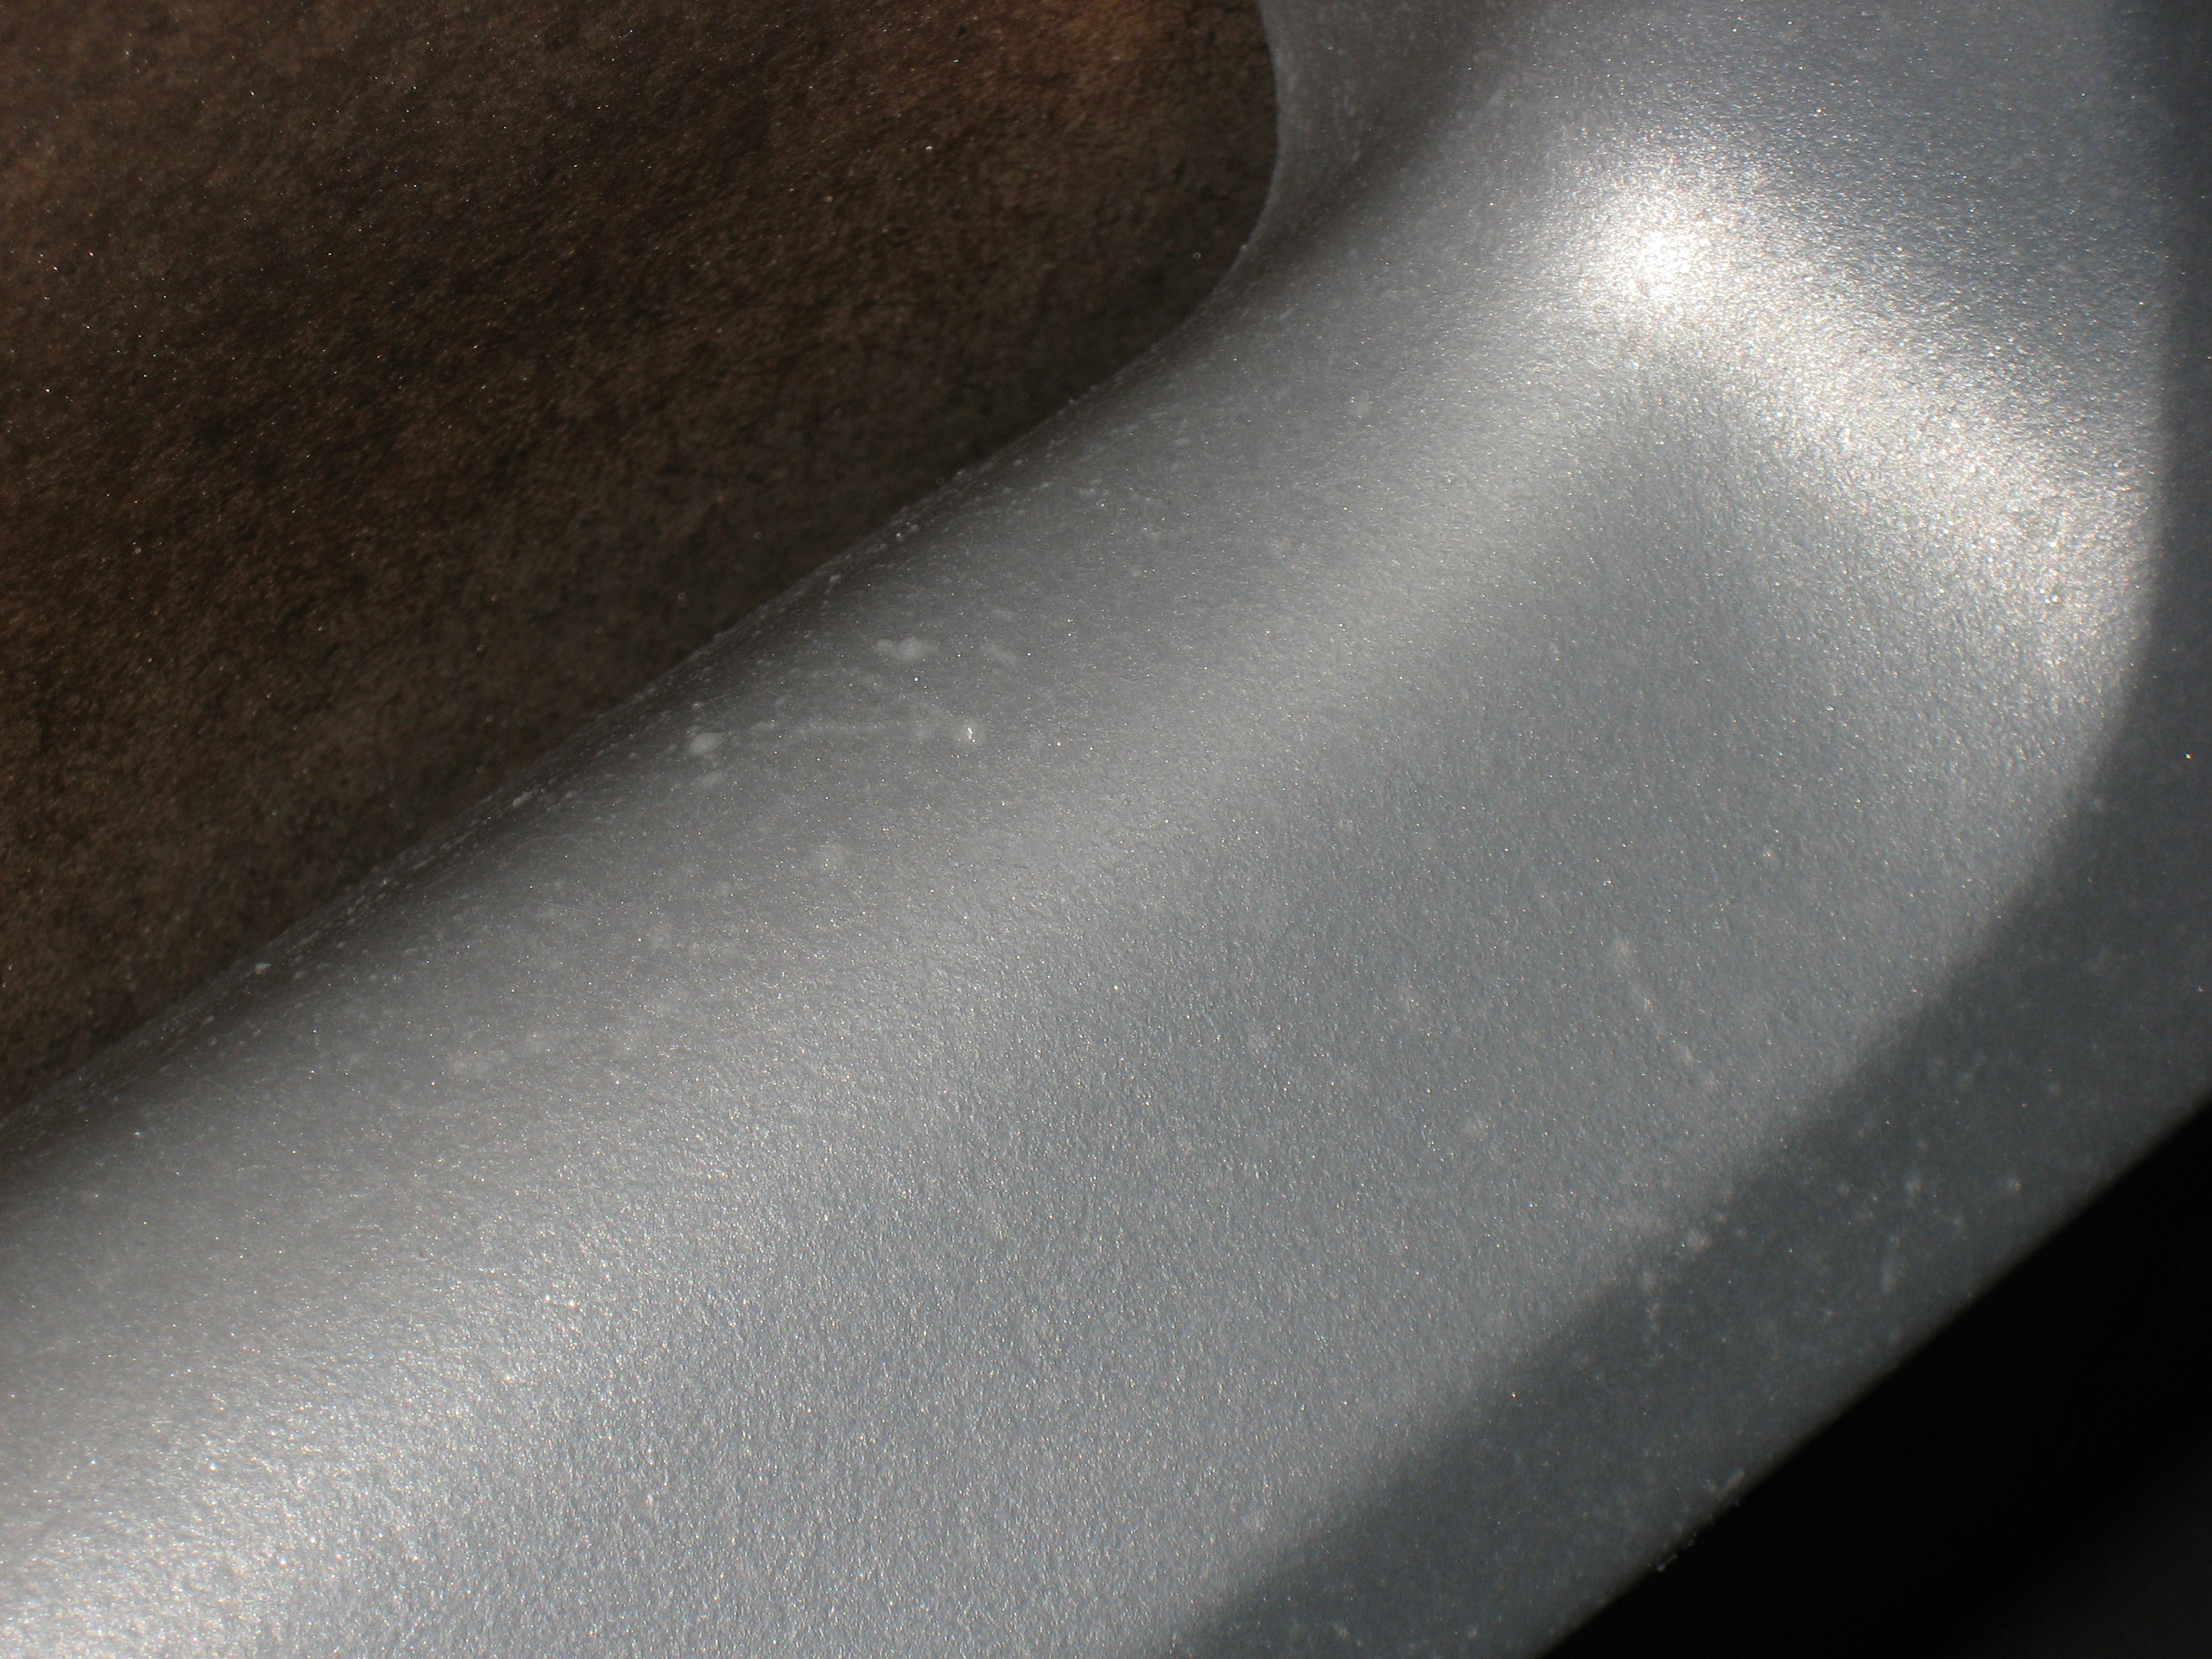
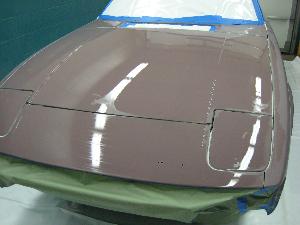
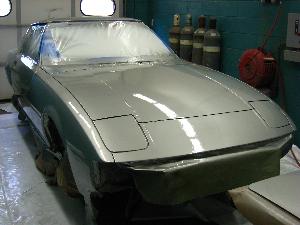
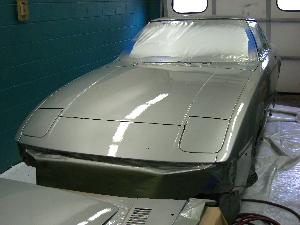
Clear coat!
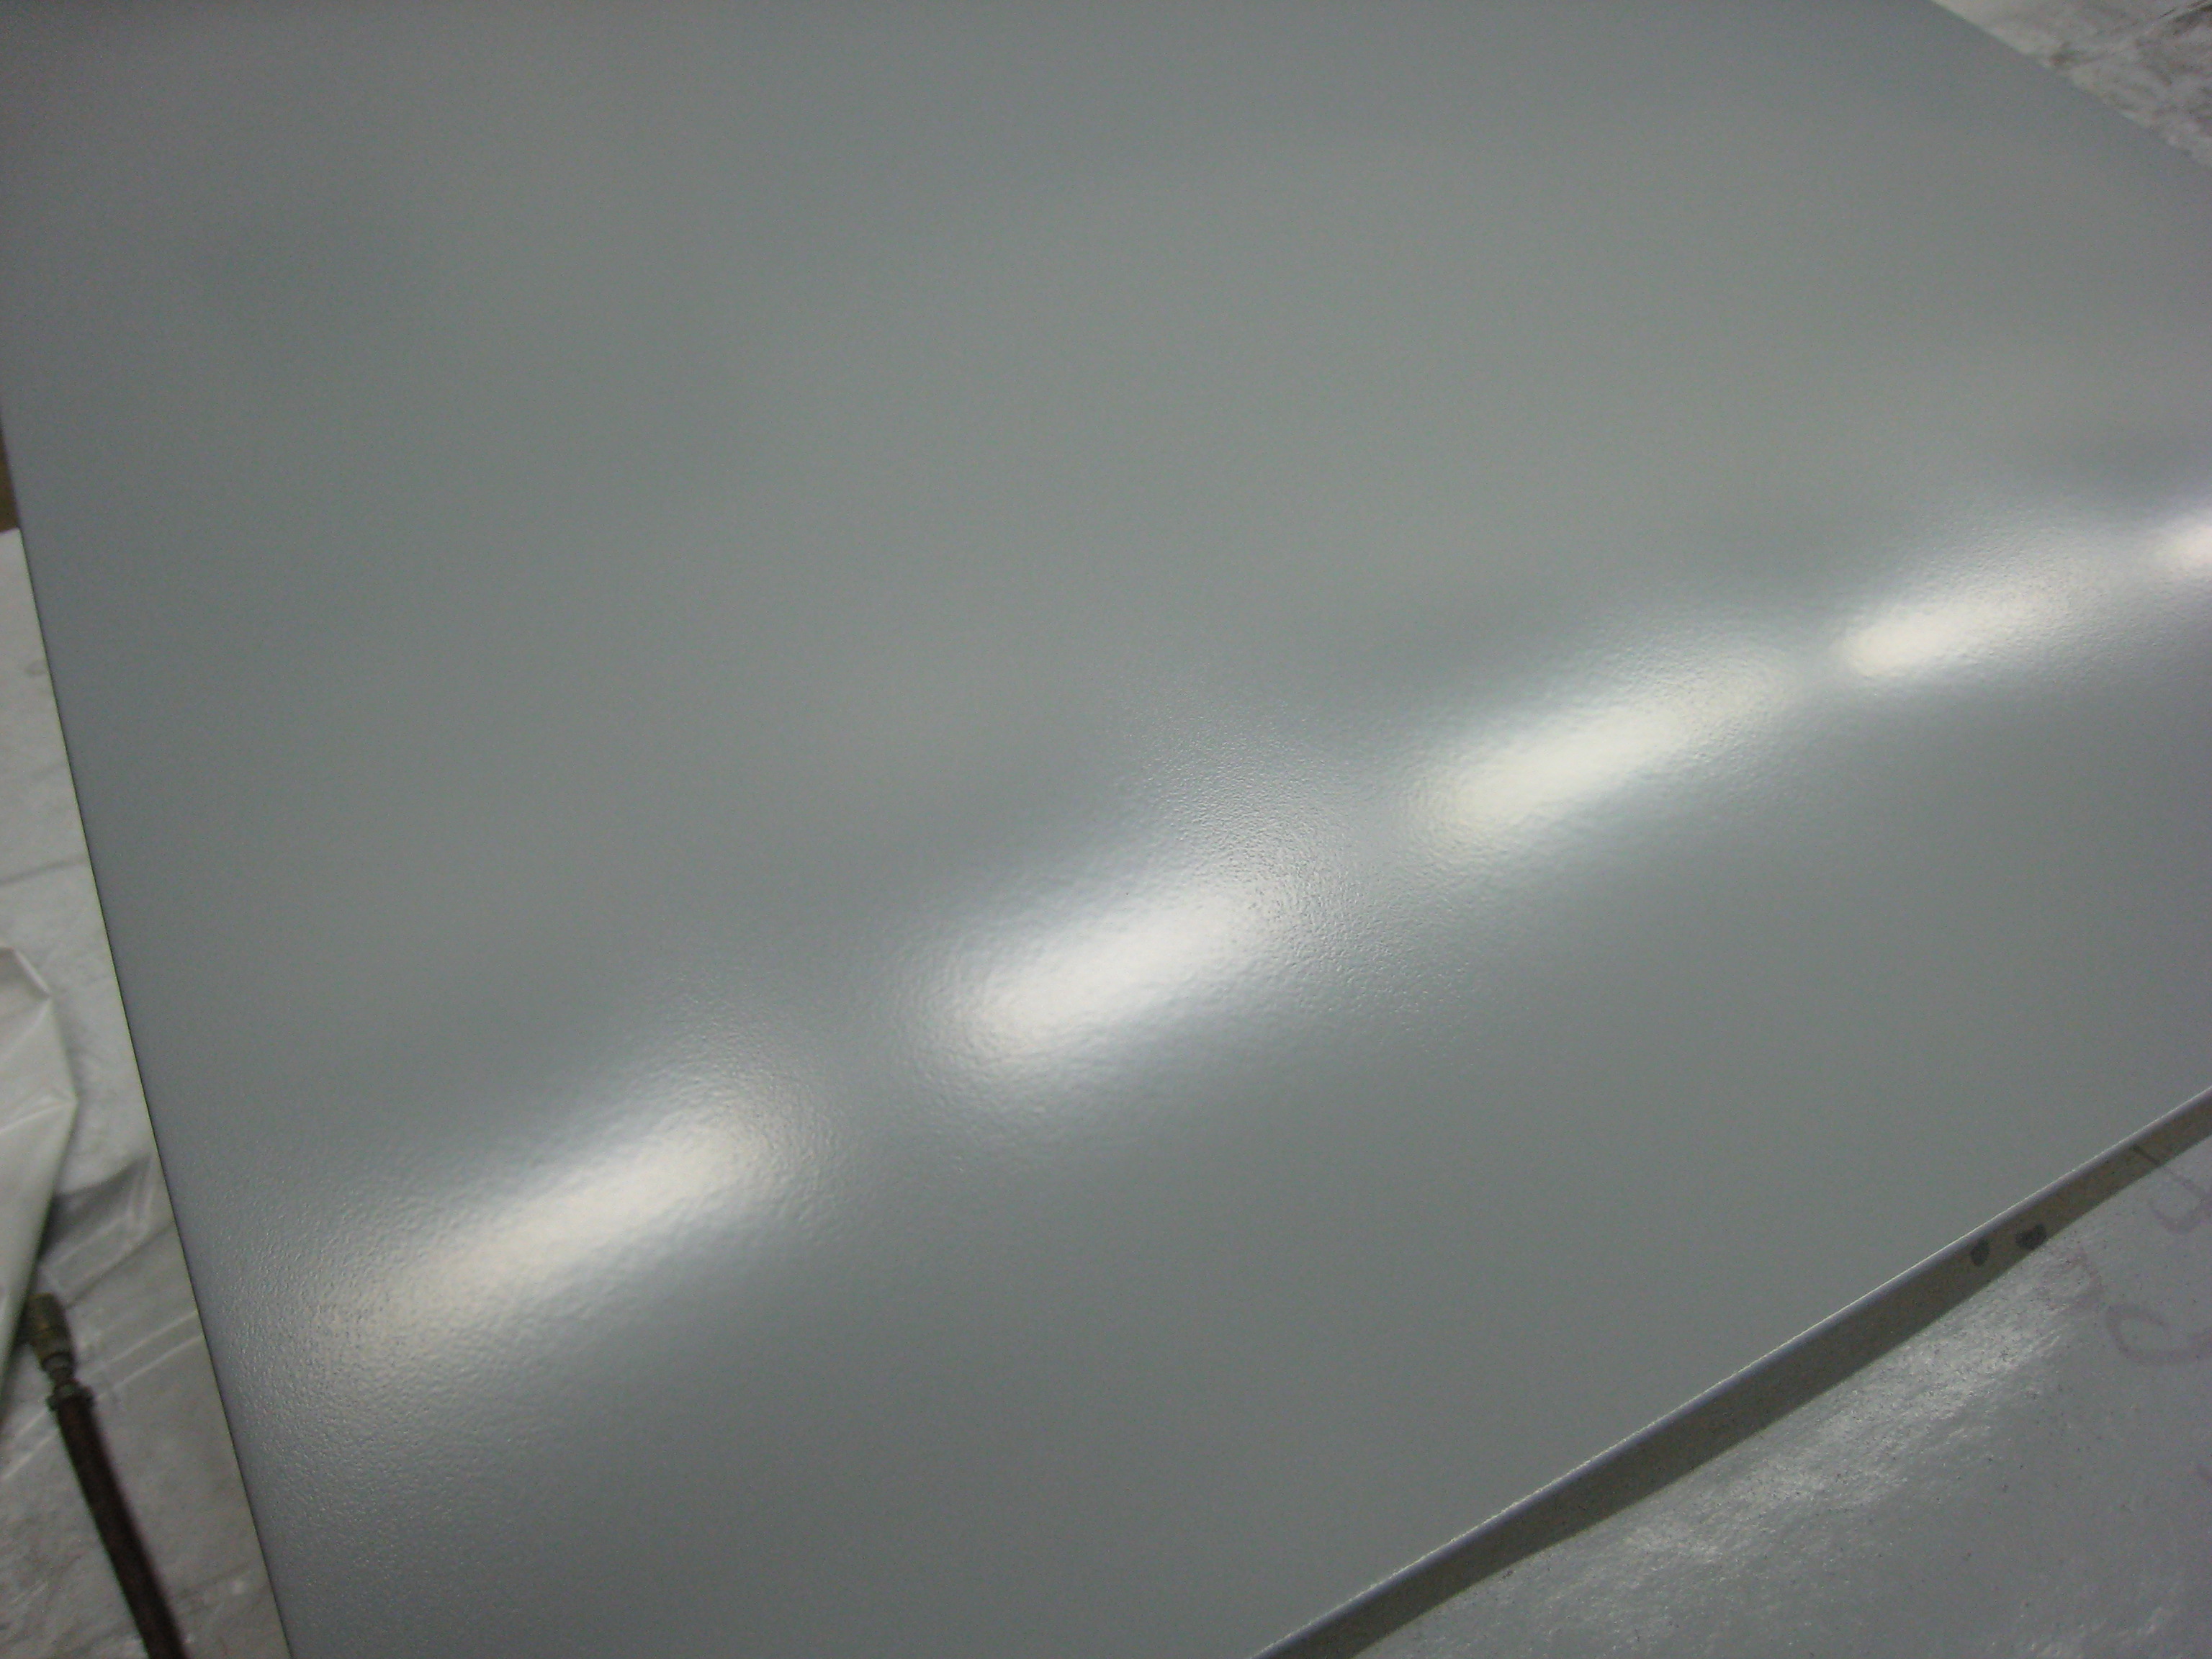
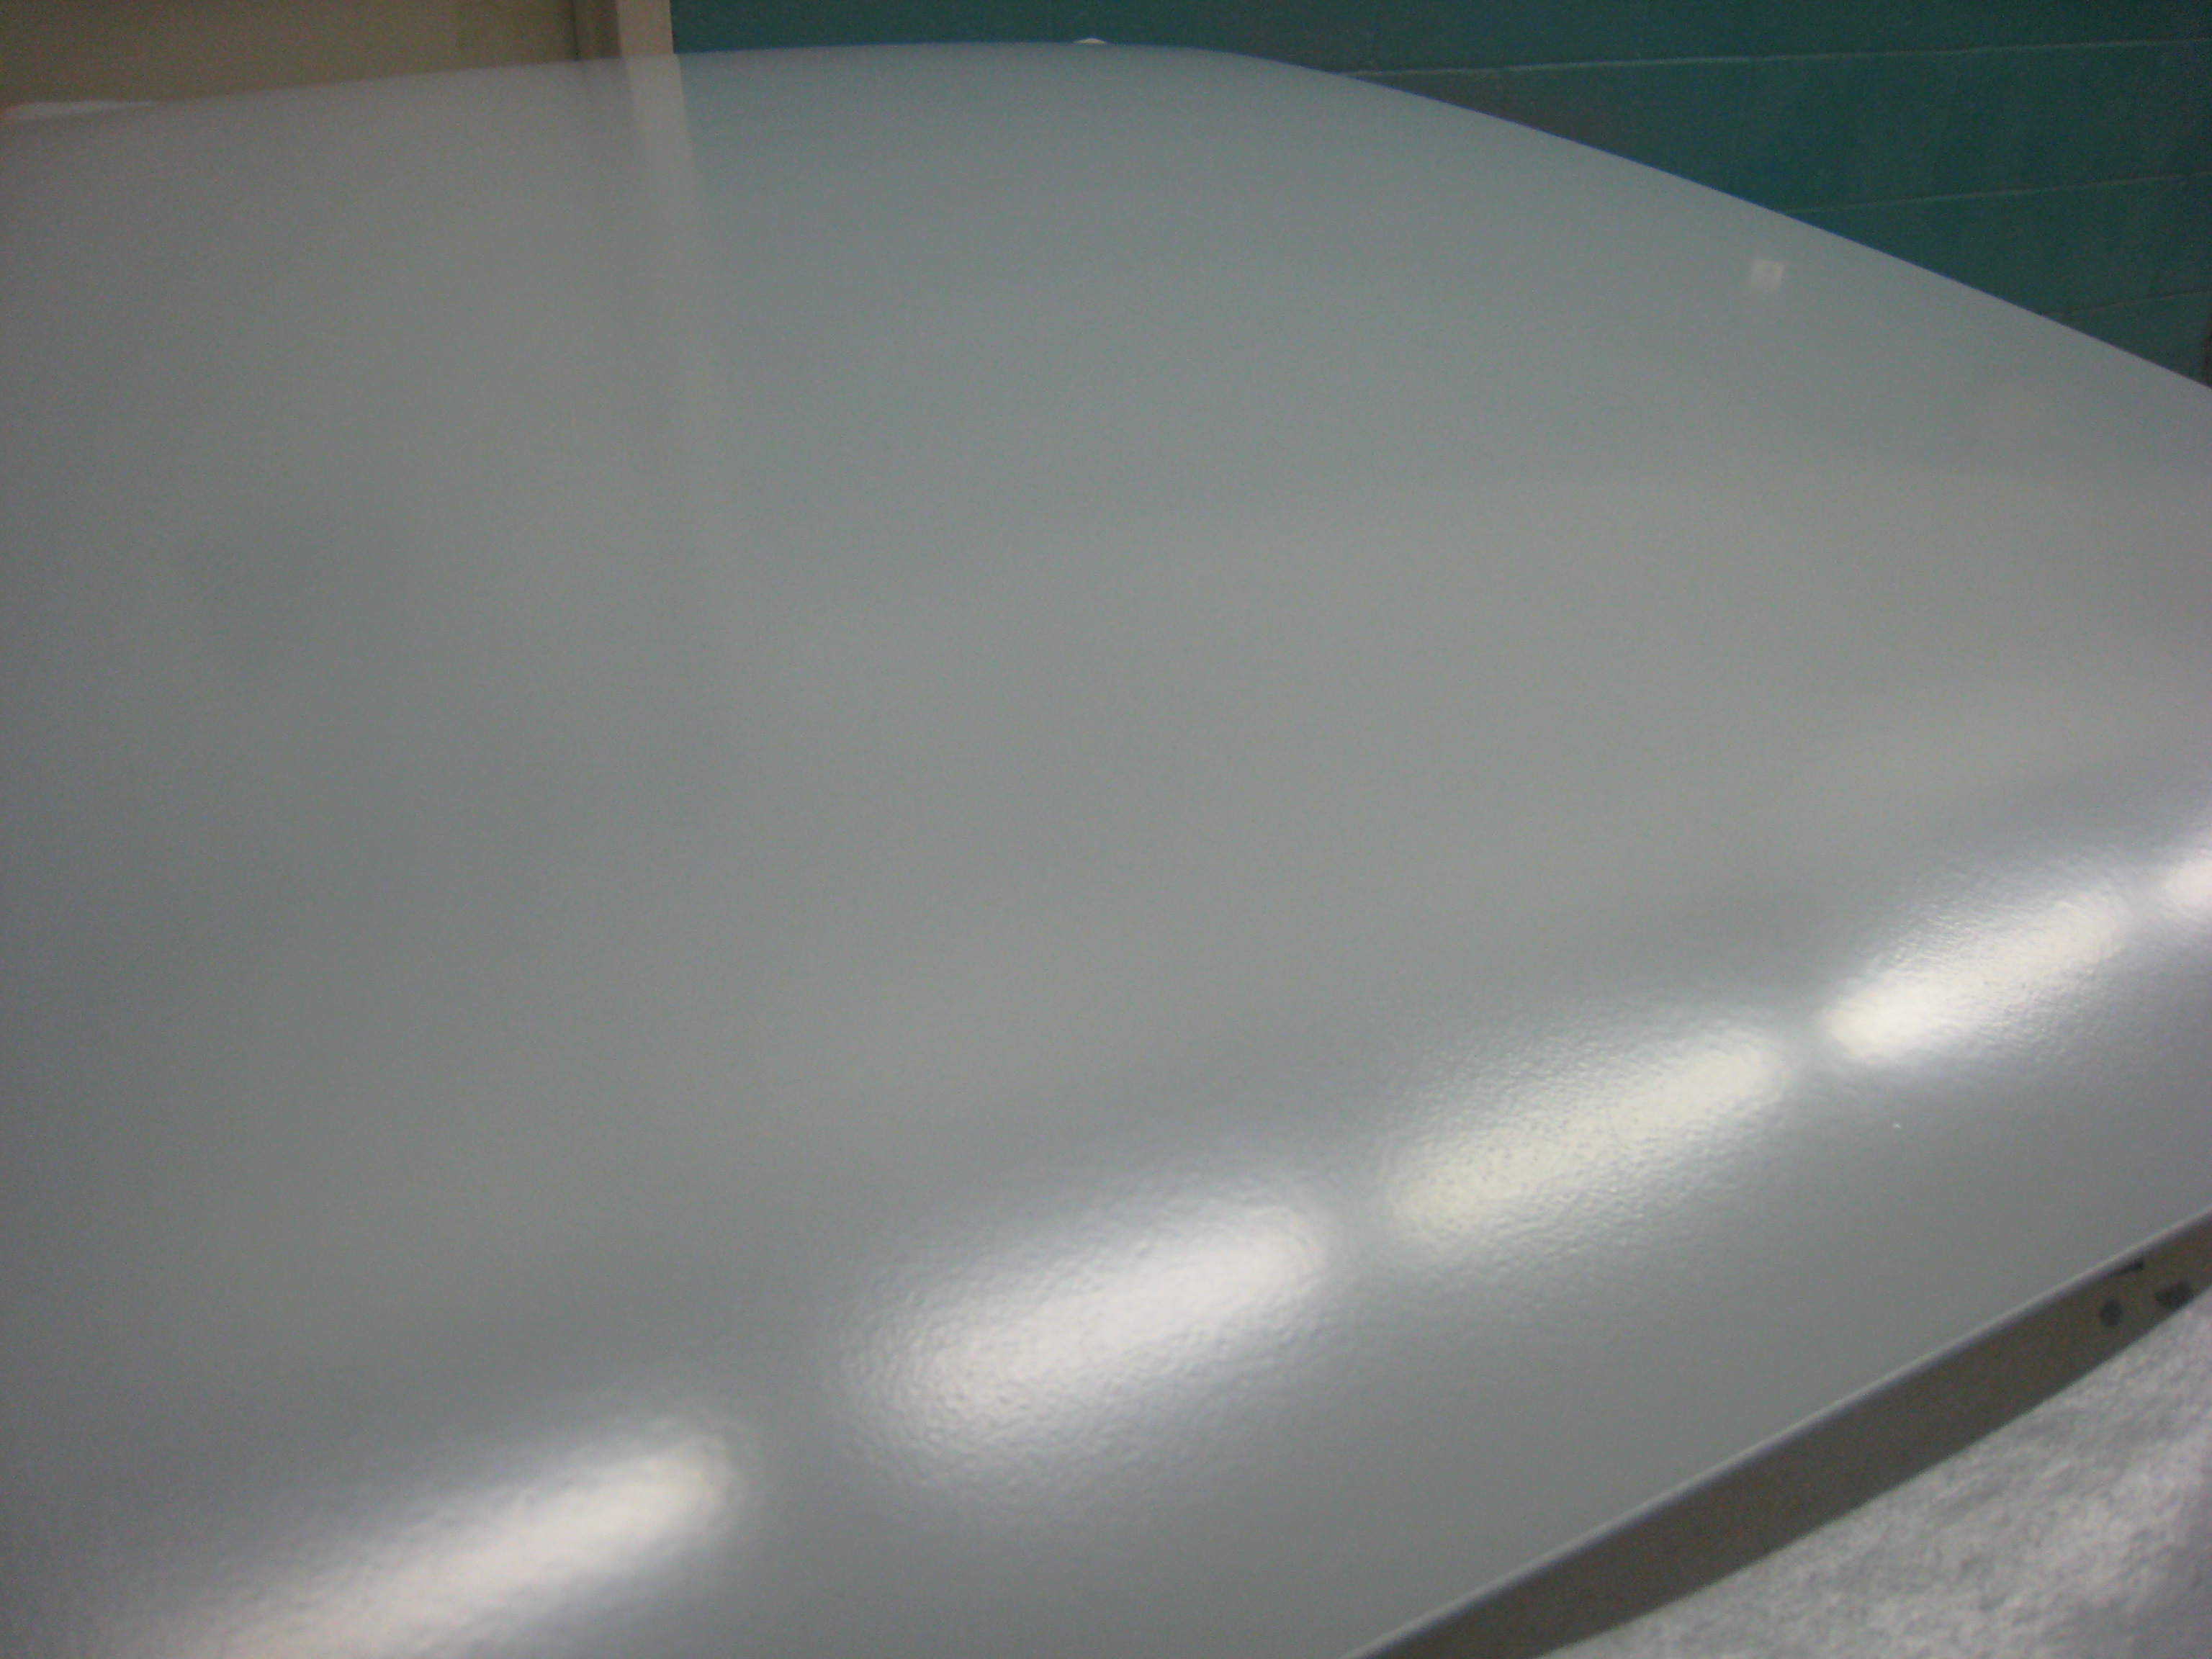
For what it's worth, the pictures of the clear coat, above, were taken while the clear coat was still wet. But when I came by the next day, these parts looked exactly the same. The depth of the gloss is incredible. I'm thrilled with the result, as it's easily comparable to any high-end European brand. If the rest of the car turns out like this, it's going to be very impressive!
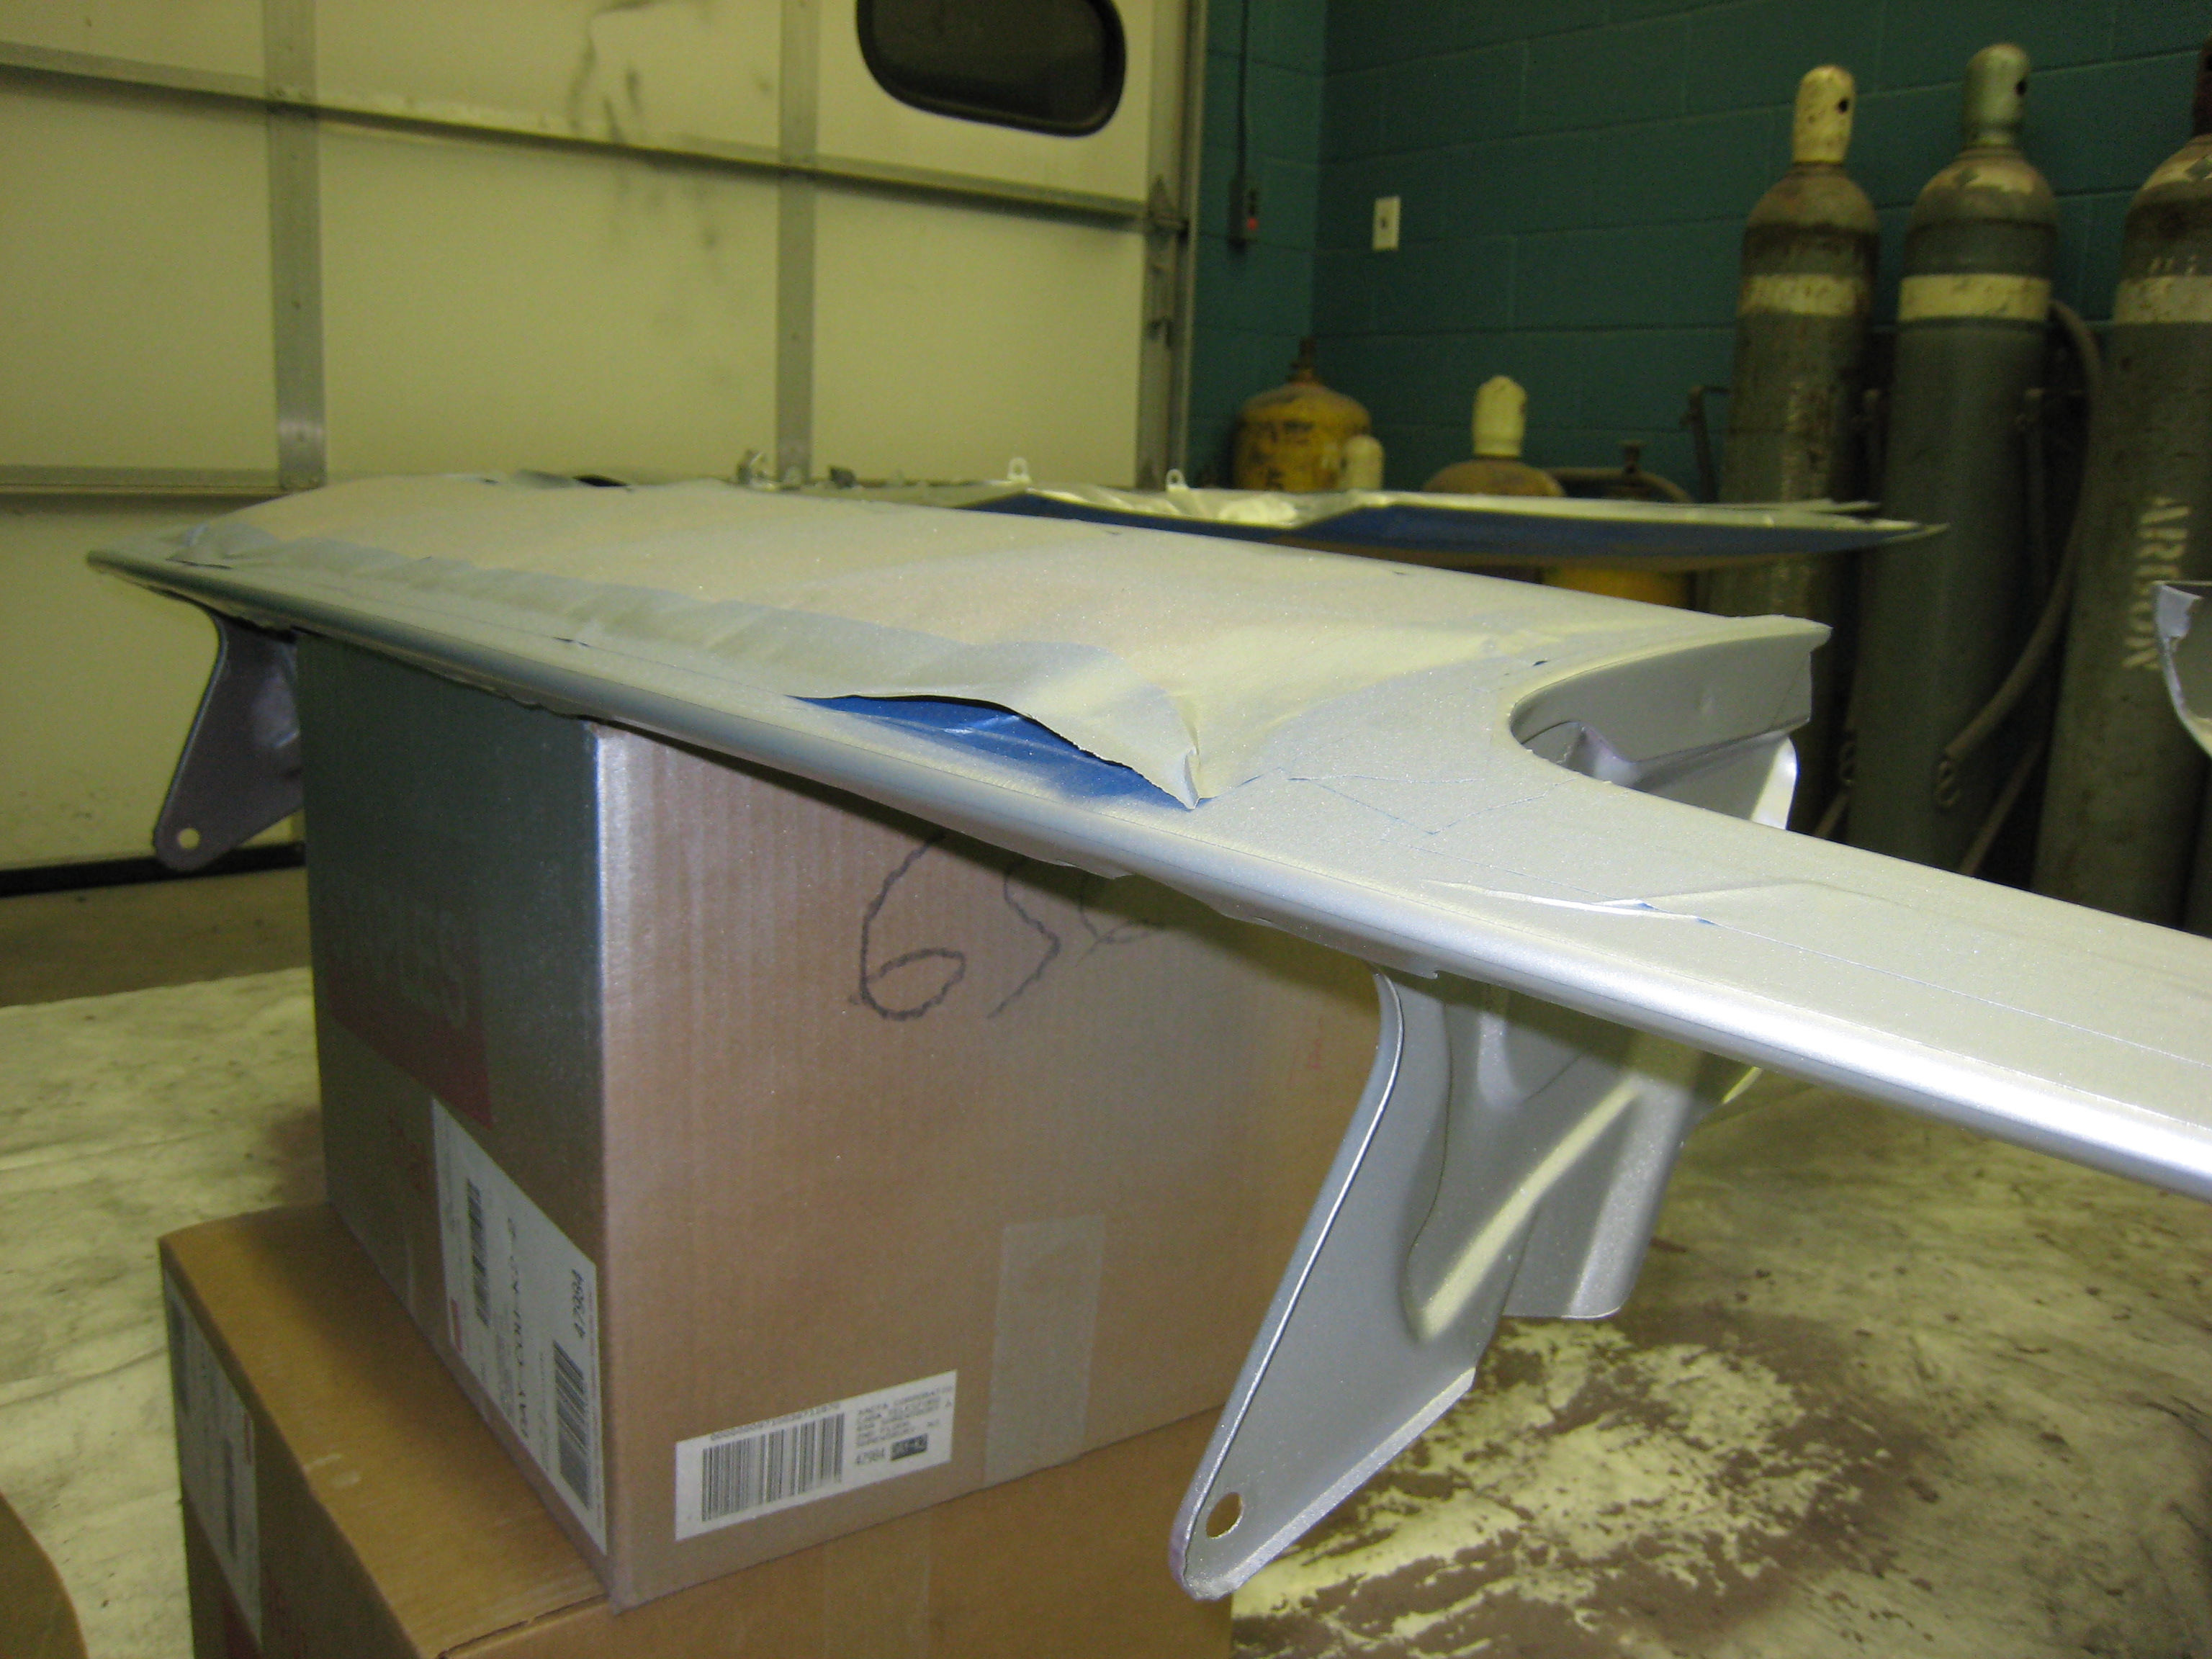
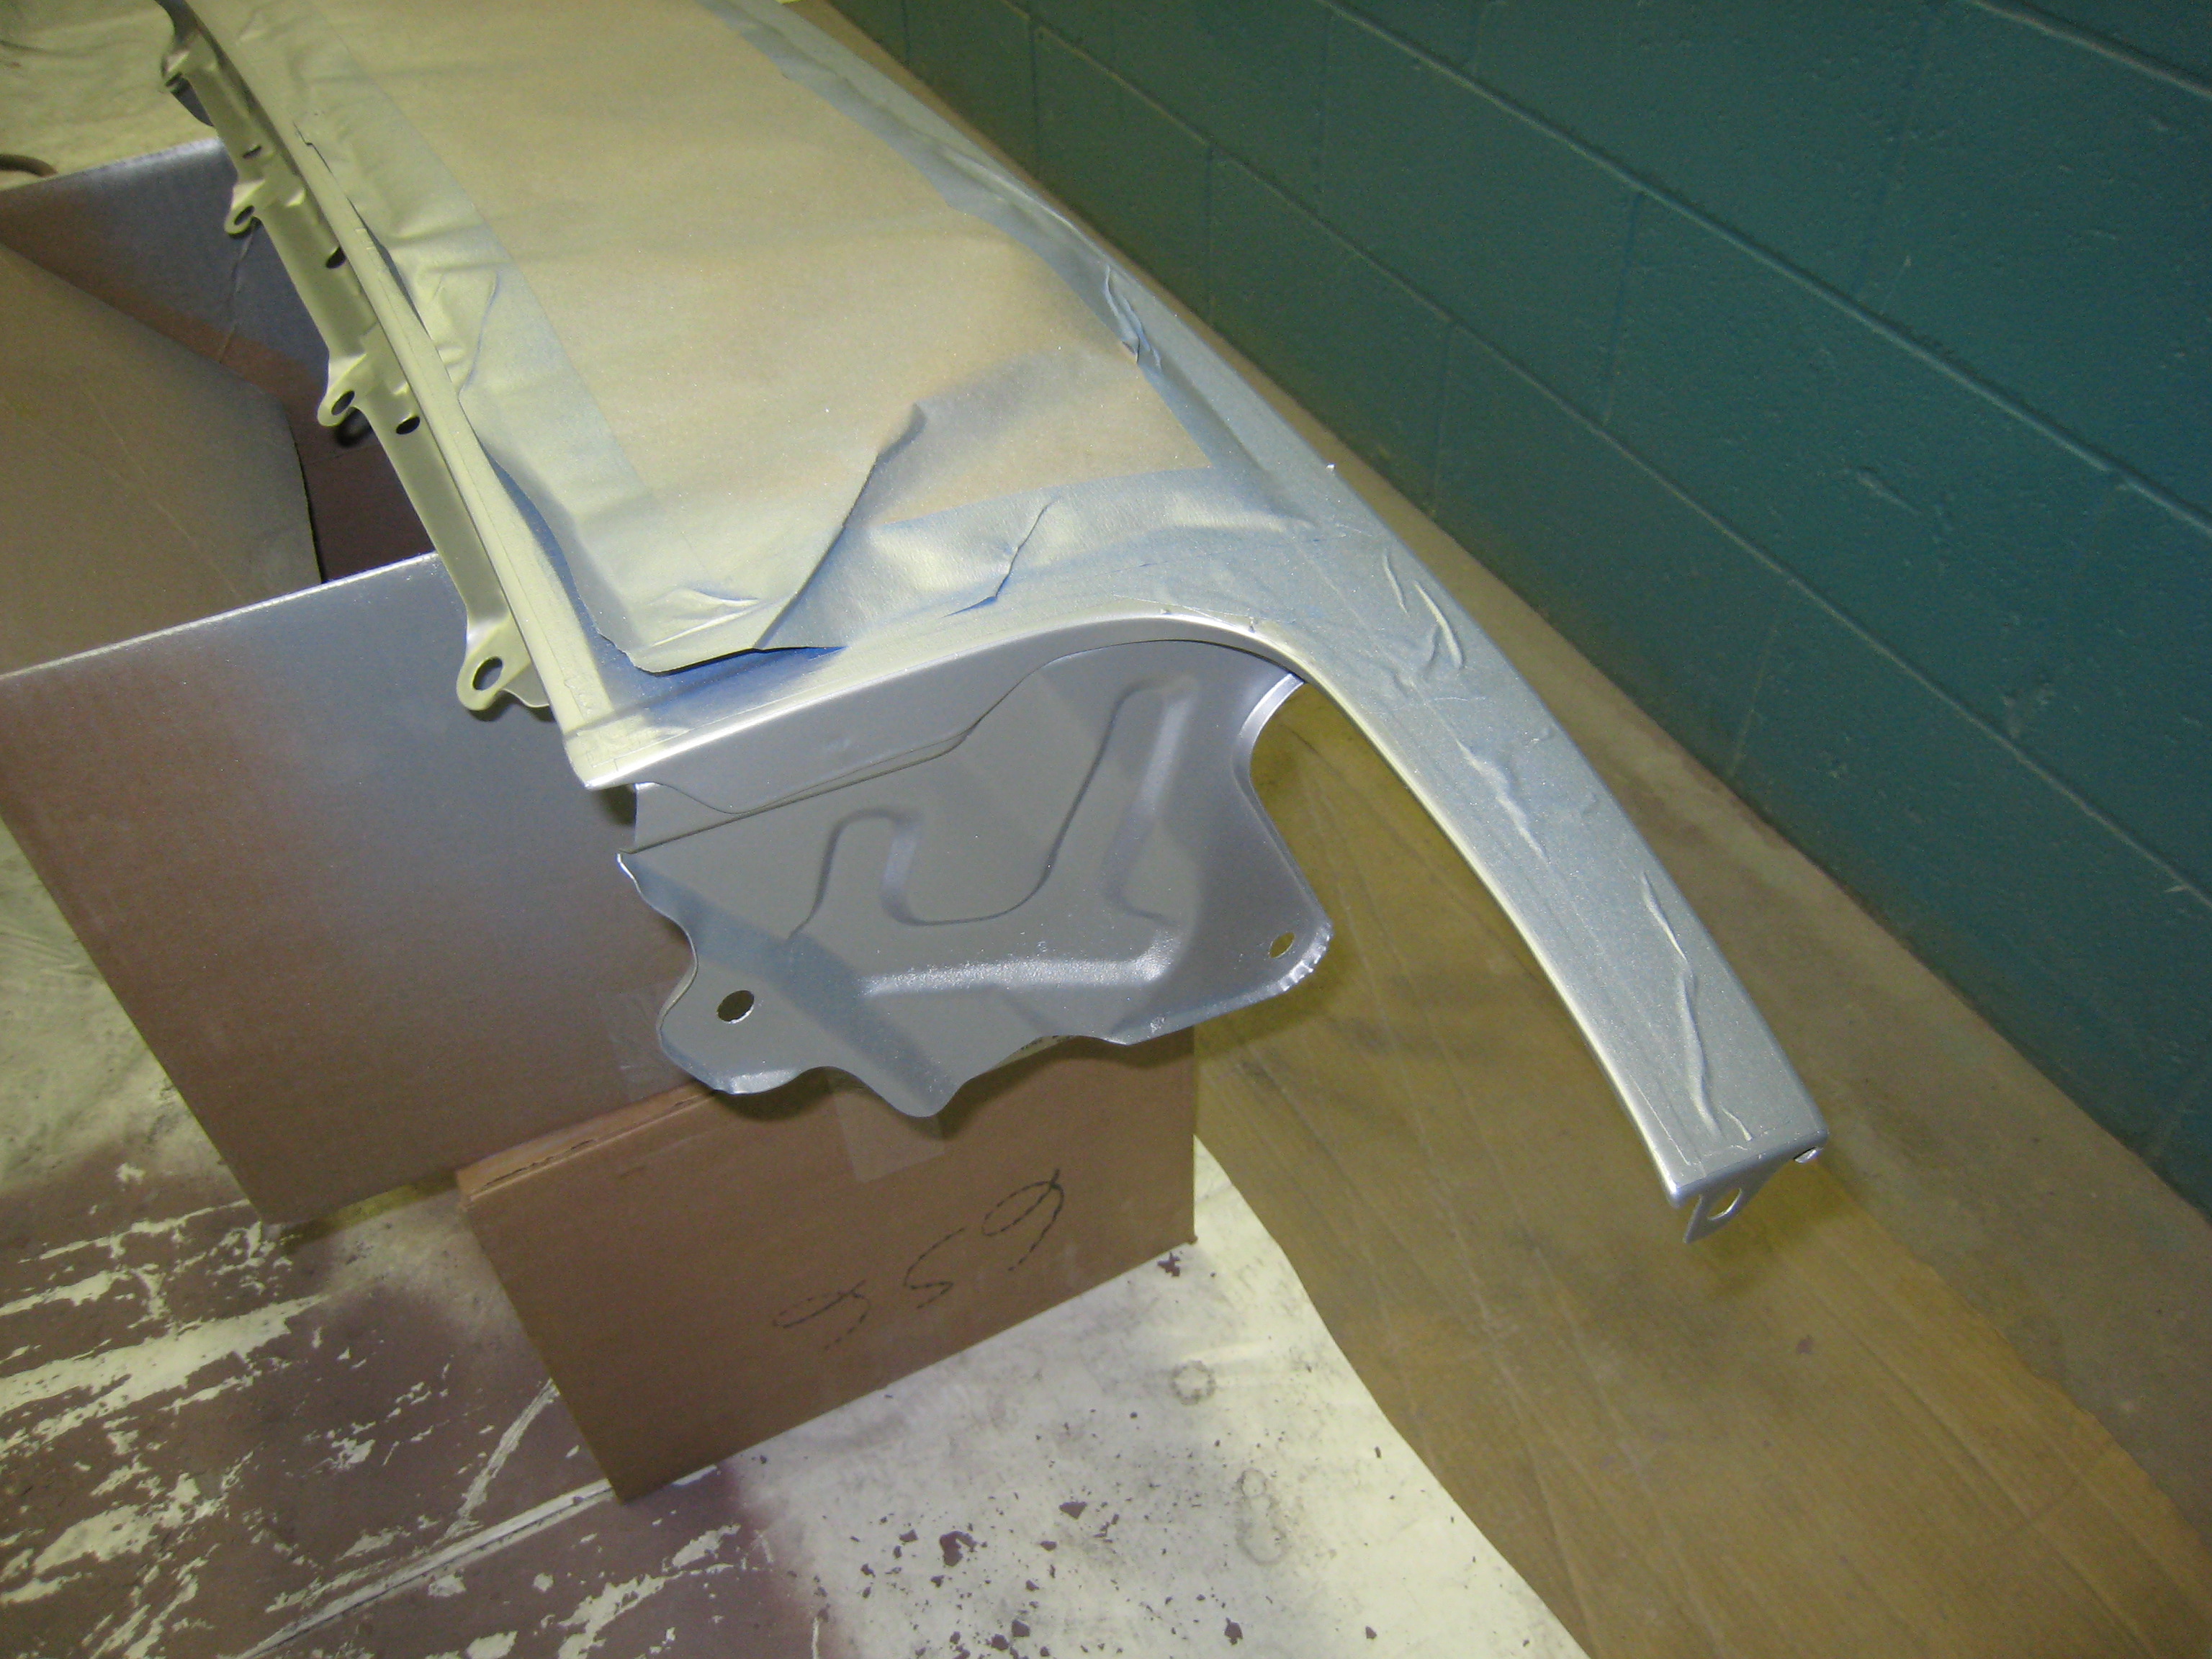
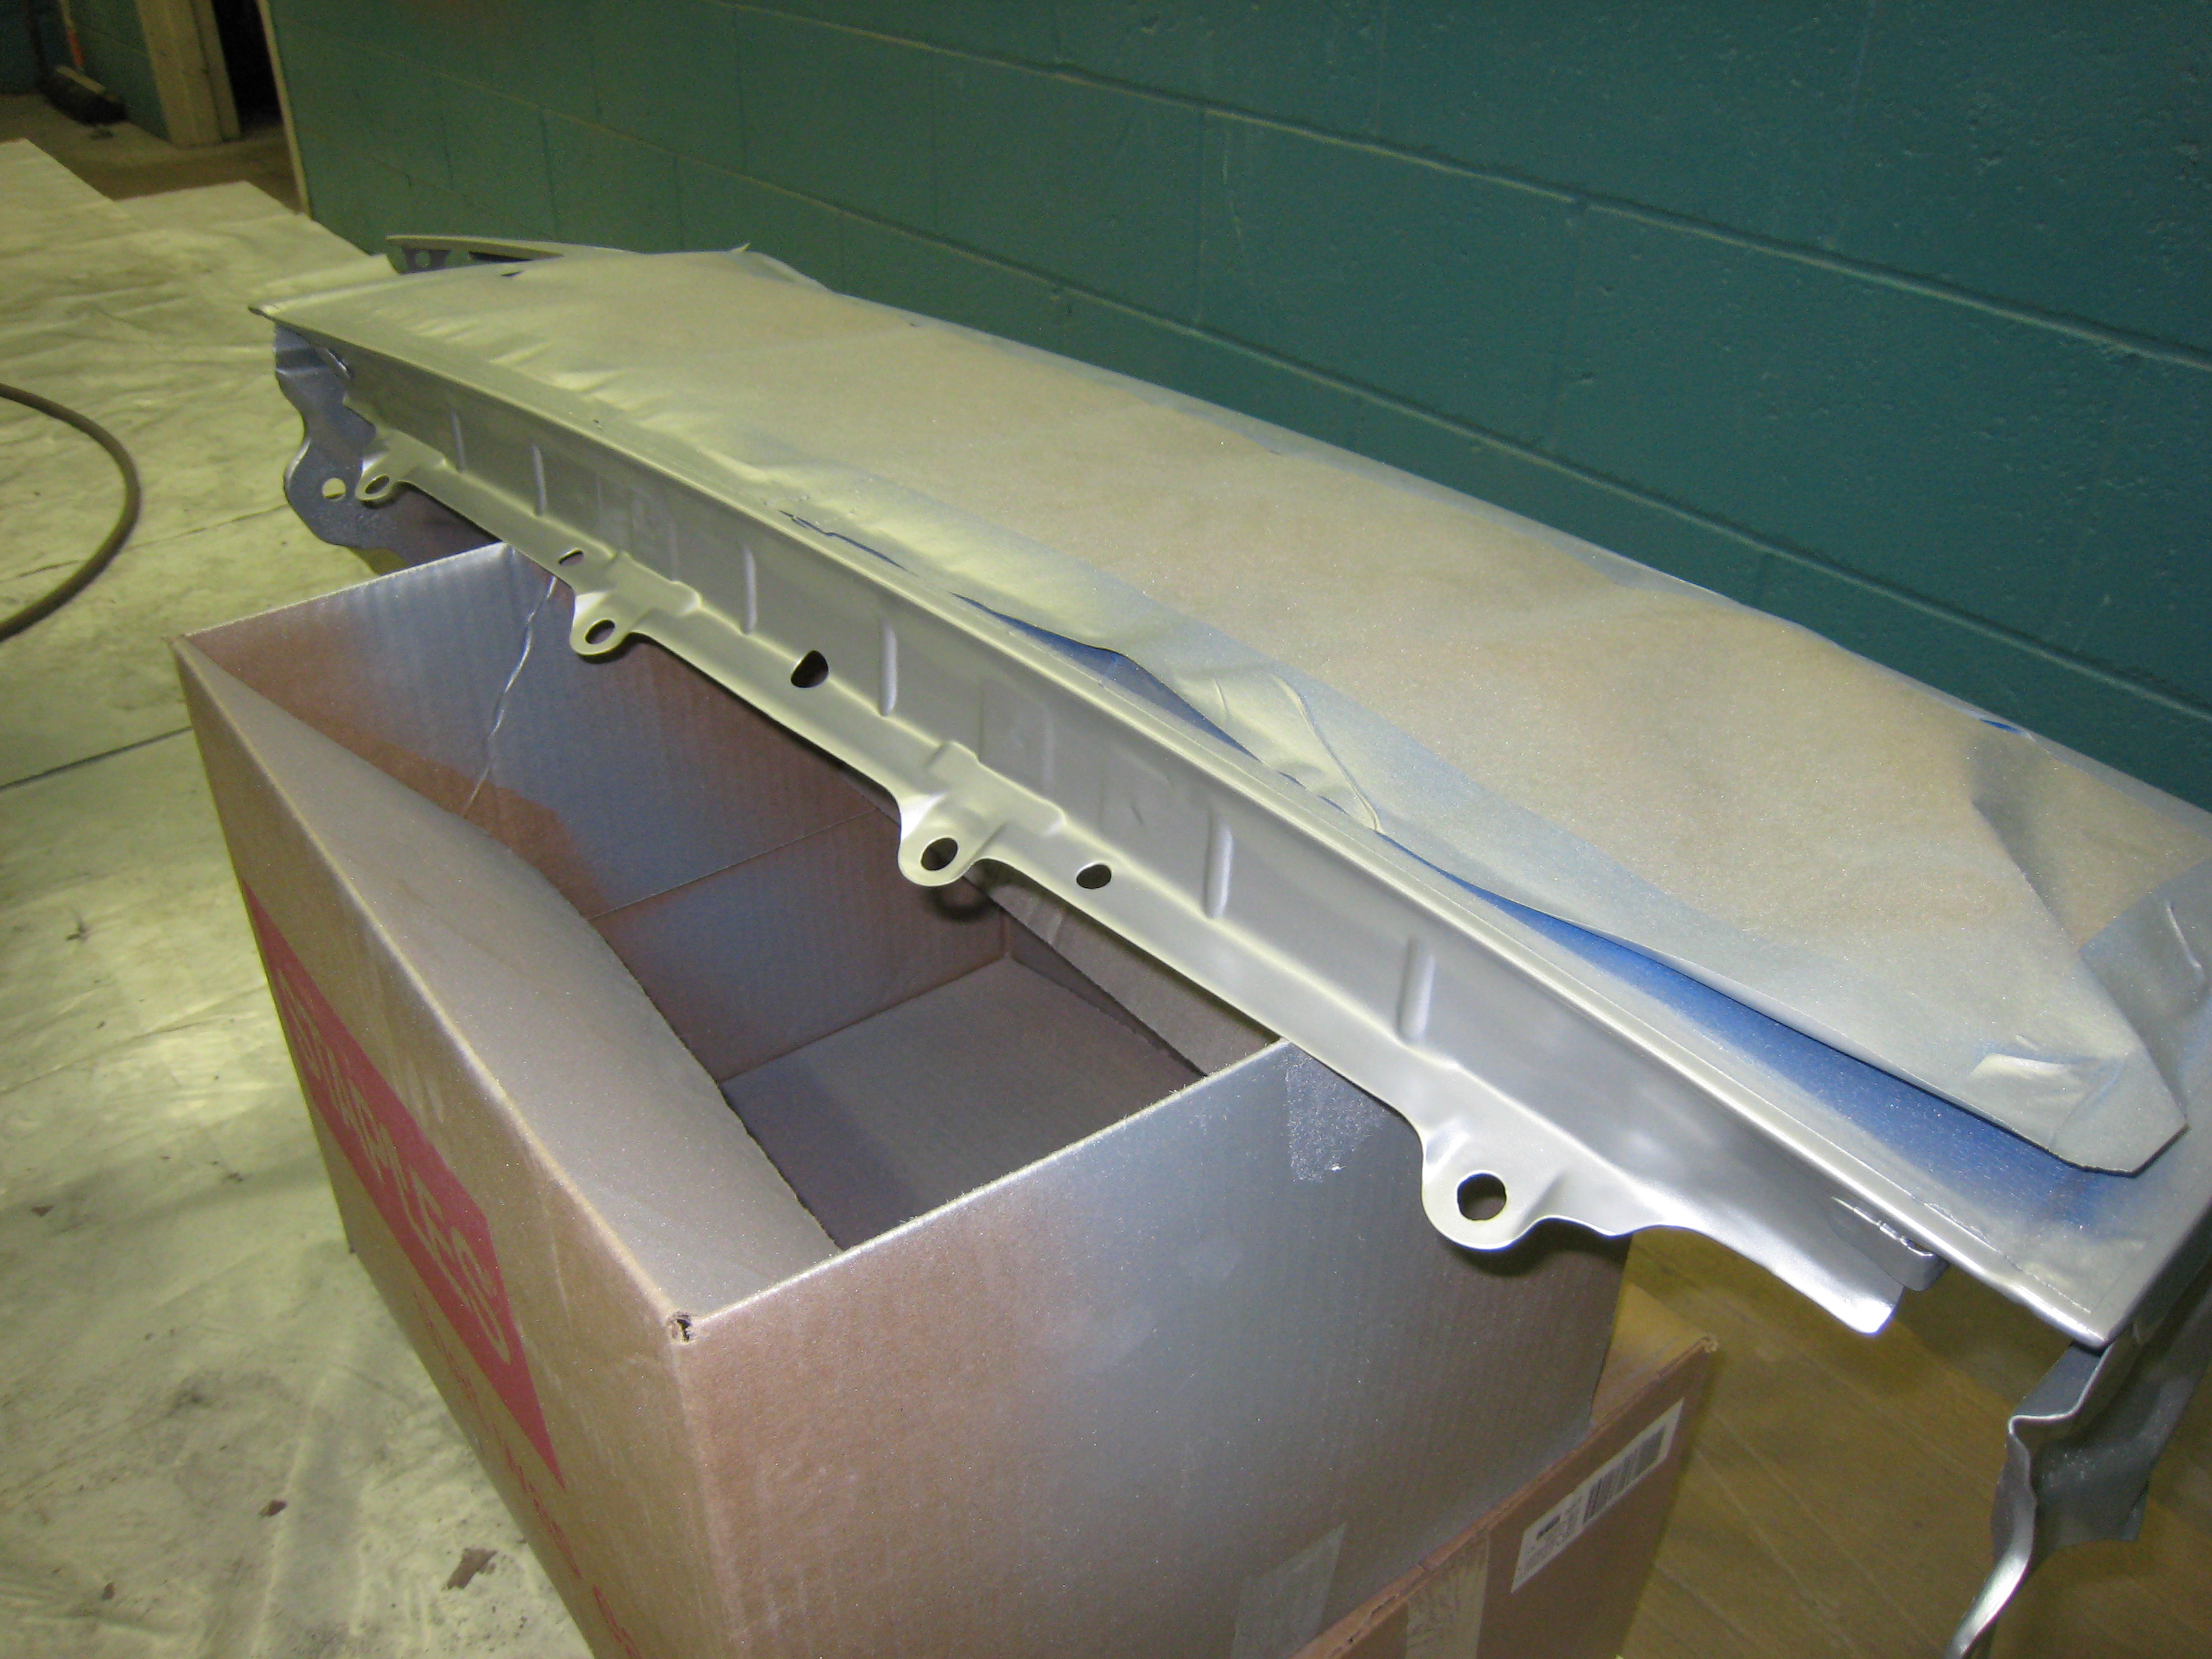
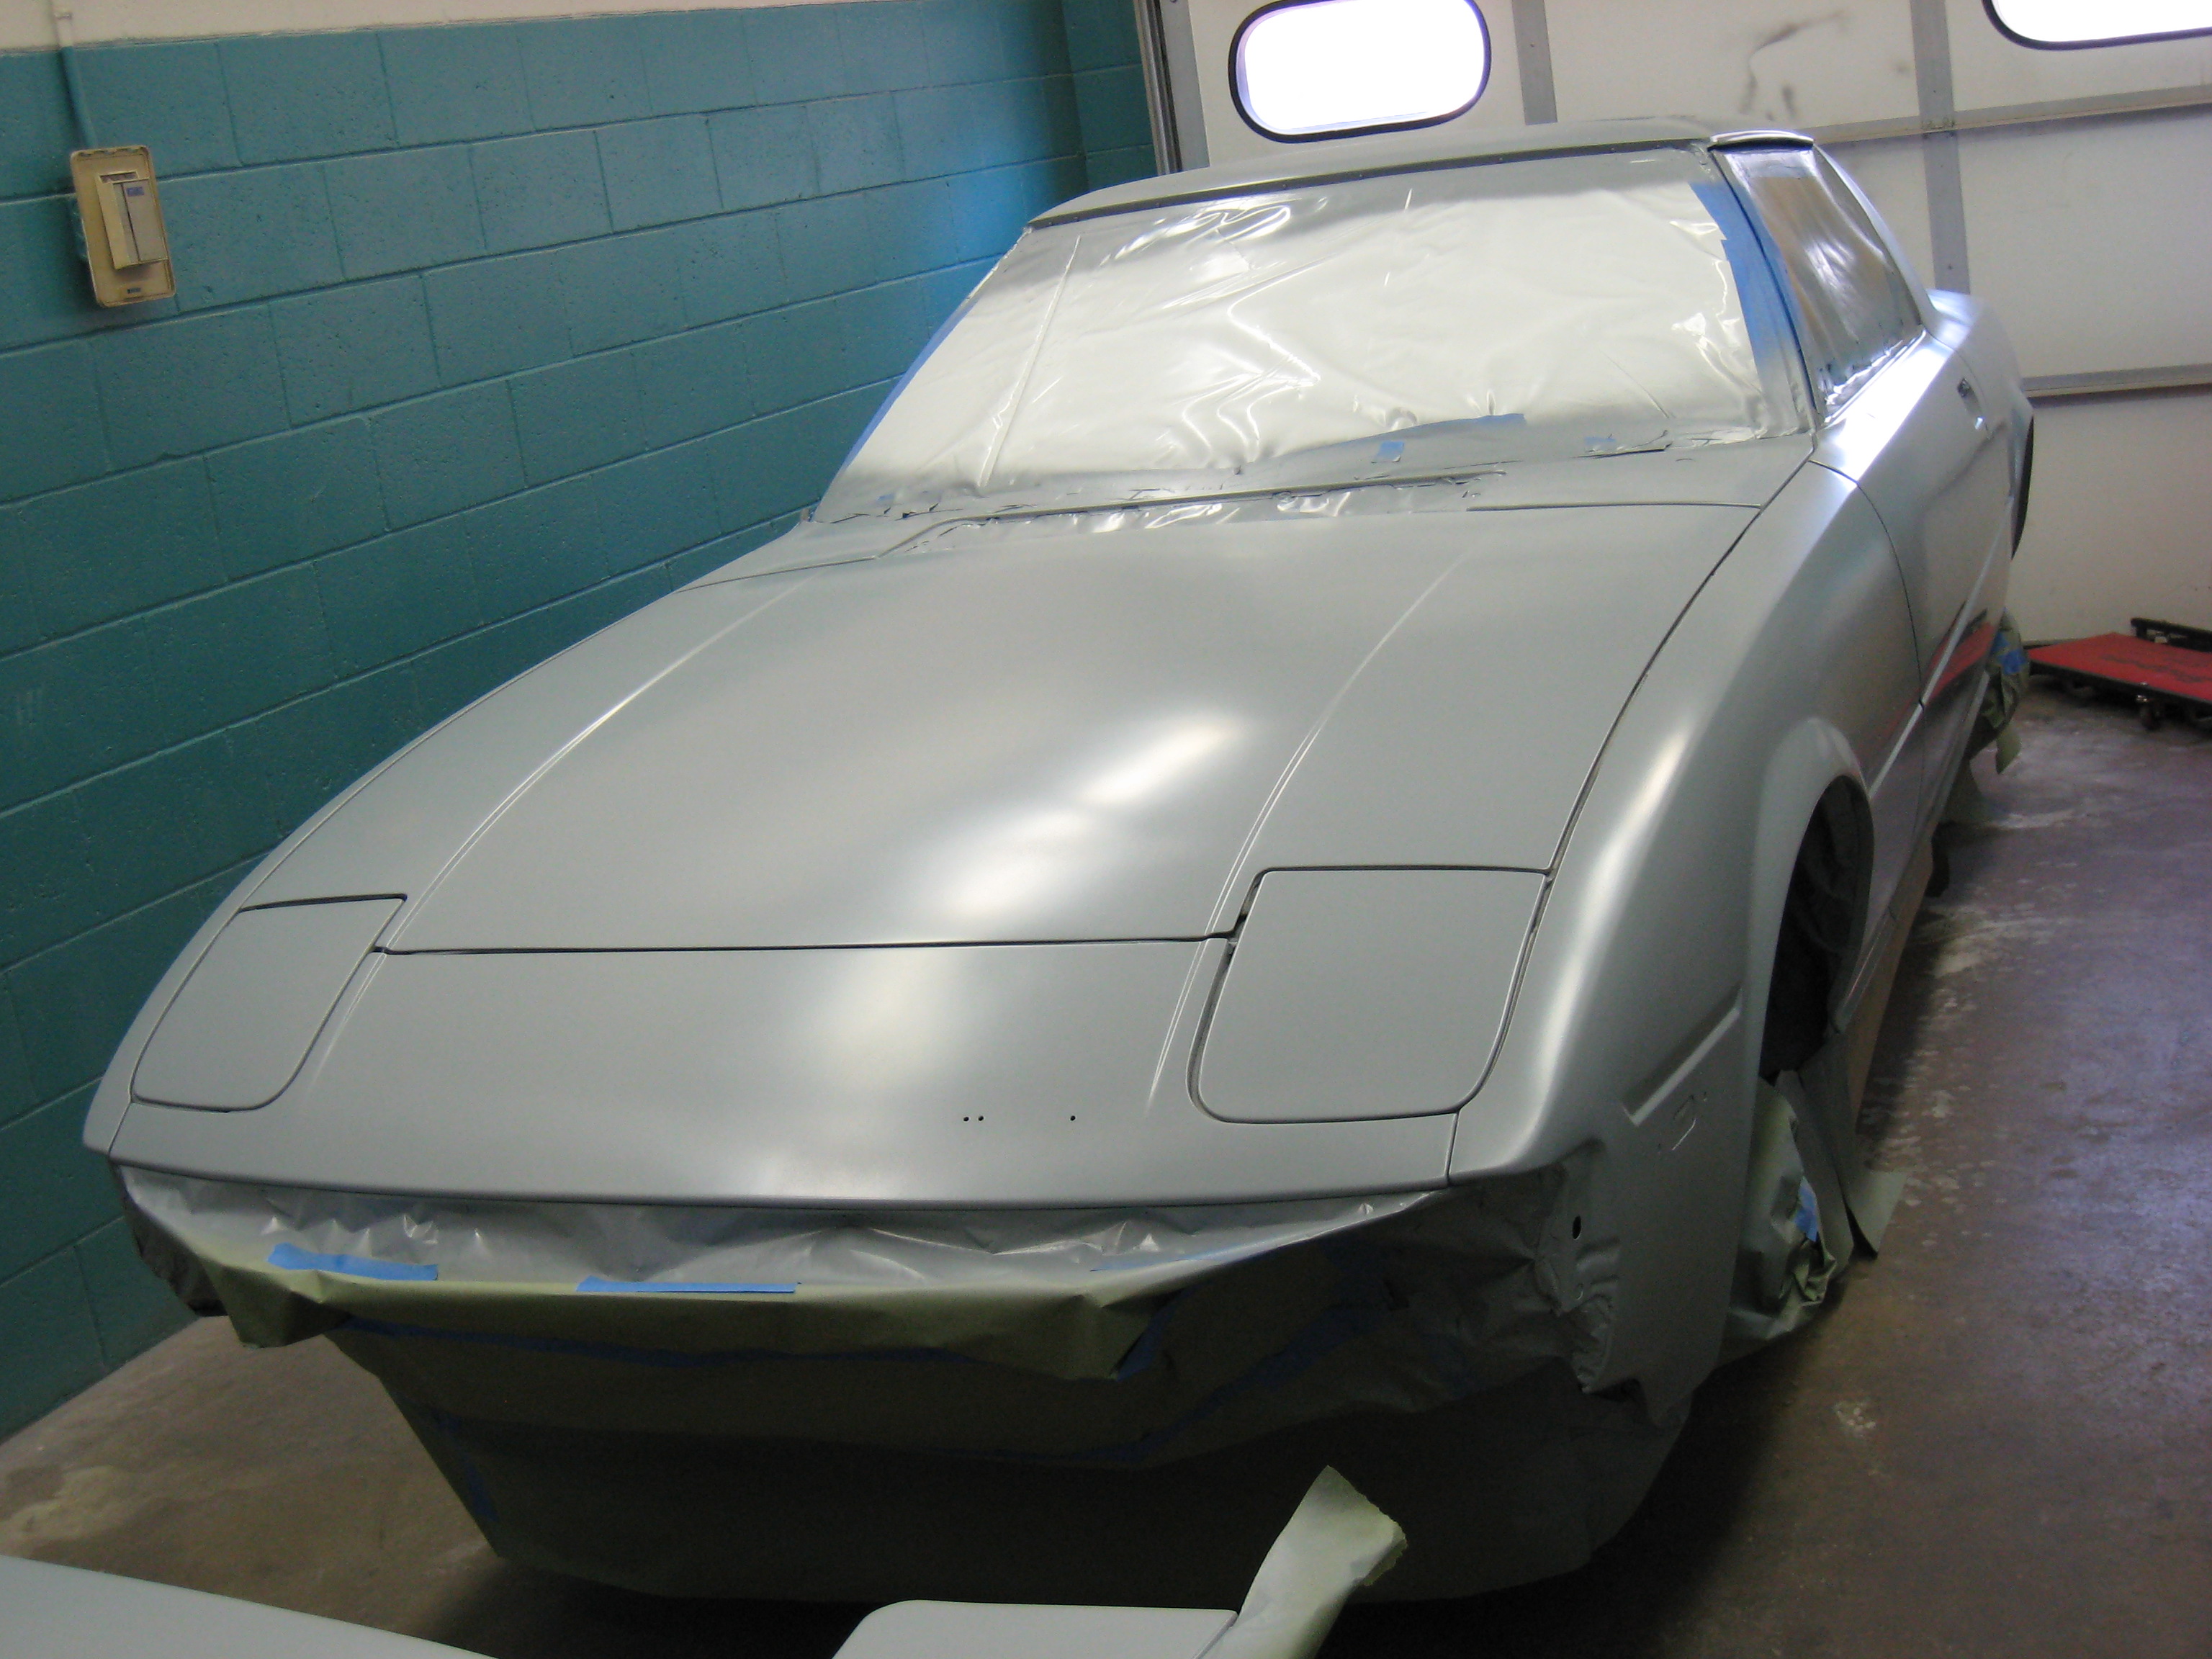
April 11, 07
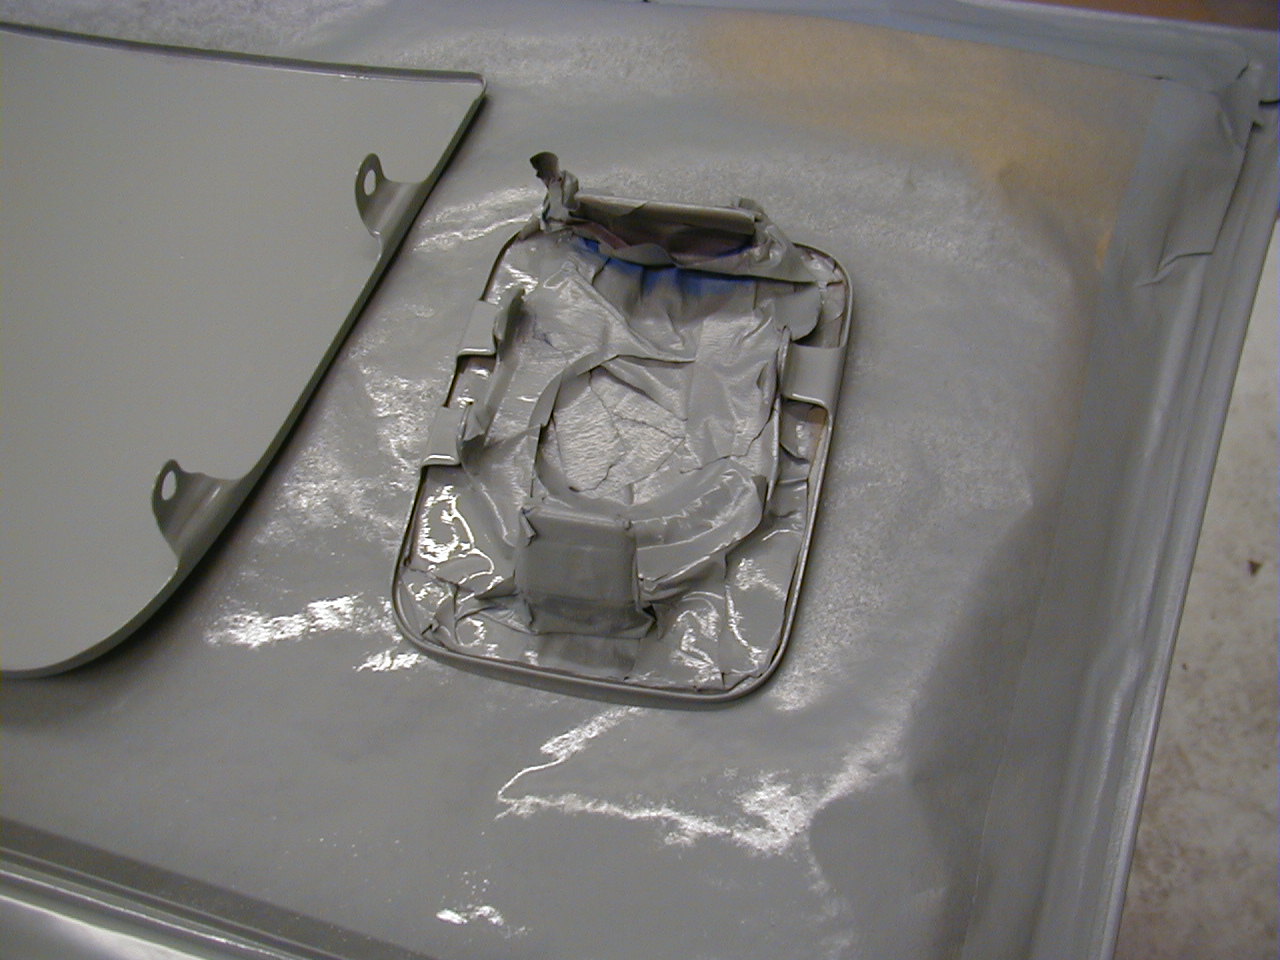
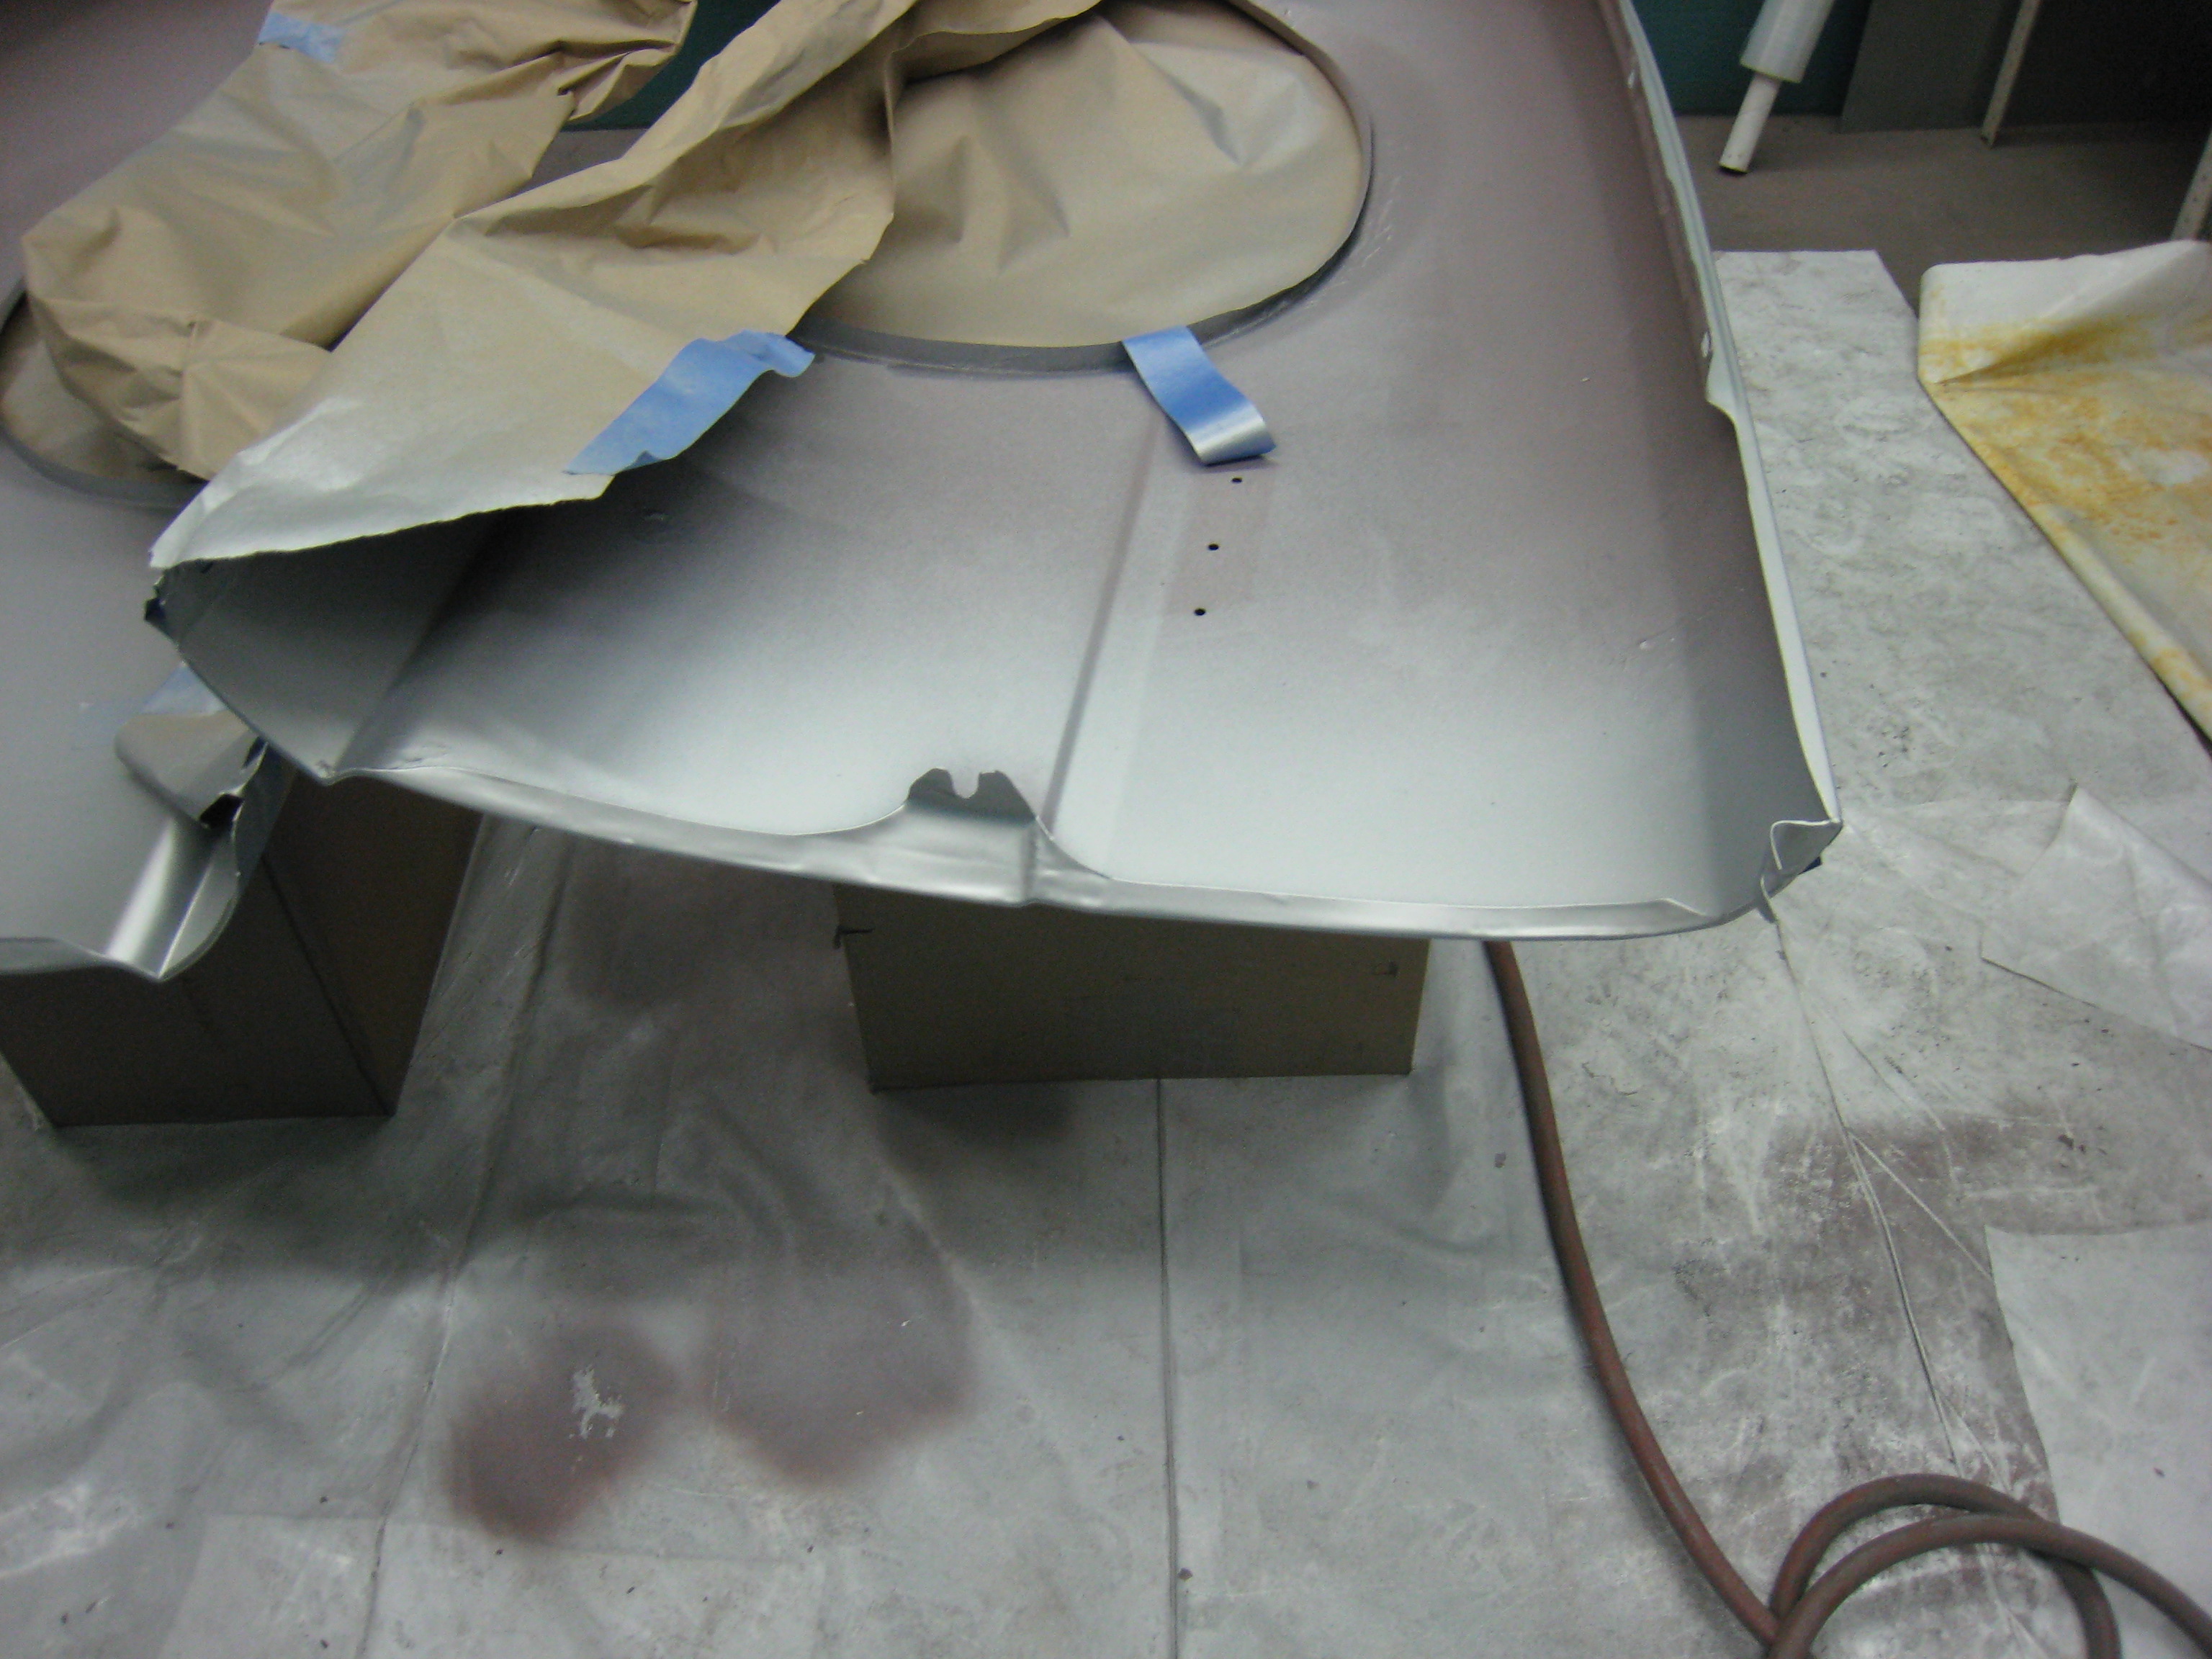
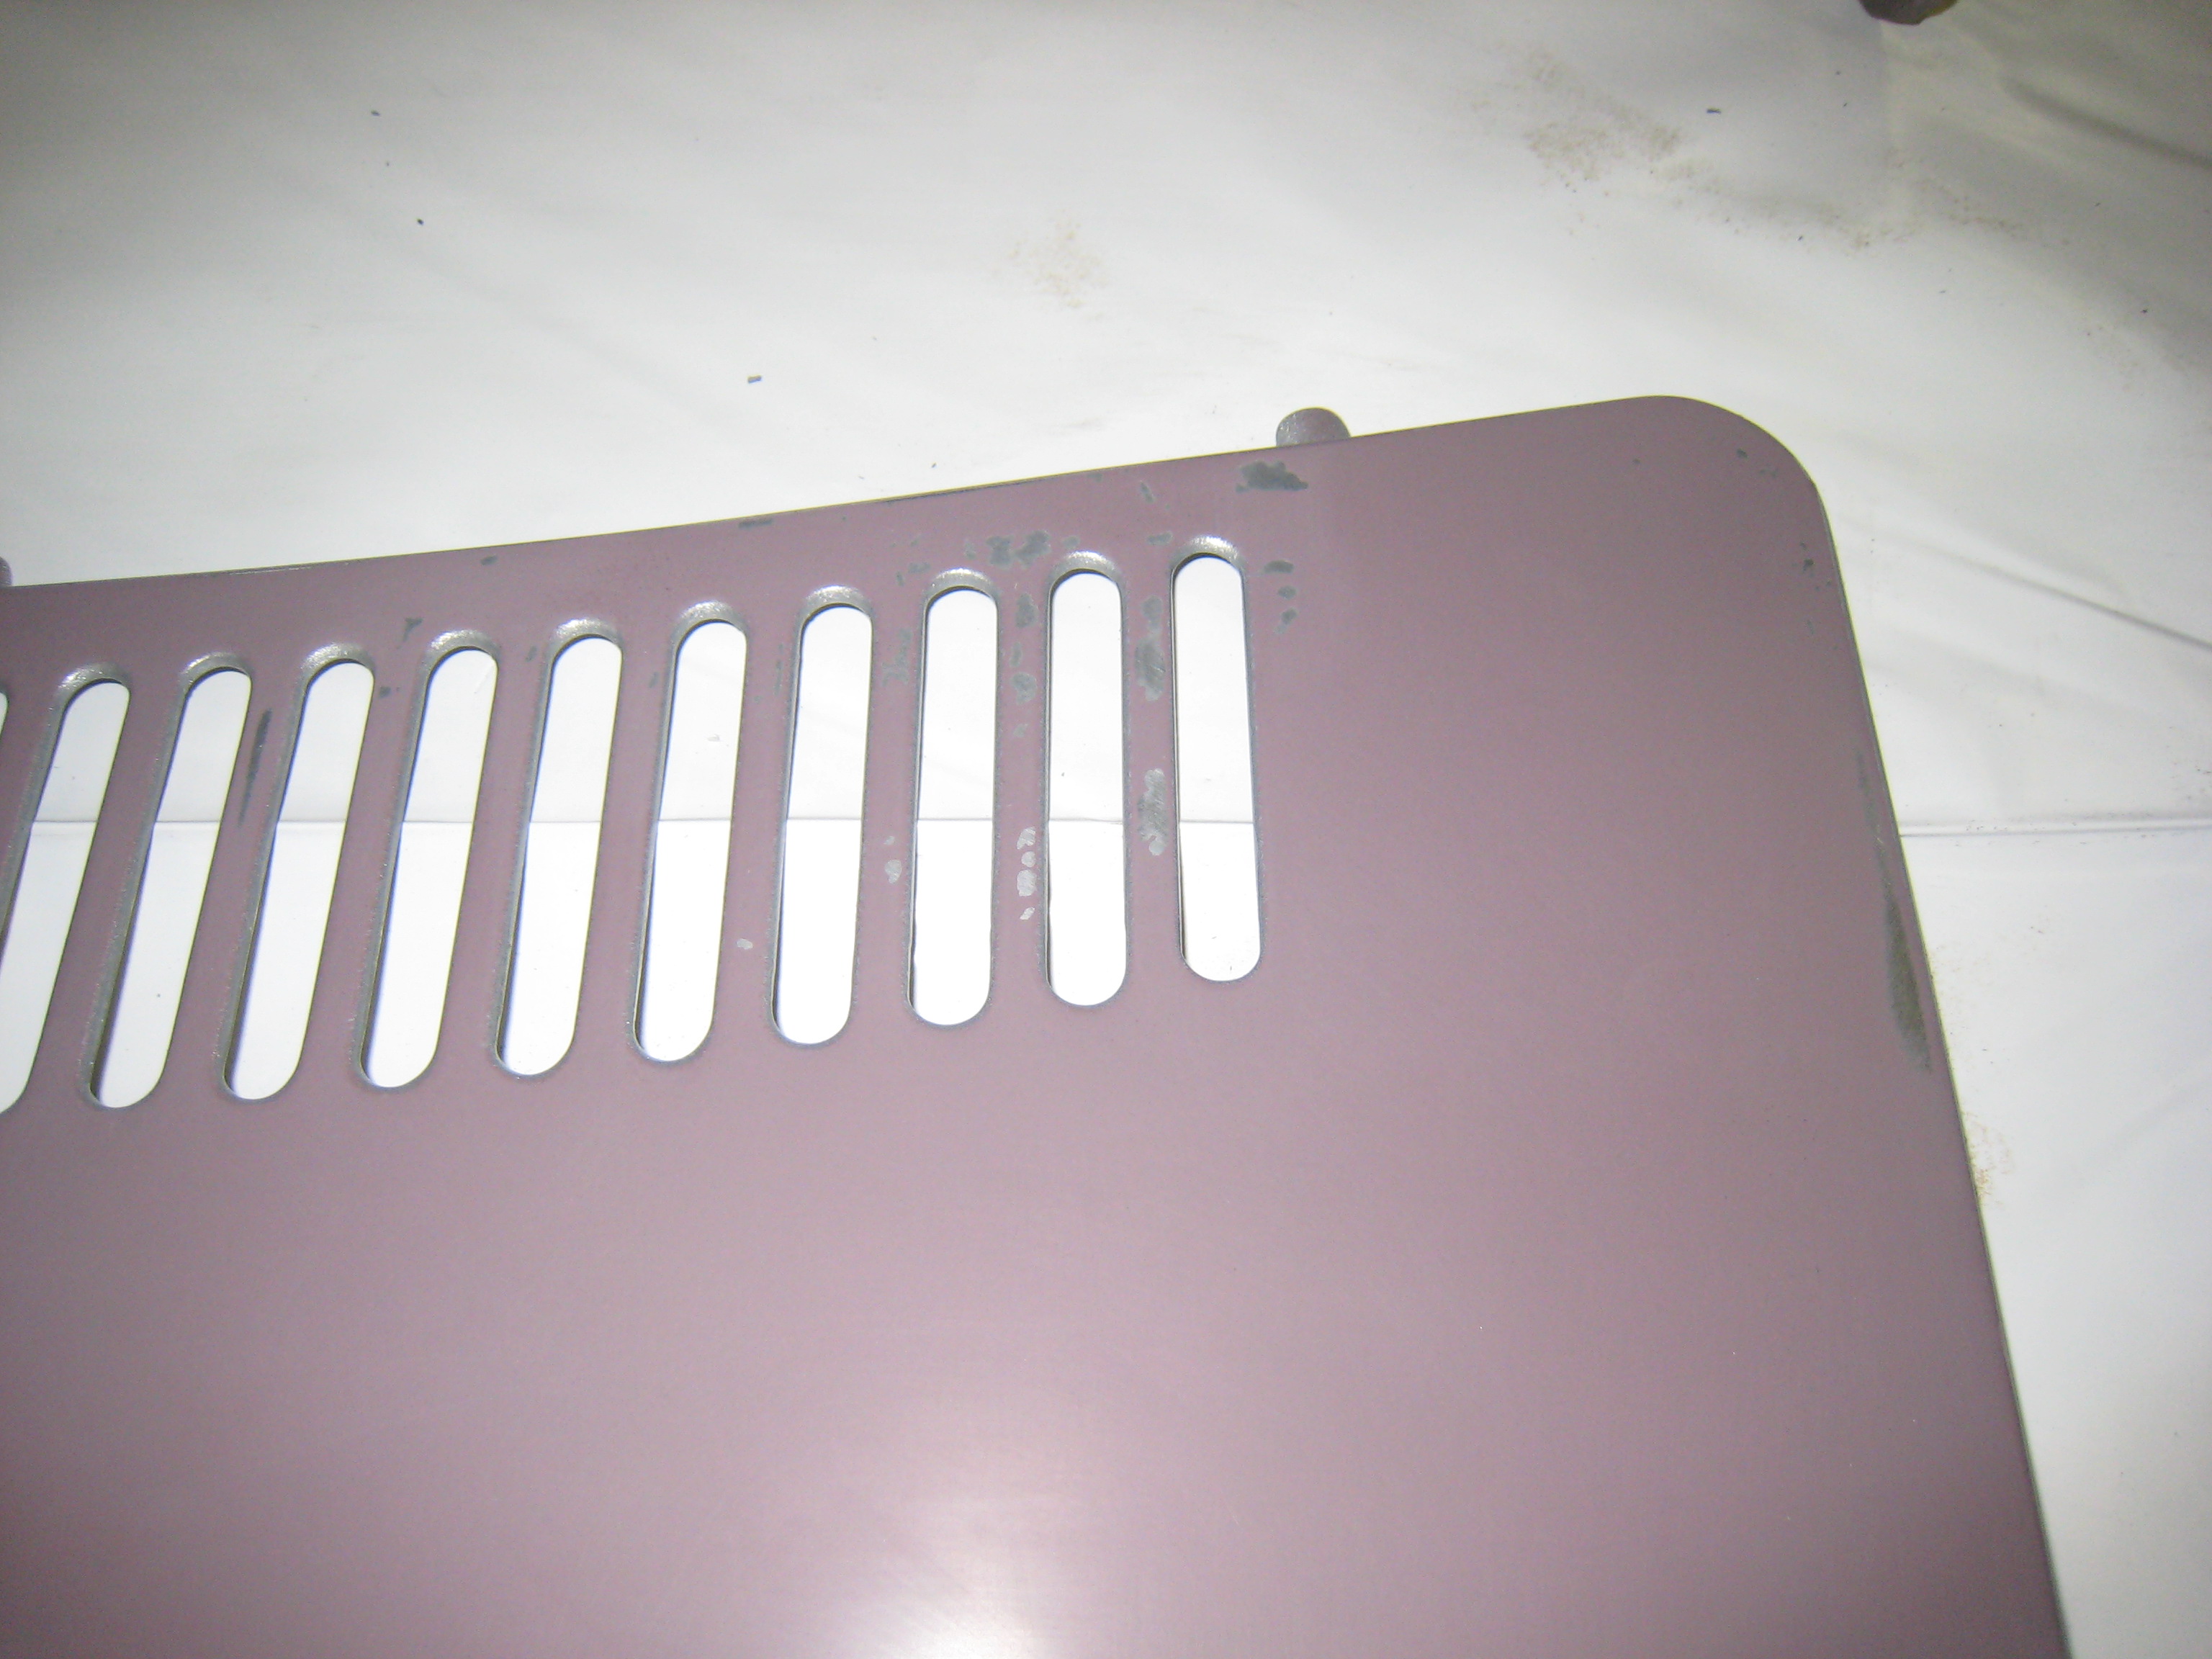
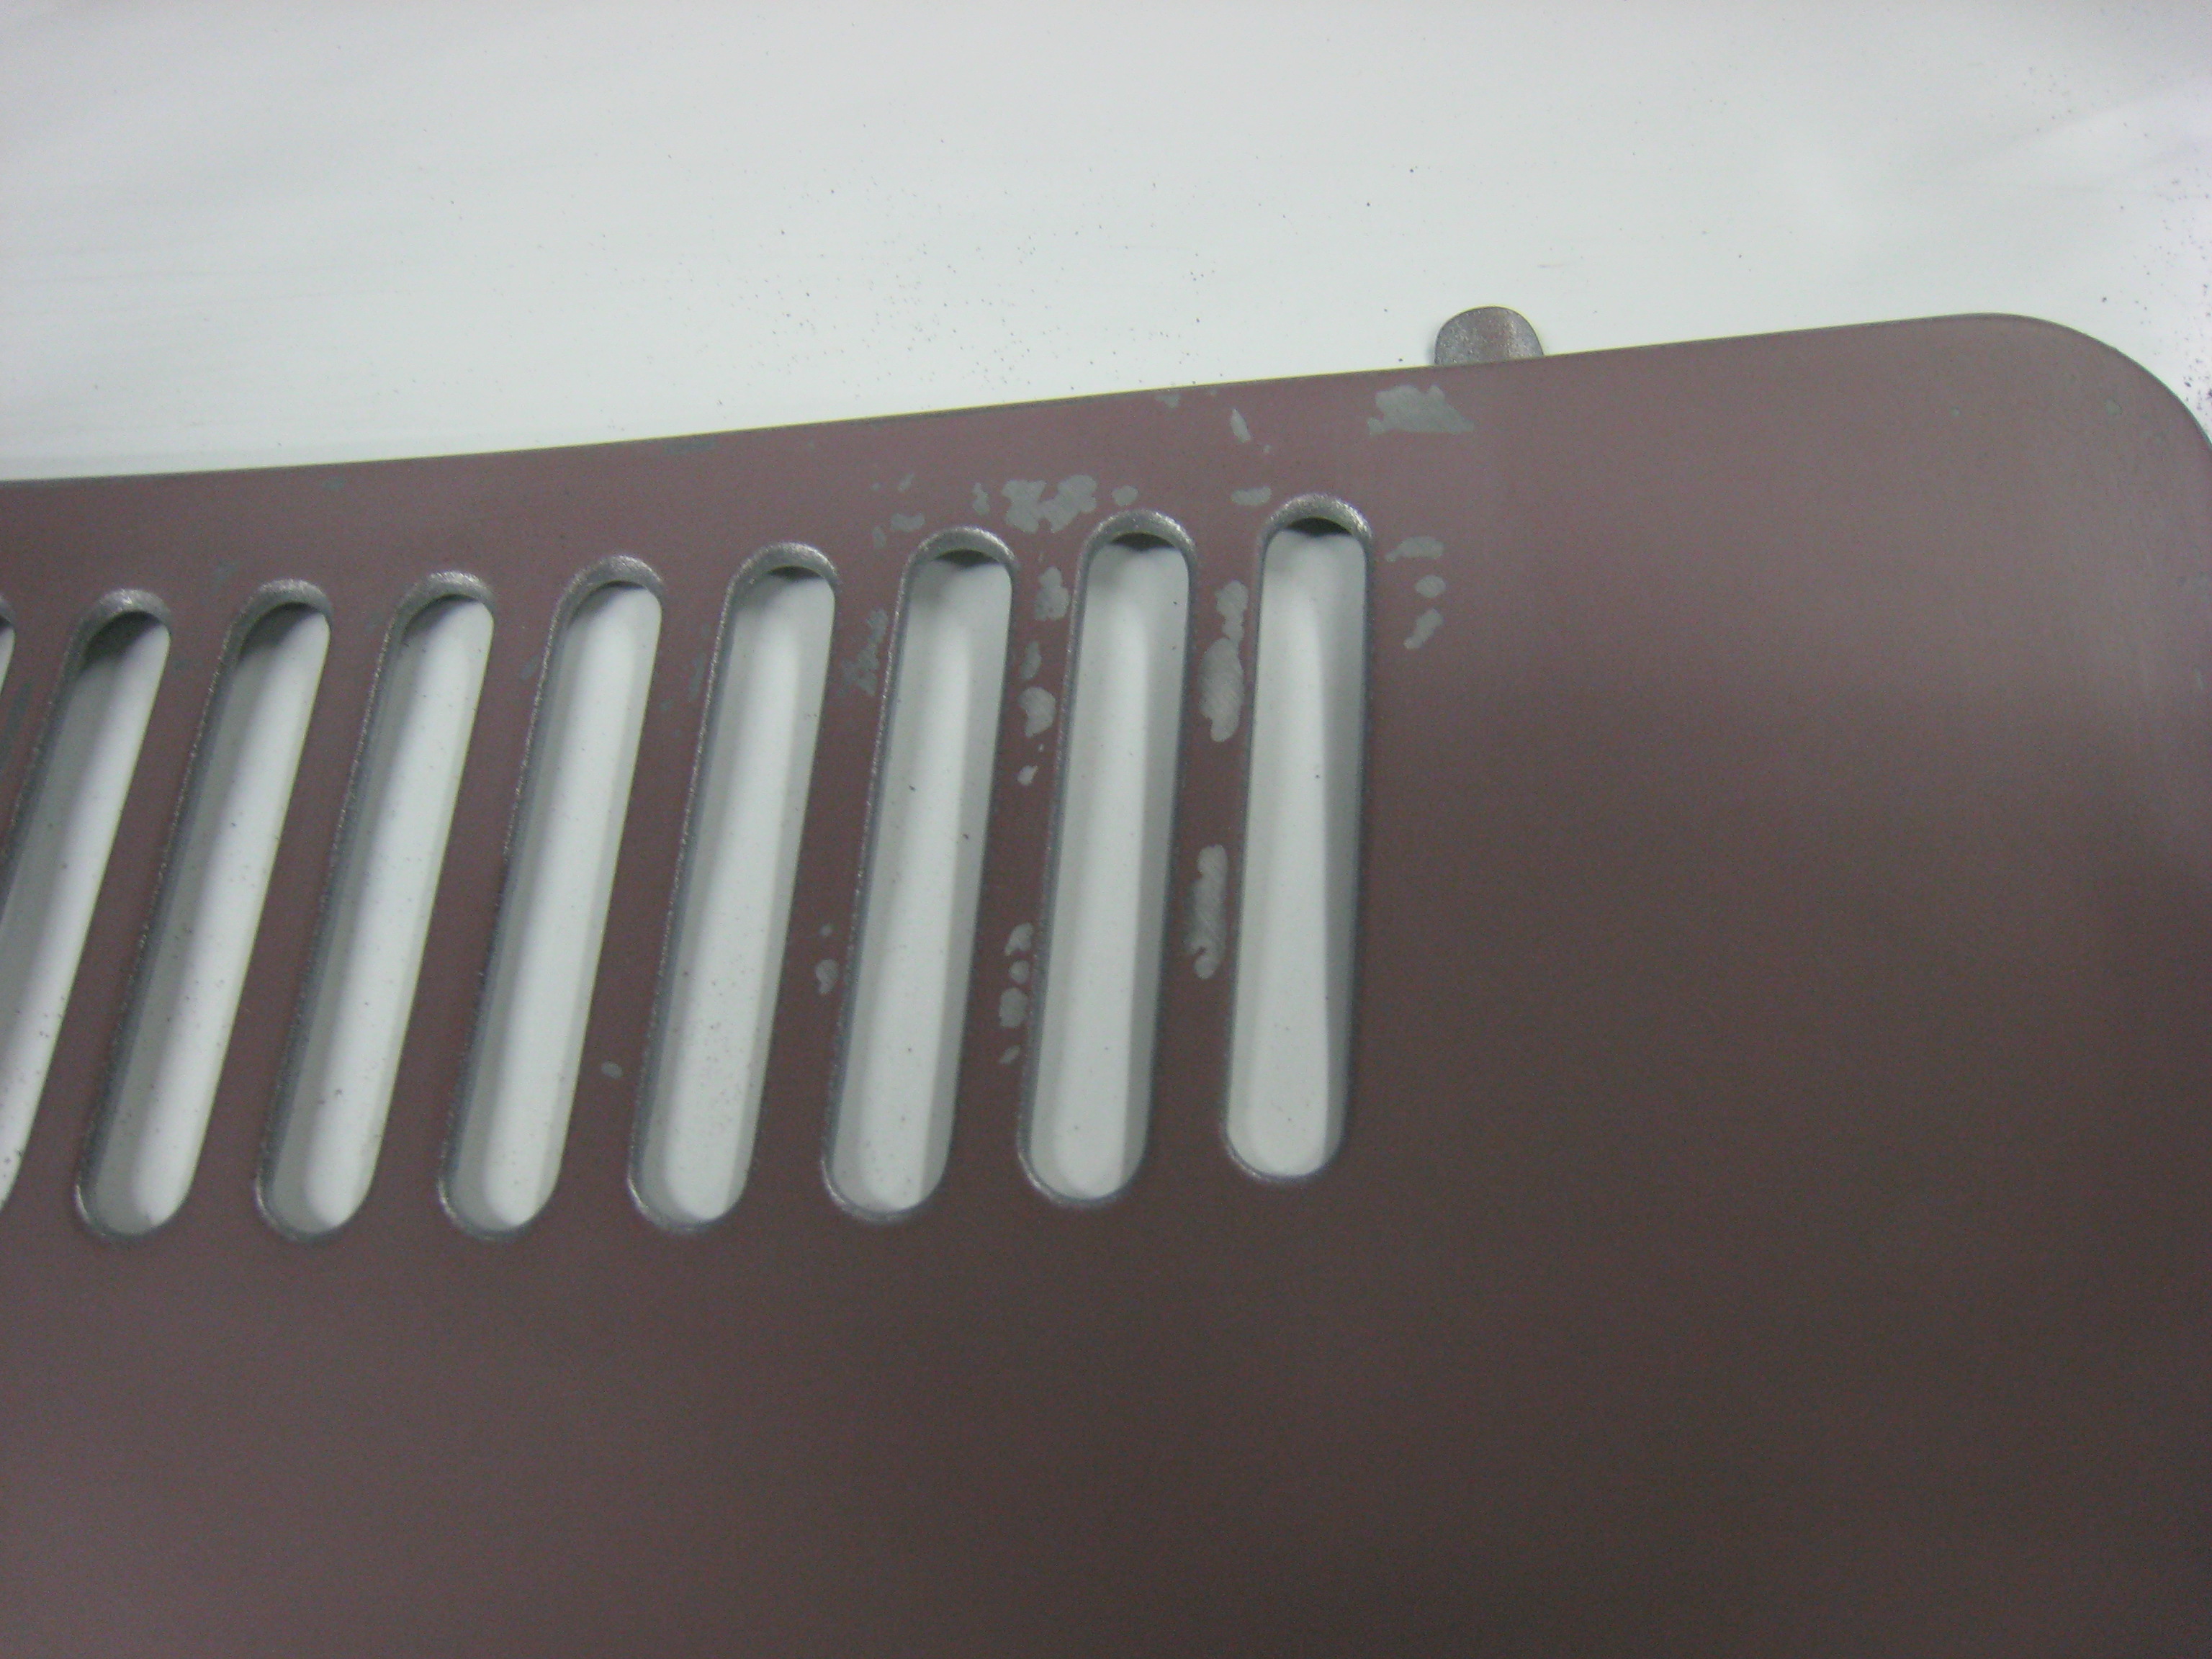
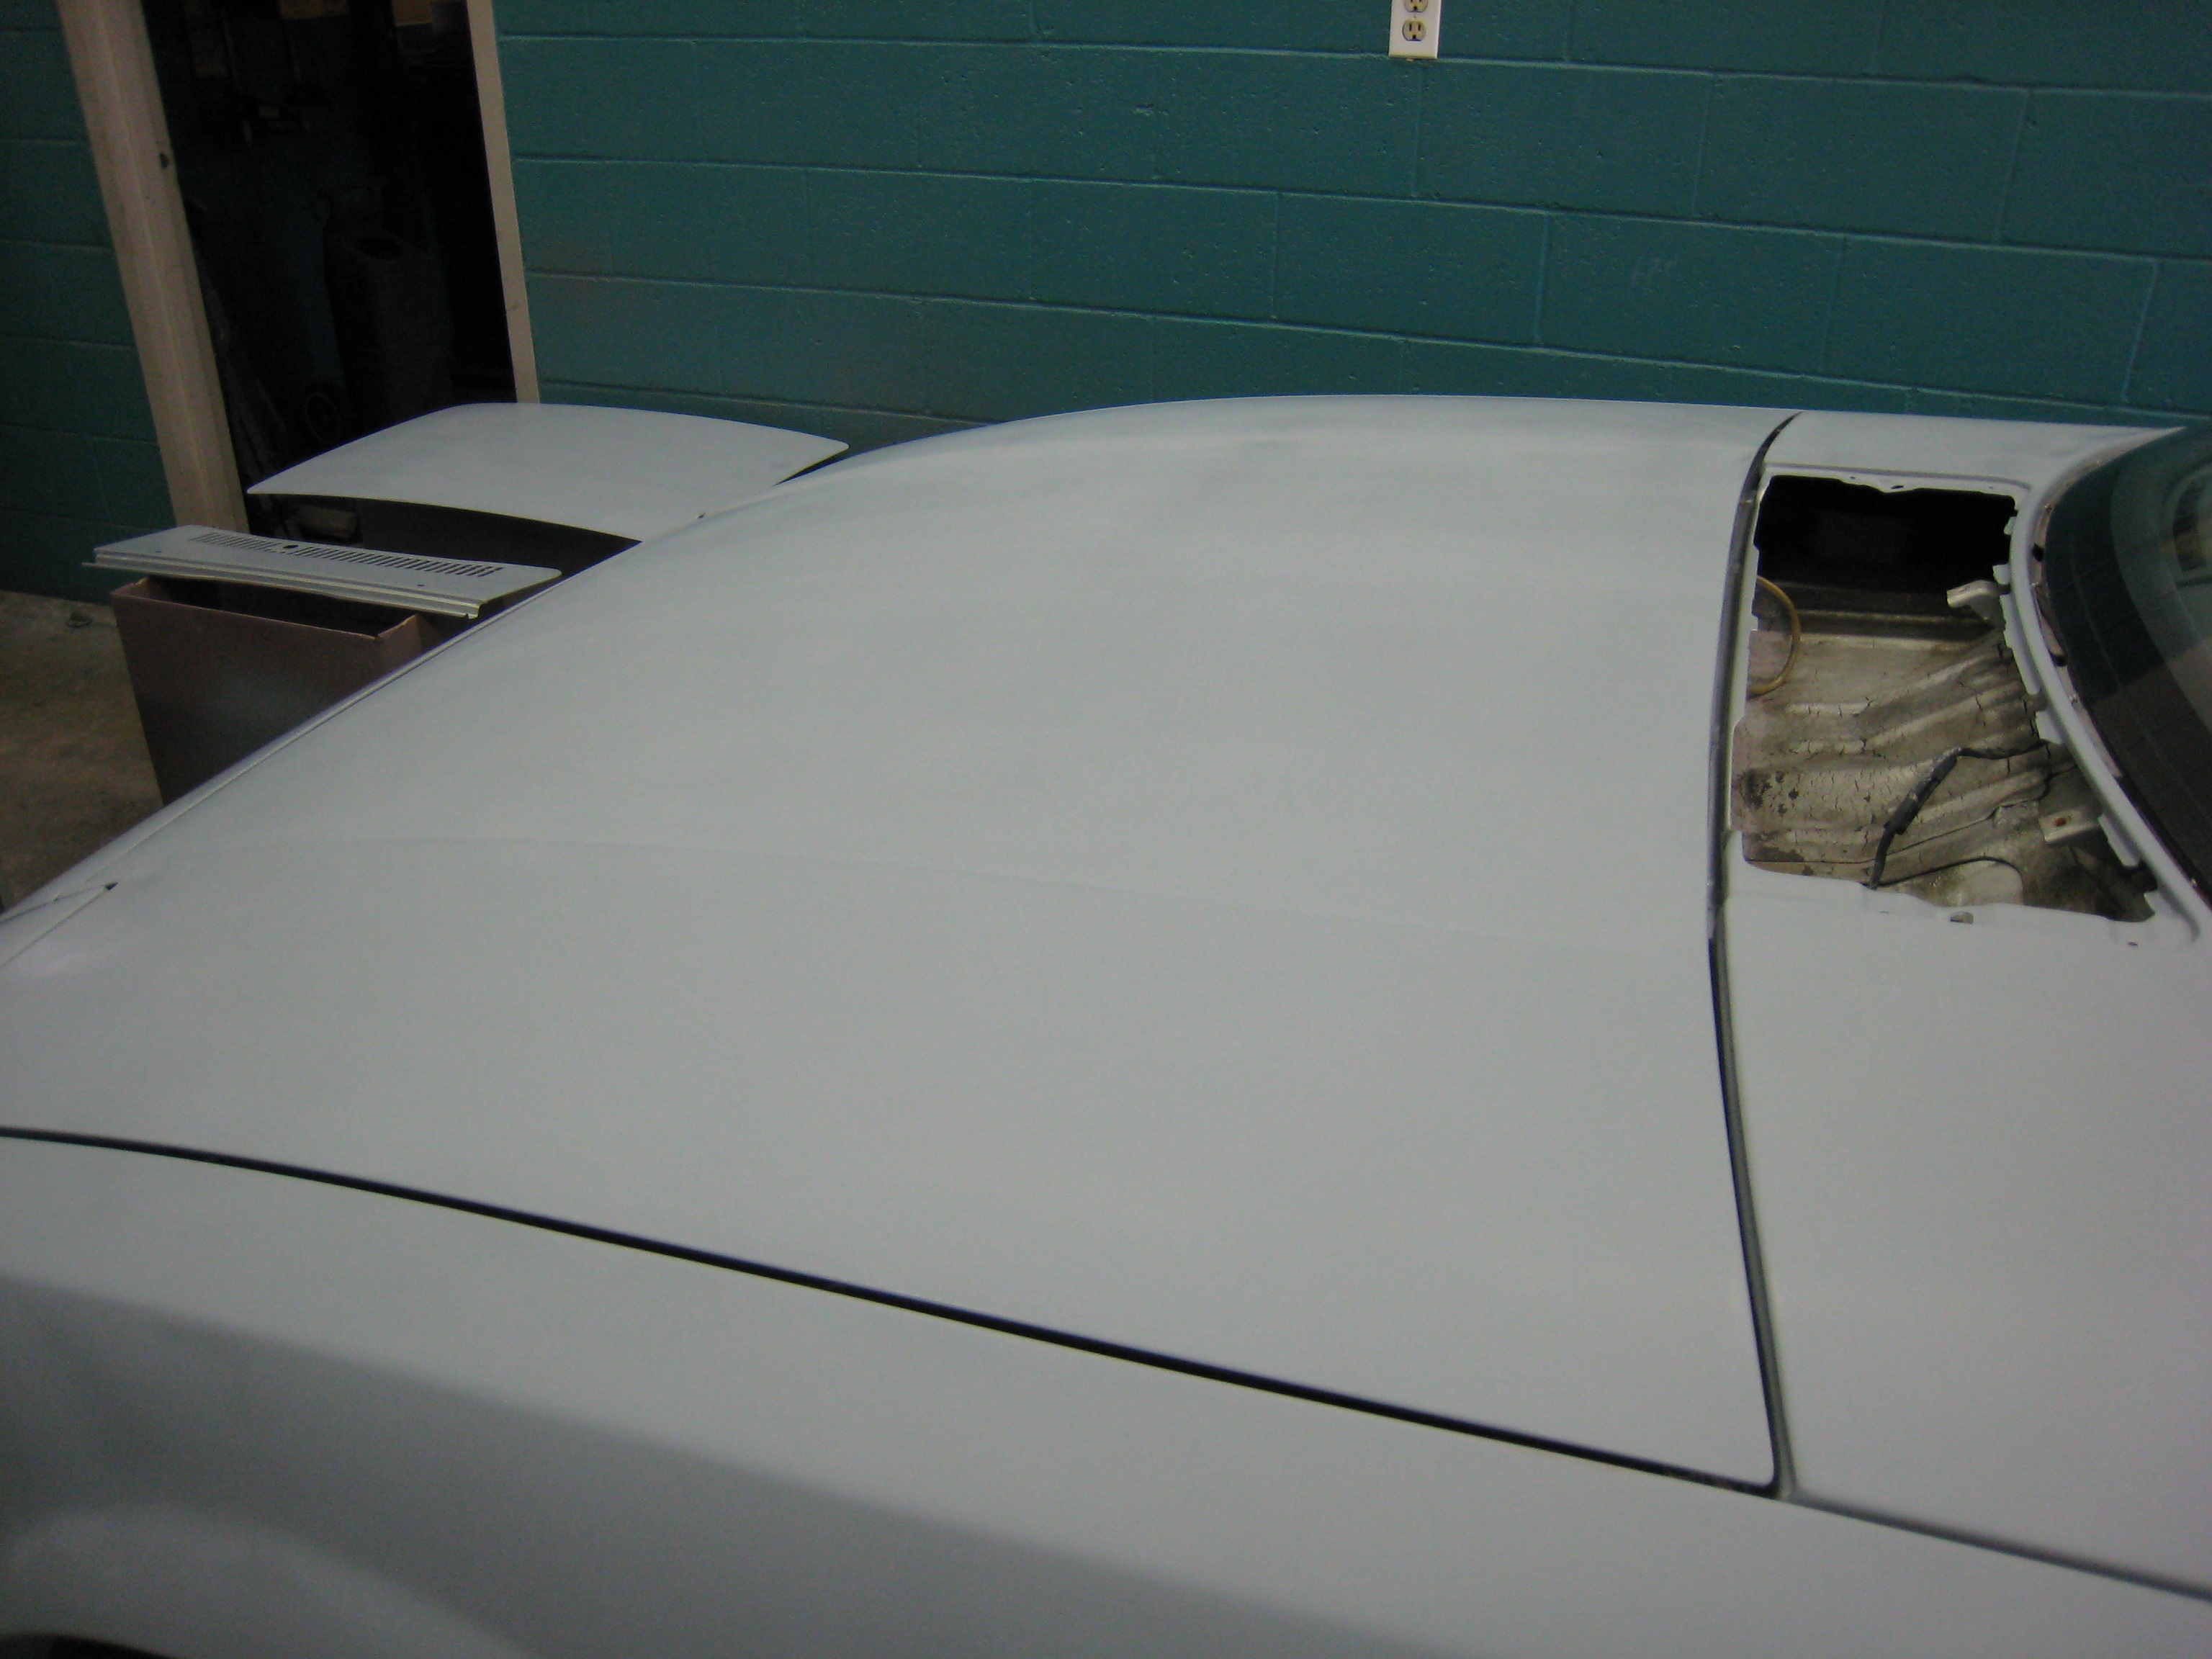
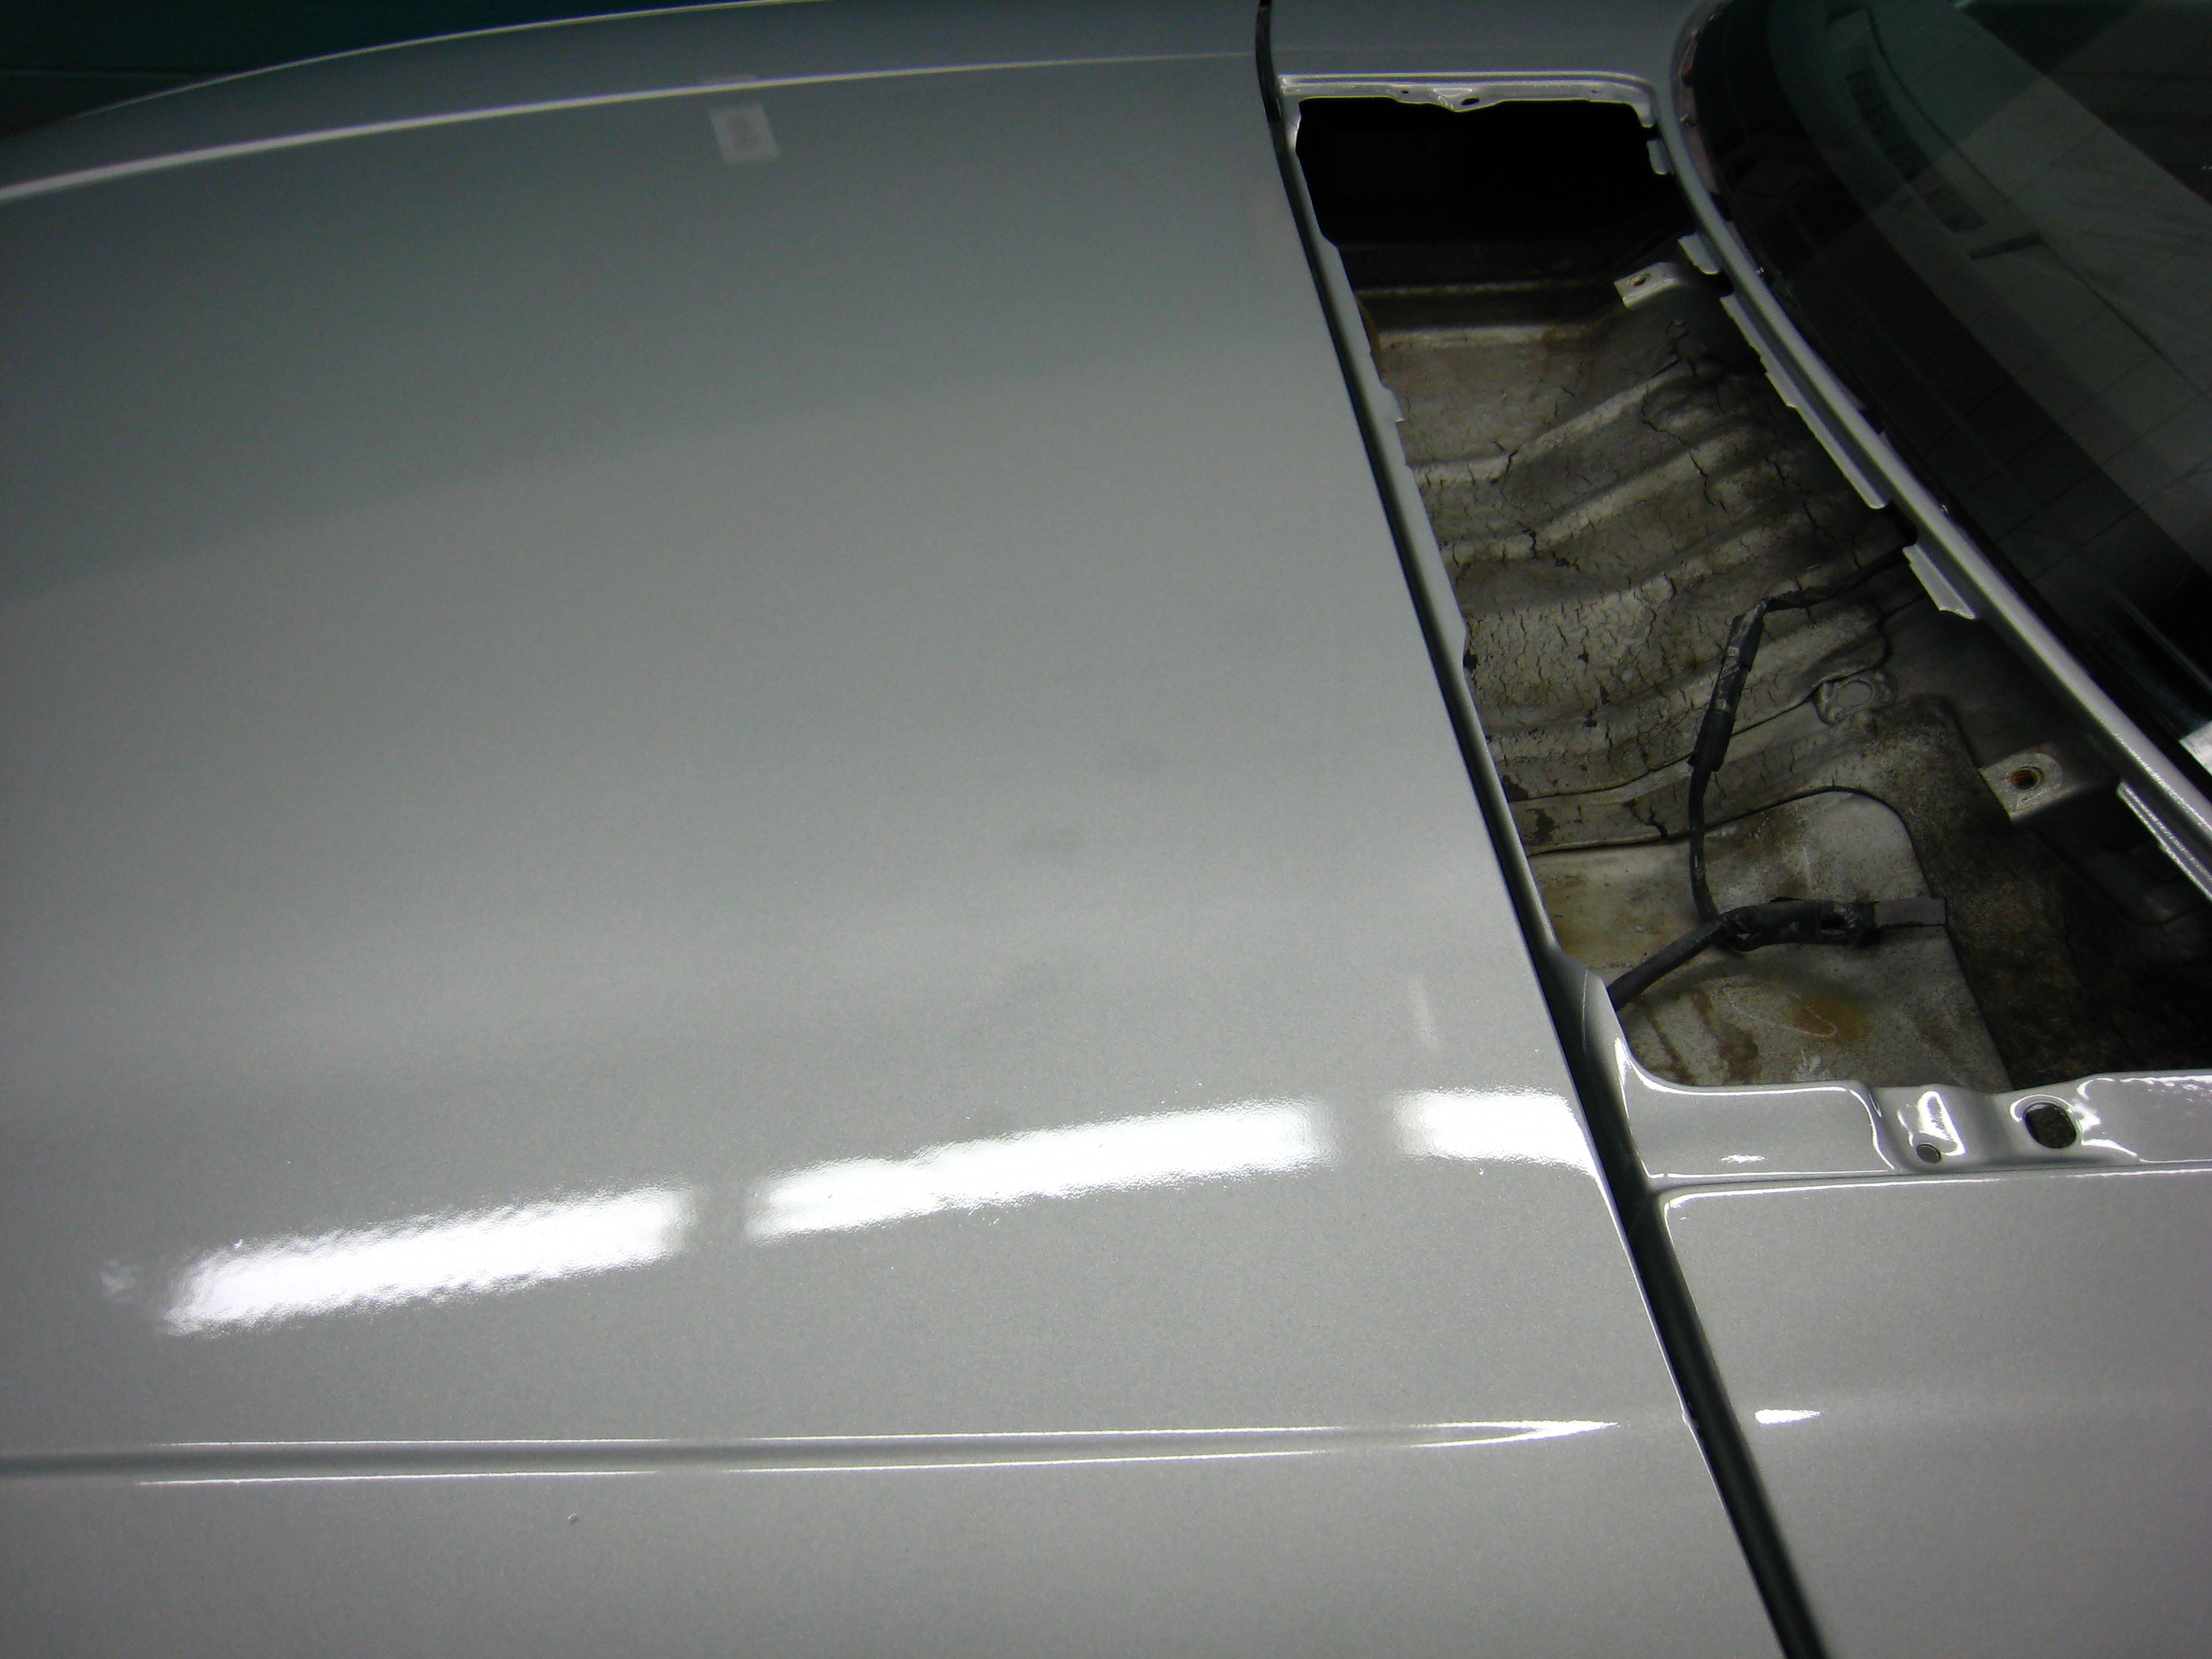
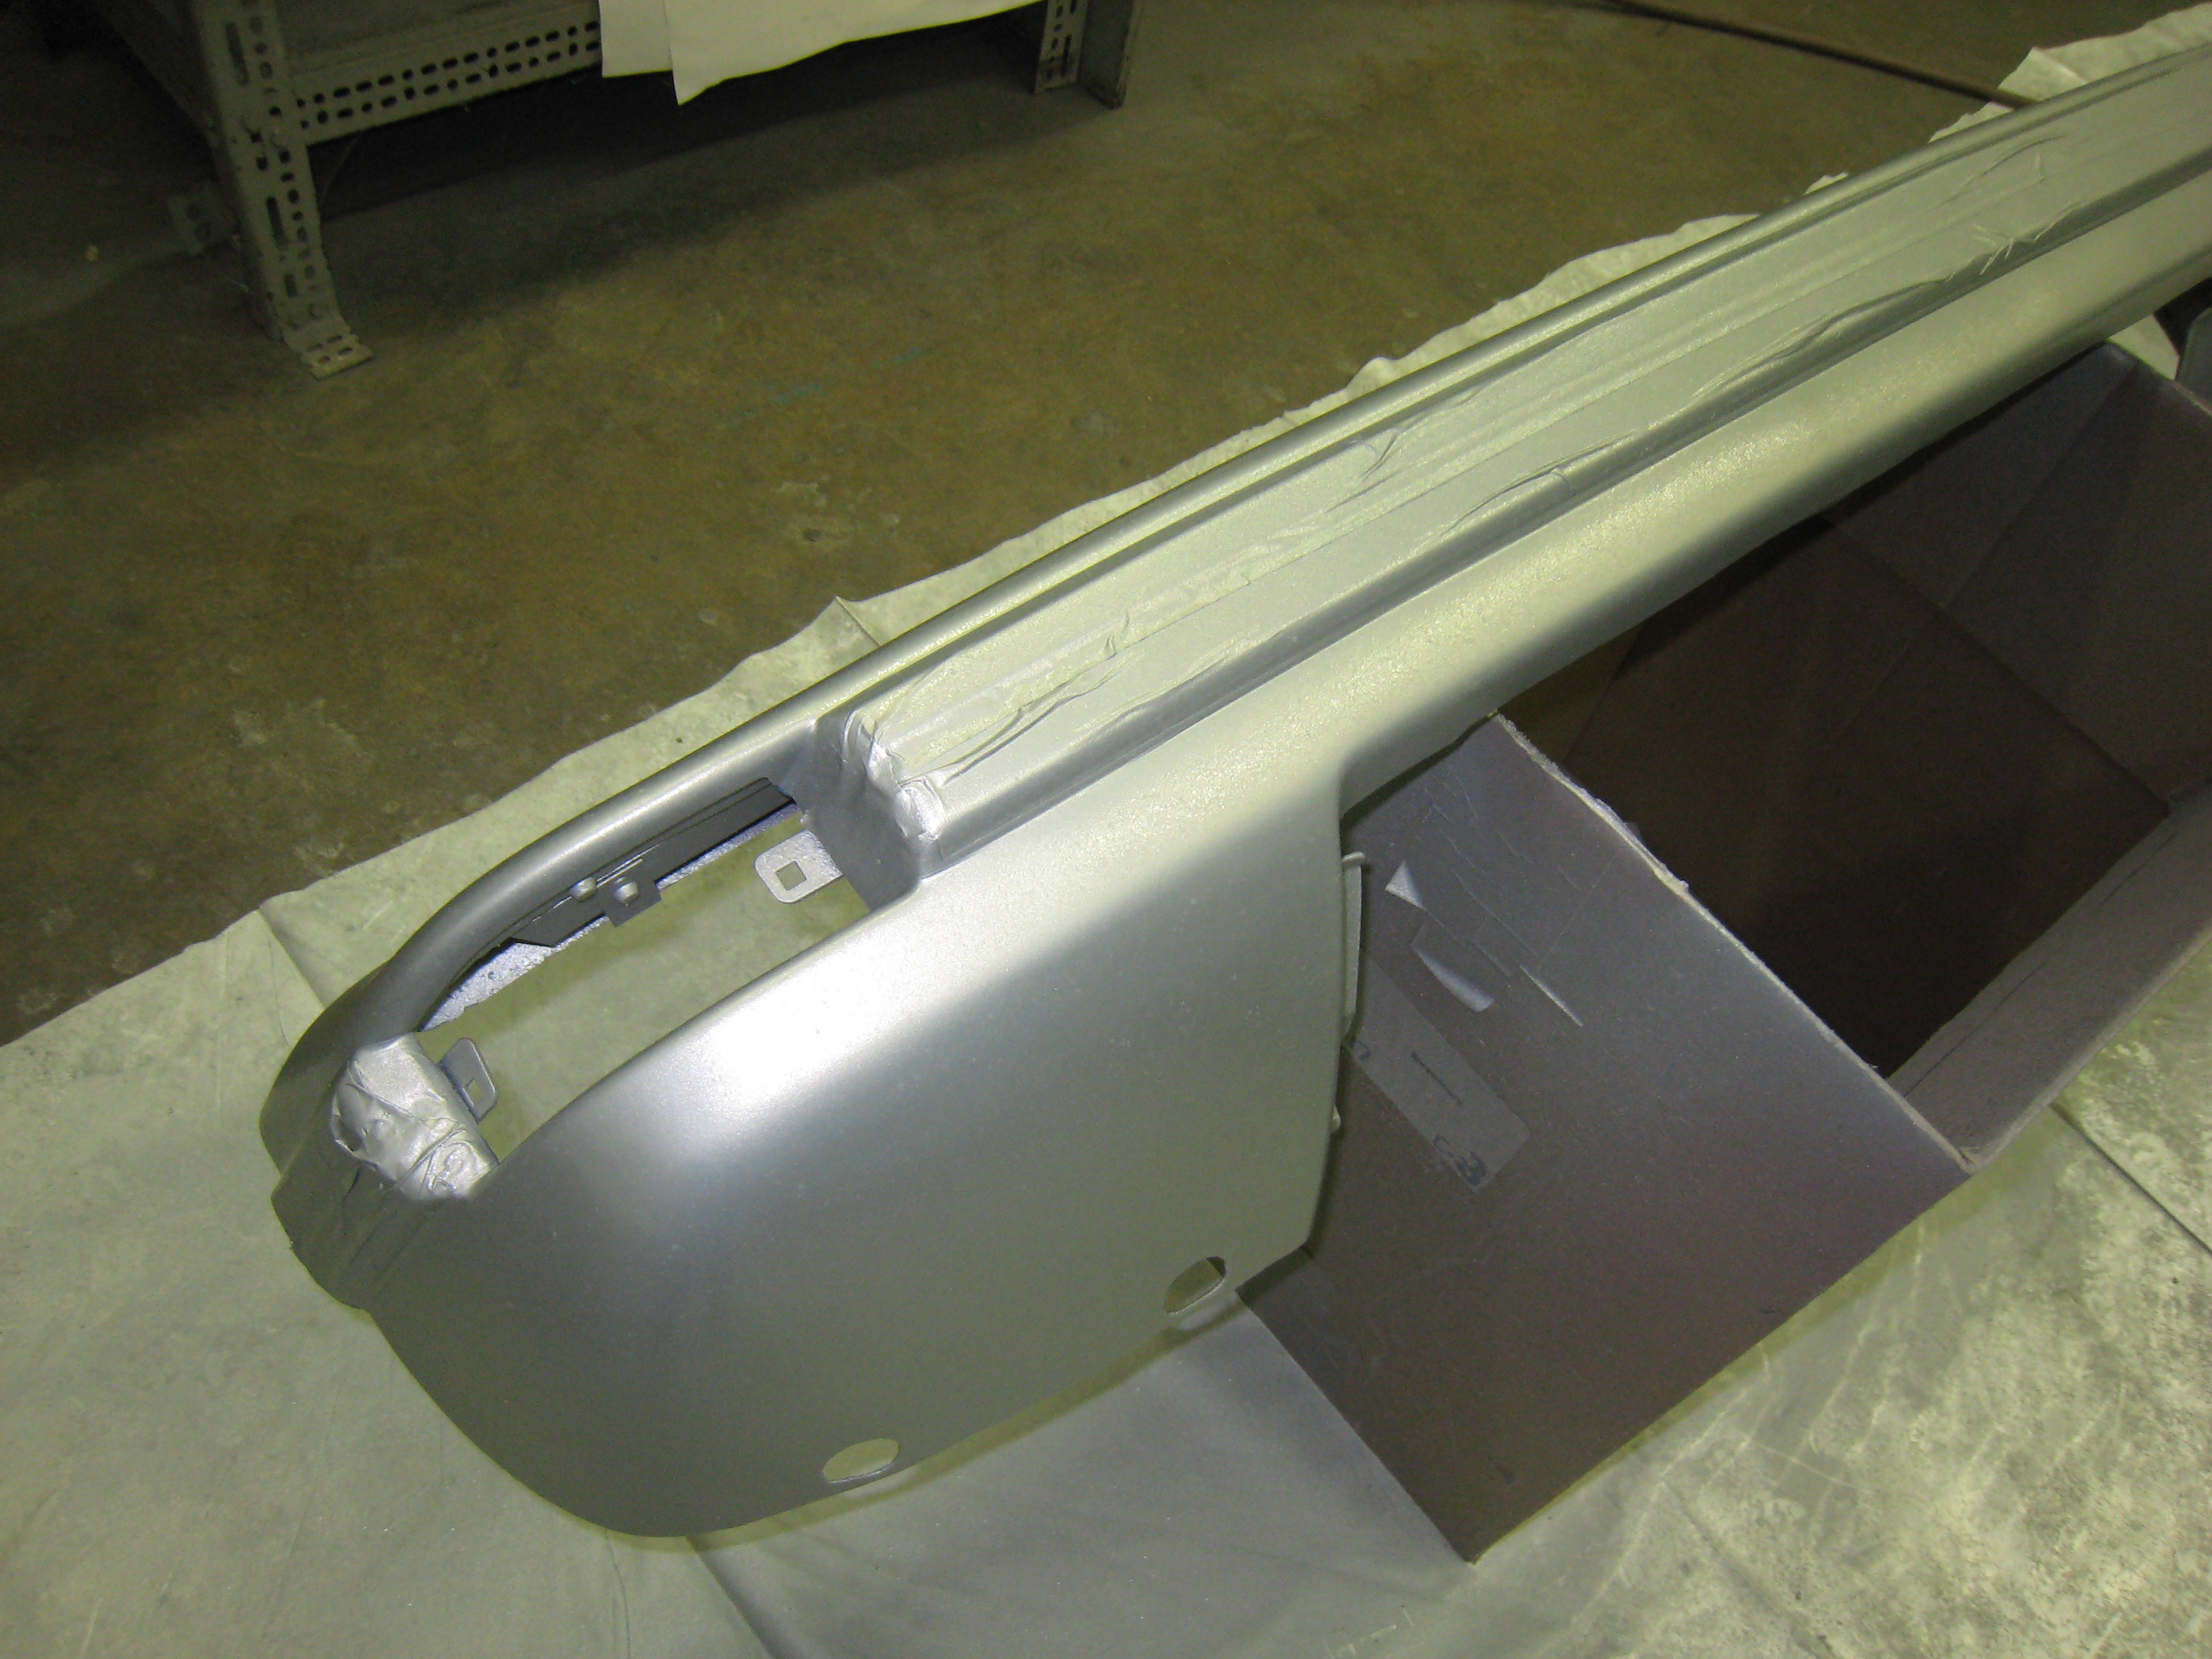
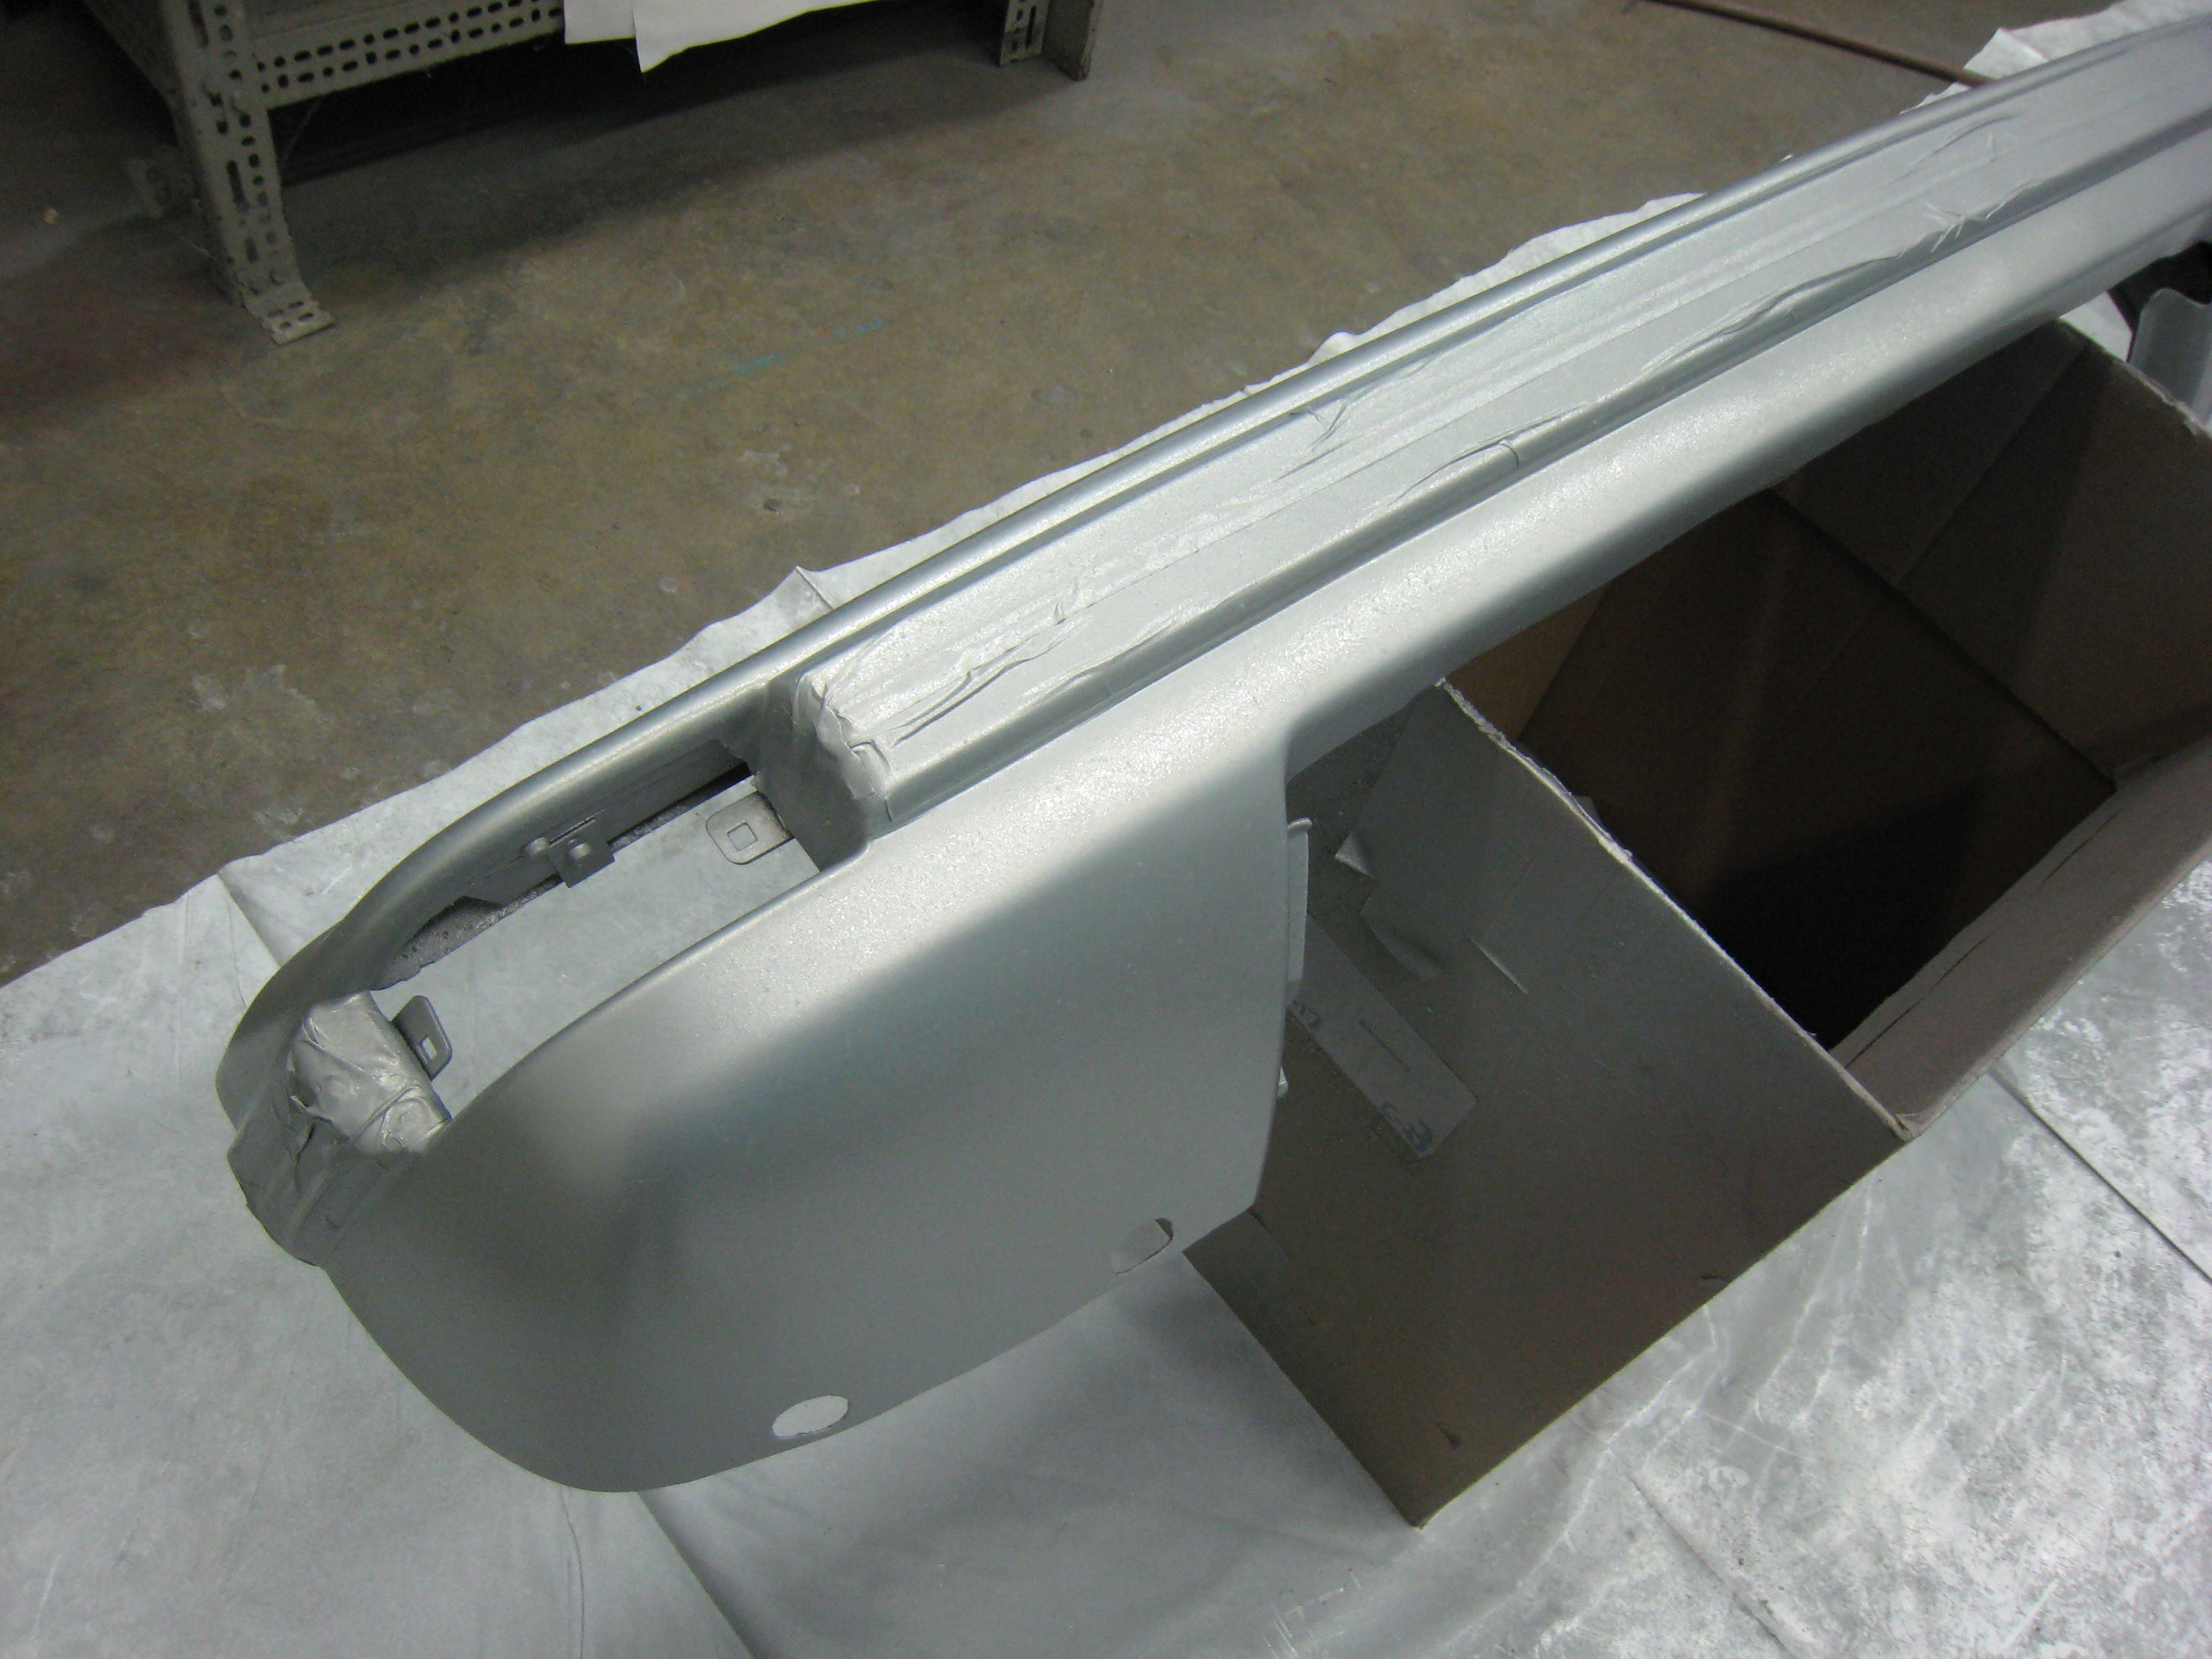
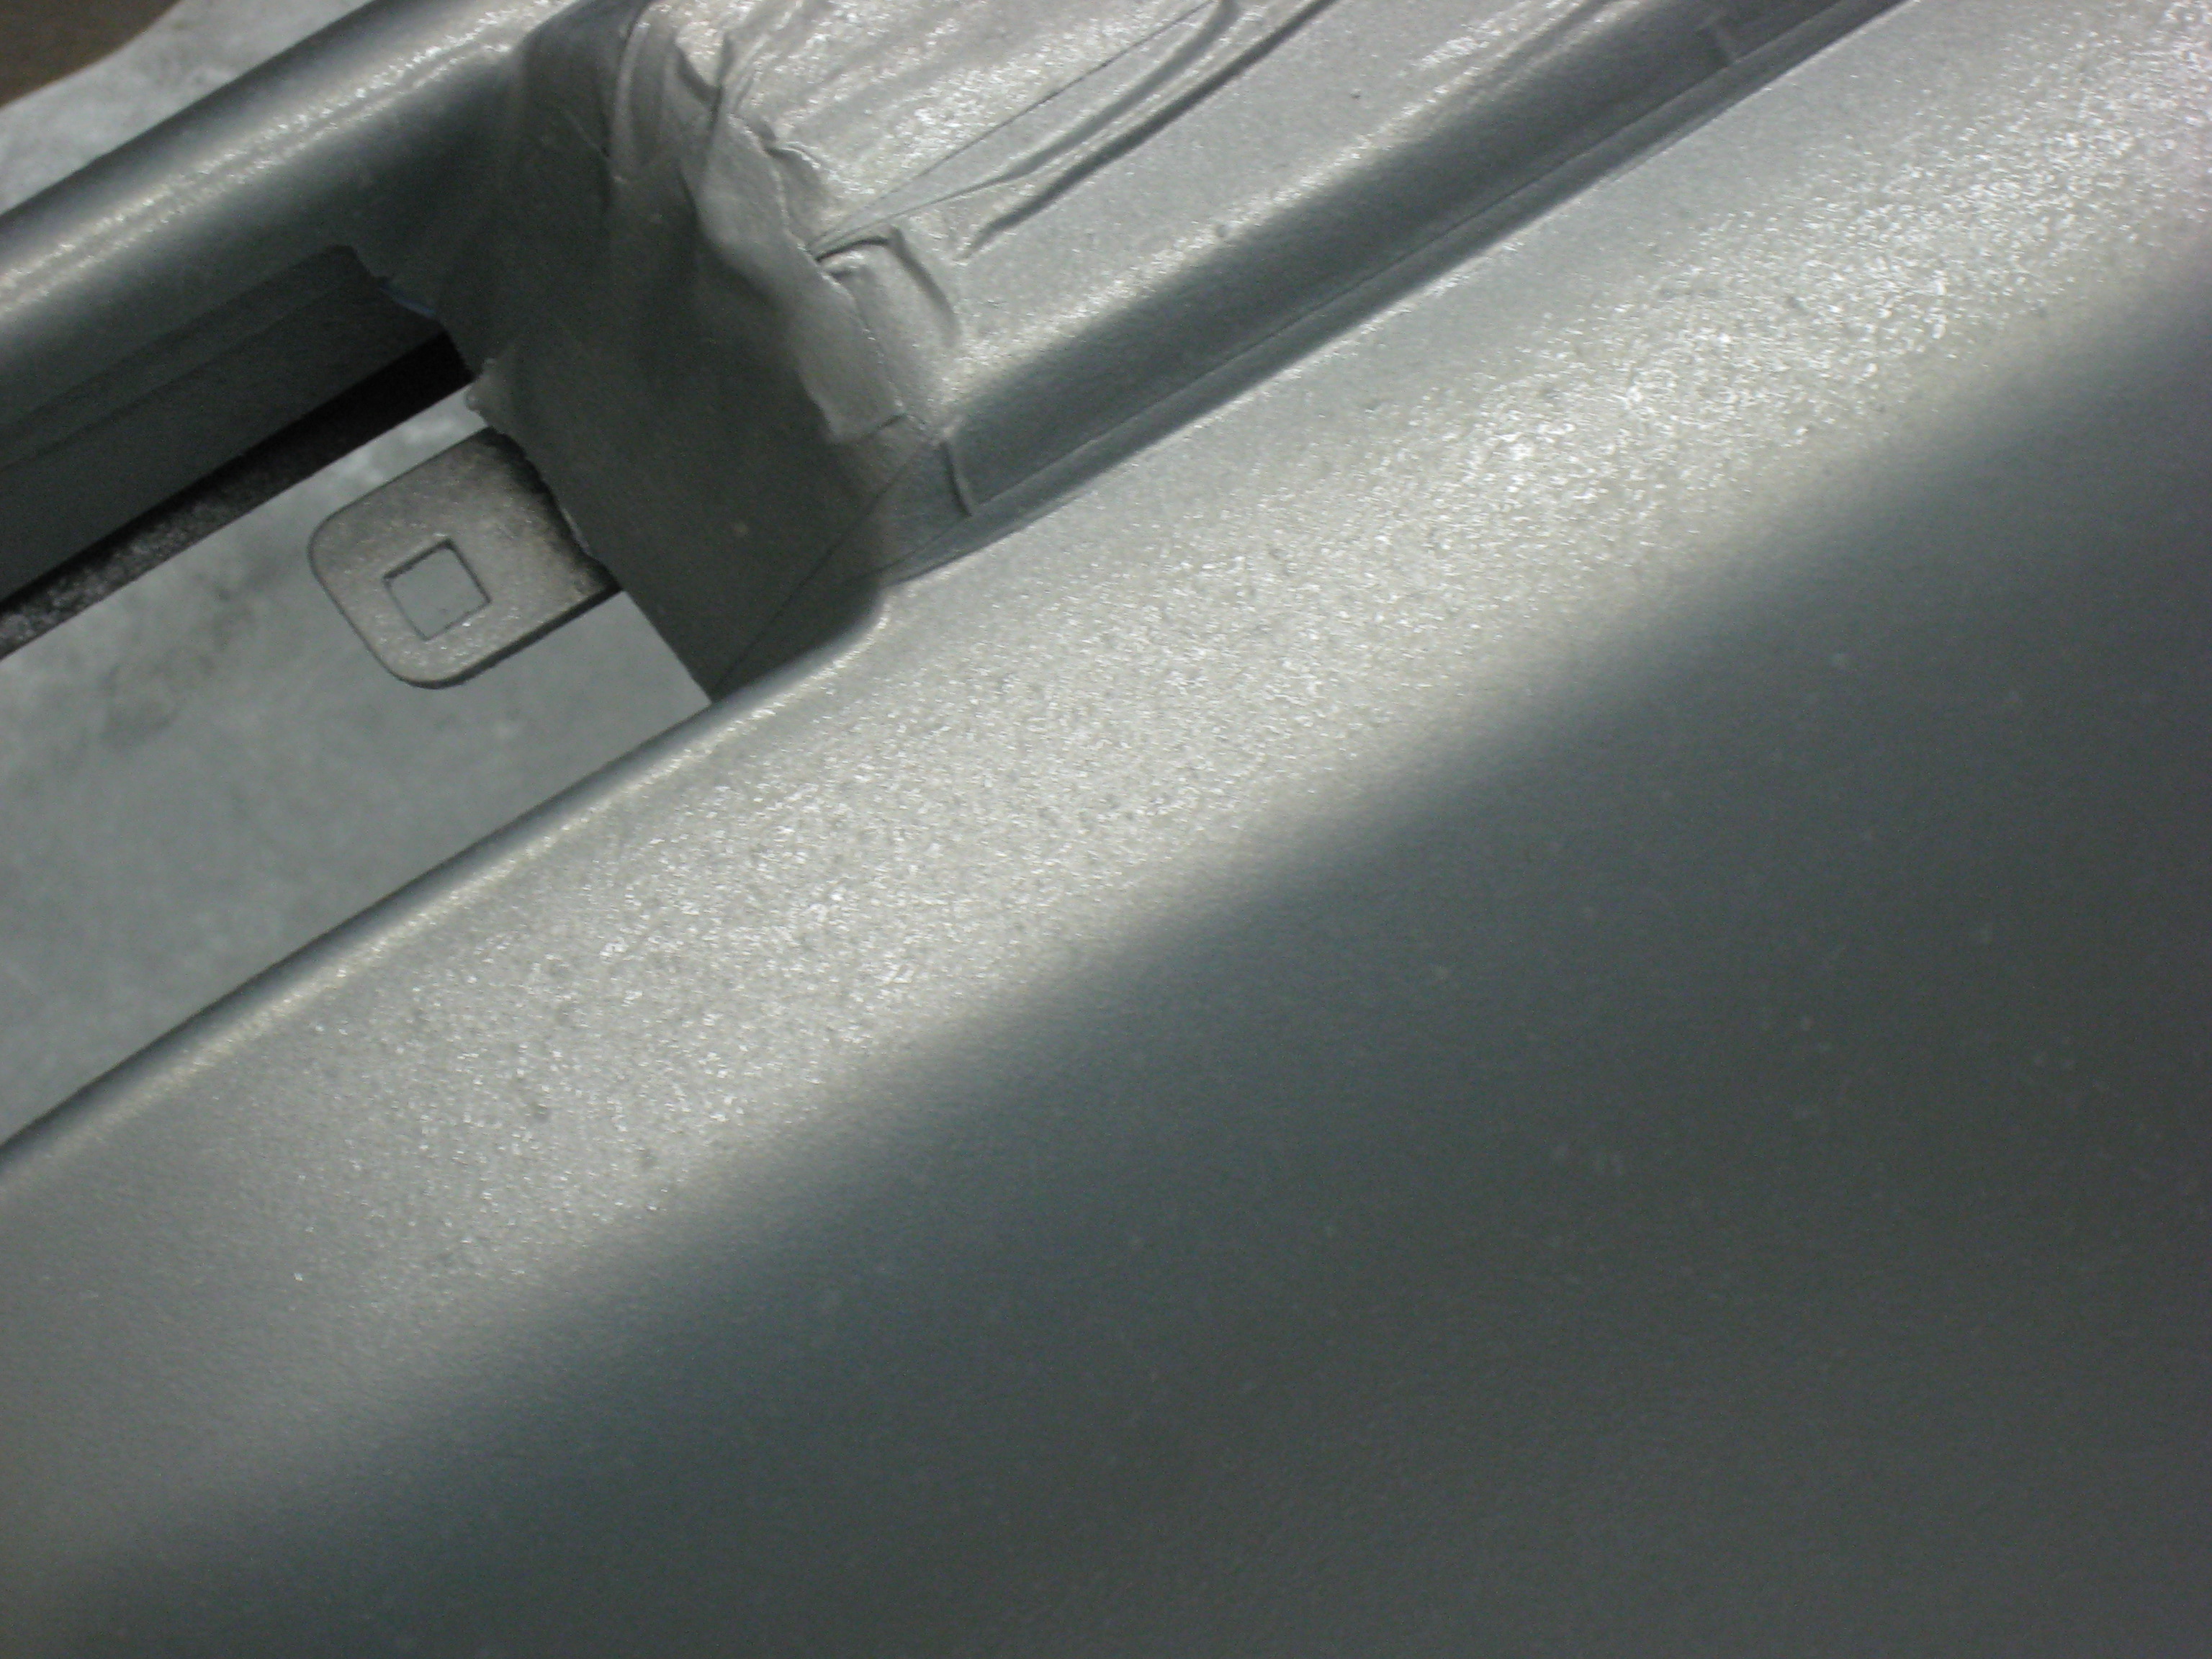
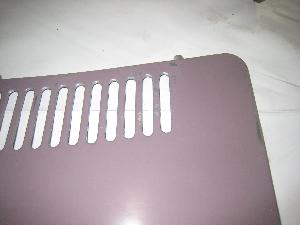
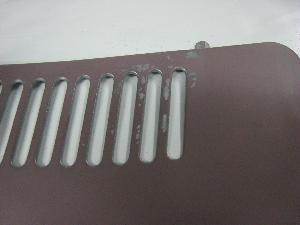
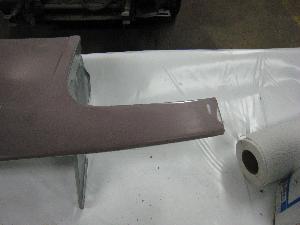
Remember that problem that I had with the primer peeling up from the fenders when I removed the masking tape? Well, the same thing happened with the wiper mechanism cover and the header panel:


May 1, 2007
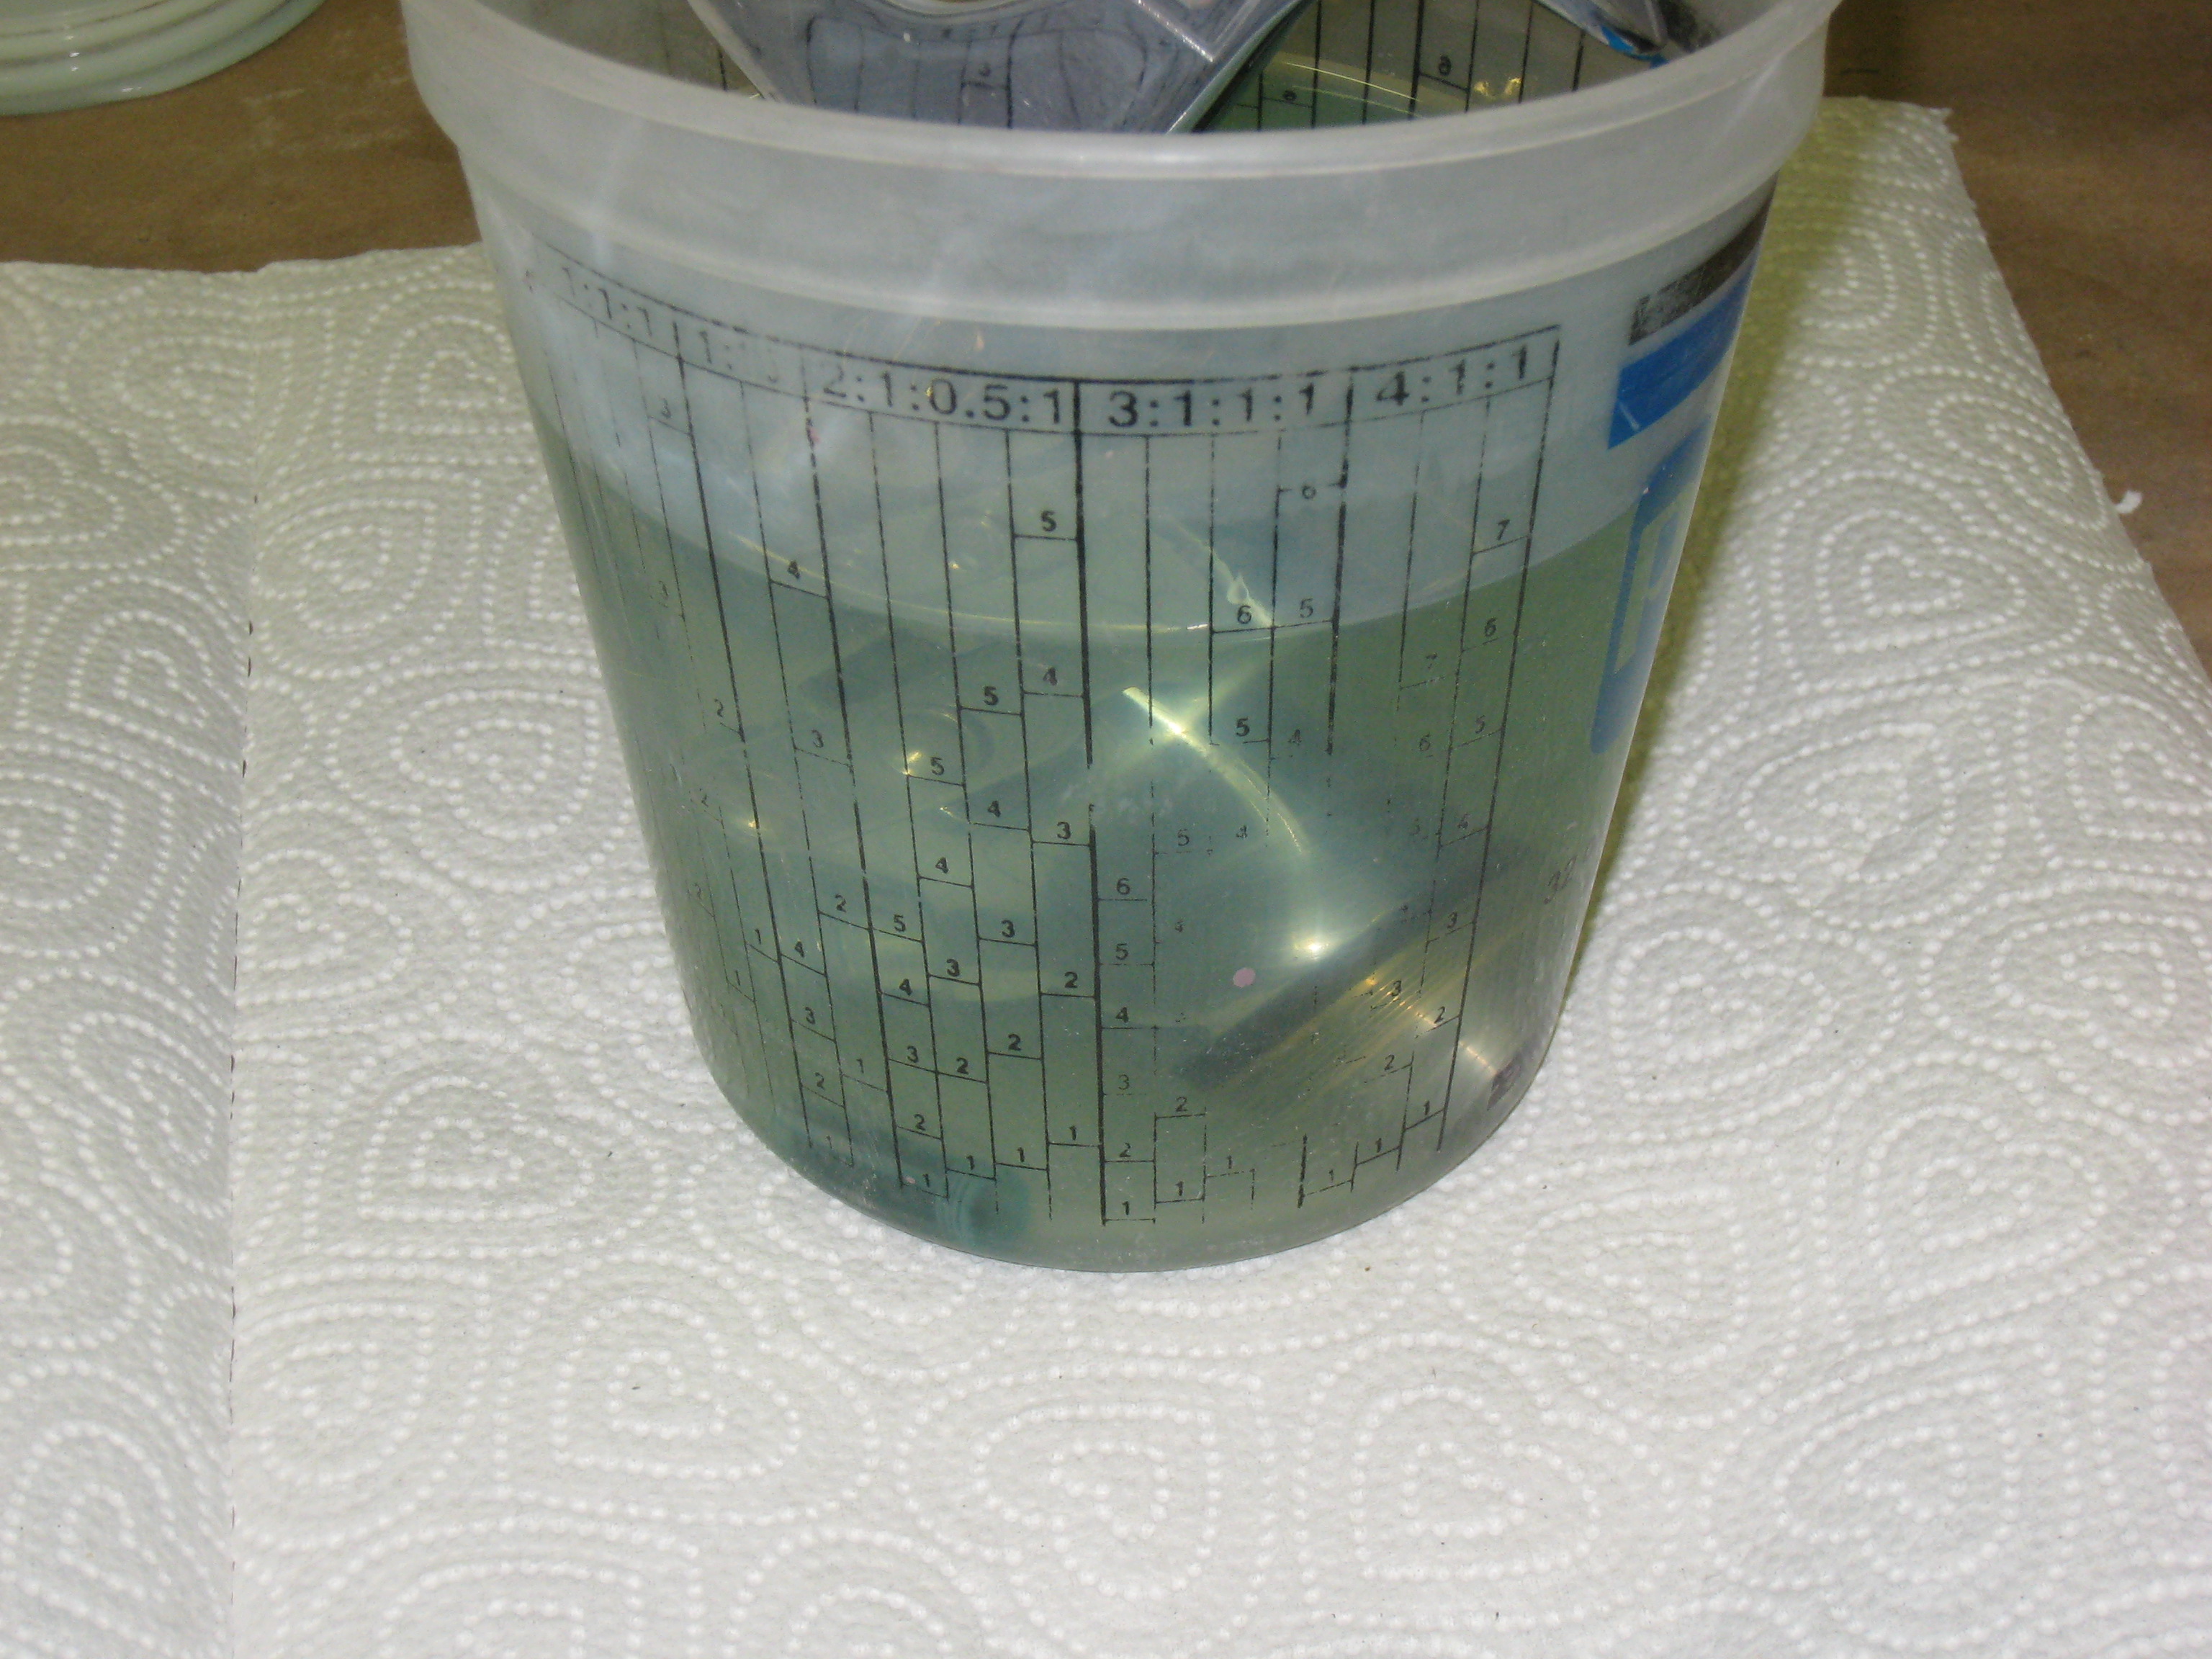
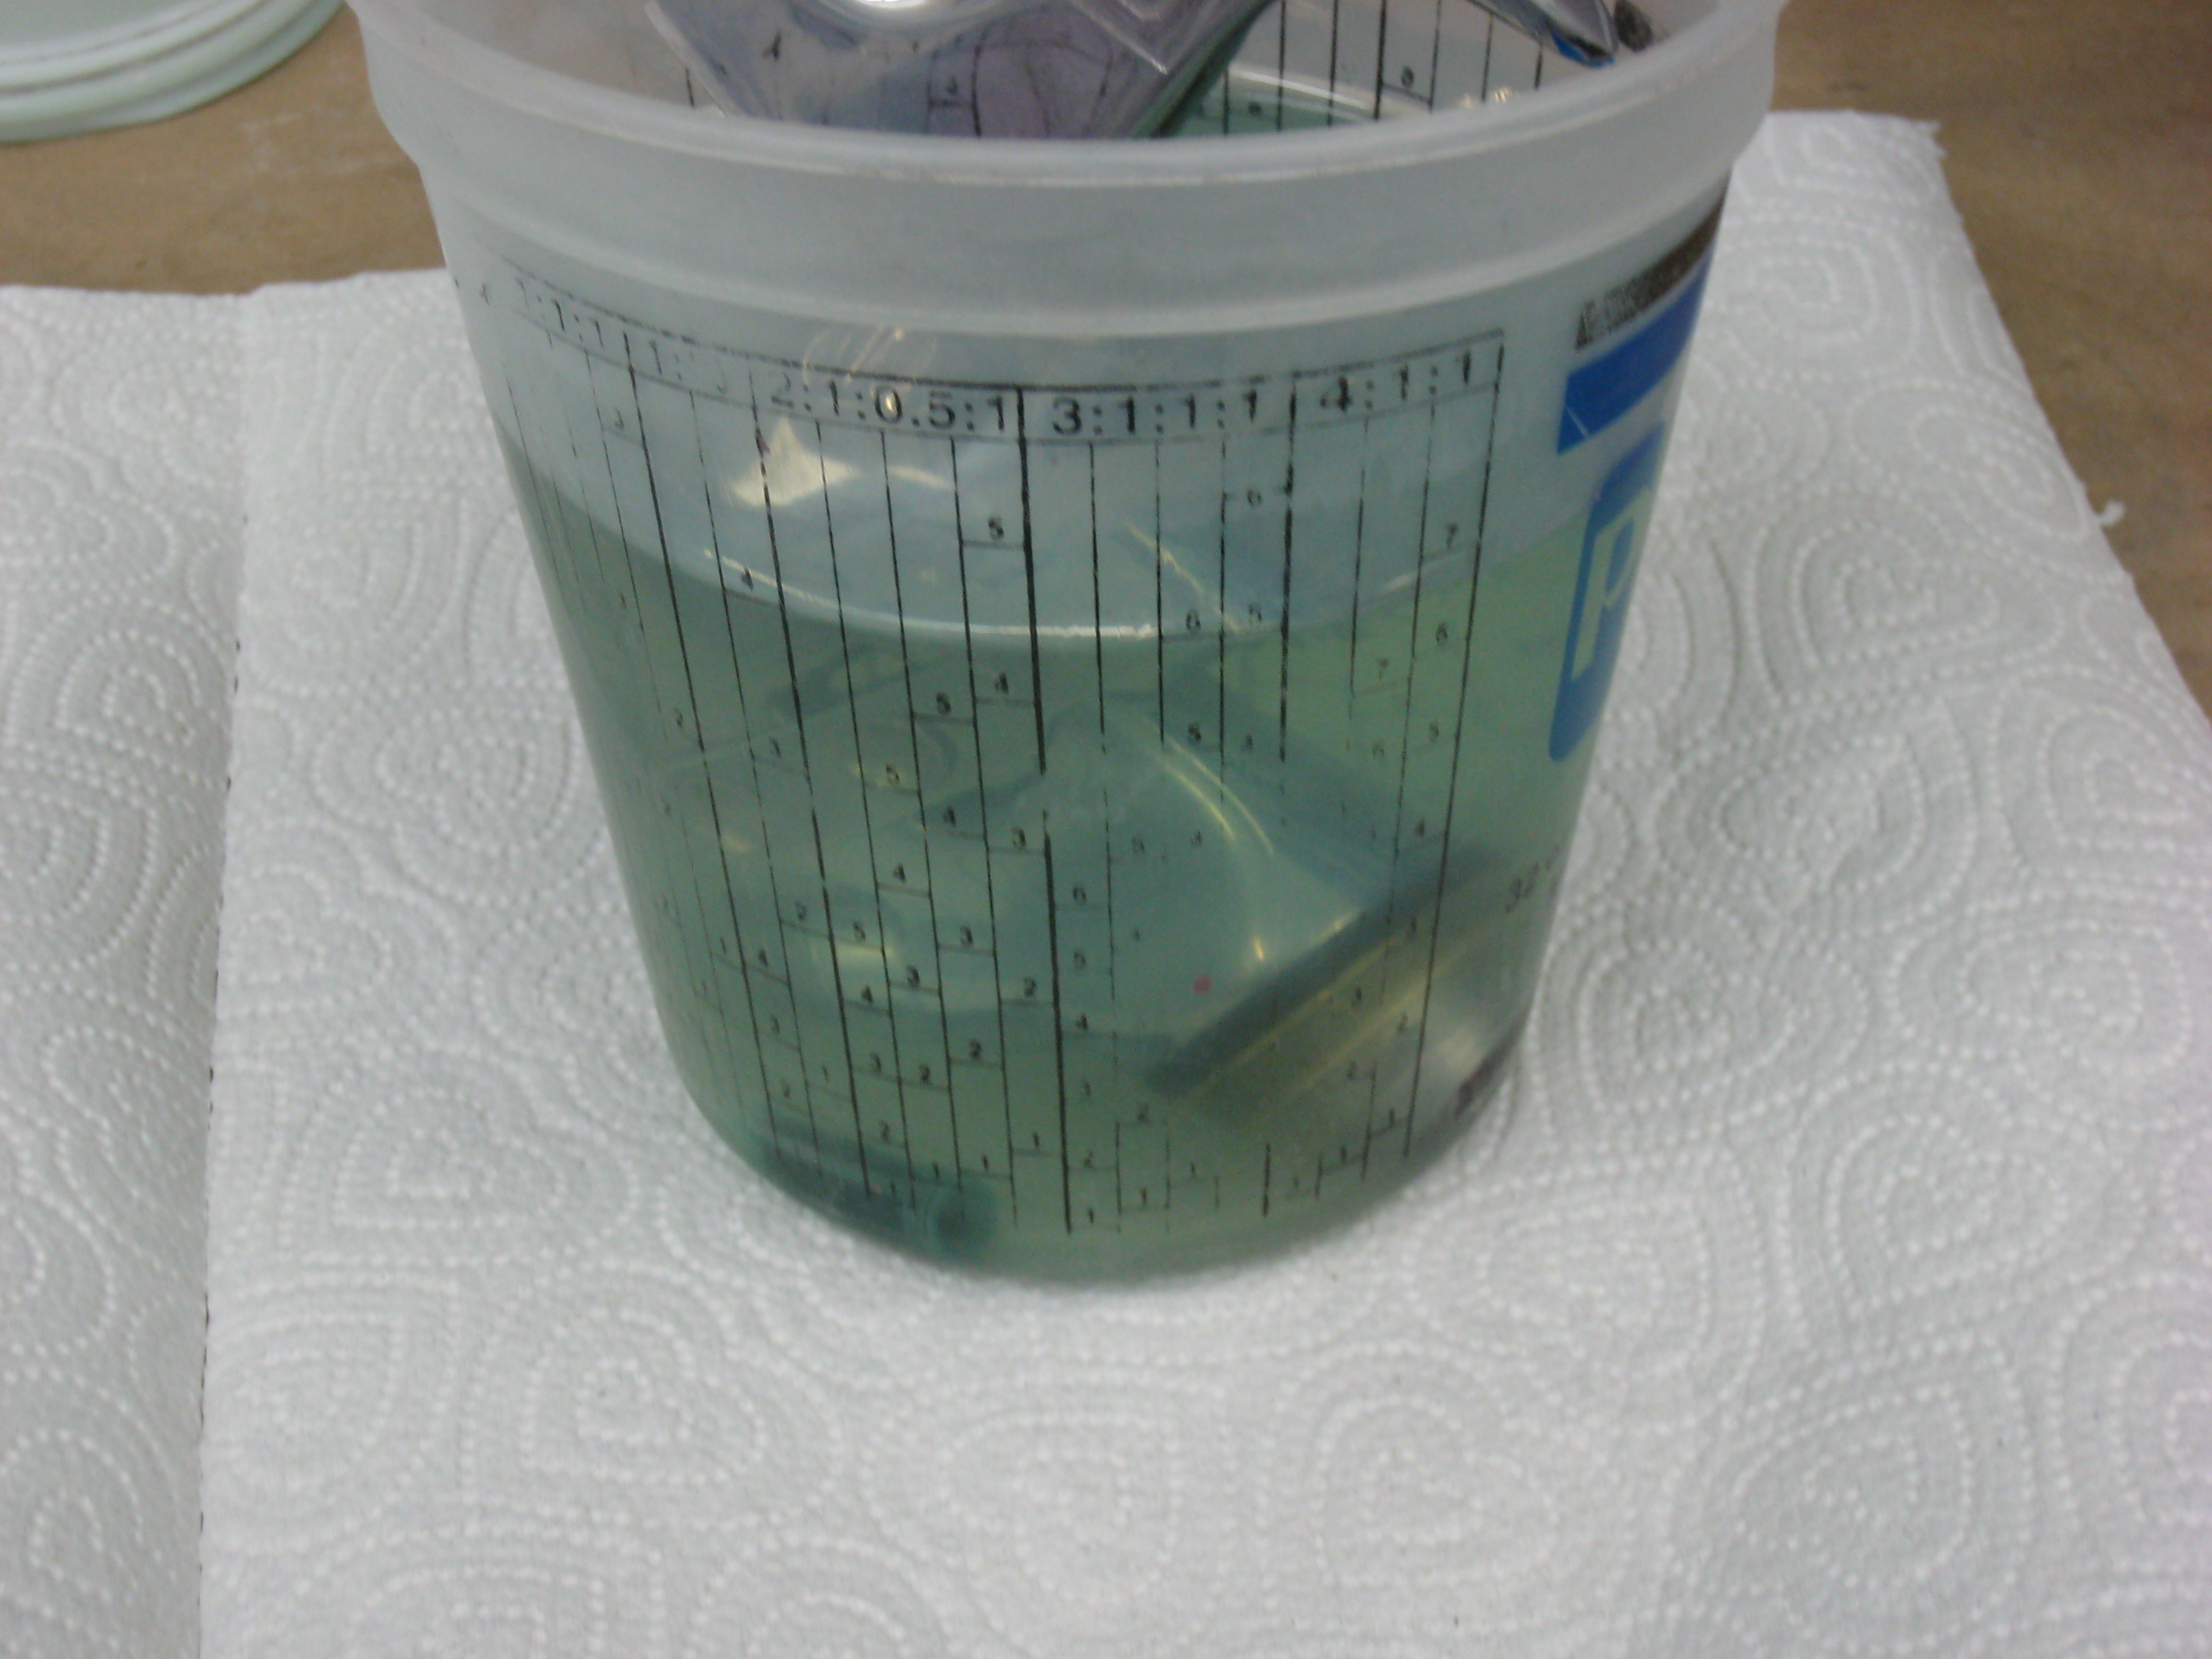
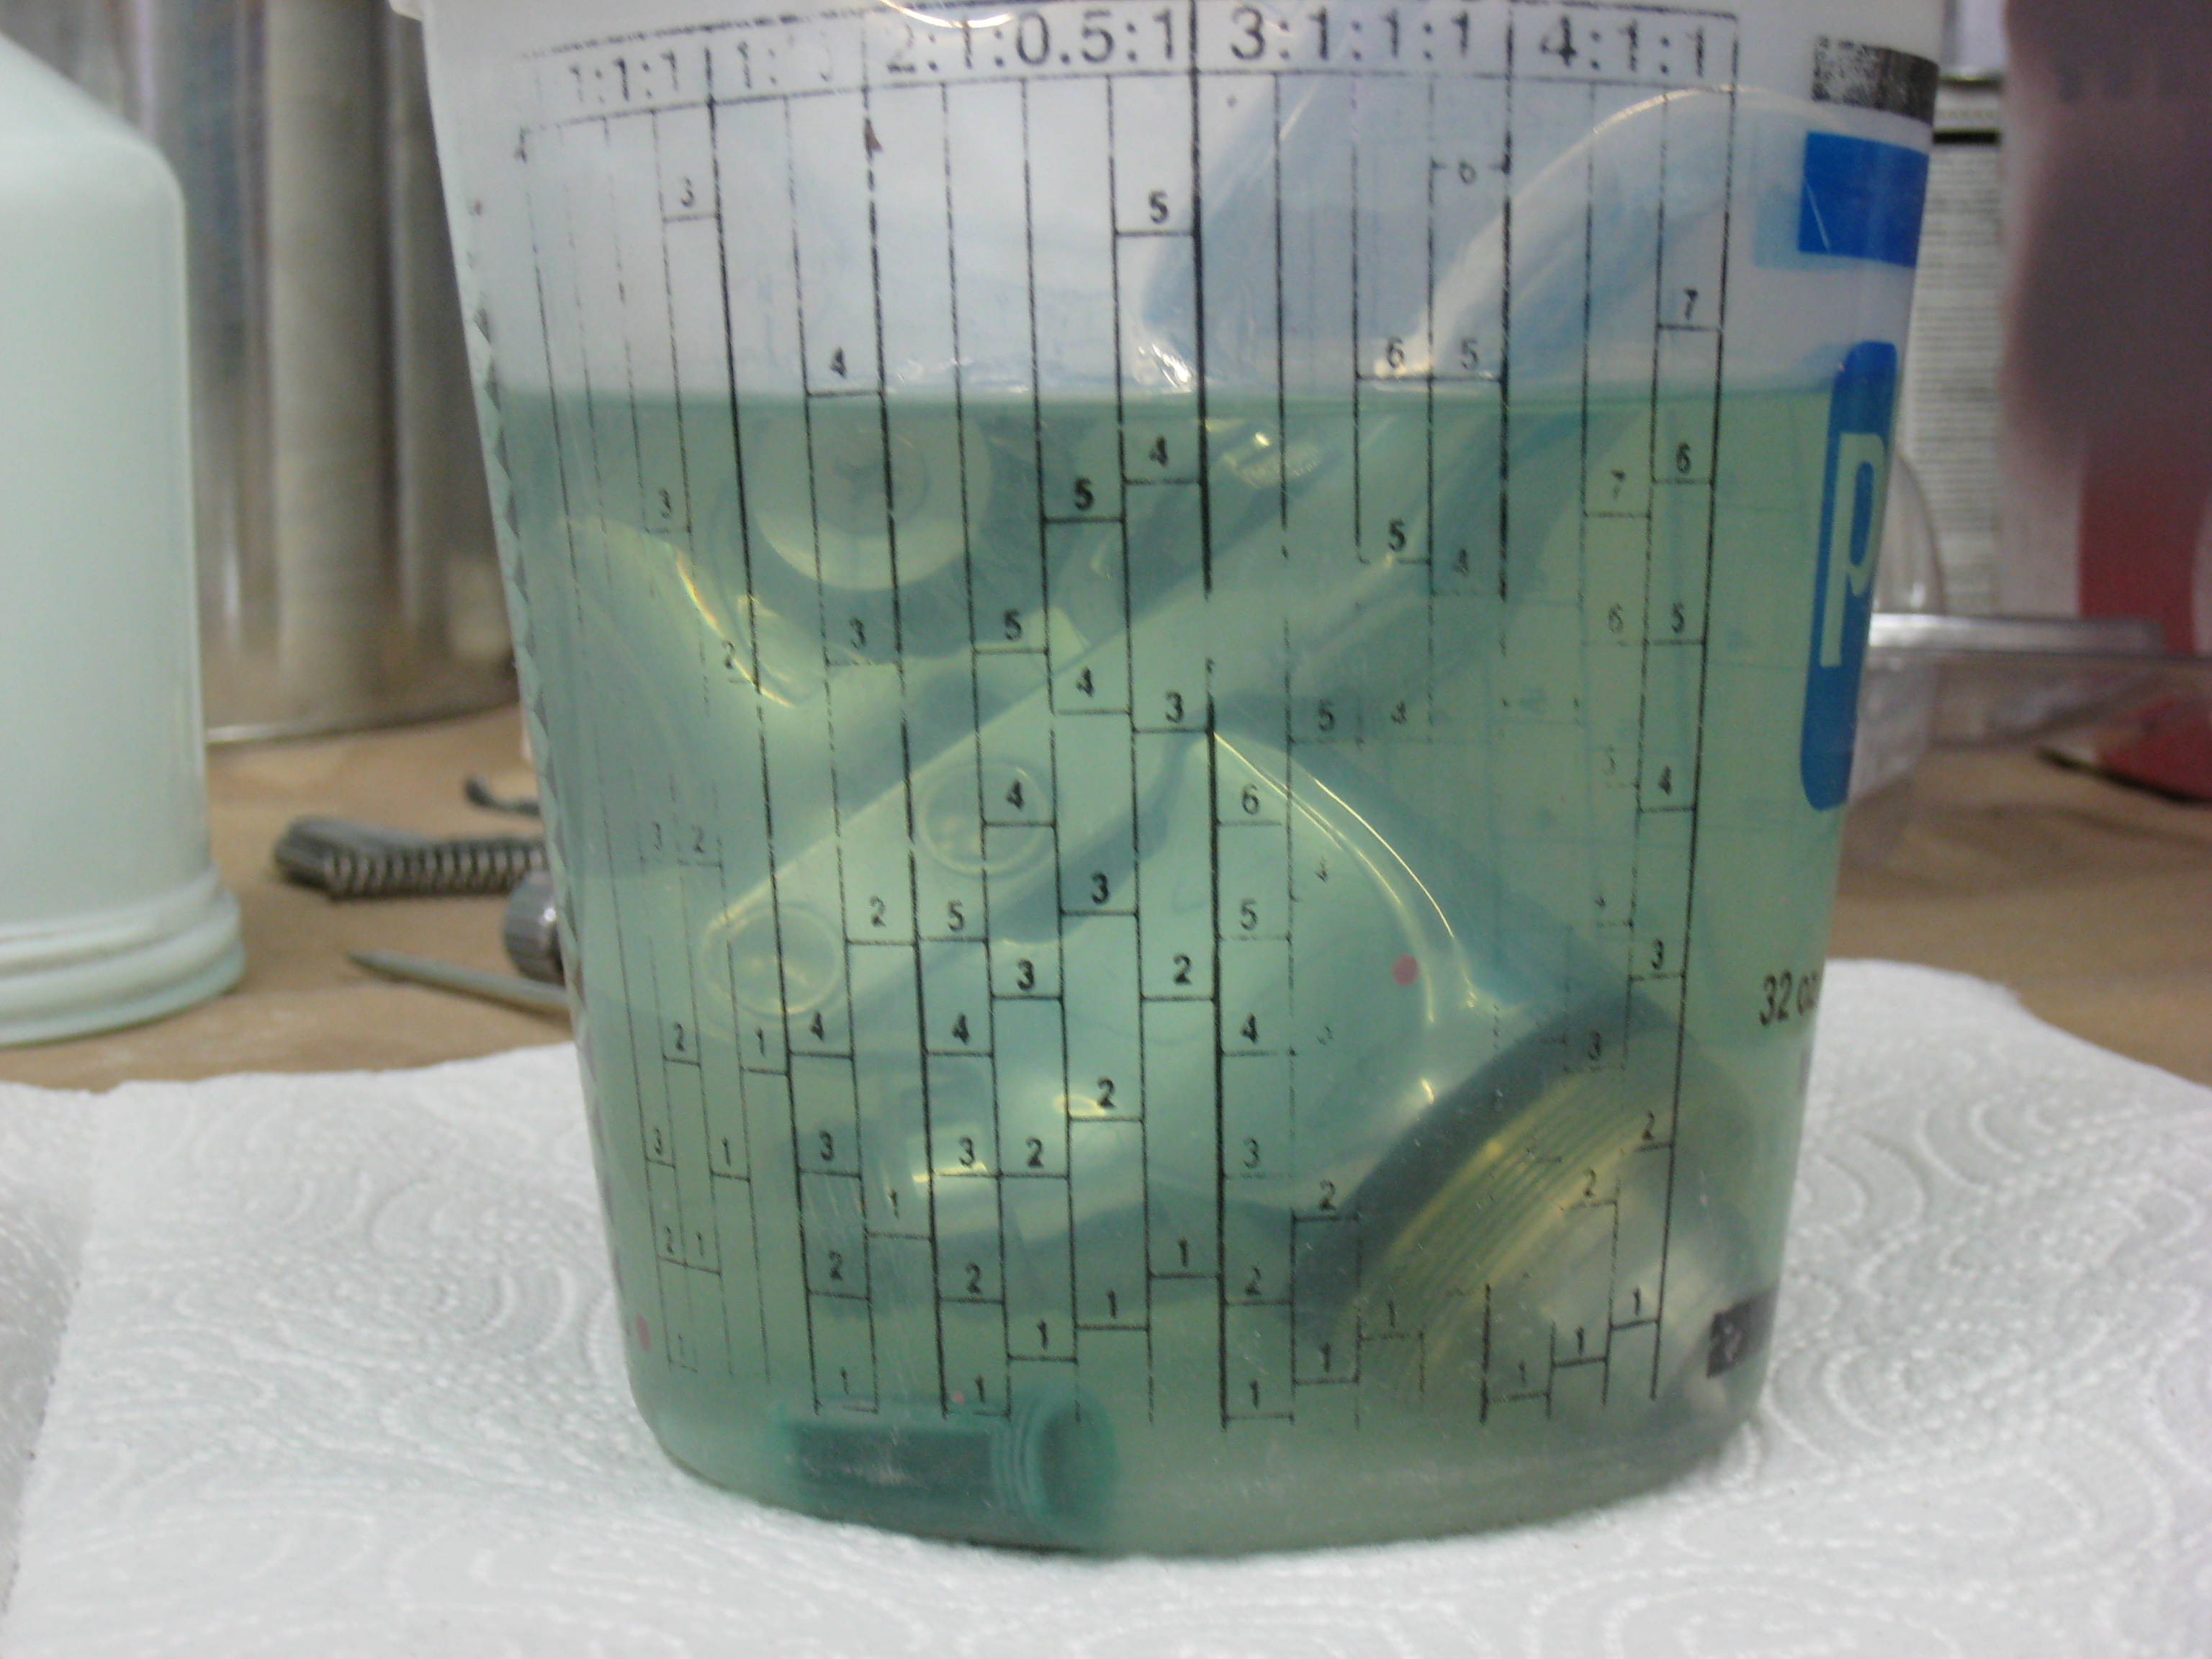
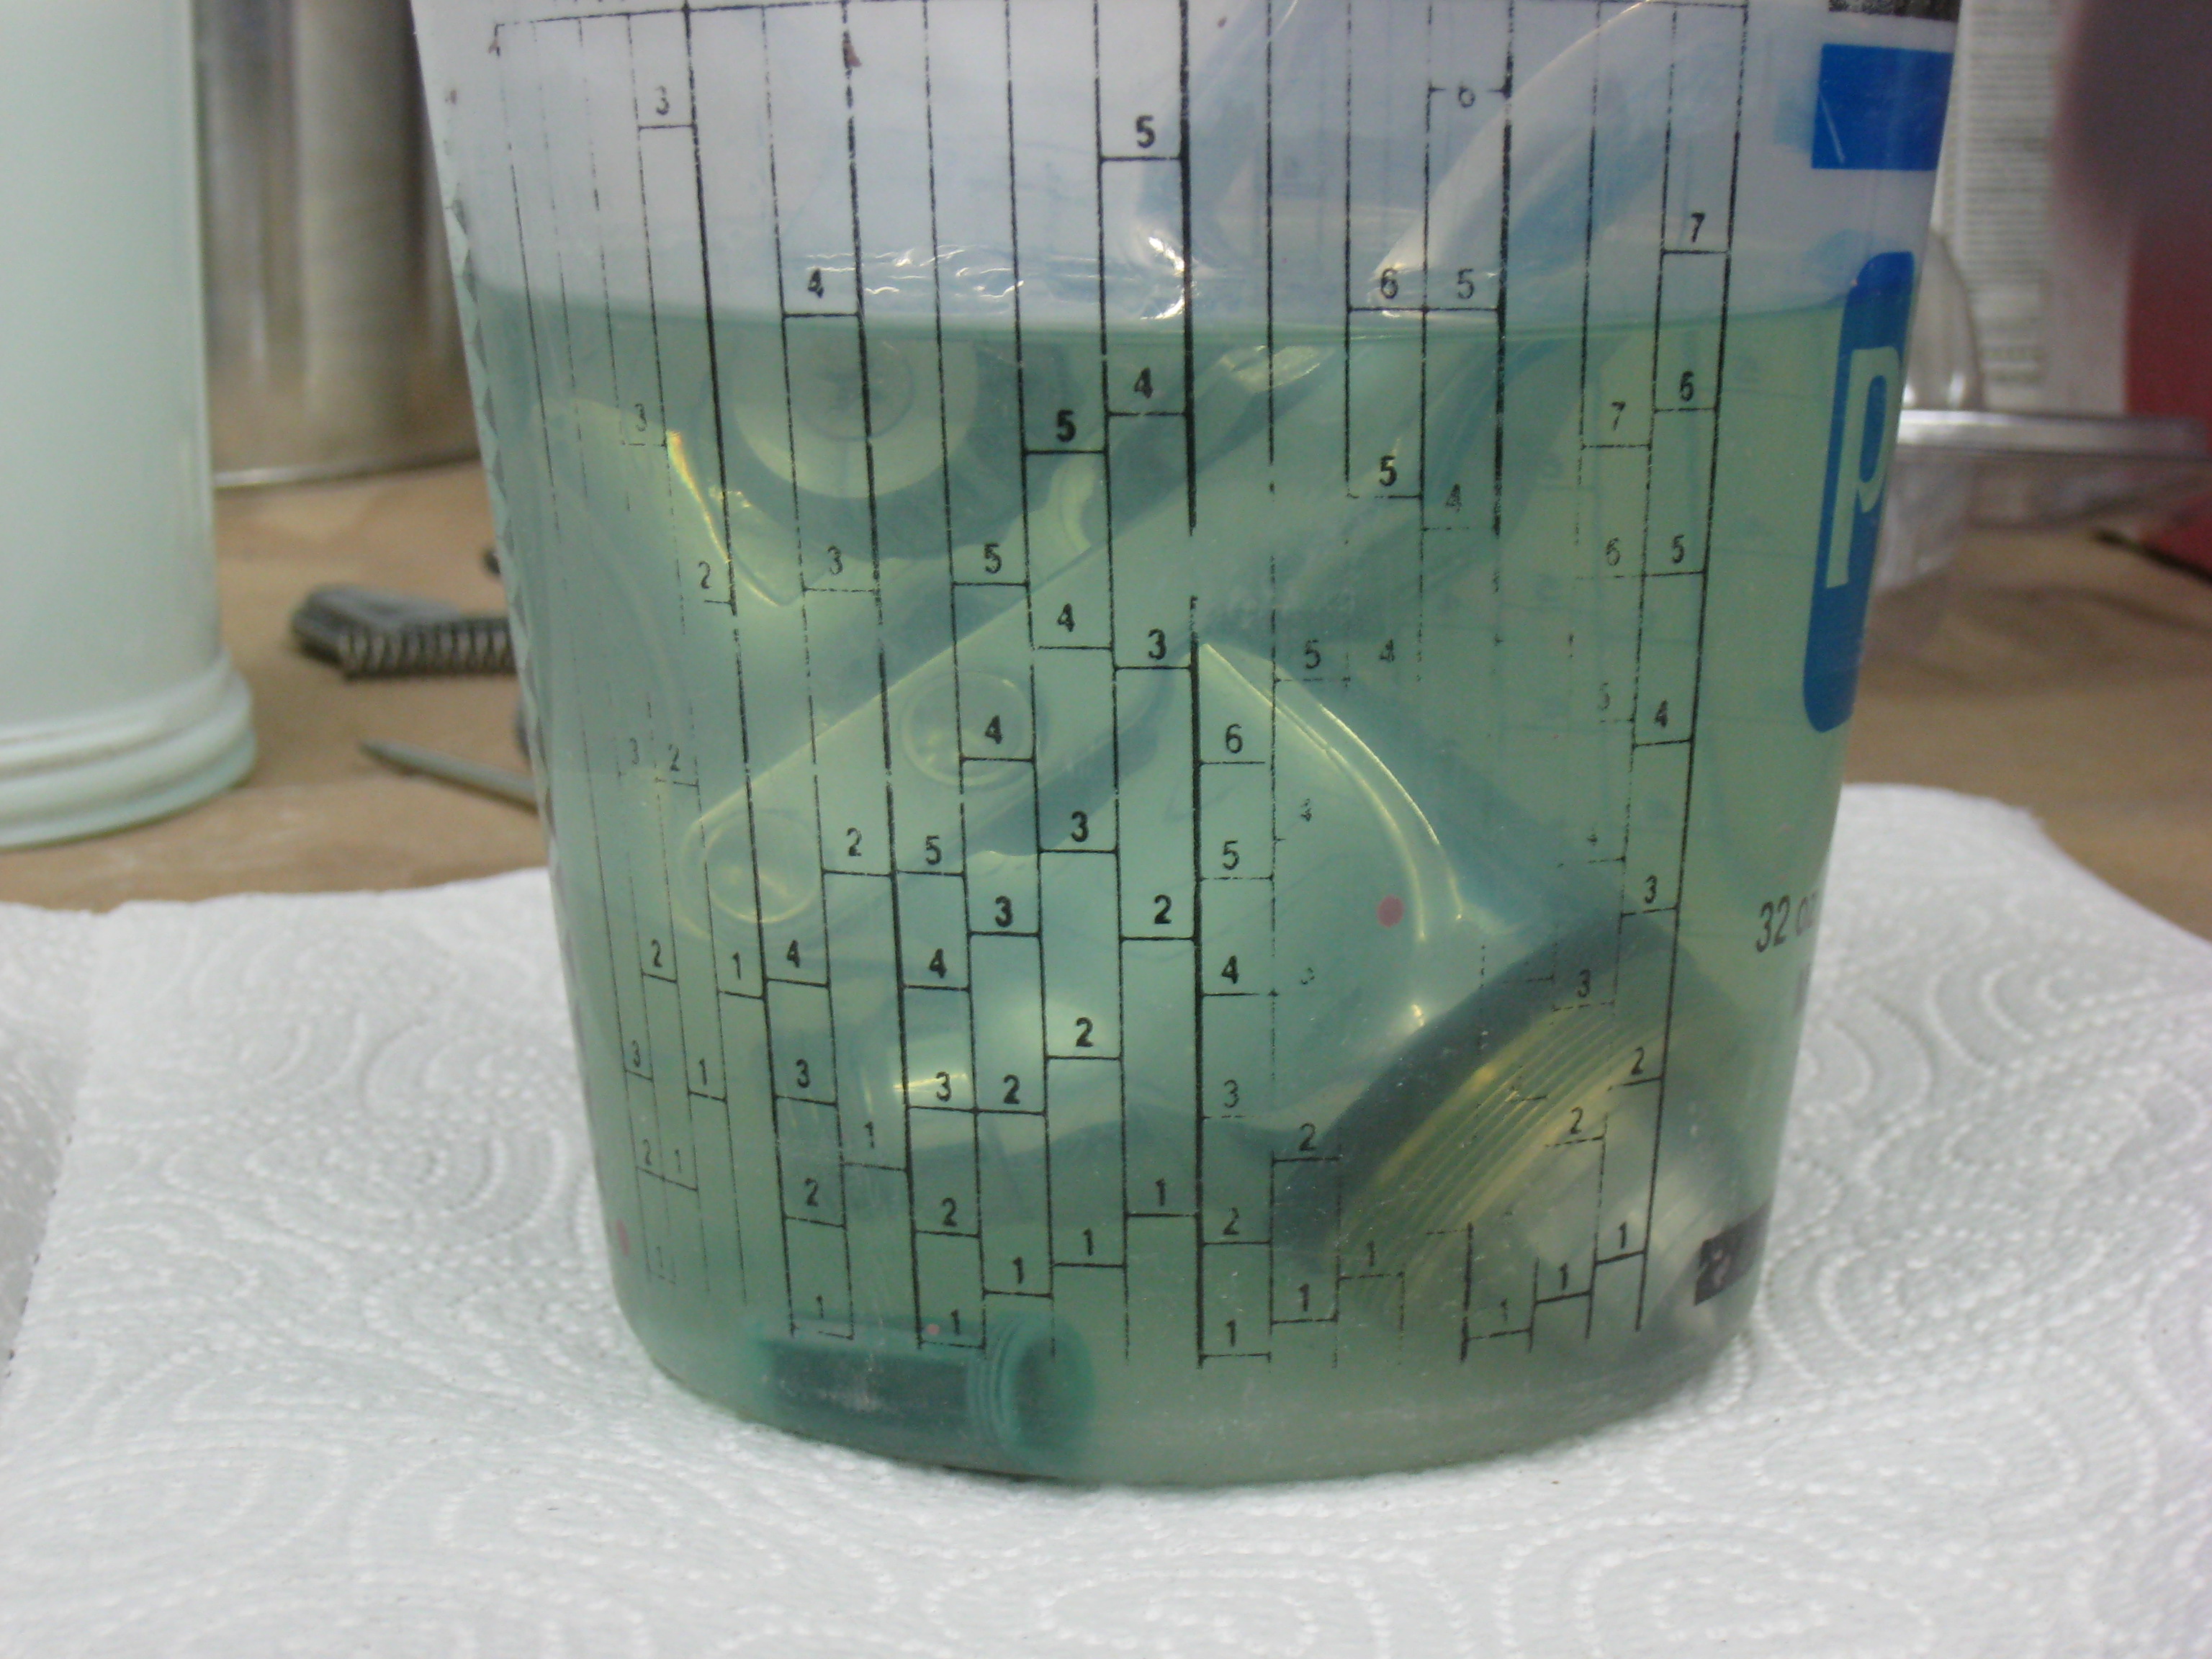
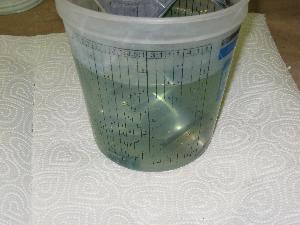
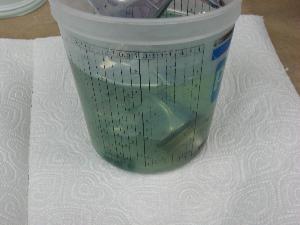
I was foolish enough to let an acquaintence borrow my paint gun. He returned it without properly cleaning it. I had to soak it for 24 hours in lacquer thinner, which turned the thinner to a nice shade of green. Even after soaking it and then spraying thinner through it, the spray nozzle was partially clogged when I went to use it again a few weeks later.
May 15, 2007
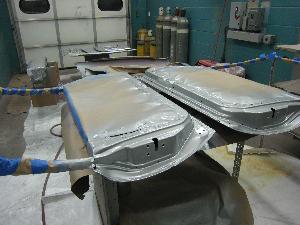
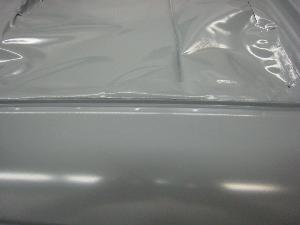
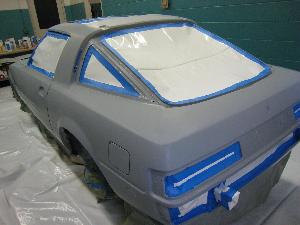
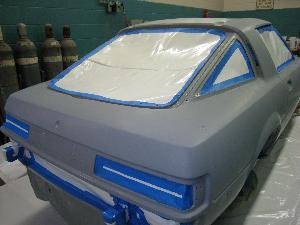
Reassembled and ready for sealer:

May 24 and 25 (overnight!), 2007
Cleaning, masking and then spraying sealer. Once again, going over the surface with cleaner/degreaser gave the surface a temporary shine so that I could see how smooth the surface was.
The sealer came out pretty well, but the clogged paint gun nozzle that I mentioned earlier caused an uneven spray pattern that had to be repaired by wet sanding. That was actually a blessing in disguise, as the end result was that the finish was mirror smooth for the paint. Of course, that wet sanding probably took me an extra five hours that I wasn't planning on taking.
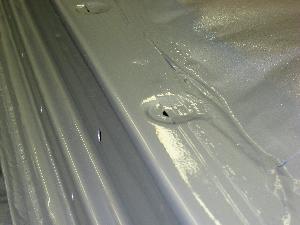
I also had a few runs that I needed to take care of:
May 25, 2007
The afternoon after spraying sealer, but before wet sanding.

May 26, 2007
After wet sanding

May 27, 2007, 6am
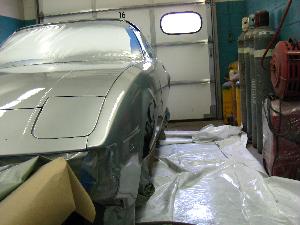
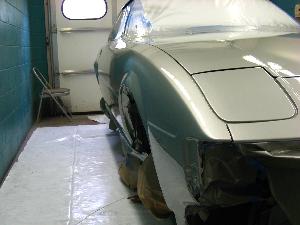
This is painting day! One tip that was passed on to me was to paint in the morning, rather than at night, so that bugs won't be attracted to the light in your work area. For the most part, that worked pretty well.
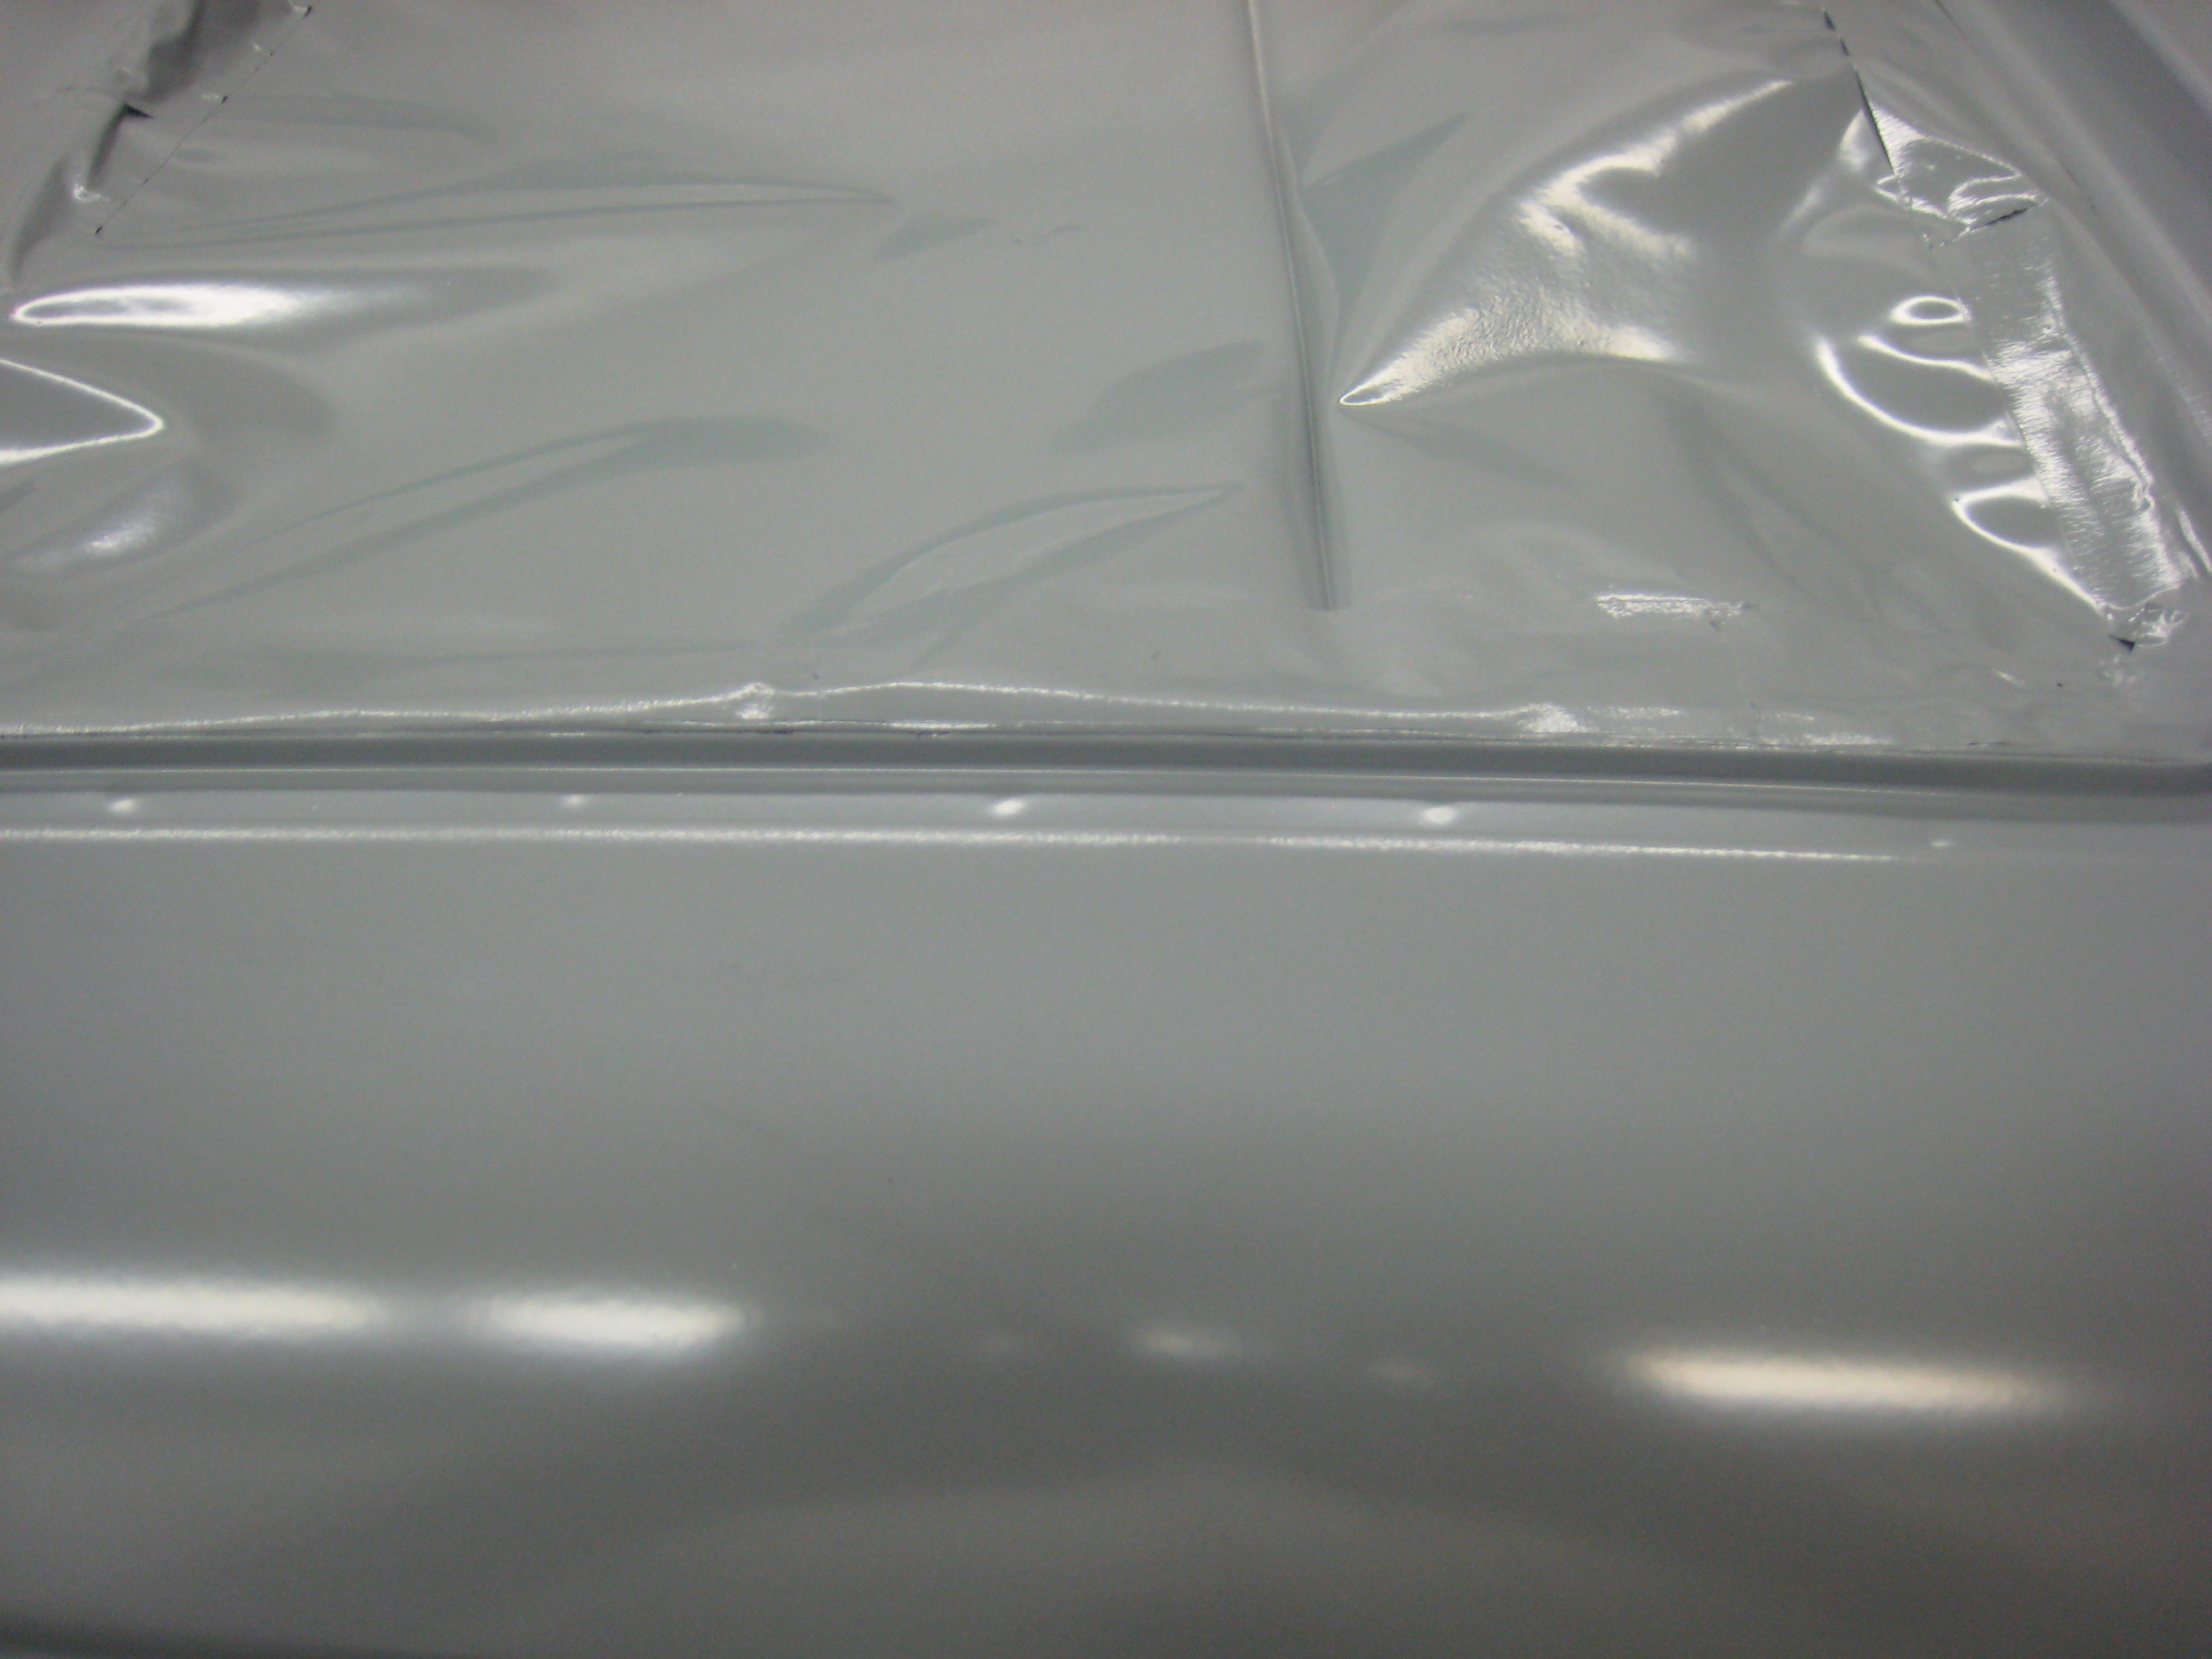
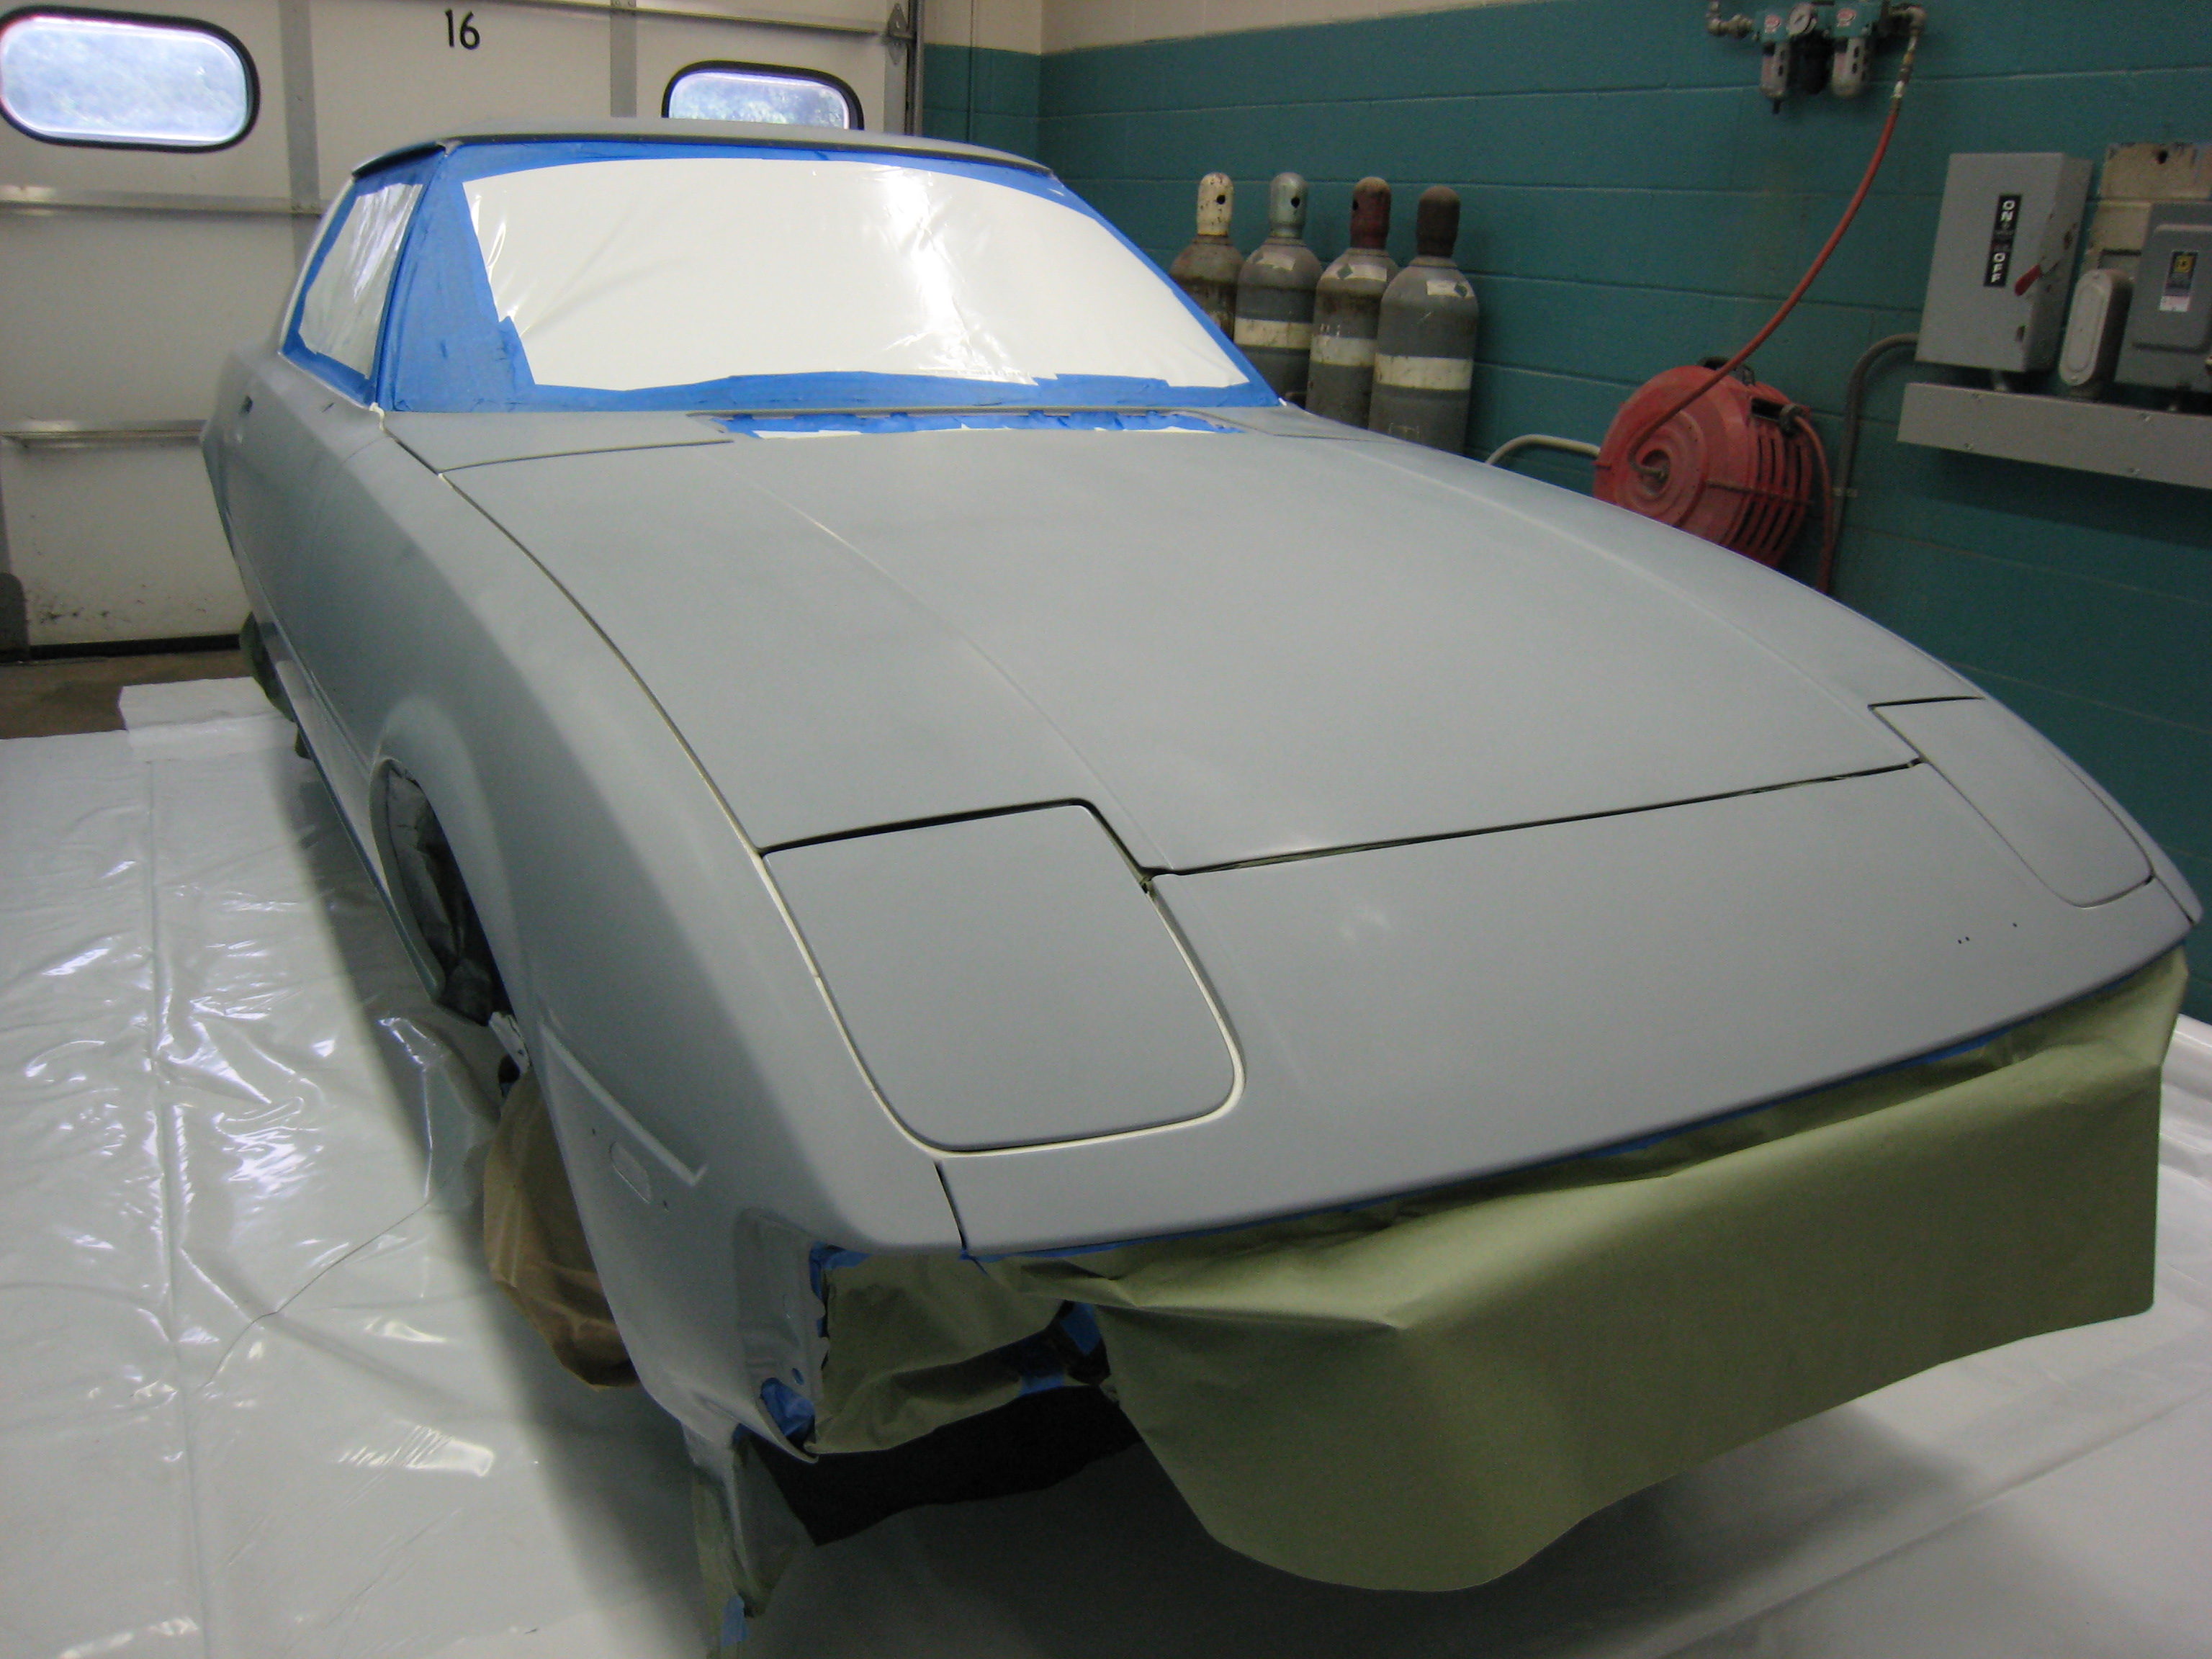
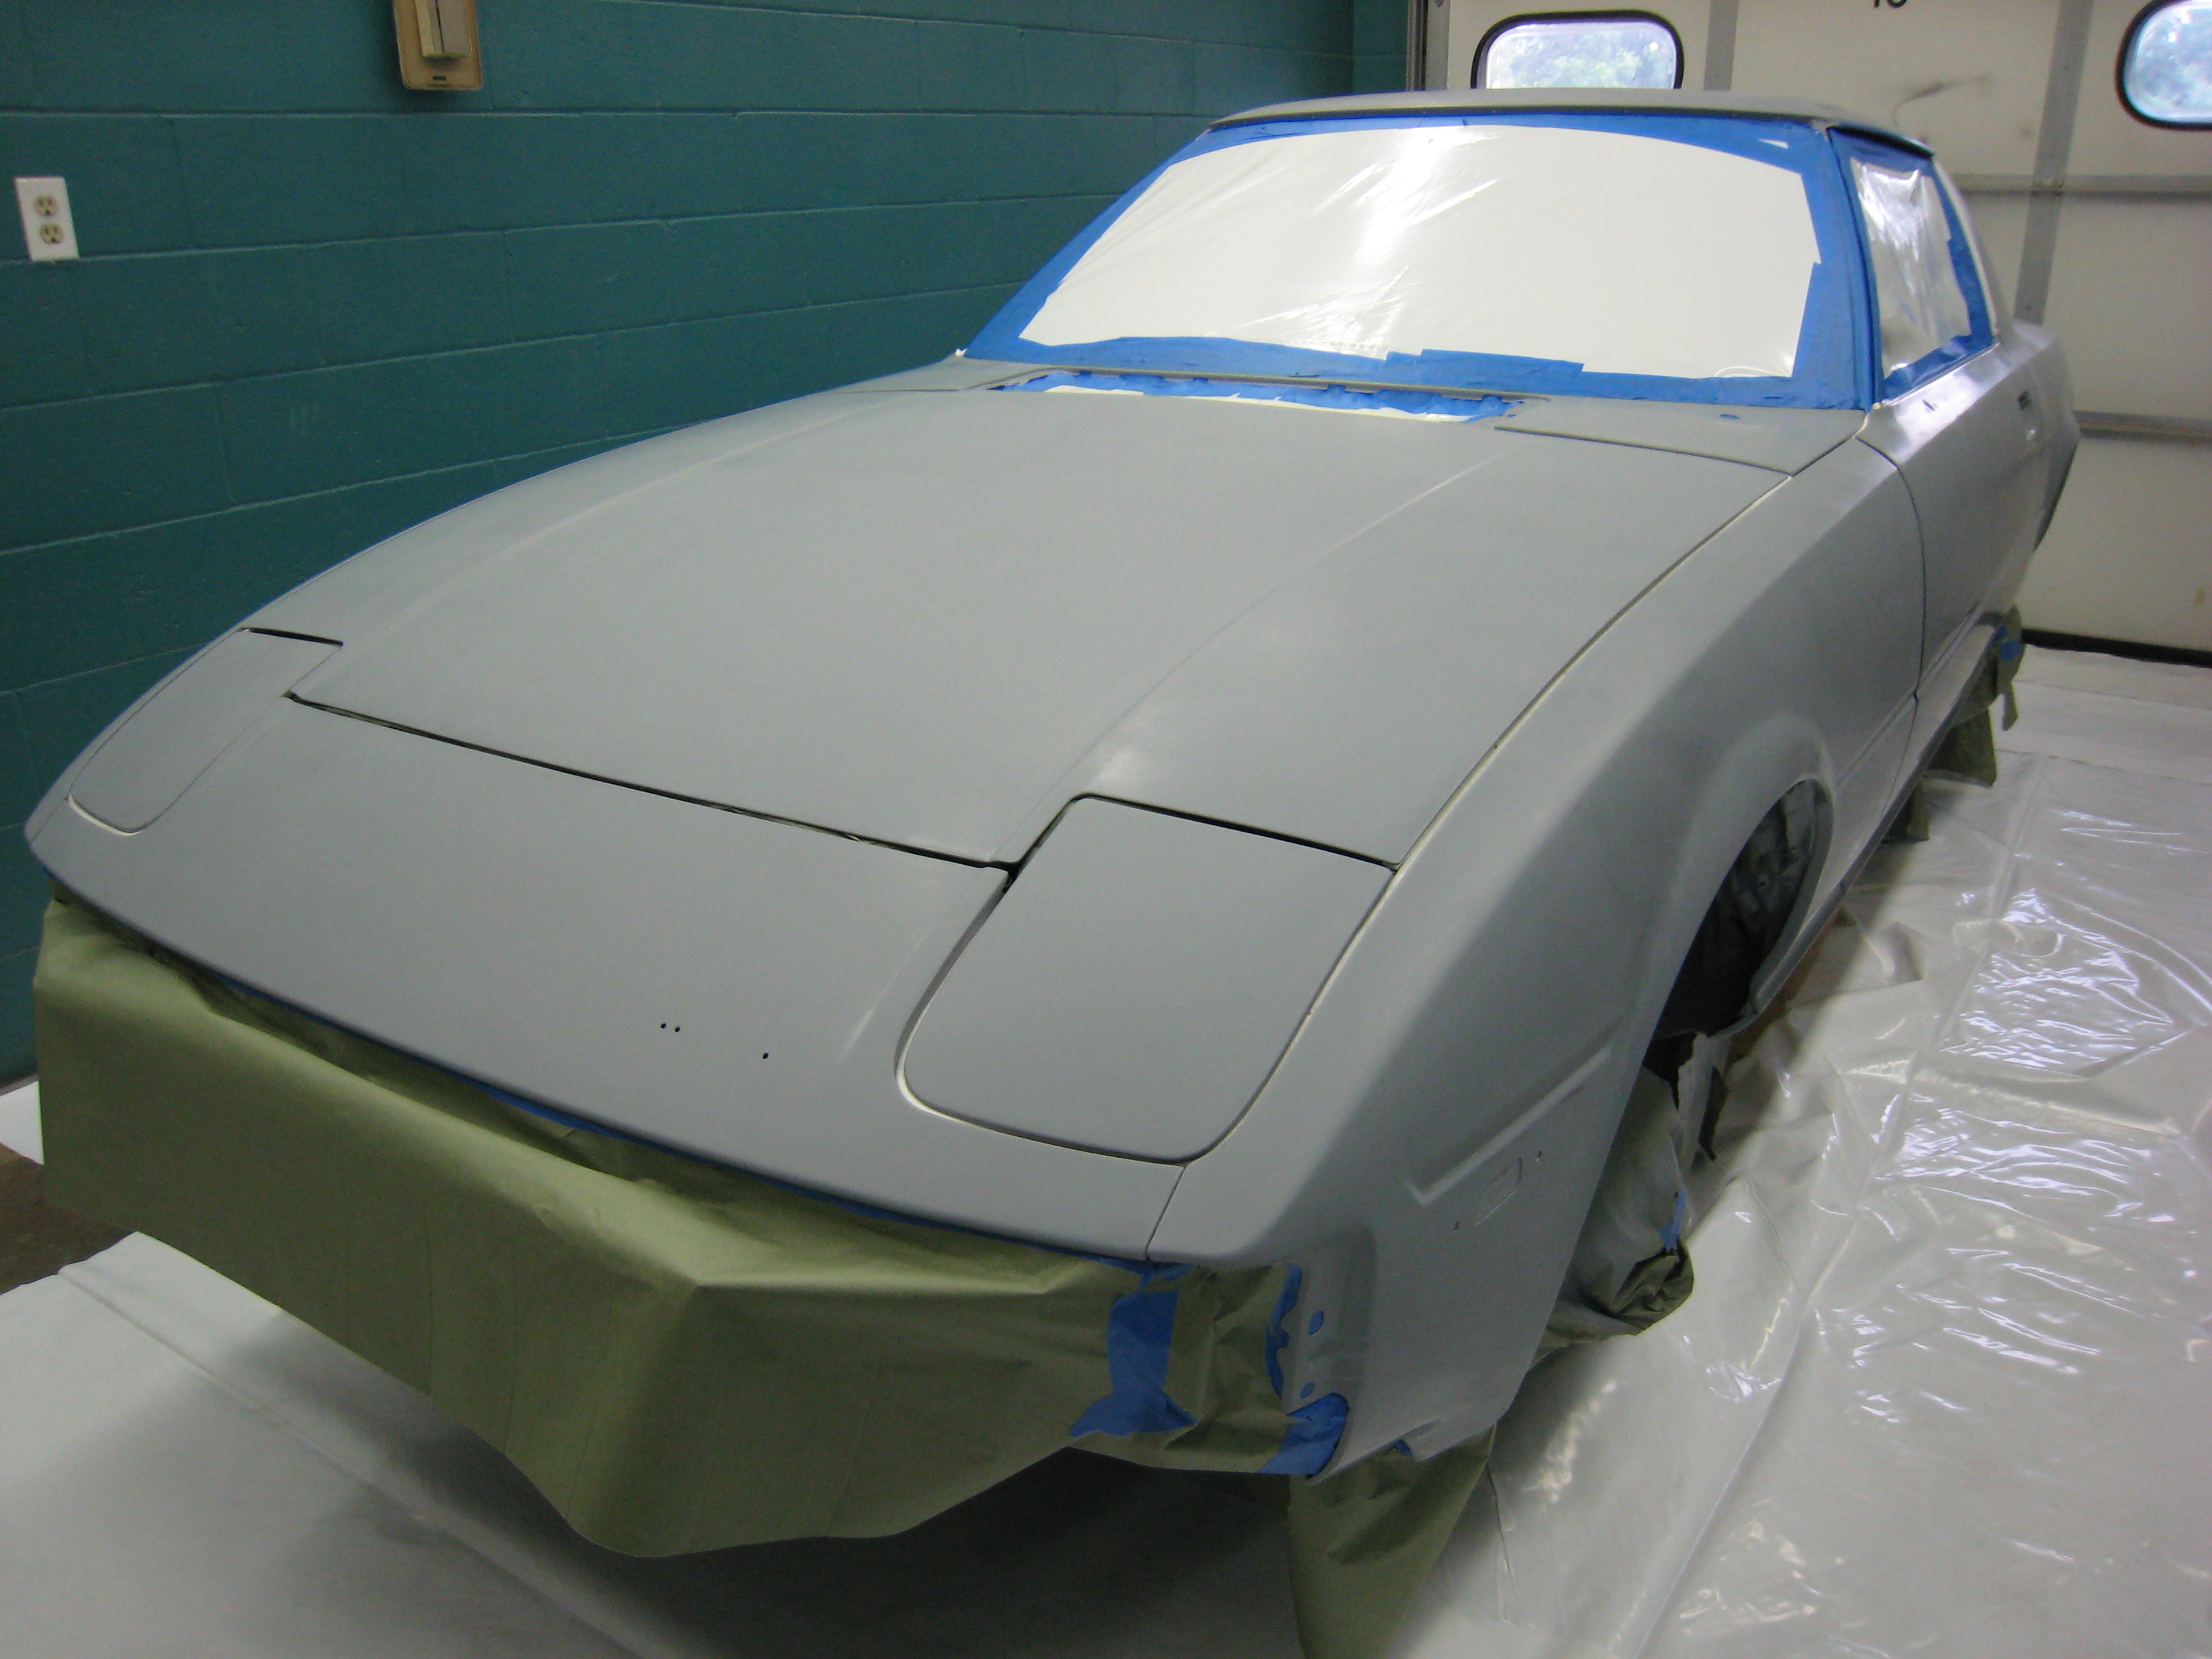
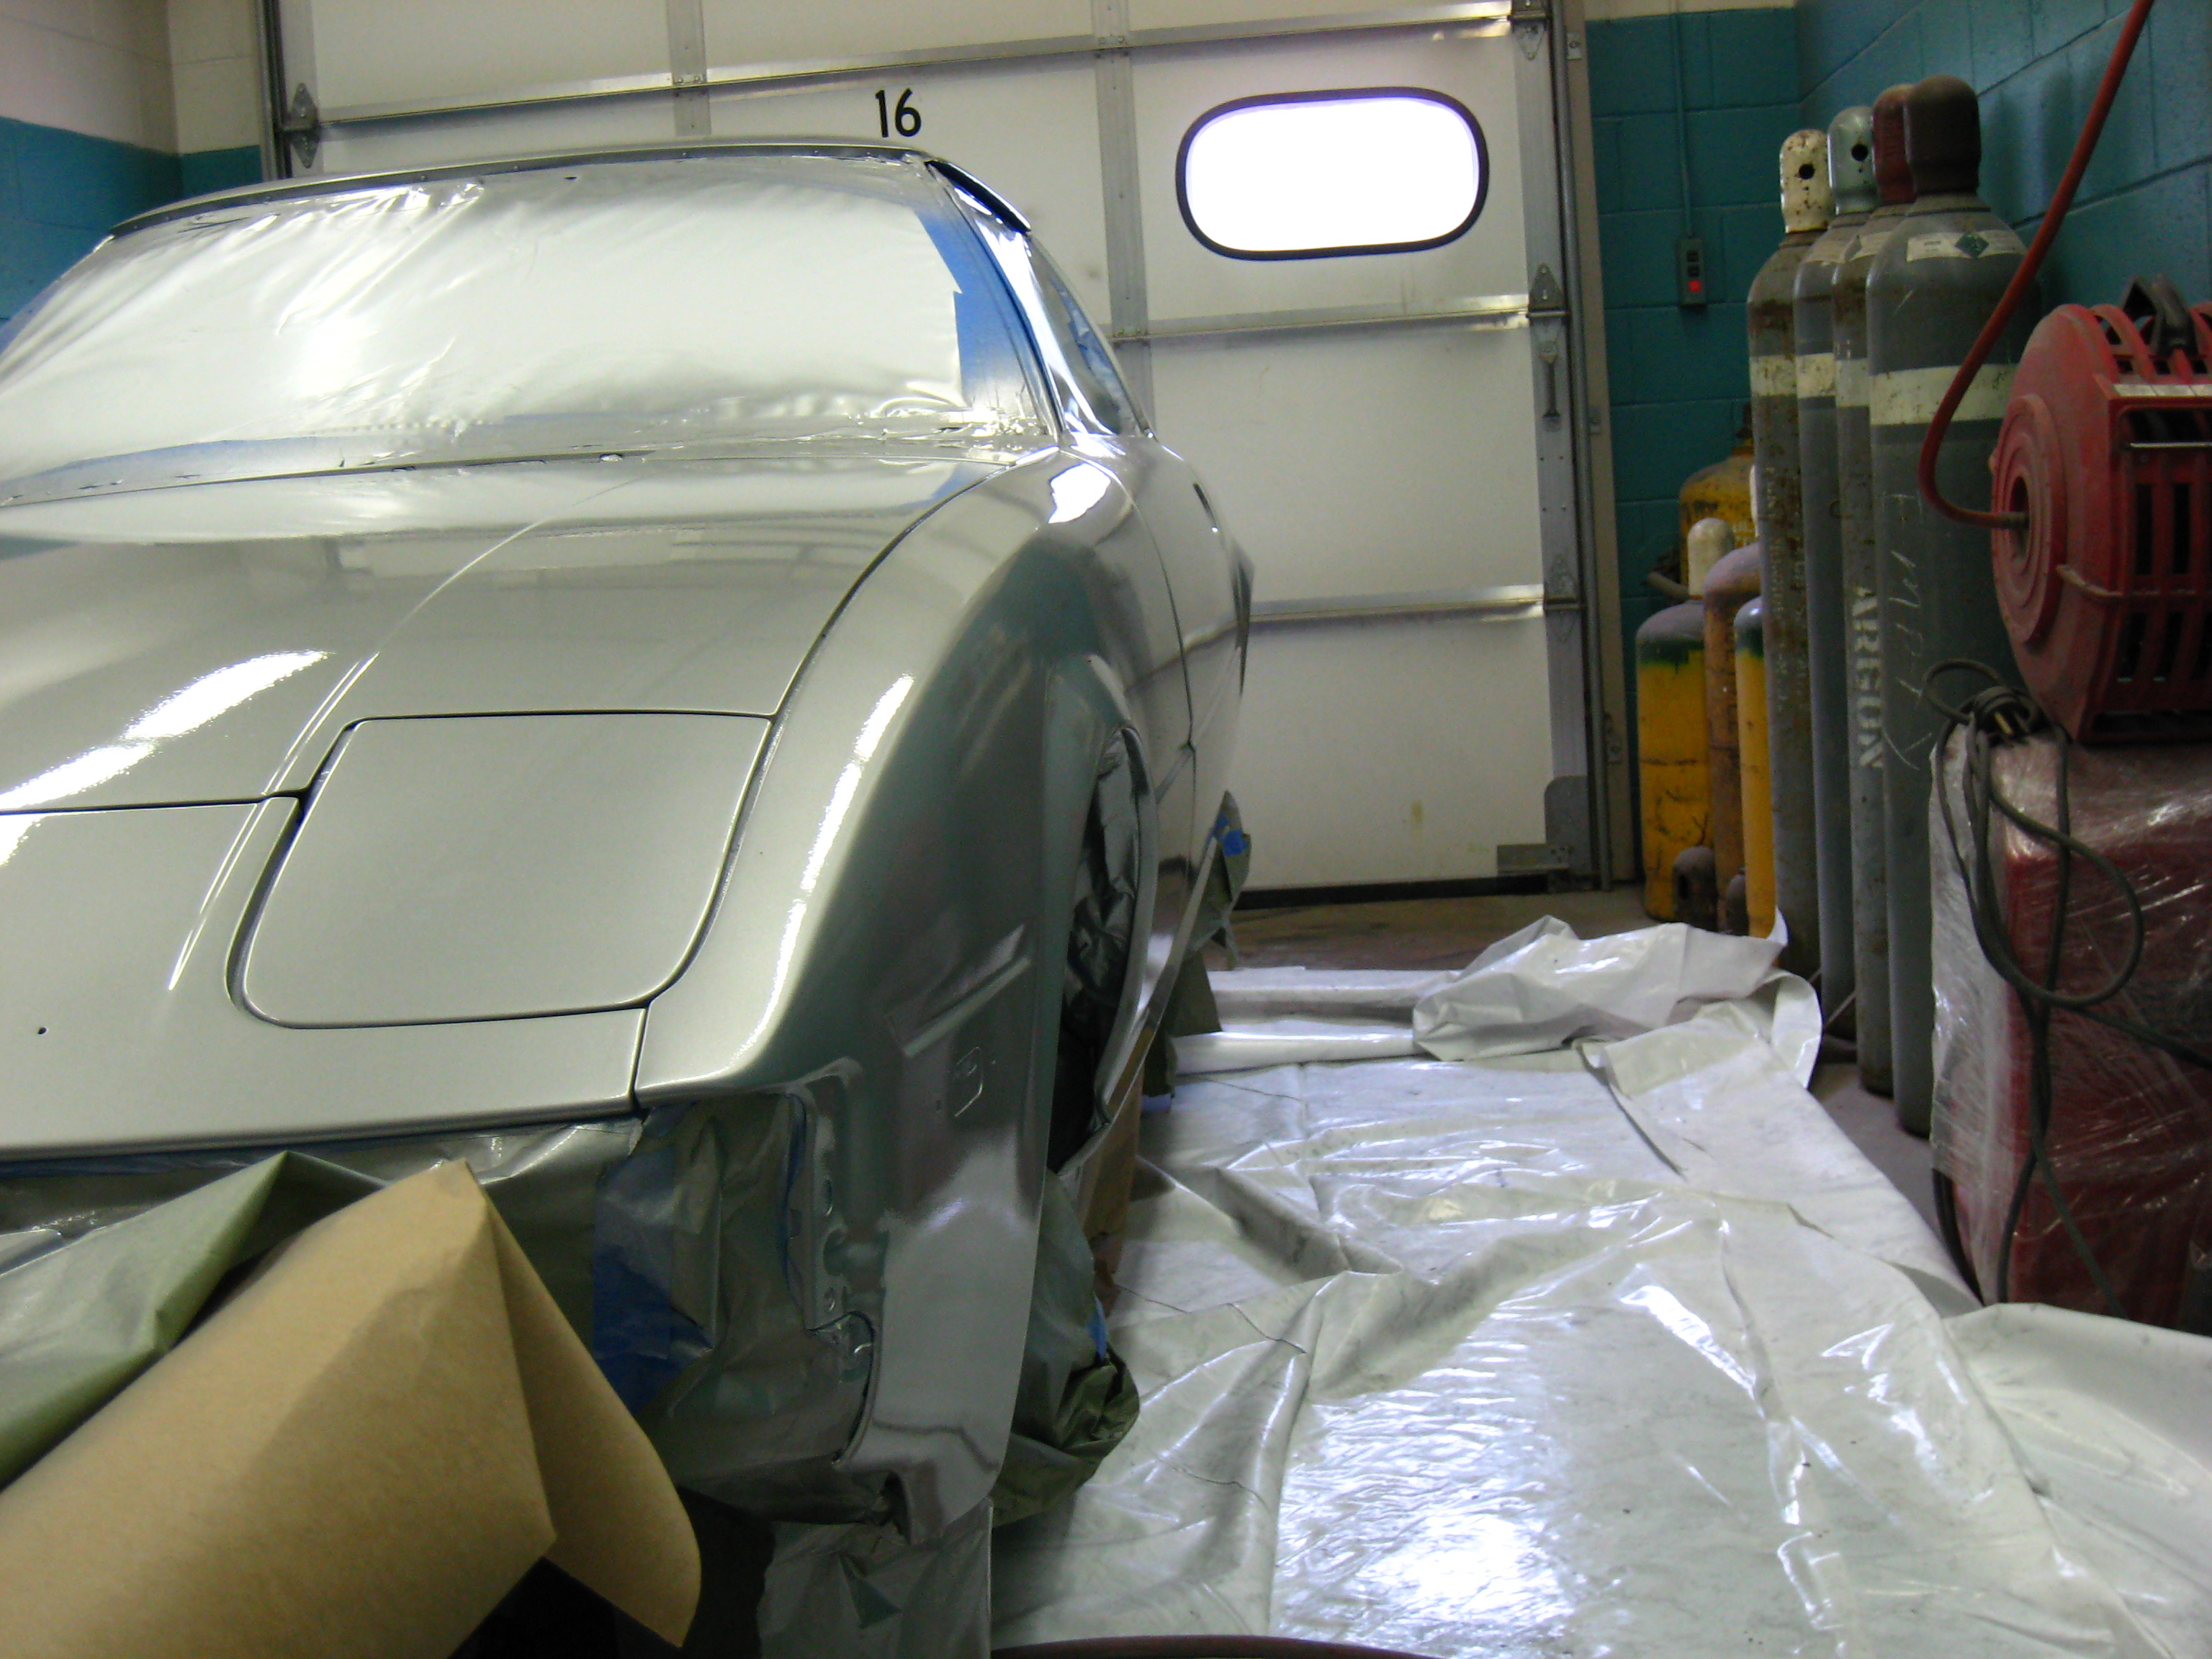
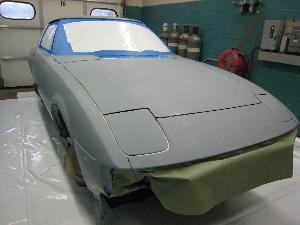
Masking and taping
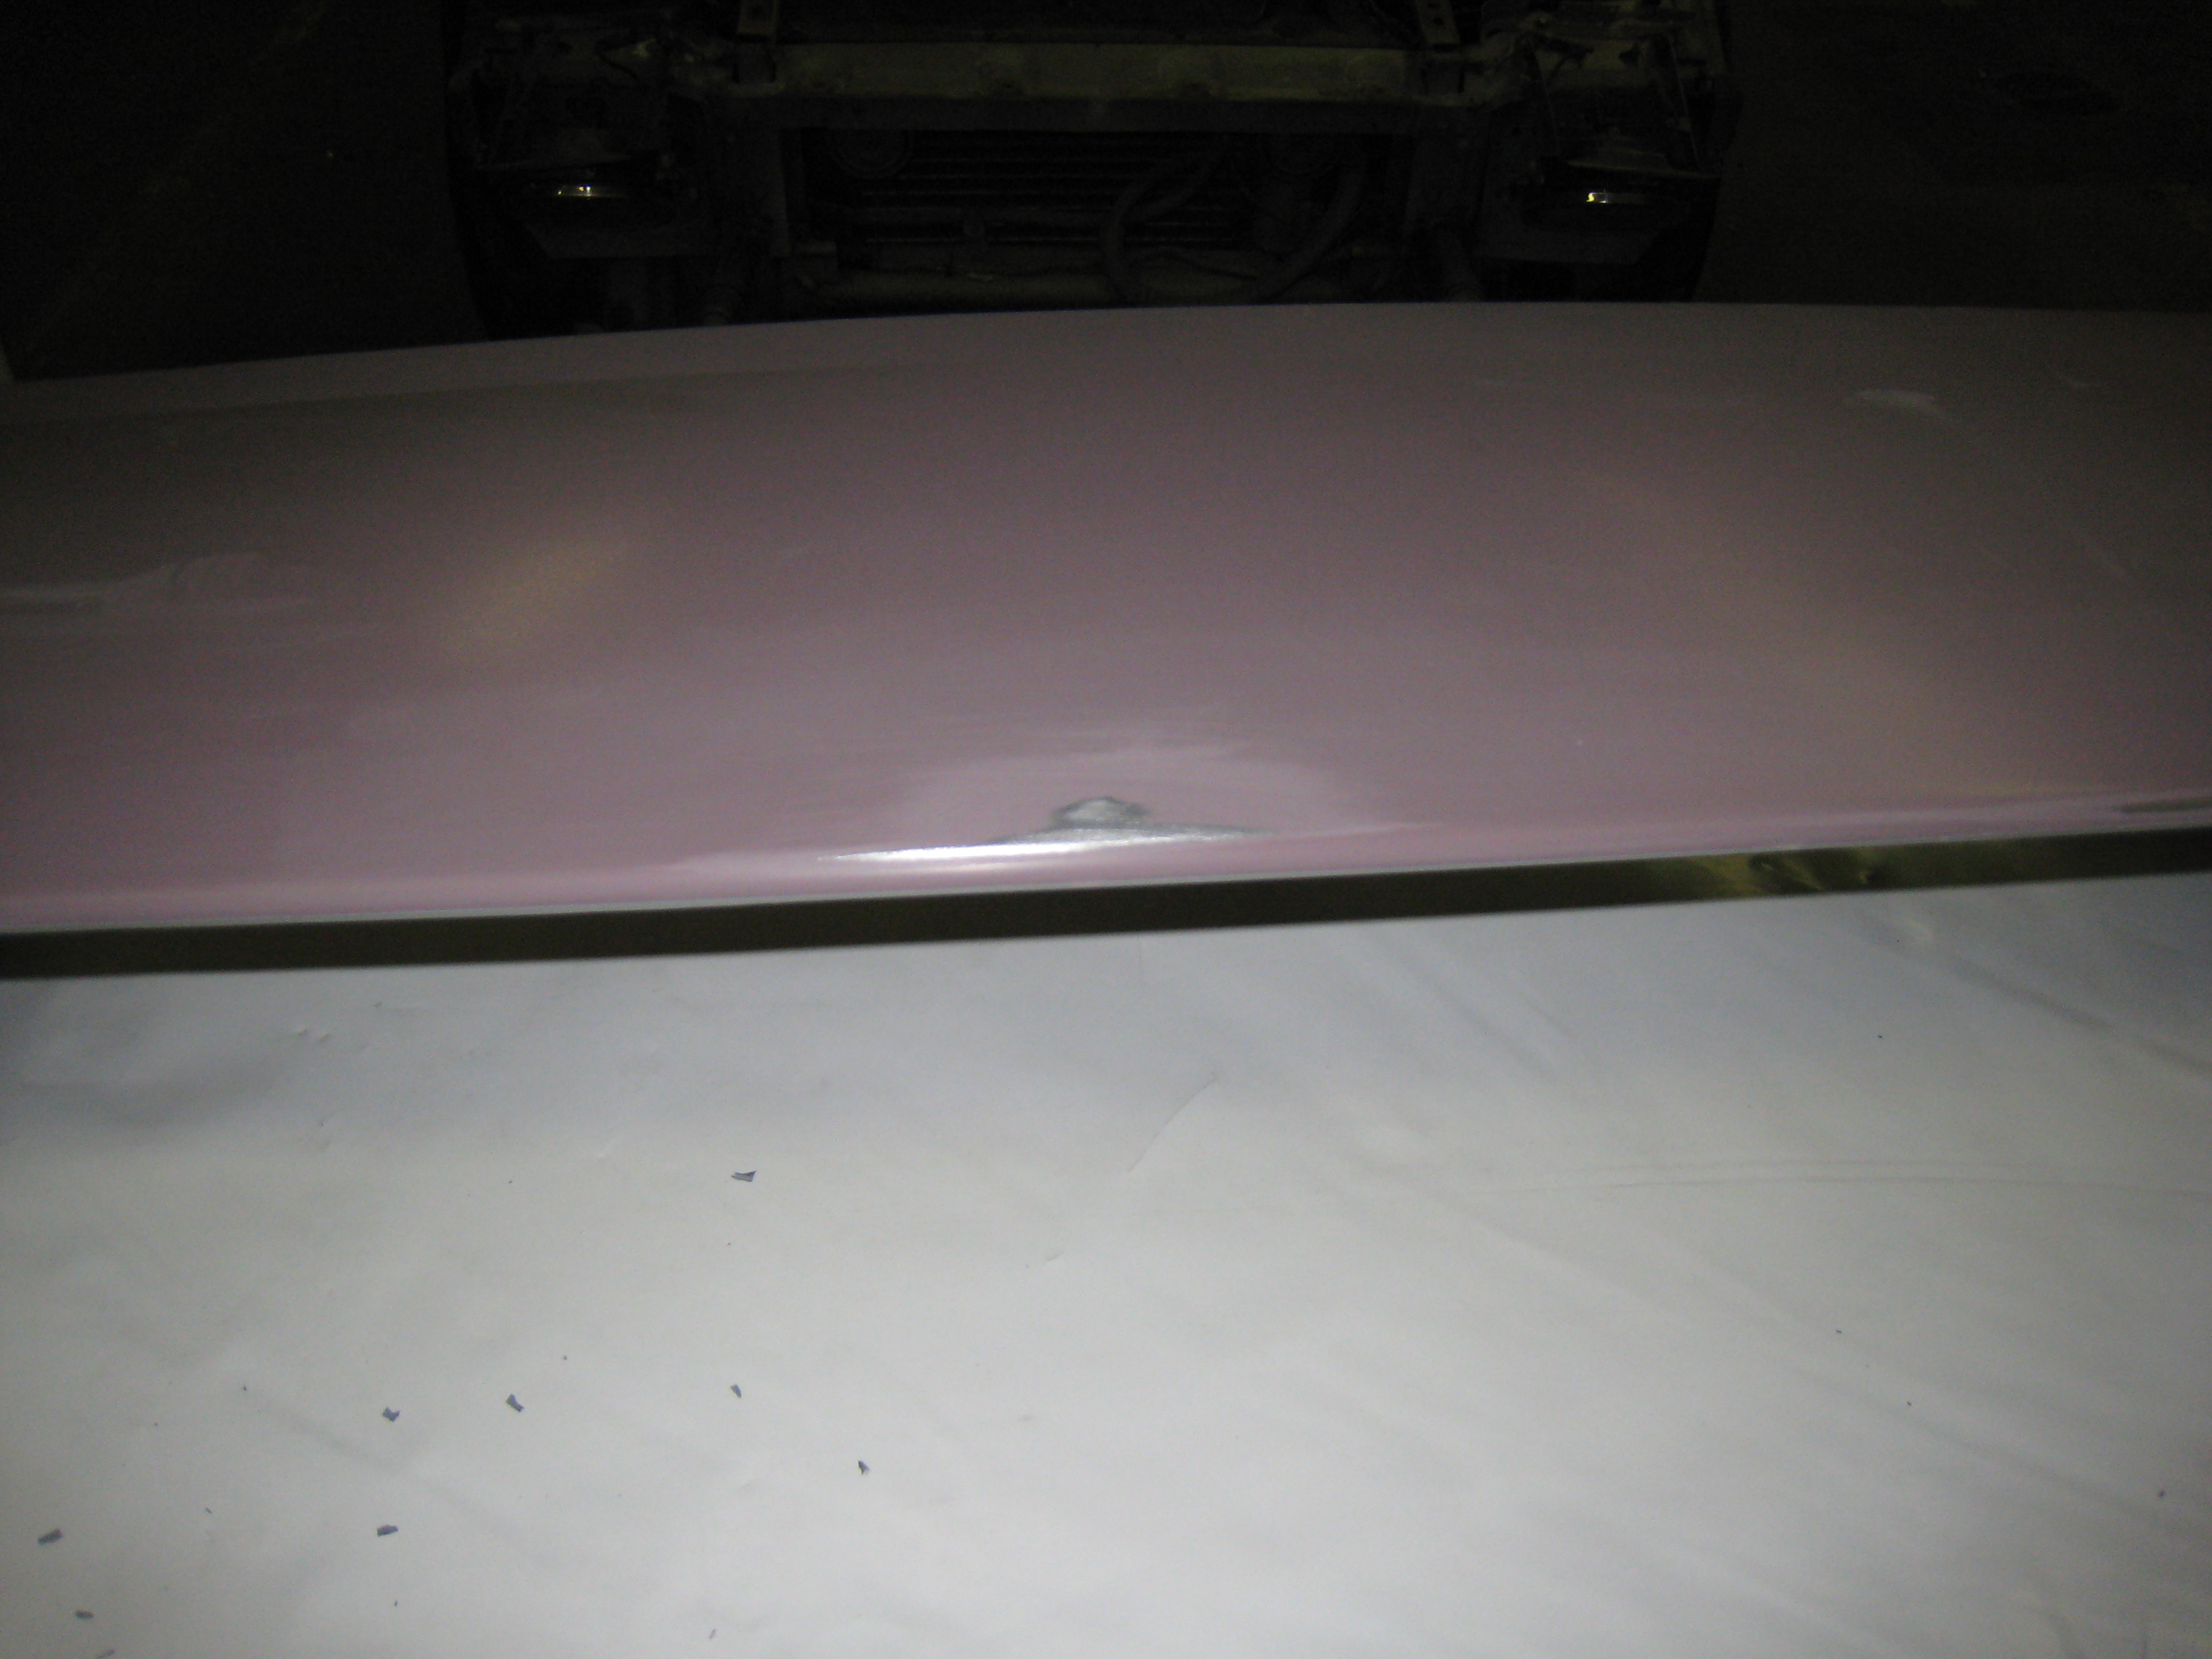
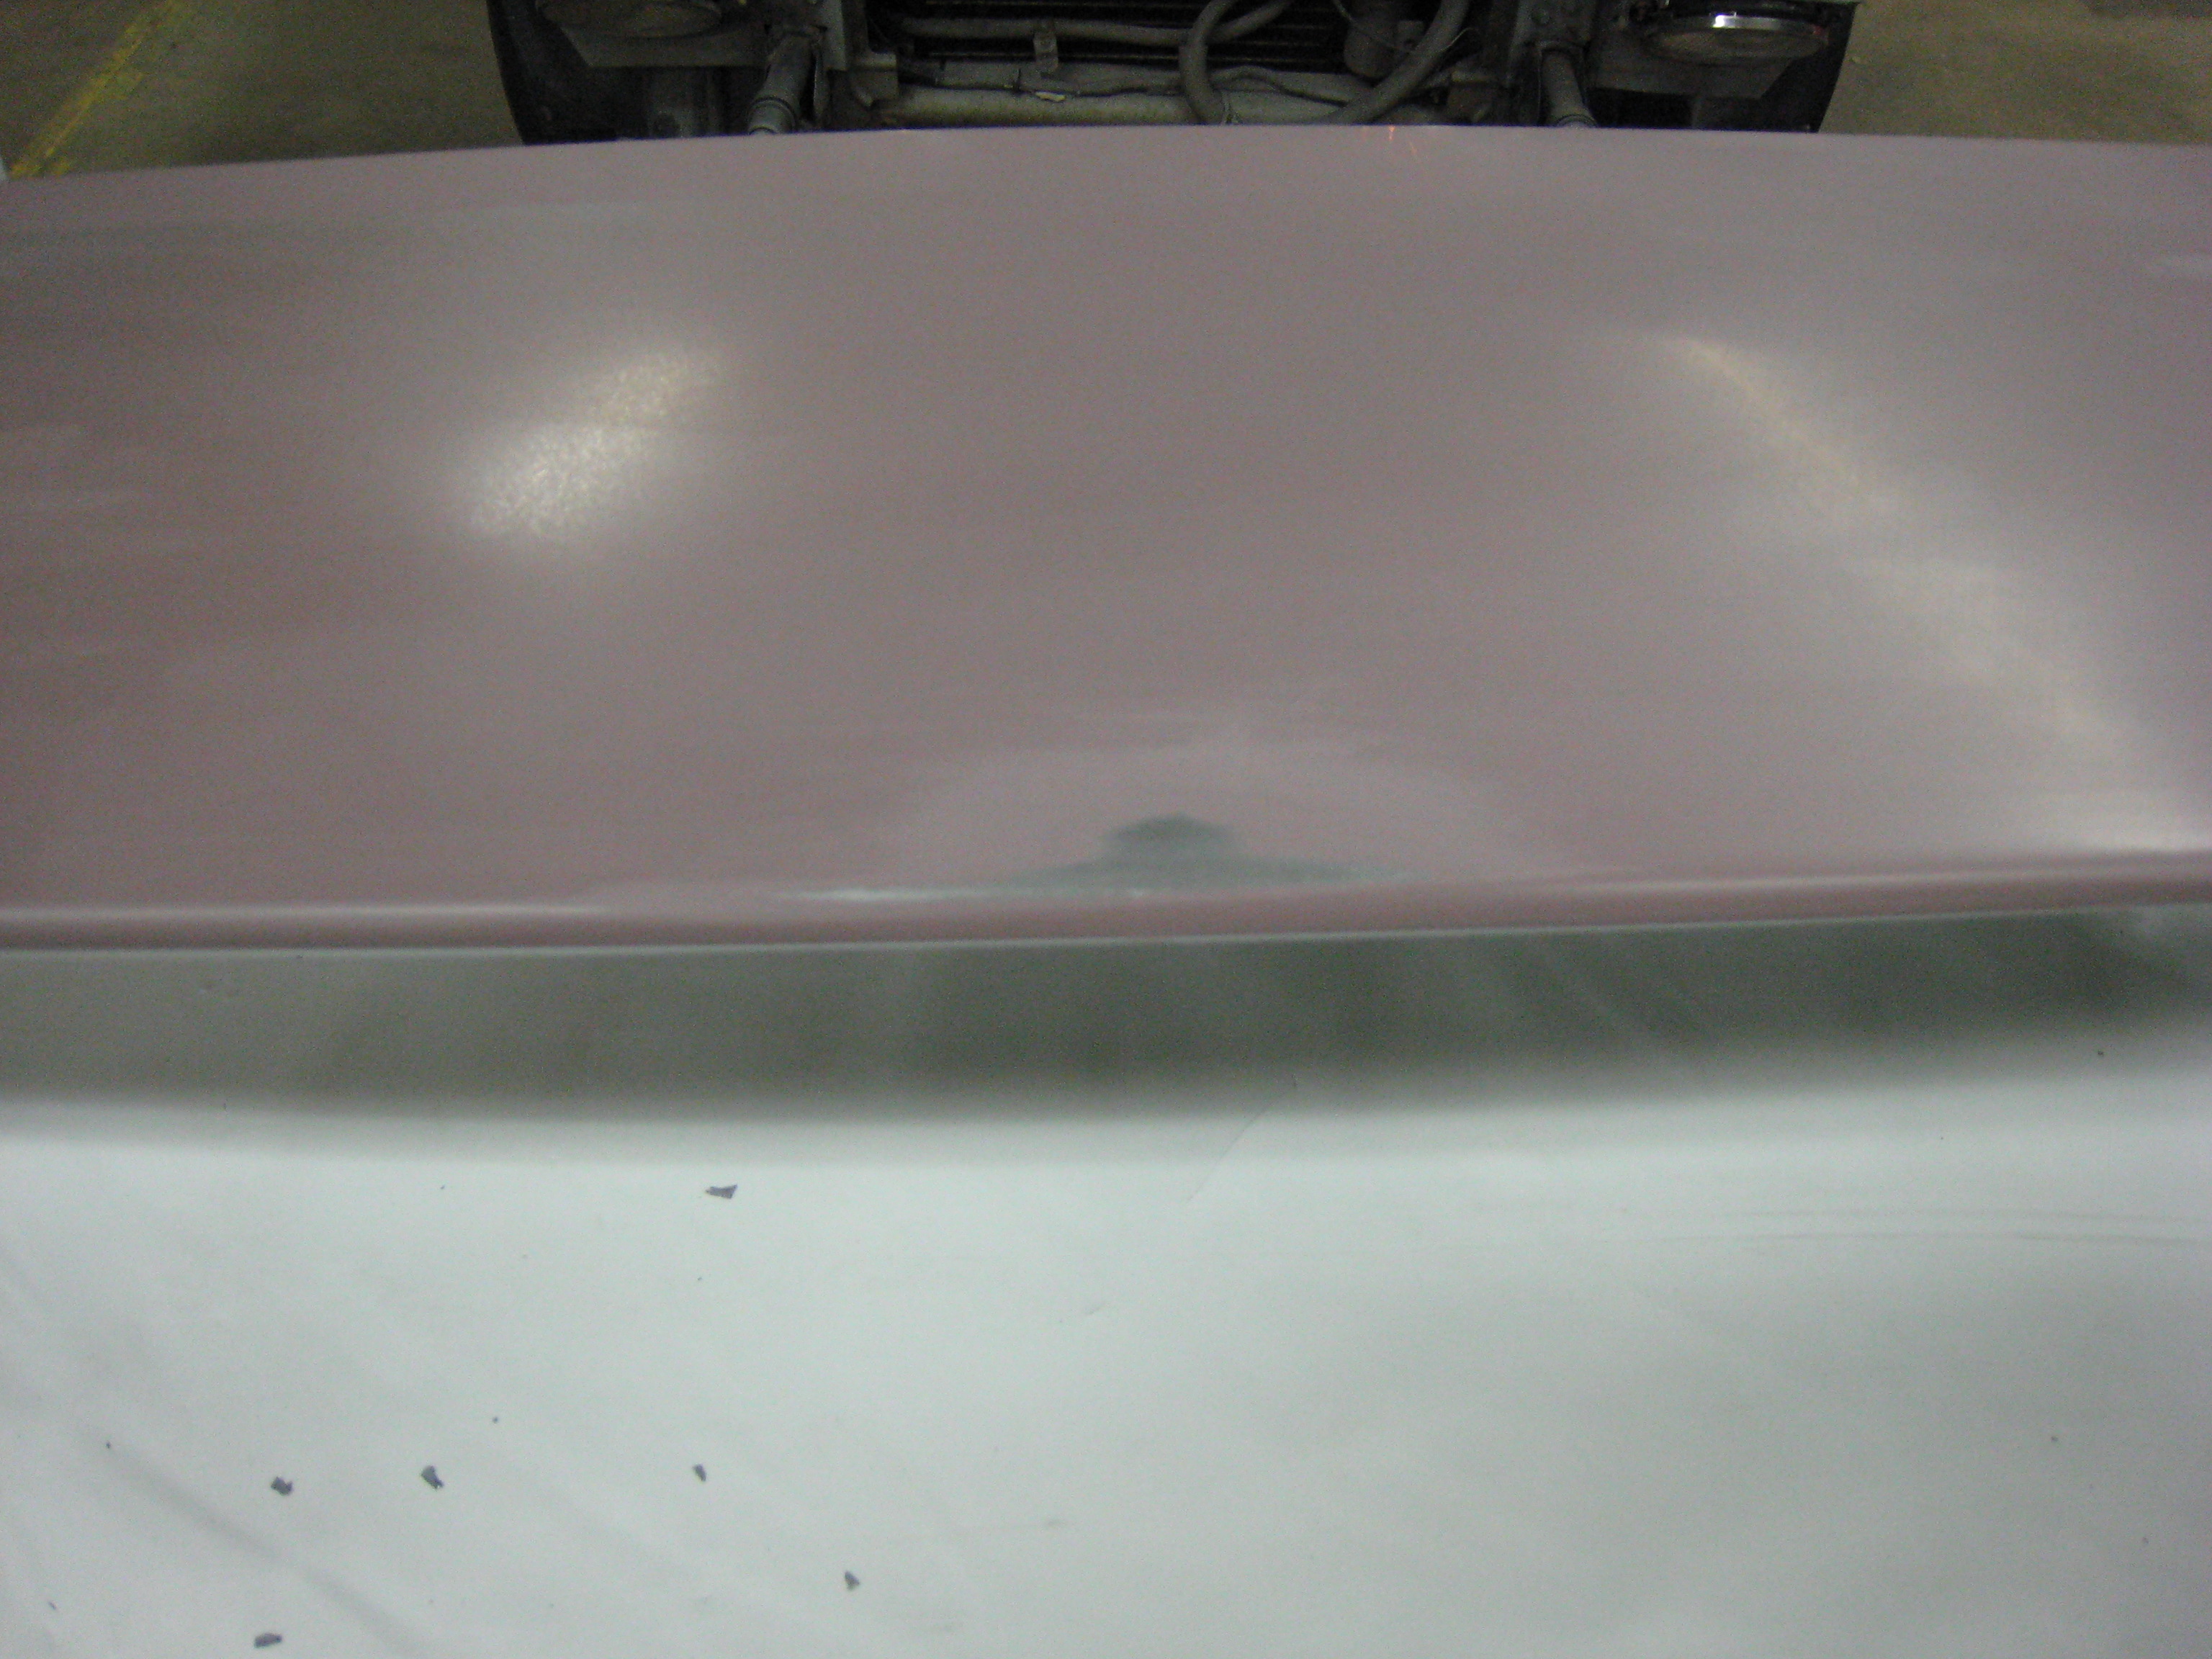
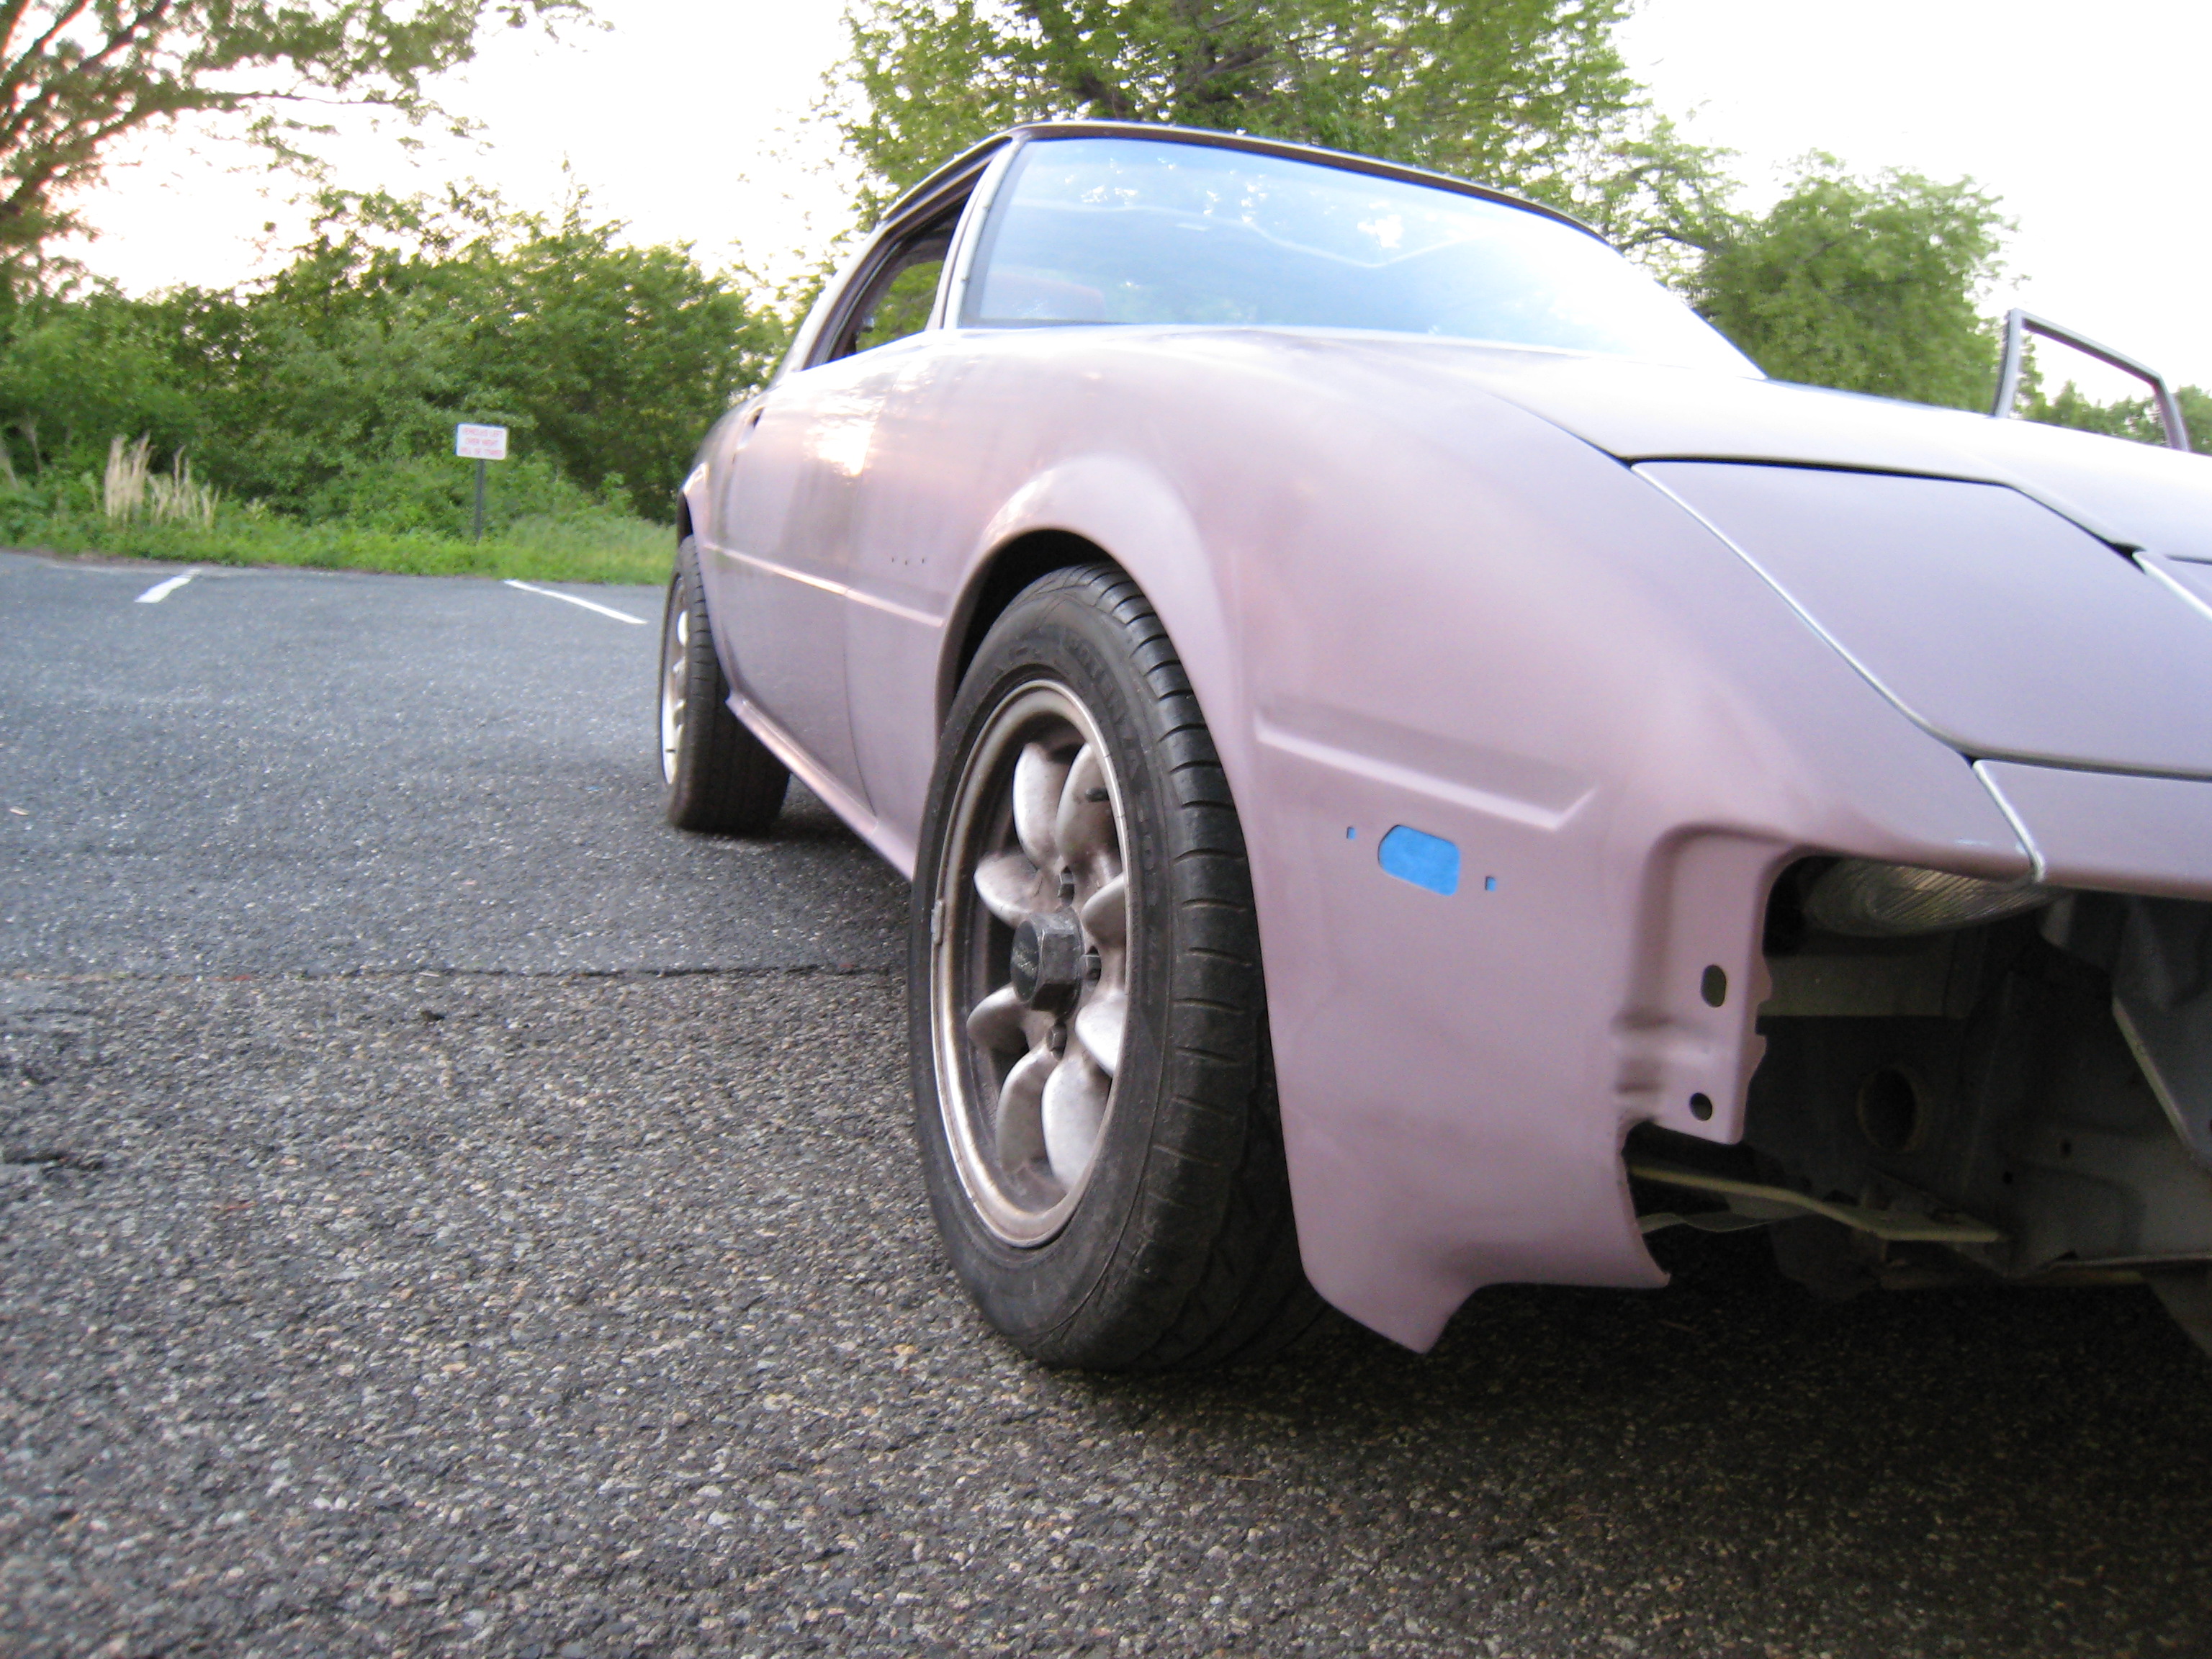
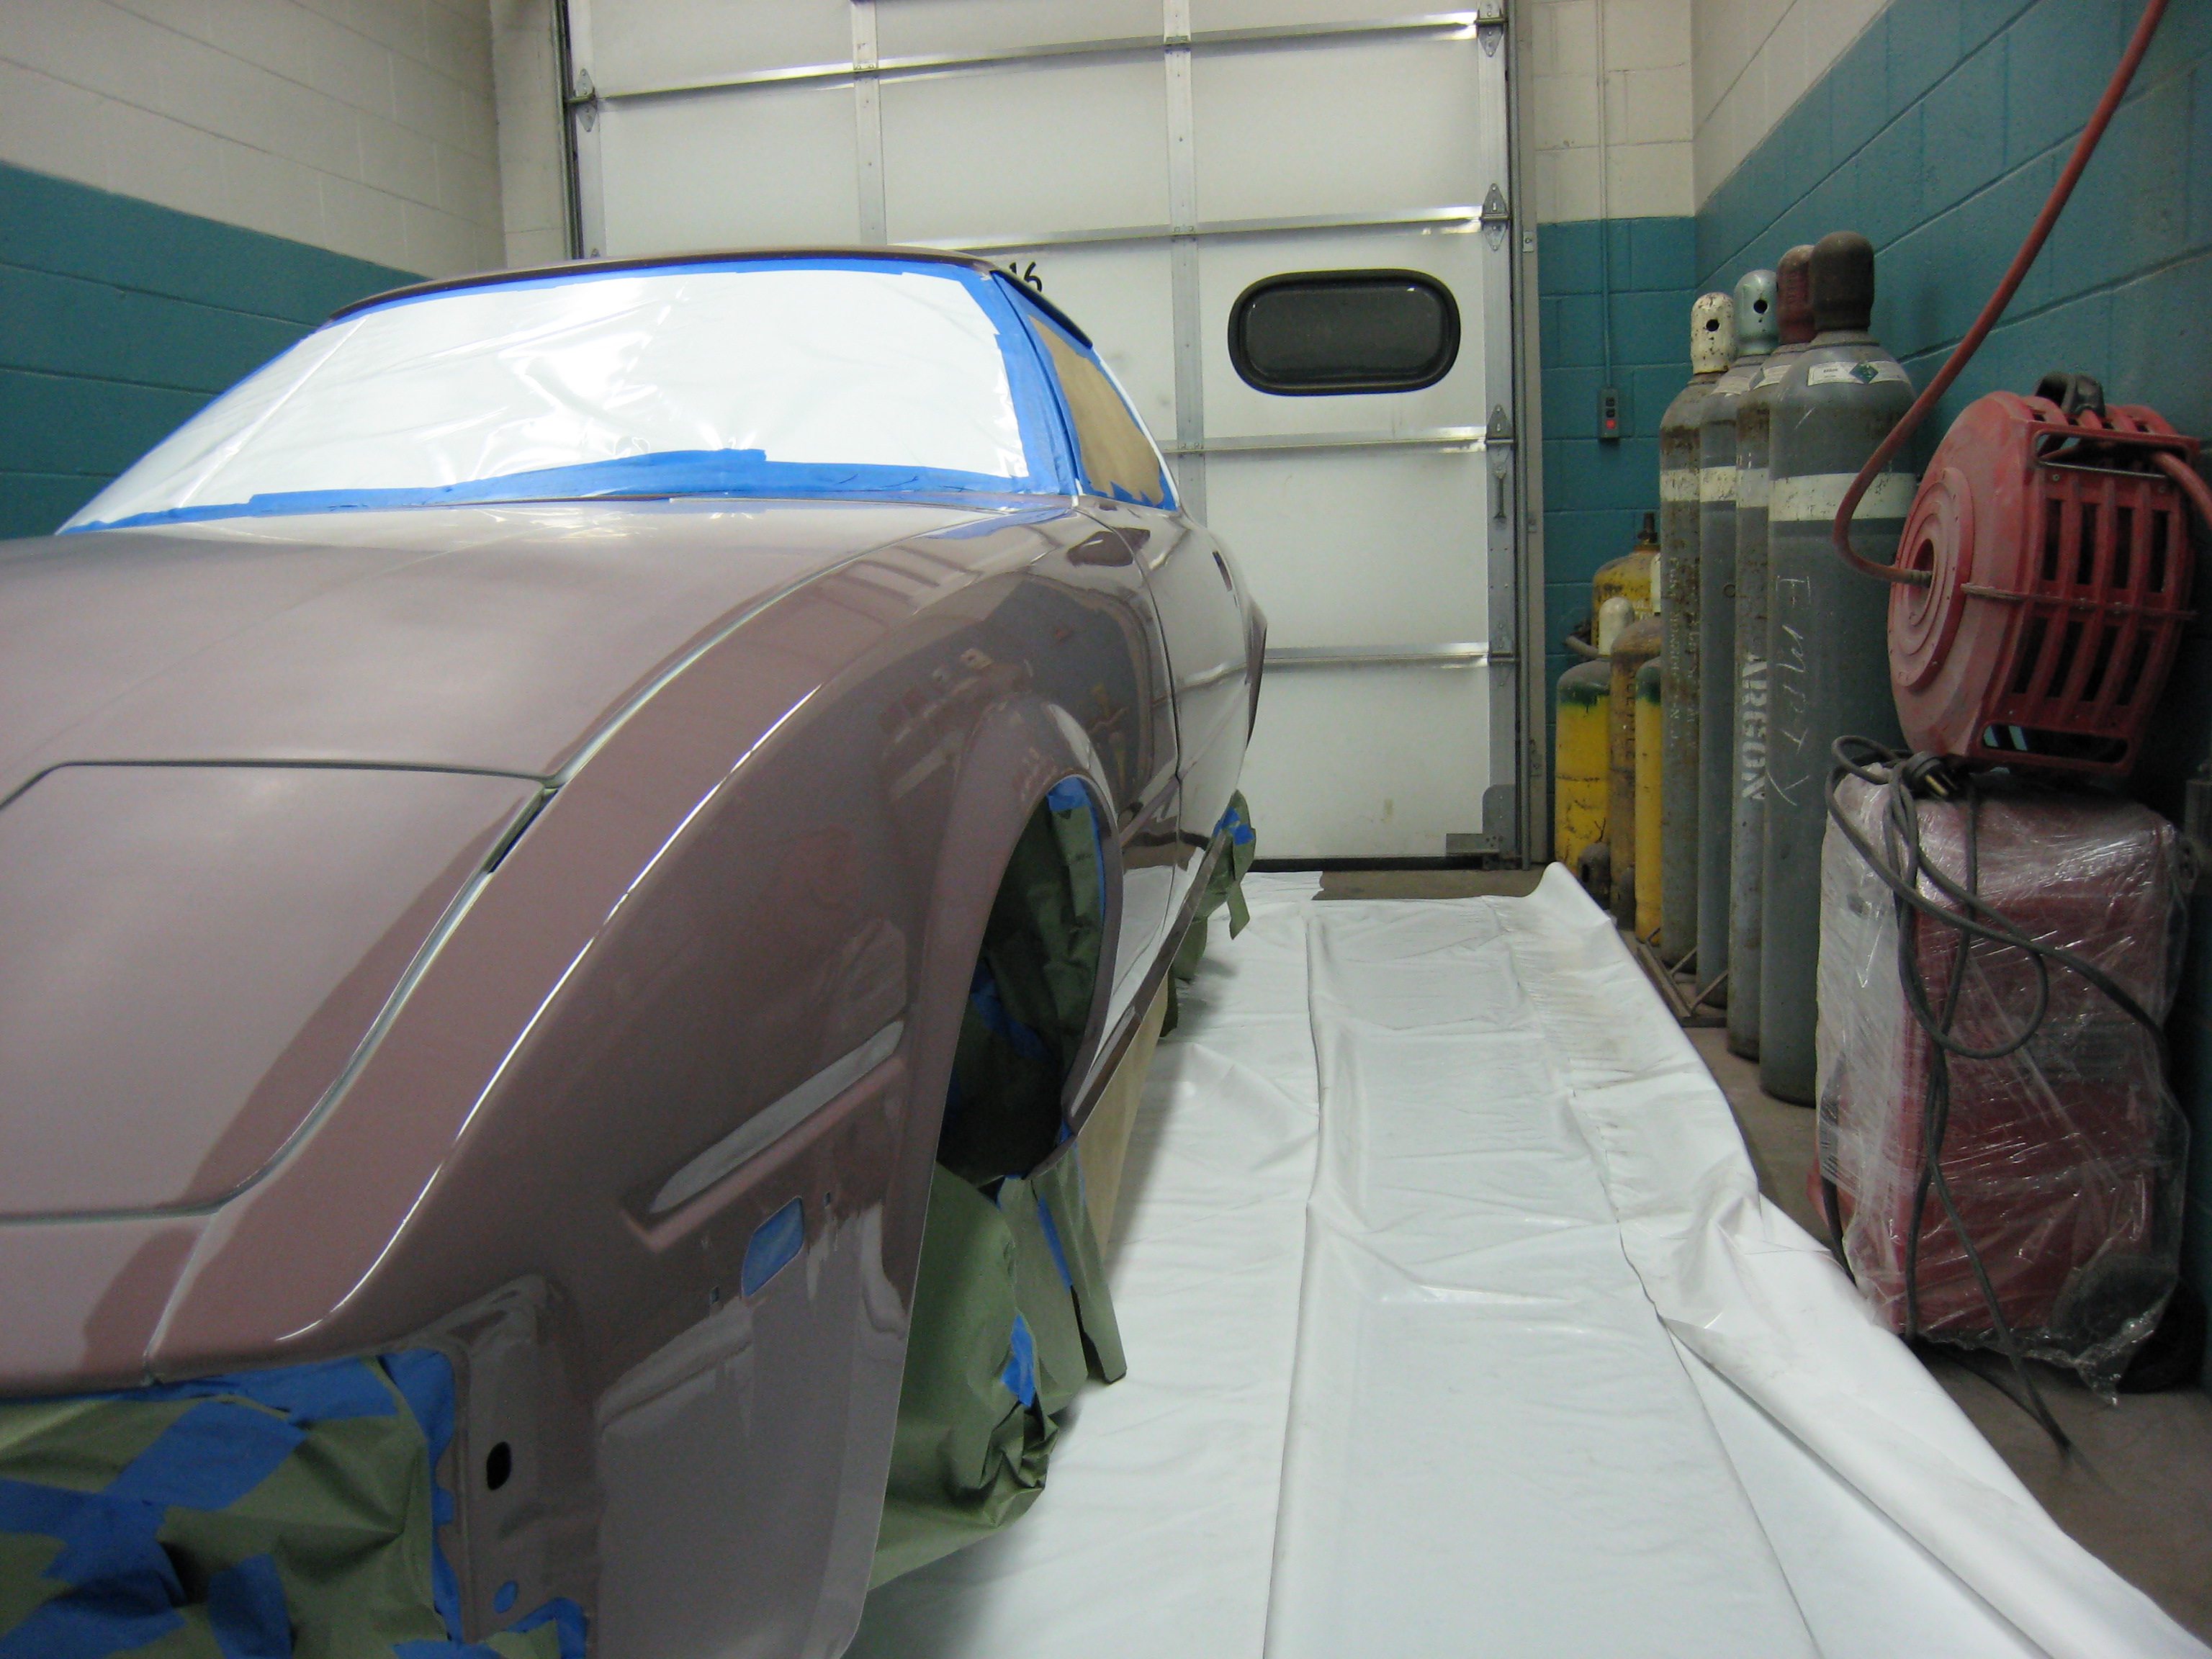
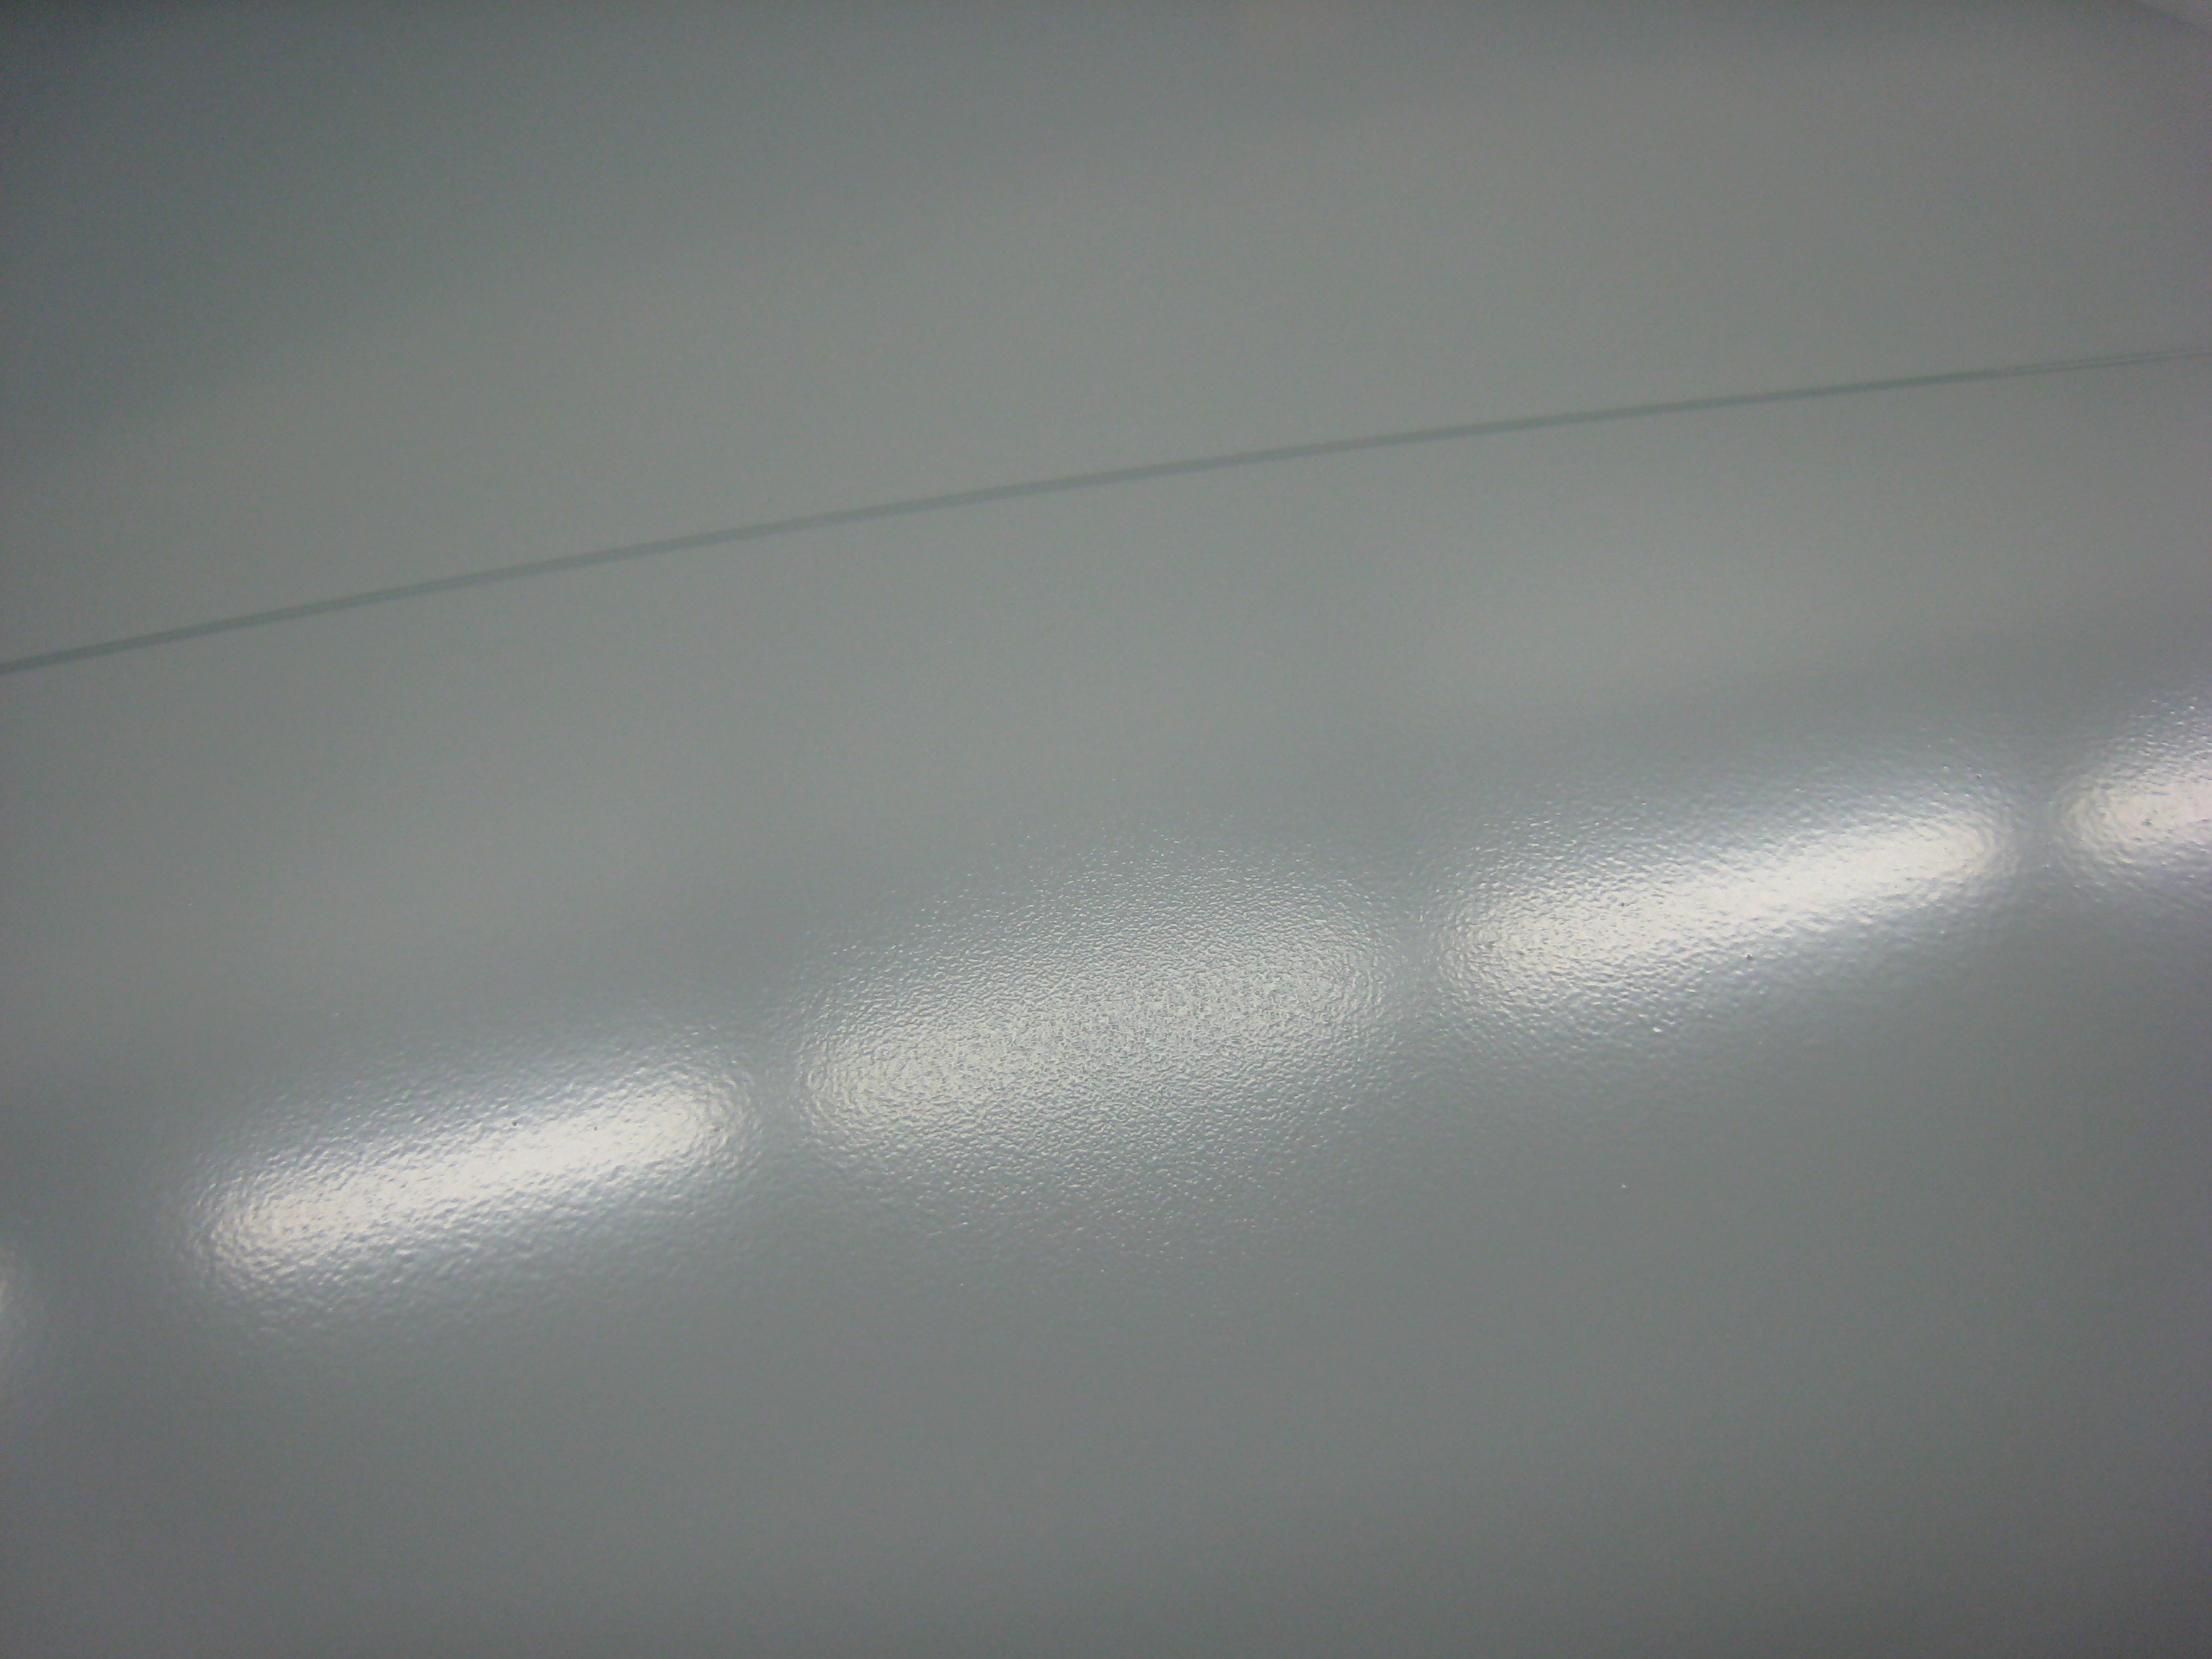
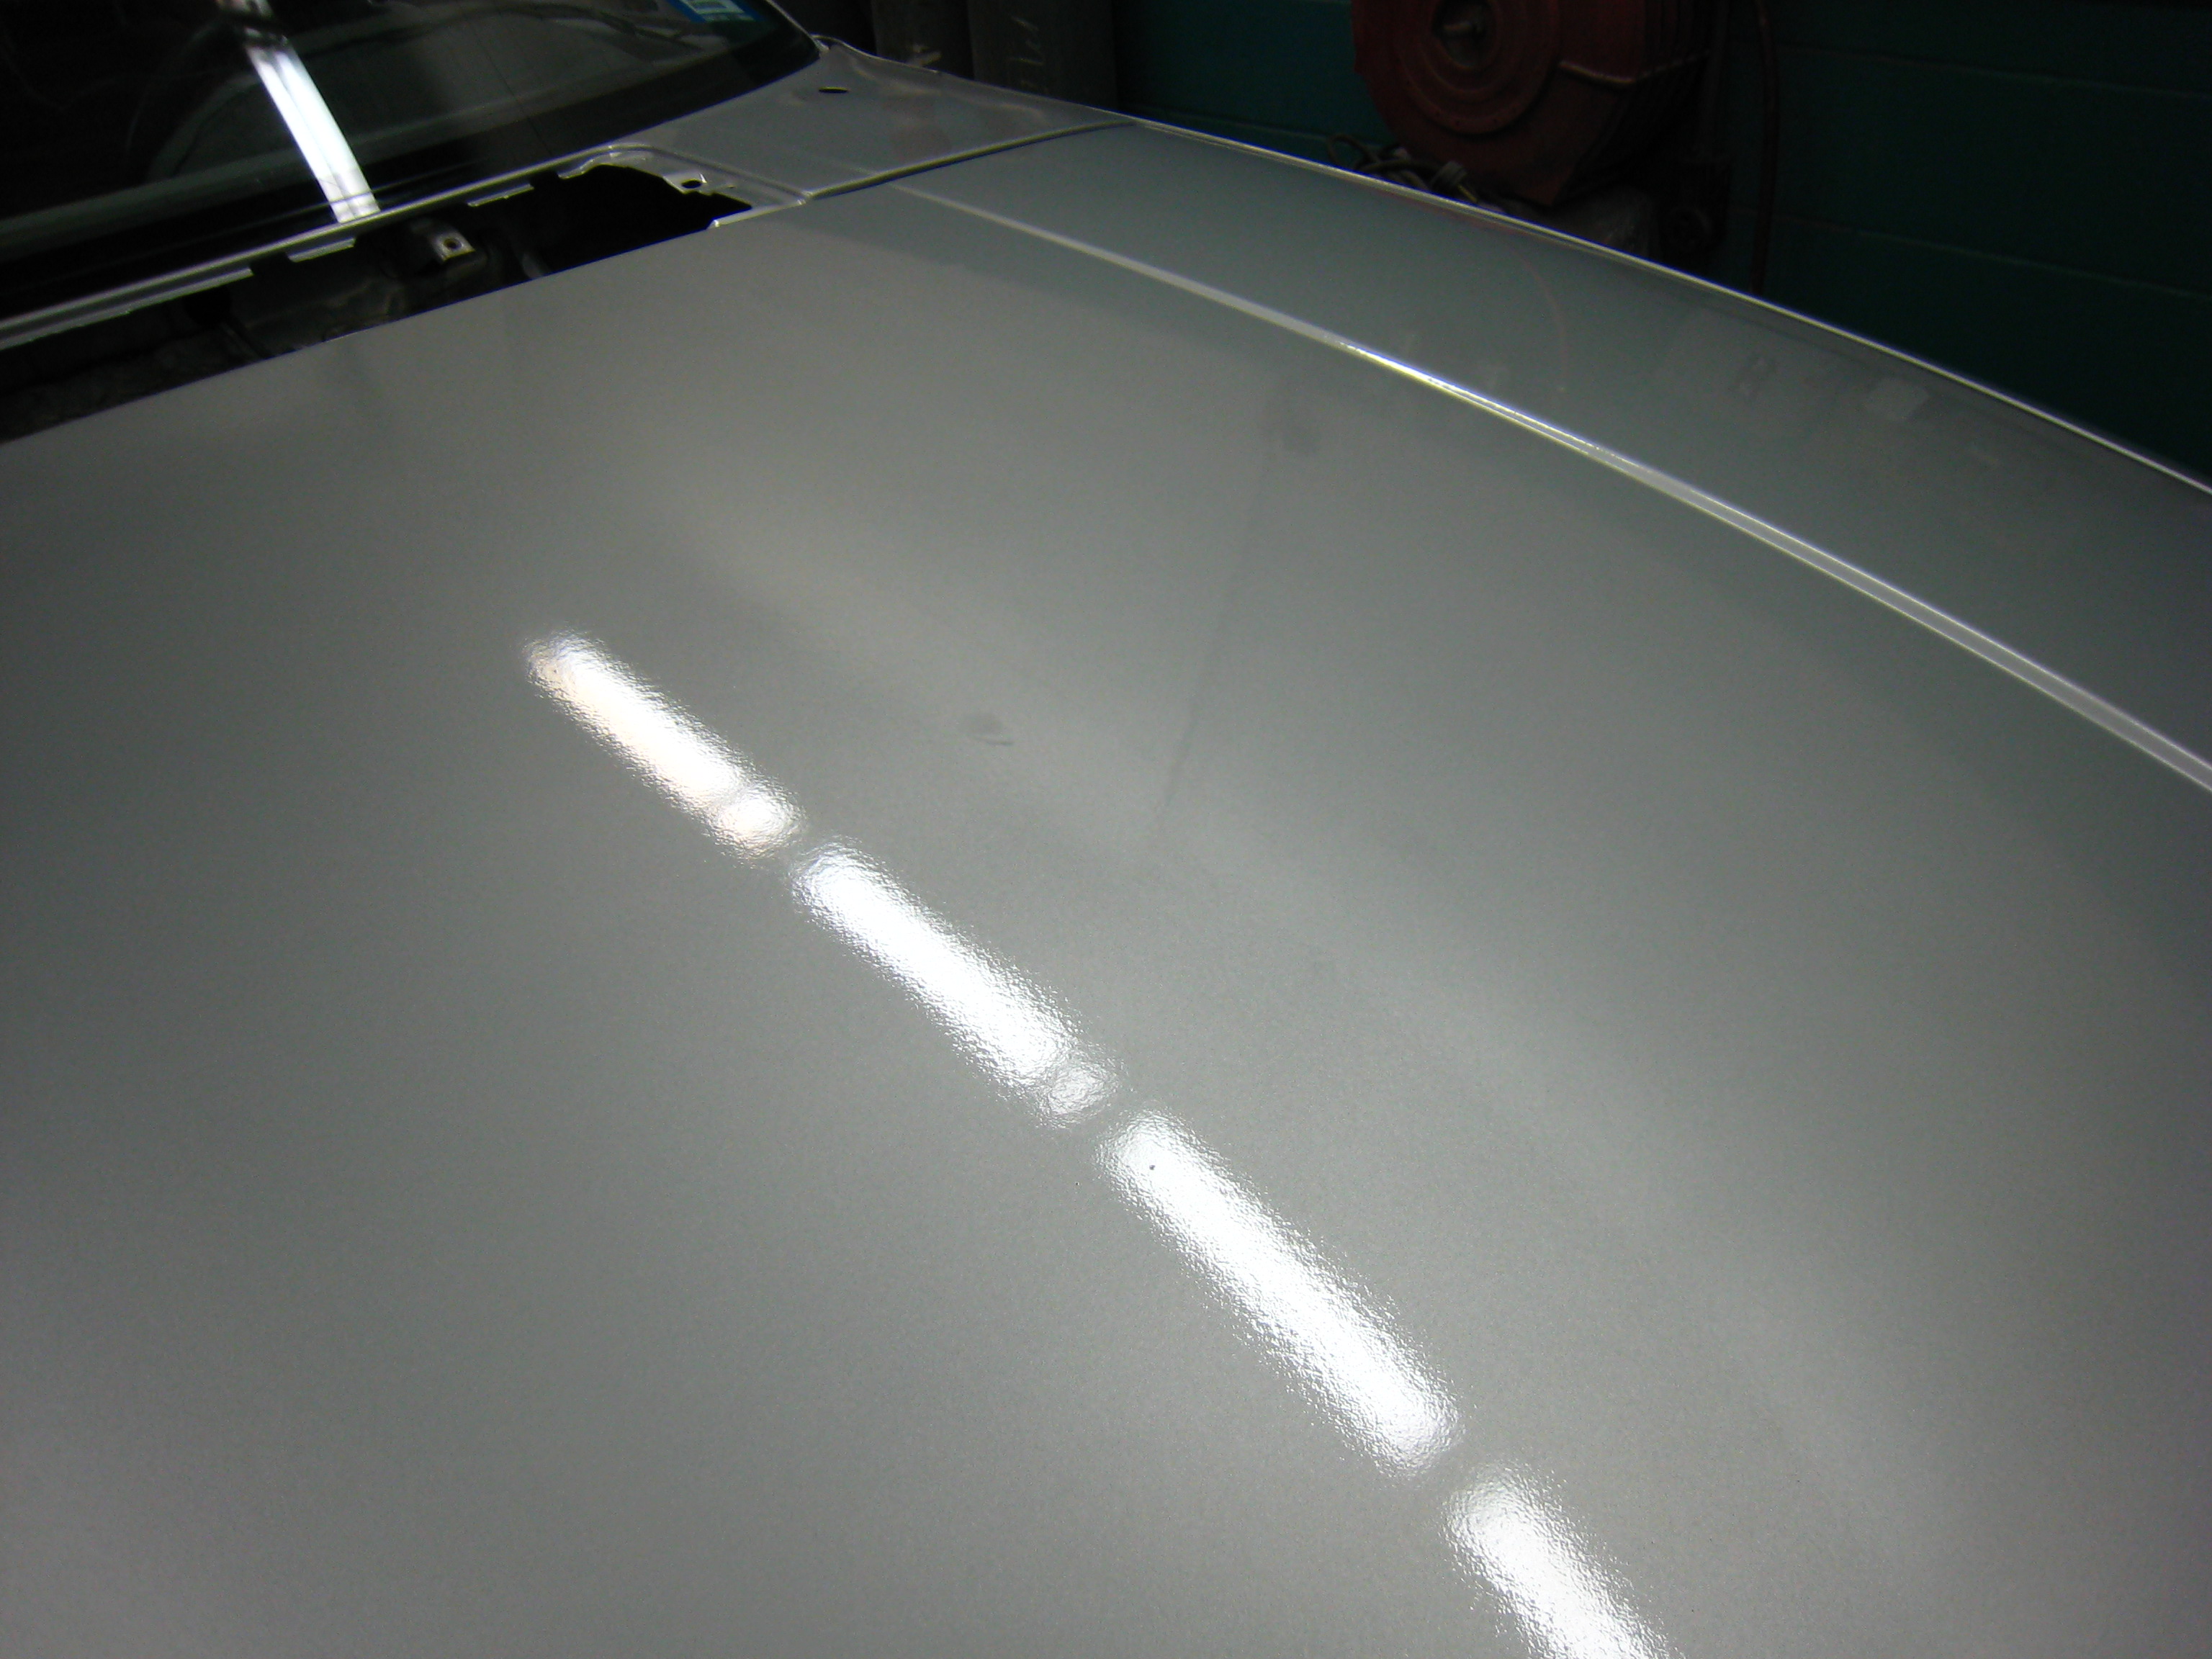
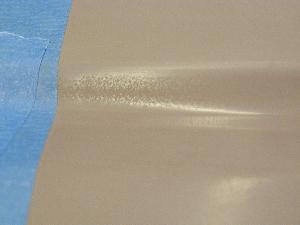
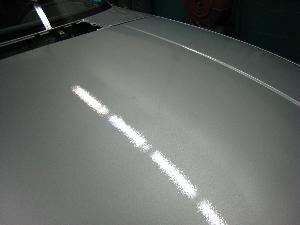
The basecoat went great, but I found that the clear coat didn't flow quite the way I had hoped it would. Perhaps these pictures aren't showing it, but there's a fair amount of "orange peel" to the finish. "Orange Peel" is a term for describing a roughness about a finish. It can be caused by any number of things: incorrect mixture of materials, wrong reducer for the shop temperature, incorrect spray gun adjustments or improper technique. I'm really not convinced that any of those possibilities were what affected this job, because the edges and door jambs came out so well. Theories aside, the end result was somewhat disappointing.

I'm told that this is good luck. We'll see about that in a moment....
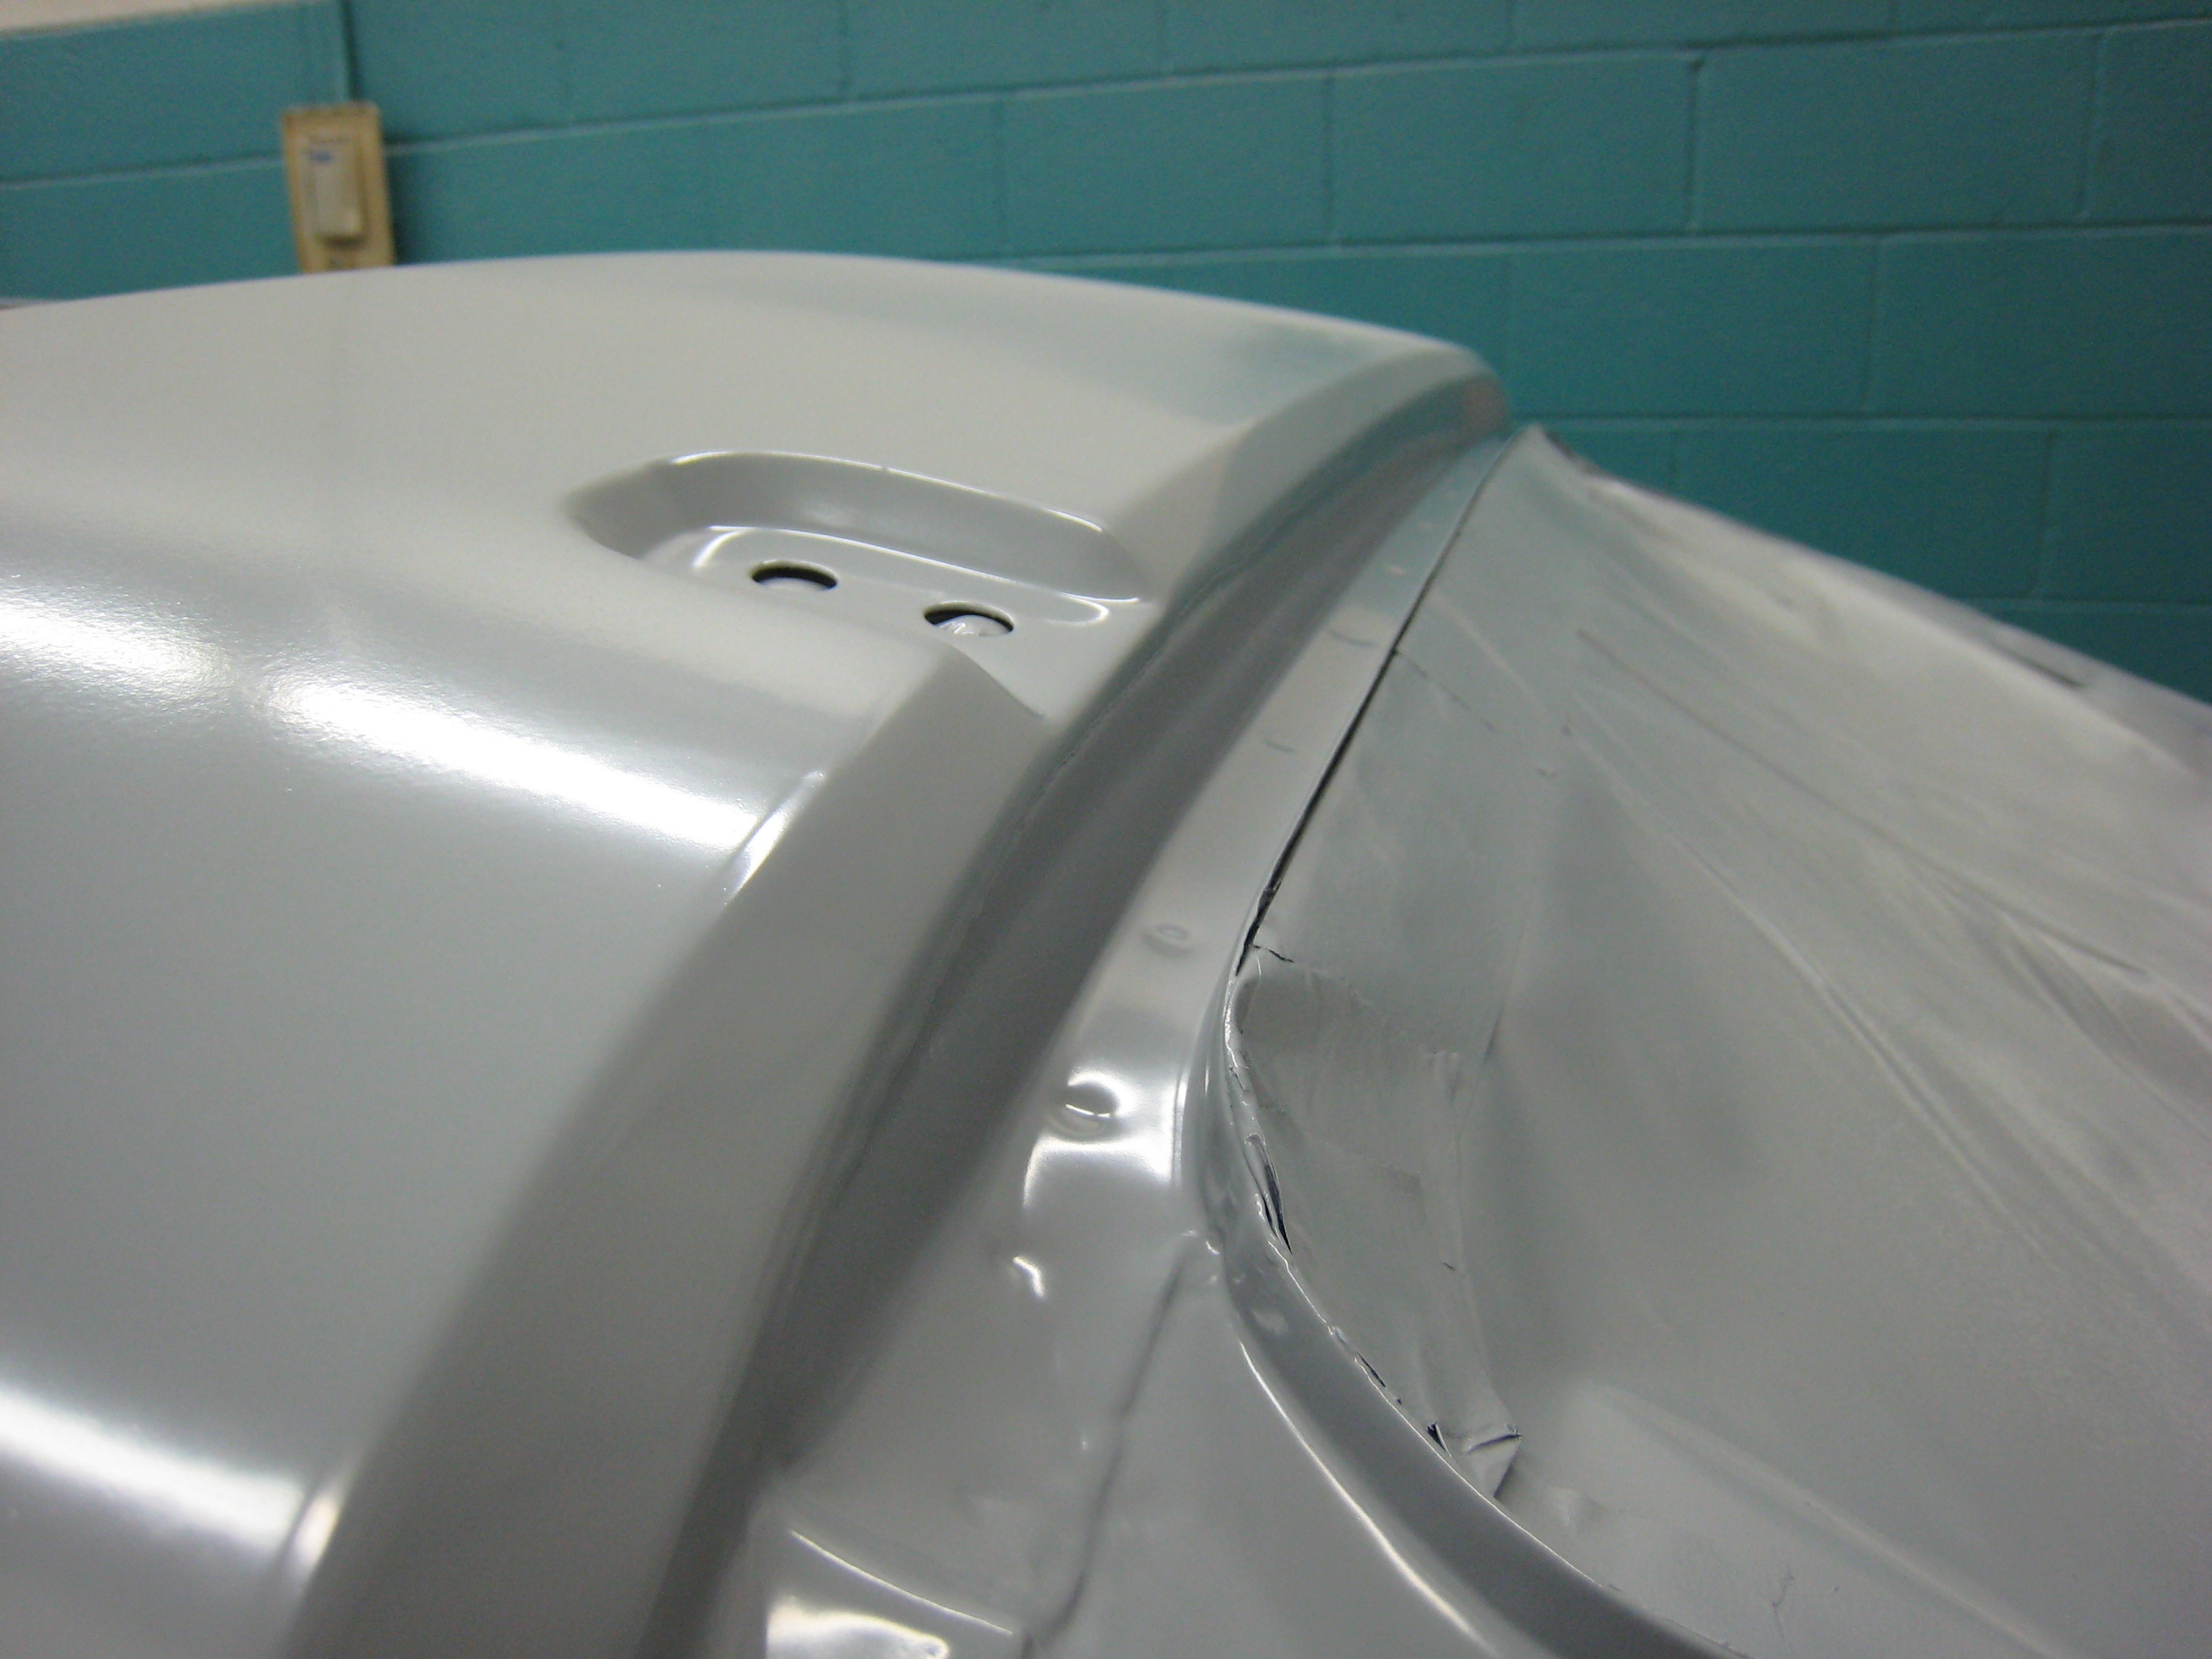
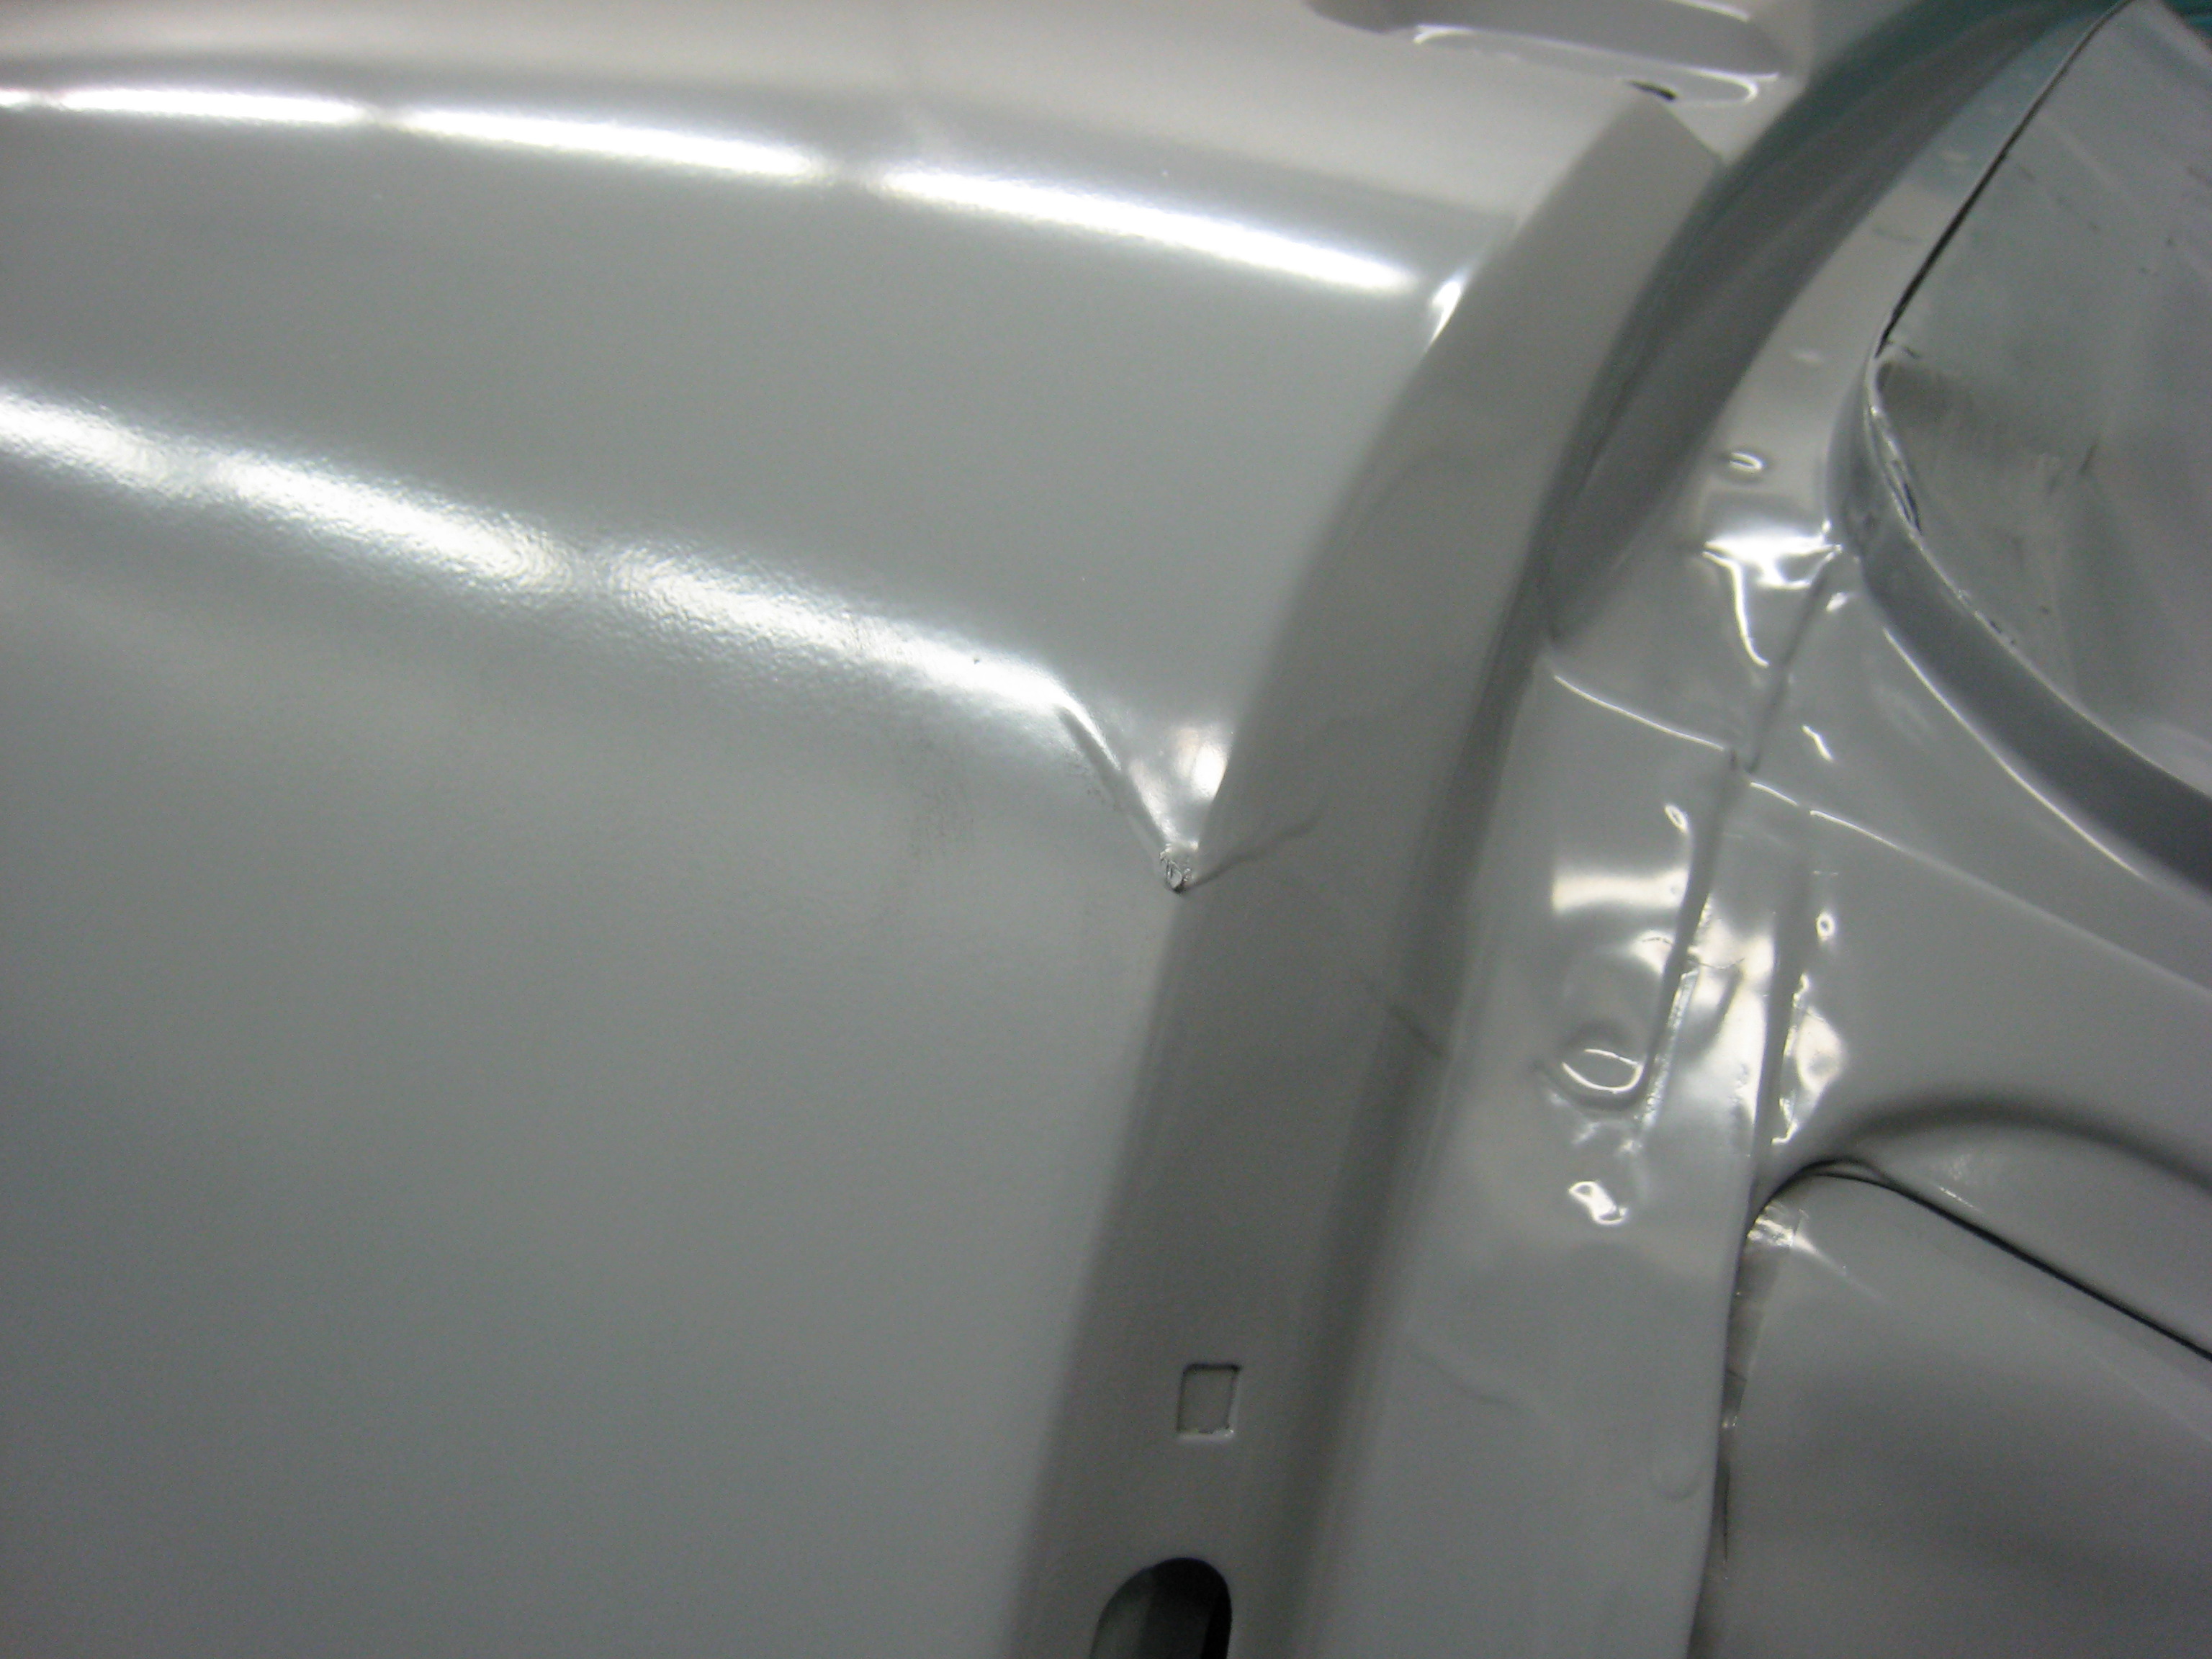
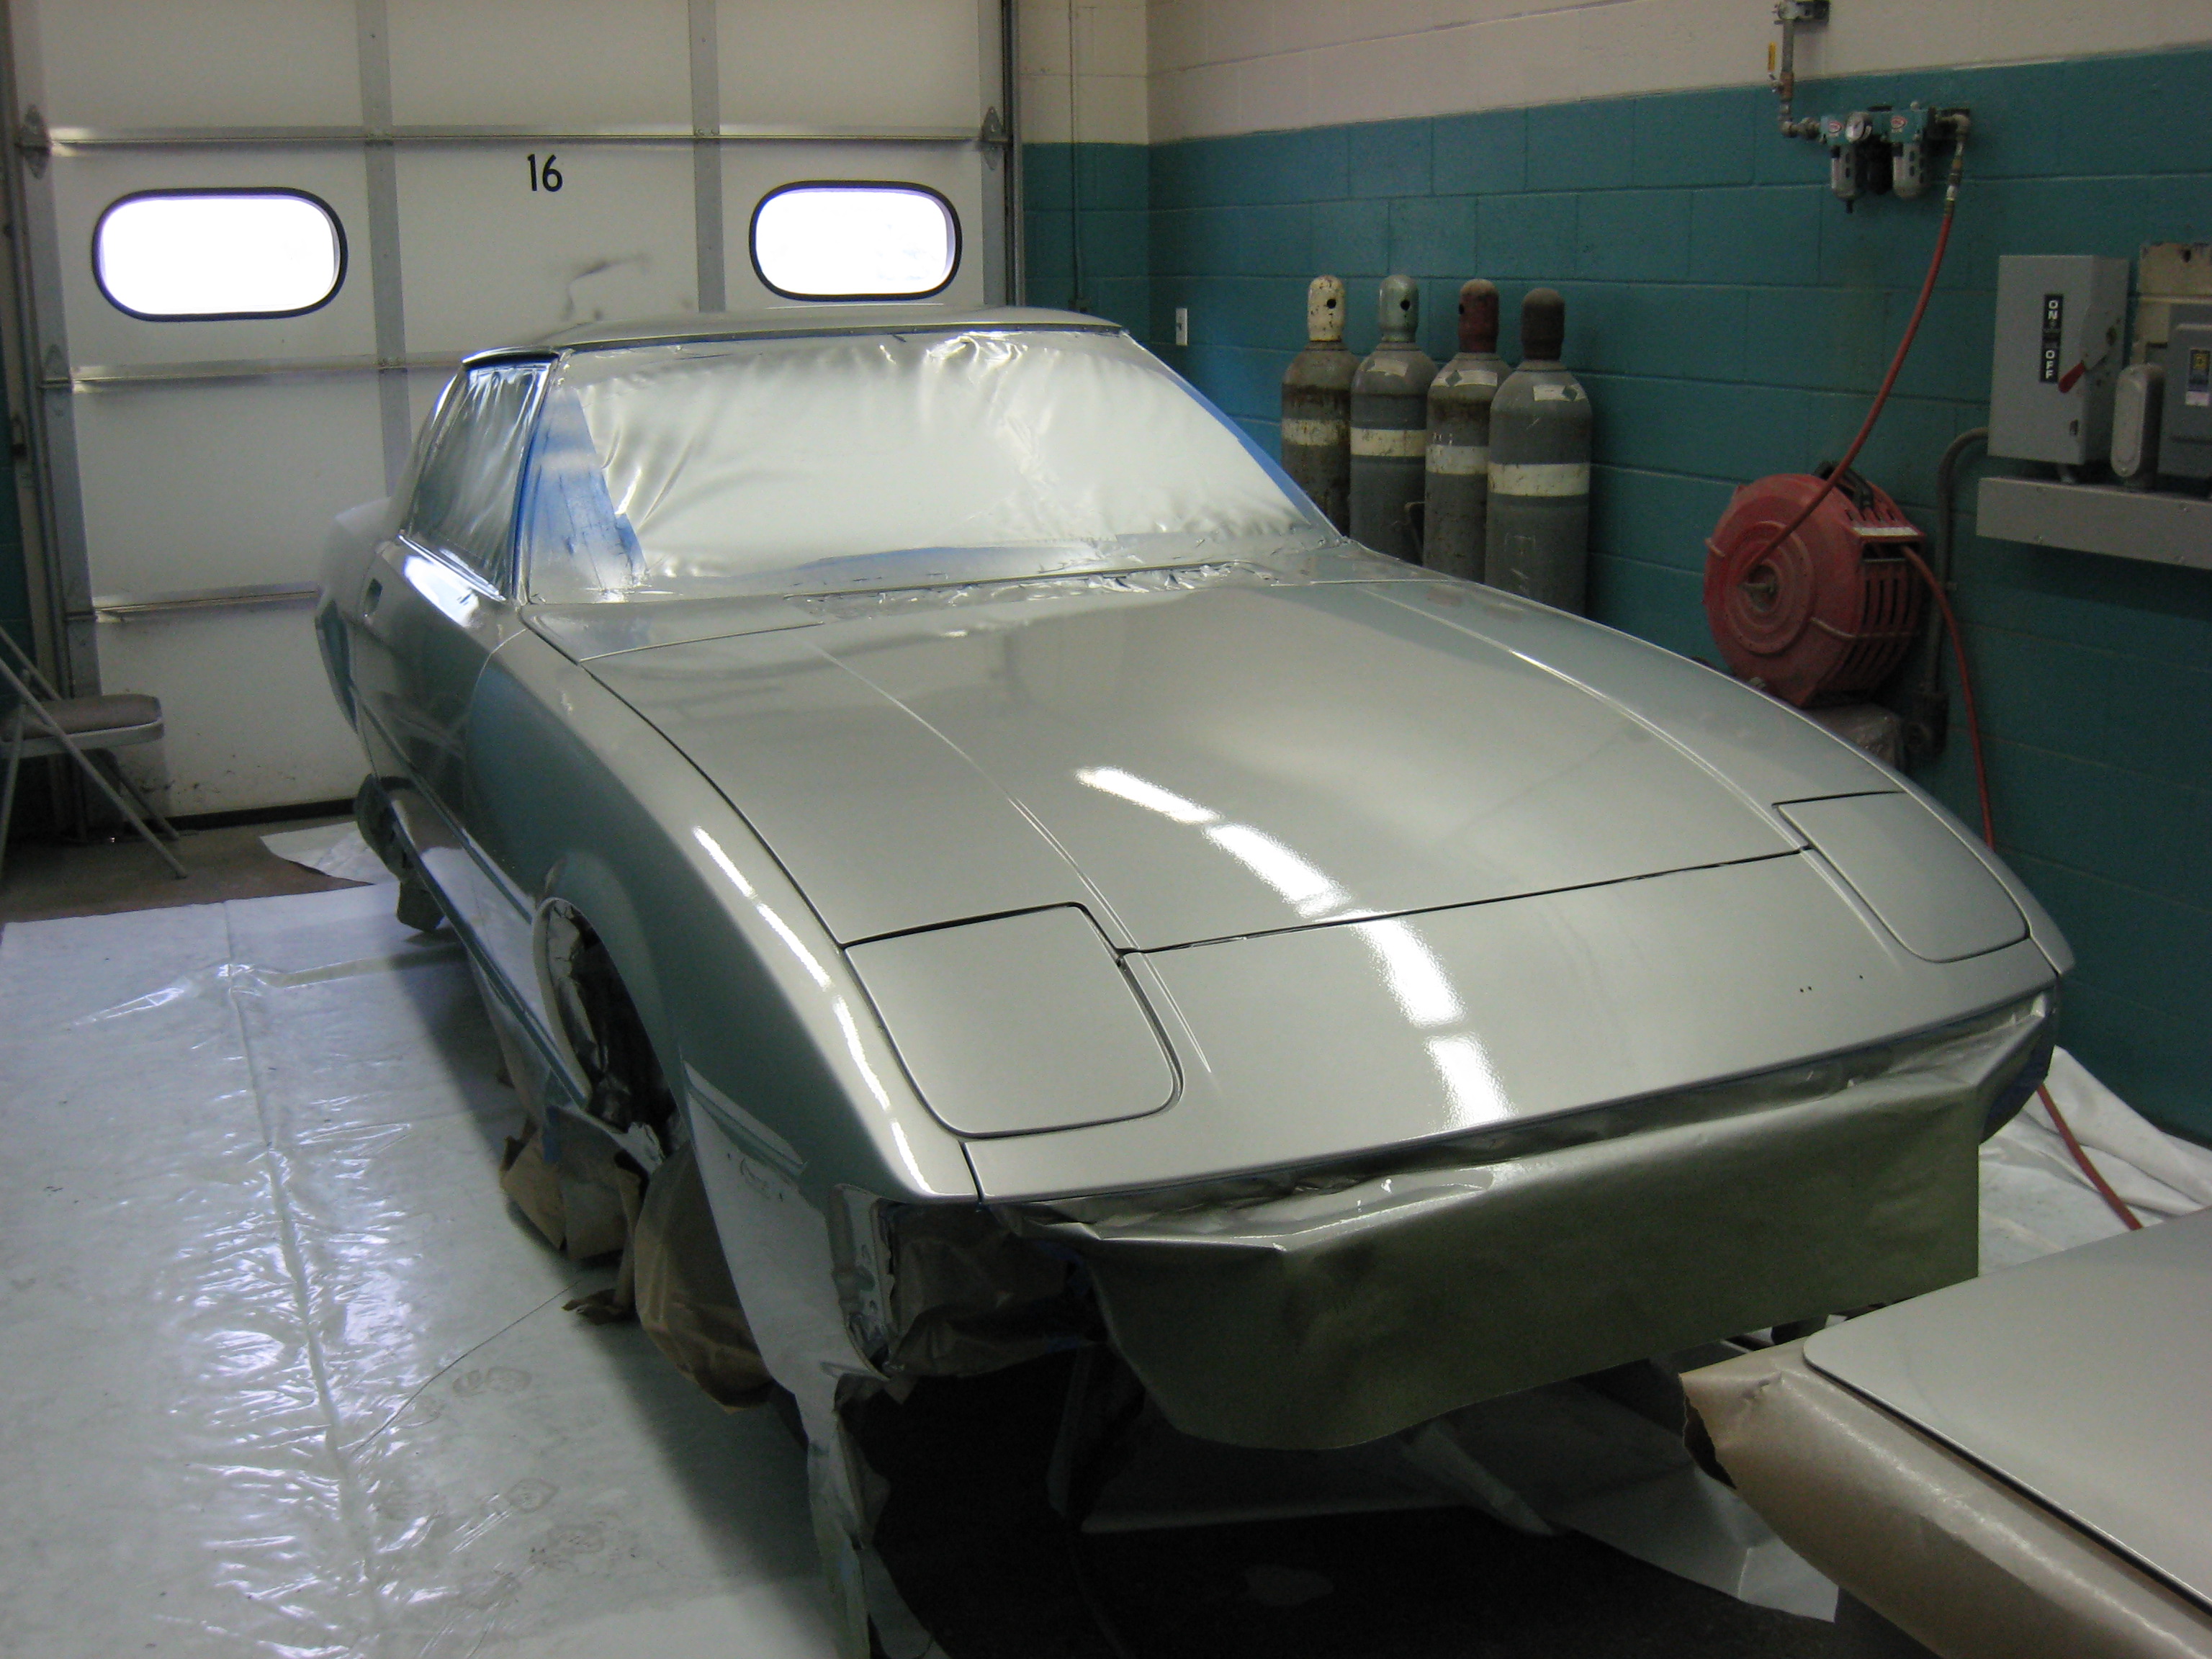
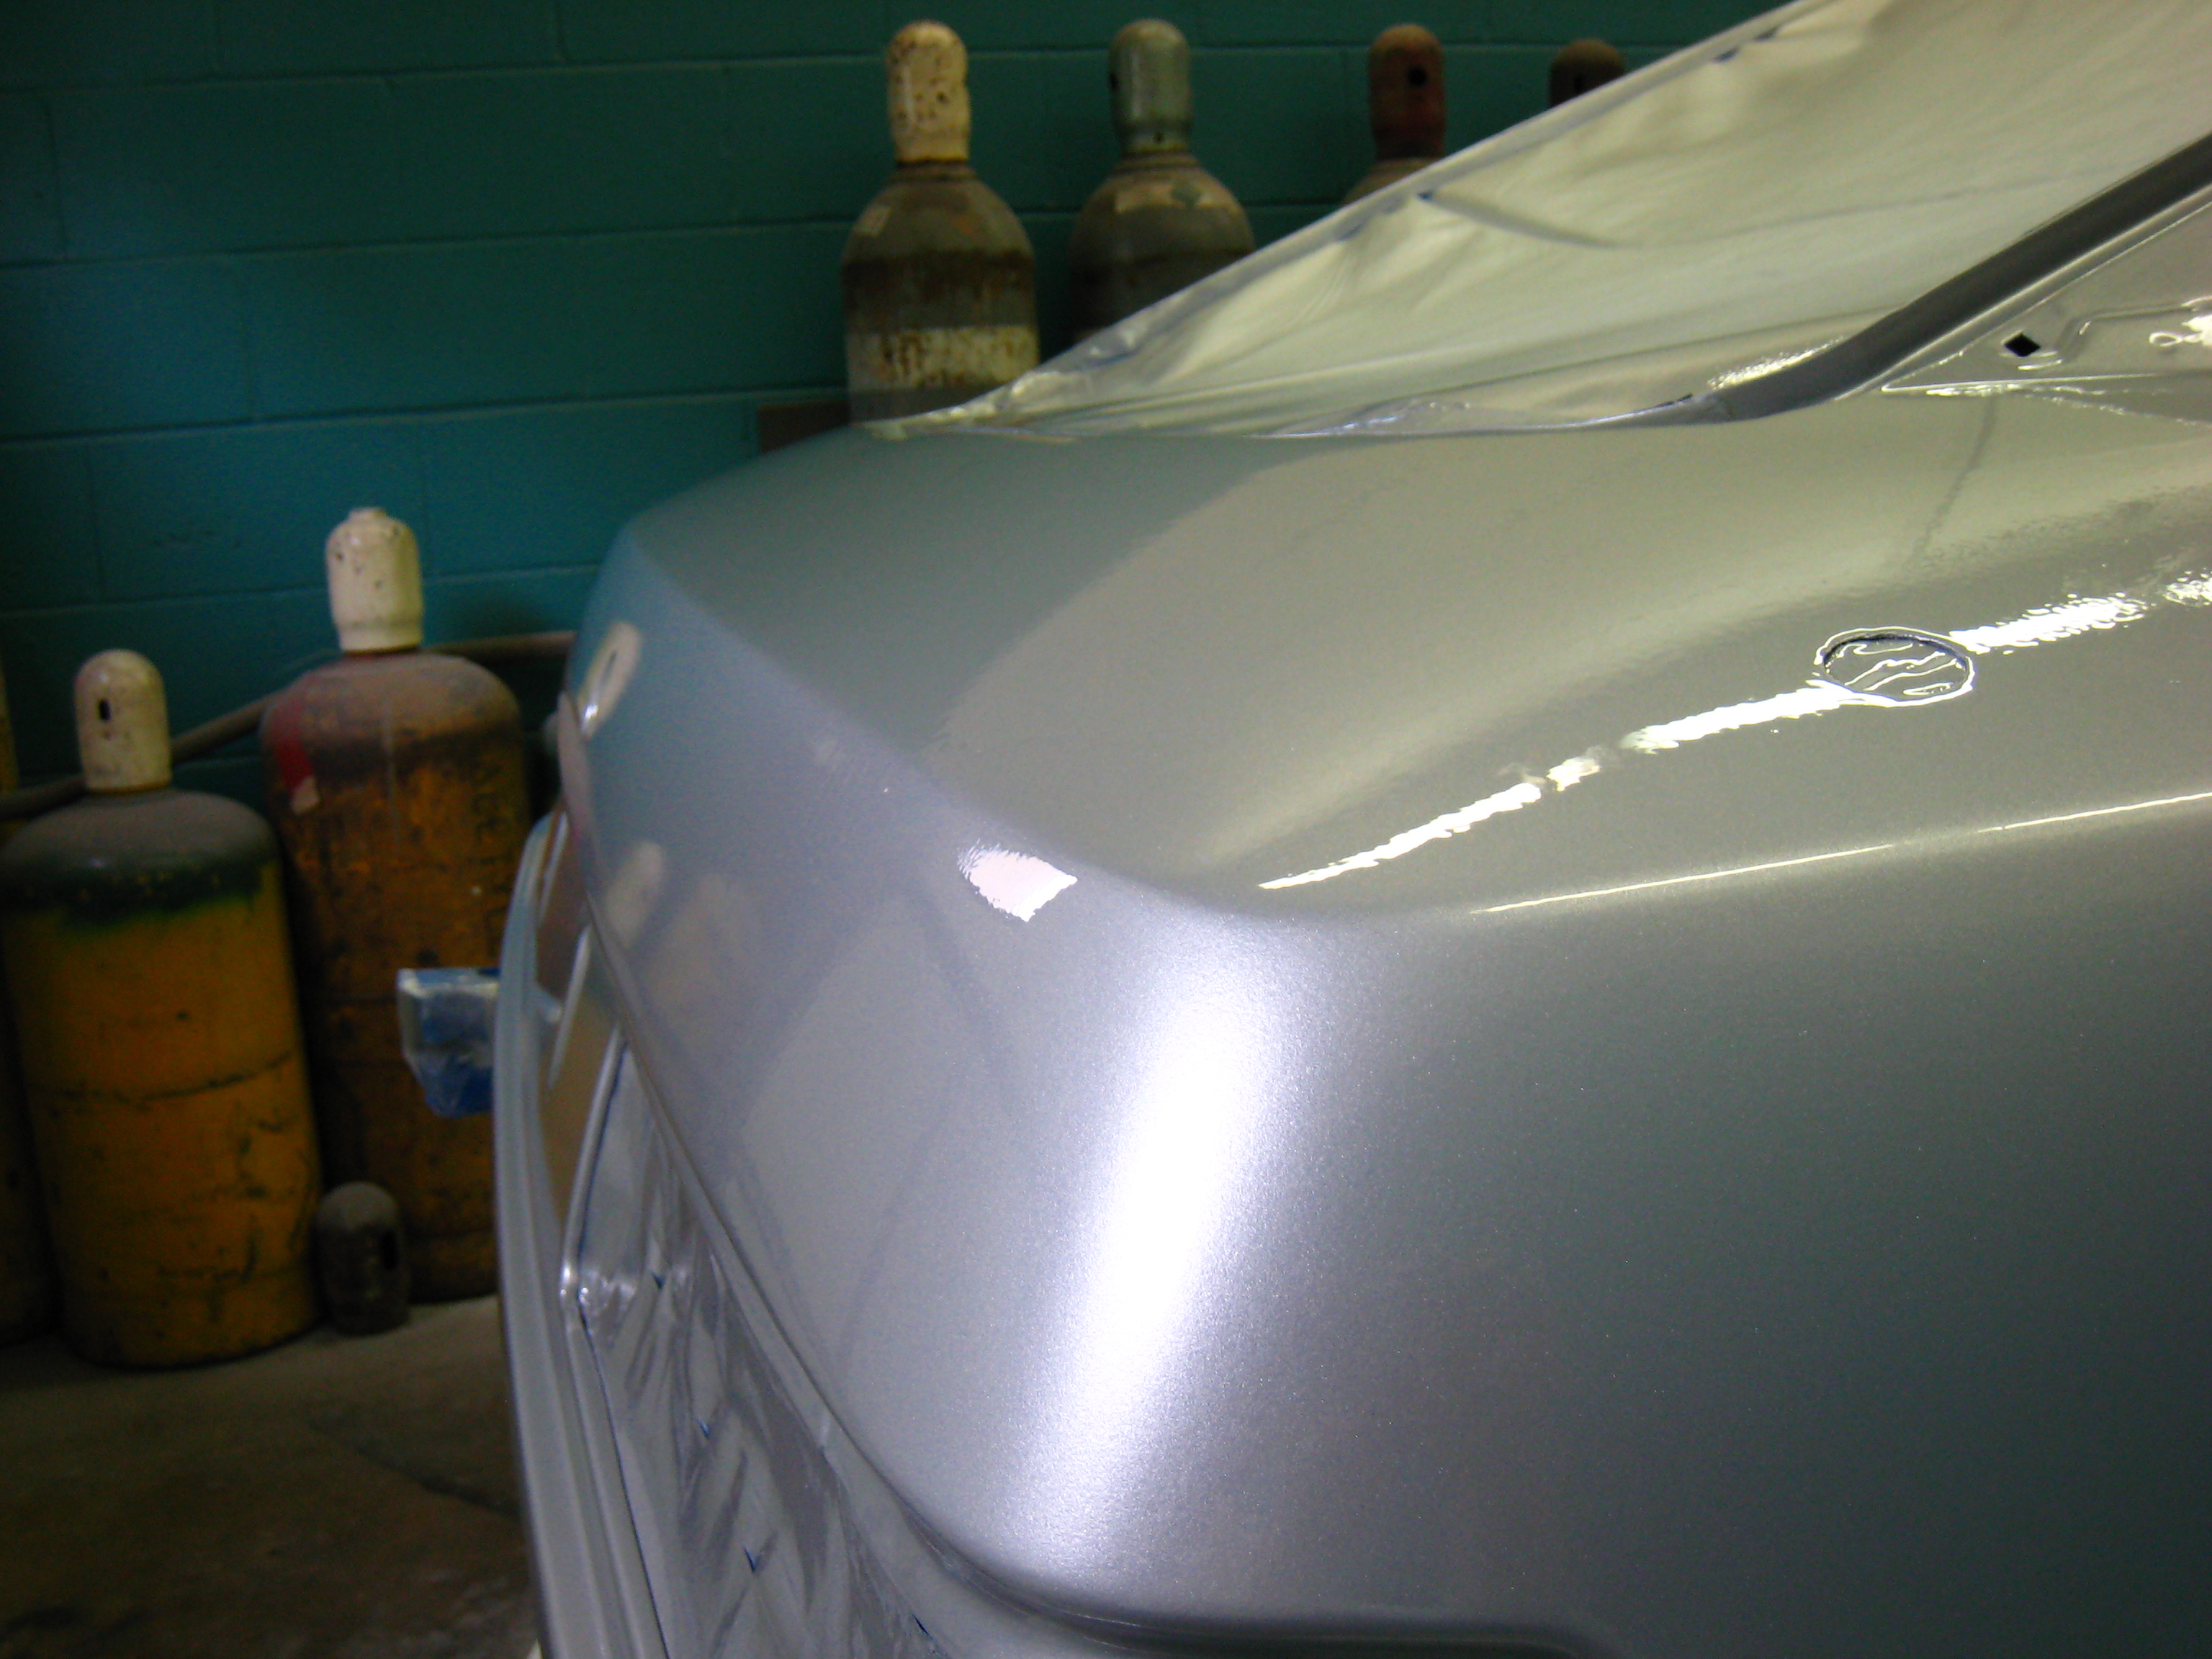
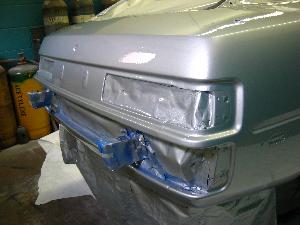
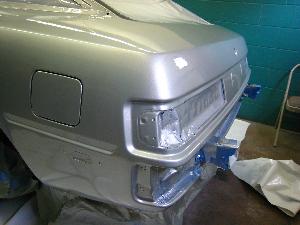
Later that afternoon, after the clearcoat dried, I pulled the tape and masking off, and took some pictures of all of the mistakes that I made:
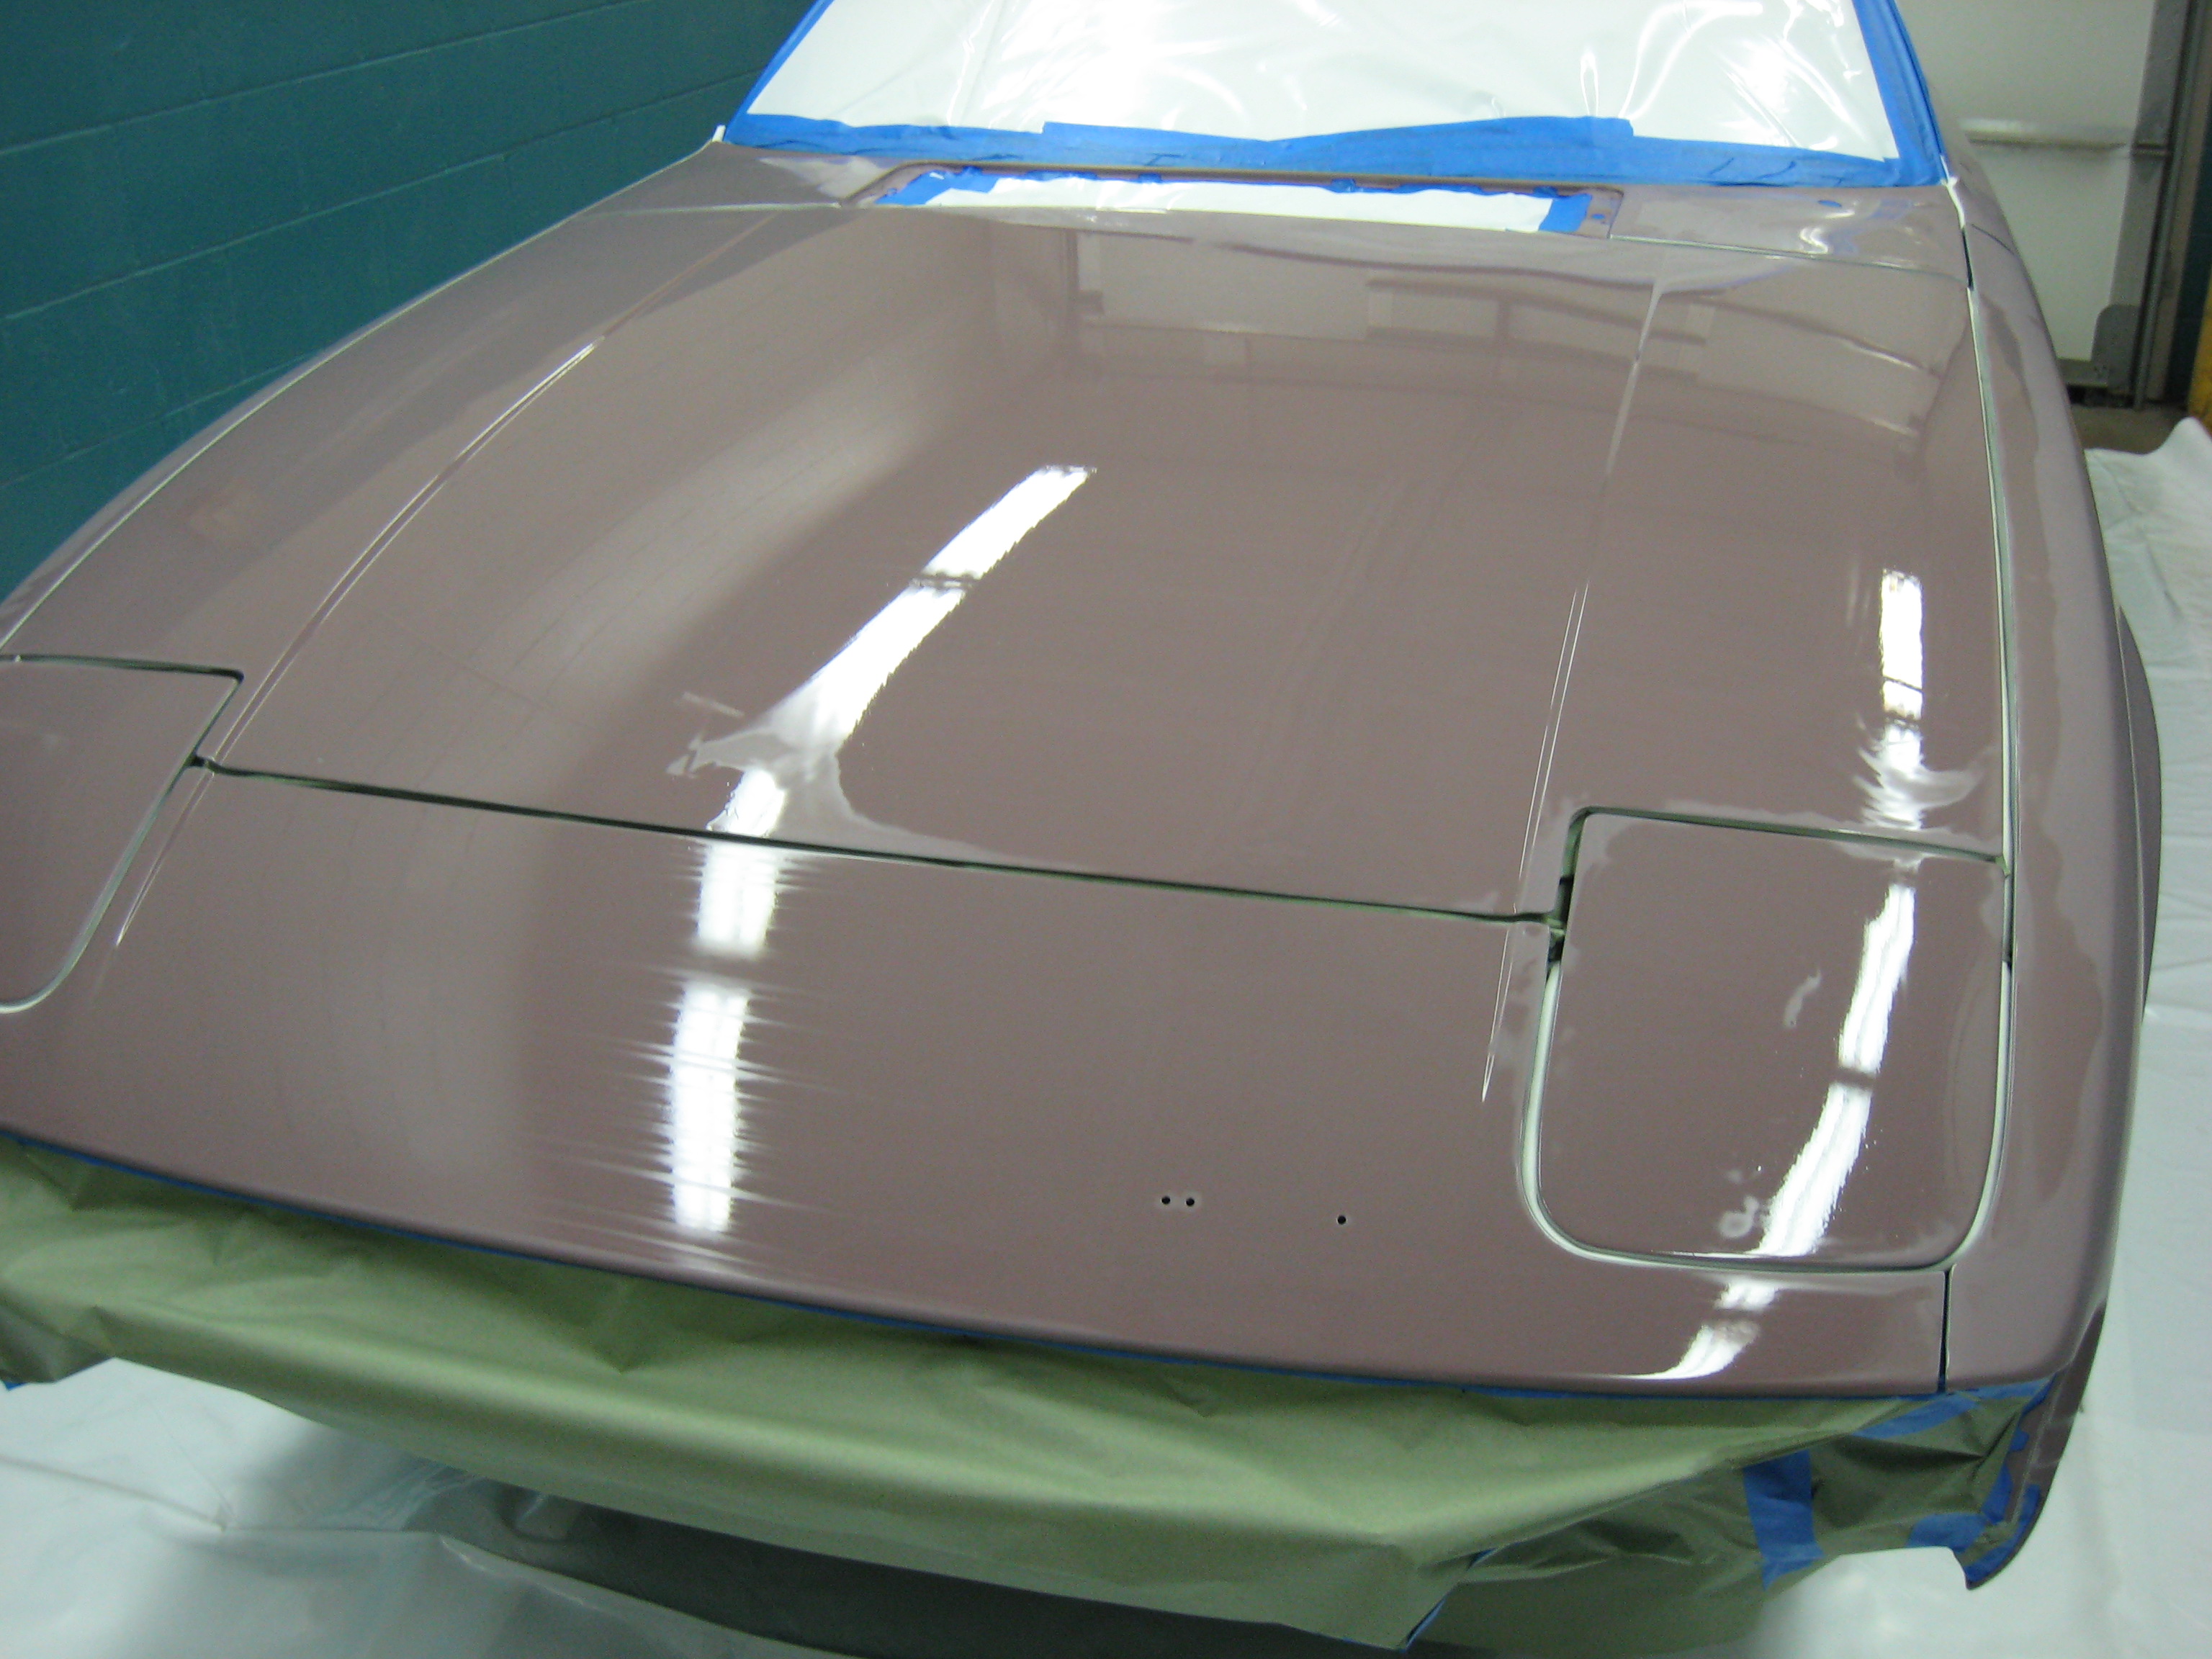
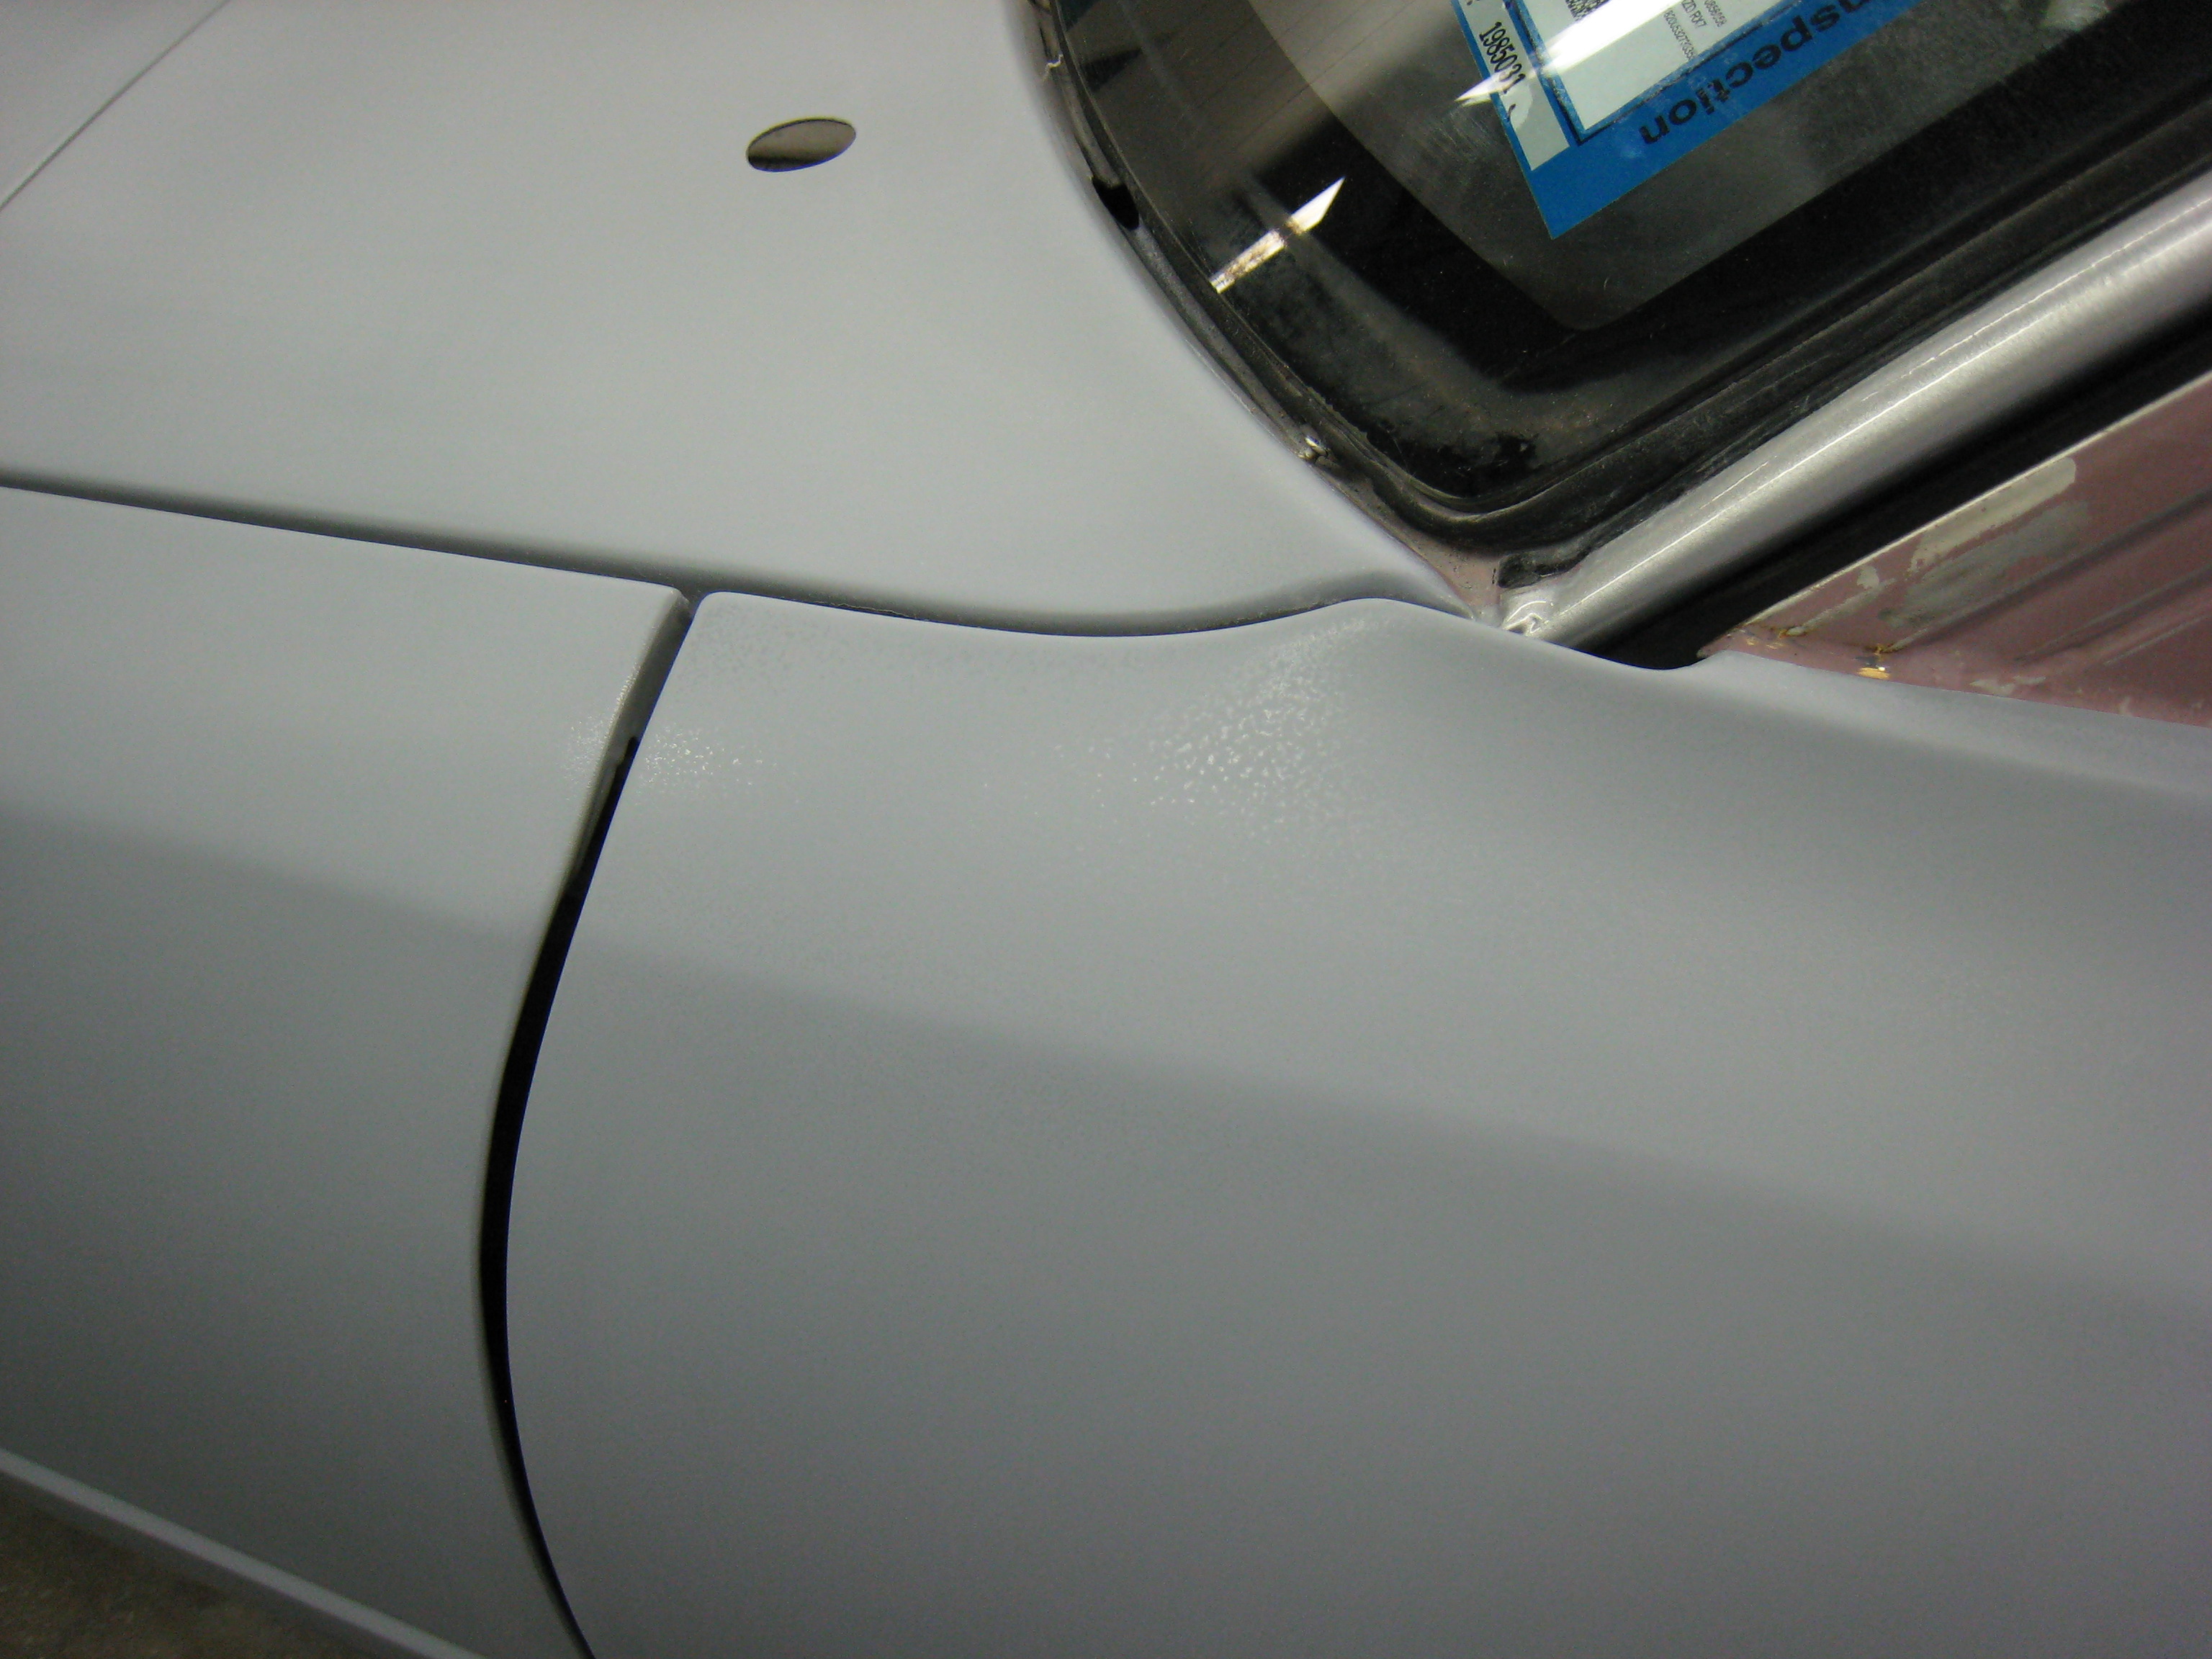
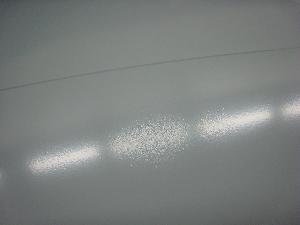
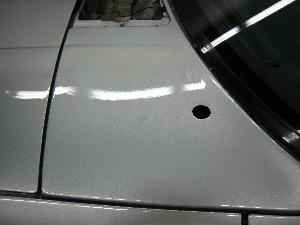
Do you see the dark blotches on the hood and on the panel in front of the windshield? These were from clearcoat that dripped through the threads of the paint gun lid. While seeping through the threads of the lid, the clear liquid picked up some silver paint that I apparently hadn't cleaned properly out of the lid's threads. I've since been advised to wrap a rag and some masking tape around the lid of a paint gun prior to spraying. Oh well... lesson learned.
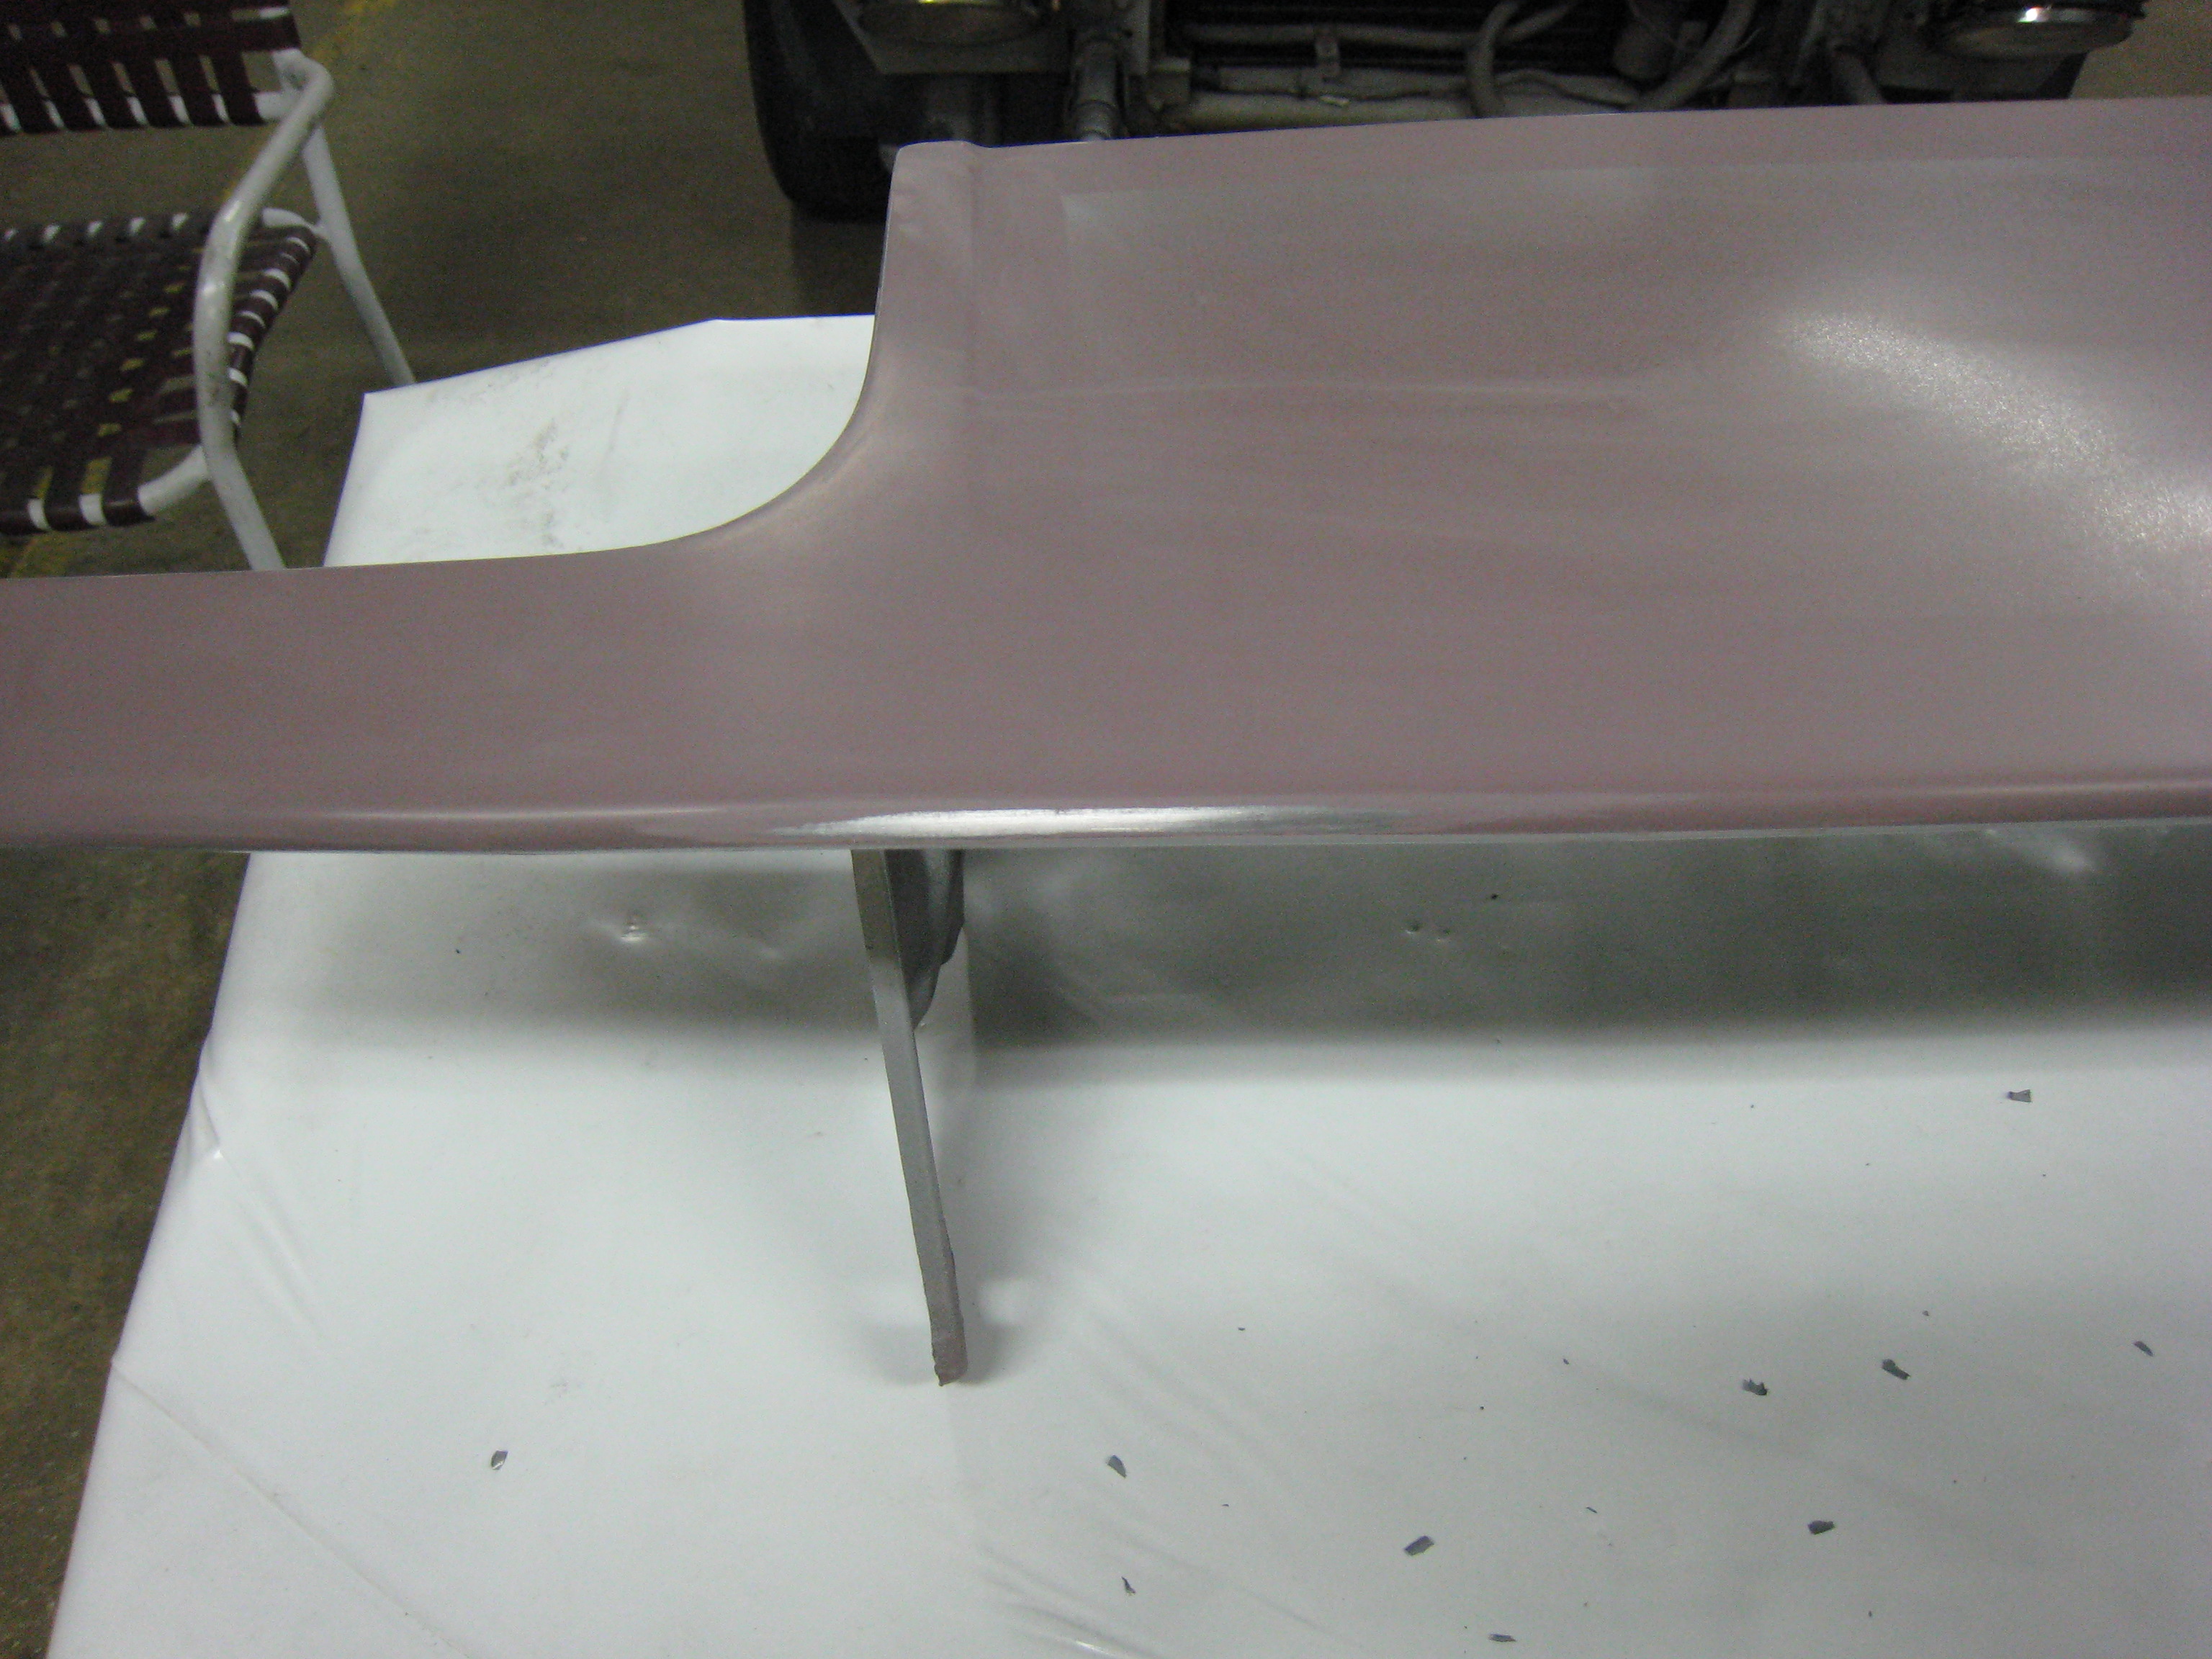
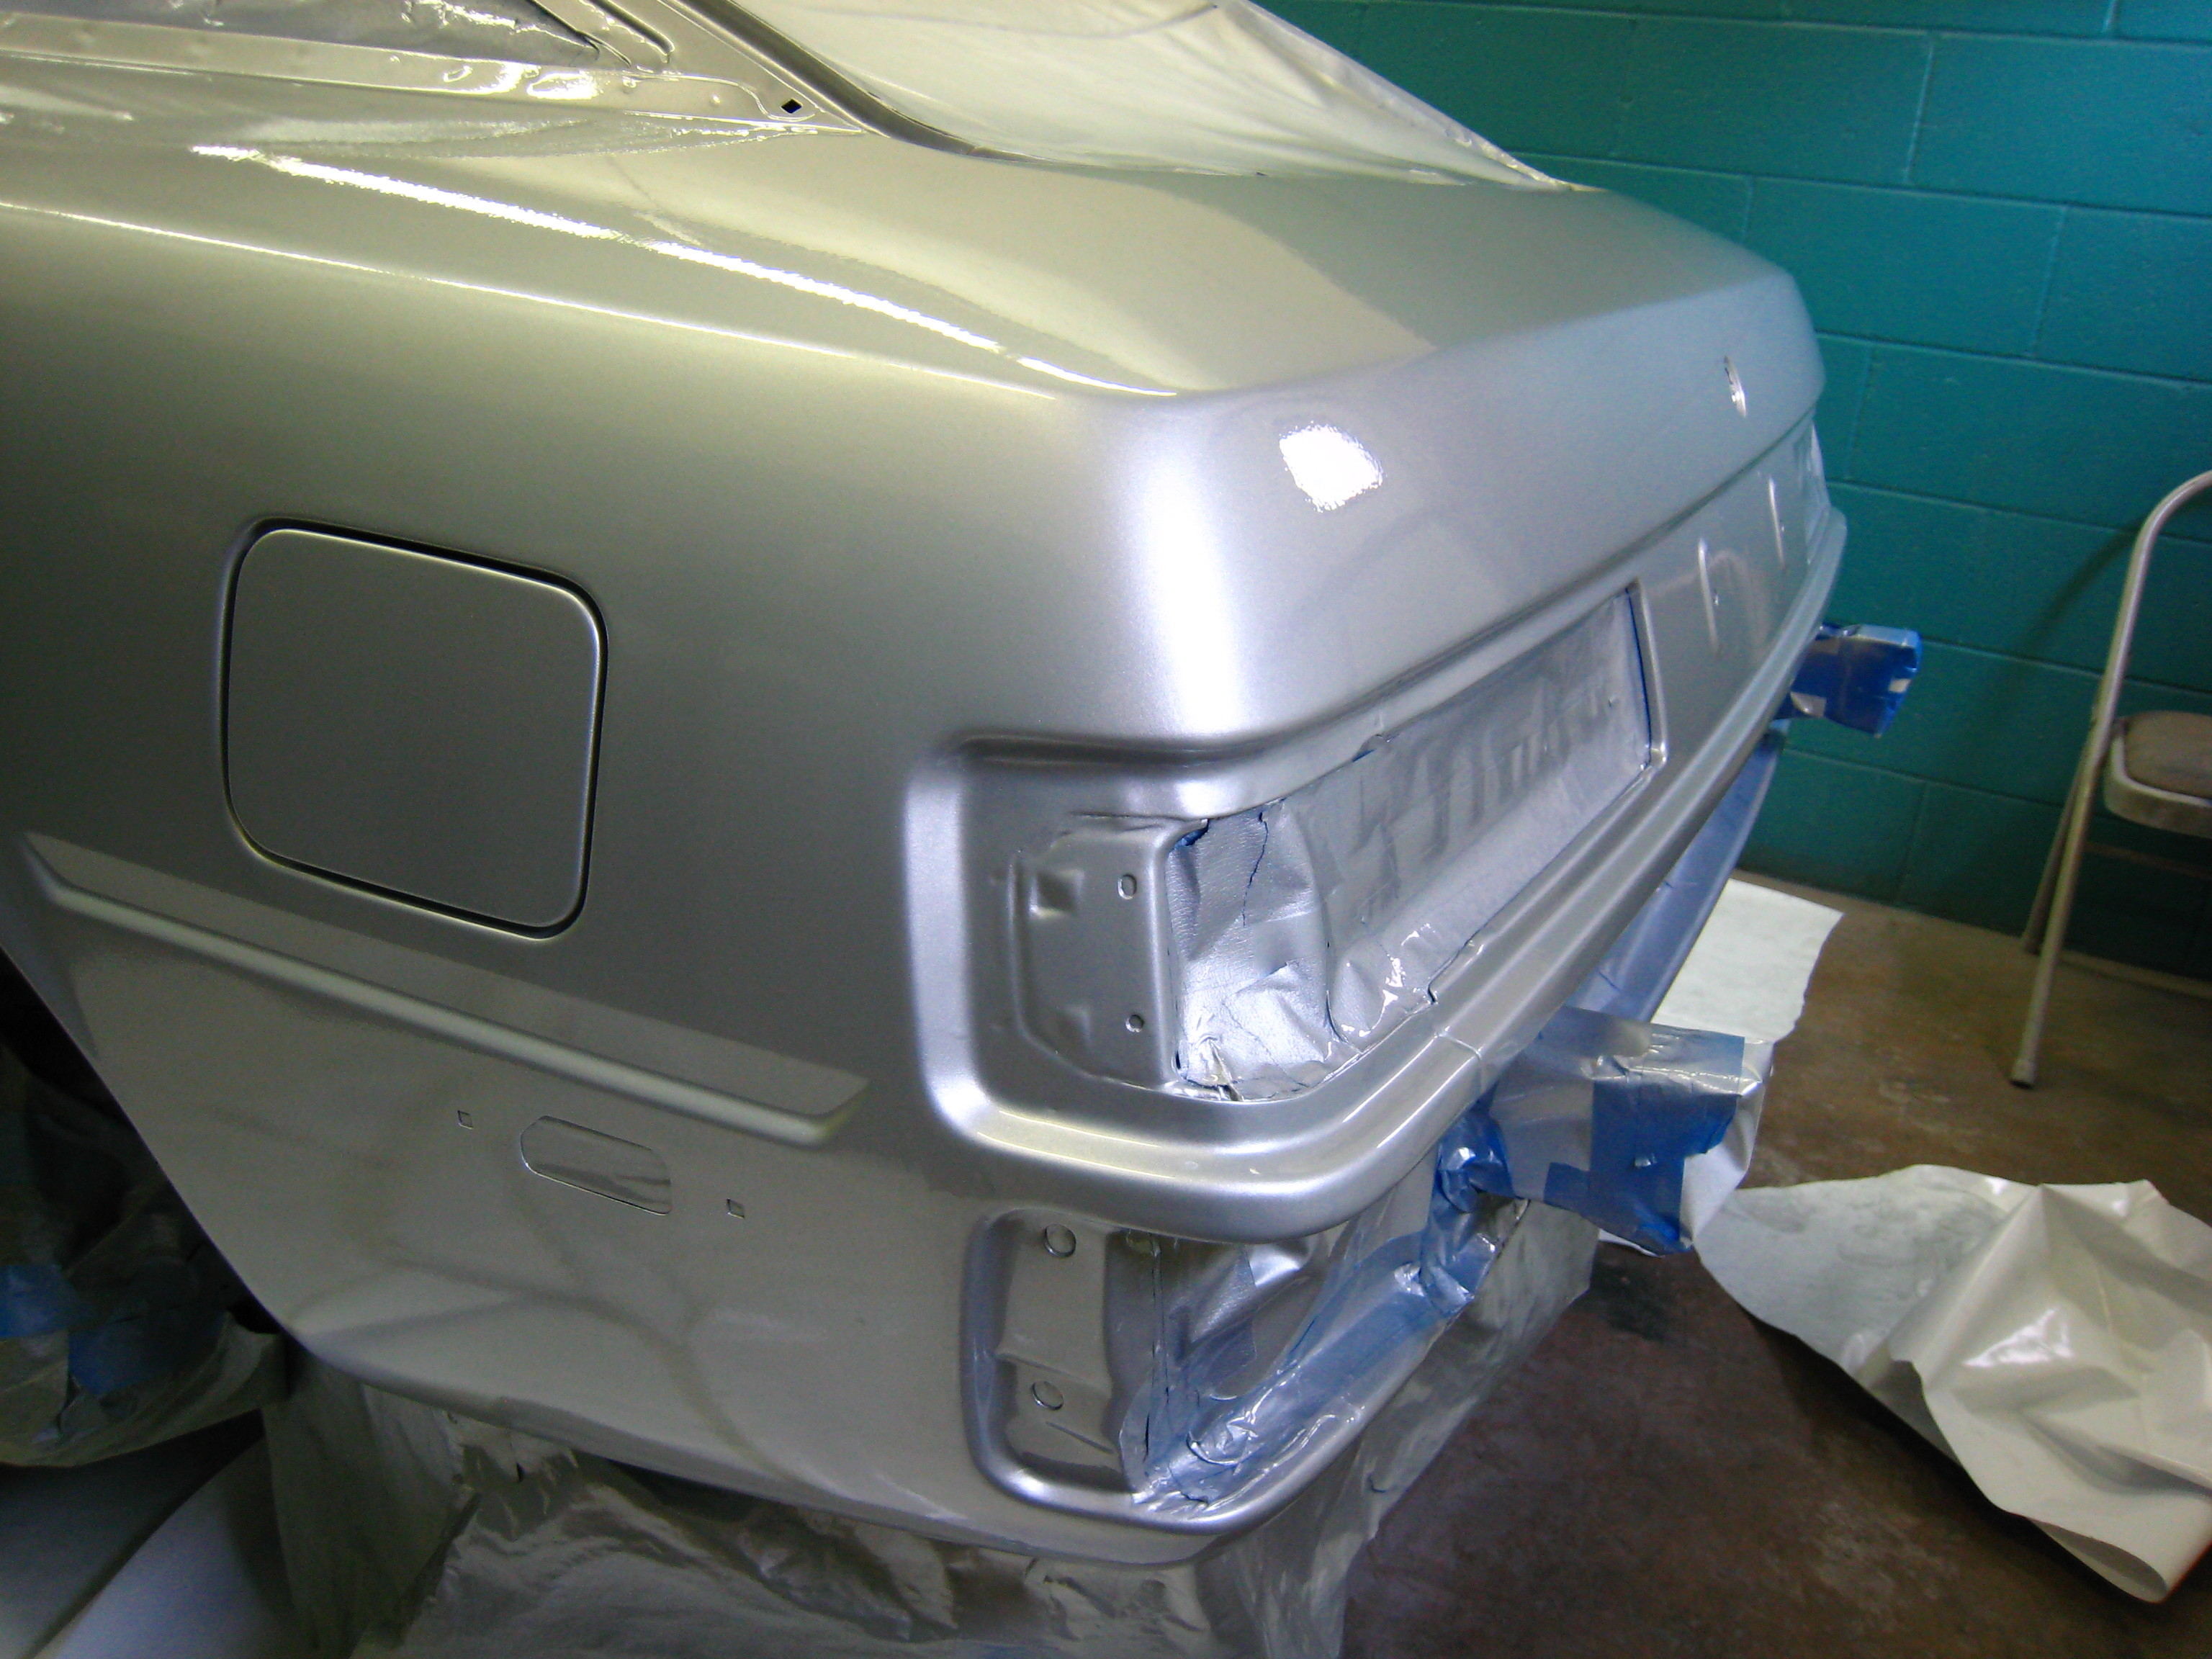
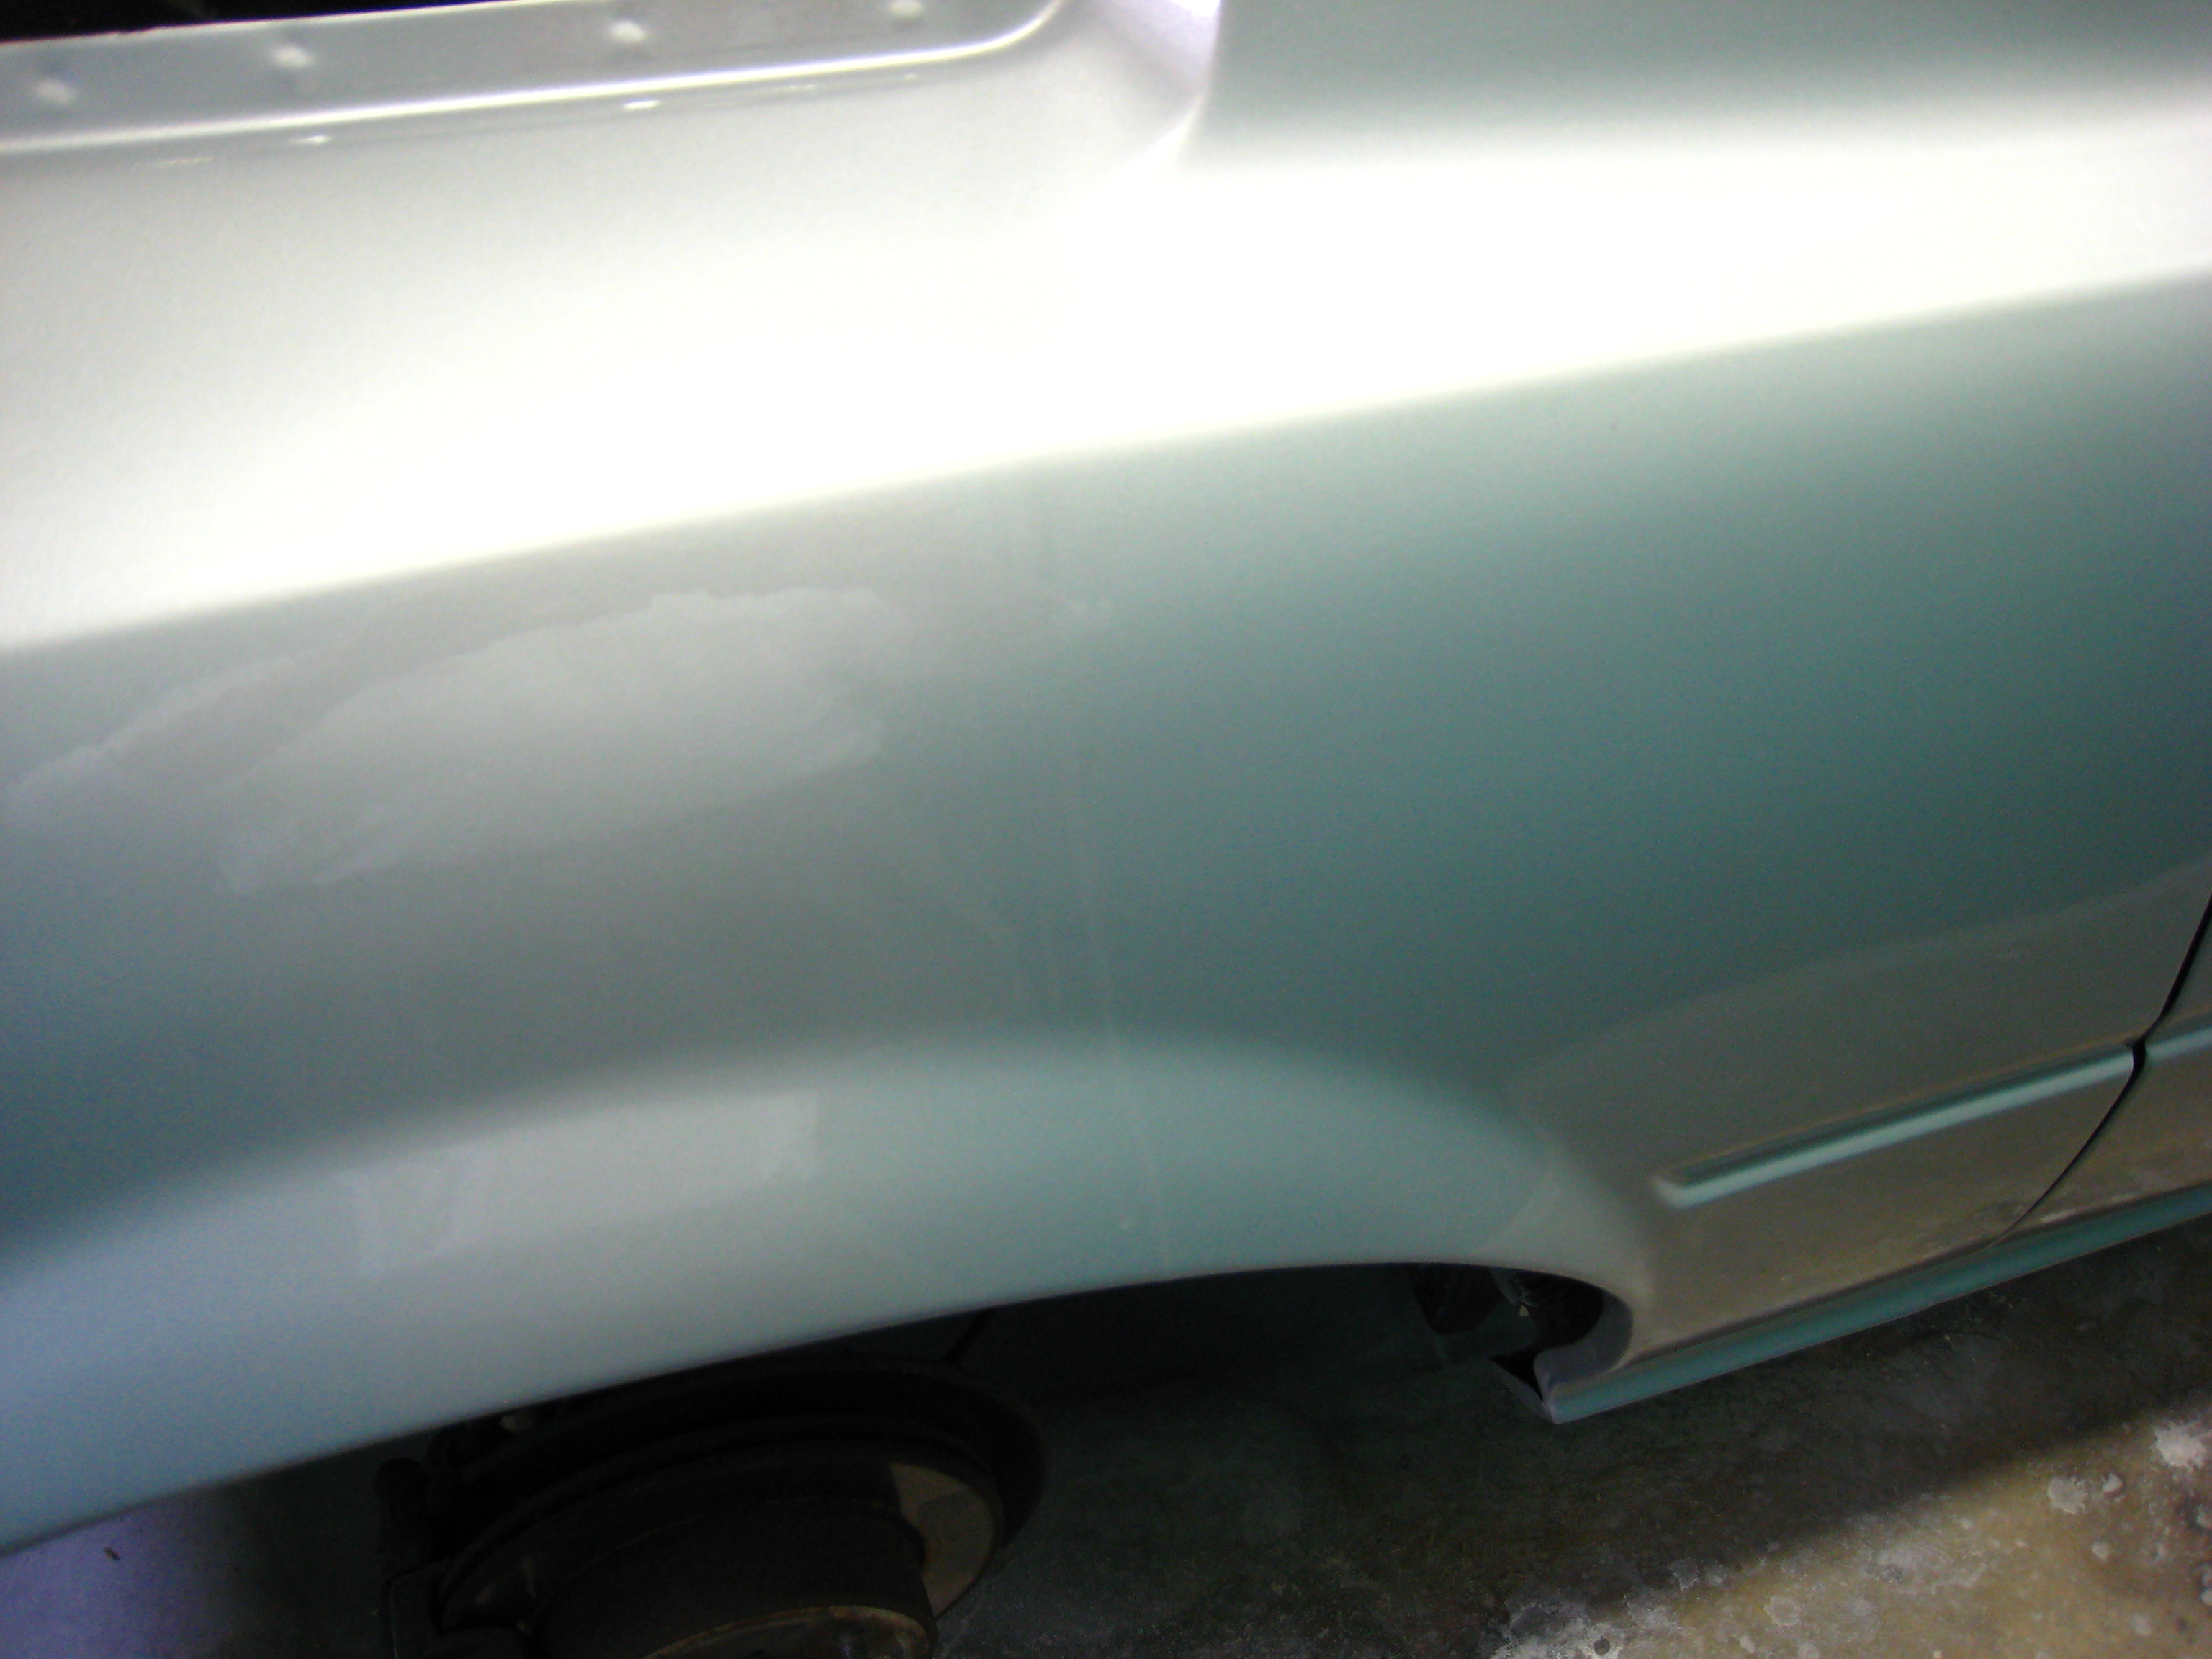
Another drip on the passenger-side wheel well flare:

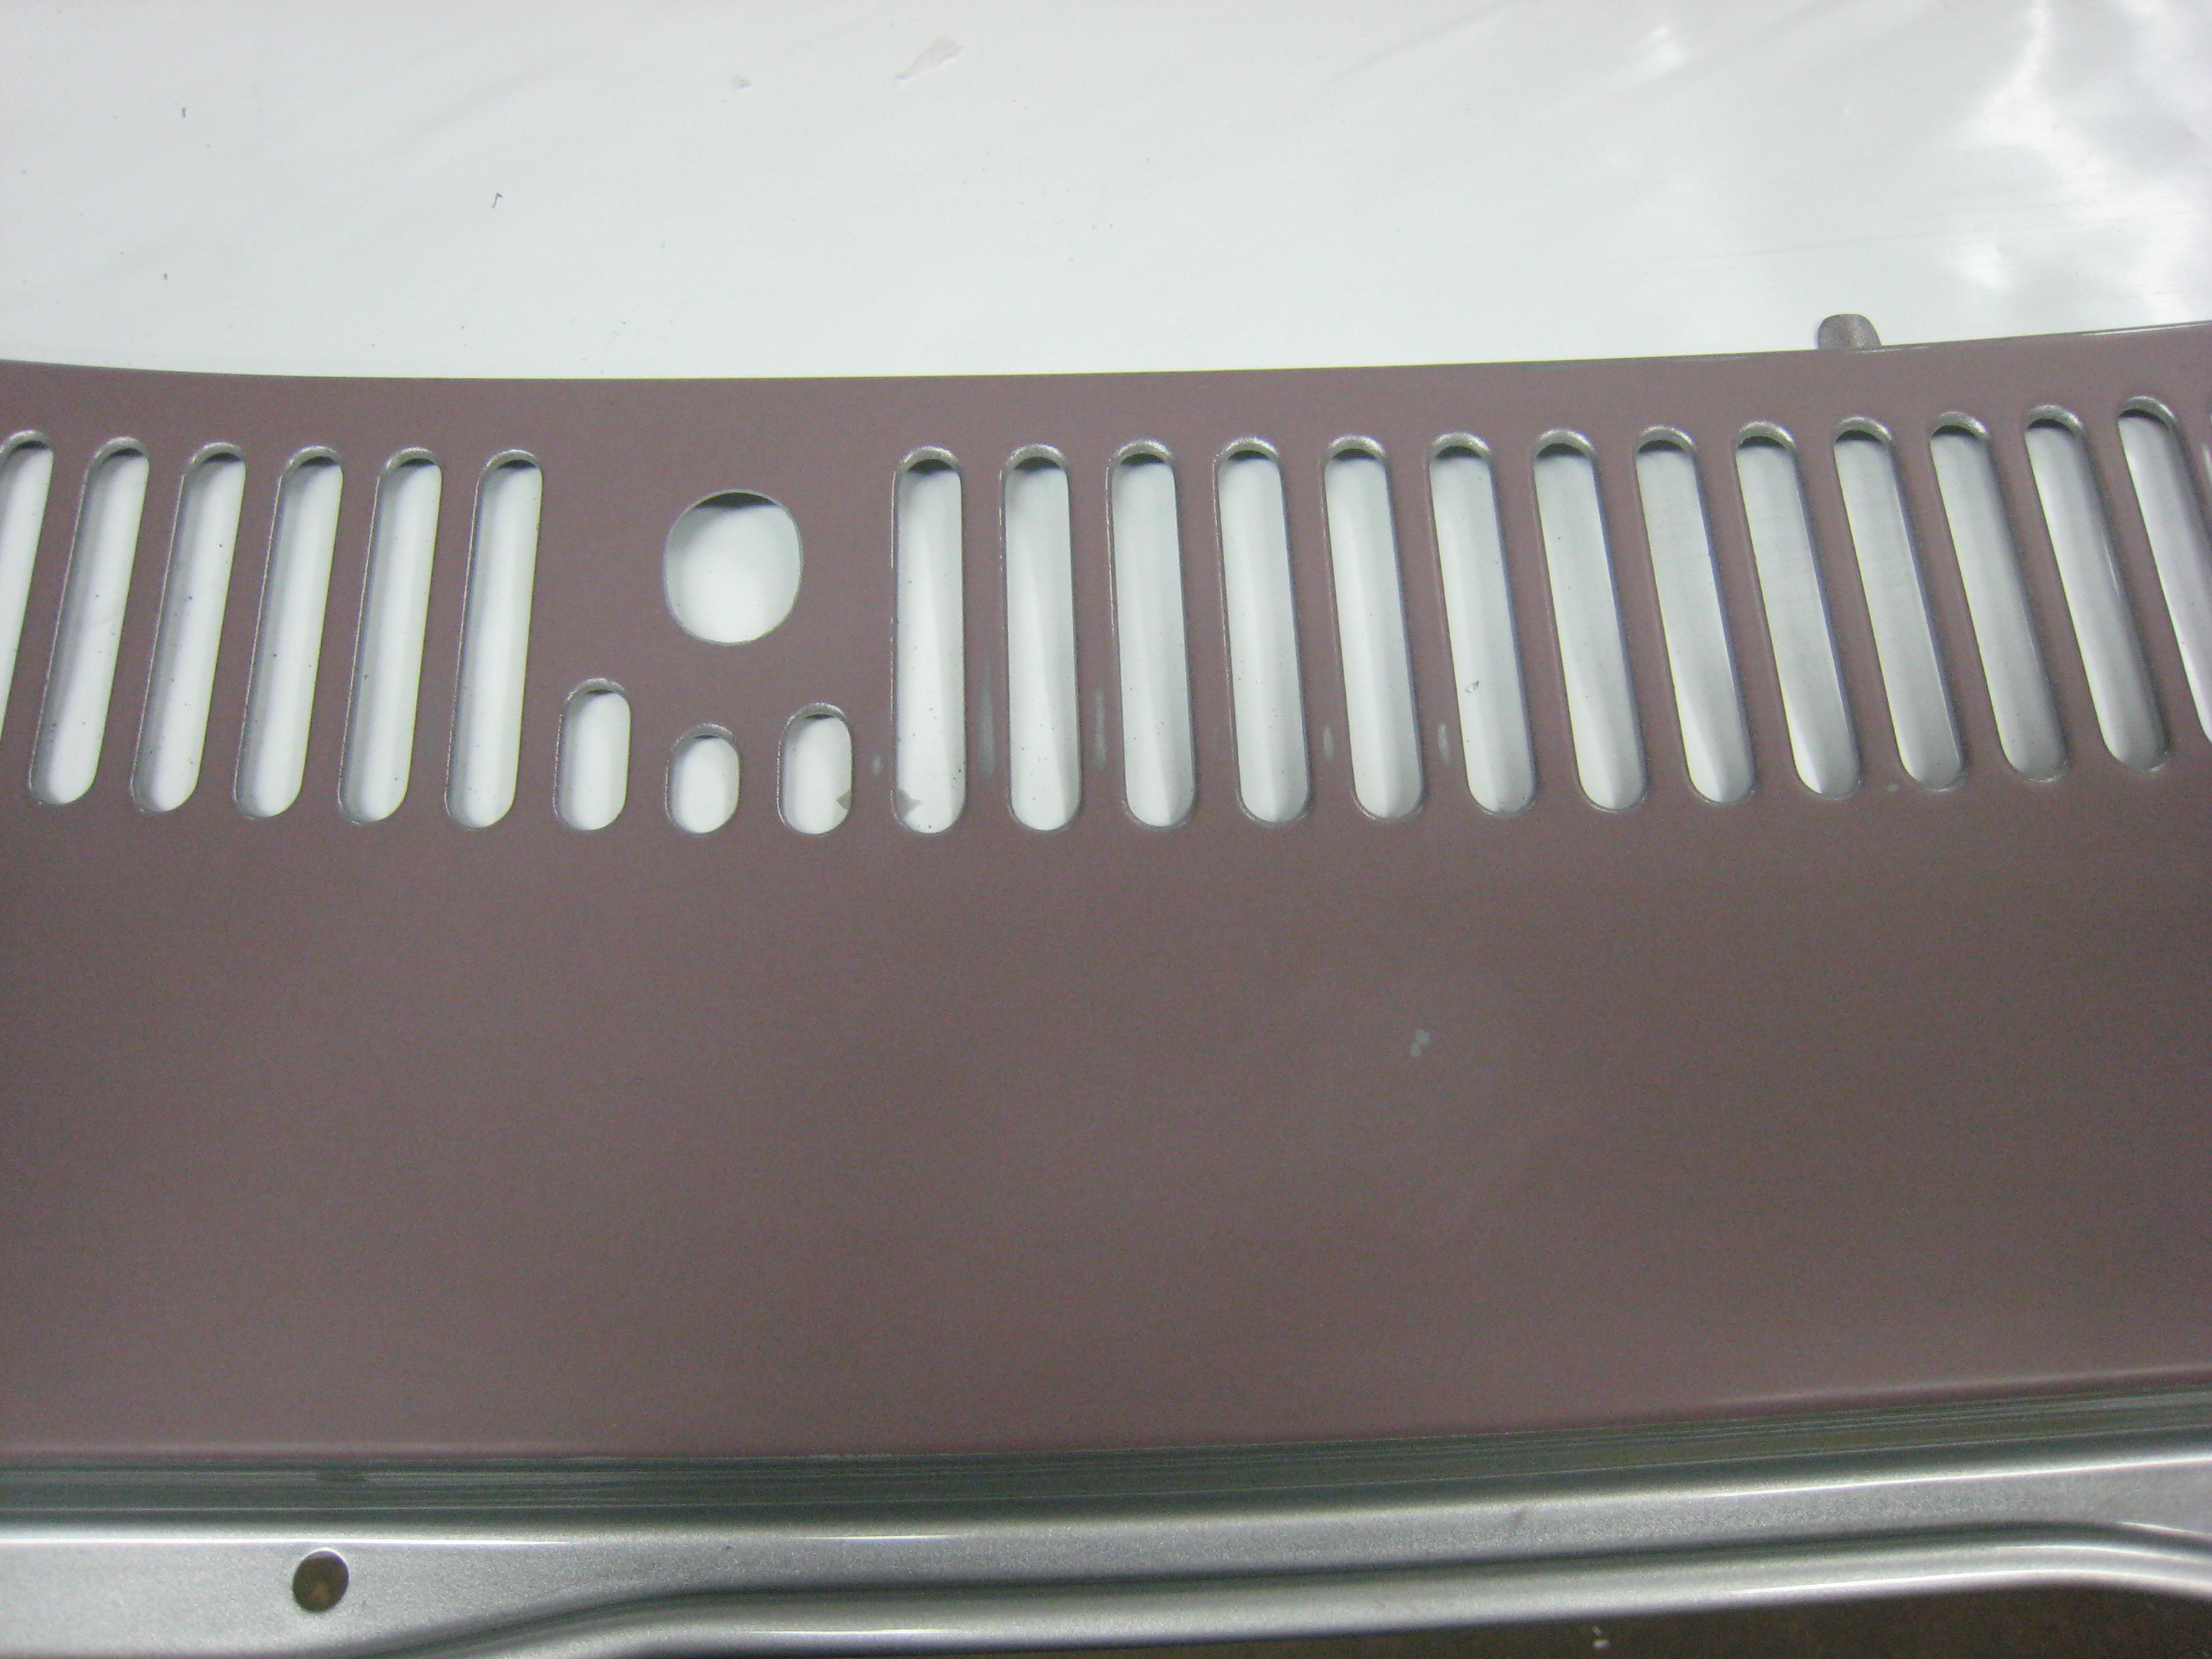
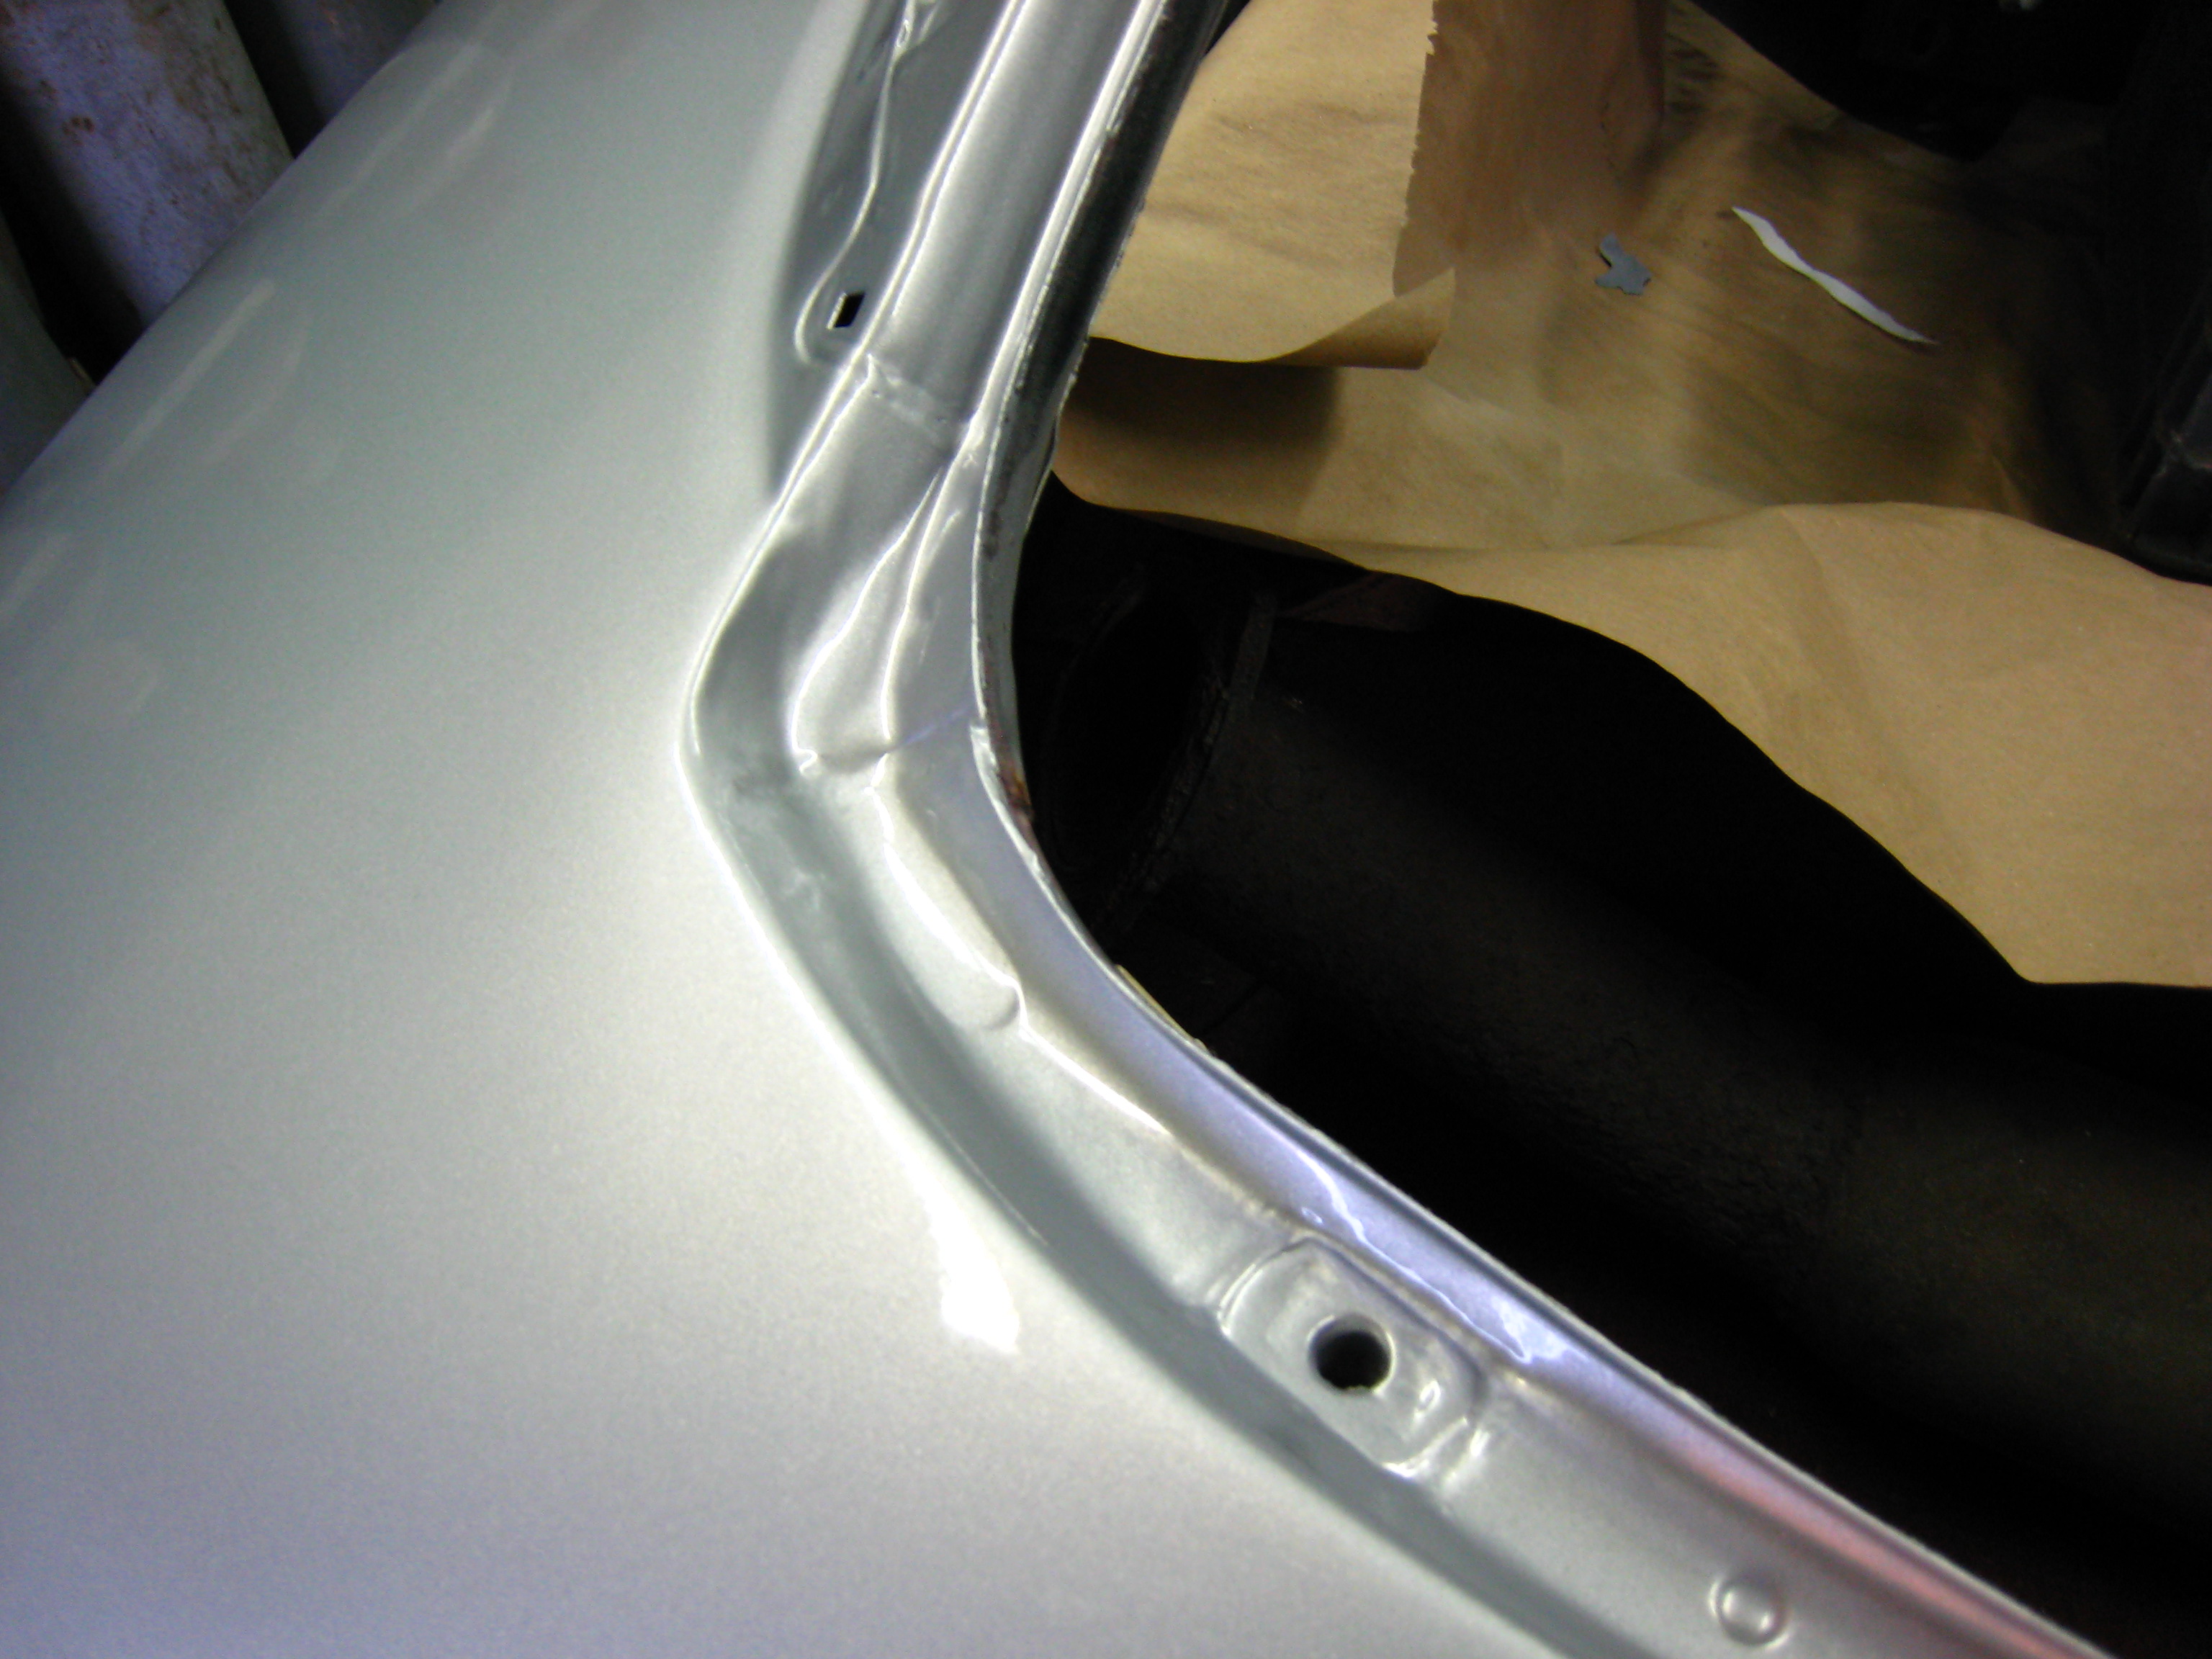
Too much clear coat in the drain channel:
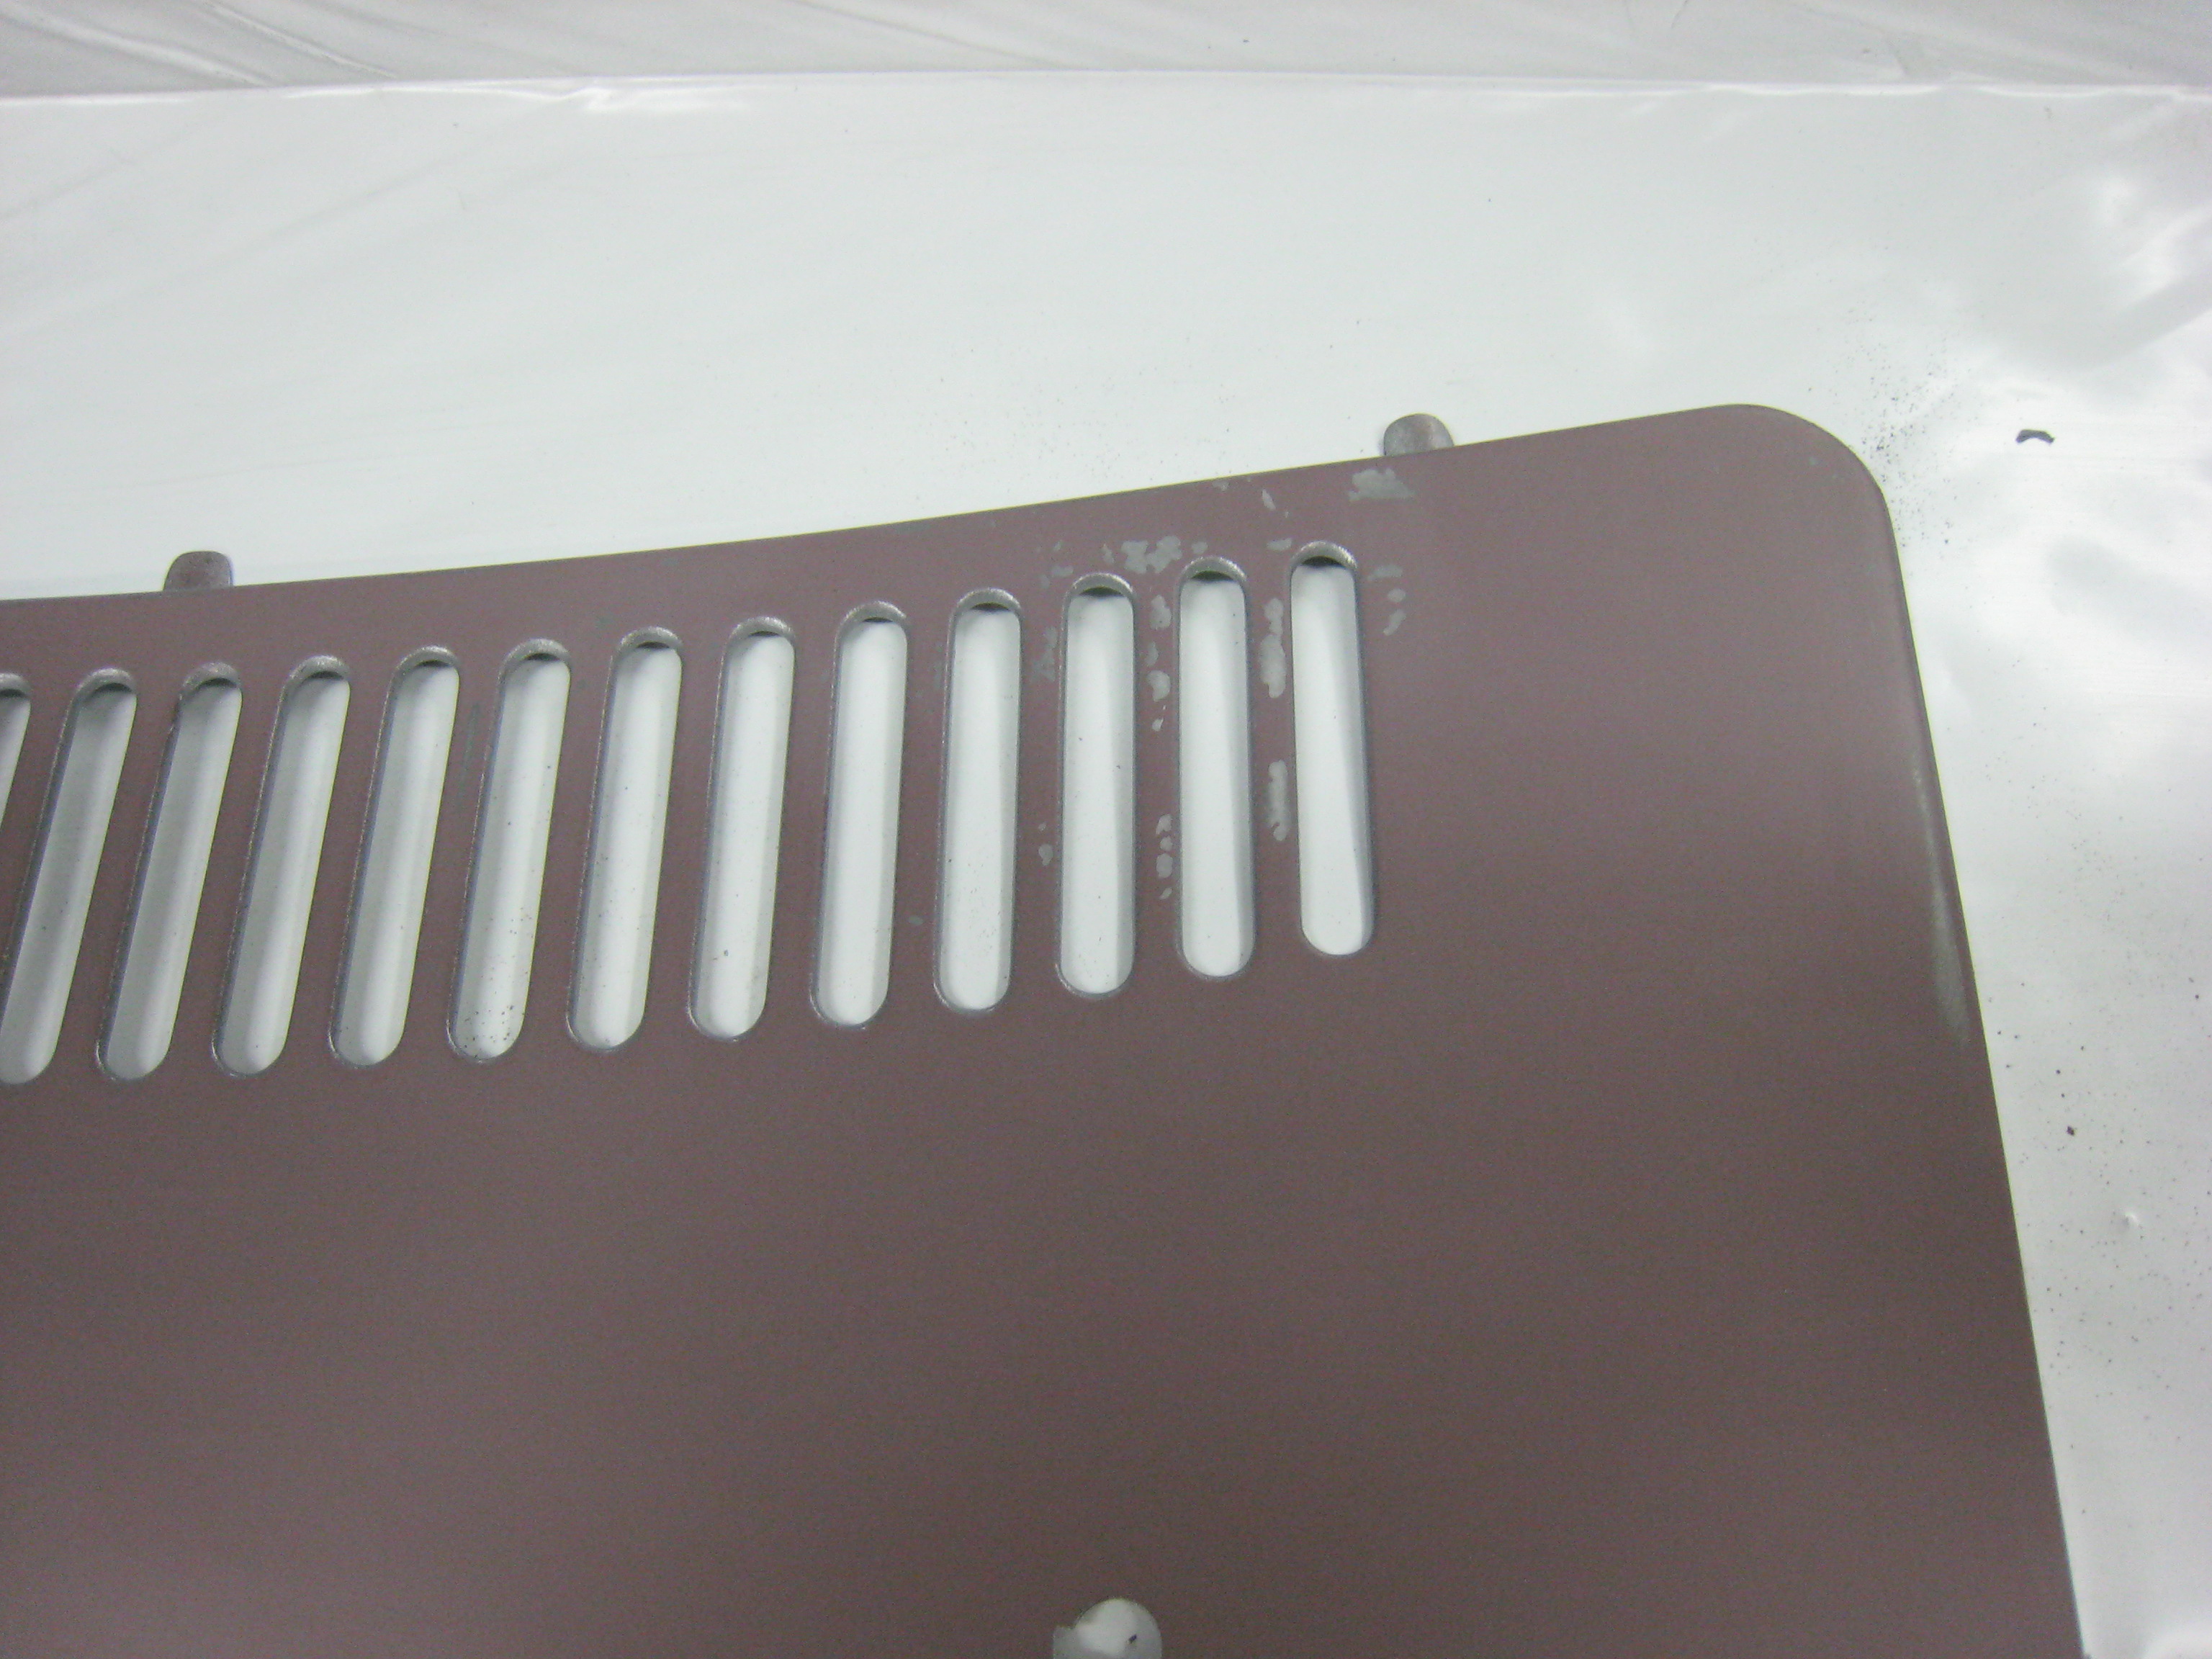
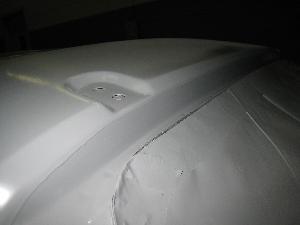
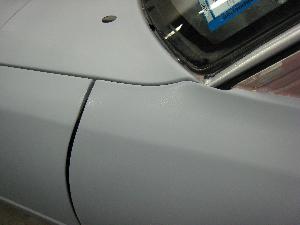
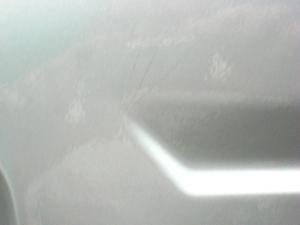
And finally, some cracking of the paint on the driver's side front fender. This one's easy to explain -- when I reinstalled the fenders, I didn't install the braces that secure the lower part of the fender to the bottom of the body. So when I was applying tape and masking paper, then removing it, the fender flexed a little bit. The end result were these cracks in the paint surface.
Unfortunately, all of these mistakes are really the least of my problems. The drips would normally be fairly easy to fix -- with most clearcoats, you could just sand them down and respray another coat of clear. And the orange peel could be fixed by wet-sanding and polishing. But, after all of the prep-work that I did, I found one little clause on the spec-sheet for the clear coat that I used:
"It is not necessary to polish DAU75, however, a mild
polish or final buff may be used to remove any minor
imperfections. DO NOT use a compound or wet
sand/polish DAU75."
This is a nightmare! After all of this work, this effectively means that there's no way to fix the problems in the finish.
The orange peel in this finish is just unacceptable. One way or another, I'm going to have to fix it. So I started asking around about how this might be fixed. Everyone I had asked was surprised to hear that this clearcoat was not supposed to be wet-sanded or polished. My shop instructor, as well as the more experienced guys at the paint supplier all suggested that I should try to wet sand and polish a small part of the car just to try it out.
I started hunting around the internet for what might happen if I went ahead with wet-sanding this stuff, but there was only one online comment that I could find where a guy referred to the results as "disappointing," but he didn't elaborate on why.
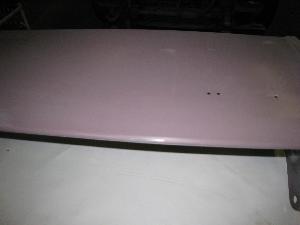
The only thing I can do is try it. Fortunately, the metal sunroof panel is available and somewhat expendable -- I usually have an aftermarket glass sunroof panel installed in the car, so even if the sunroof turns out terrible, I won't care very much.
May 31, 2007
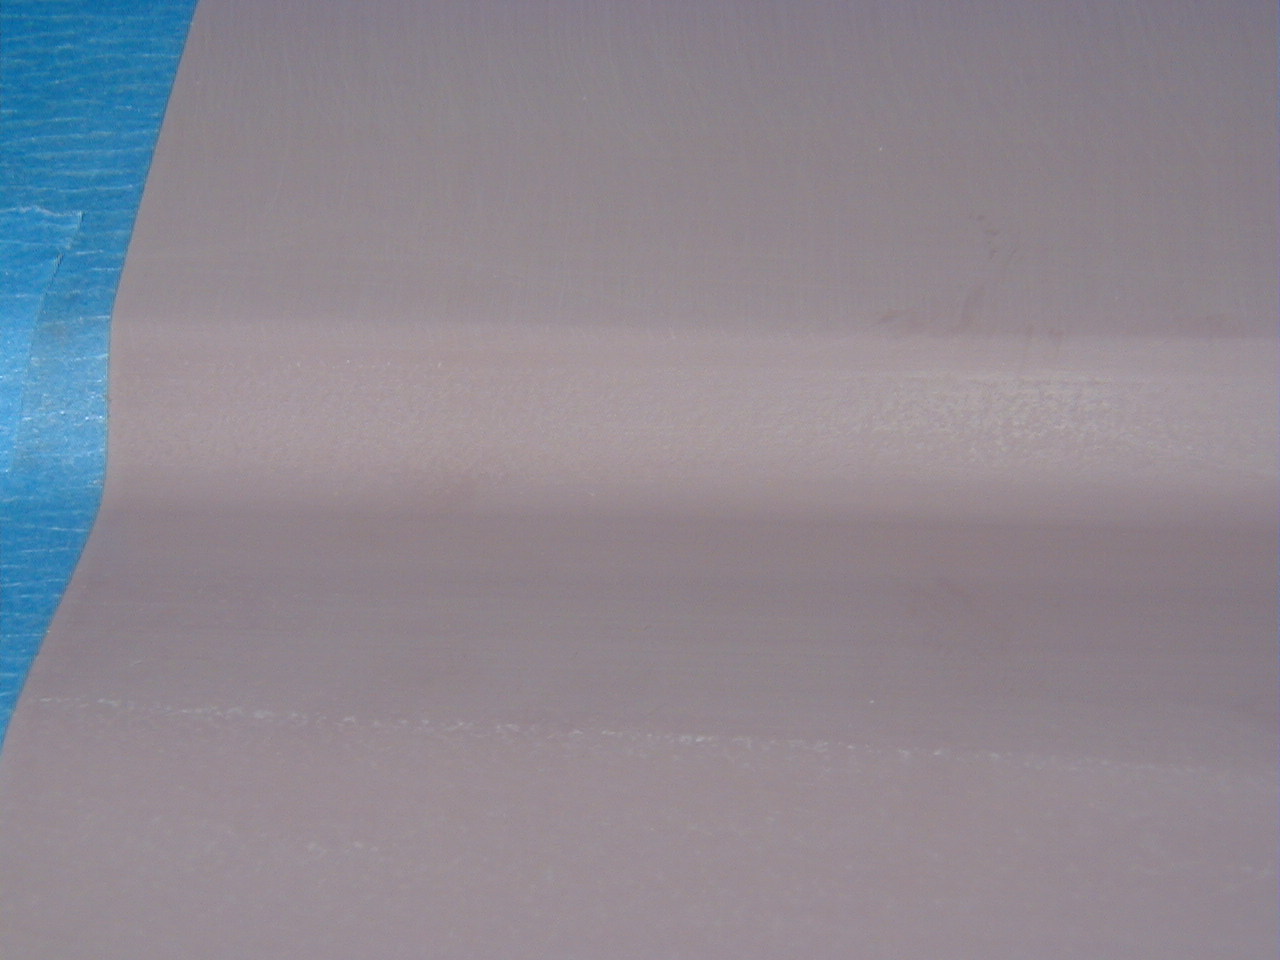
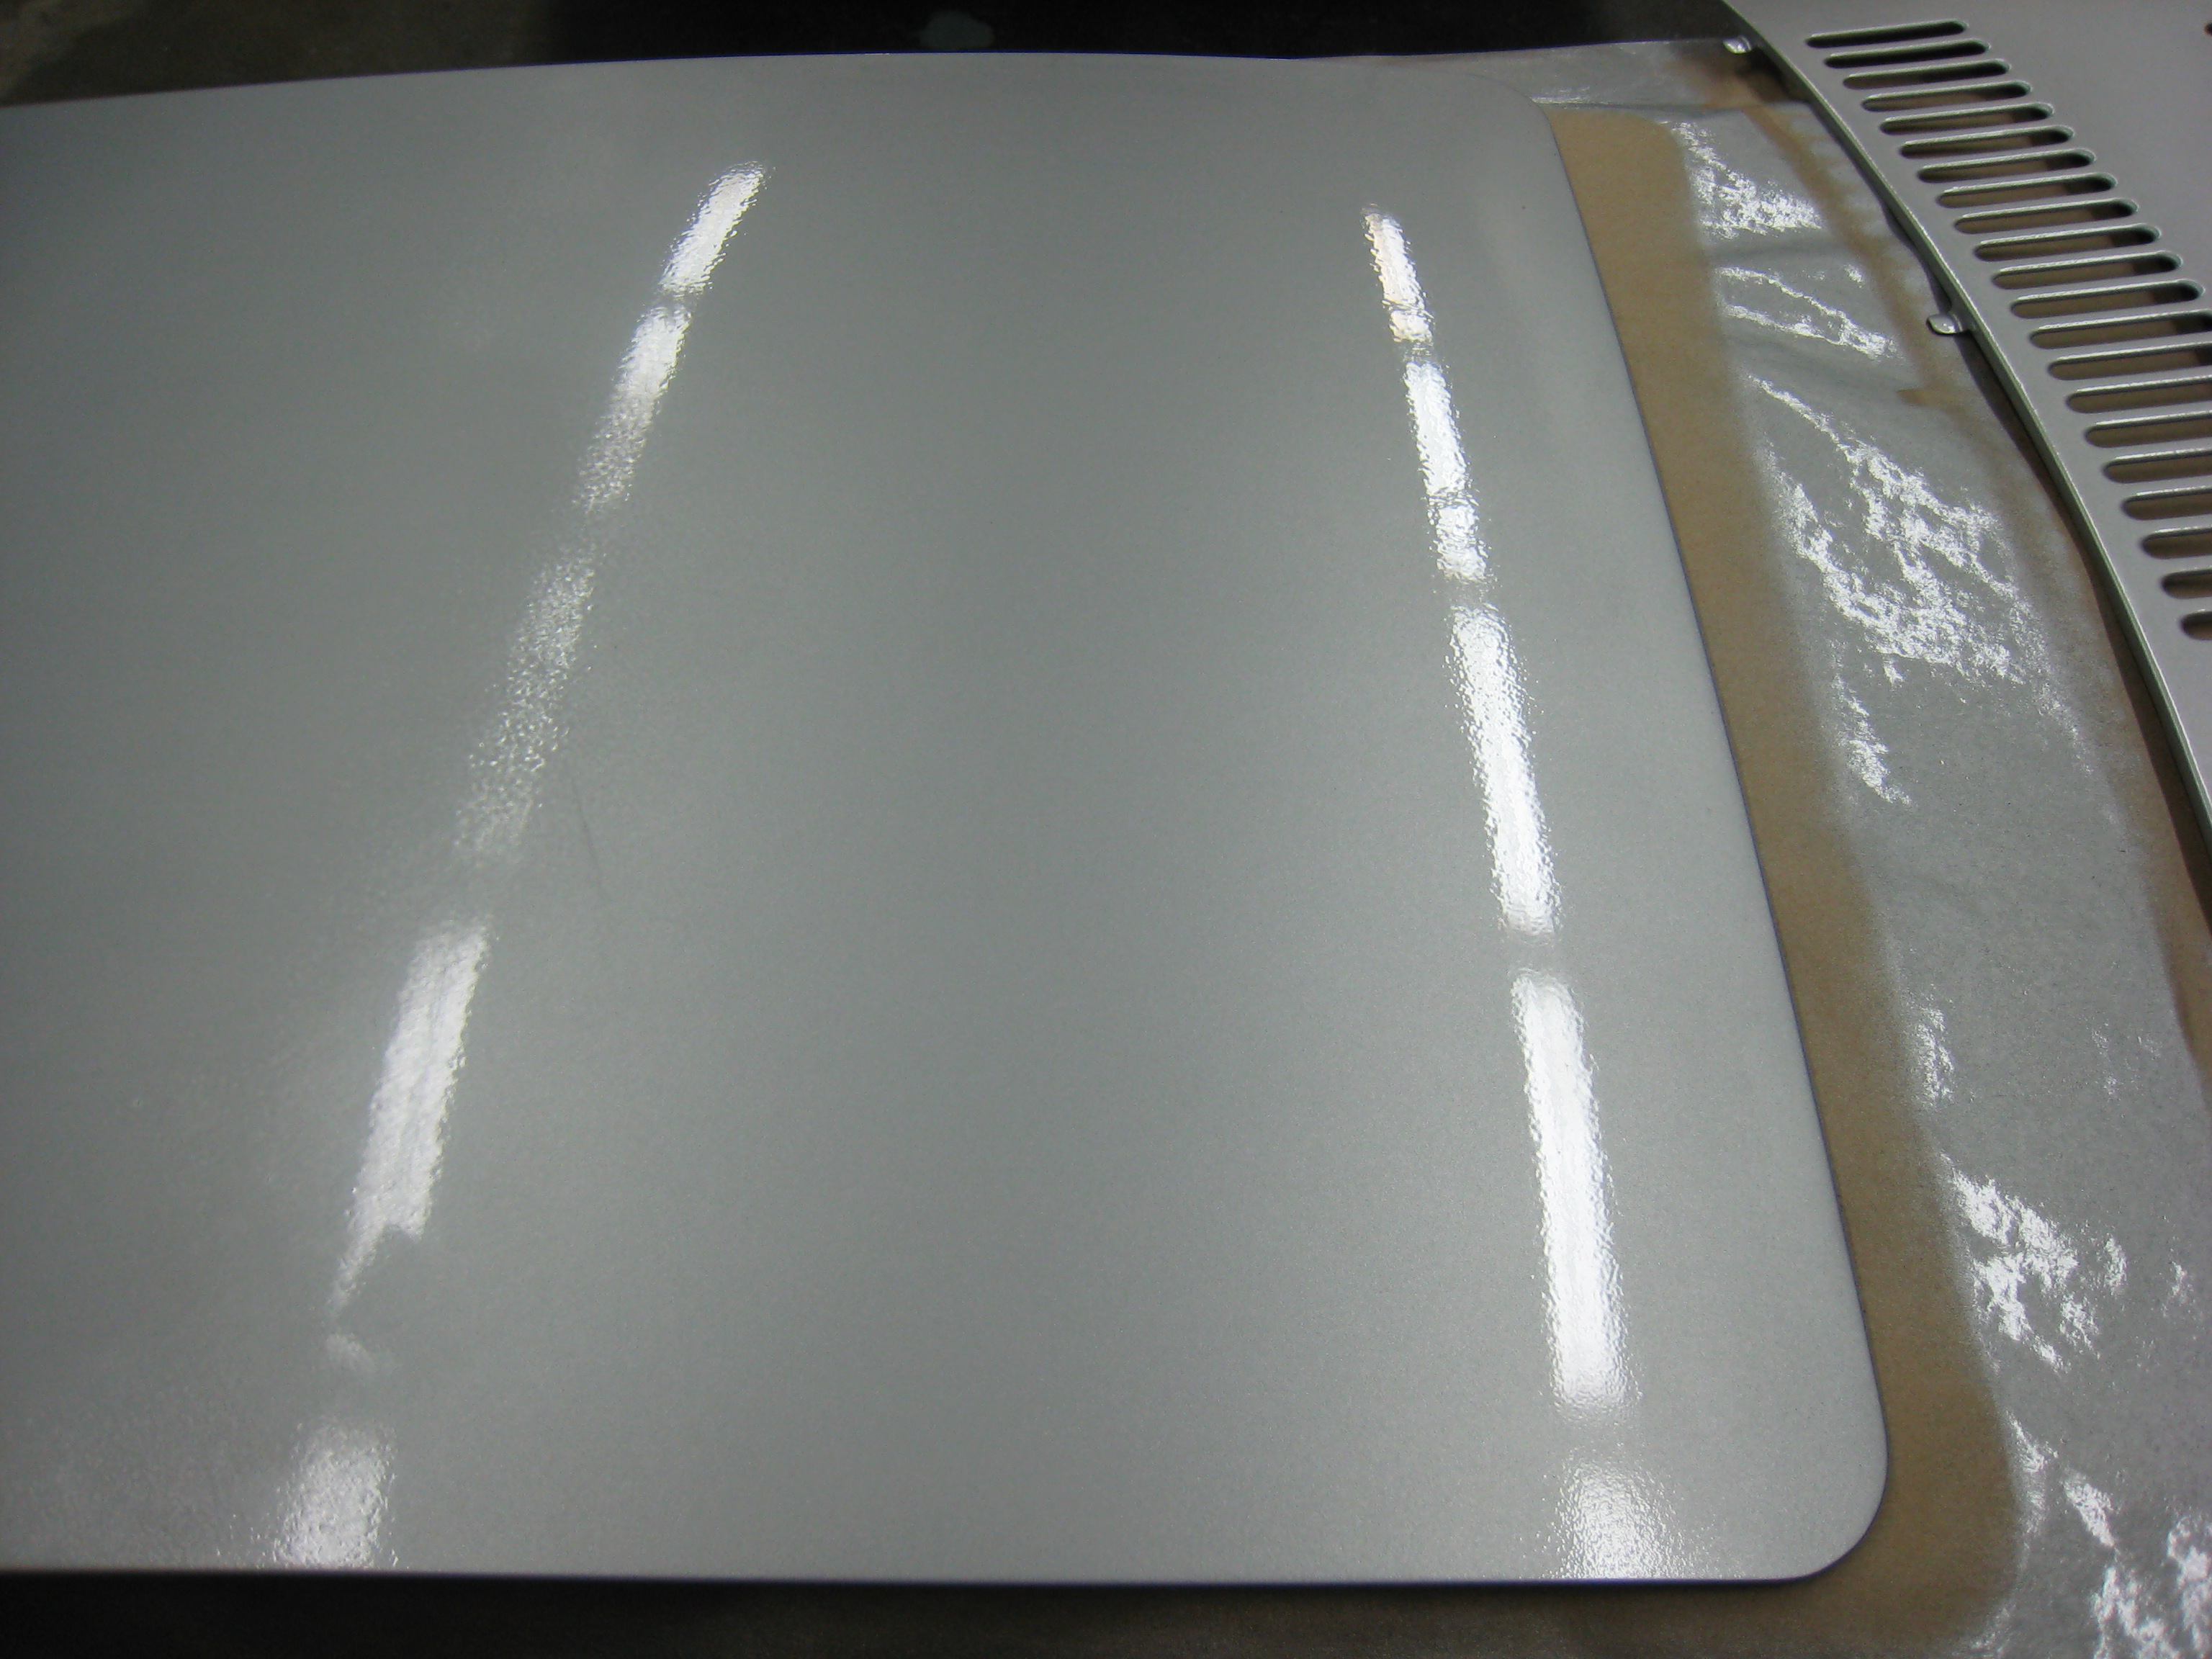
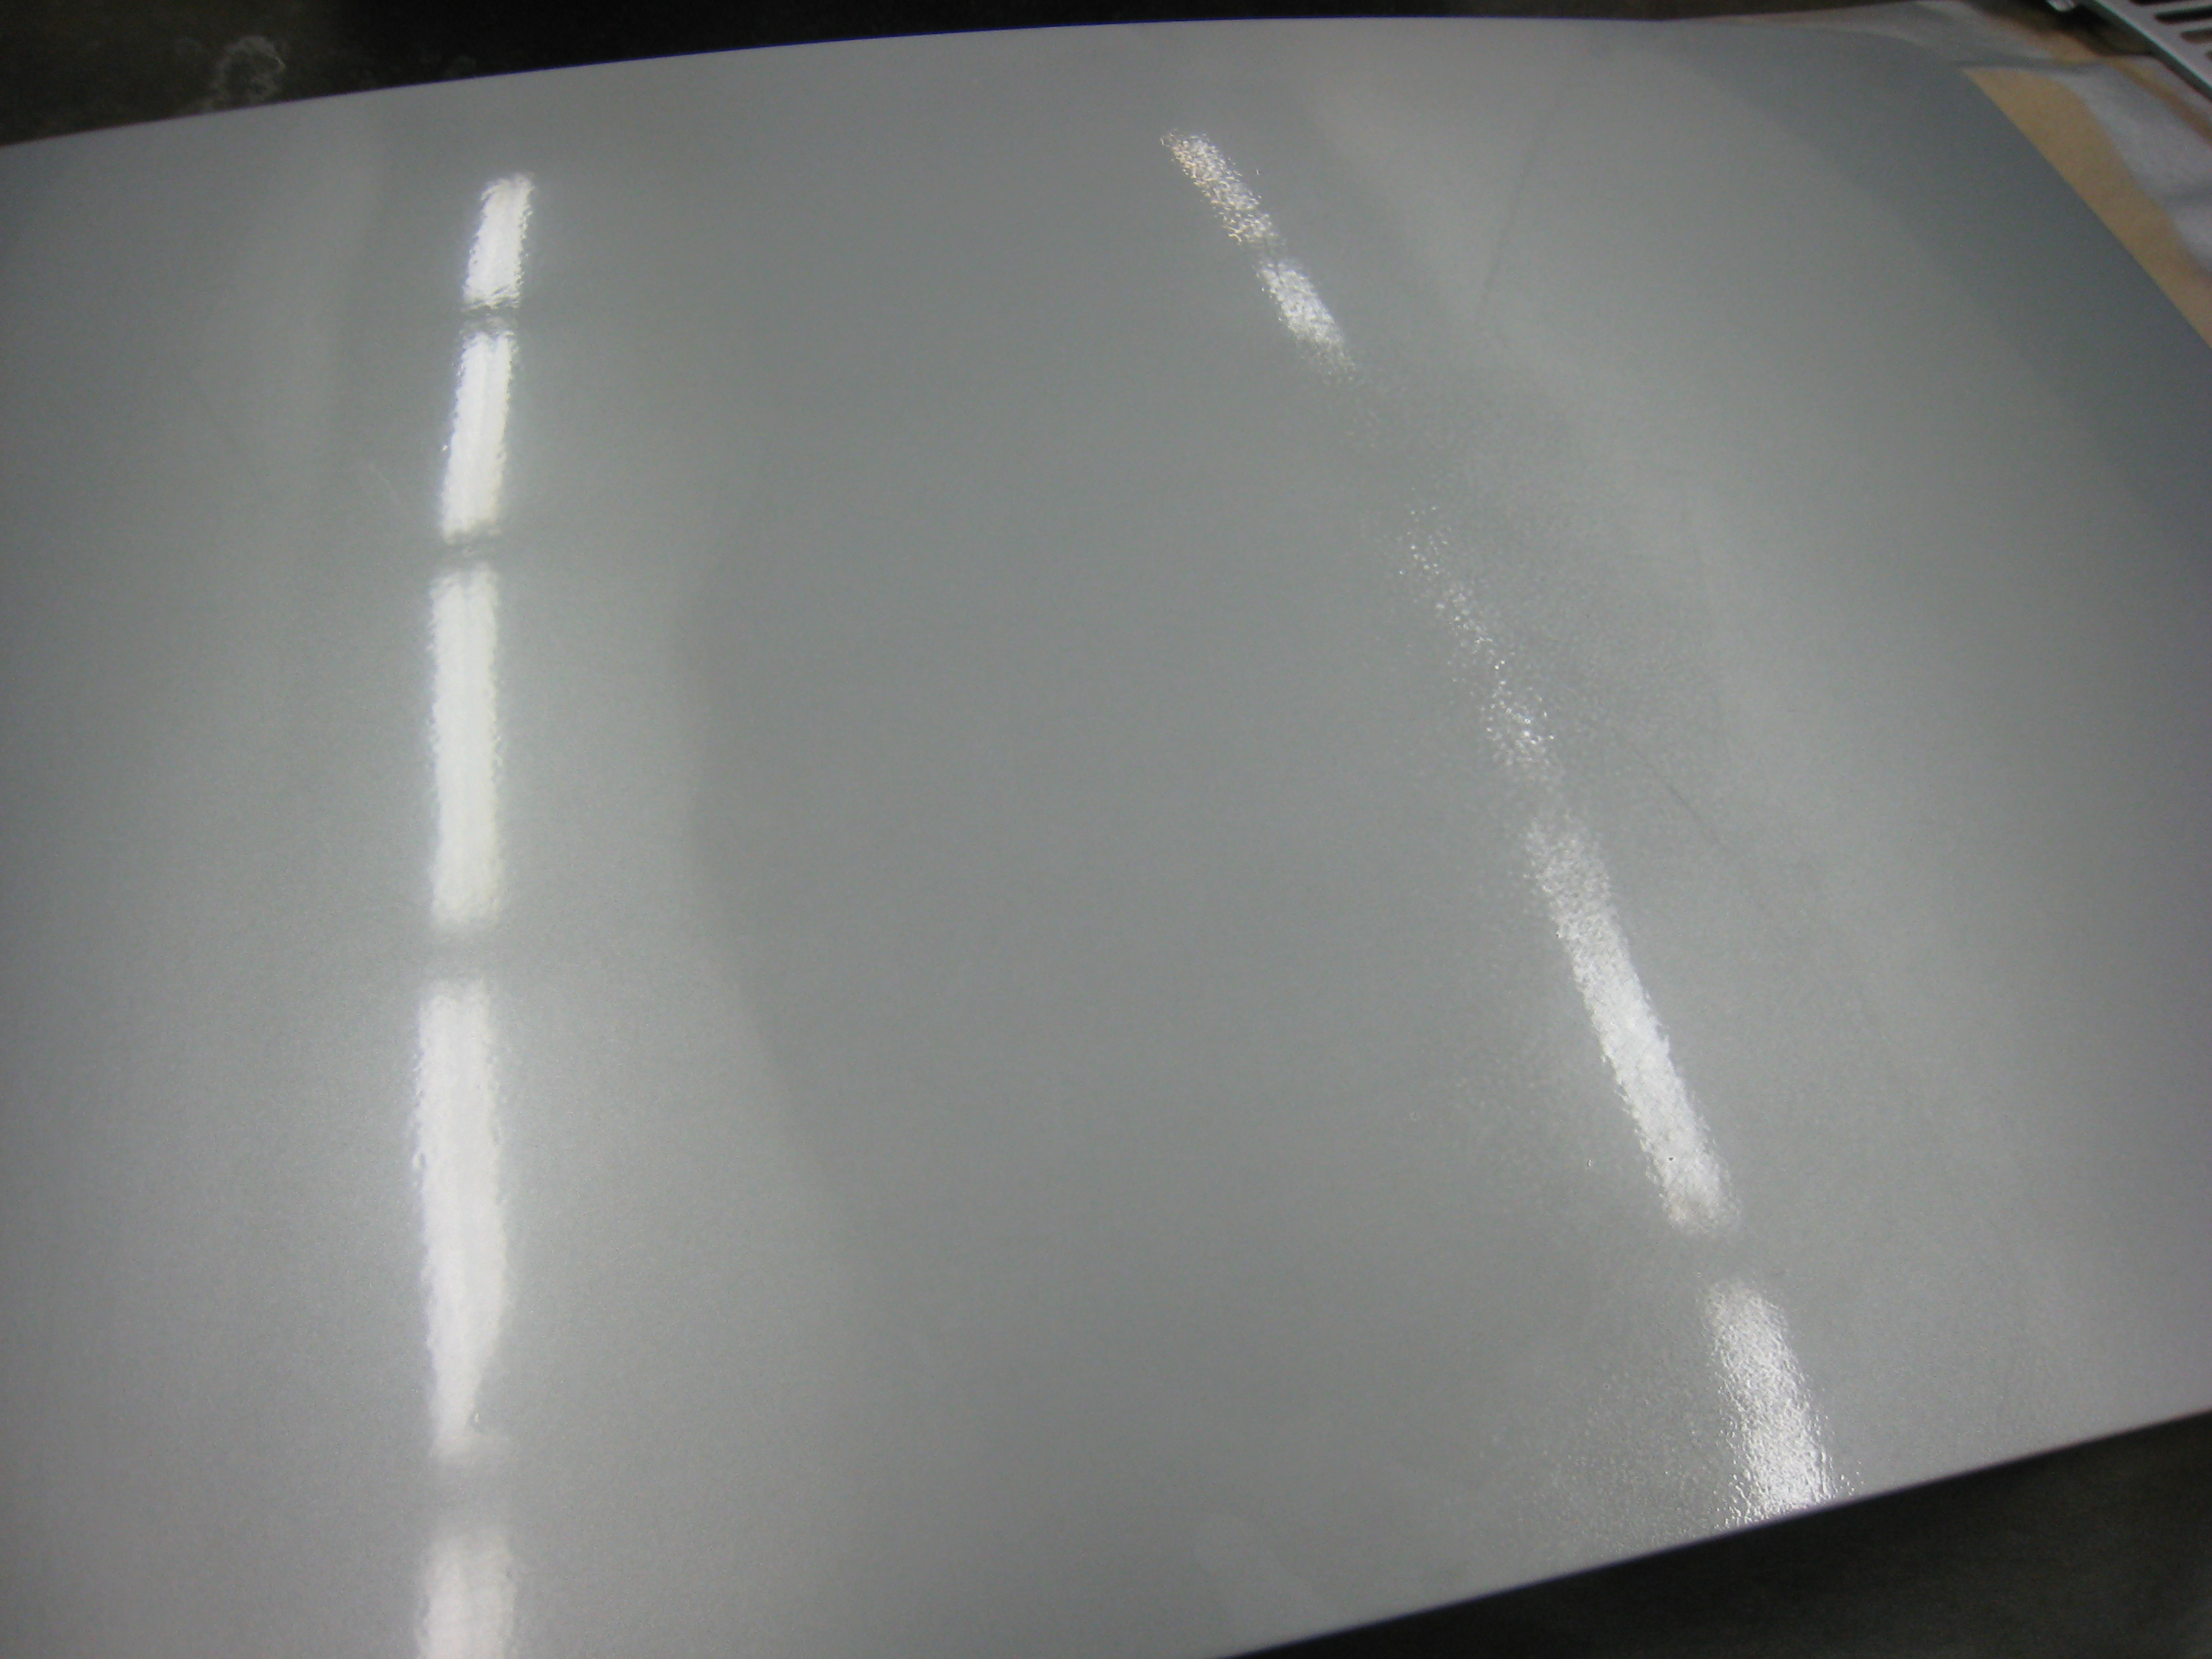
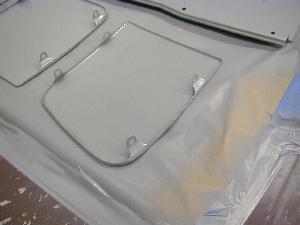
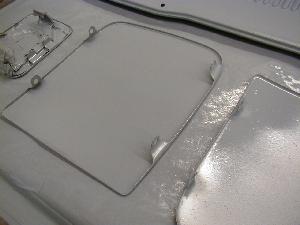
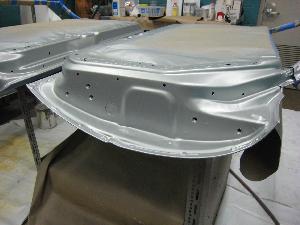
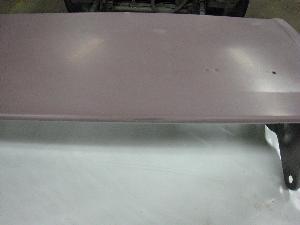
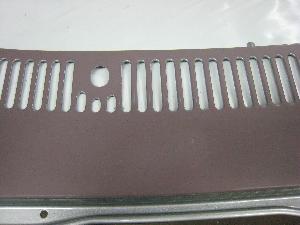
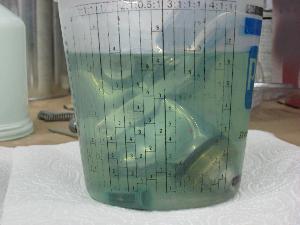
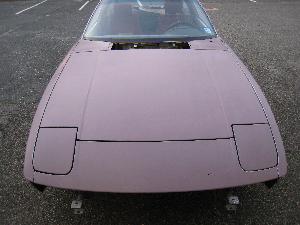
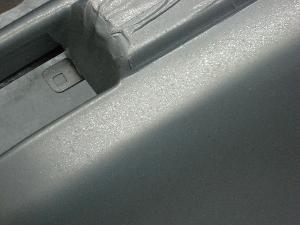
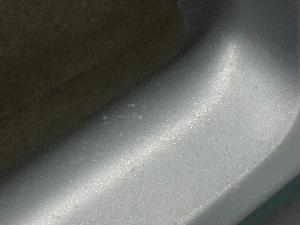
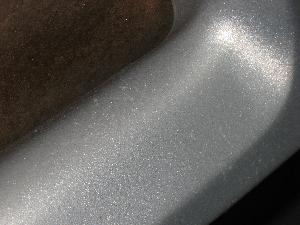
Here's a close up of the sunroof panel, in various stages of clearcoat "repair." The first photo shows the sunroof prior to any wet sanding or polishing. You can see how bad the orange peel is, and why I find this to be unacceptable. It's a pretty stark contrast to the photos of the underside of the sunroof that I took a few weeks ago. (See those photos above, dated March 22.)
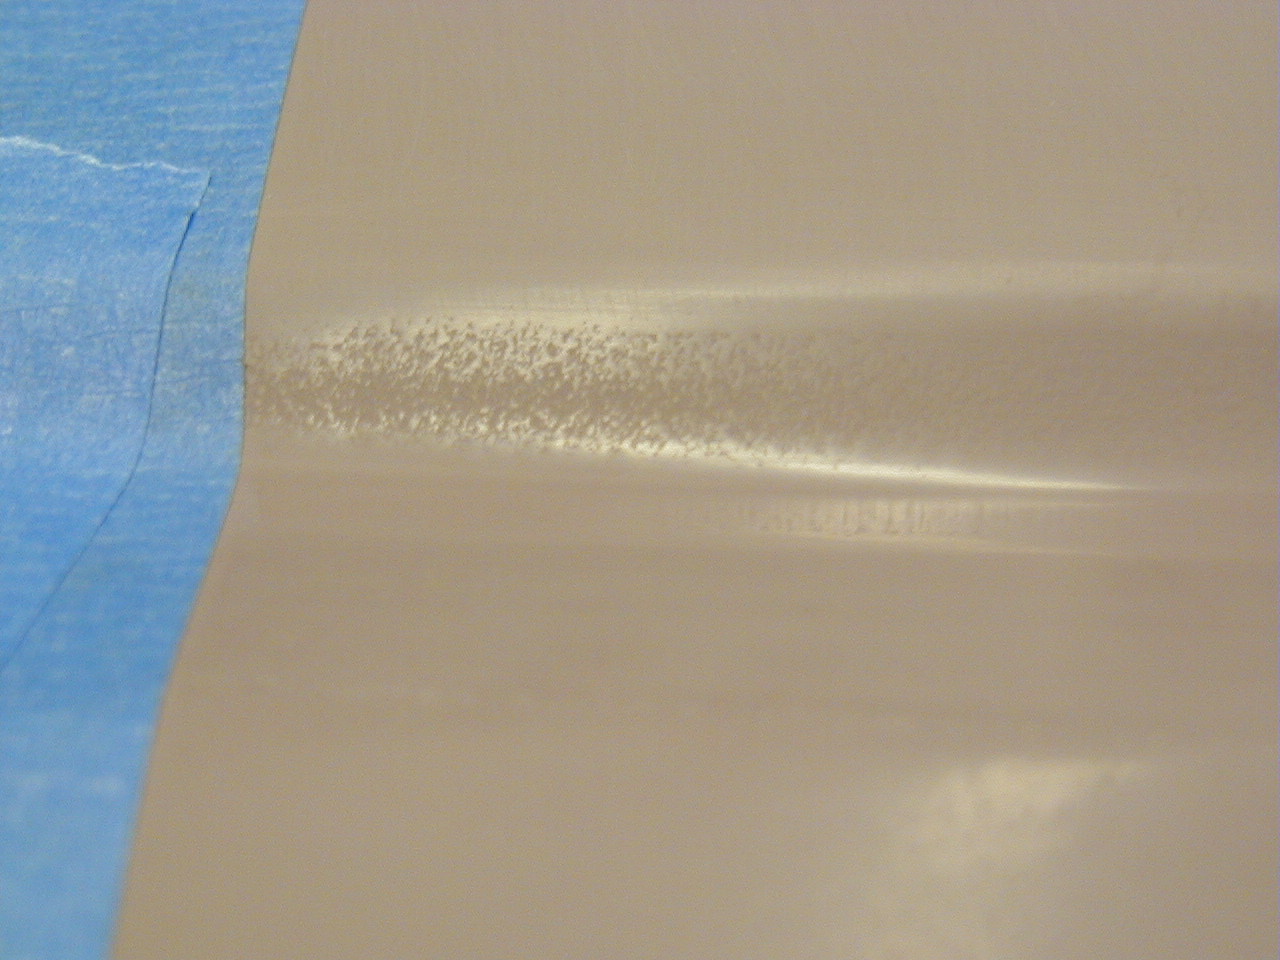
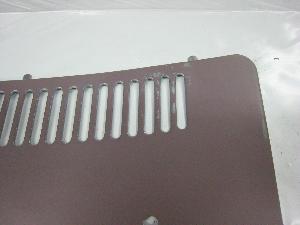
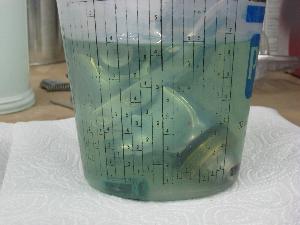
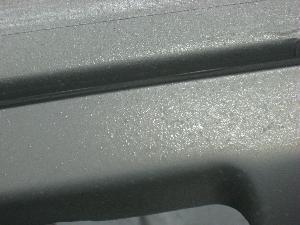
The second photo shows the left third of the sunroof after wet-sanding and polishing, and the middle third of the sunroof after only wet-sanding. The right third is untouched from the original orange peel finish.
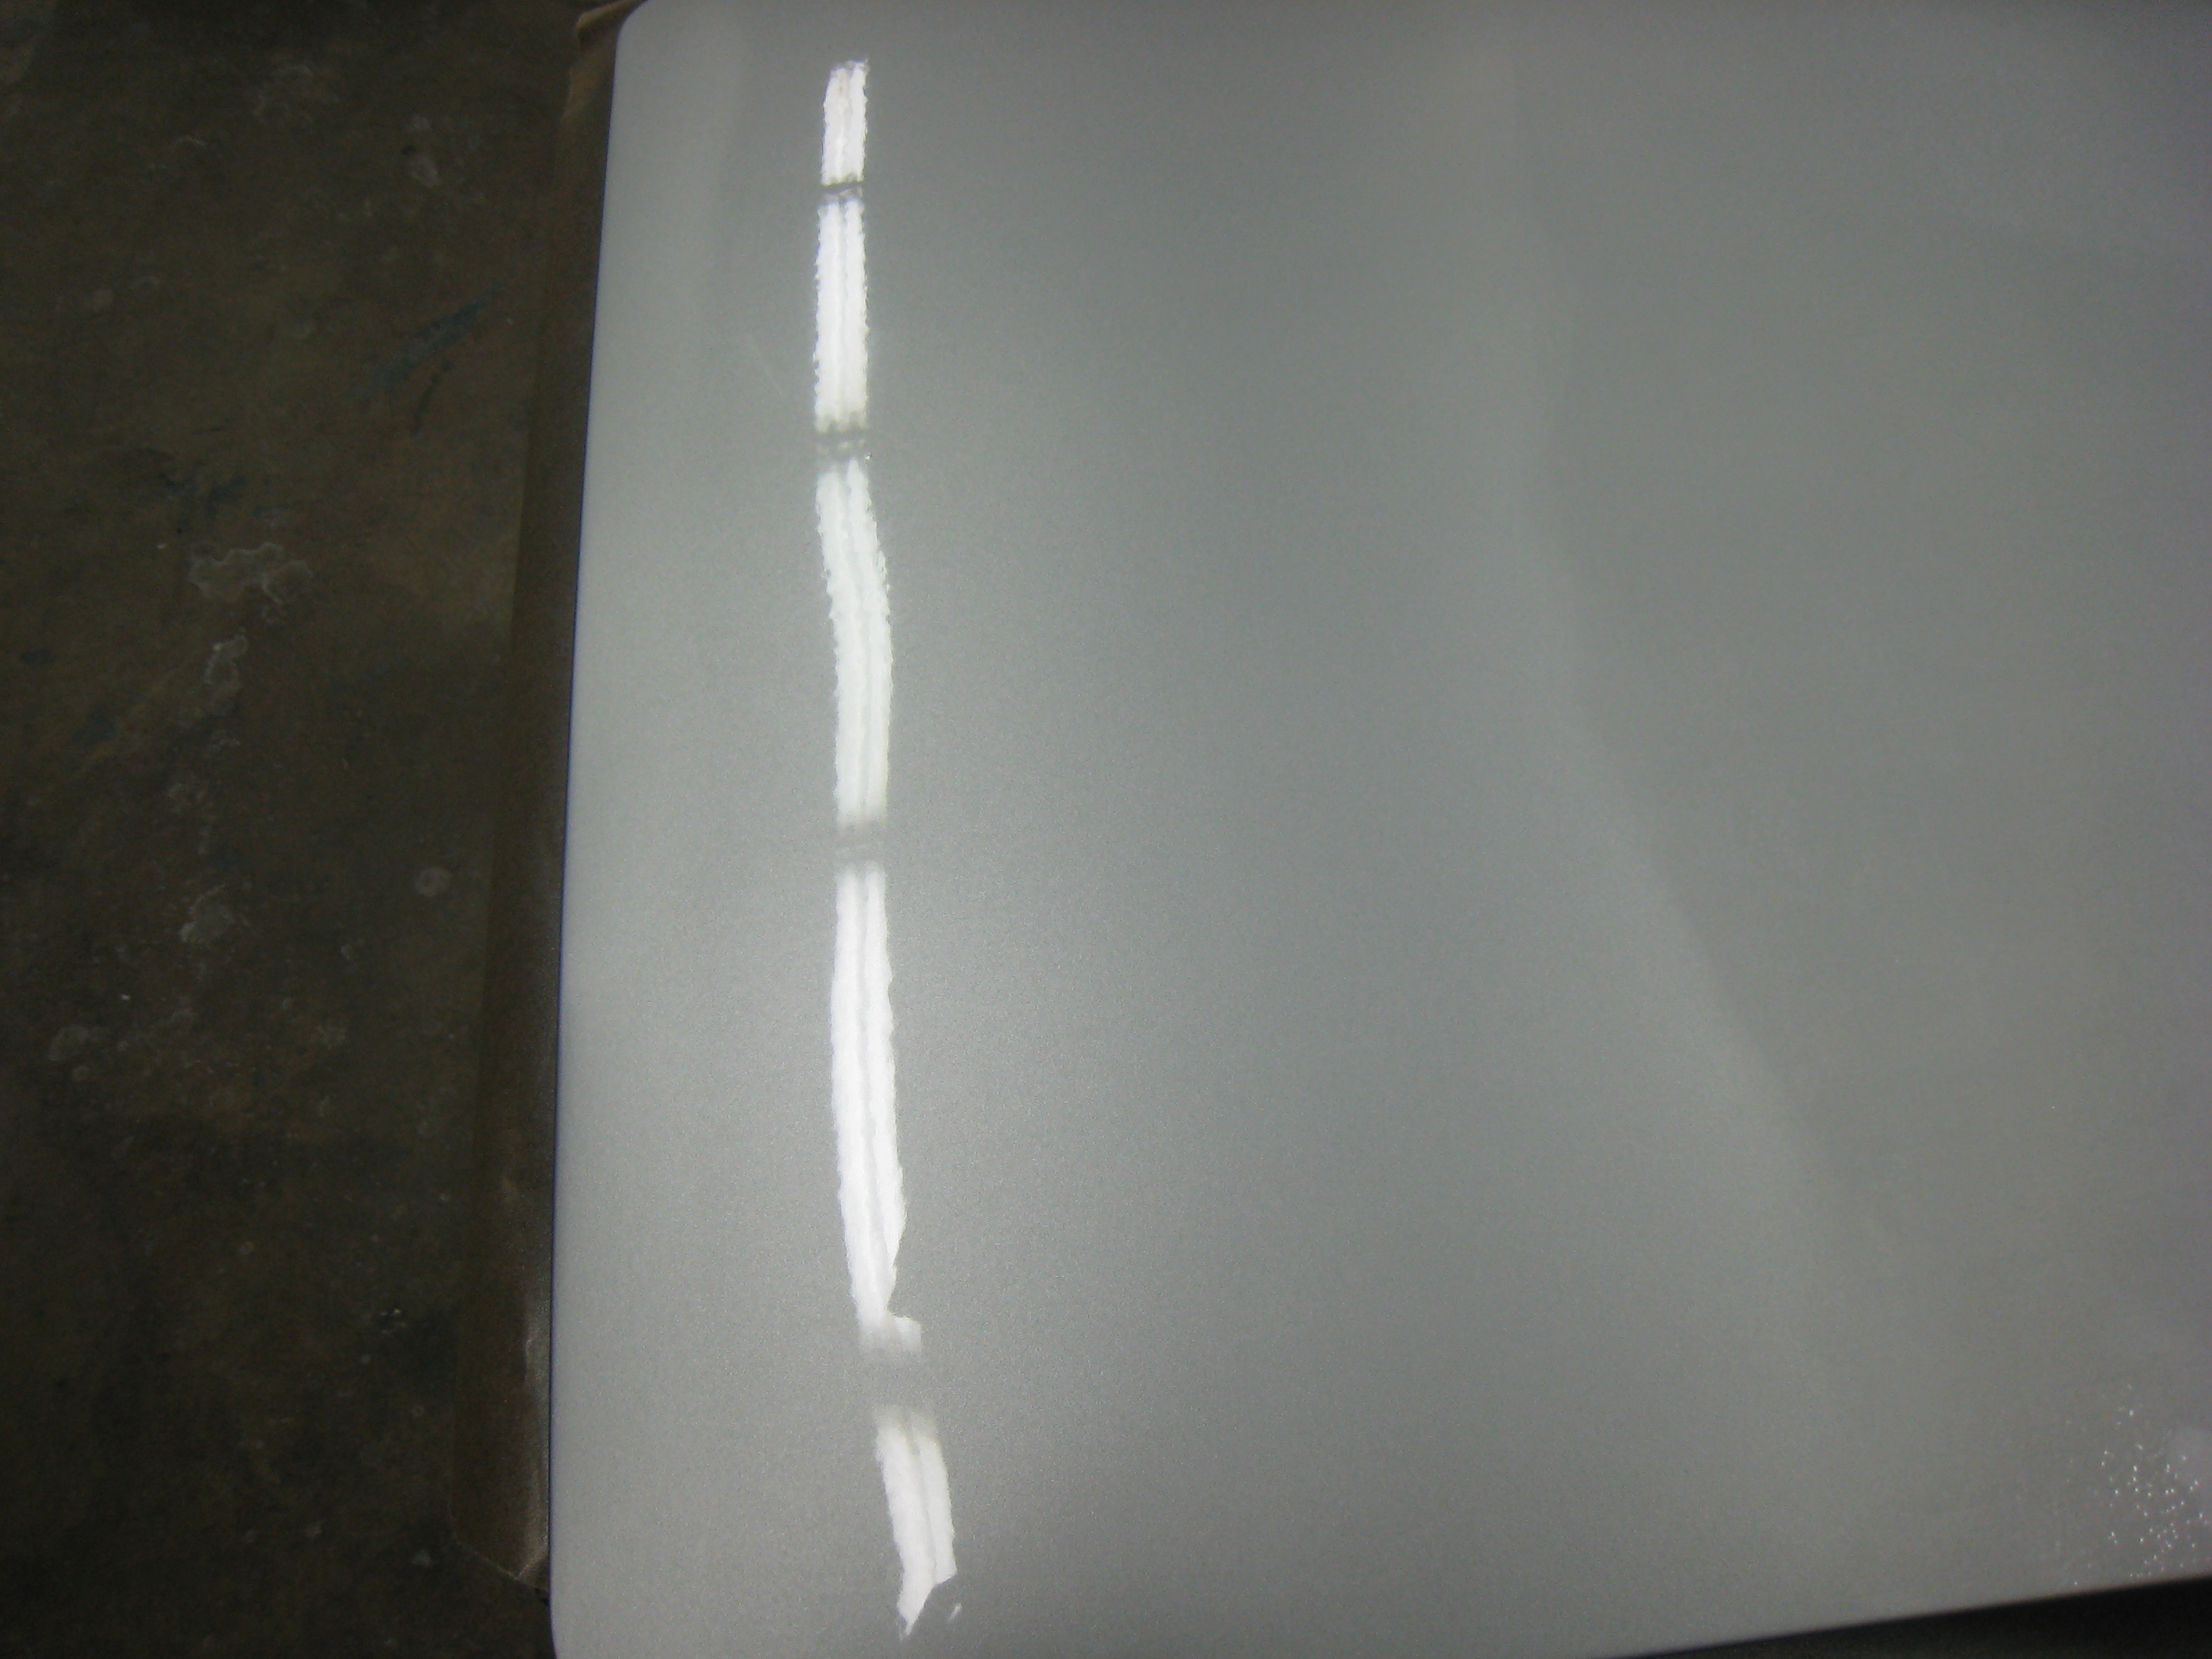
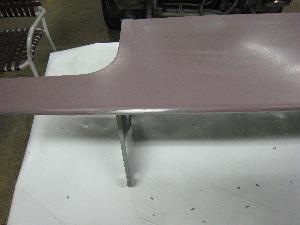
The third photo of the sunroof shows the finished product, after wet sanding the entire sunroof. The clear looks pretty good -- but not great -- in this photo, but you can't really see that it doesn't seem to have any depth to its shine. I think it's acceptable, but not great. Still, this gives me hope about wet sanding and polishing the entire car.
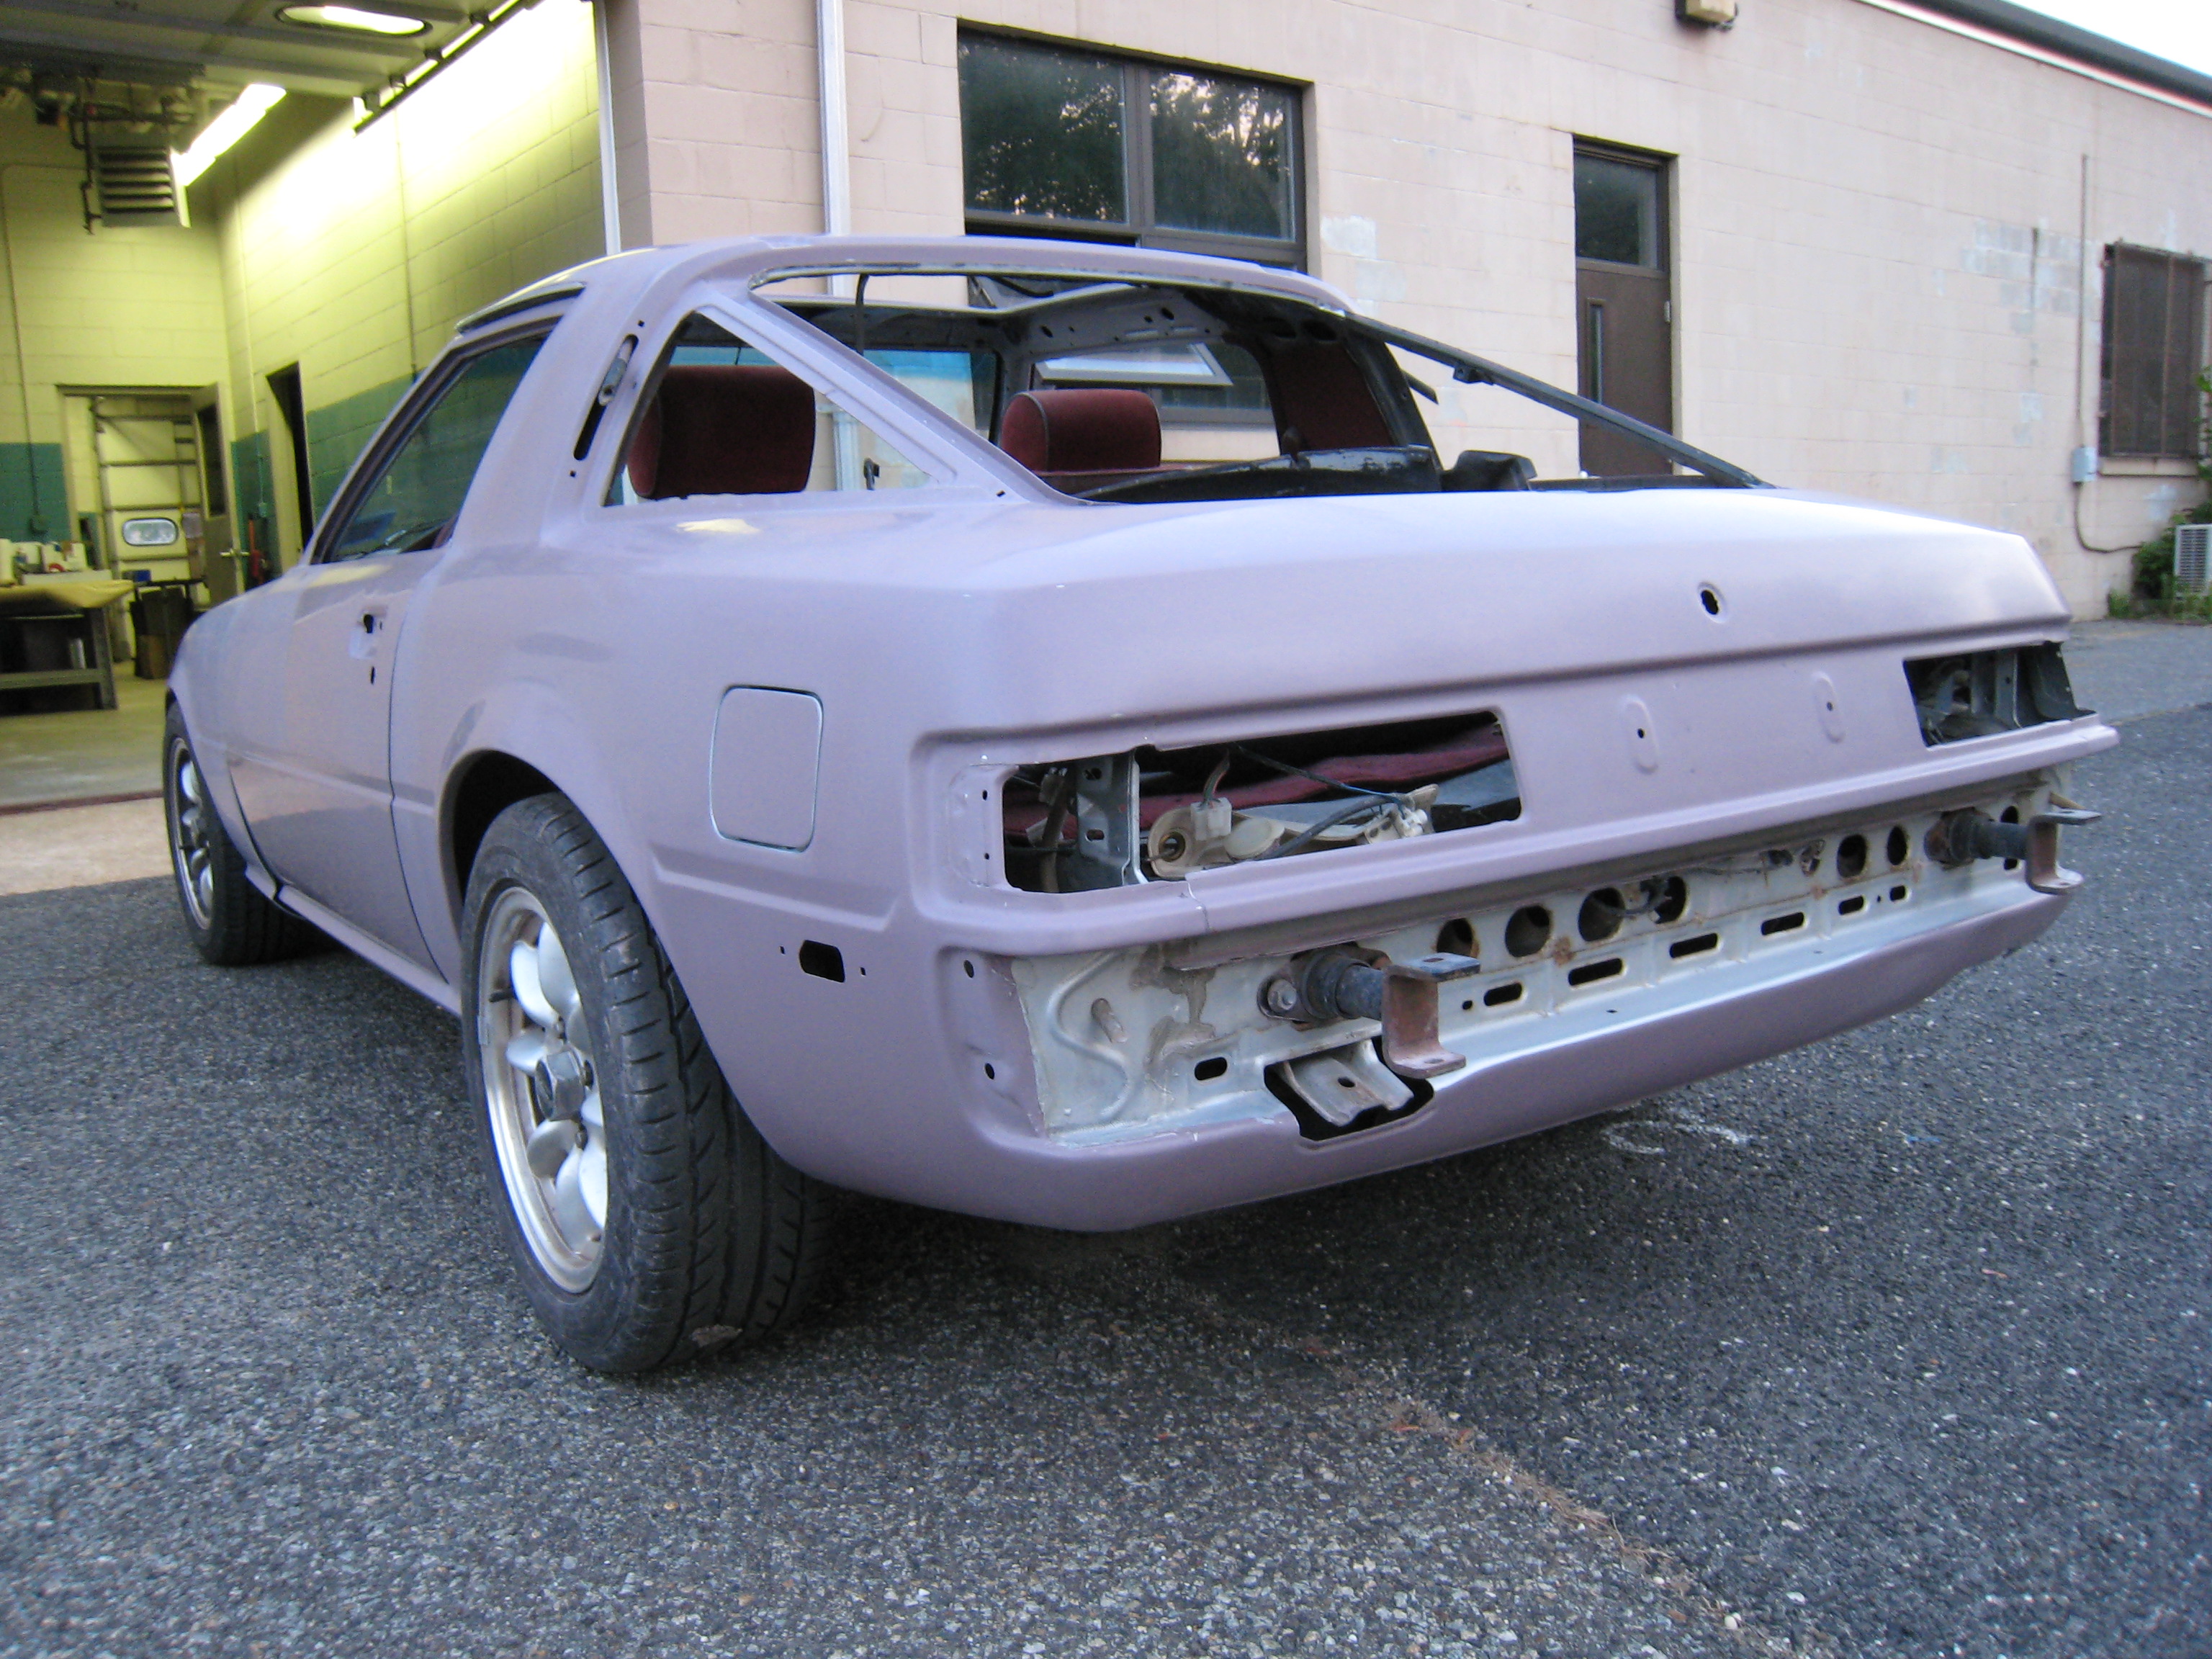
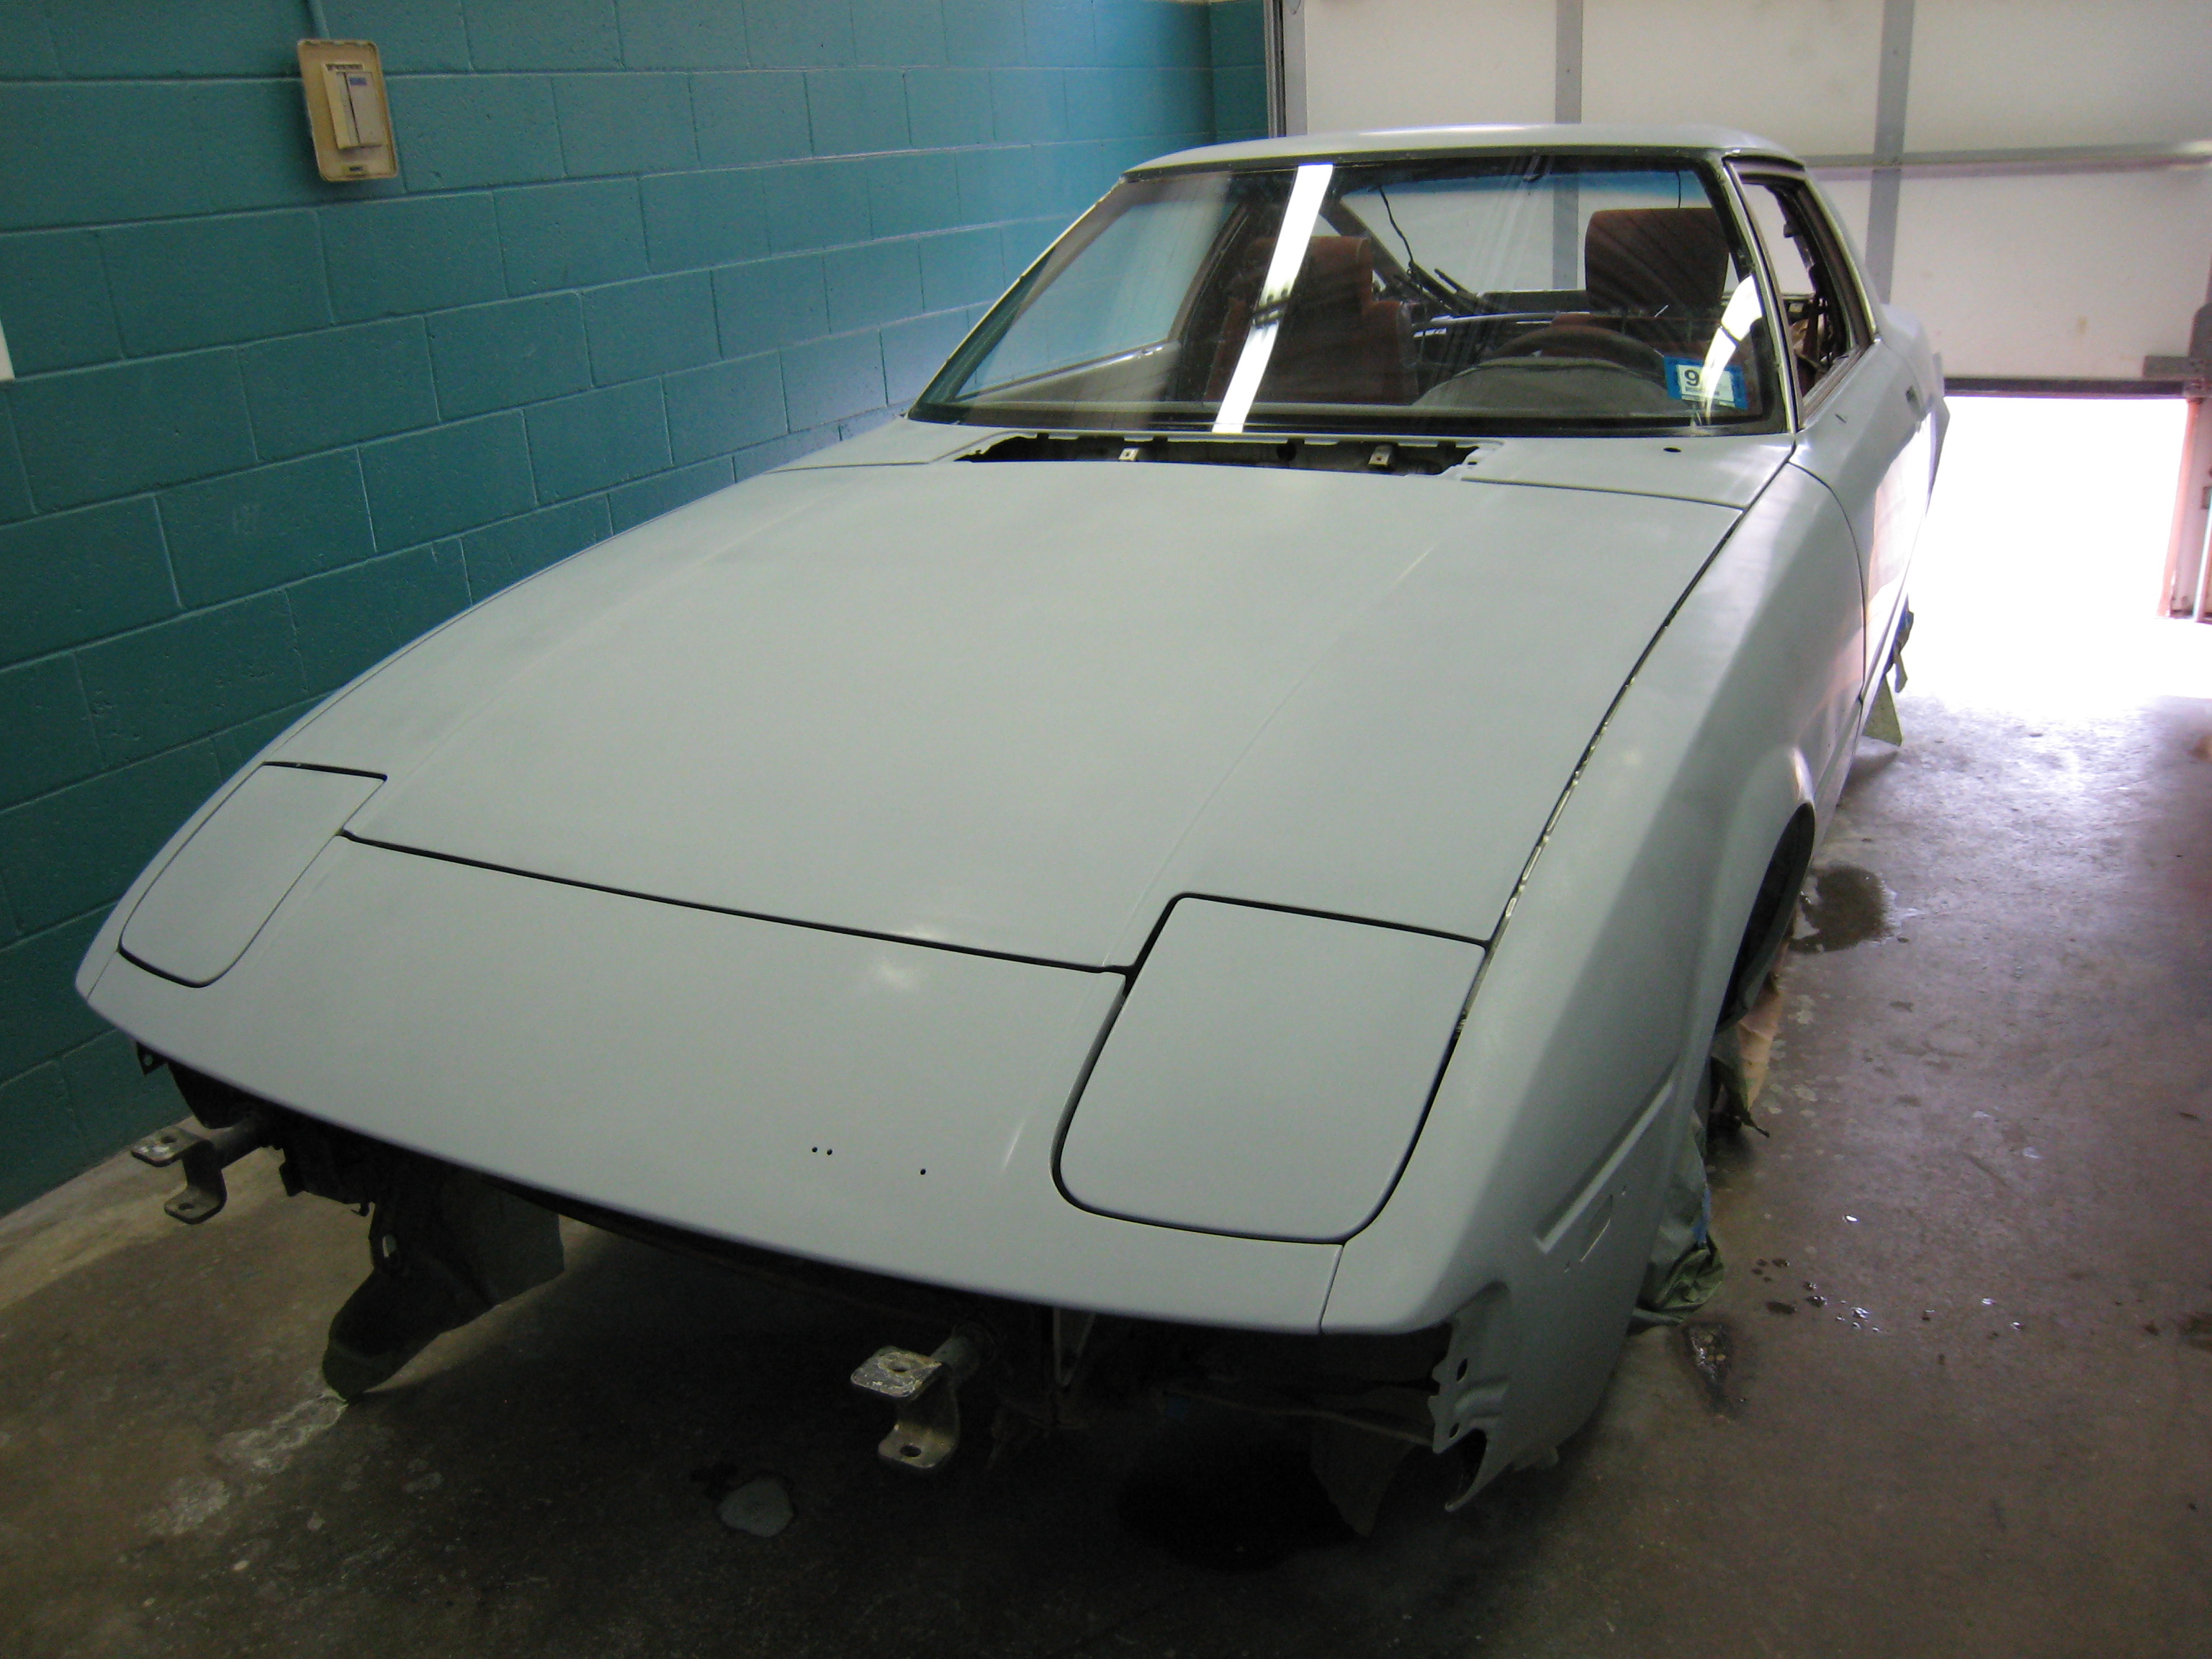
June 23, 2007
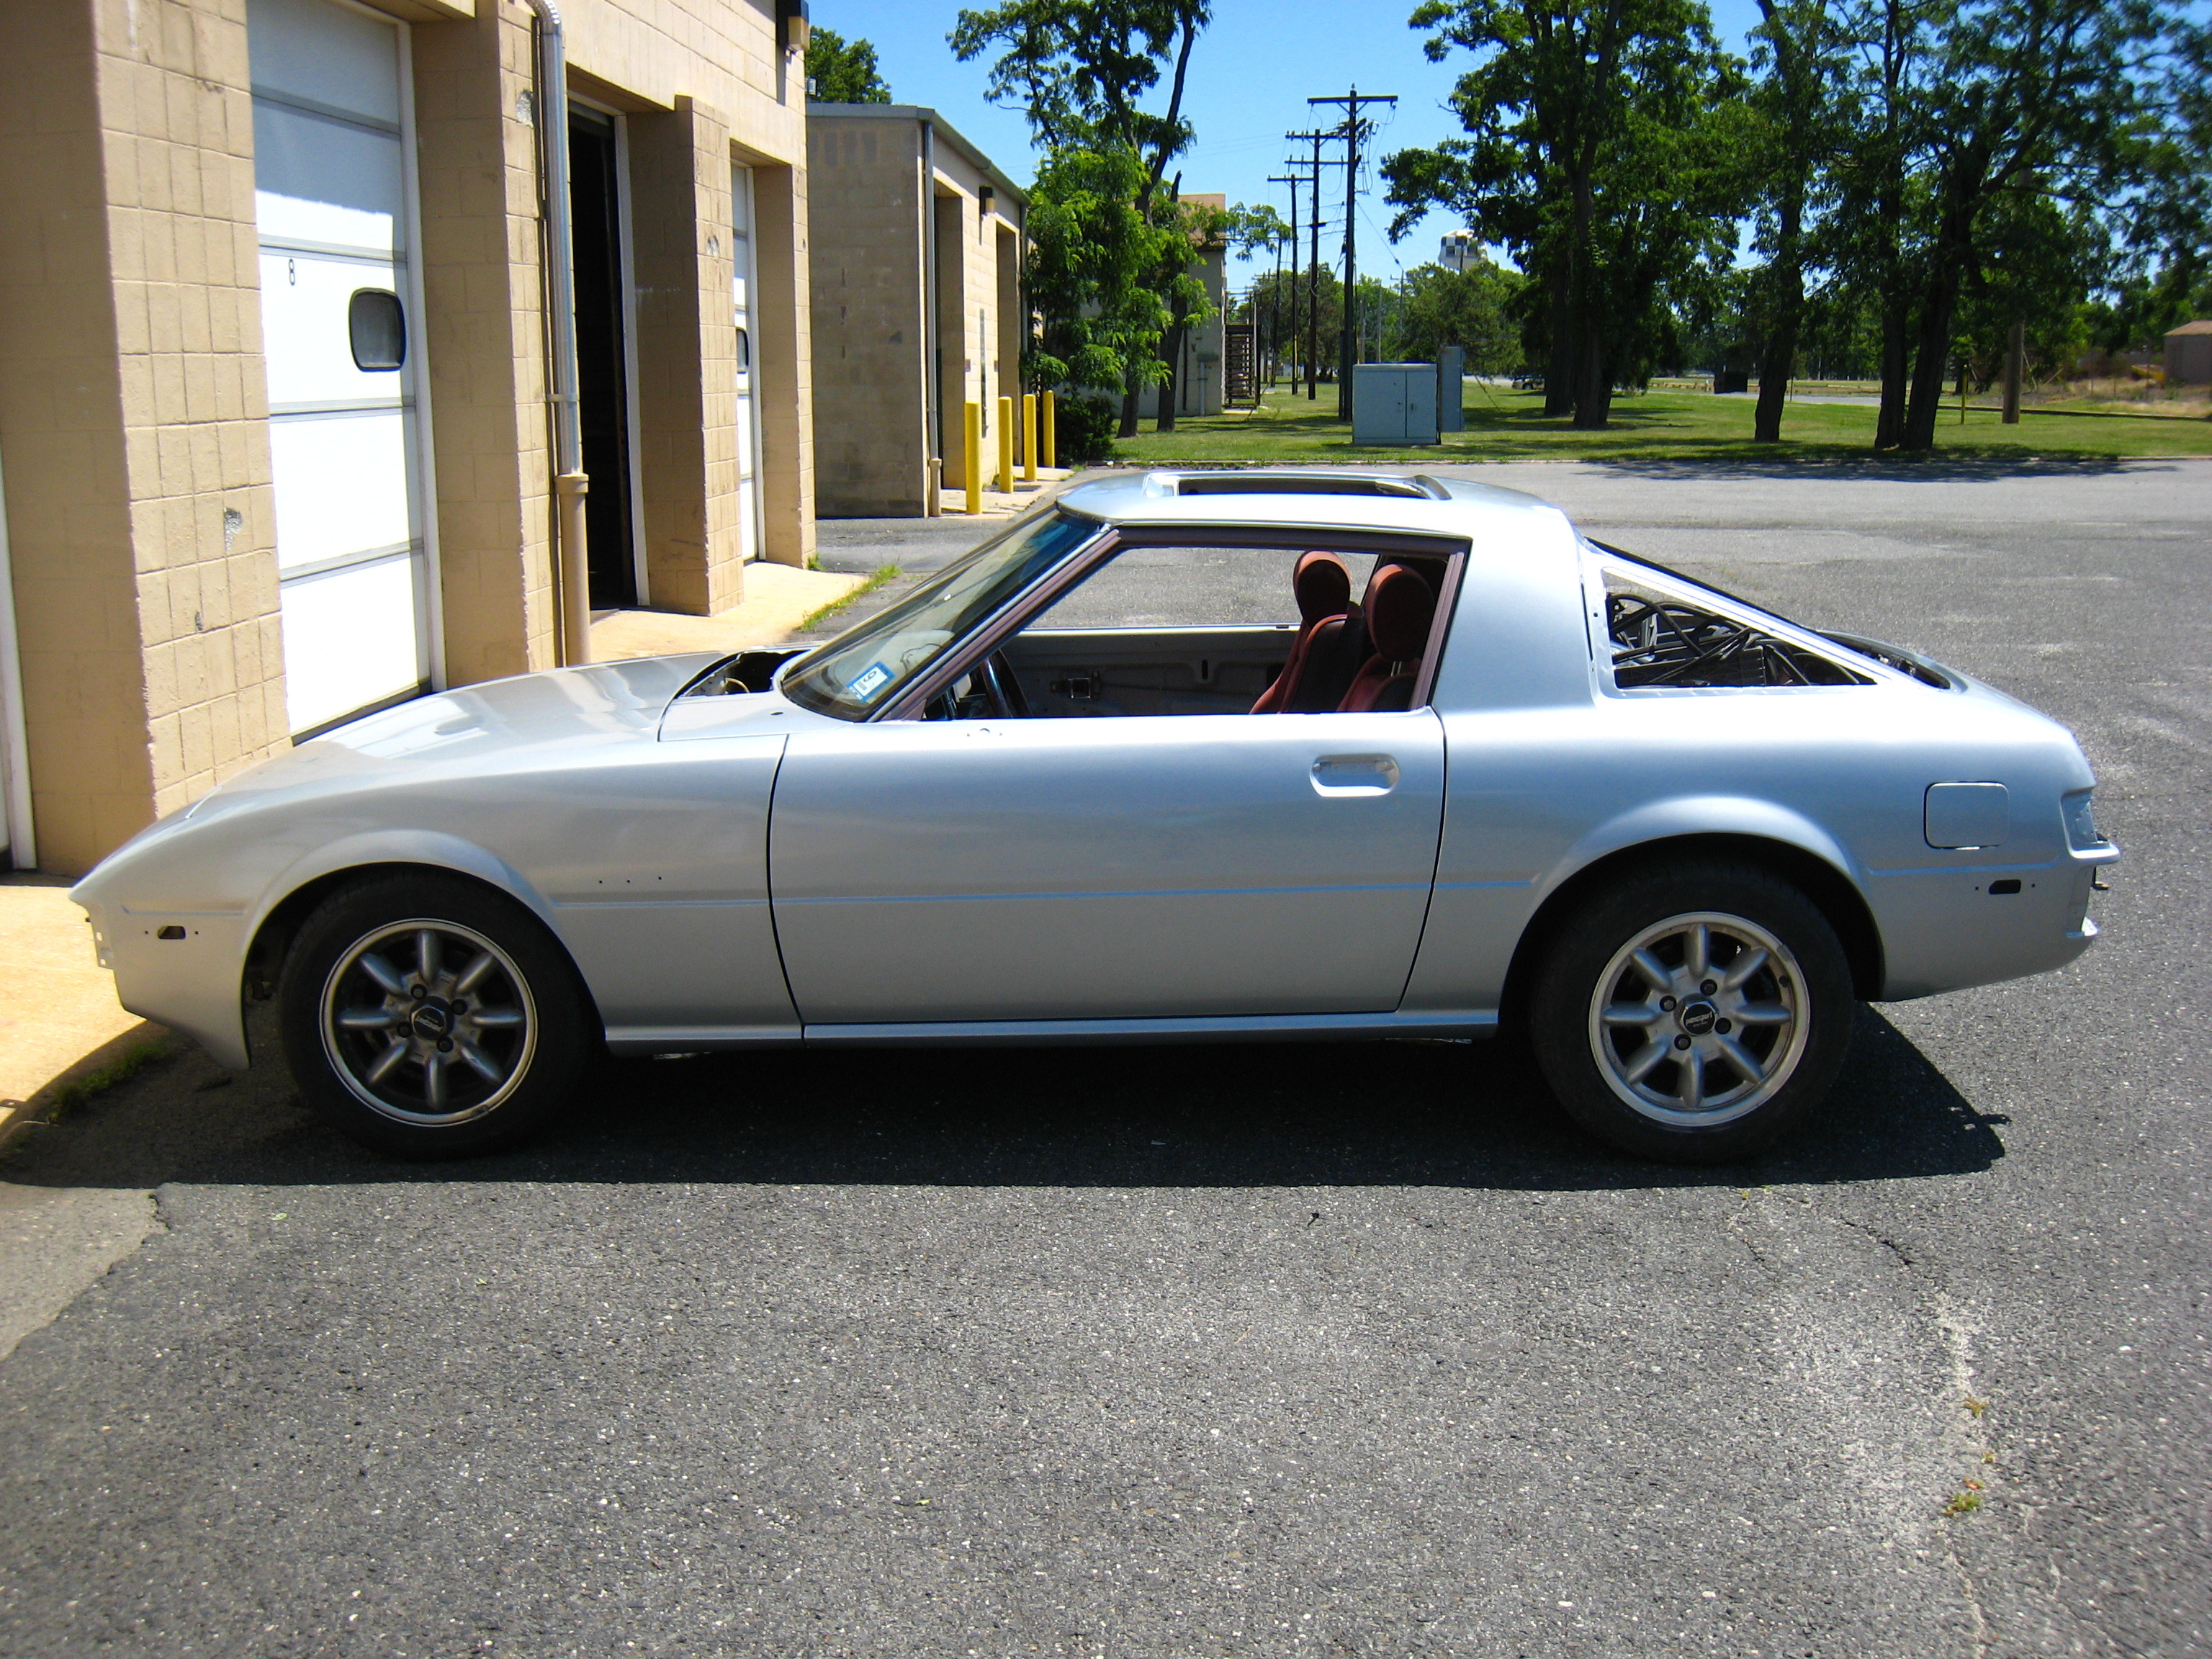
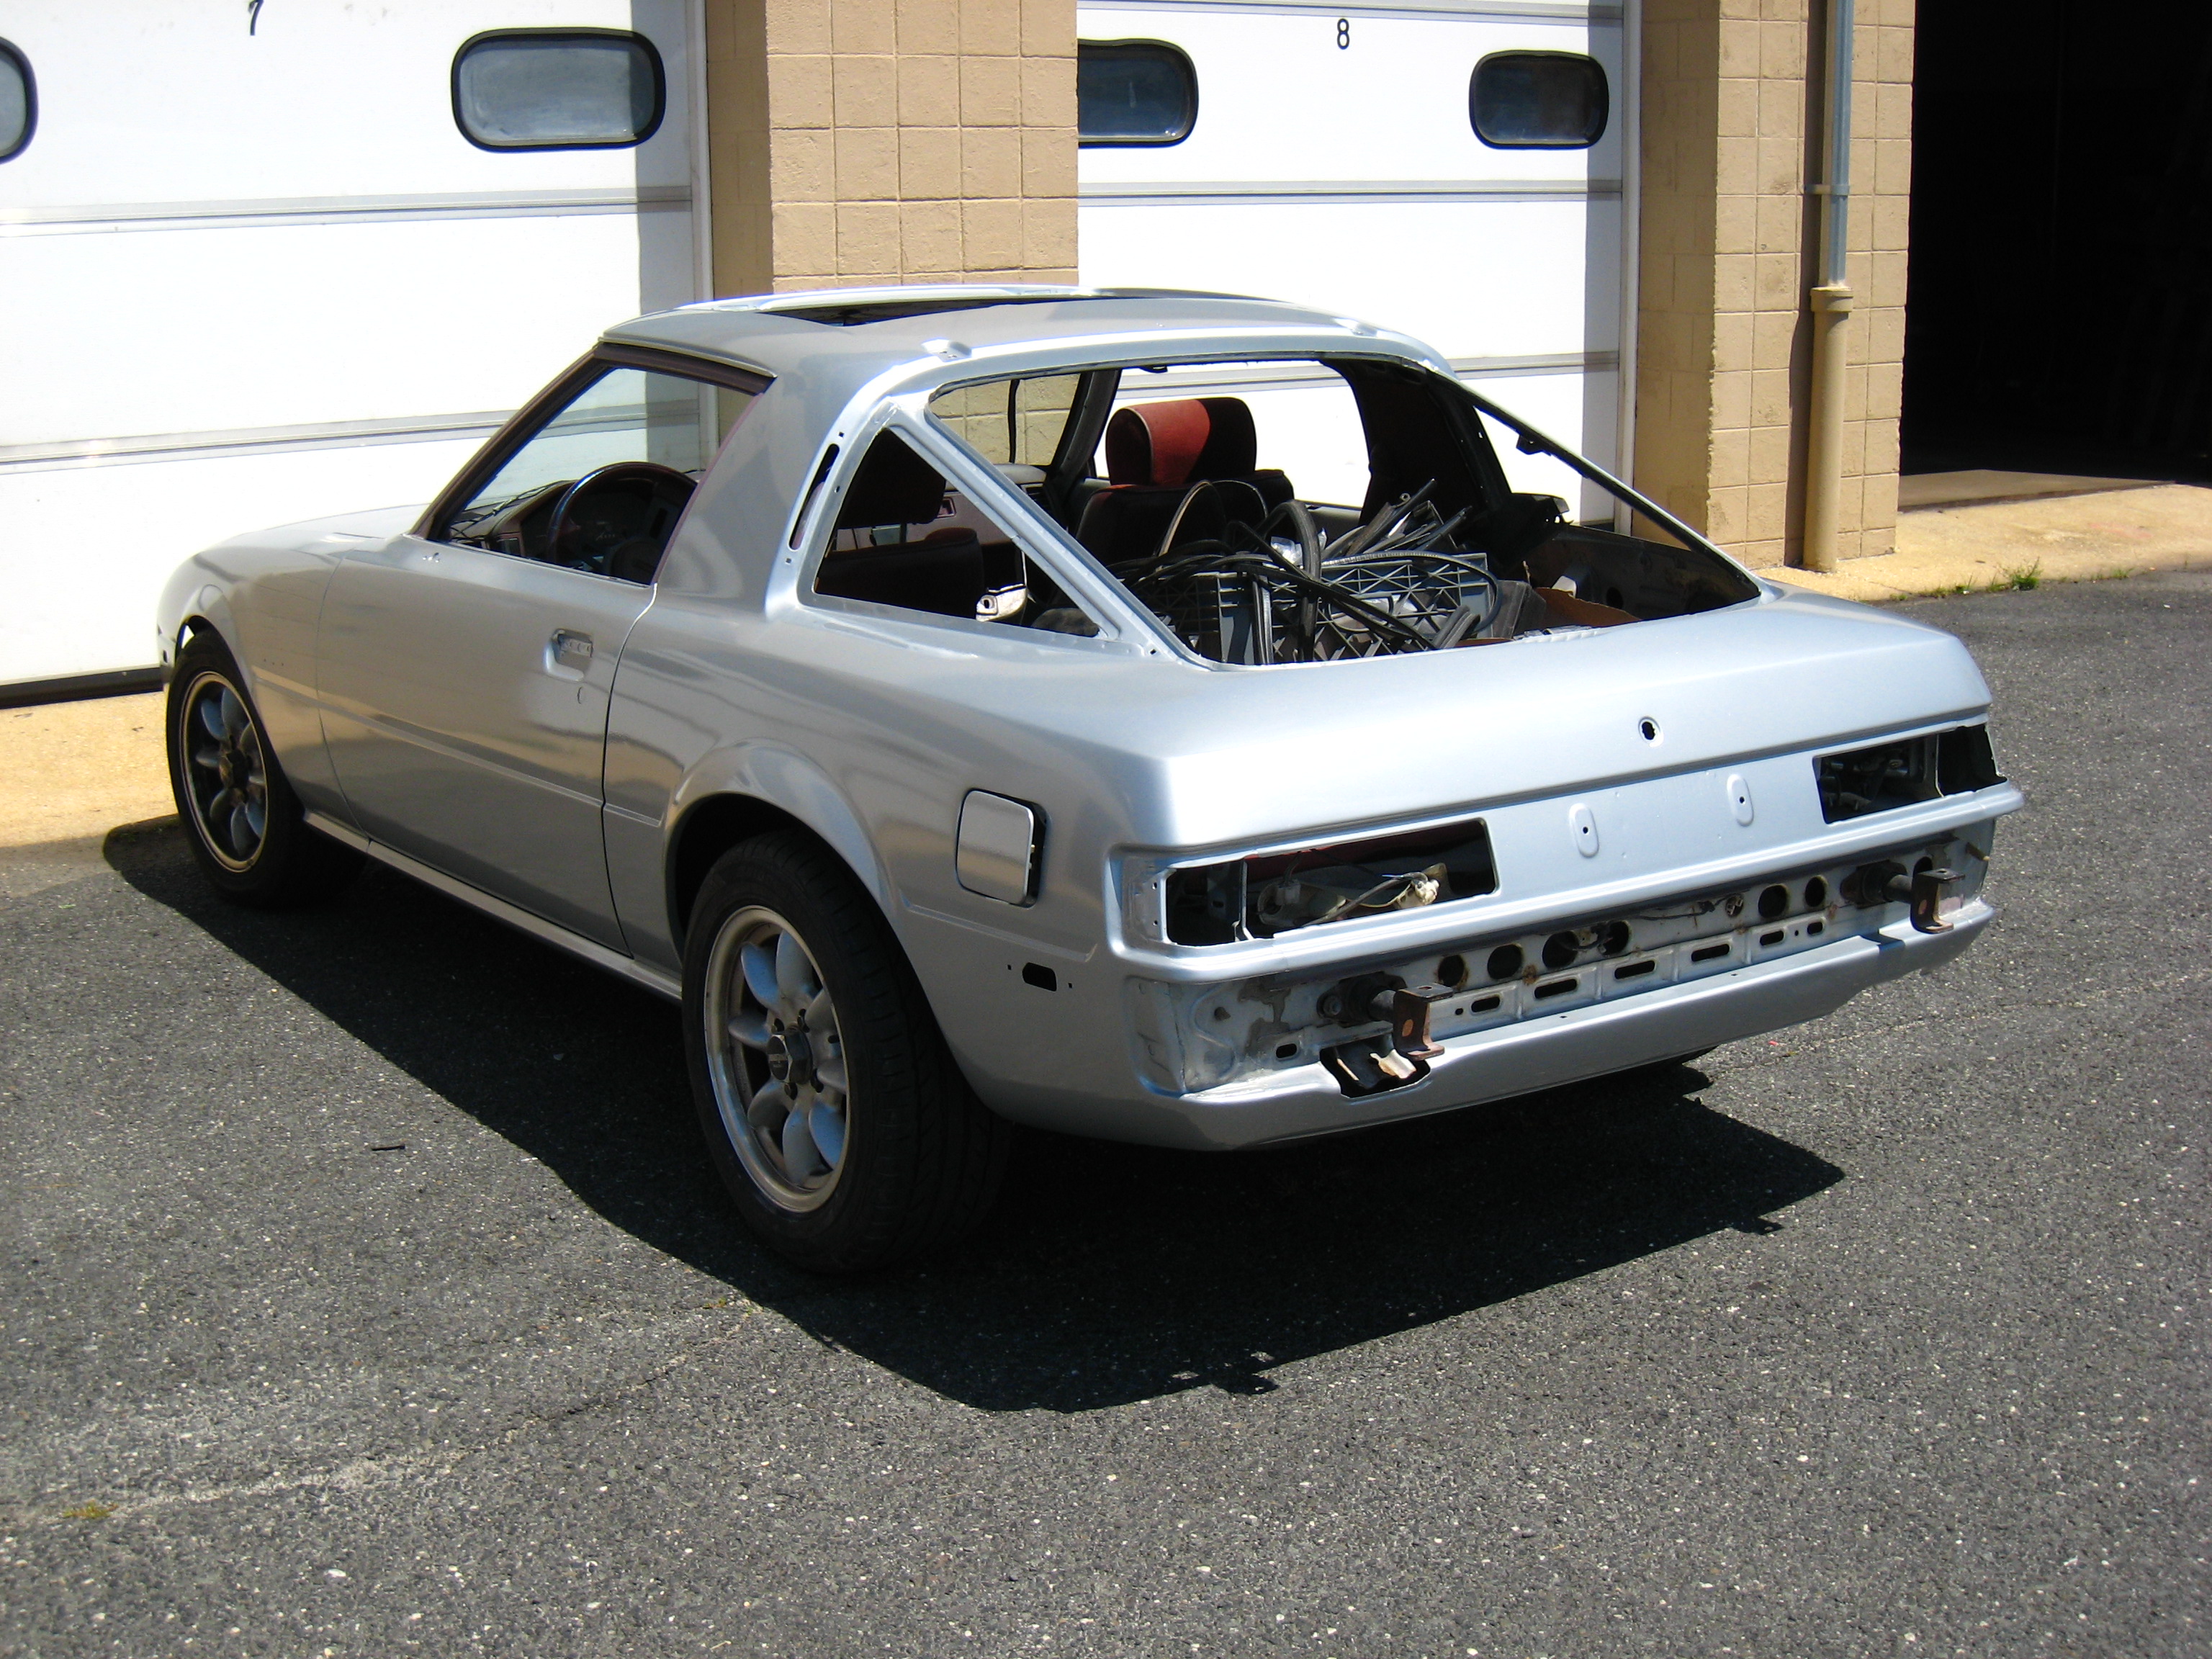
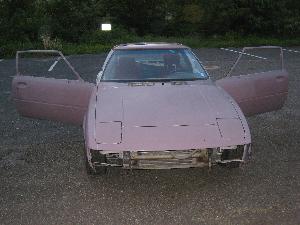
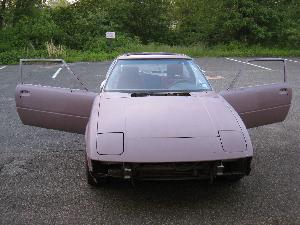
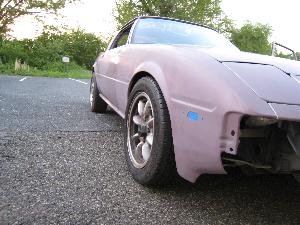
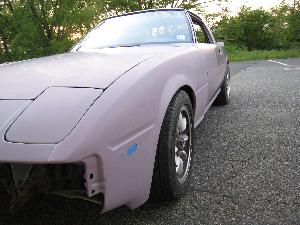
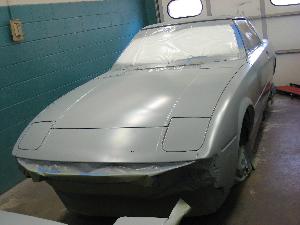
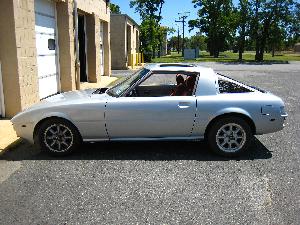
Due to the expenses involved in renting space at the local auto shop, I need to get the car out of there. For now, though, here it is, prior to wet-sanding and polishing the entire car:
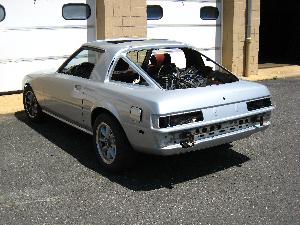
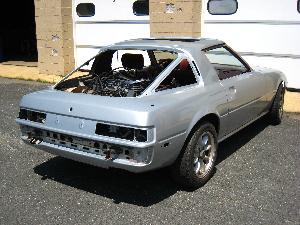
Shortly after taking those pictures, I took to wet sanding and polishing the entire car. It came out smooth, but the clear is actually a little cloudy, and I can't make it any better with further polishing. It's fine under most lighting, but it occasionally looks more white than silver.
I'm very disappointed....
July 2, 2007
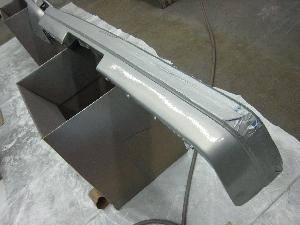
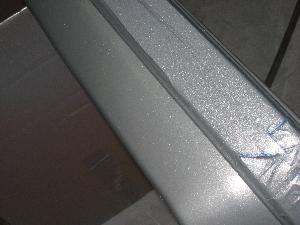
Painting the Bumpers
I thought I had problems with the clearcoat on the body of the car, but the bumpers and the plastic valence were FAR more of a problem. While I was spraying the clearcoat, the material was coming out of the paint gun like I was spraying cotton candy. It was "stringy," like a spider's web. The end result looks like somebody sneezed all over the bumper:


I have a theory about what happened here.
I don't believe that it was caused by improper mixing or chemical contamination of the materials or anything that I could have controlled ahead of time. Consider the finish that I got on the back of the sunroof, doors and the edges, when I sprayed them in late March. It's still pretty cool in New Jersey at that time of the year, and the shop has heat and air flow that I can control pretty well to give me just the right temperature and ventilation without much dust. The results in March seem to prove that point.
Skip ahead several weeks to May 27, when it's starting to get a little warmer. The shop temperatures are still only about 70 degrees, which should be just about perfect for spraying these materials. But the air supply lines in the shop run along the corrugated steel roof that is so commonly used in government/military utility buildings, and that roof is going to soak up the heat of the sun as the day progresses. Also consider that the roof is 20 feet high, and I have little doubt that the roof -- and the compressed air lines -- are cooking at nearly 100 degrees or much more. That air would be hot enough to start flashing the clear coat as soon as it mixes with the material in the paint gun. That would explain the cotton candy/spider web/silly-string effect that I got from spraying clear on the bumpers in July!
Mystery solved! It's not my fault! OK -- not much!
If I hadn't chosen this particular clear coat, I might have been able to fix this problem even after all of the orange peel happened. (That's not to say that another clear wouldn't have flashed in this manner -- just that it would have tolerated wet sanding much better.) But if I hadn't sprayed clear in this particular shop, or if I had done the entire job here in the winter or early spring, I would have had really great results. As they say in the Army, "lesson learned!"
The paint is done, for now. Someday I'm going to revisit this project, but for now, I'm going to get this car back on the road. It turned out to be a good "20 foot" paint job -- that's a paint job that looks good from 20 feet away, but not from any closer. That's not what I intended. I really wanted a show car finish, because that's the amount of attention to detail that I was paying to everything.
I'll scuff it up again and re-paint it when I have a house with a garage. That's assuming that I have any time and patience for this stuff once I buy a house! That might be a foolish assumption.