Body Restoration - Page 3
And even more photos...
If you haven't seen it yet, you might want to browse the first page in this set of three.
These photos are grouped together, roughly, by "repaired section." This page last updated June 10, 2007.
September 05
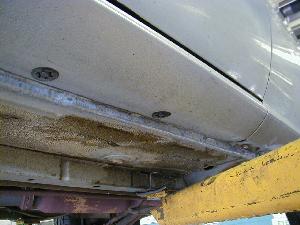
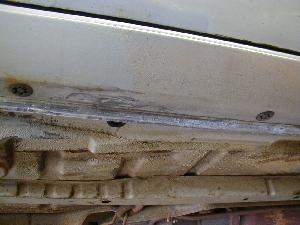
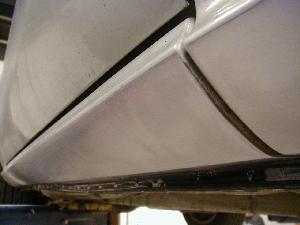
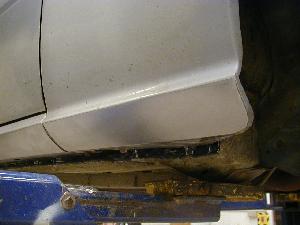
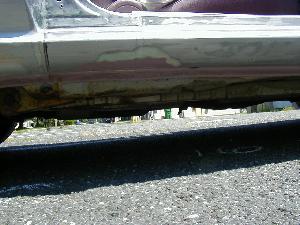
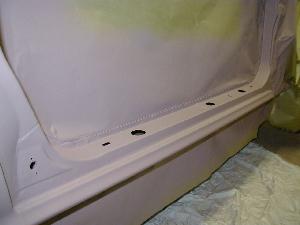
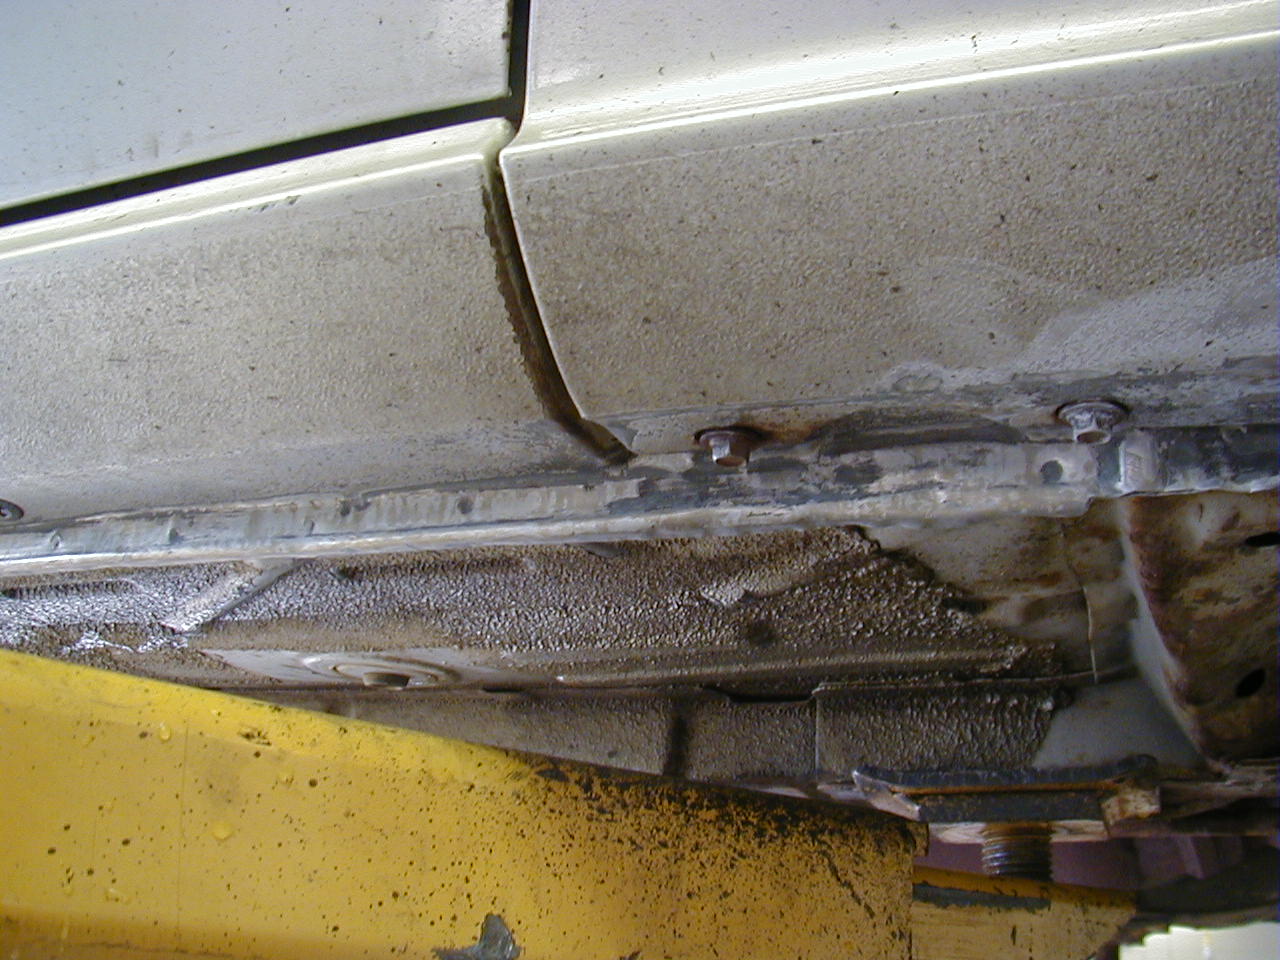
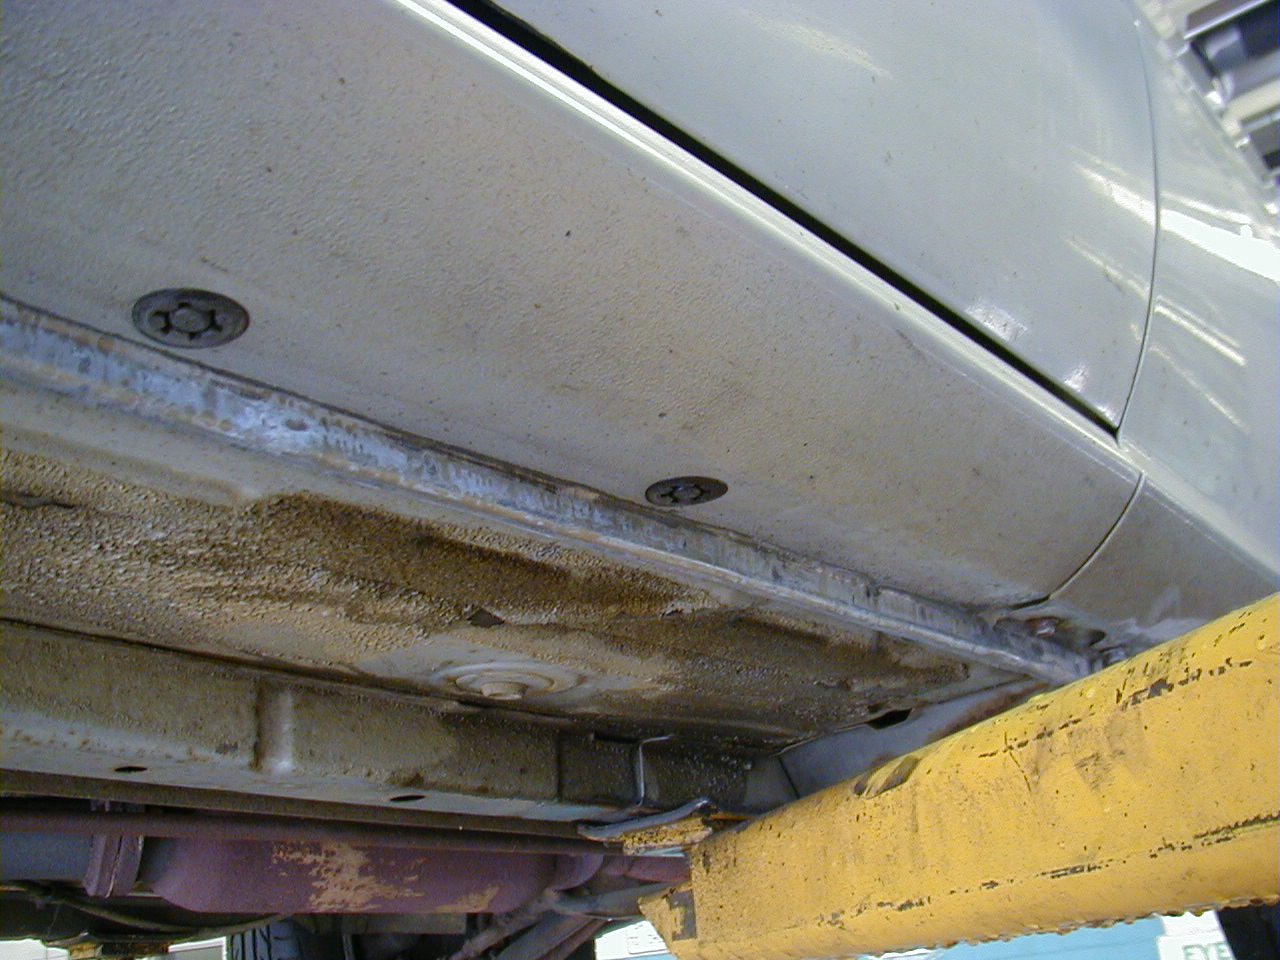
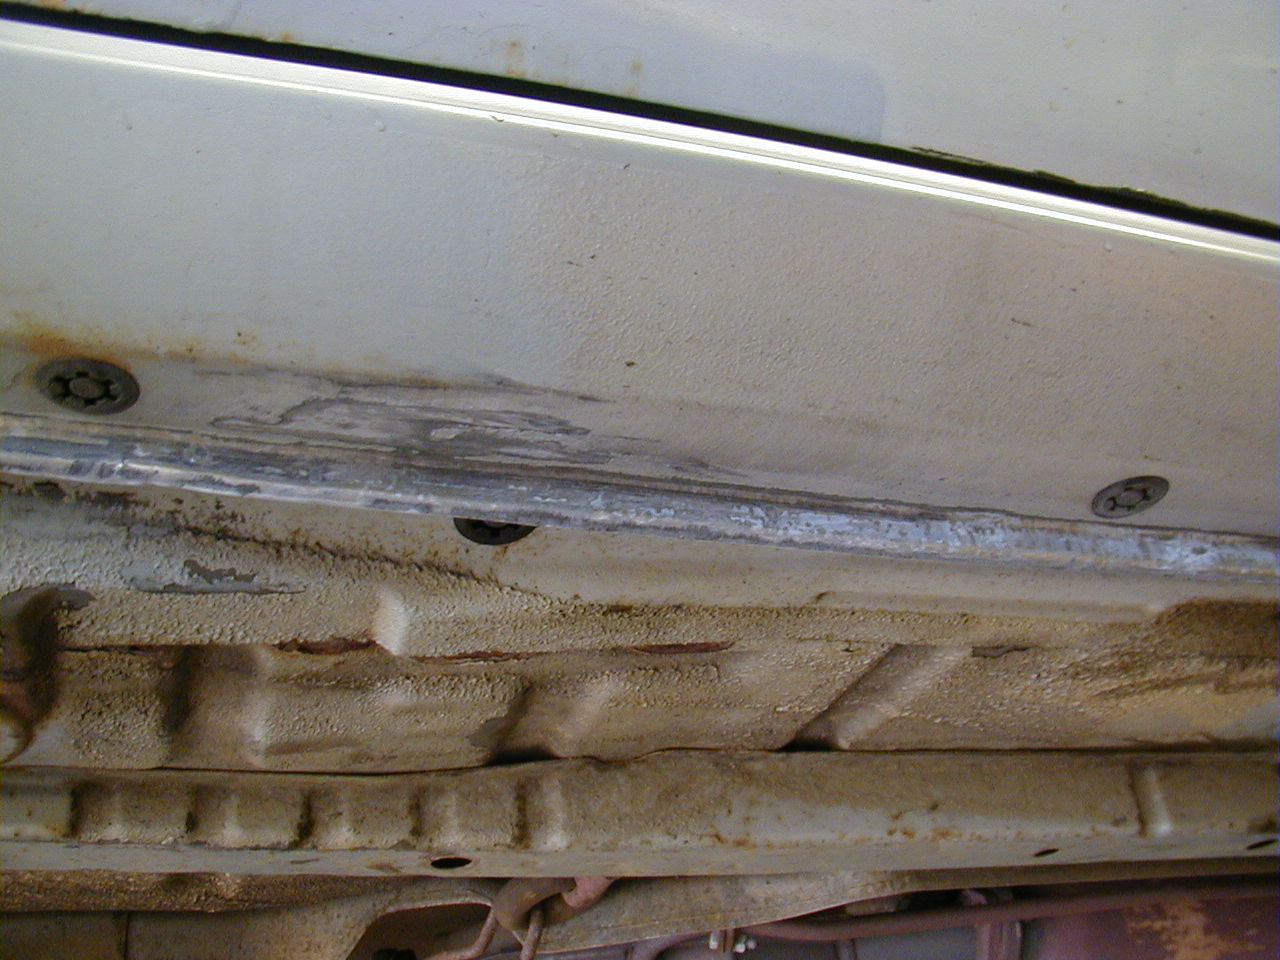
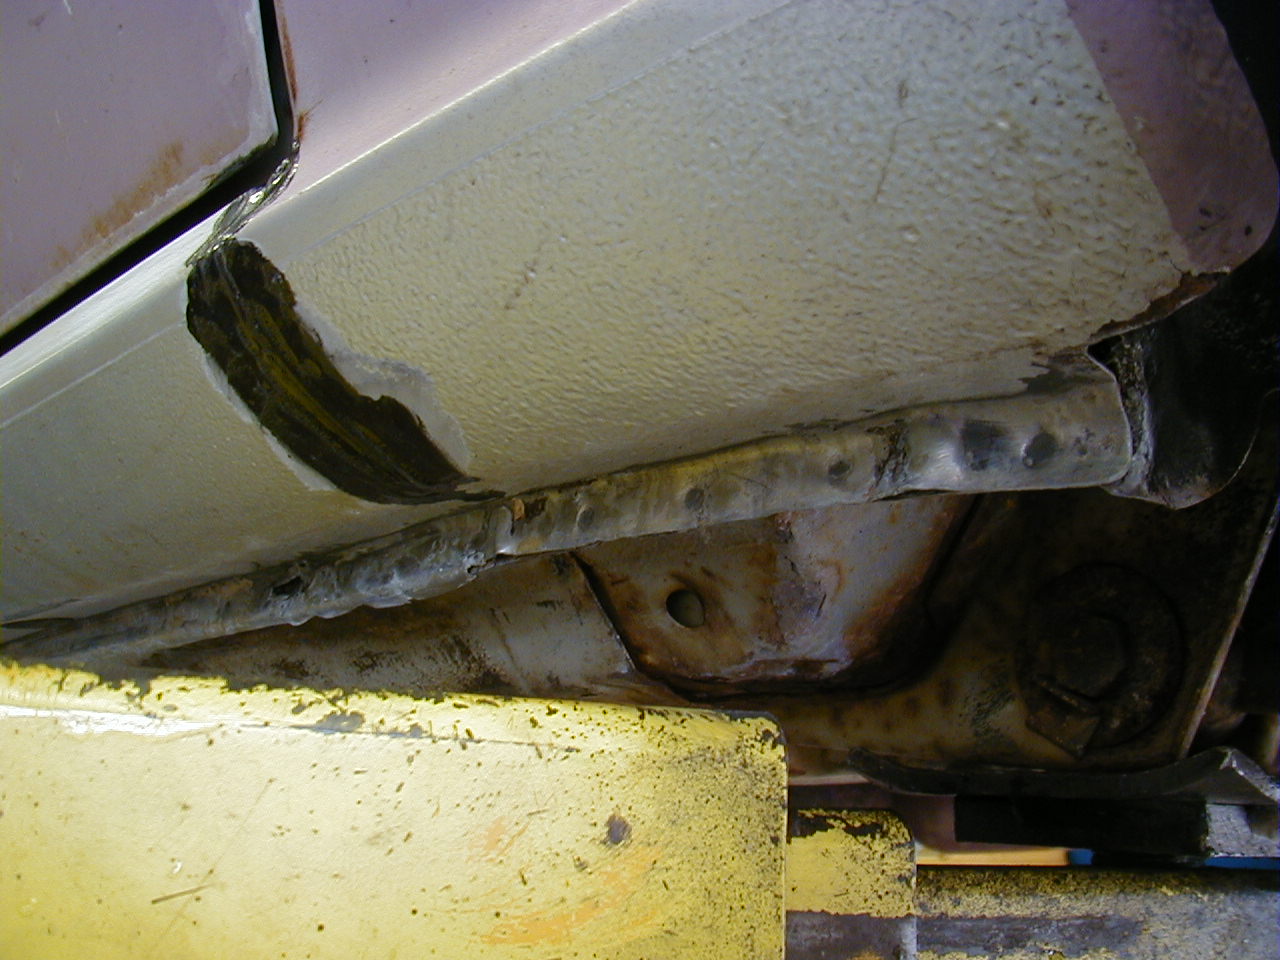
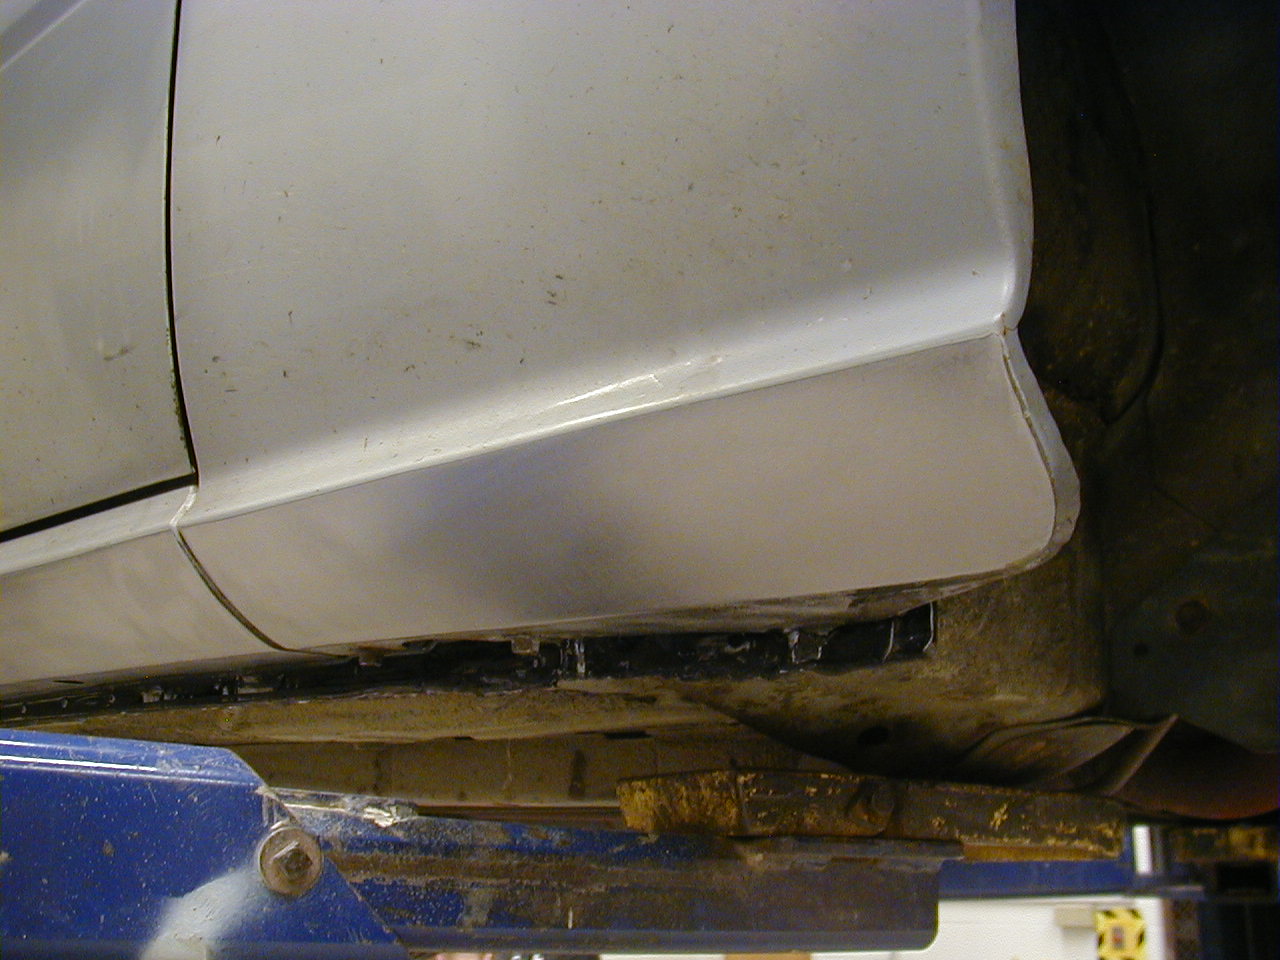
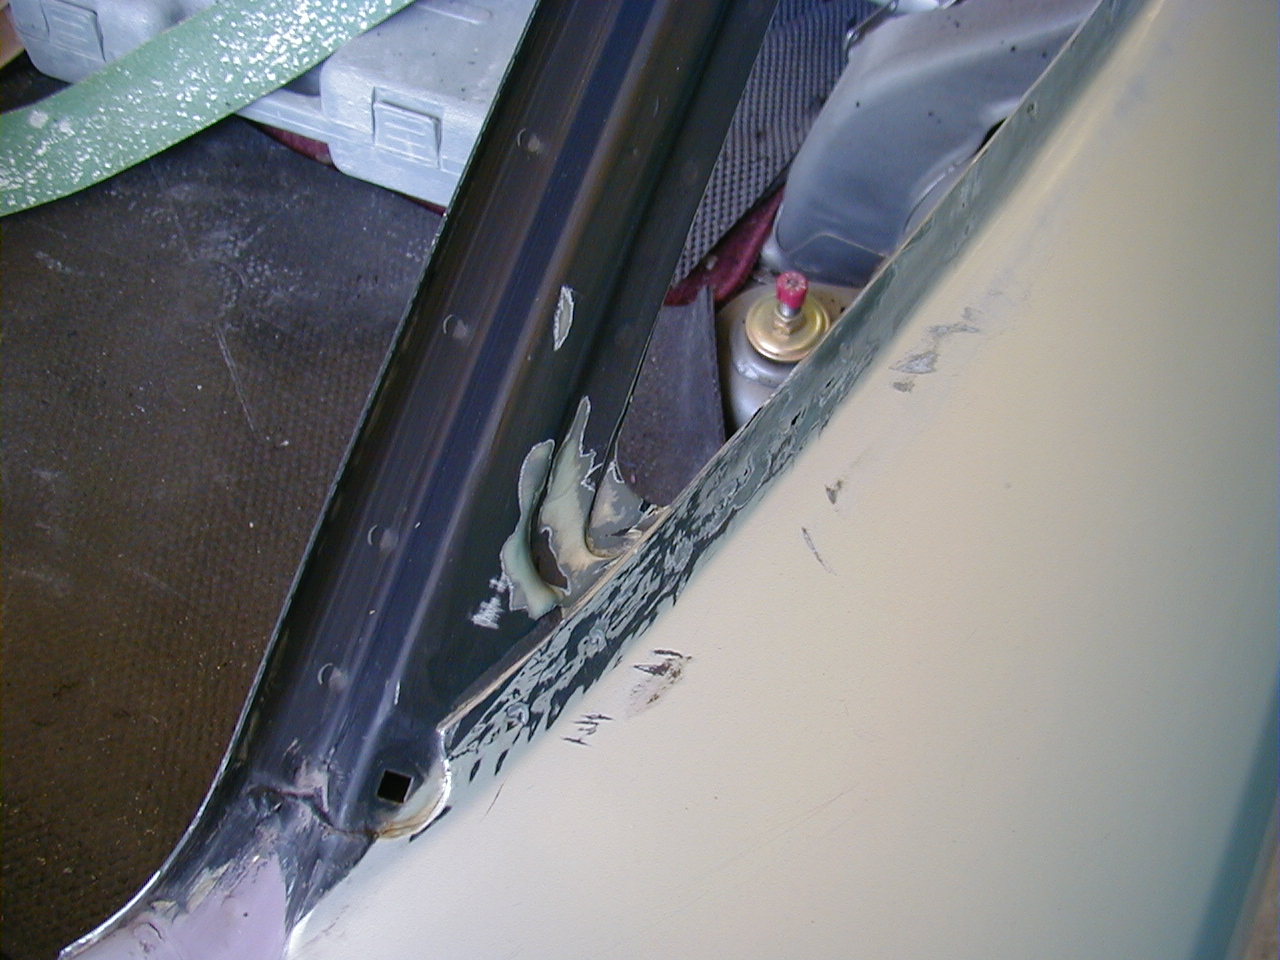
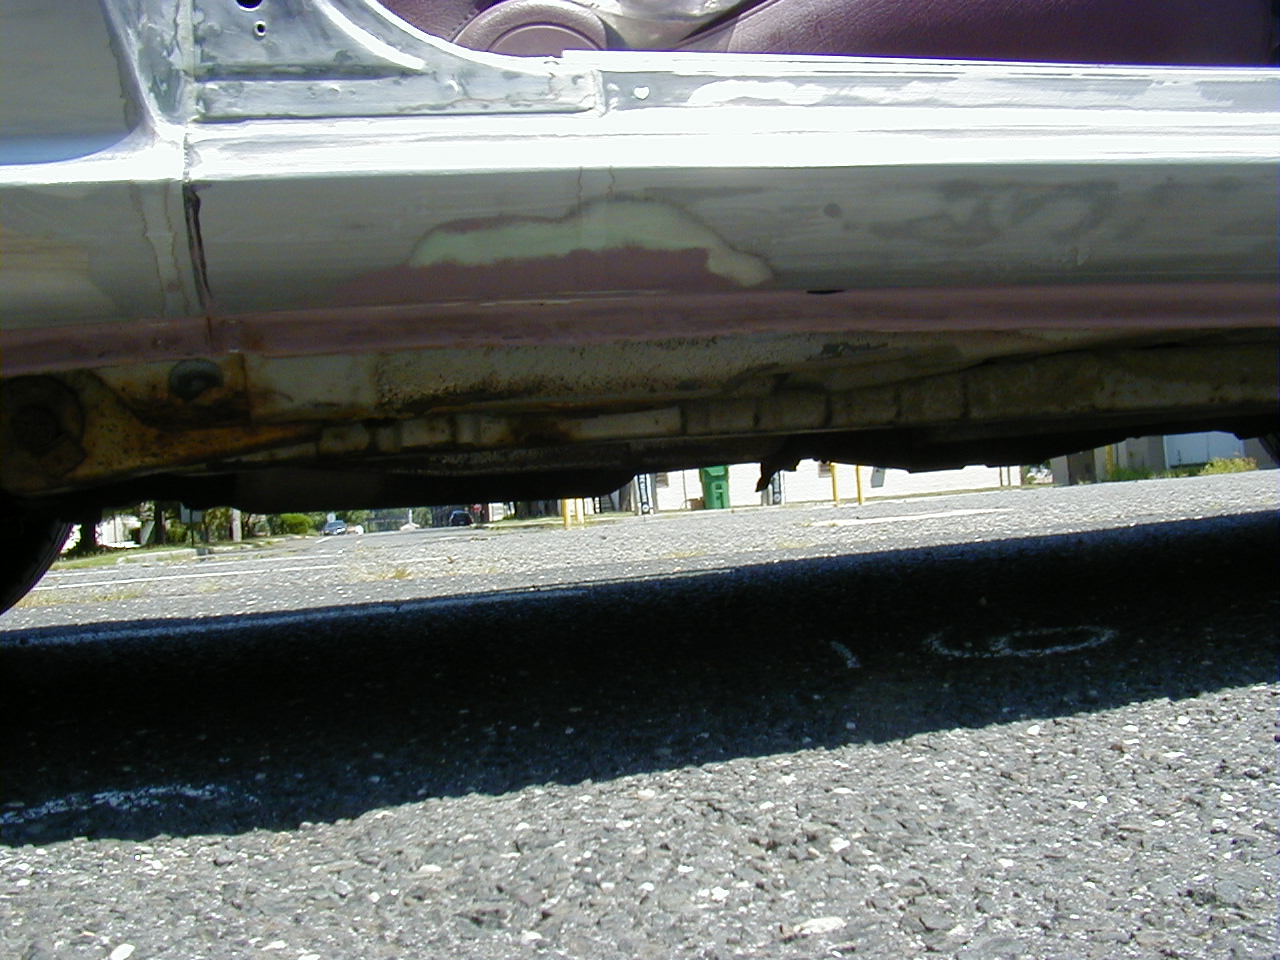
The rocker panels had some surface rust on them, so I took them down to bare metal and treated them with zinc phosphate. I also removed some of the POR-15 patch that I had put on the seams -- once again, this stuff isn't sandable. Lastly, I made a point of straightening the lower lip as well as I could.

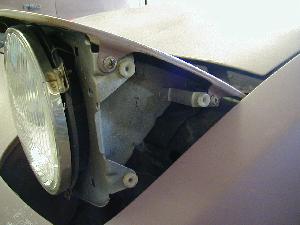
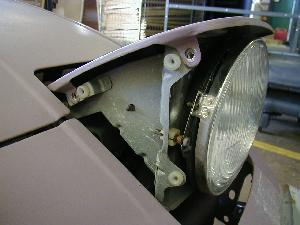
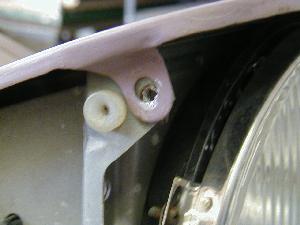
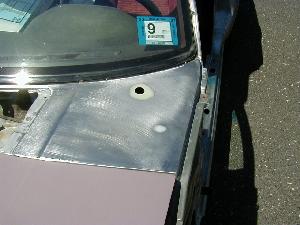
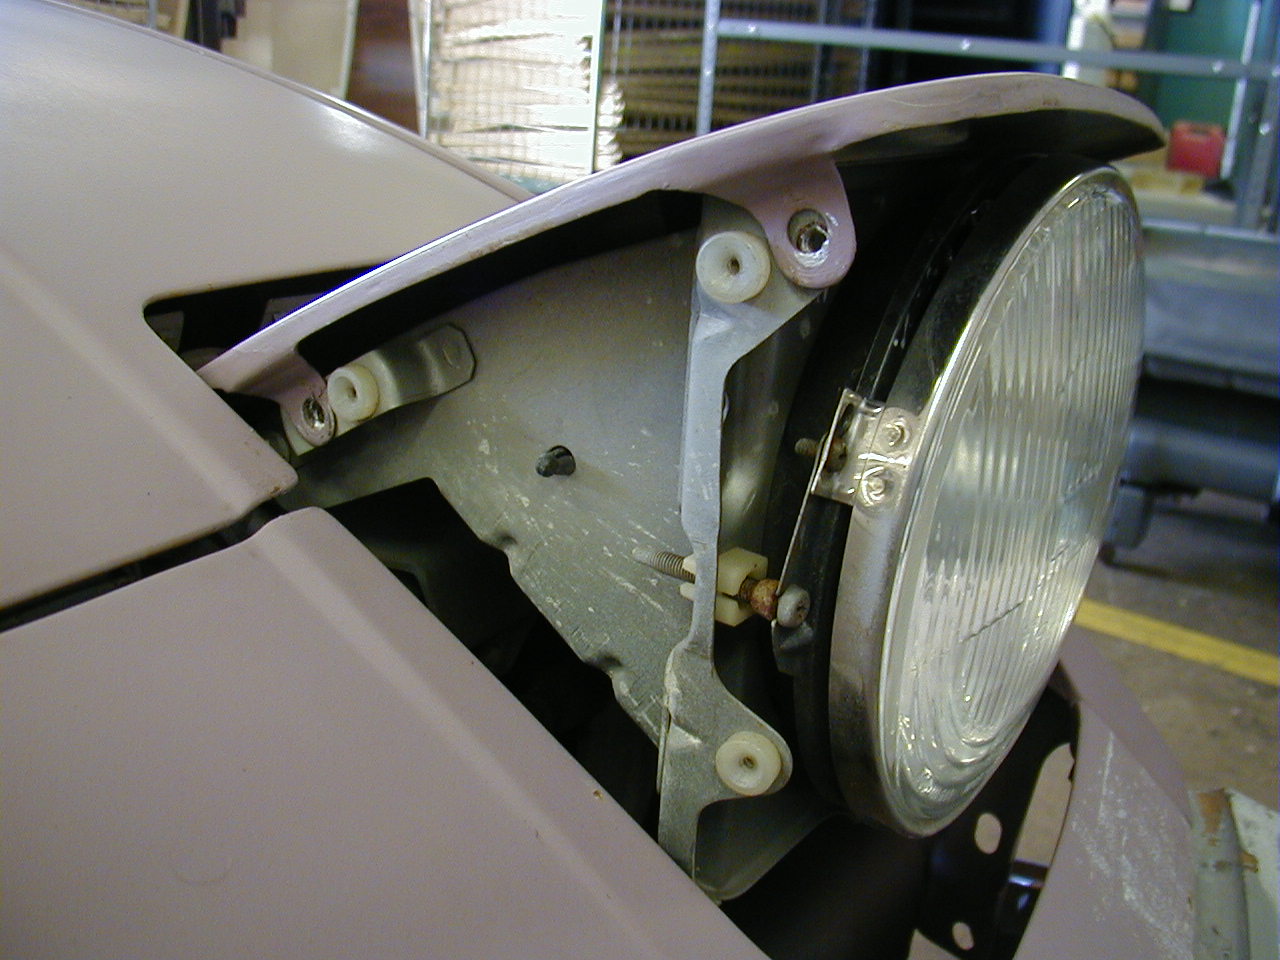
Headlight covers. The worst part of the job was removing the screws. After 22 years, they seized pretty badly, and I stripped a few of the phillips head tops. I ended up slotting them with a dremel, and they came out pretty easily with a regular screw driver. Now I just need to replace a couple that I lost.
March through May 06
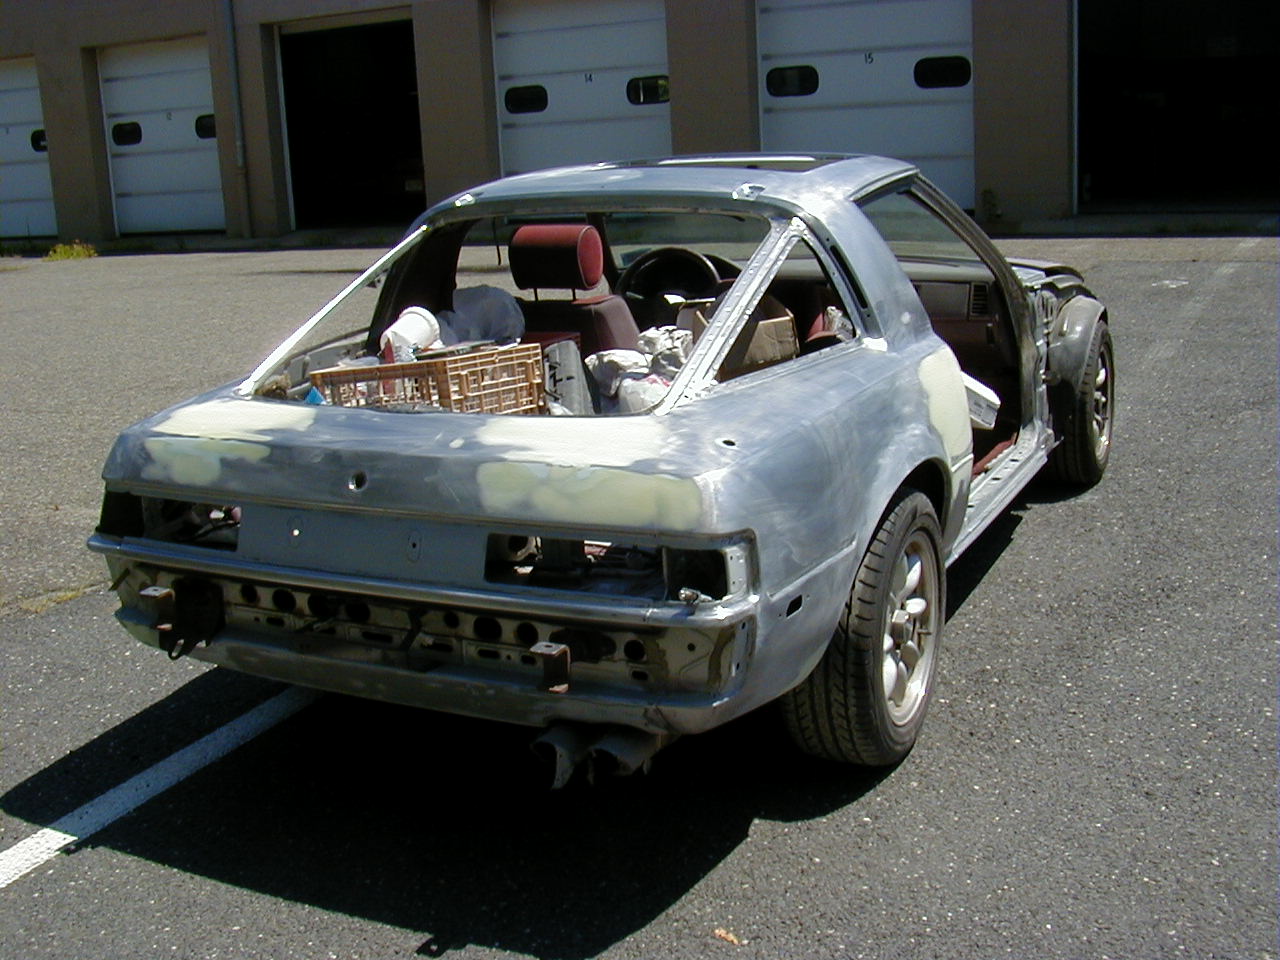
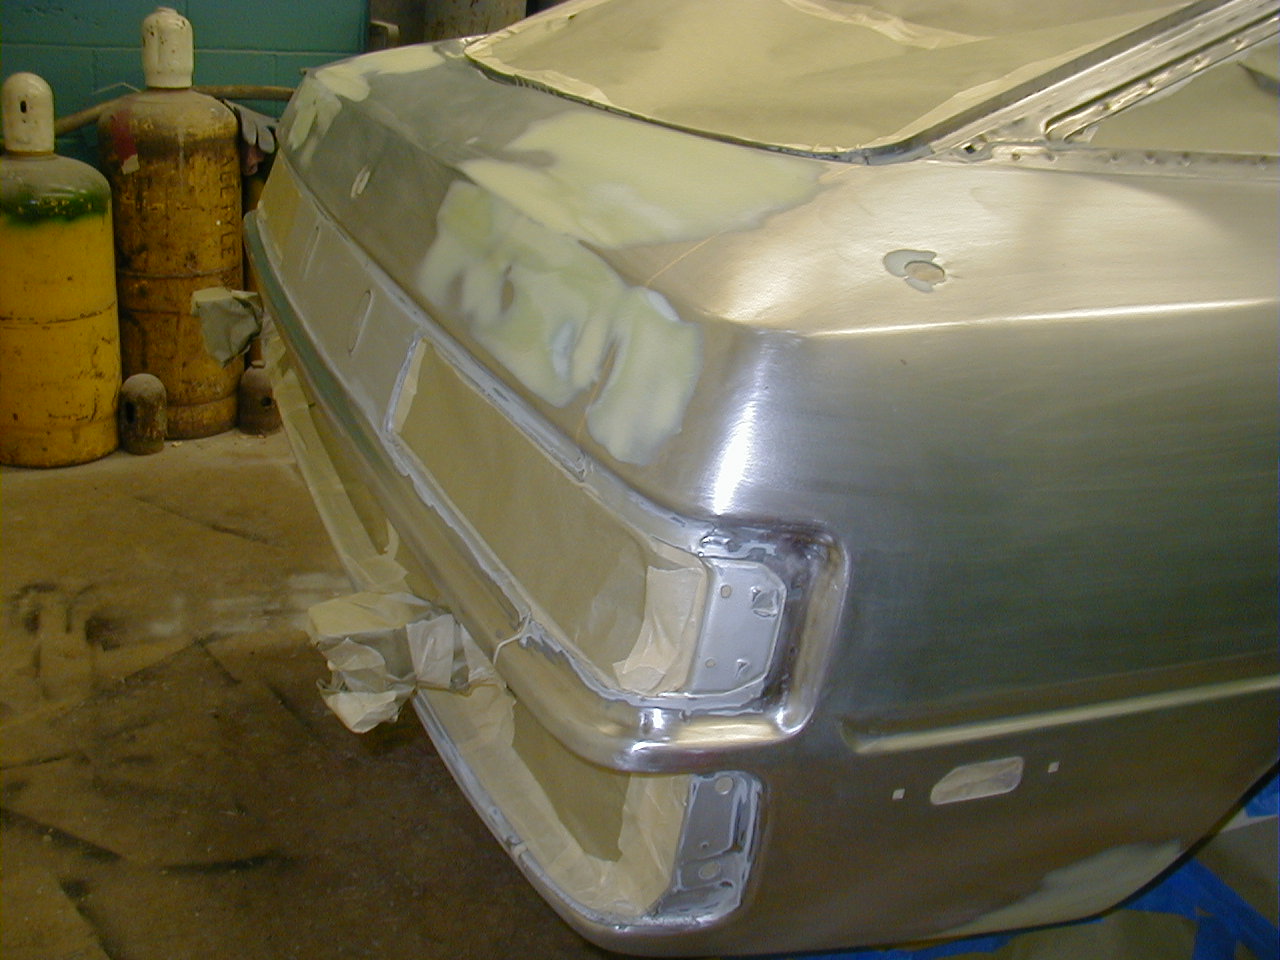
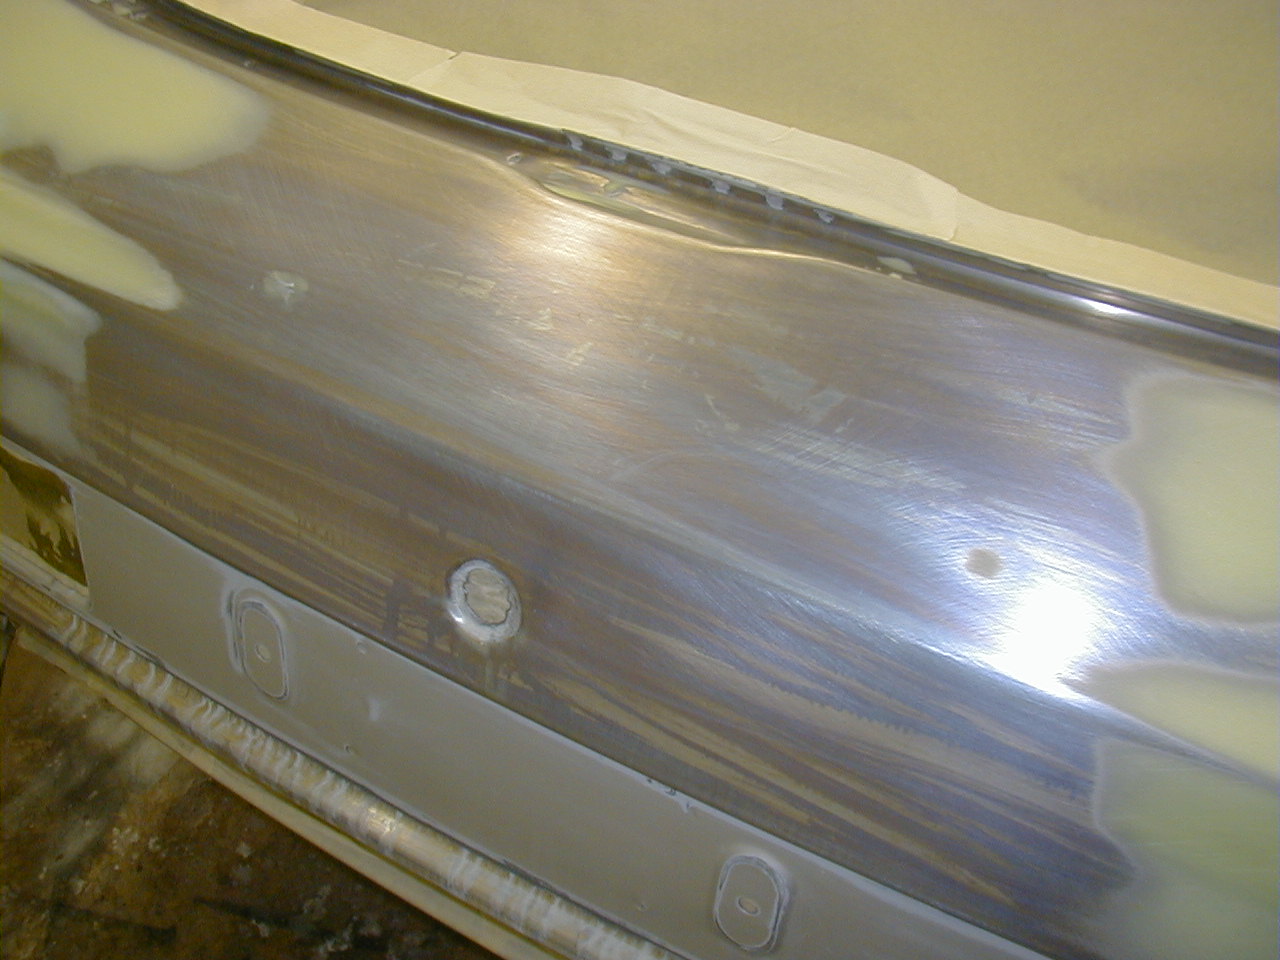
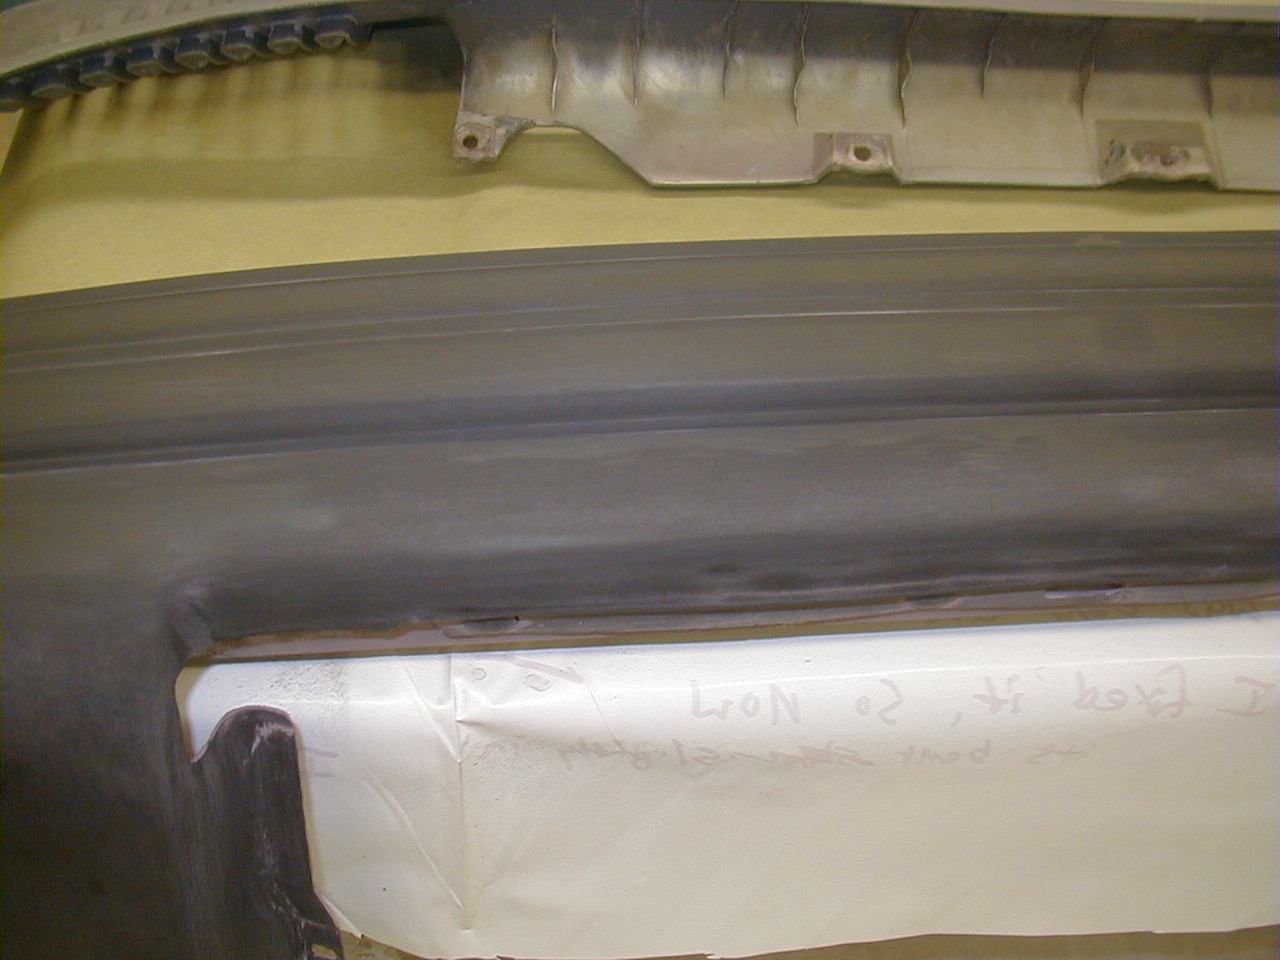
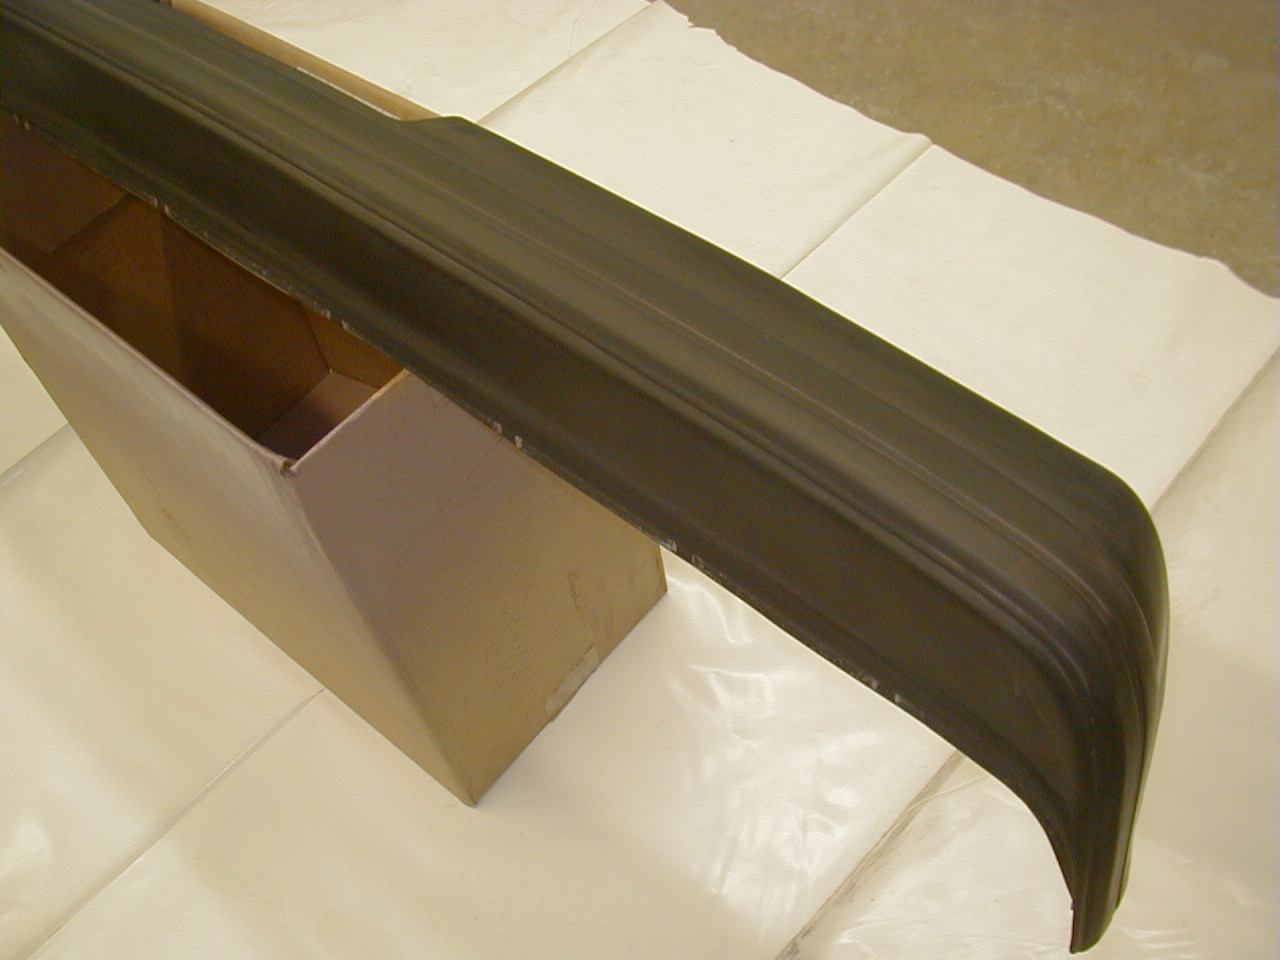
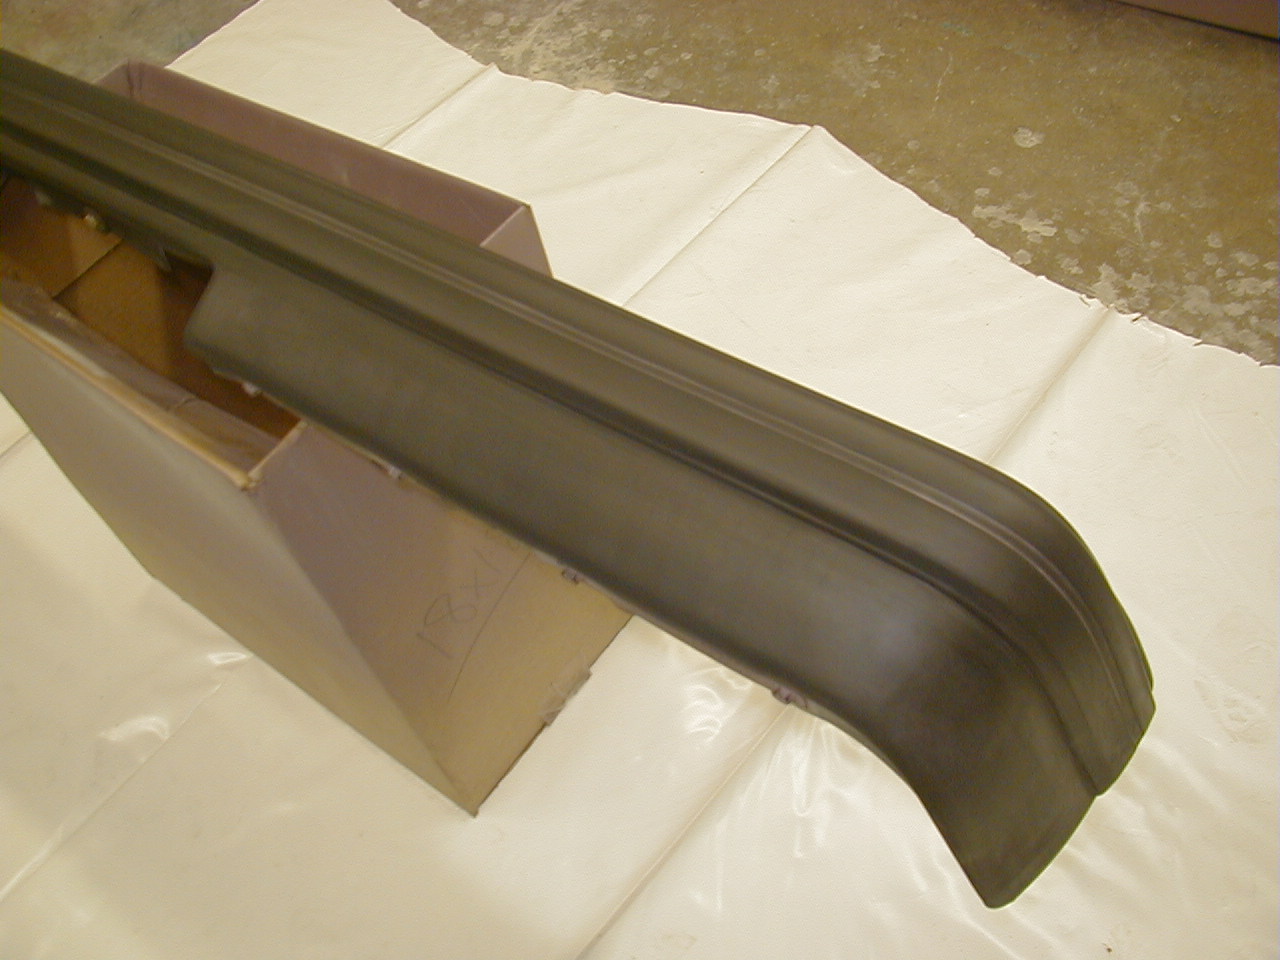
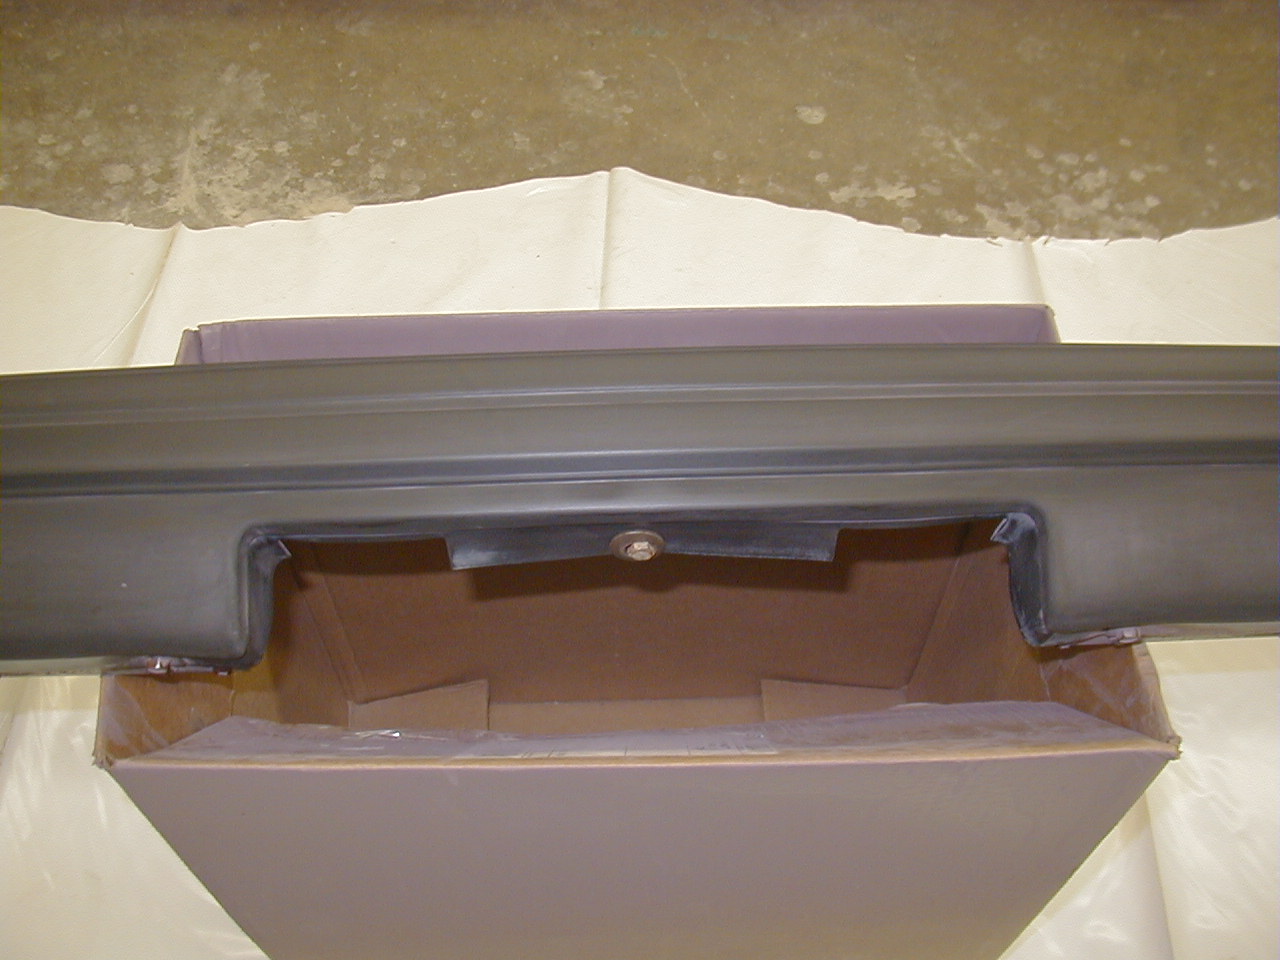
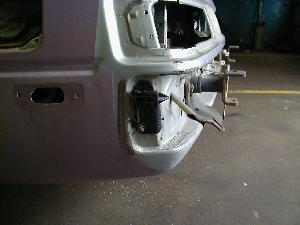
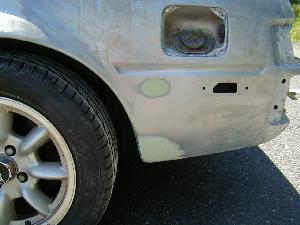
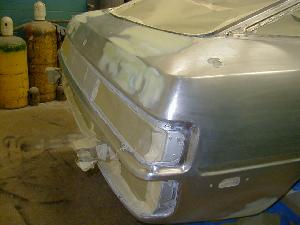
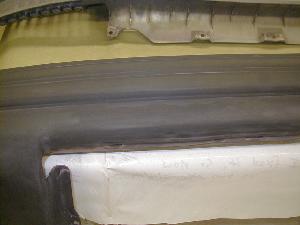
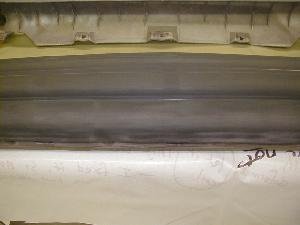
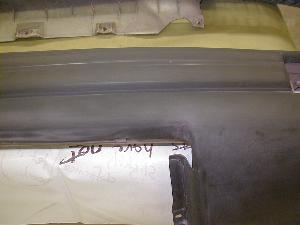
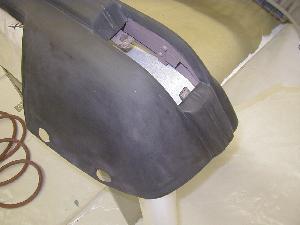
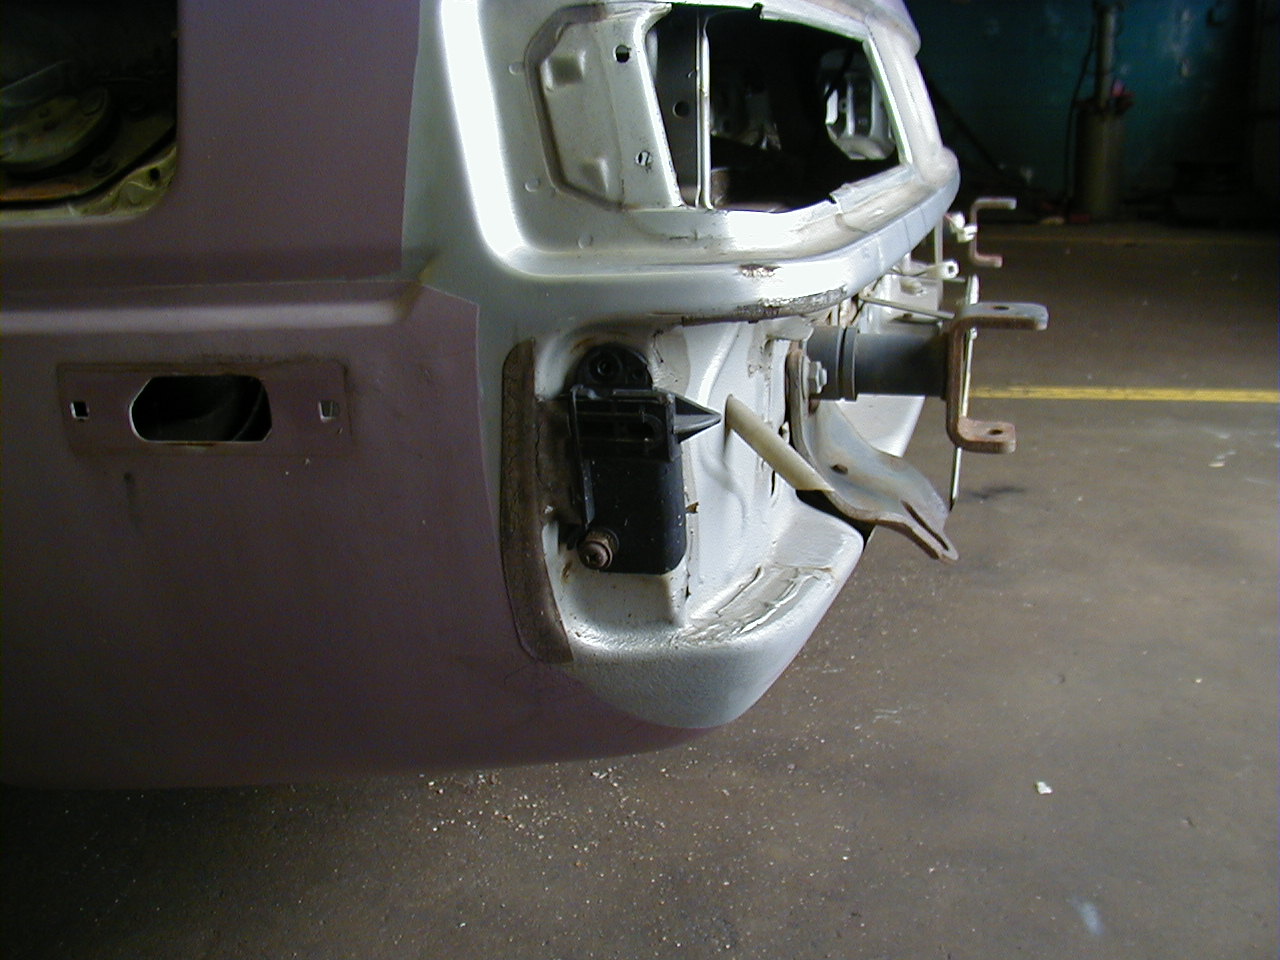
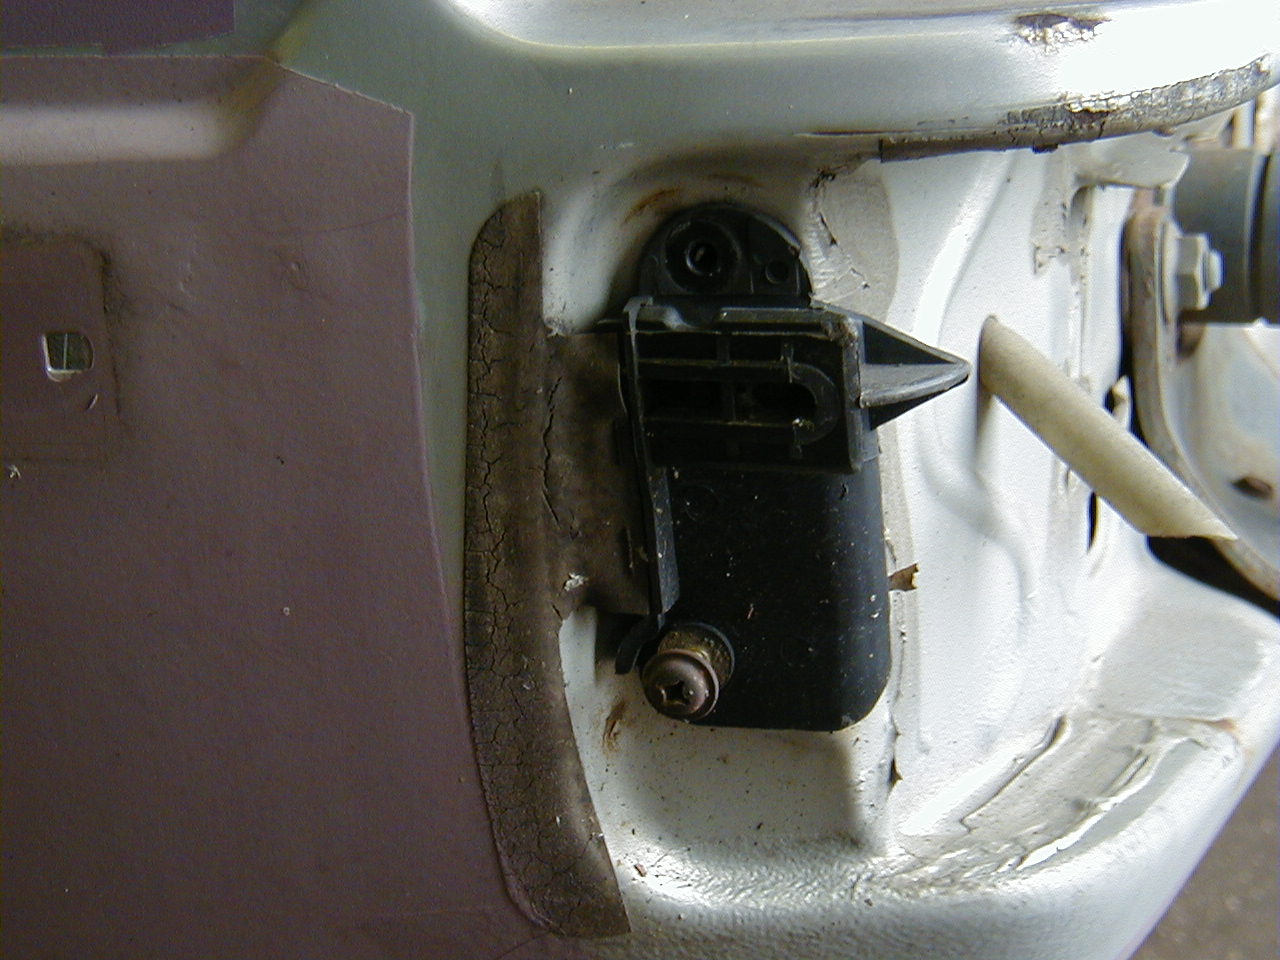
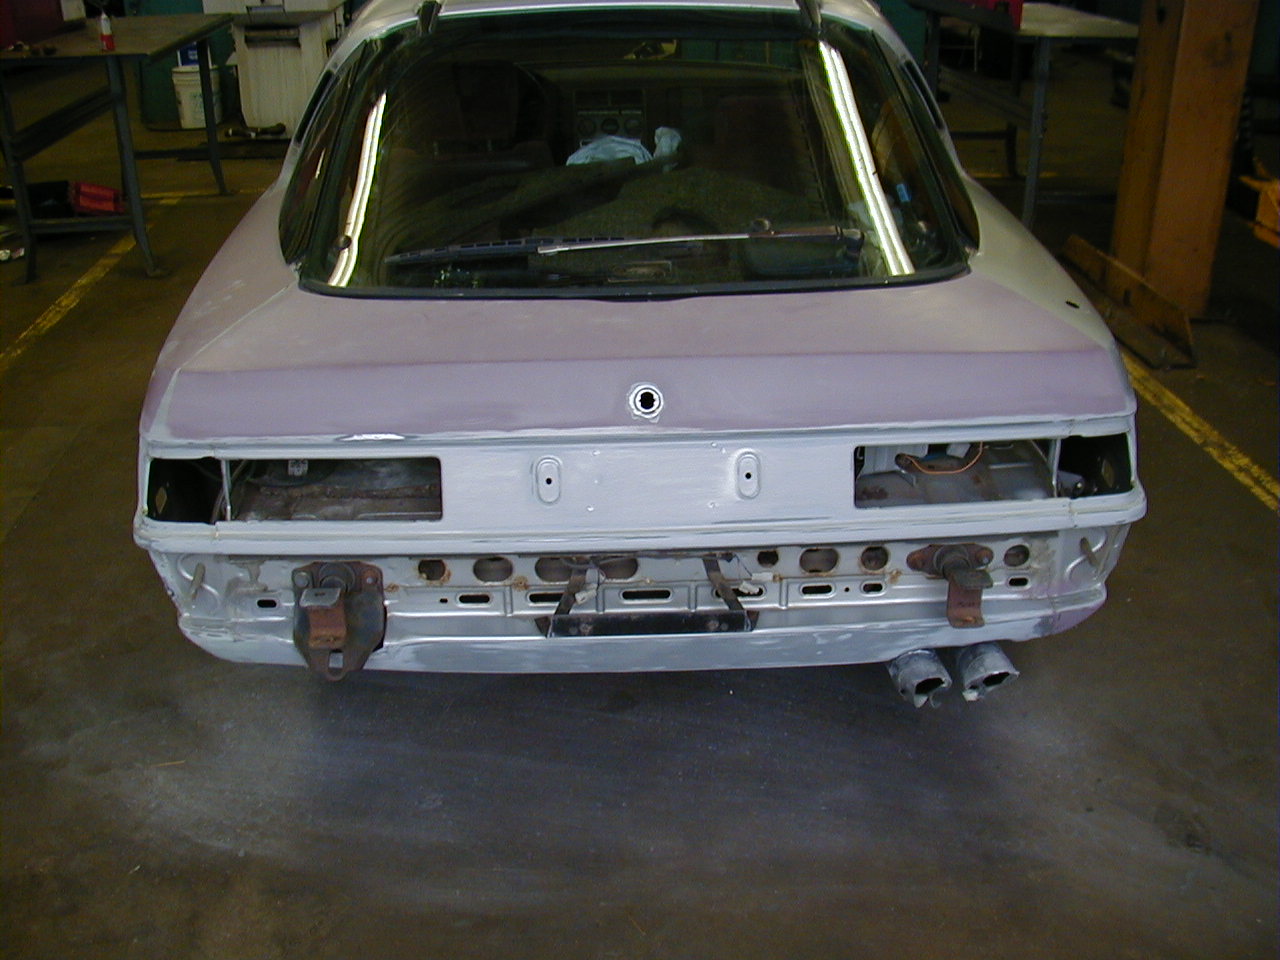
The rear of the body, around and under the bumper, diddn't have too many surprises about it. There was some surface rust at the corner of the body. I also made a note to myself to try to get some of that clear plastic tape that goes by the plastic bumper guide. As for that section between the tail lights, I ultimately stripped that down to bare metal, "just because."

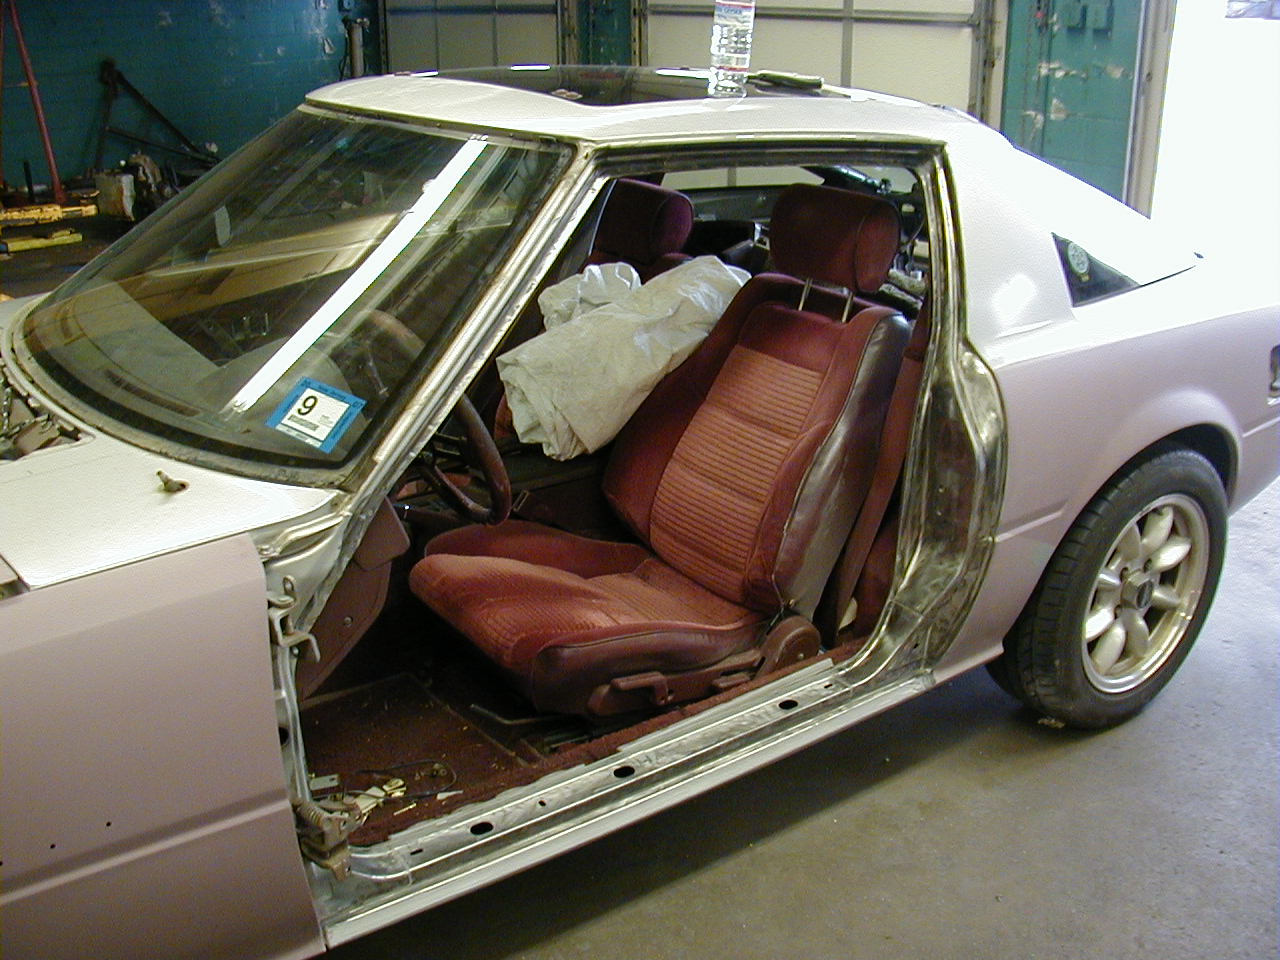
The door jambs were also stripped down to bare metal...
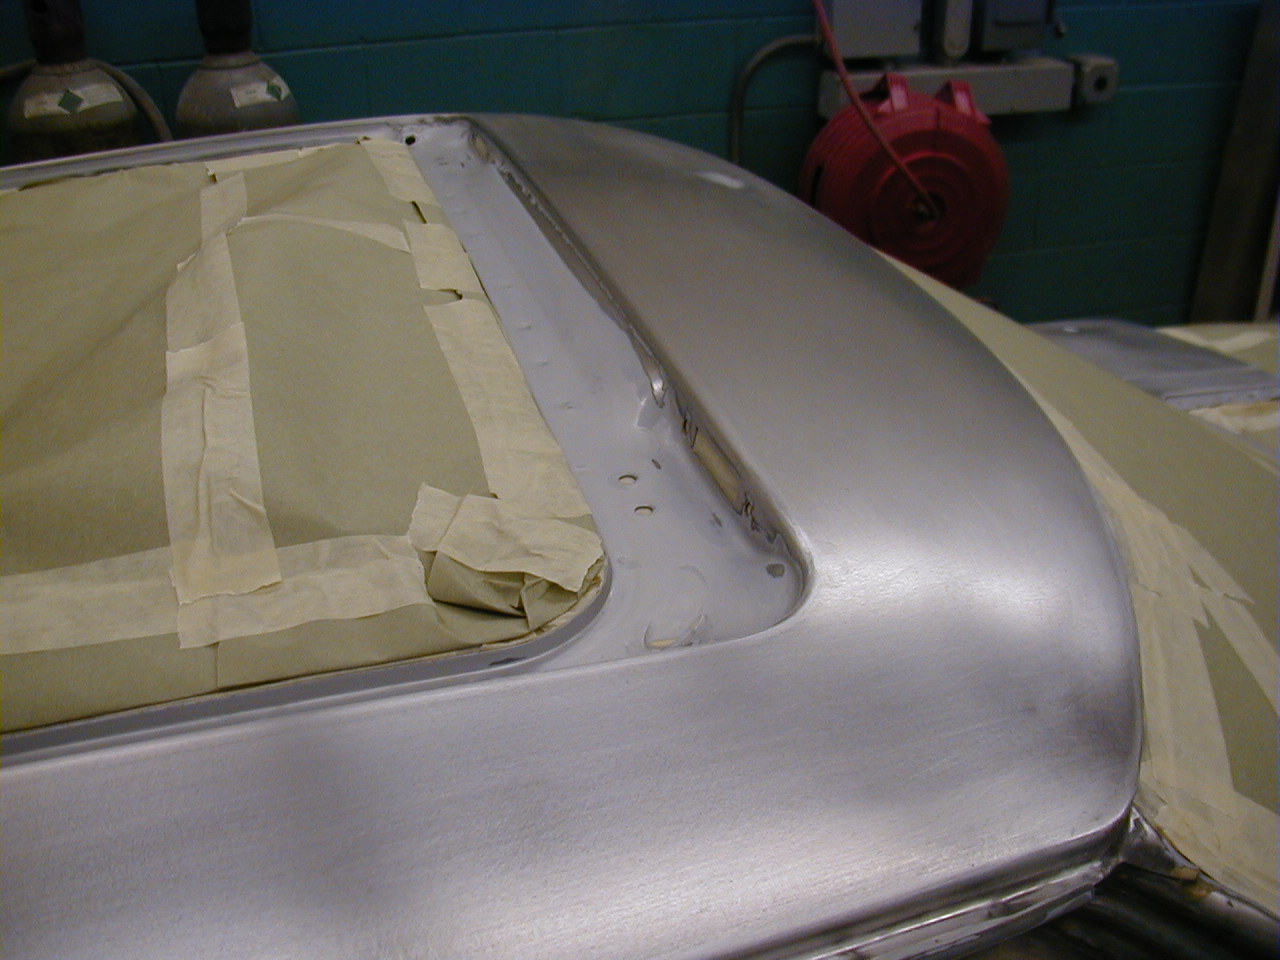
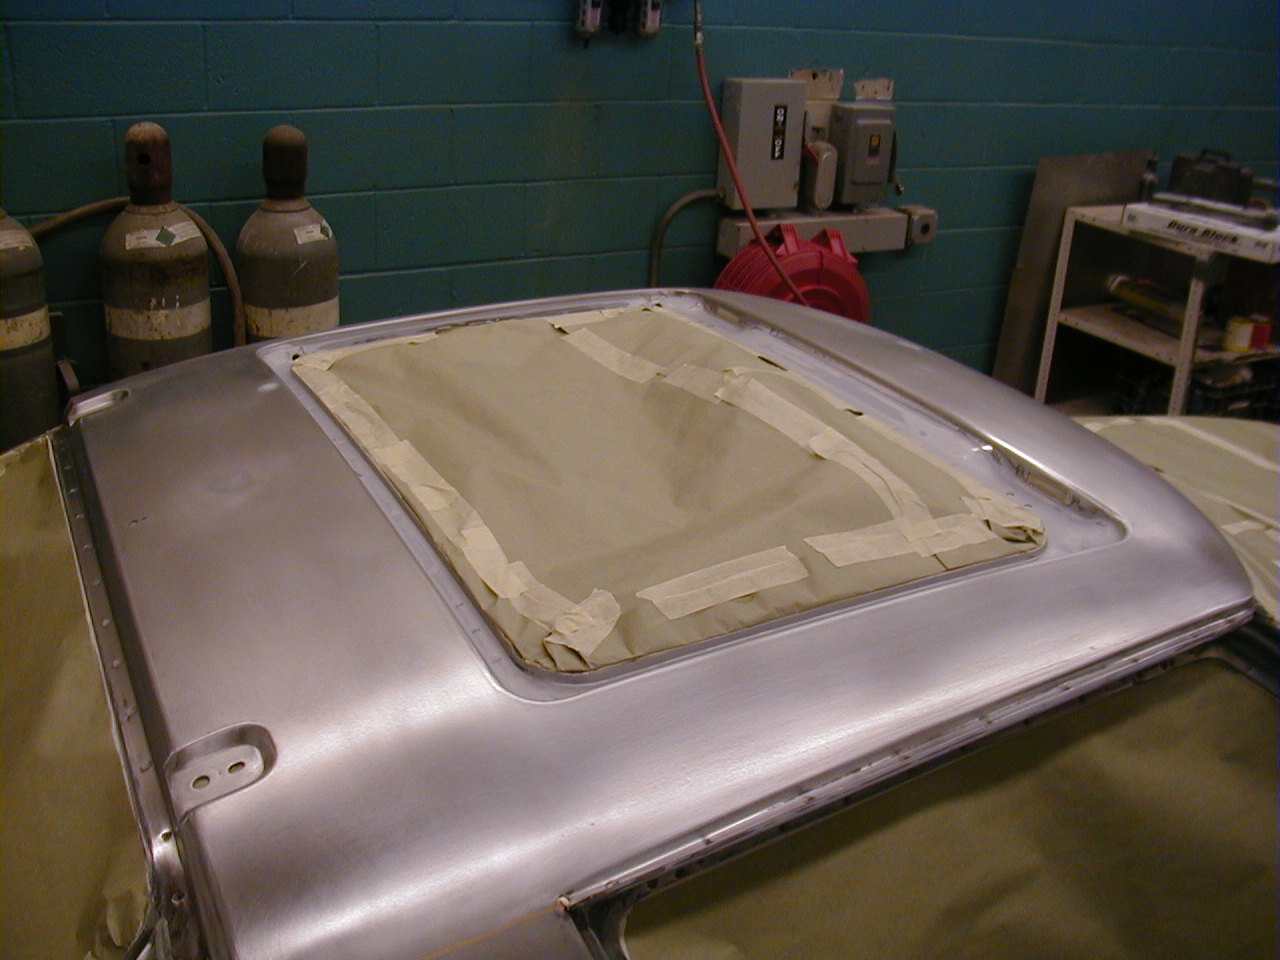
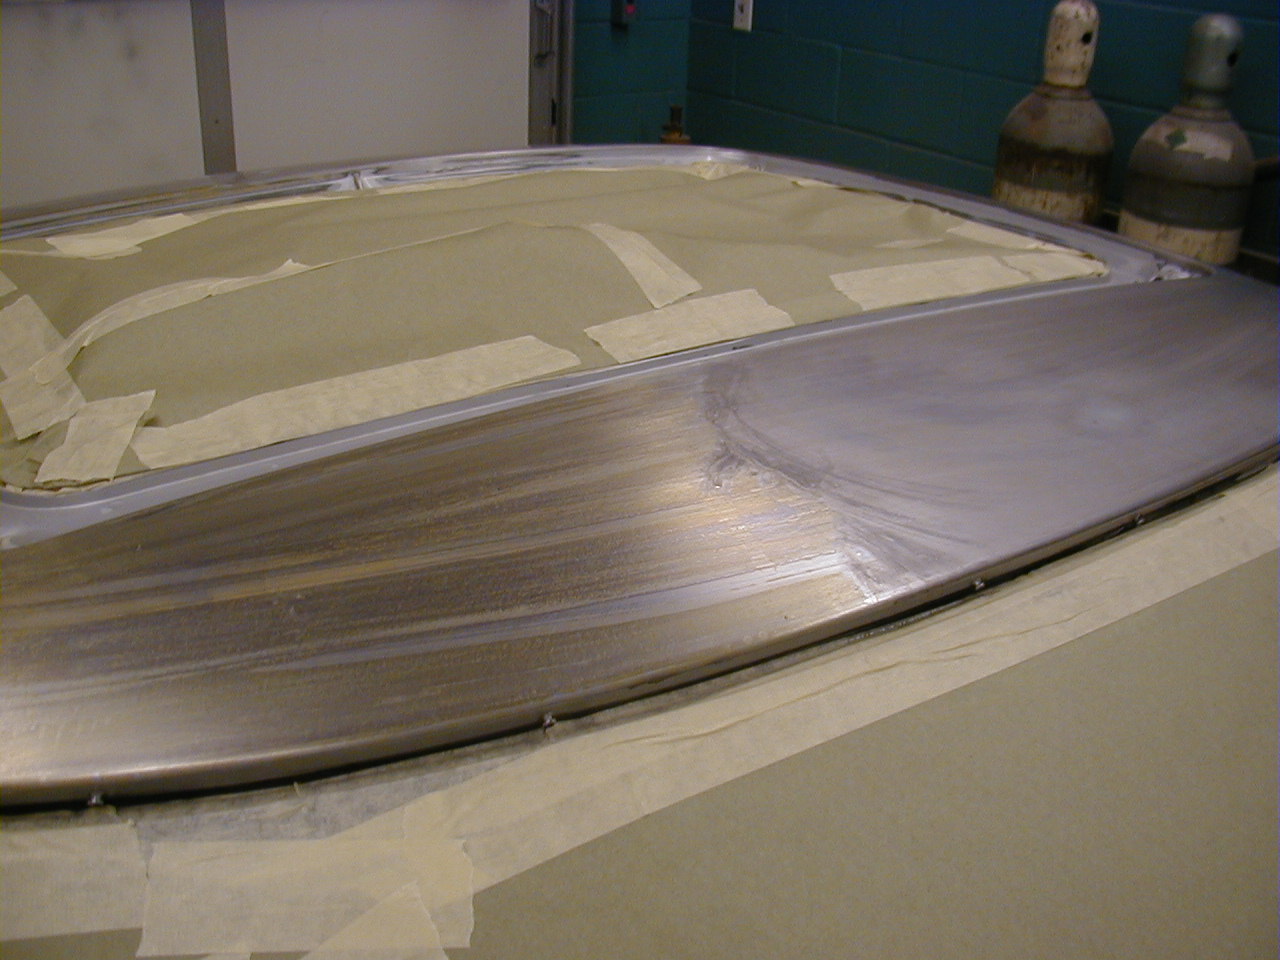
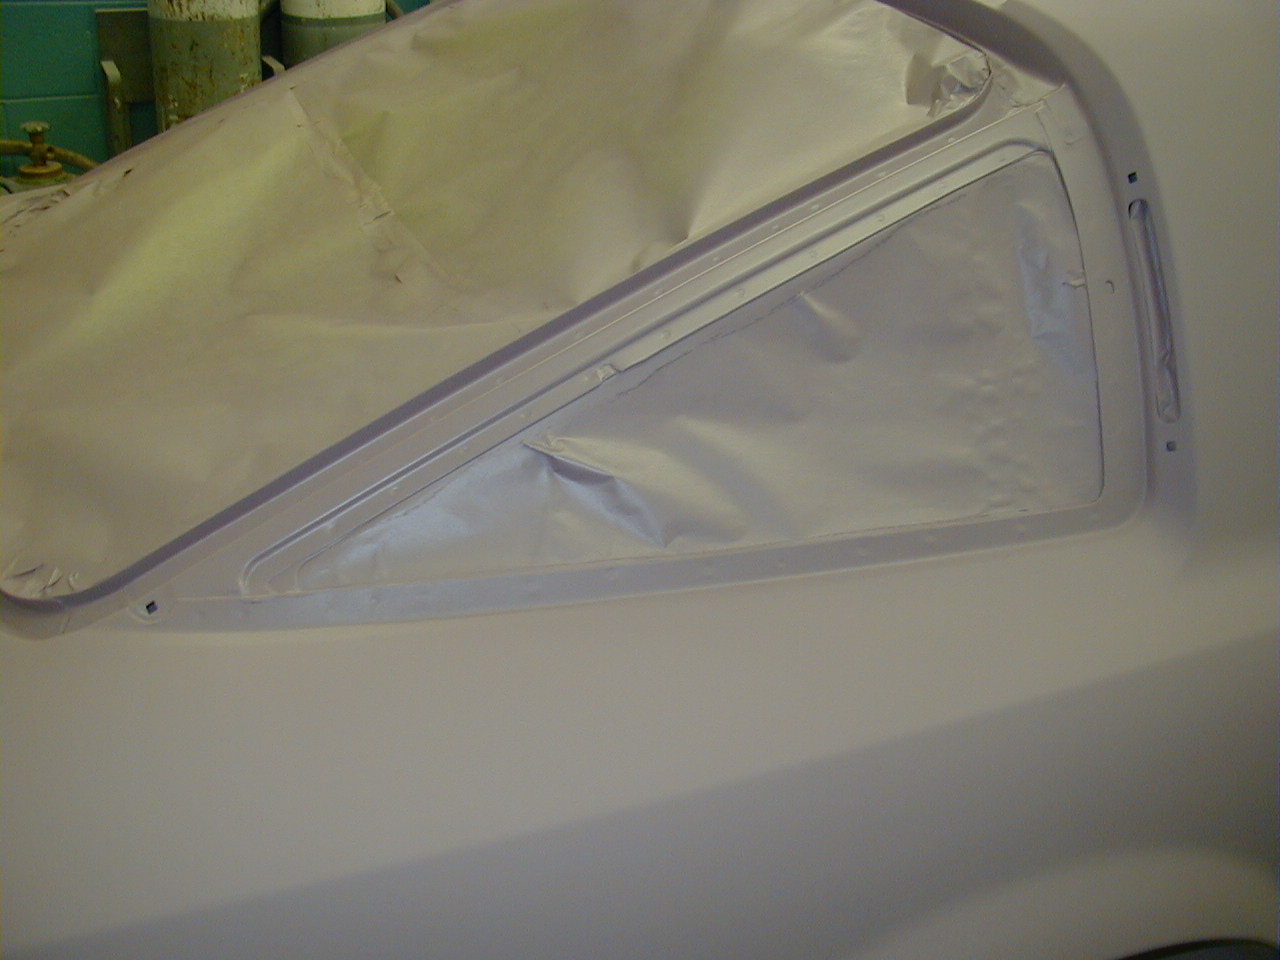
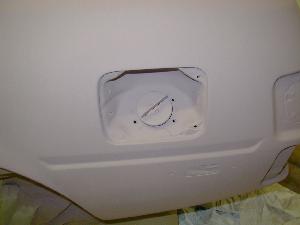
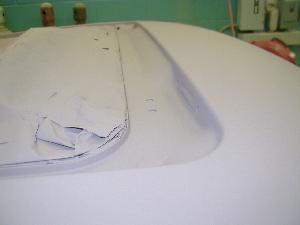
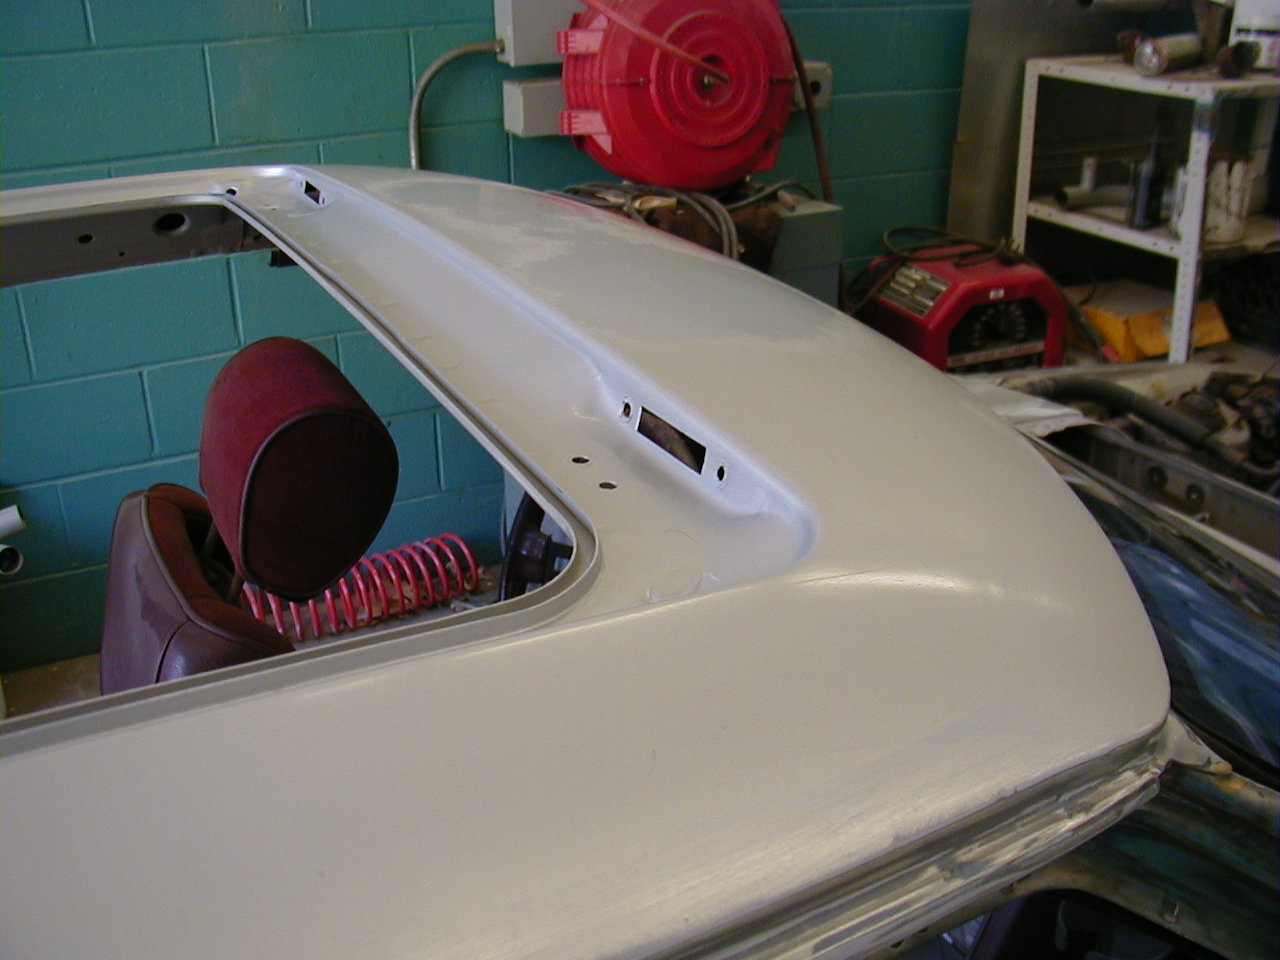
... and I eventually did the same to the sunroof area.

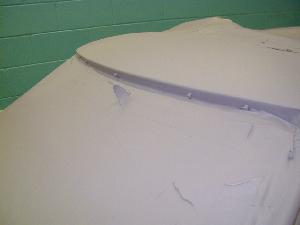
June and July 06
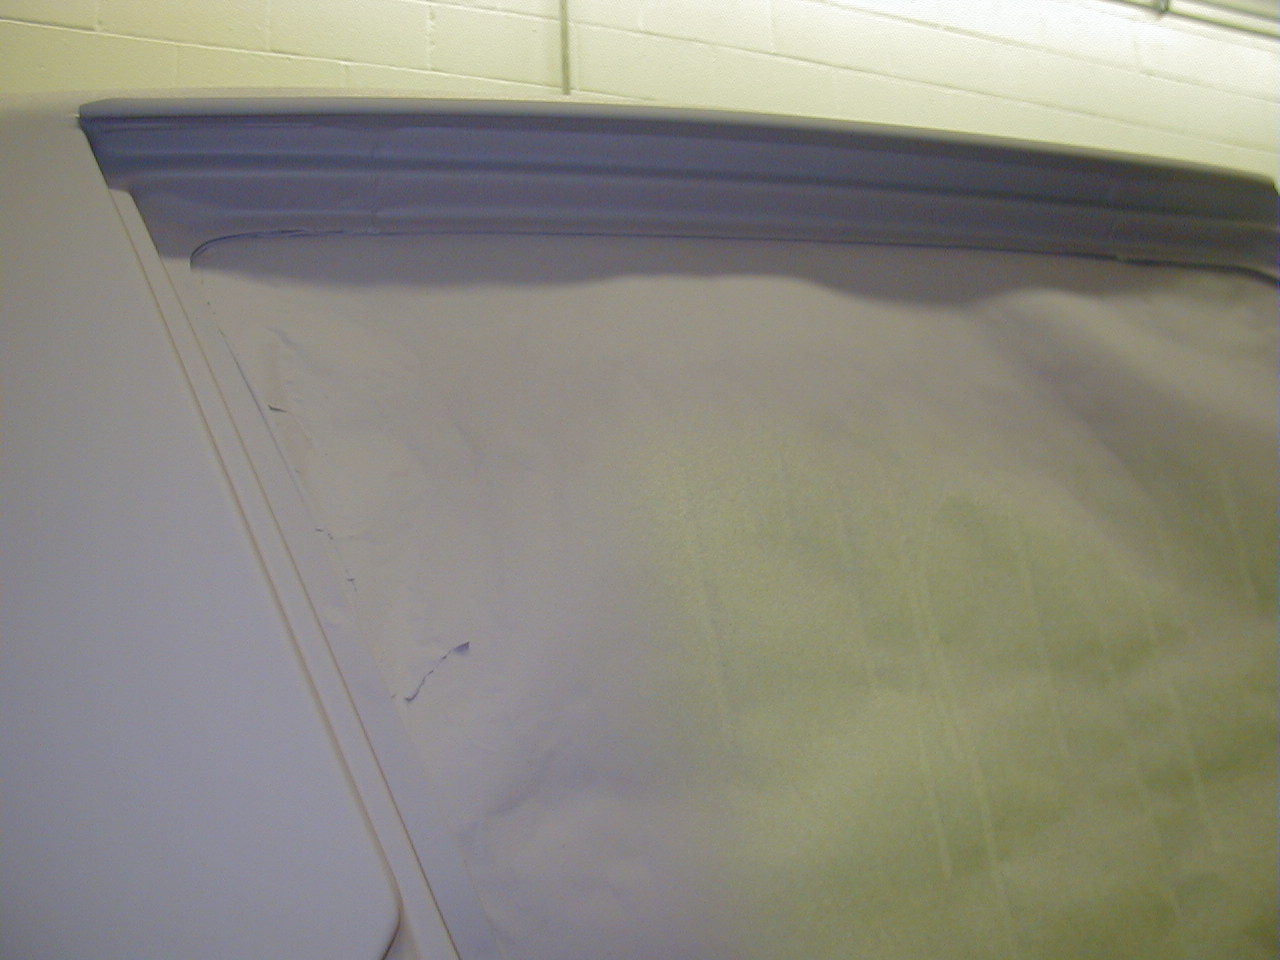
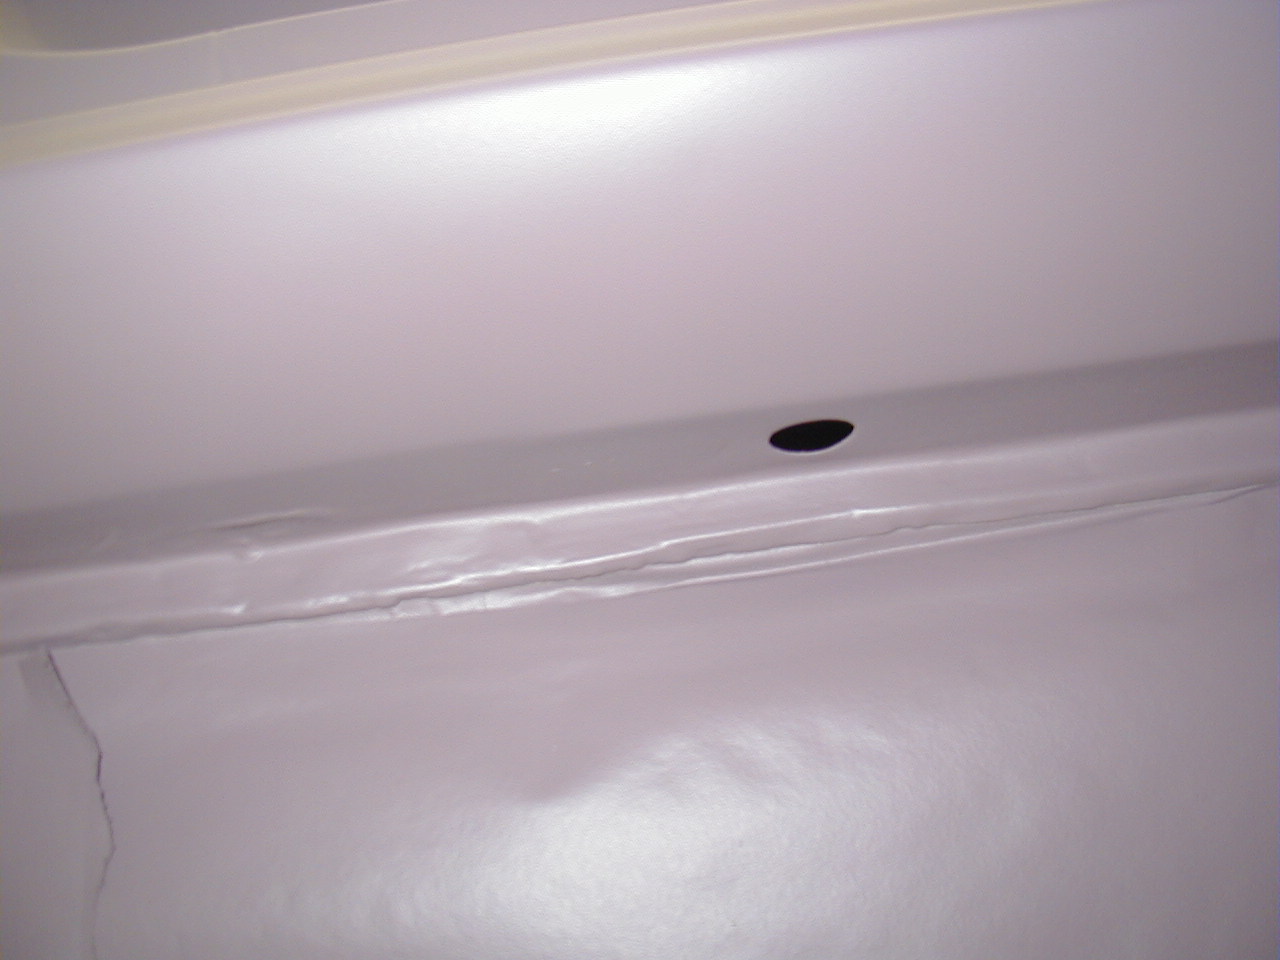
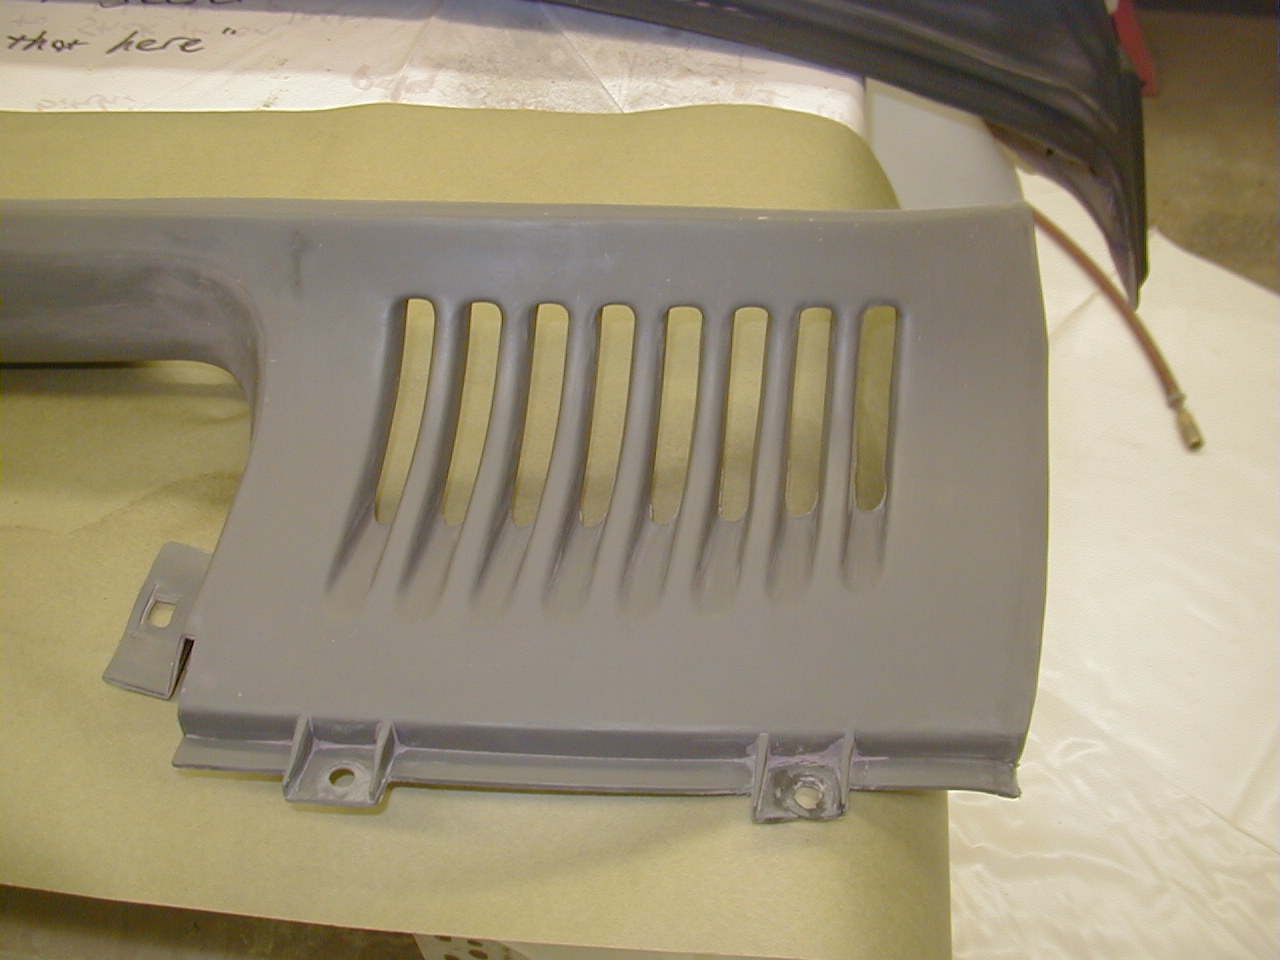
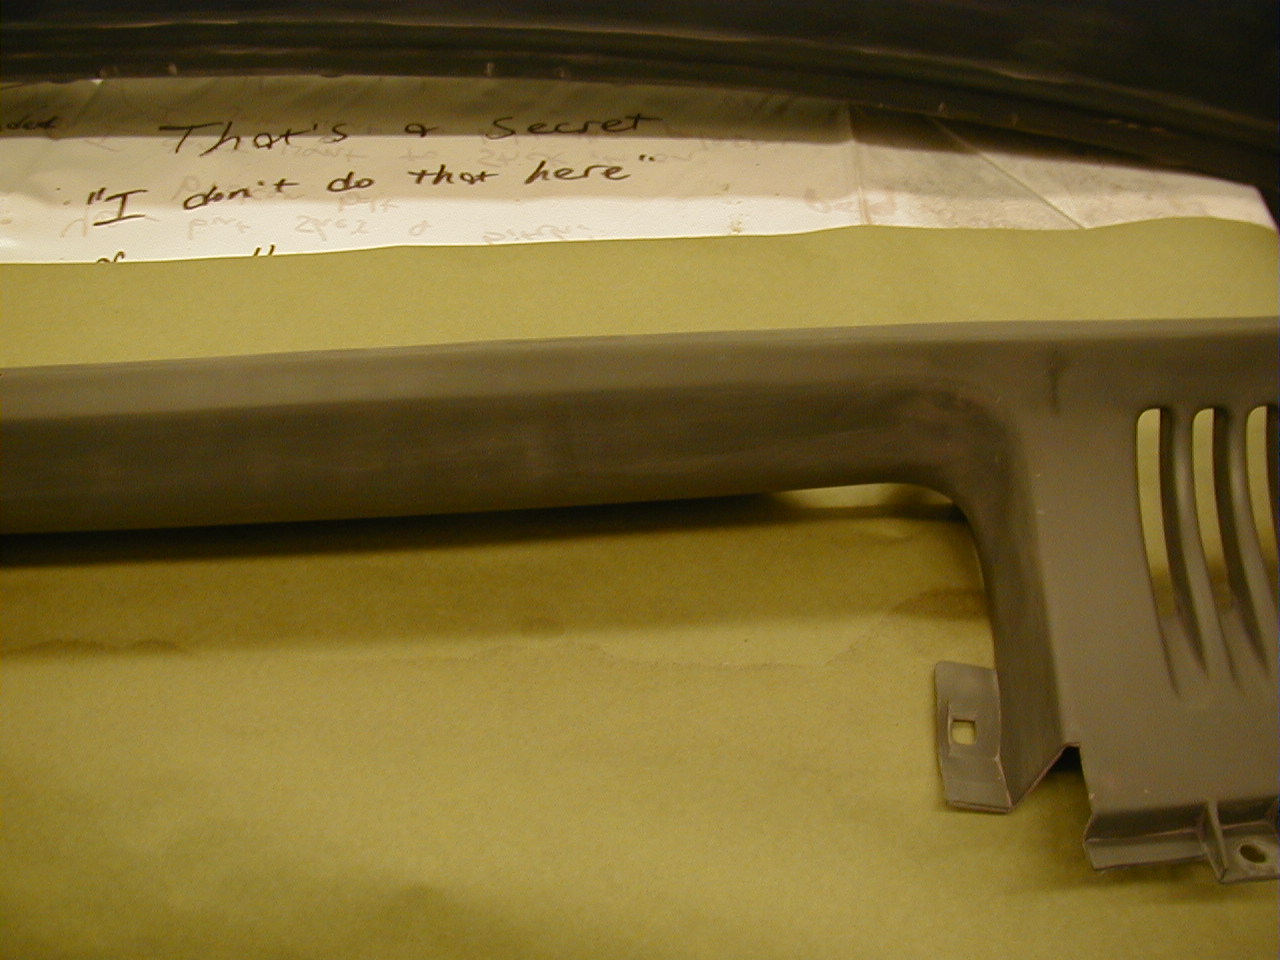
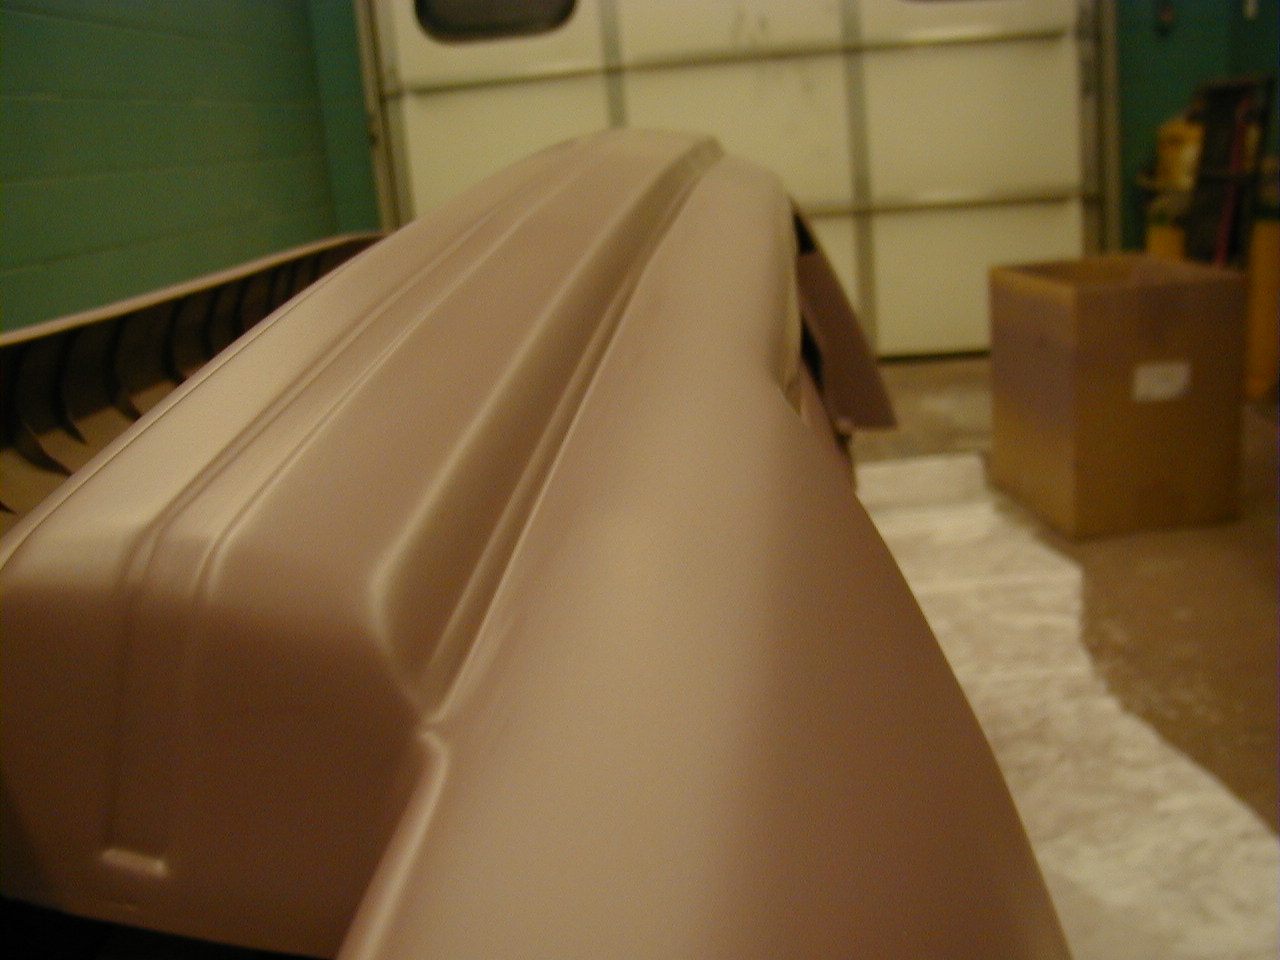
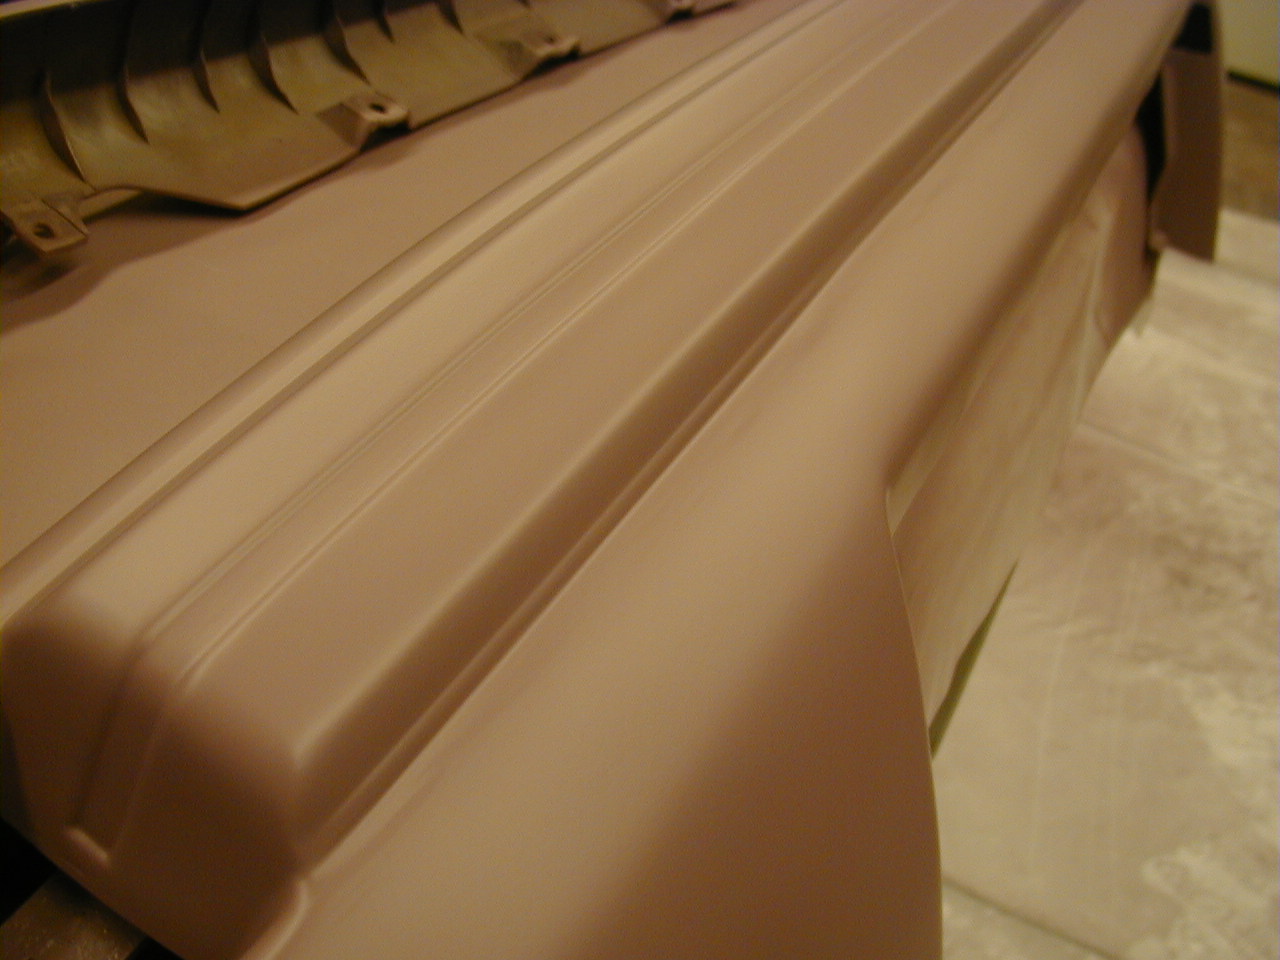
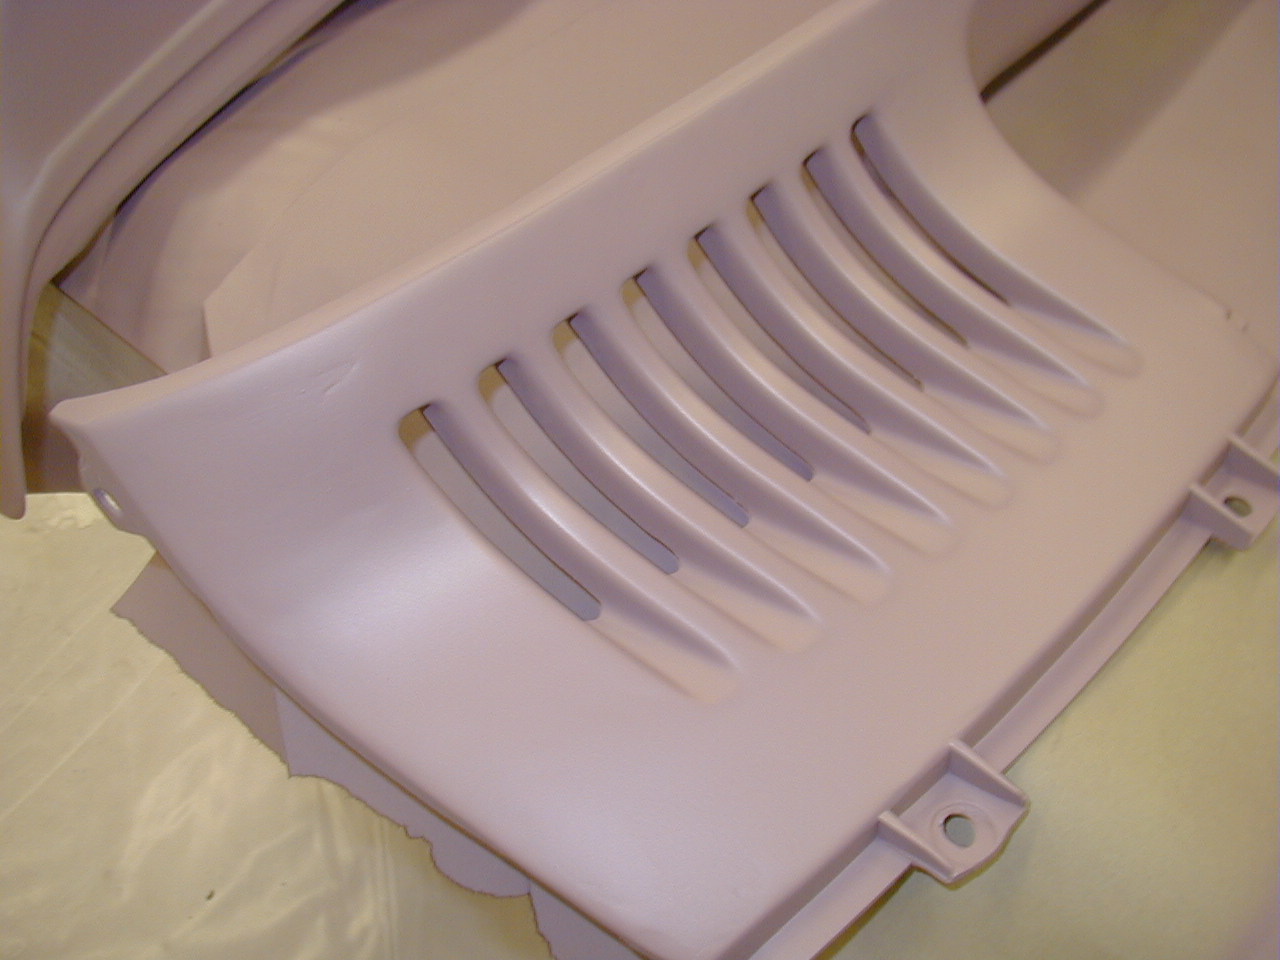
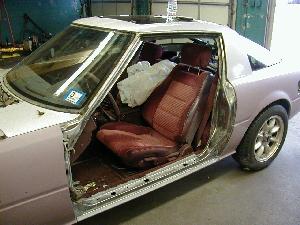
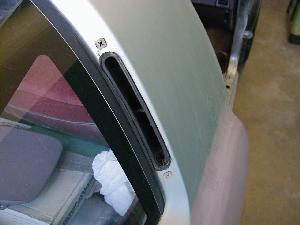
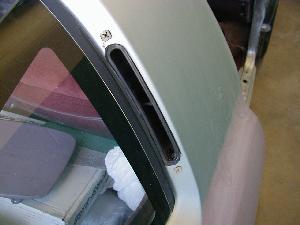
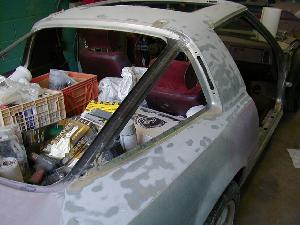
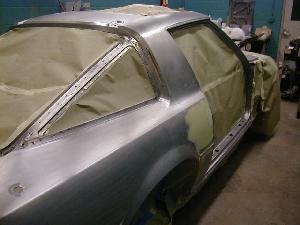
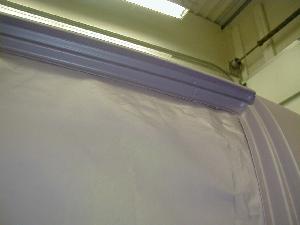
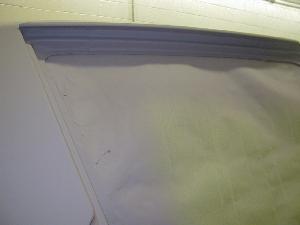
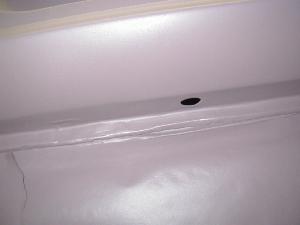
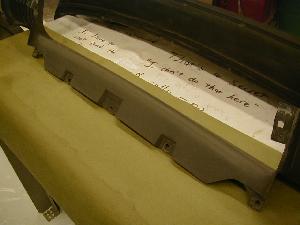
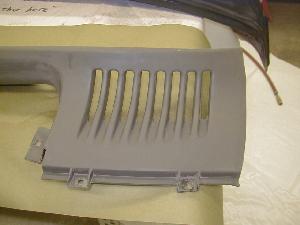
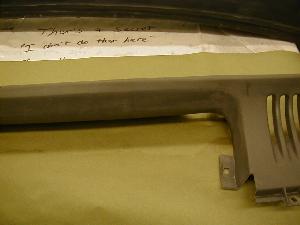
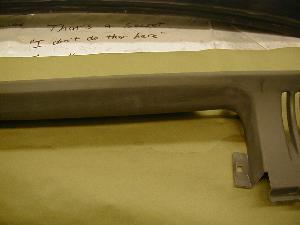
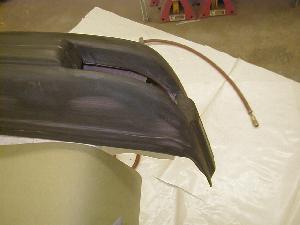
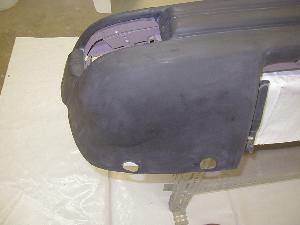
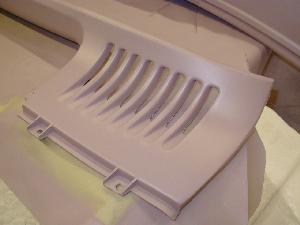
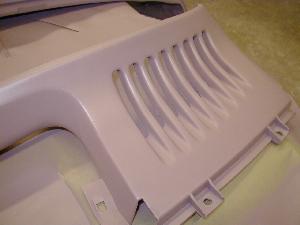
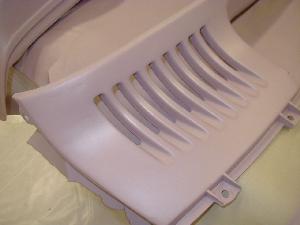
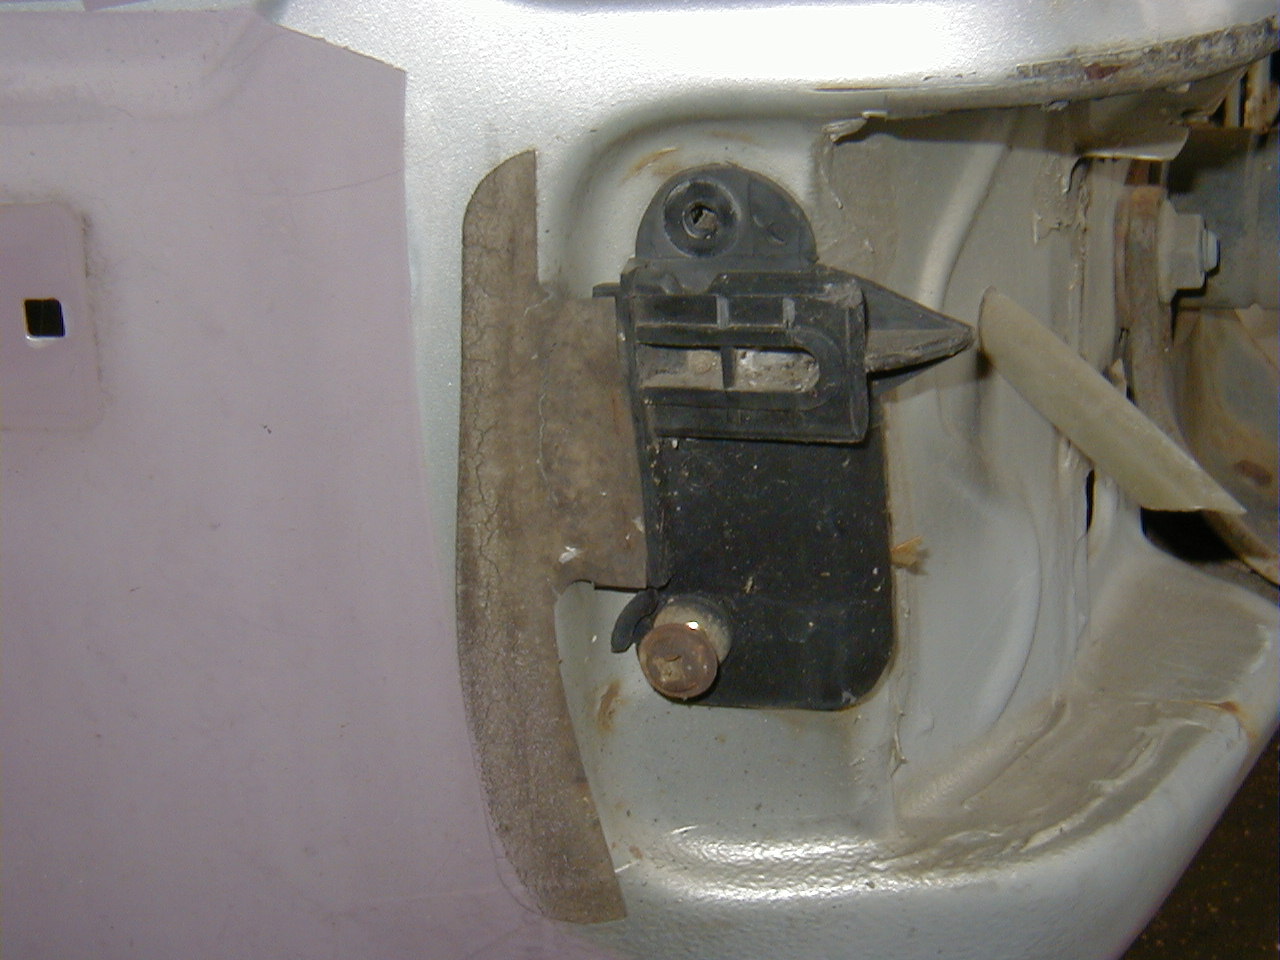
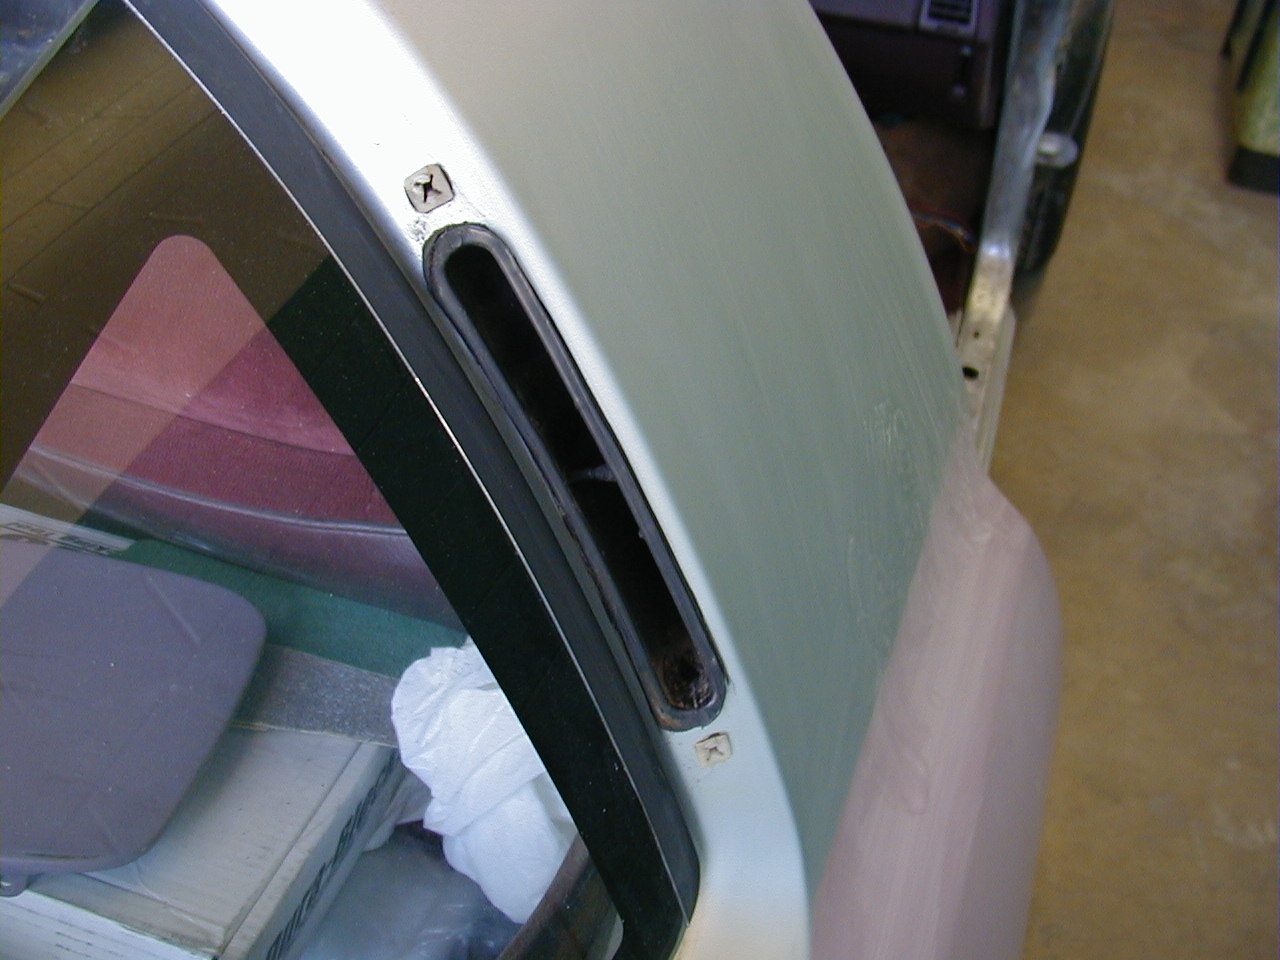
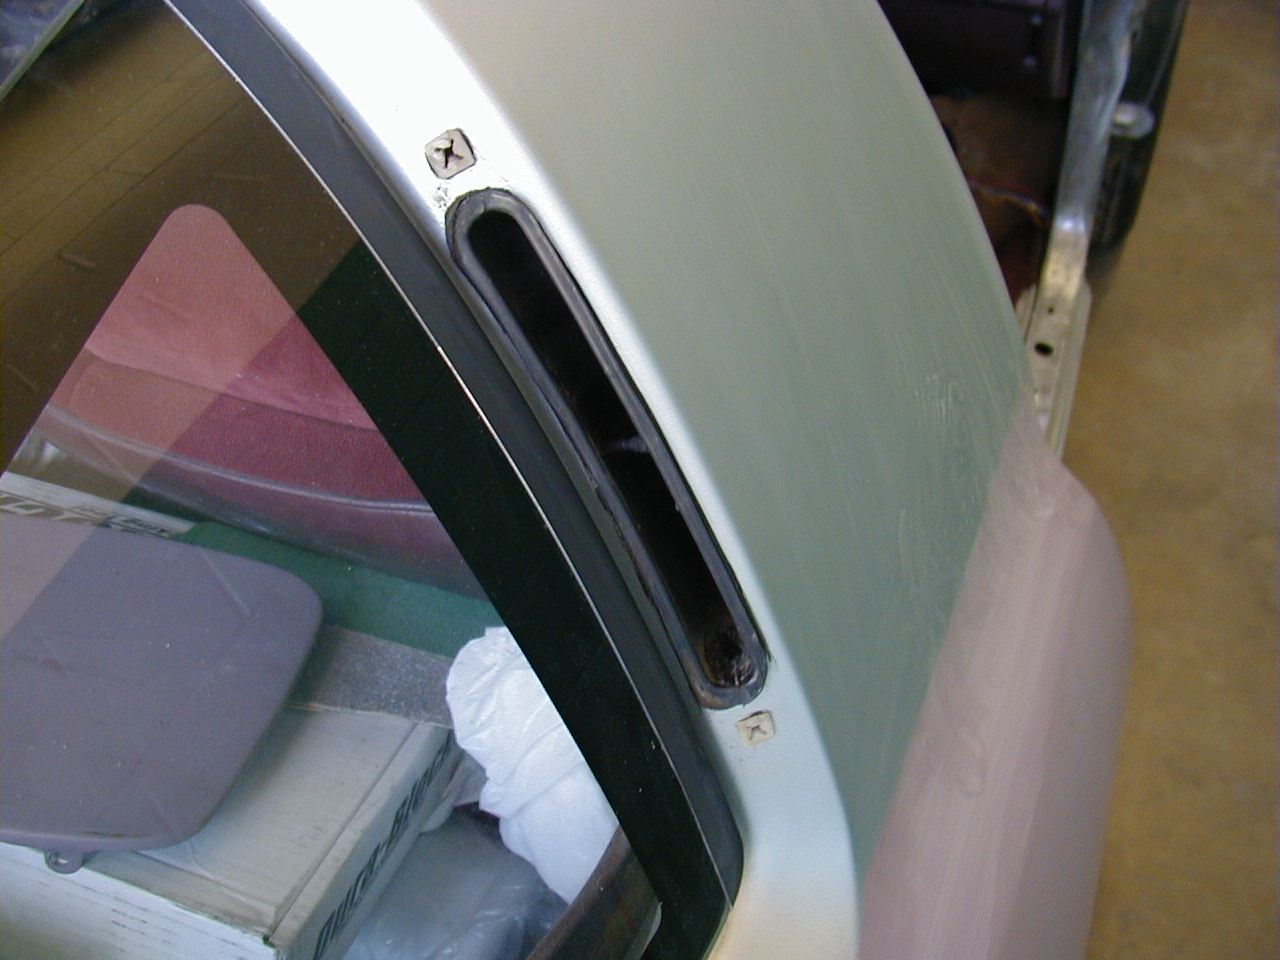
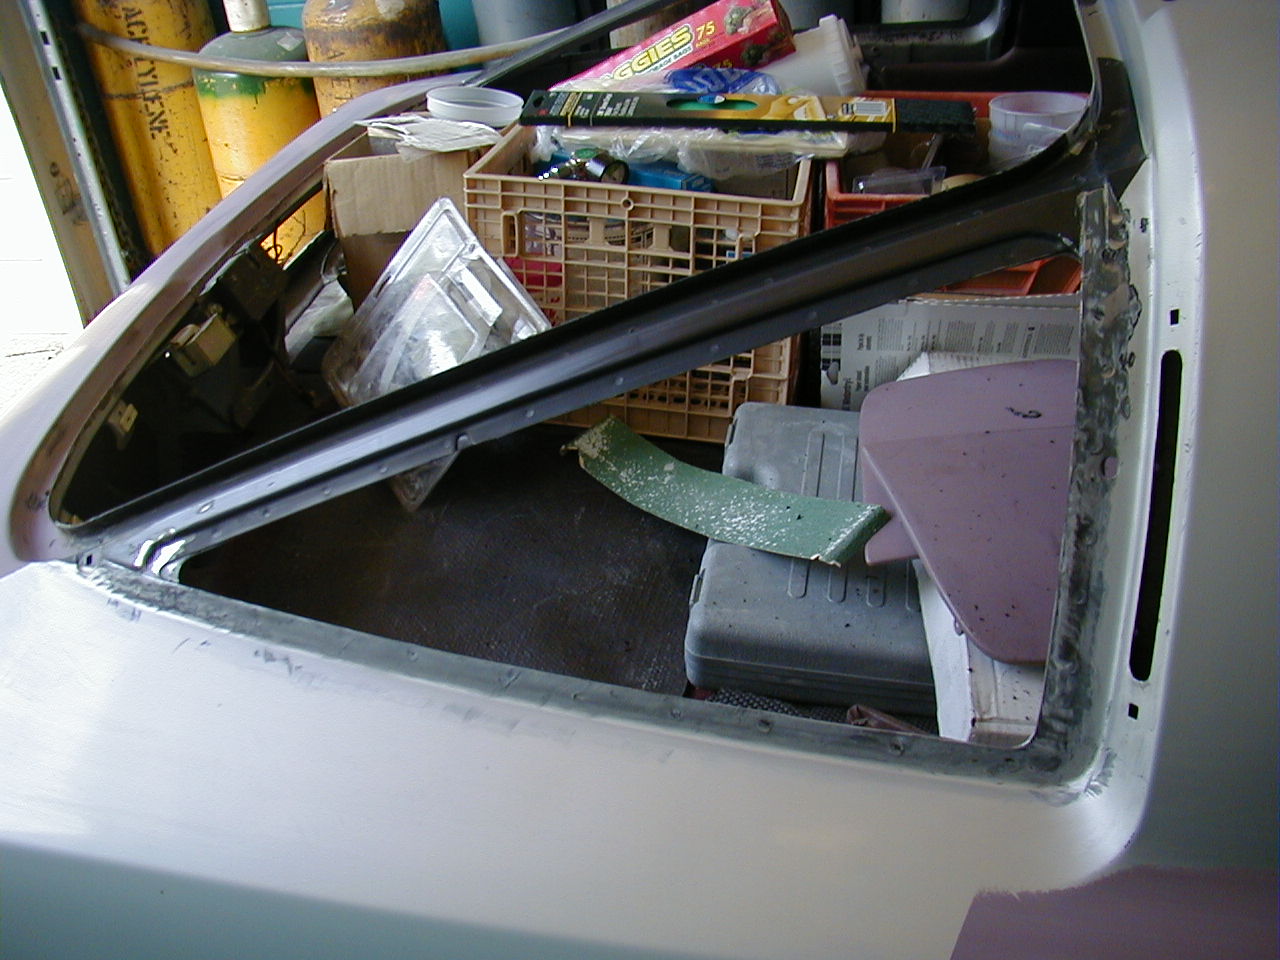
The roof had some minor complications about it: those "vents" in the back of the B-pillar are actually drain holes for the sunroof. There are hoses that run inside the body from holes in the sunroof channel, and they empty into a plastic boot that is inserted into the B-pillar. Getting that boot out of there without tearing it was difficult, but it came out. Getting it back in probably won't be so bad.
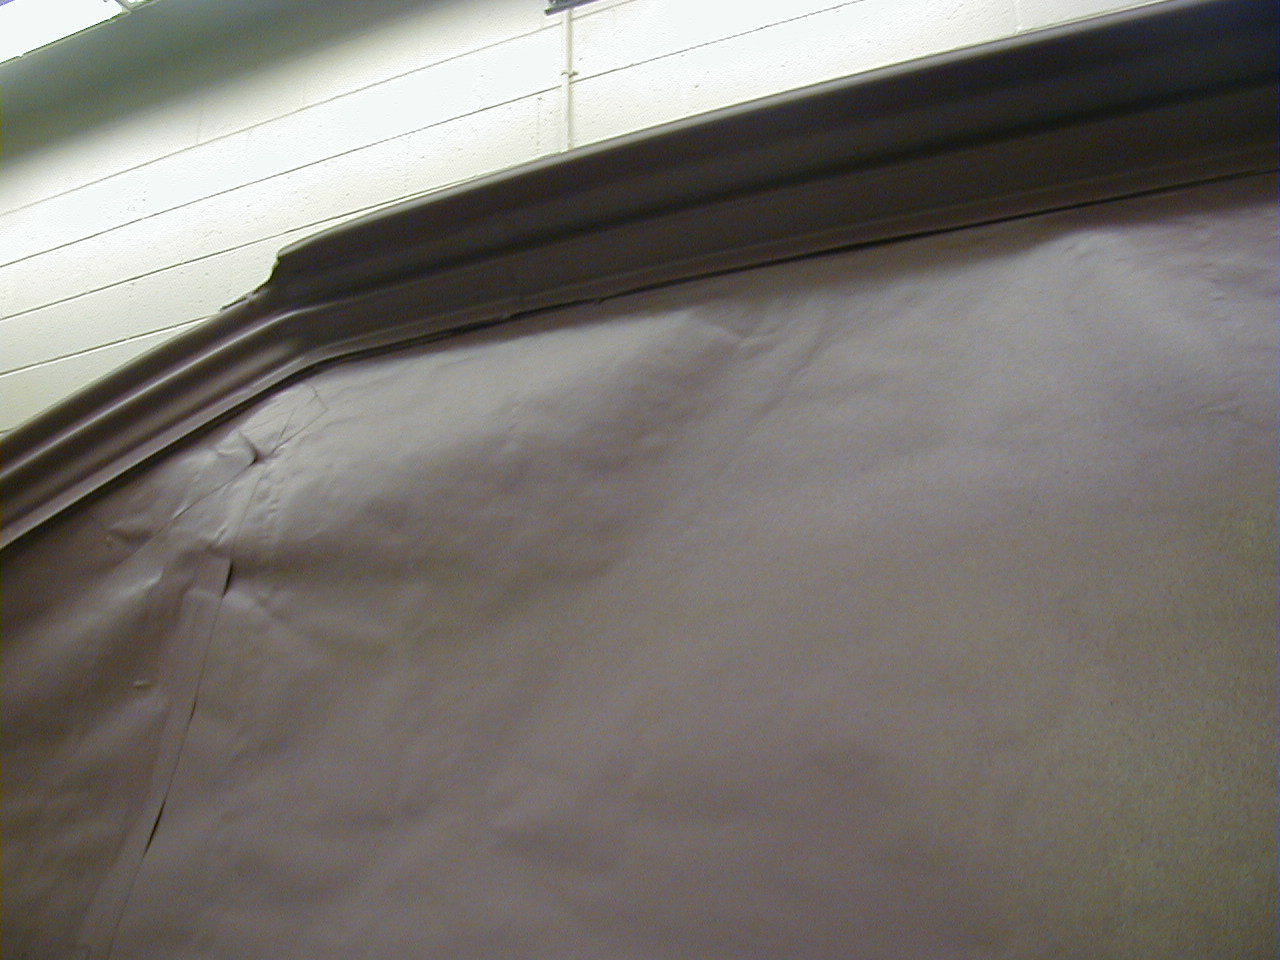
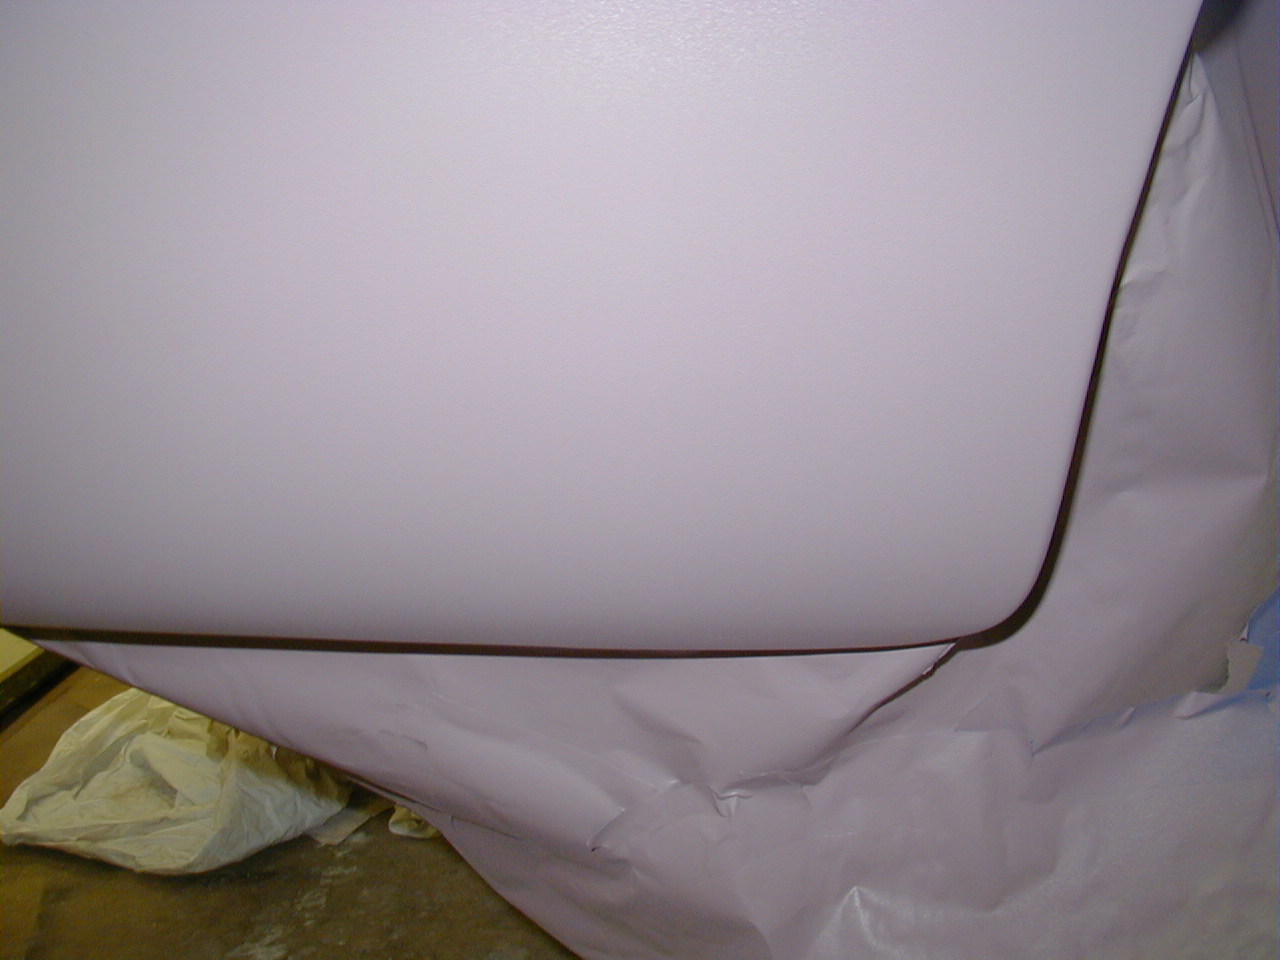
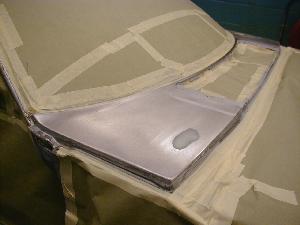
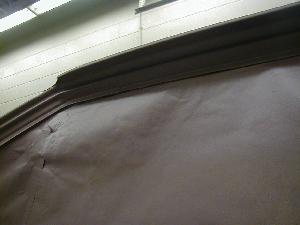
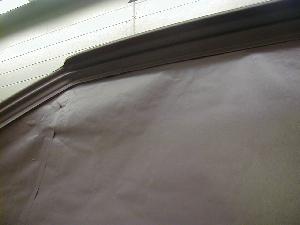
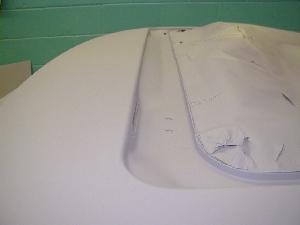
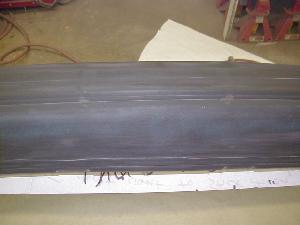
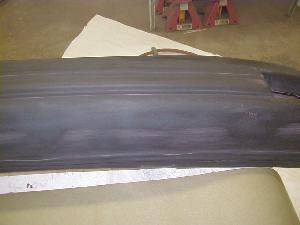
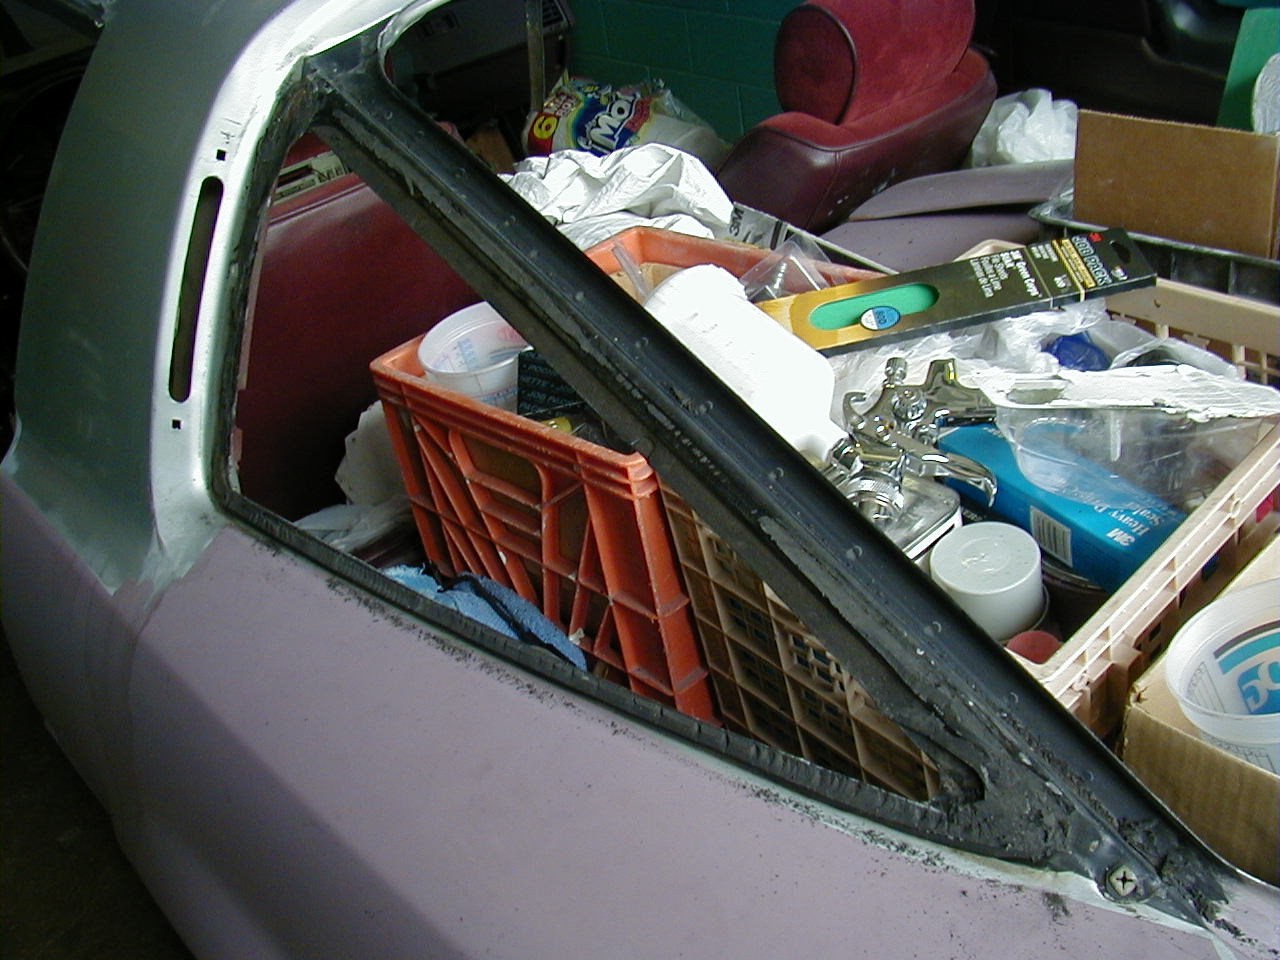
Initially, I made a point of photographing the hatch frame so that I could duplicate the application of the black trim paint that Mazda used. Removing that paint was a bit tedious, as it seems to be some sort of rubberized paint that melts when you strip it off with a wire wheel.


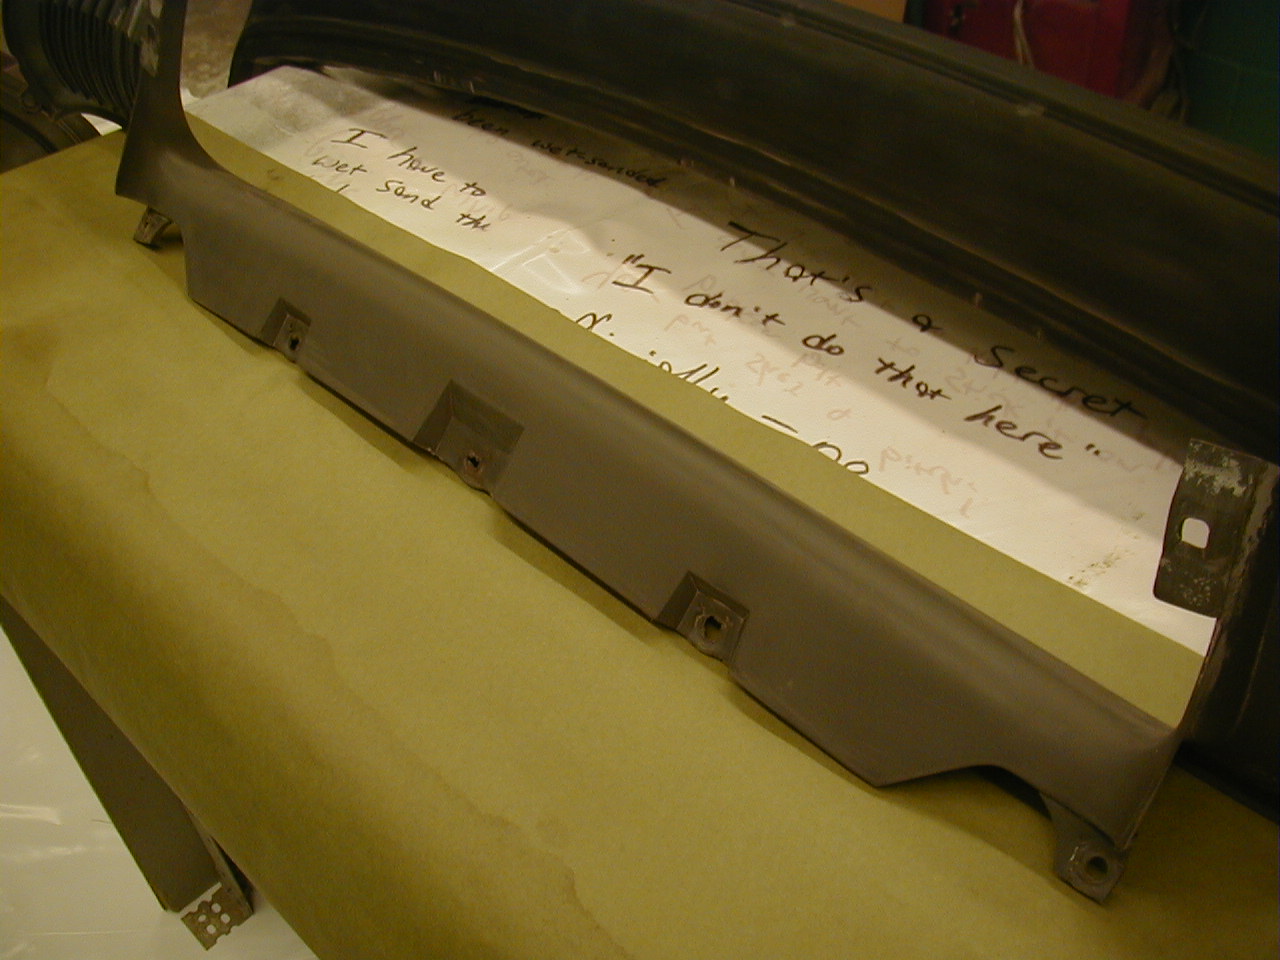
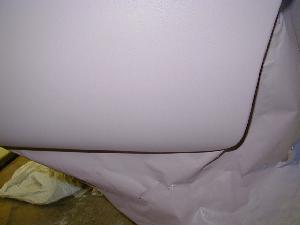
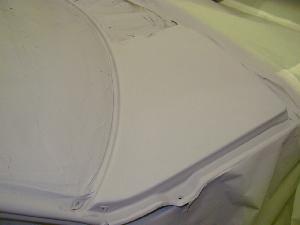
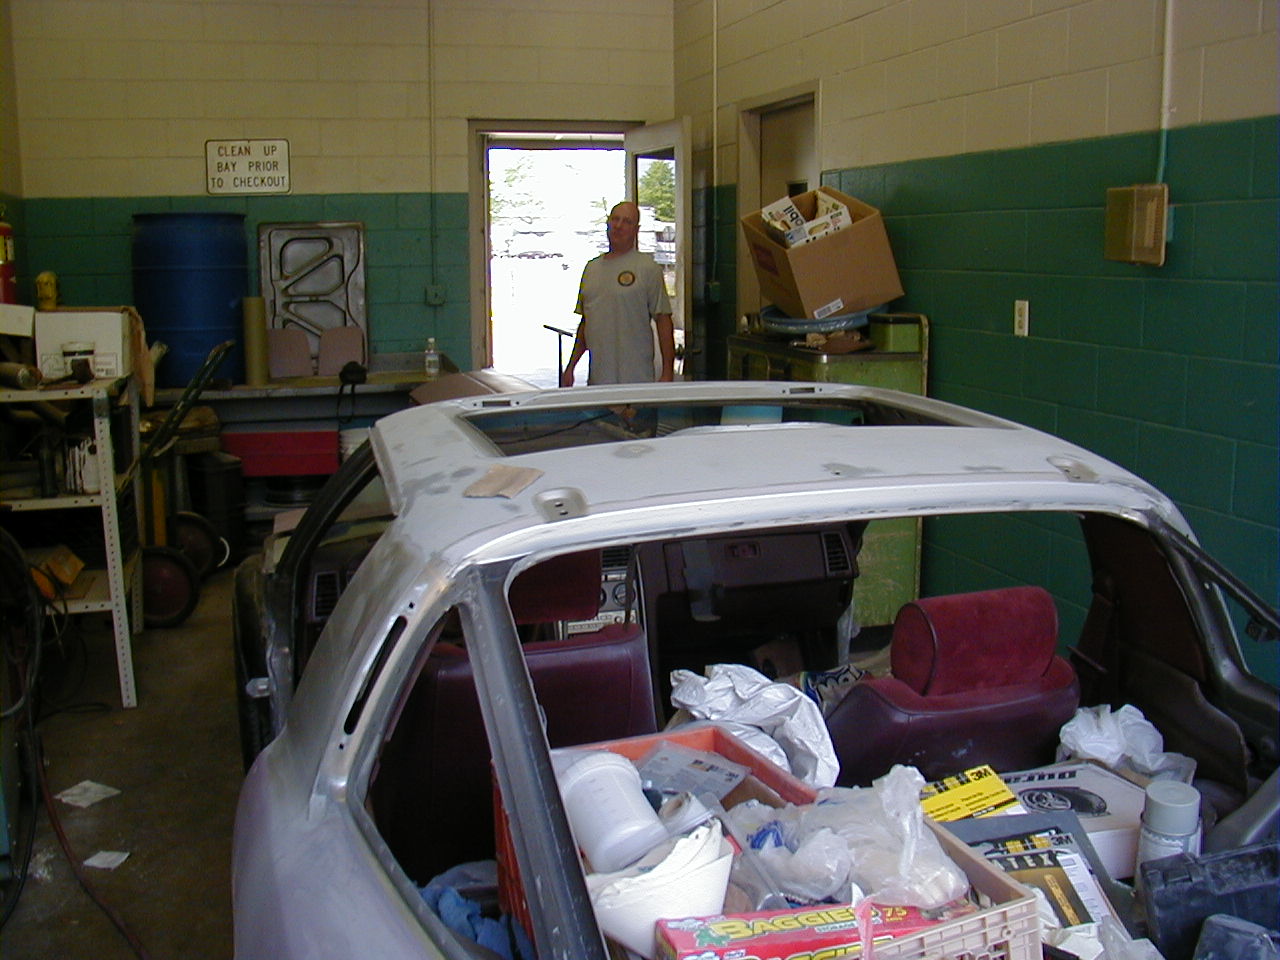
As mentioned previously, I ultimately stripped the roof down to bare metal. That's John, who was running the auto shop at the time, reminding me that I'm not even close to finished.

August and September 06
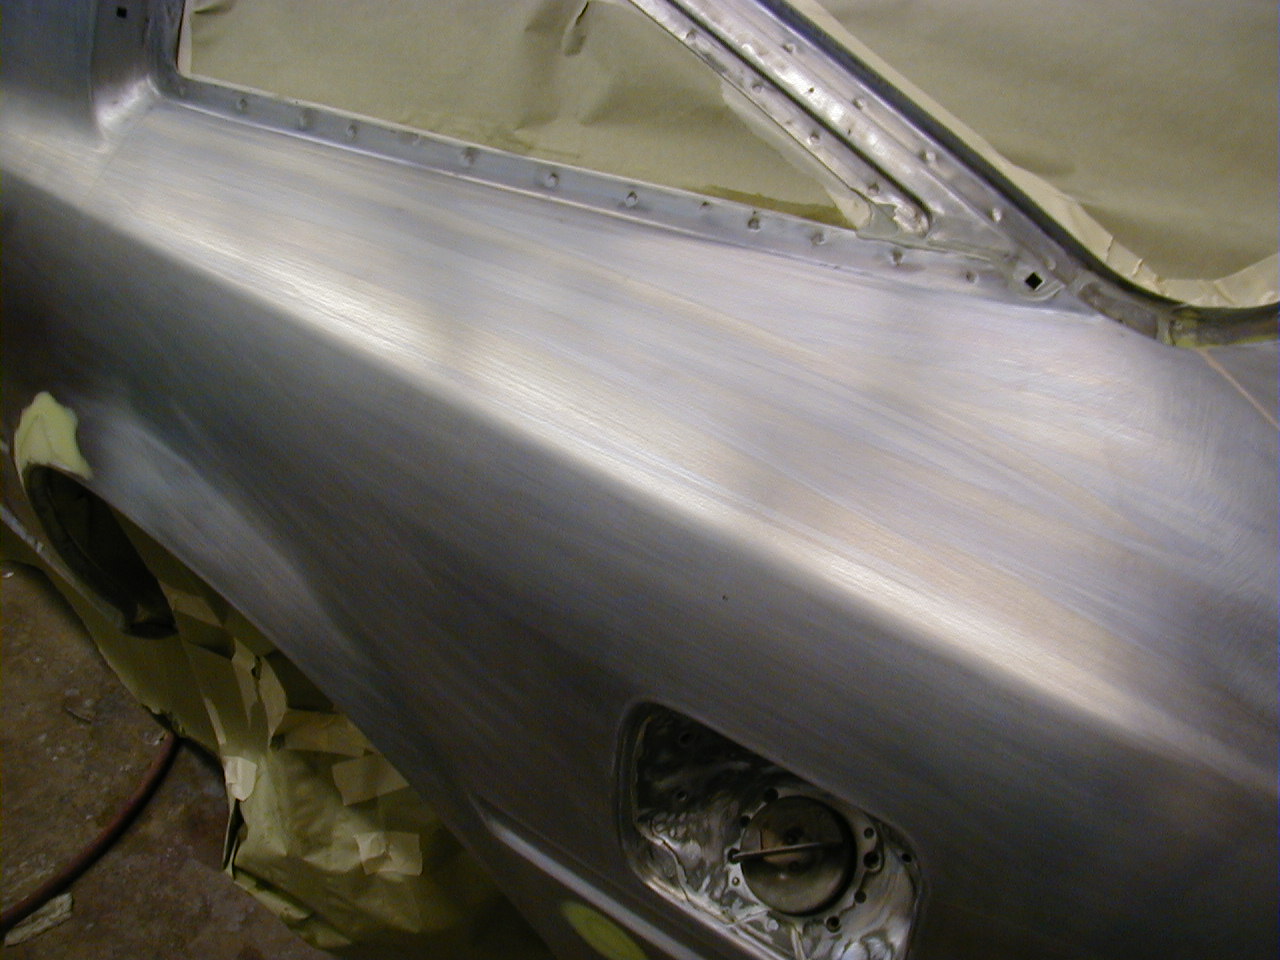
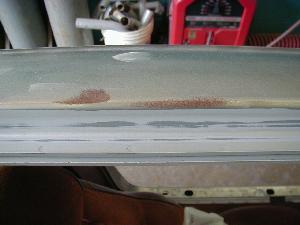
This was interesting: in the course of stripping the roof down to bare metal, I recall brushing against the metal with my sweaty fore-arm. I wiped it off and thought nothing of it until the following week, when I saw this. Apparently, the salt from my sweat, combined with hot and humid east coast summer air, was enough to start this surface rust in only one week. It sanded off easily enough, and I treated it with metal treatment before spraying primer, but wow -- I never thought it could rust so quickly!
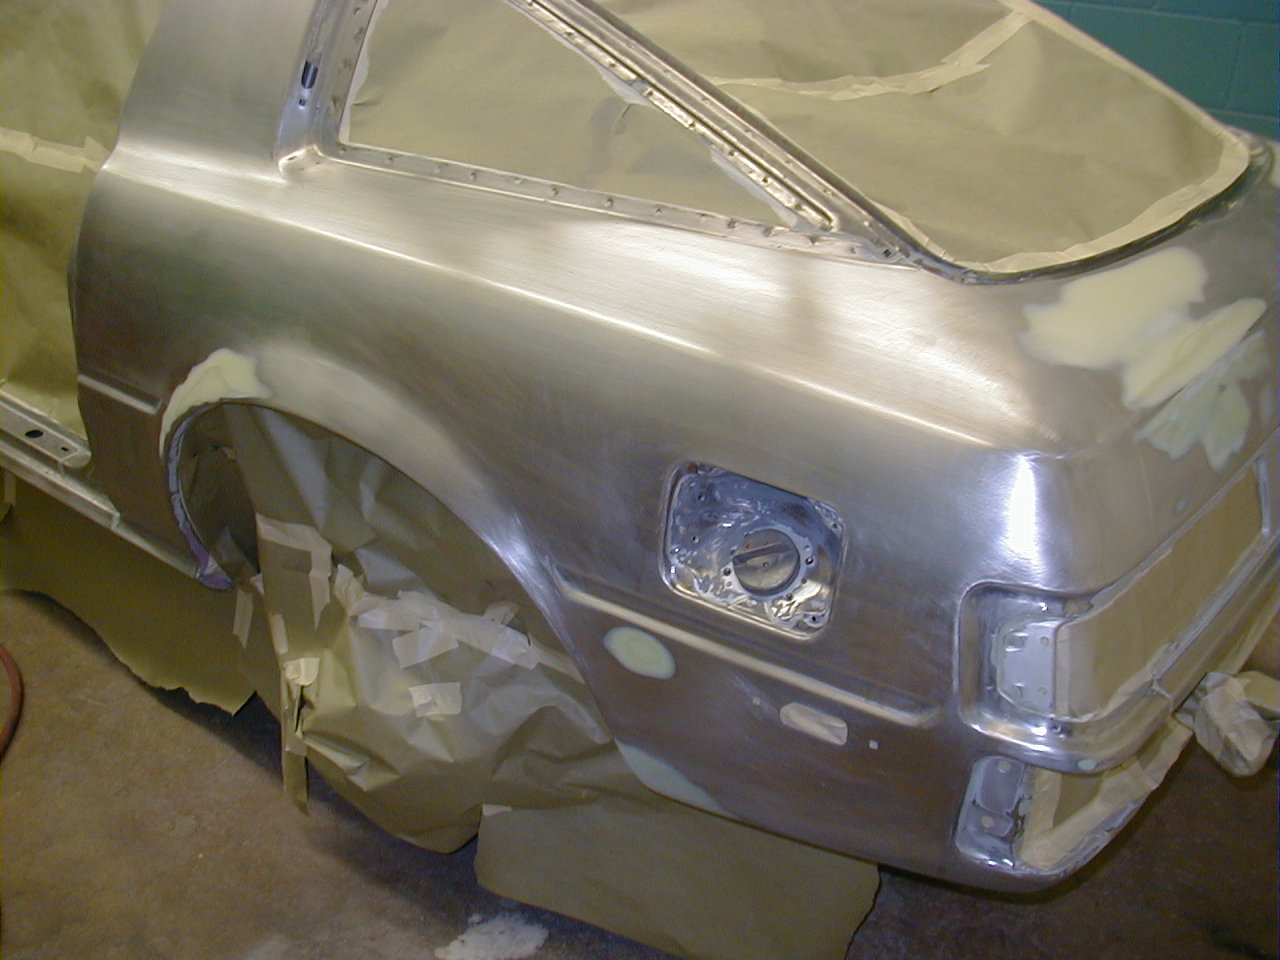
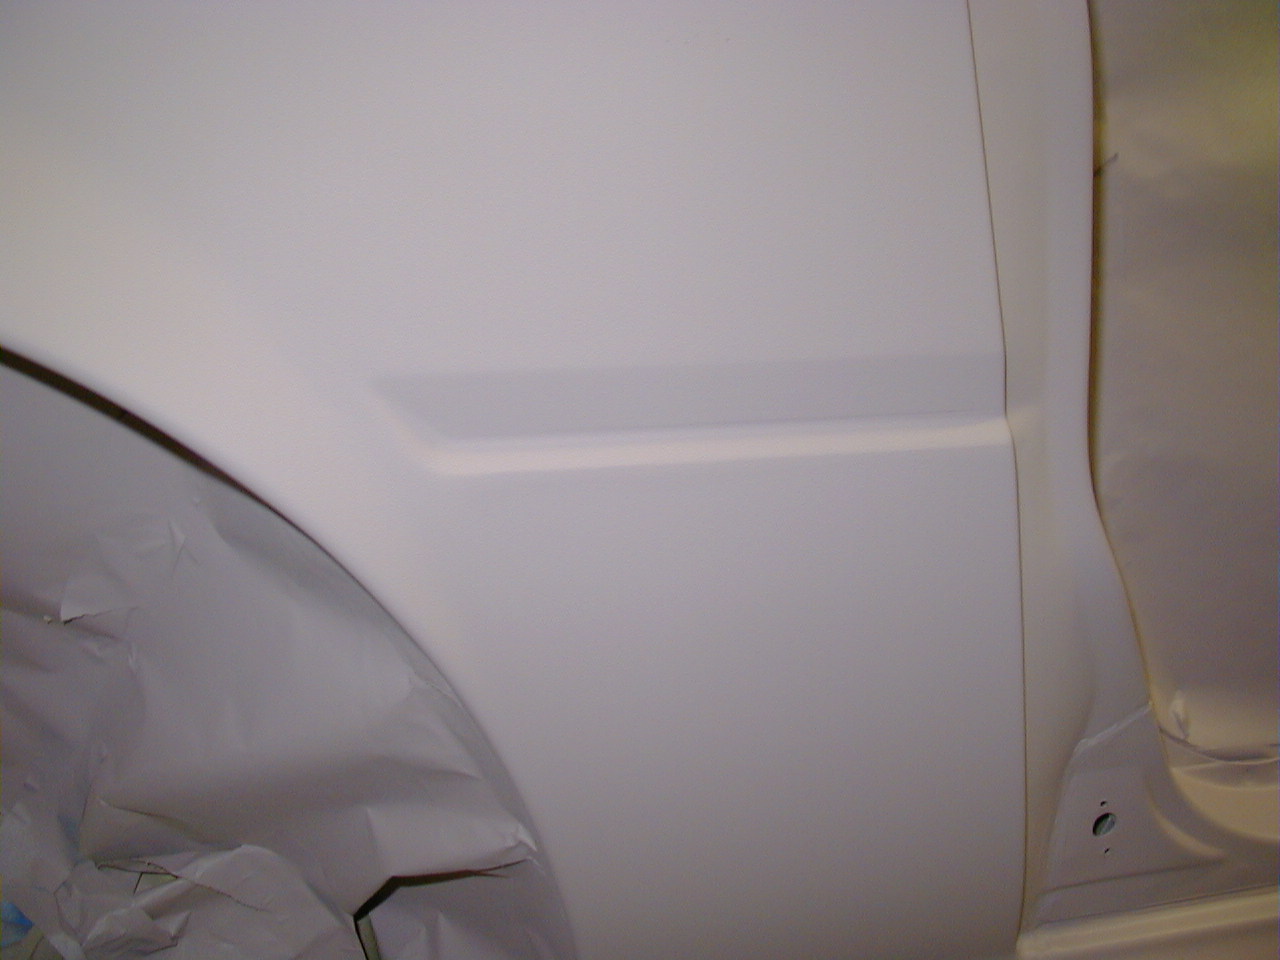
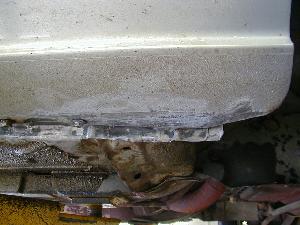
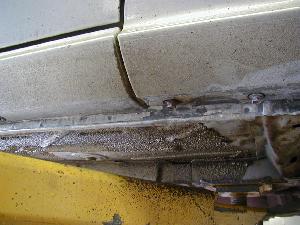
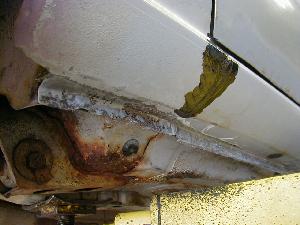
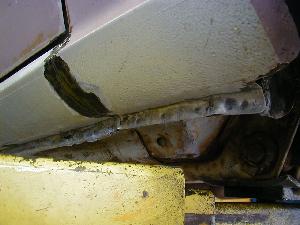
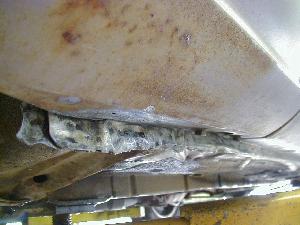
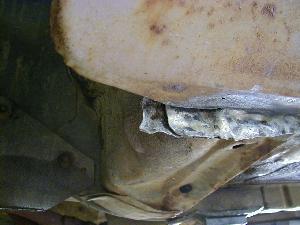
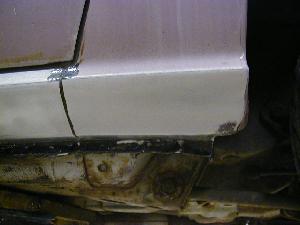
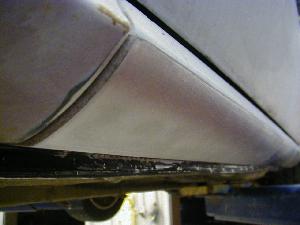
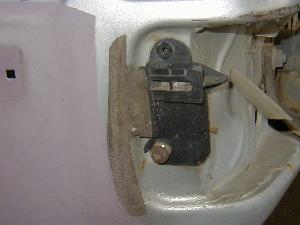
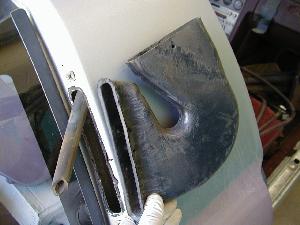
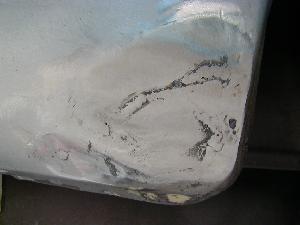
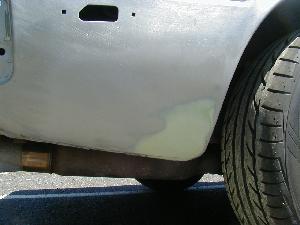
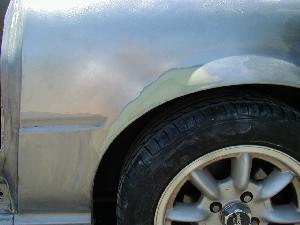
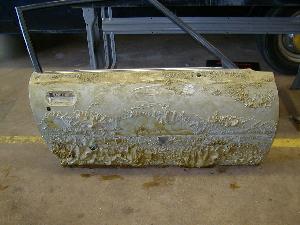
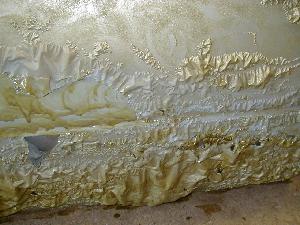
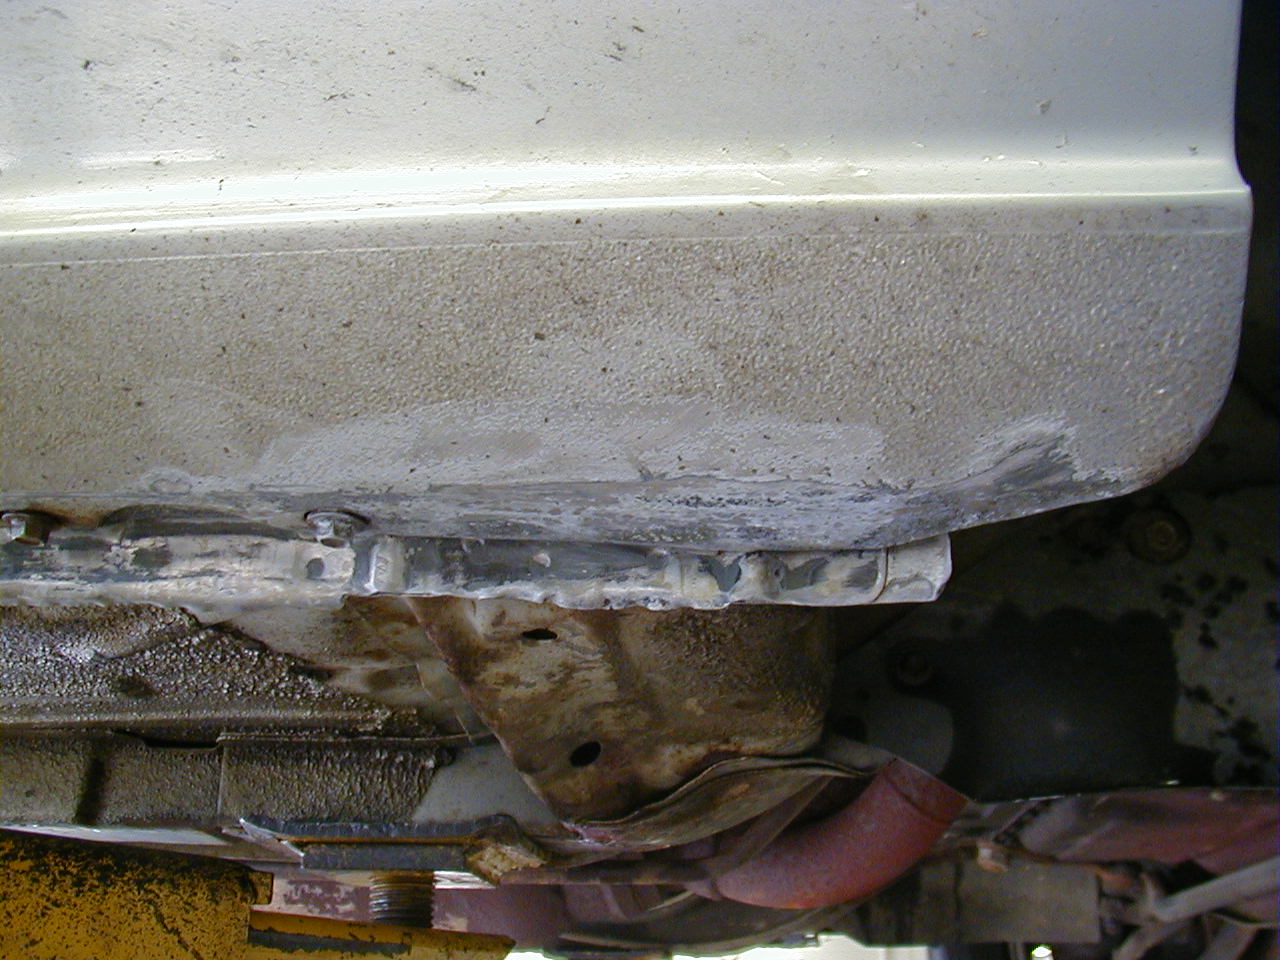
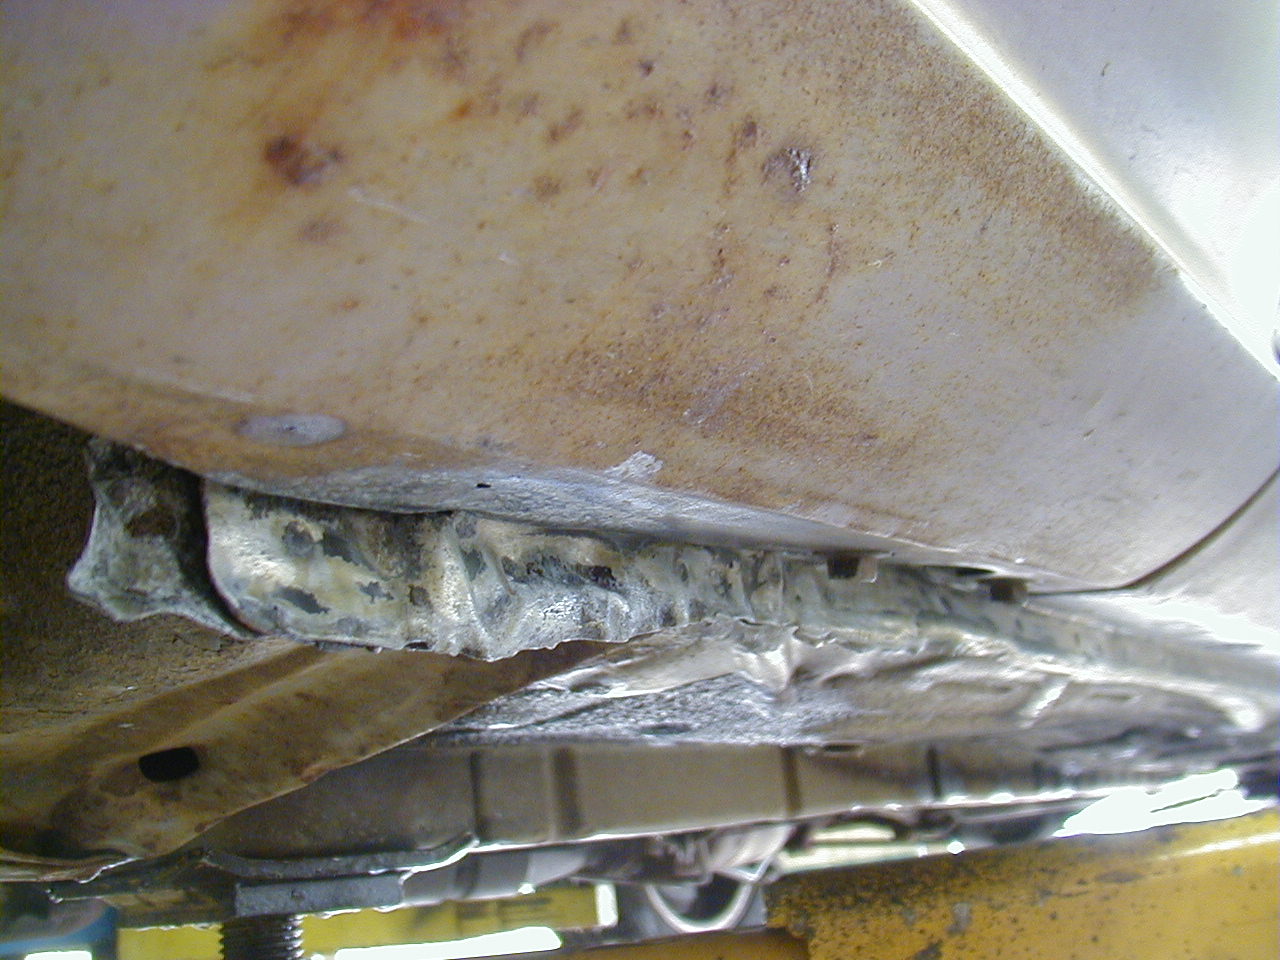
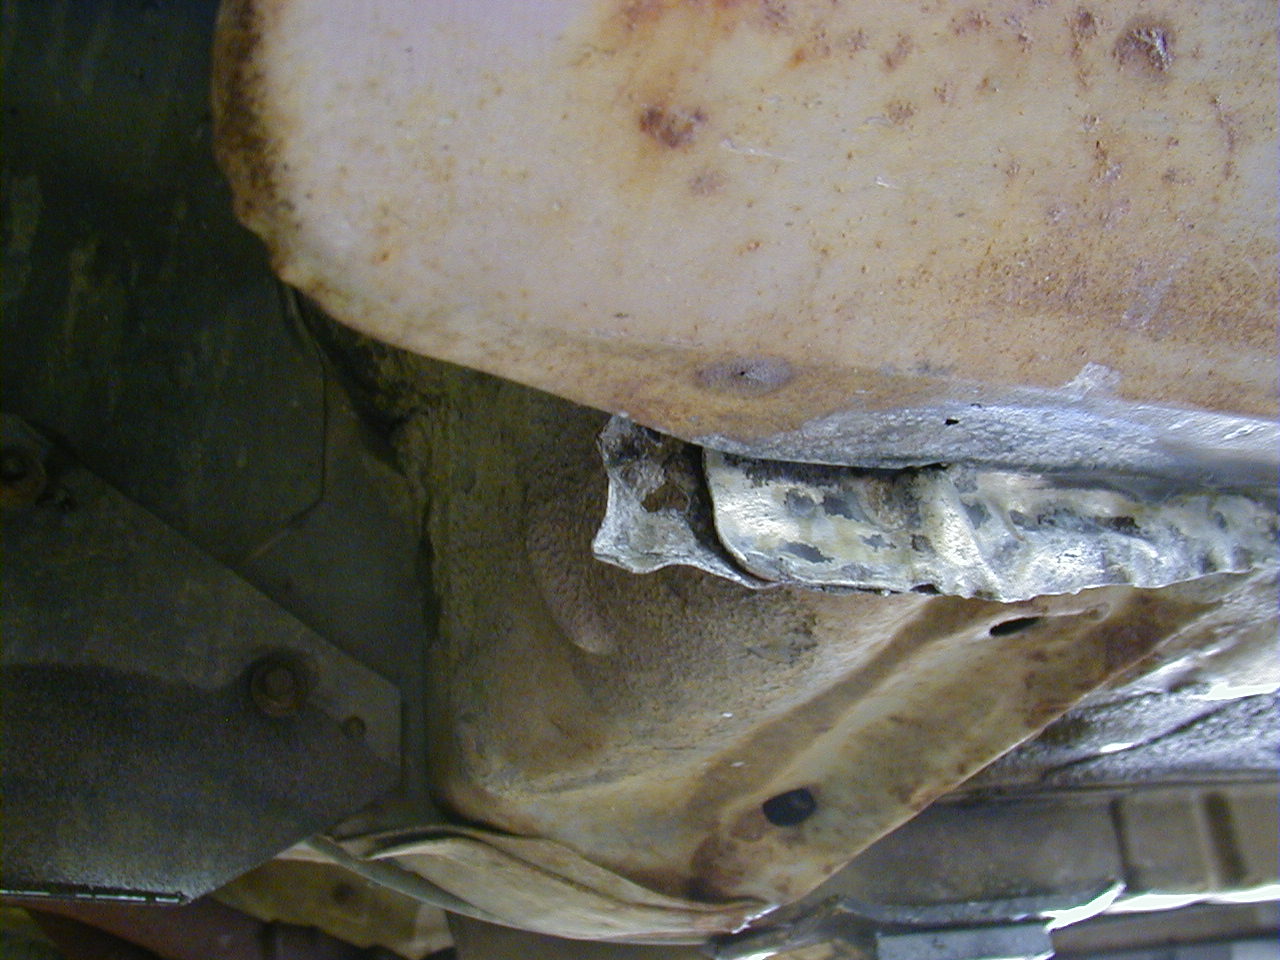
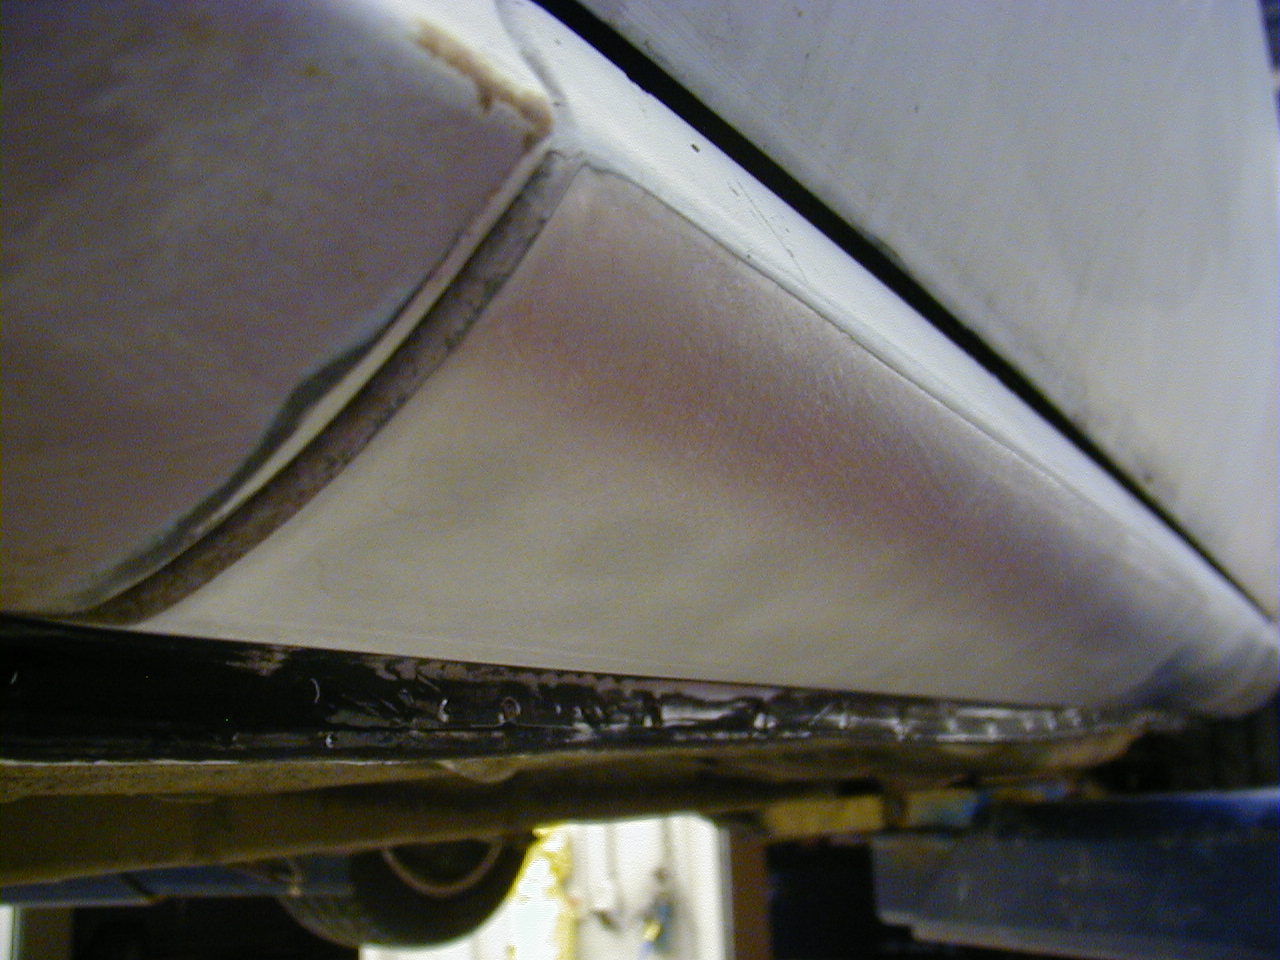
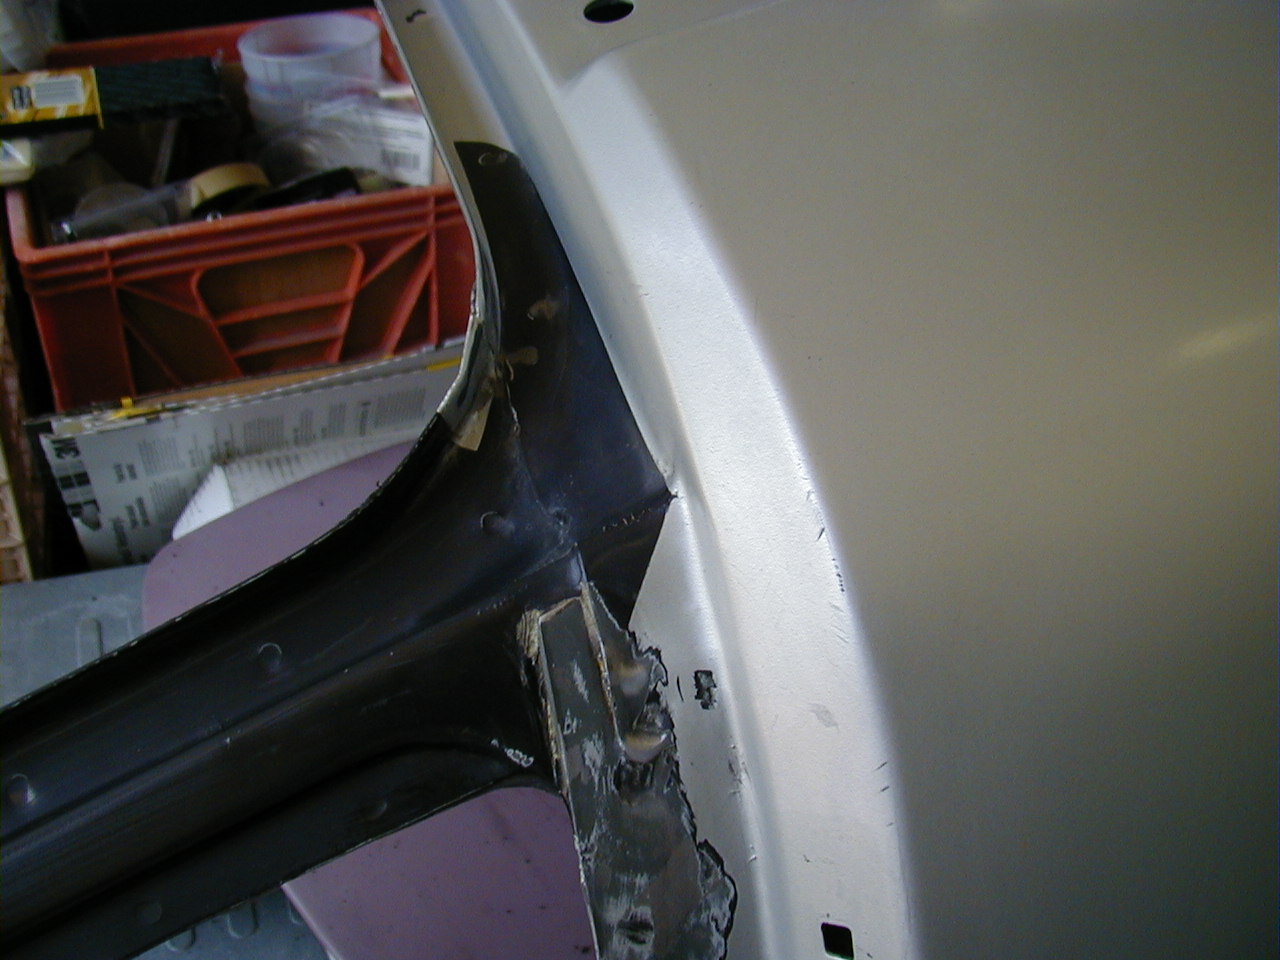
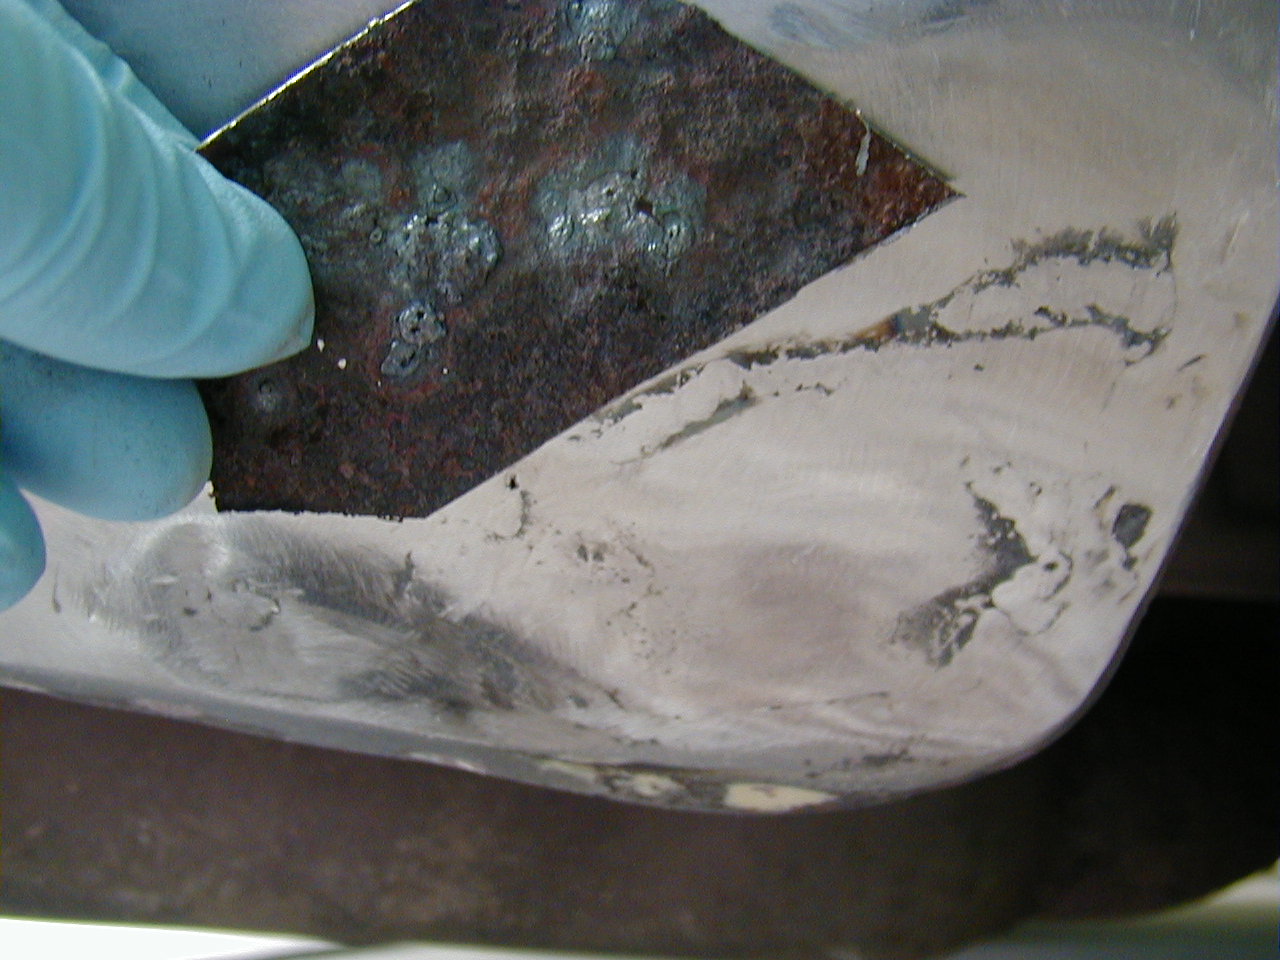
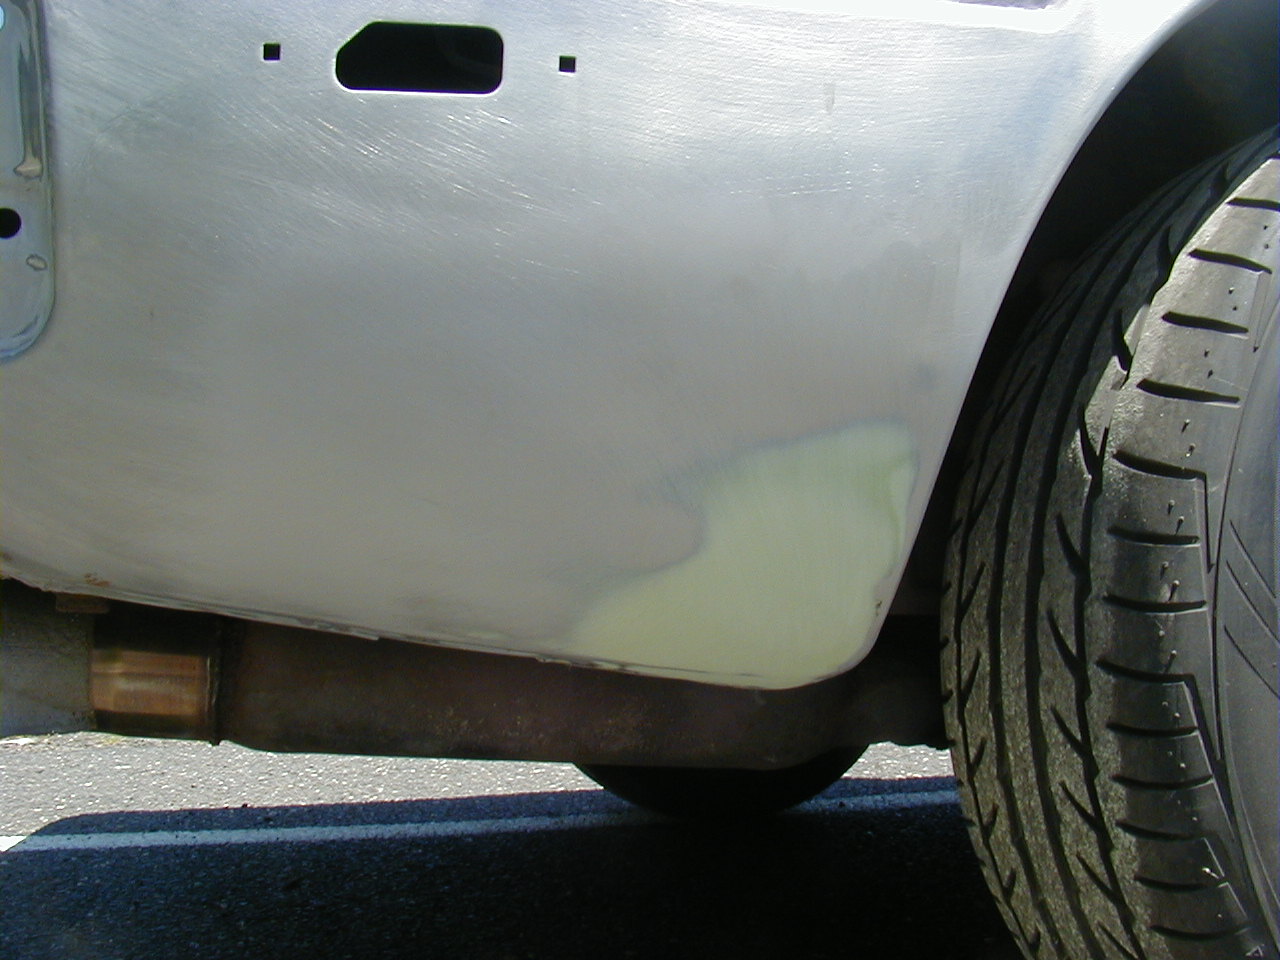
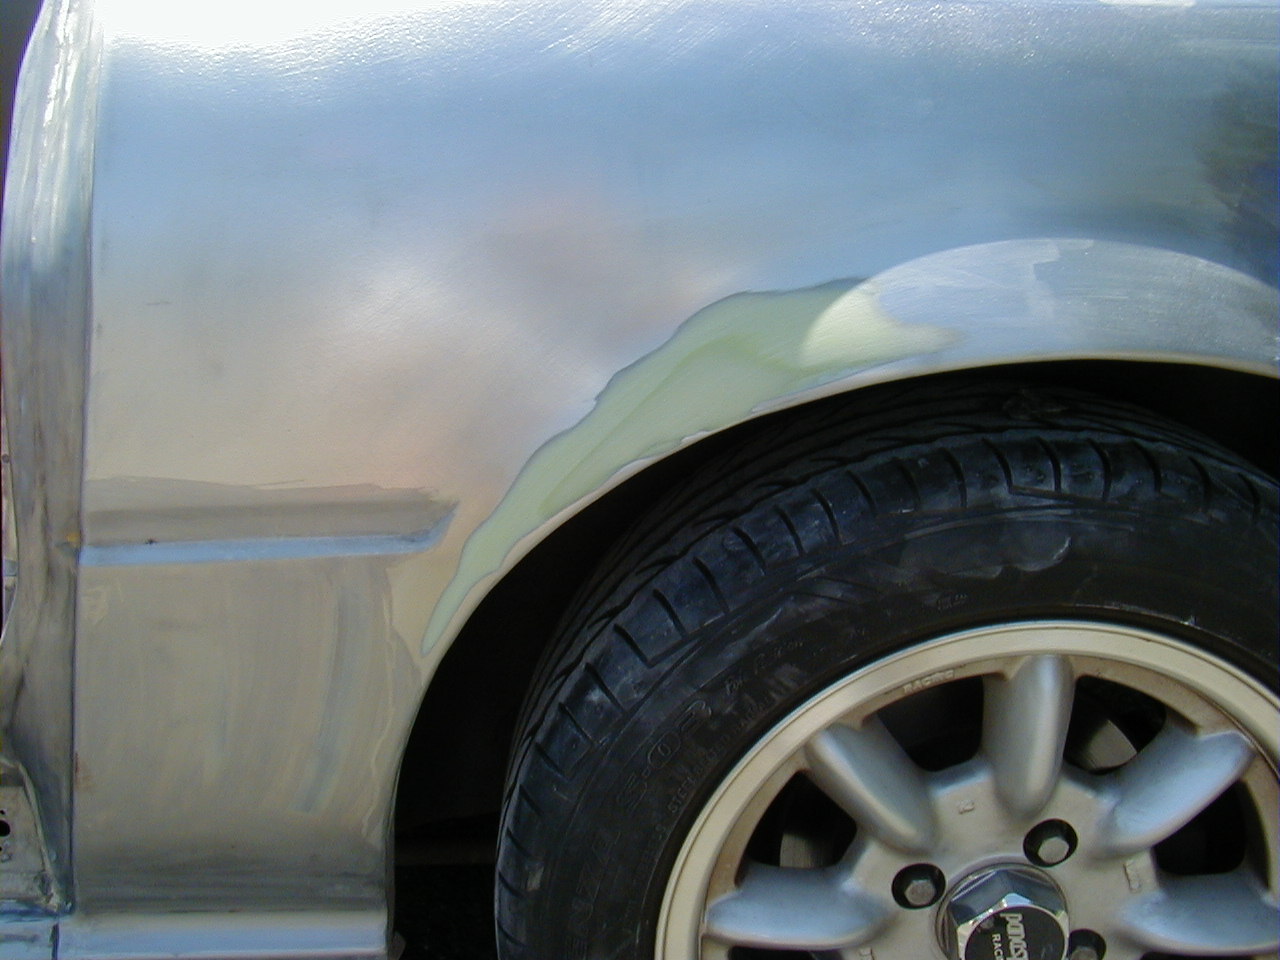
This area is just behind the passenger's side rear wheel well. There was significant rust at that bottom corner. Ultimately, I had to cut a section out and weld in fresh metal. This is the back-side of the piece that I cut out. After I welded the new section in, I got in there through the tail-light hole and smeared POR-15 Patch all over the back of the repair. For what it's worth, that metal was thin enough to bend like aluminum foil.

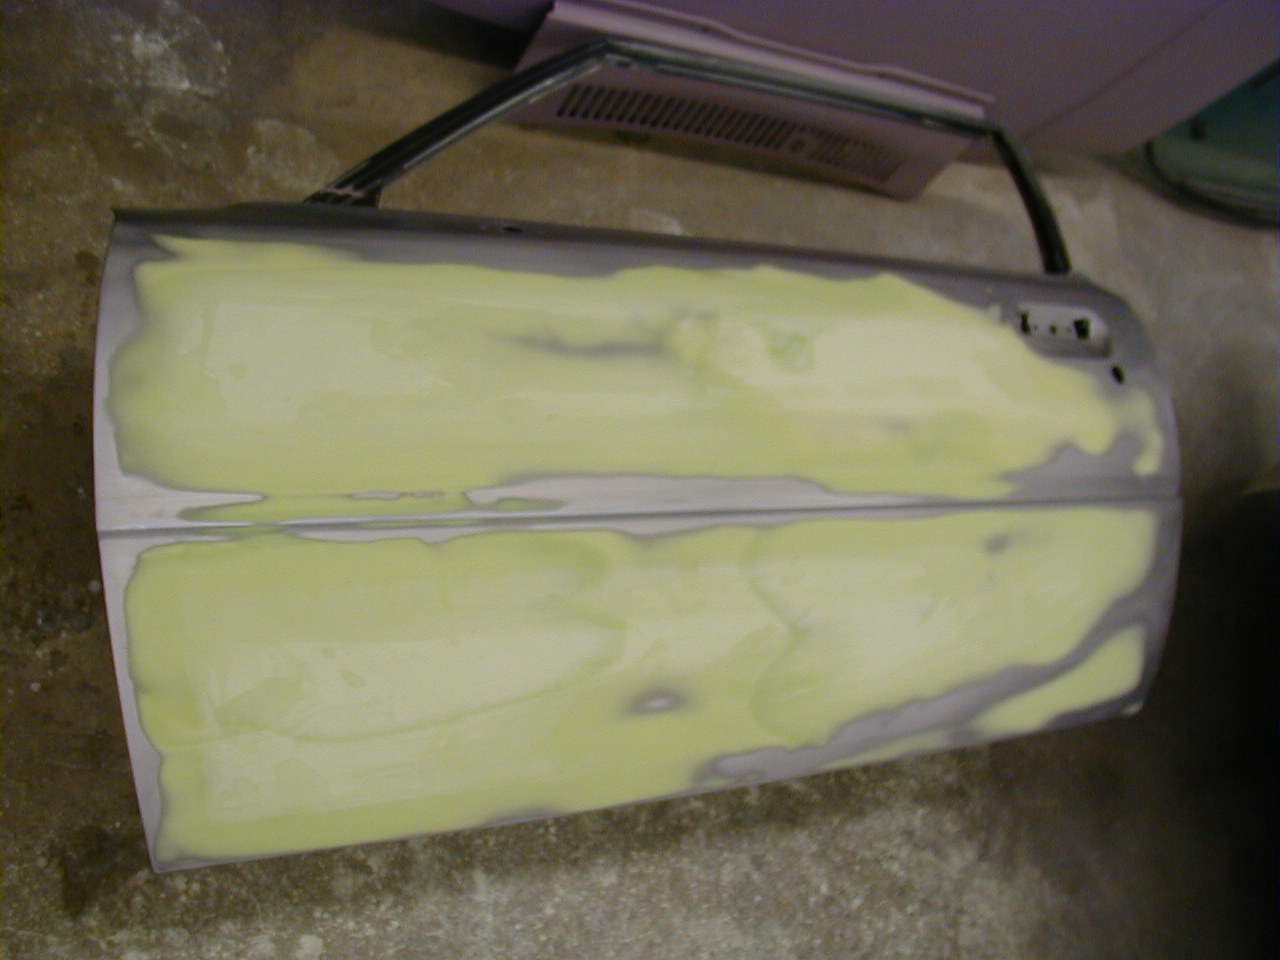
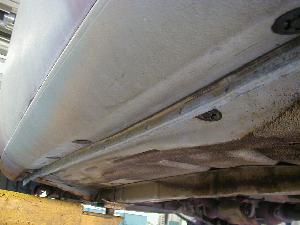
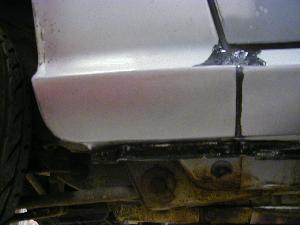
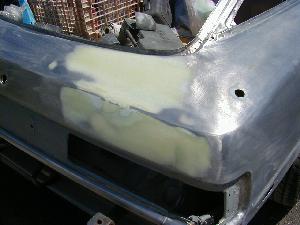
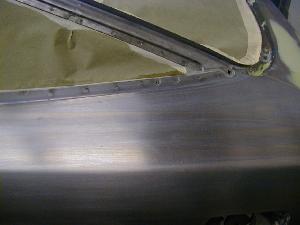
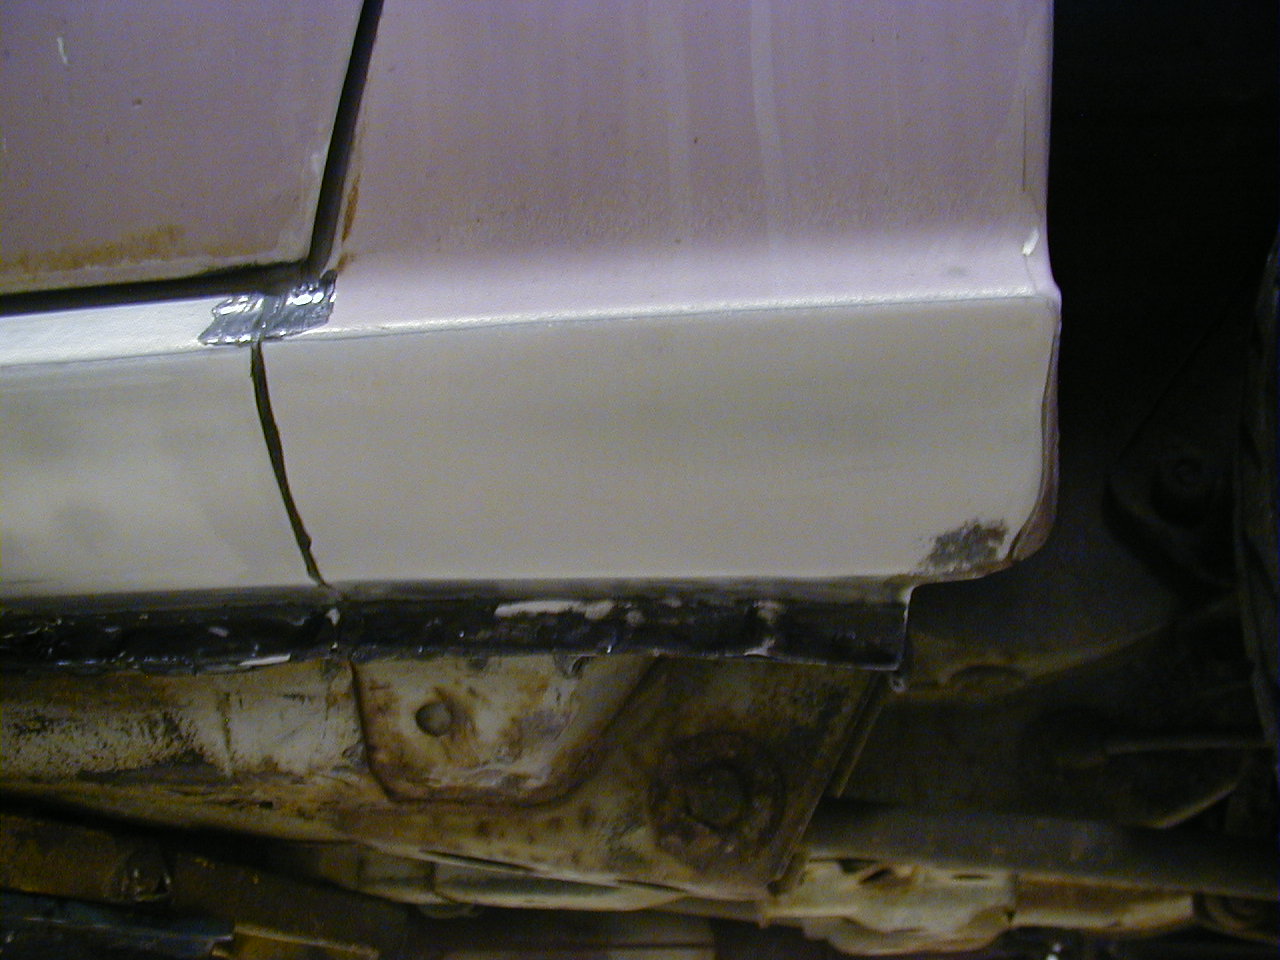
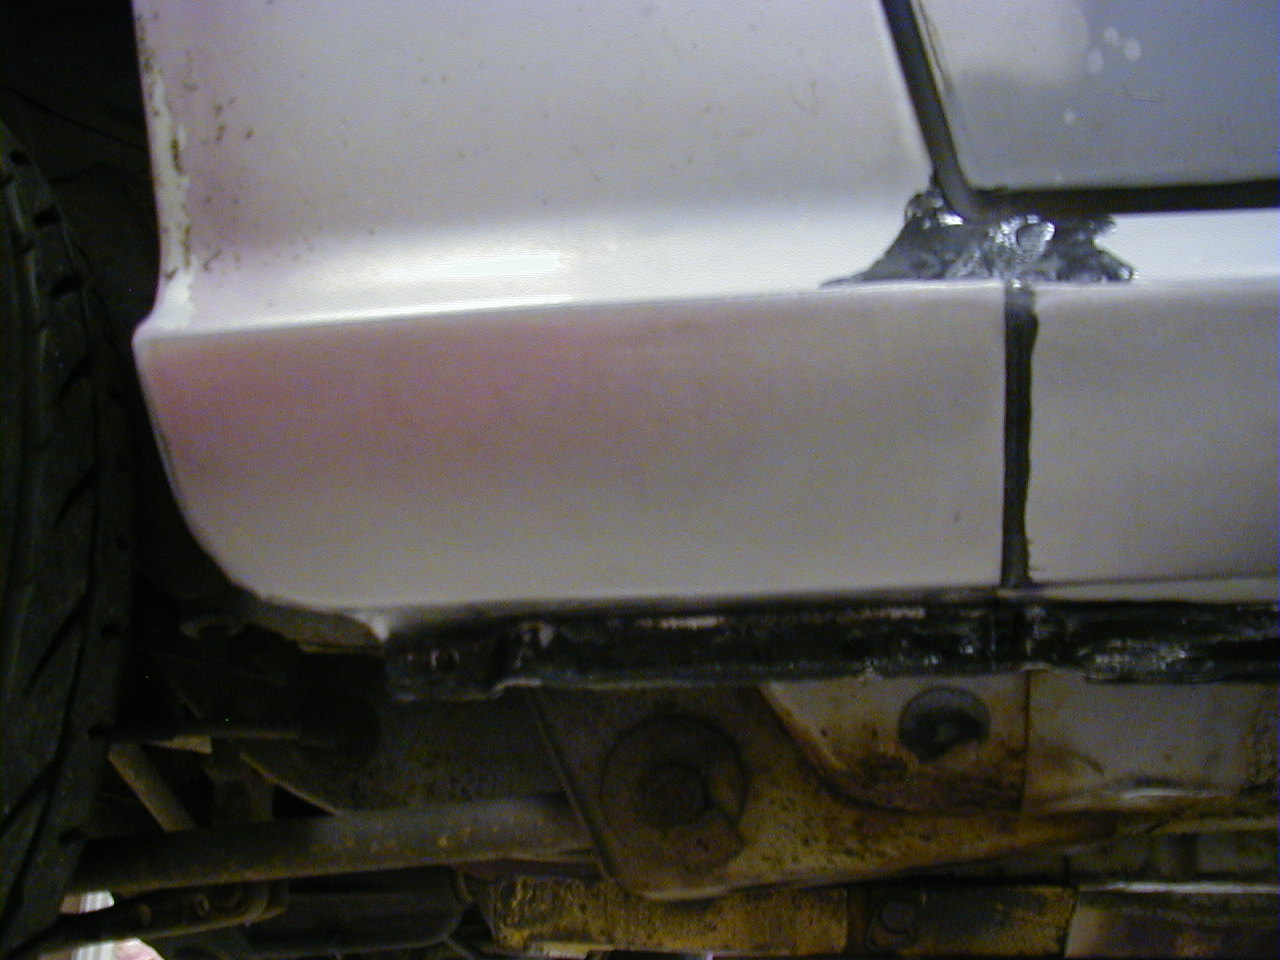
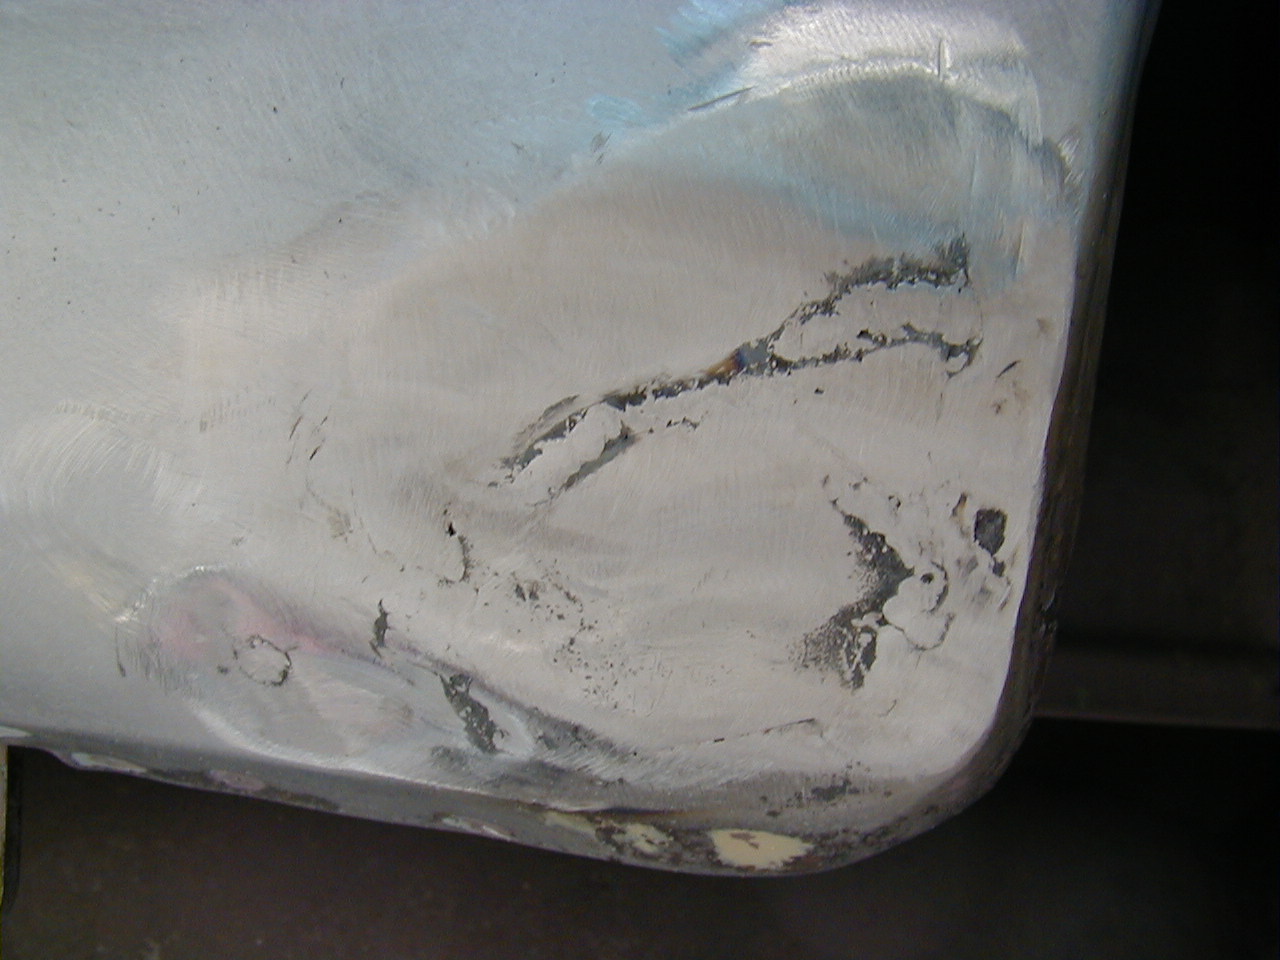
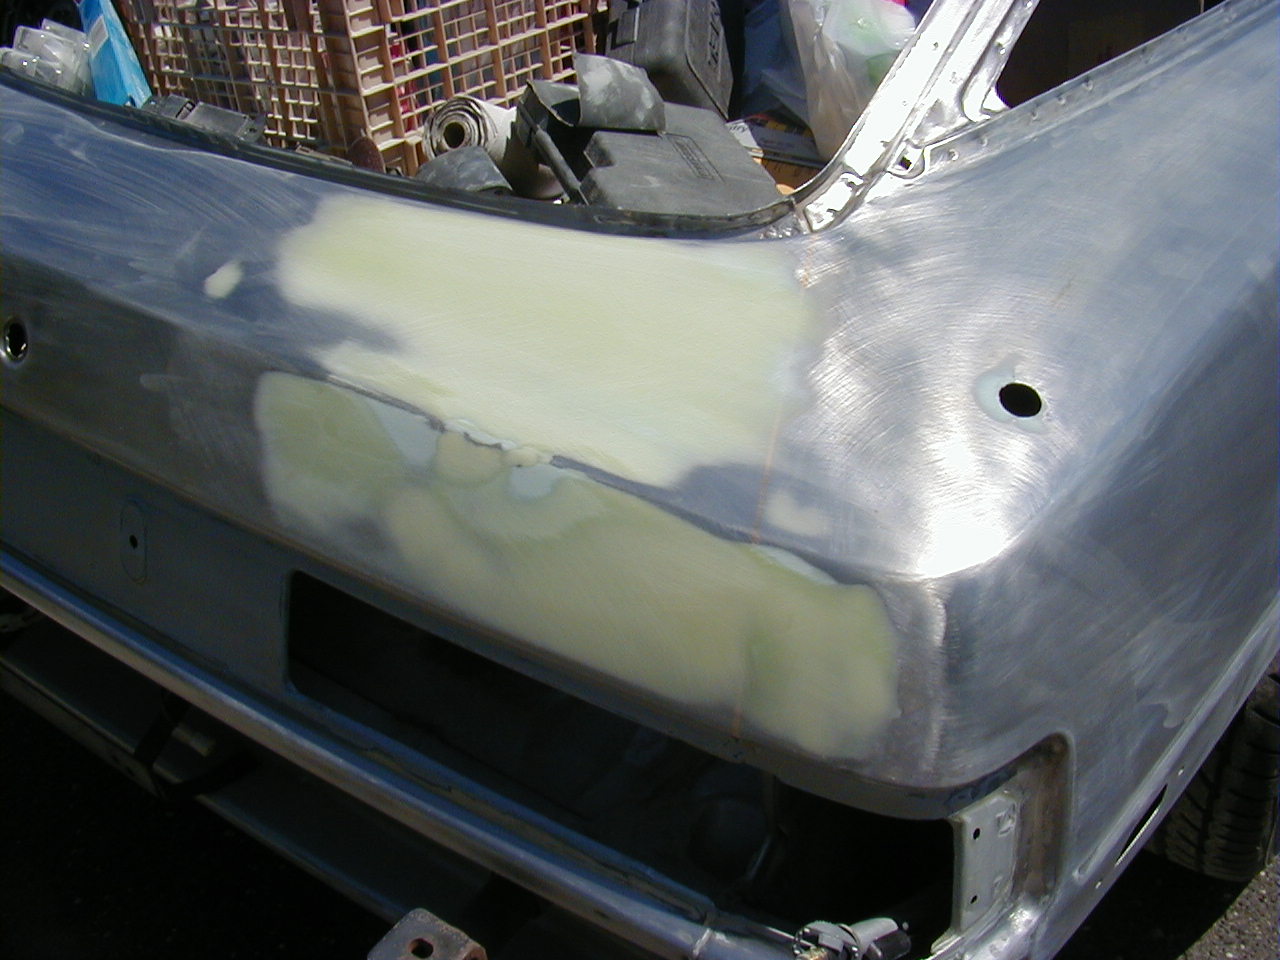
Here's the repaired panel after some metal treatment and my initial filler work.
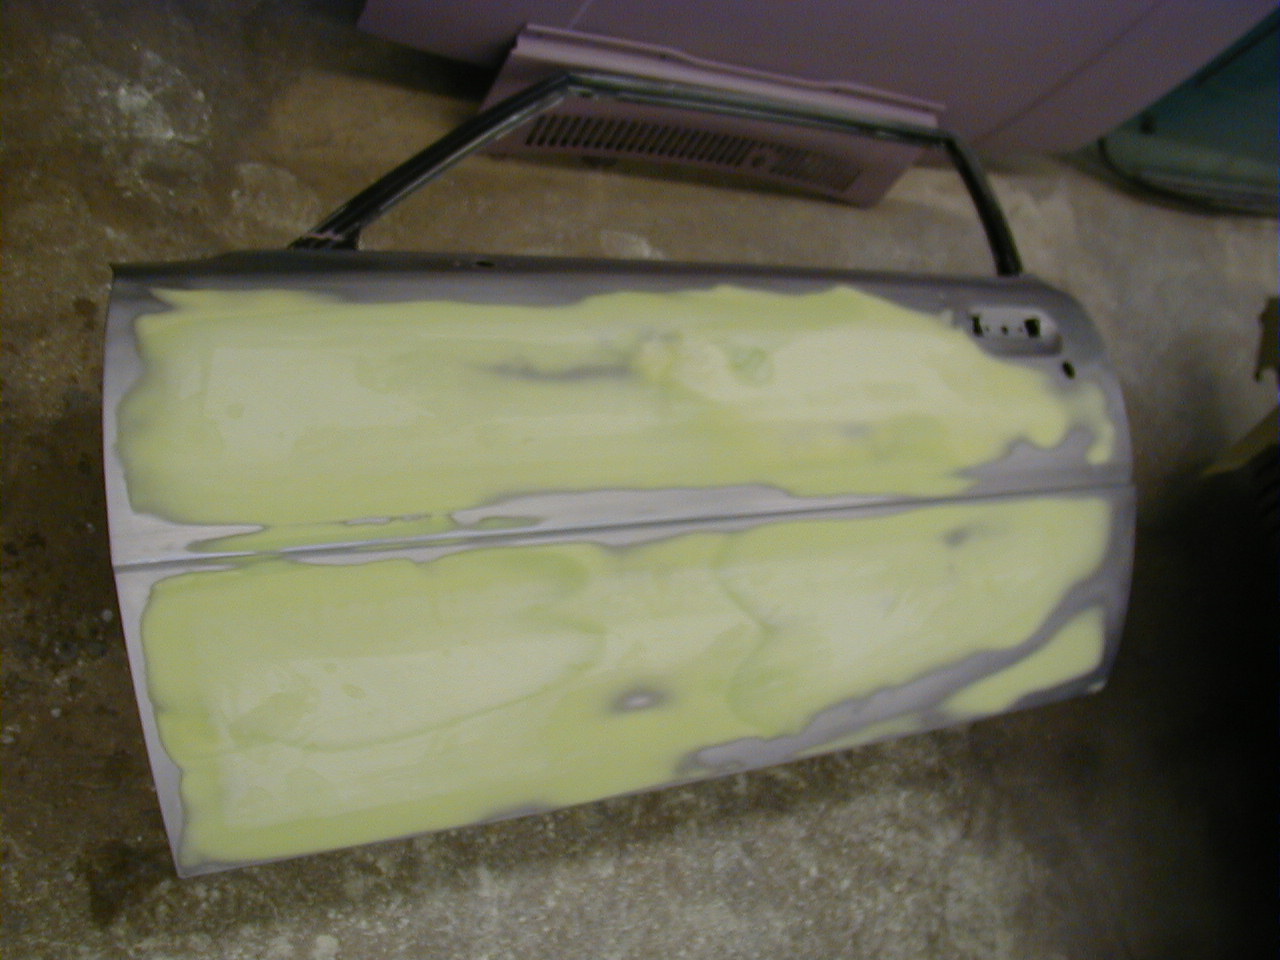
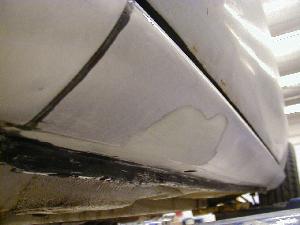
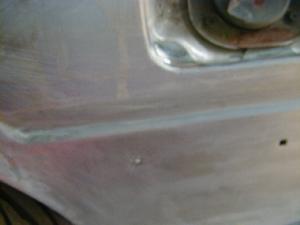
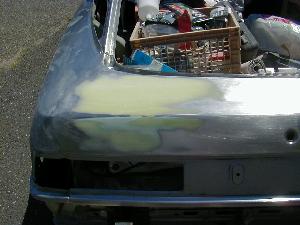
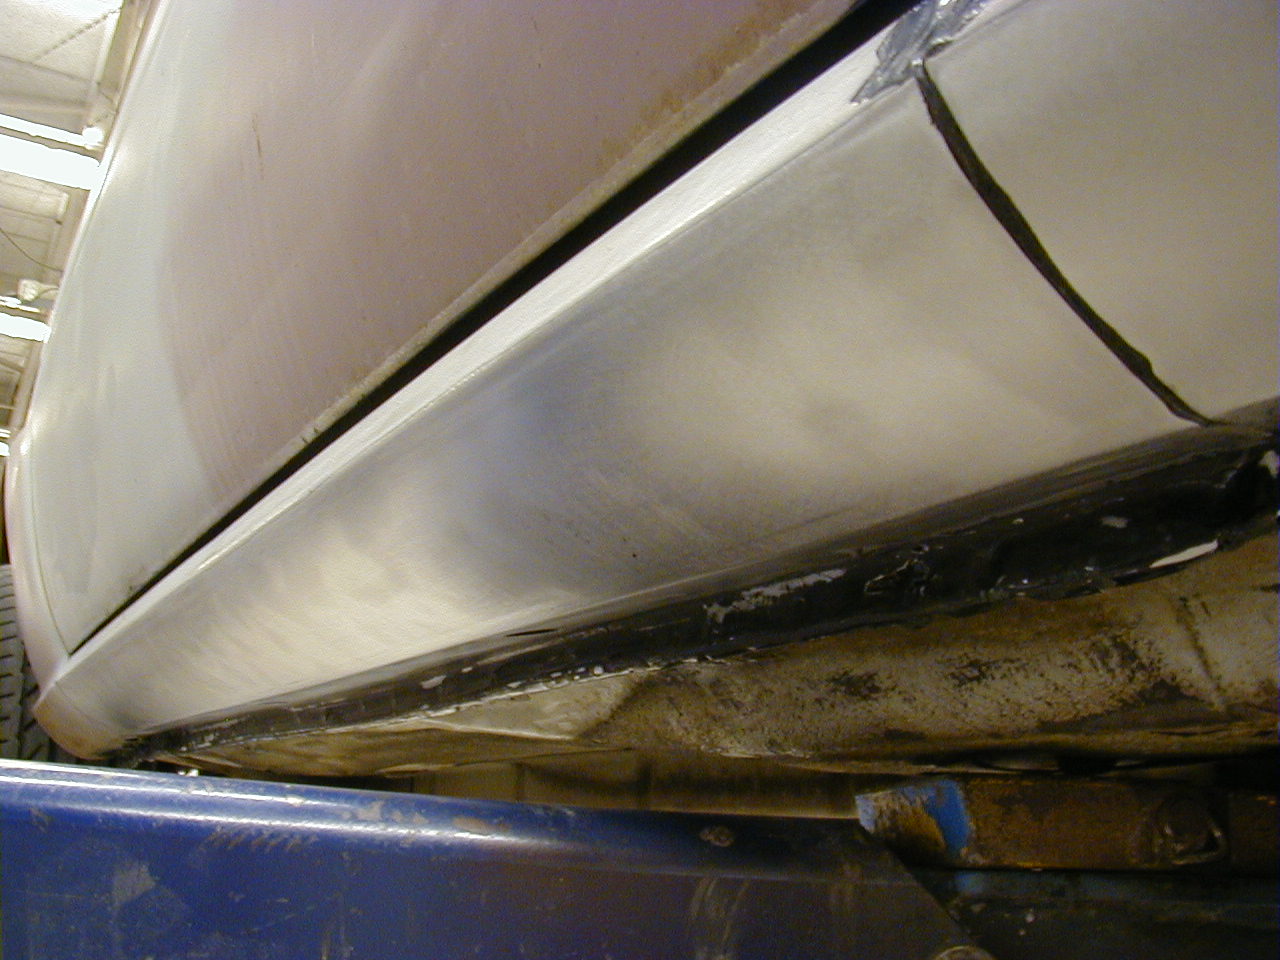
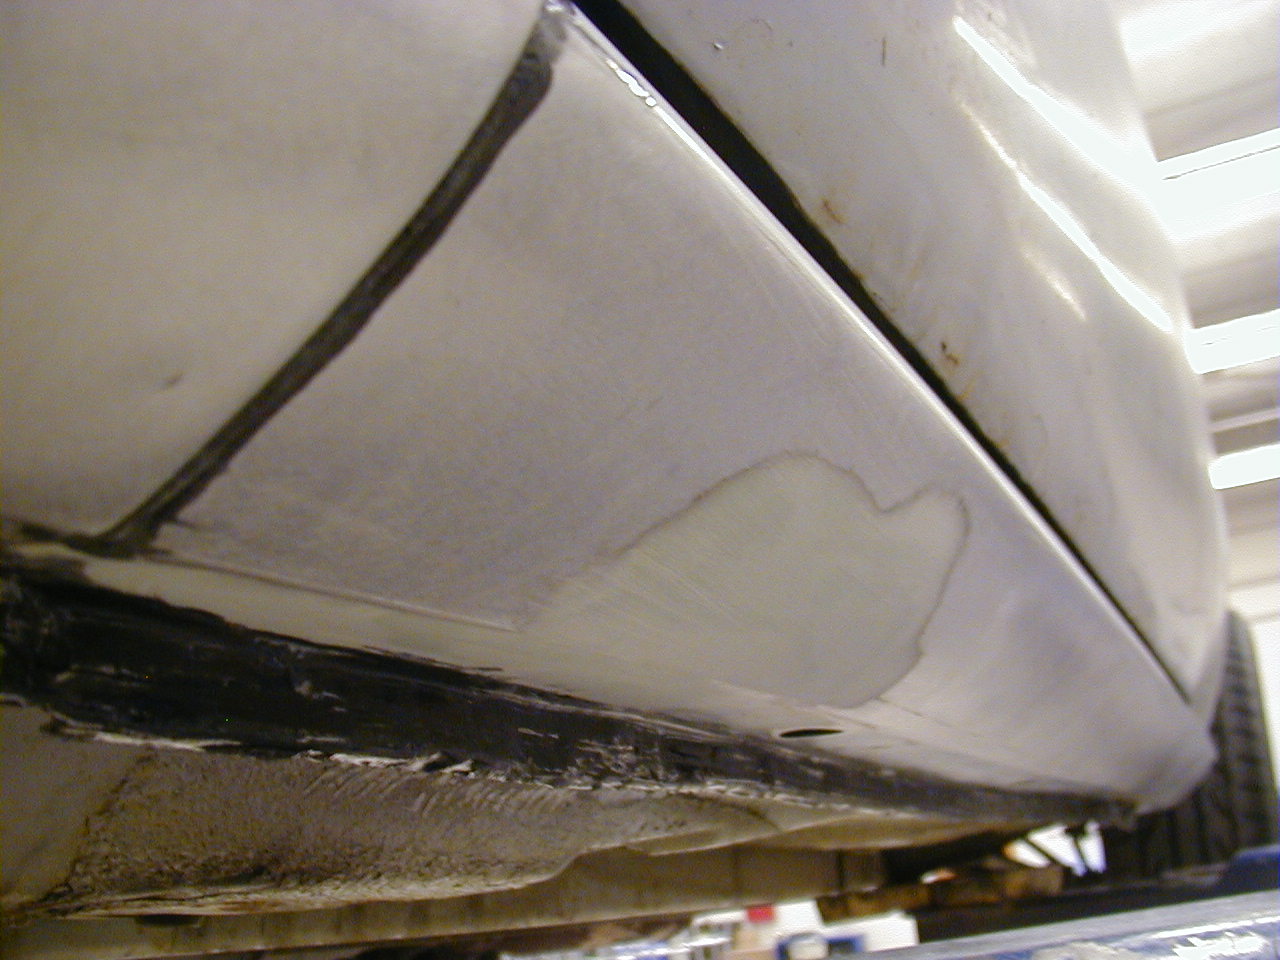
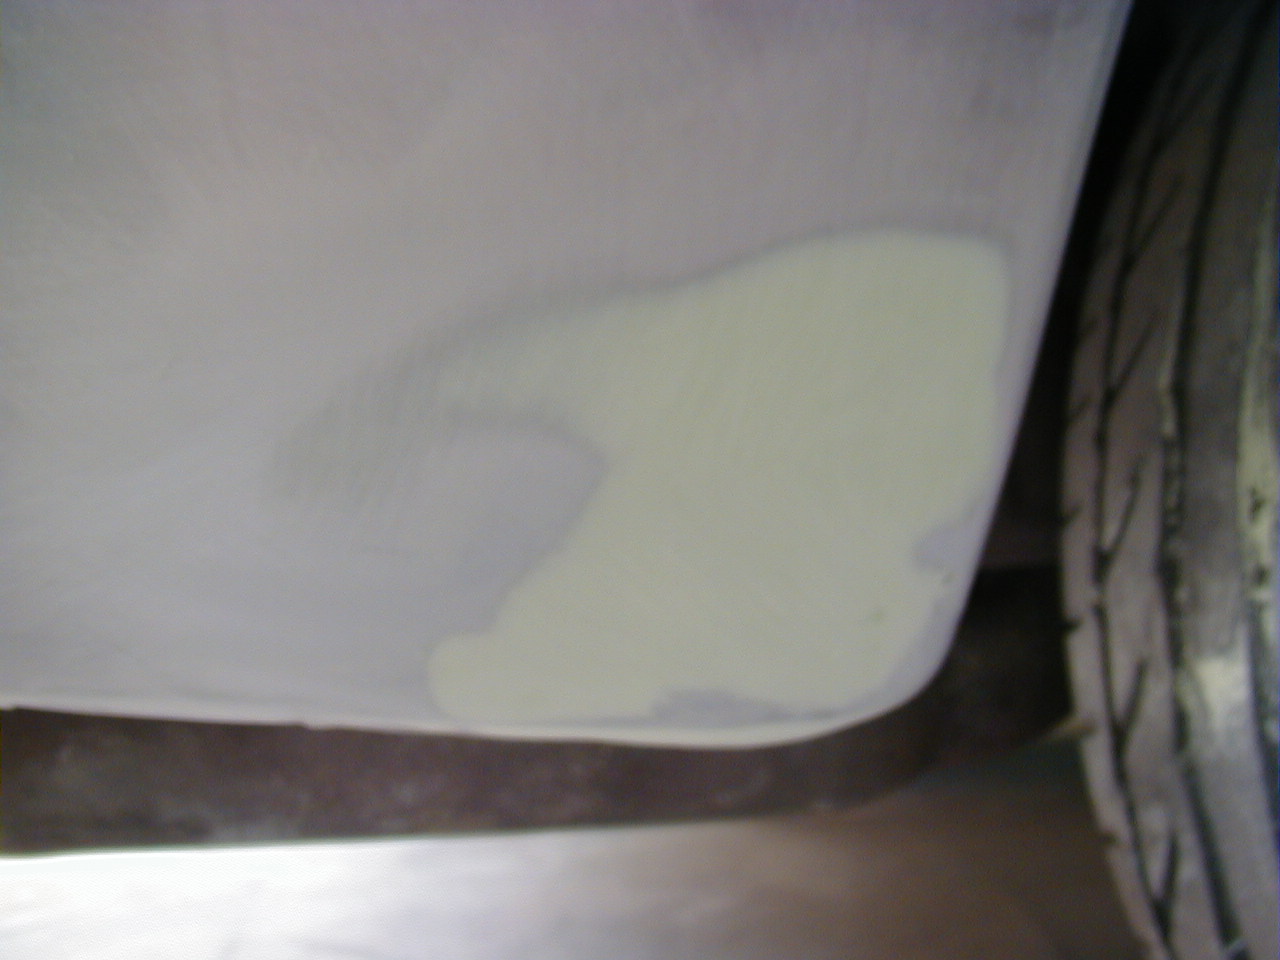
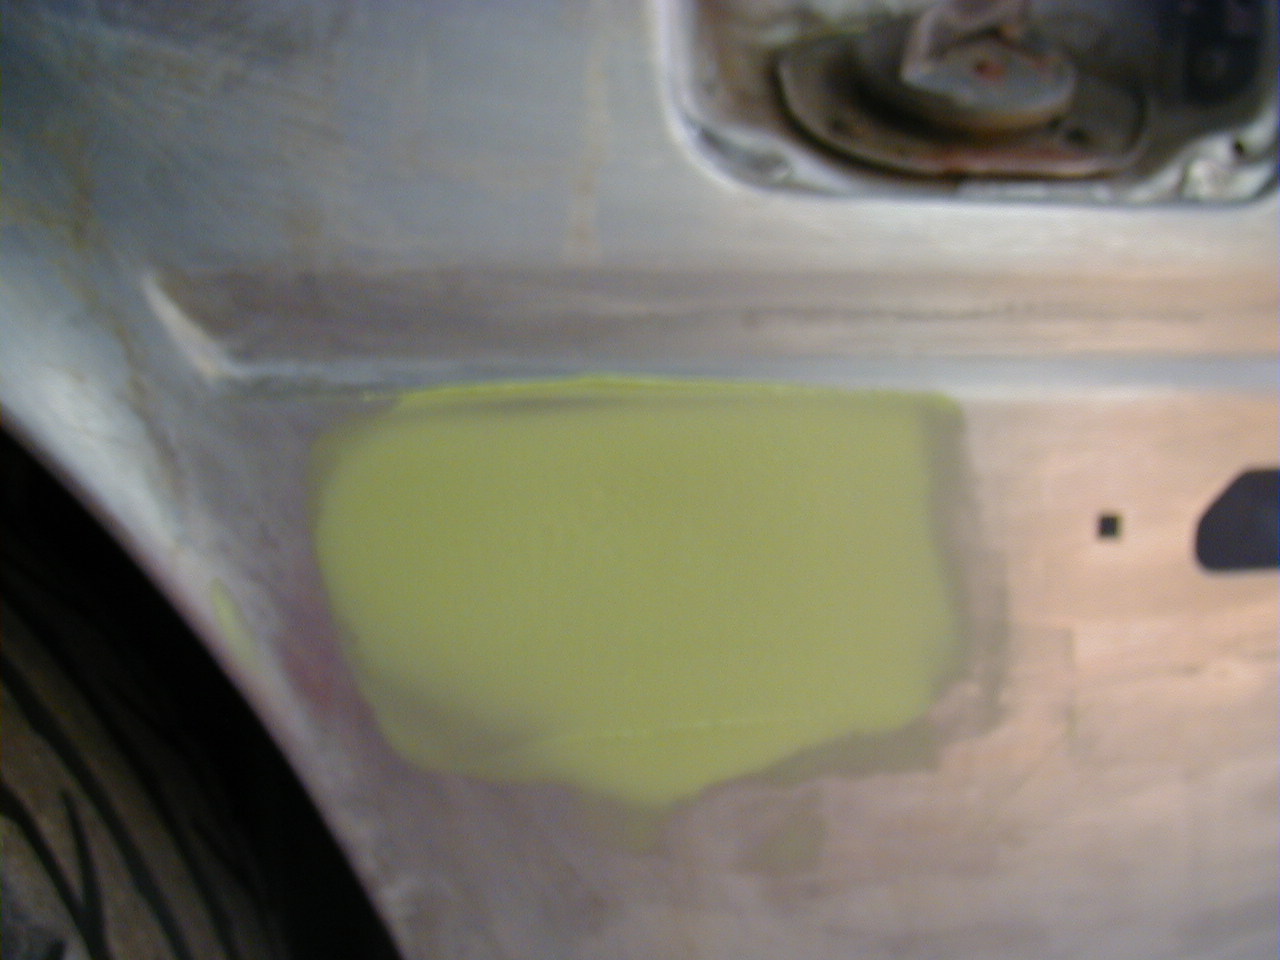
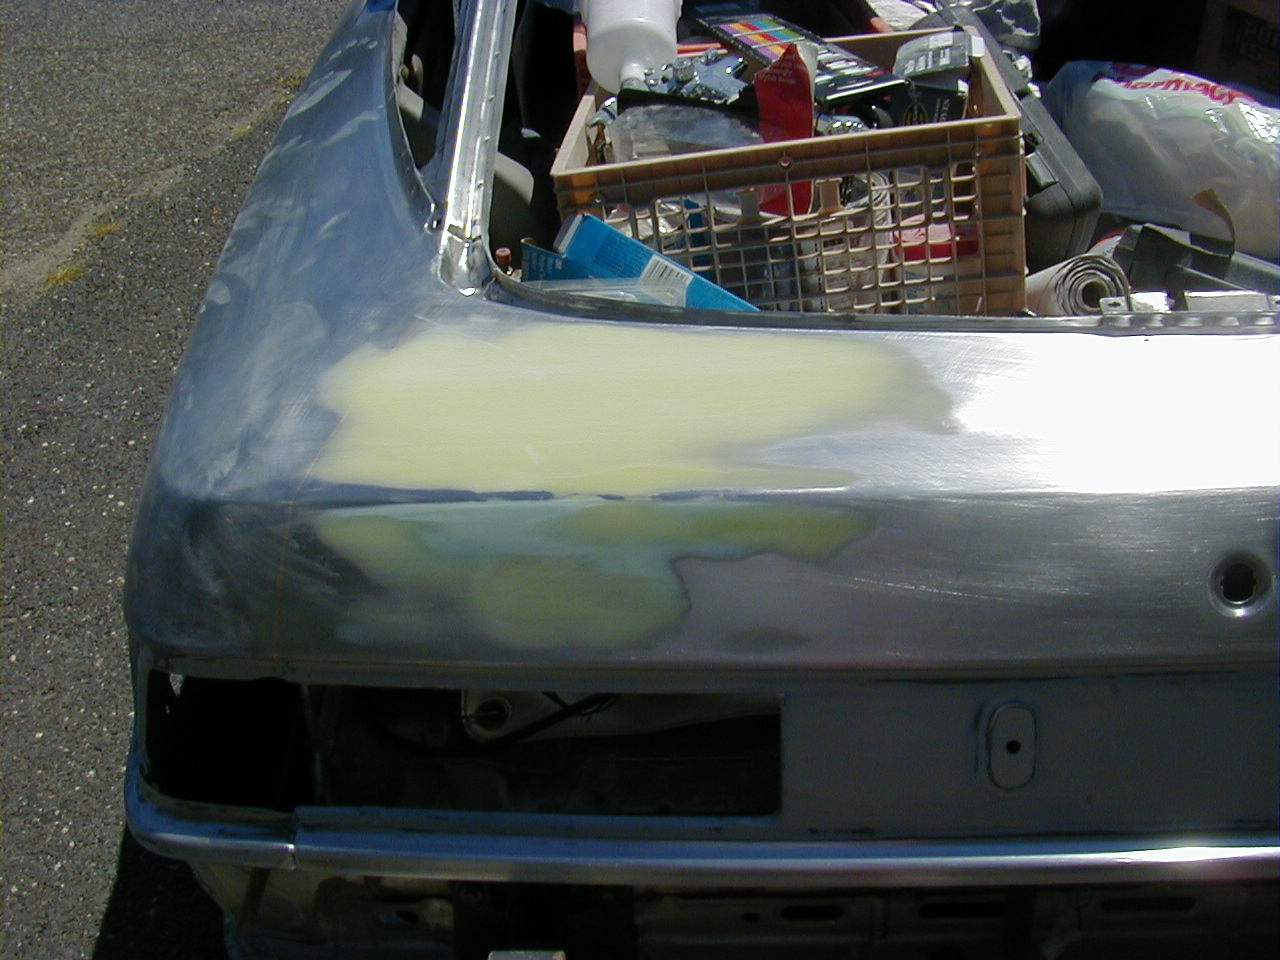
The same panel after re-doing the filler.
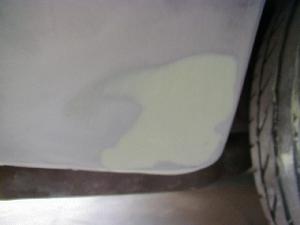
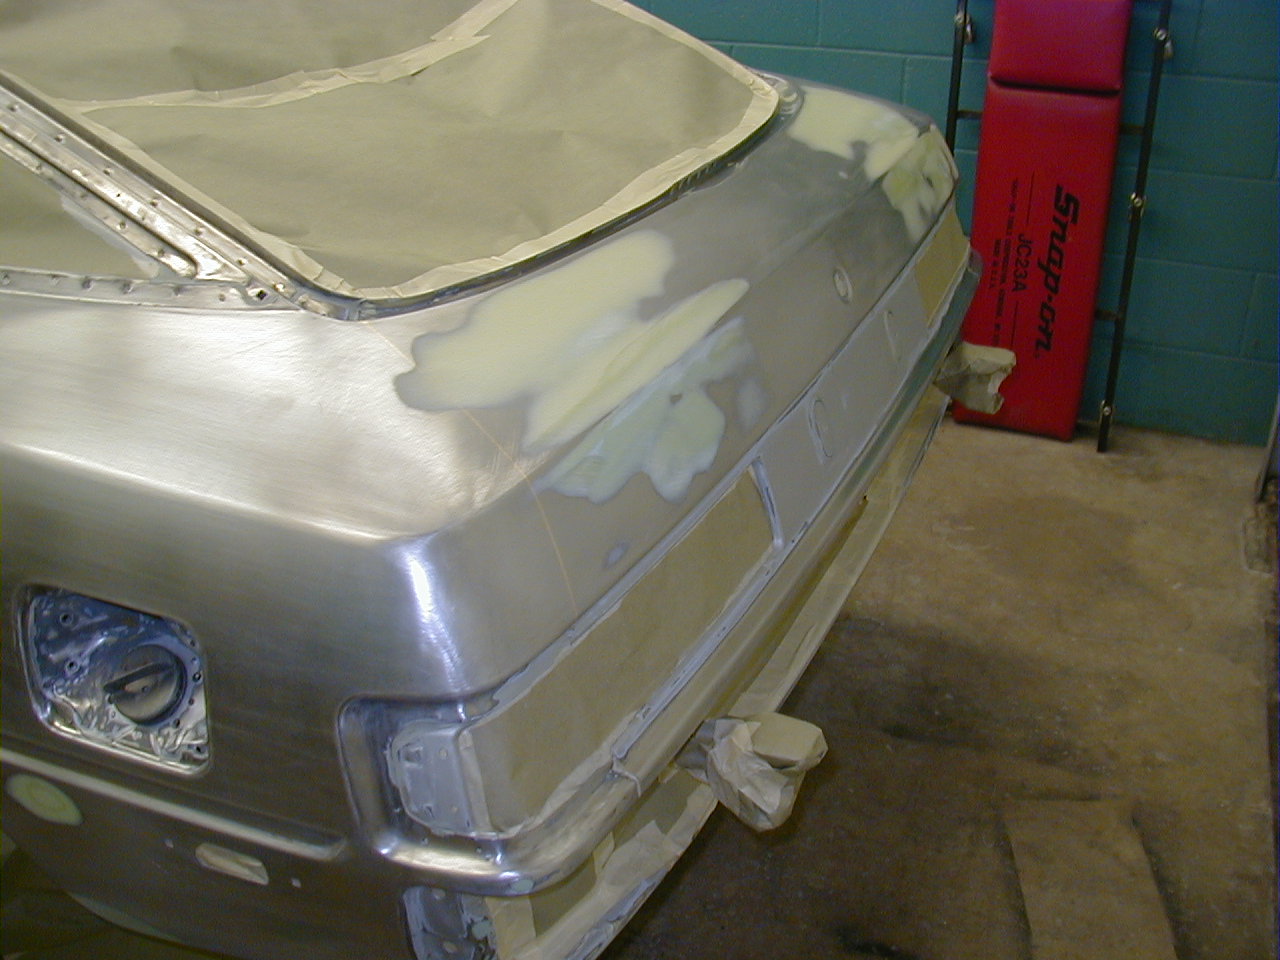
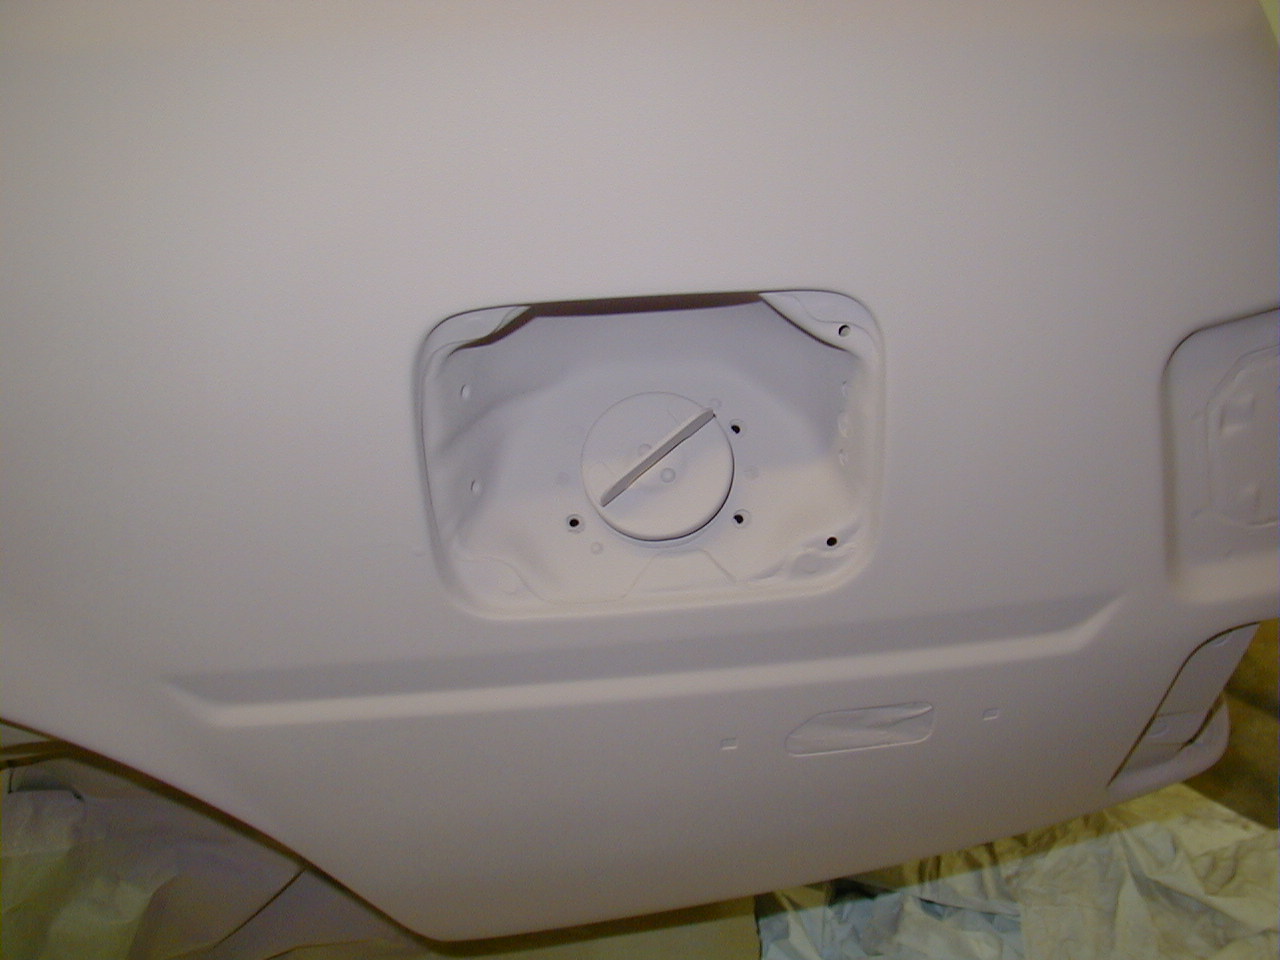
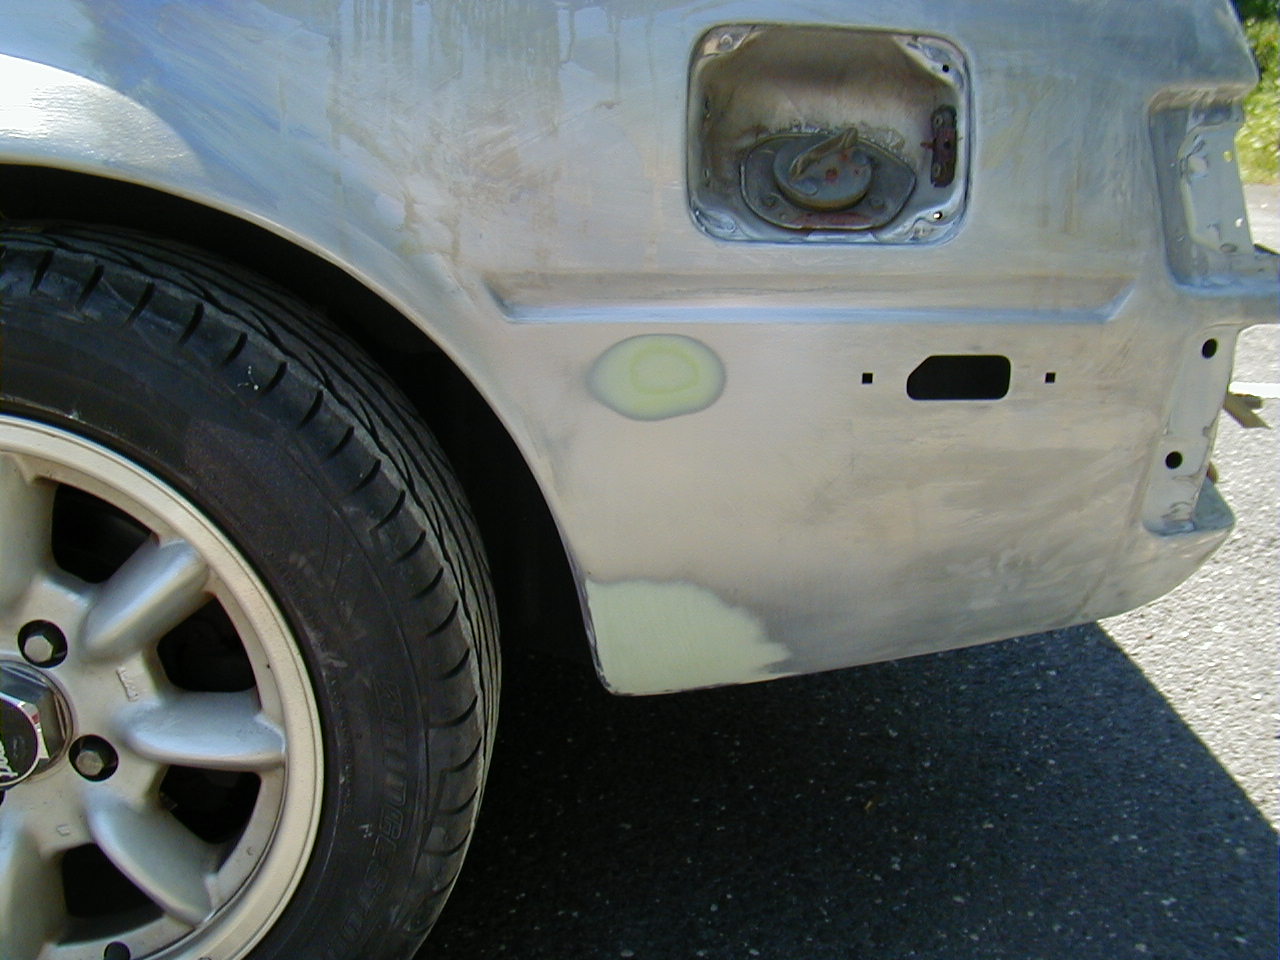
There was a little dent near the gas cap that I didn't notice until I stripped the paint off.

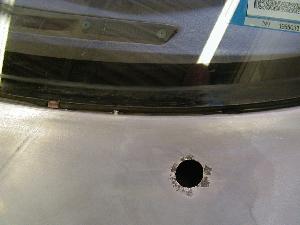
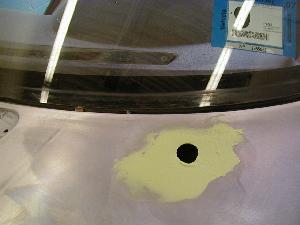
The hole for the left windshield wiper had some minor surface rust.
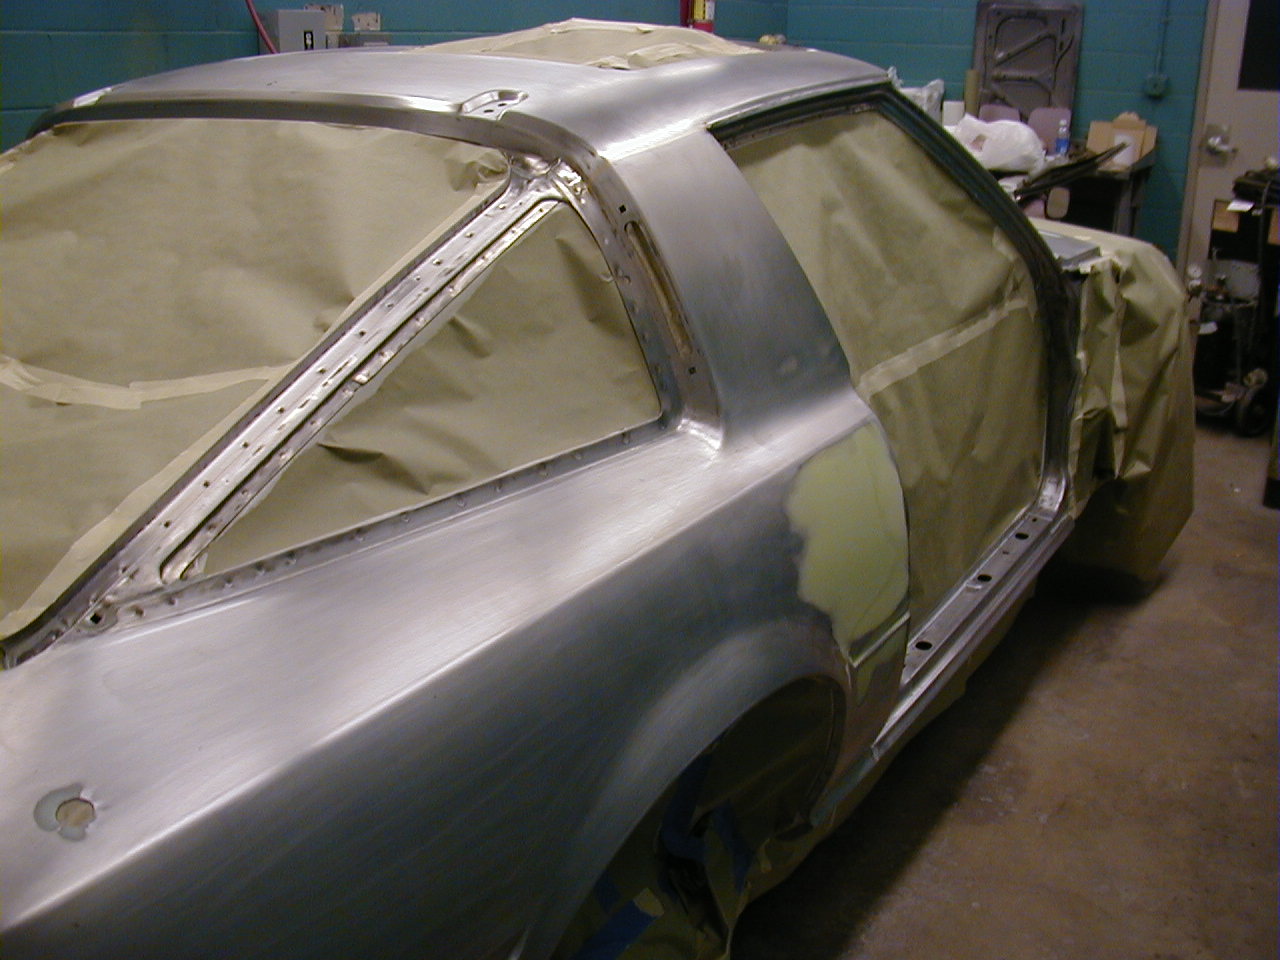
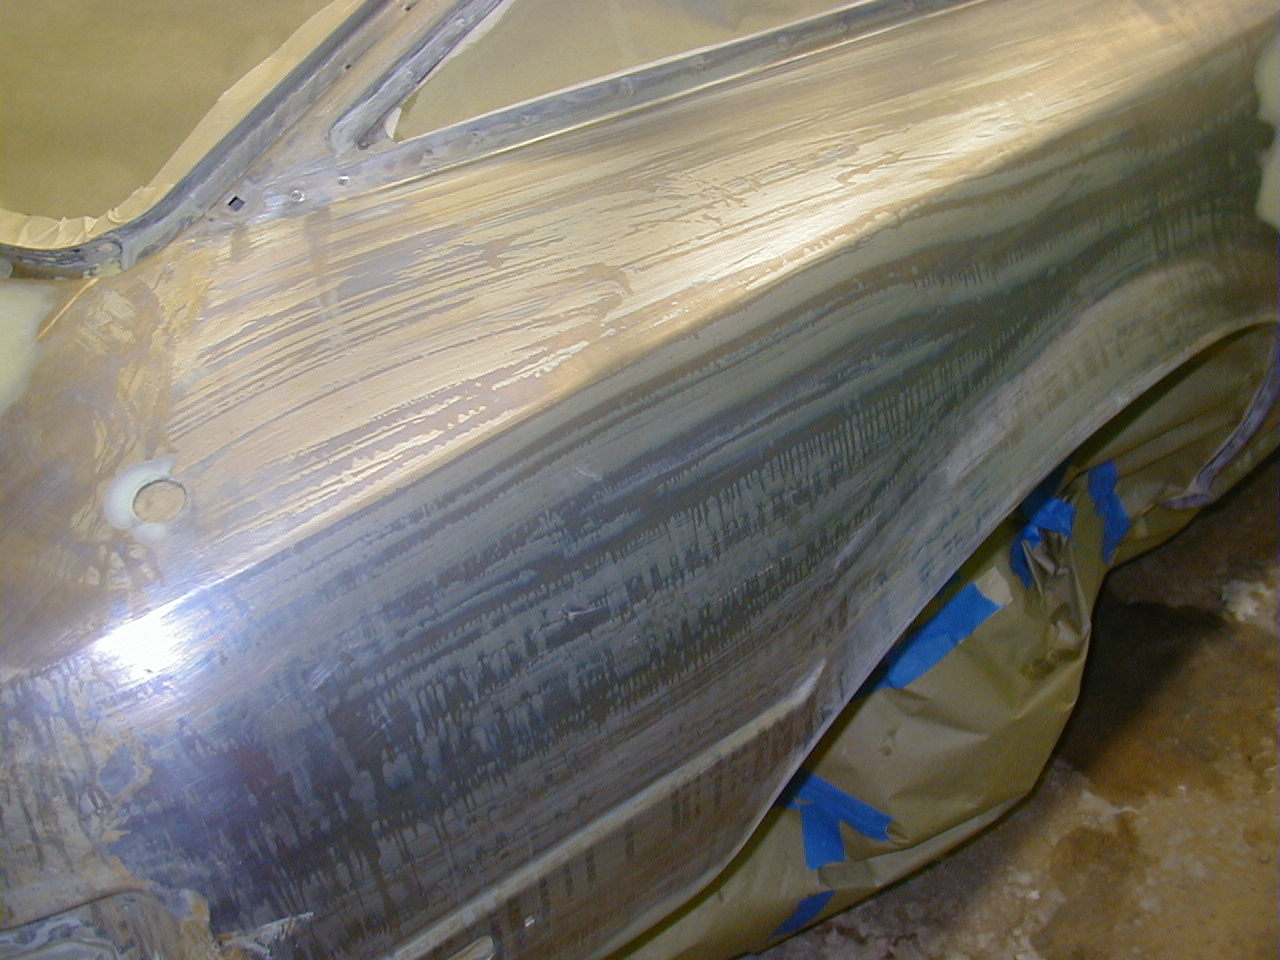
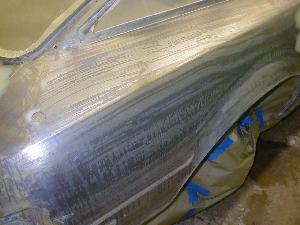
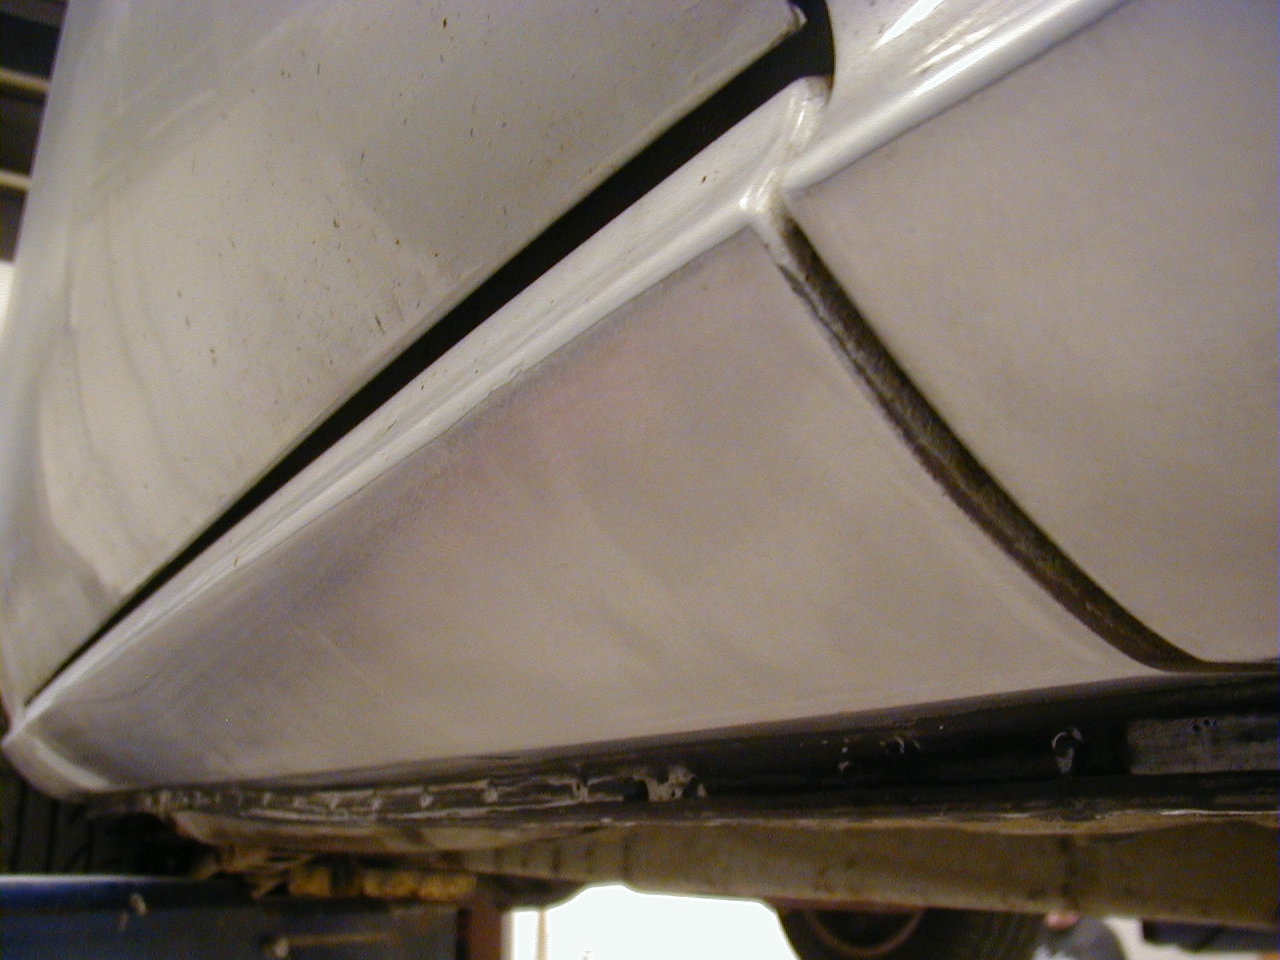
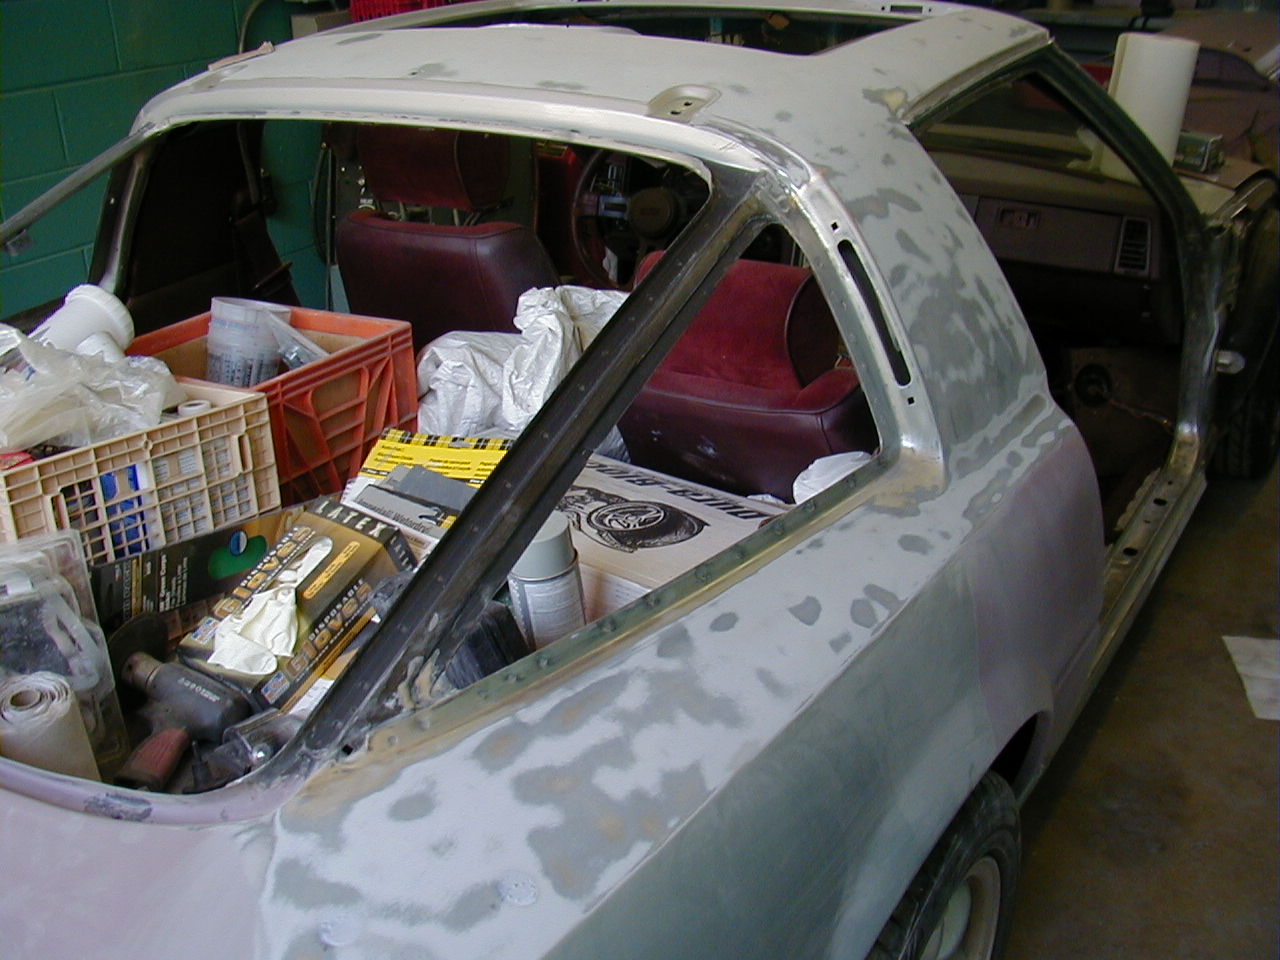
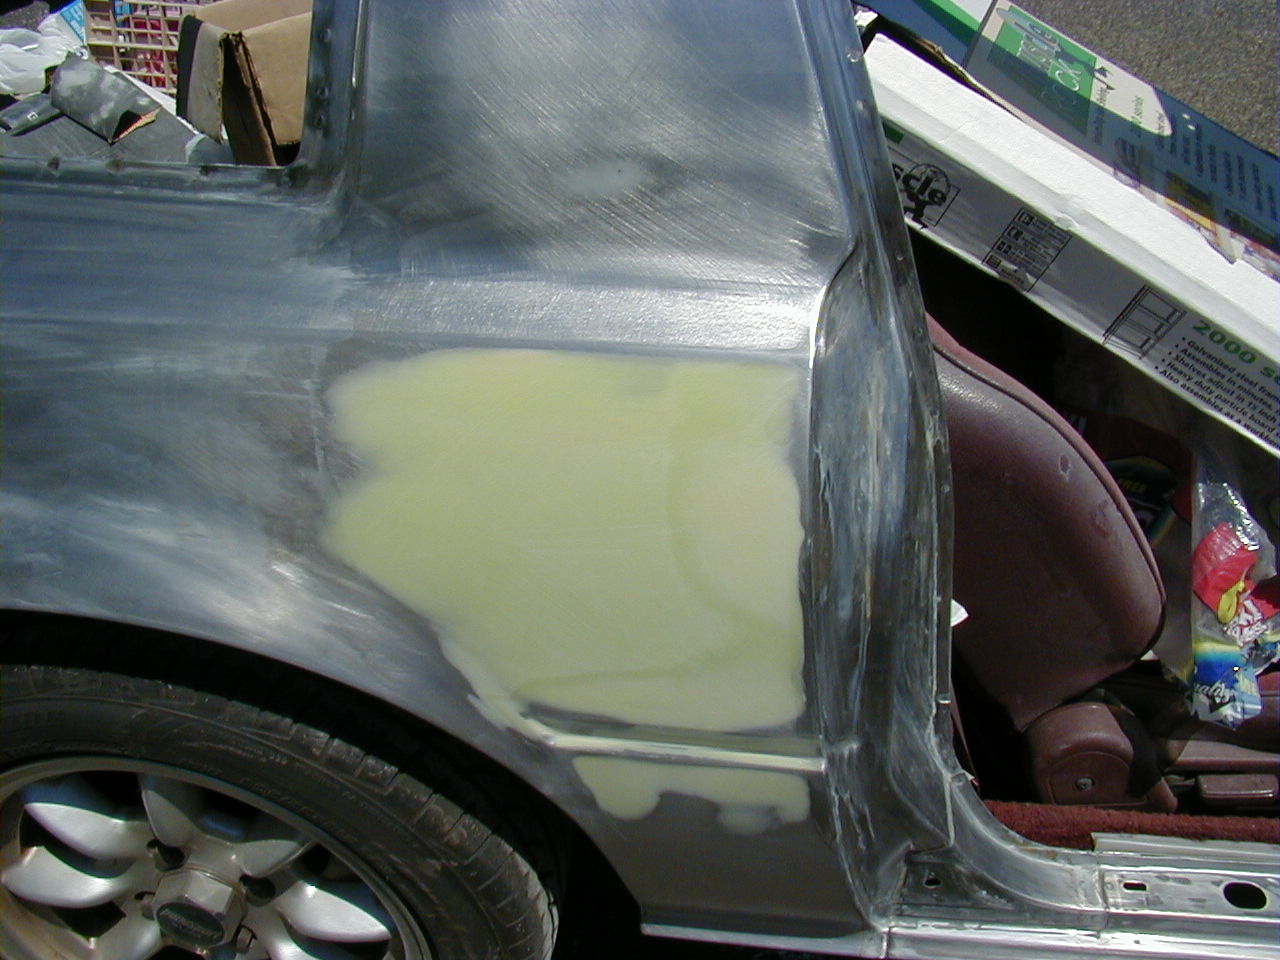
Bodywork went much faster, and the results were better once I stripped down the entire body.


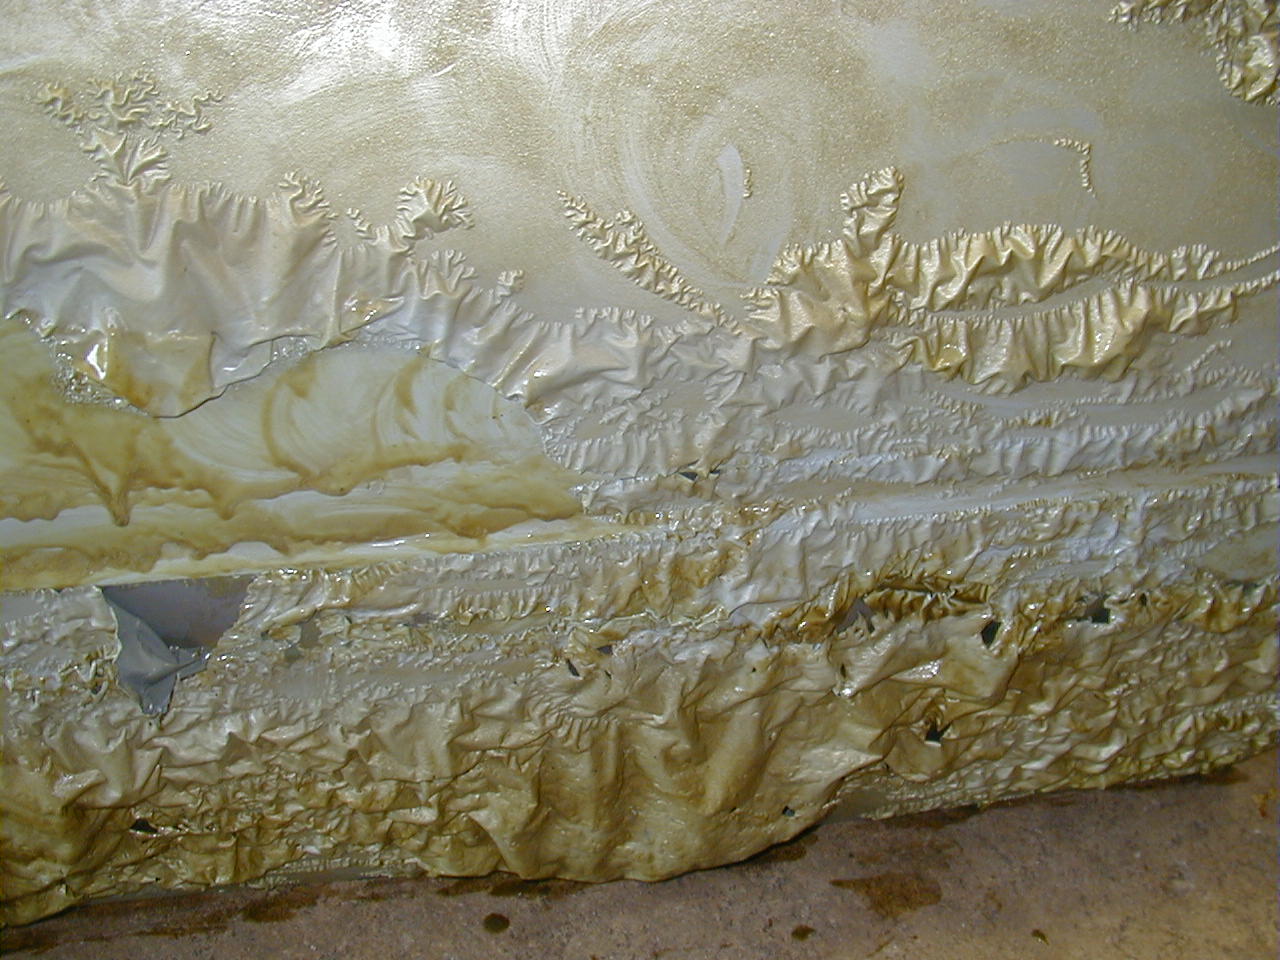
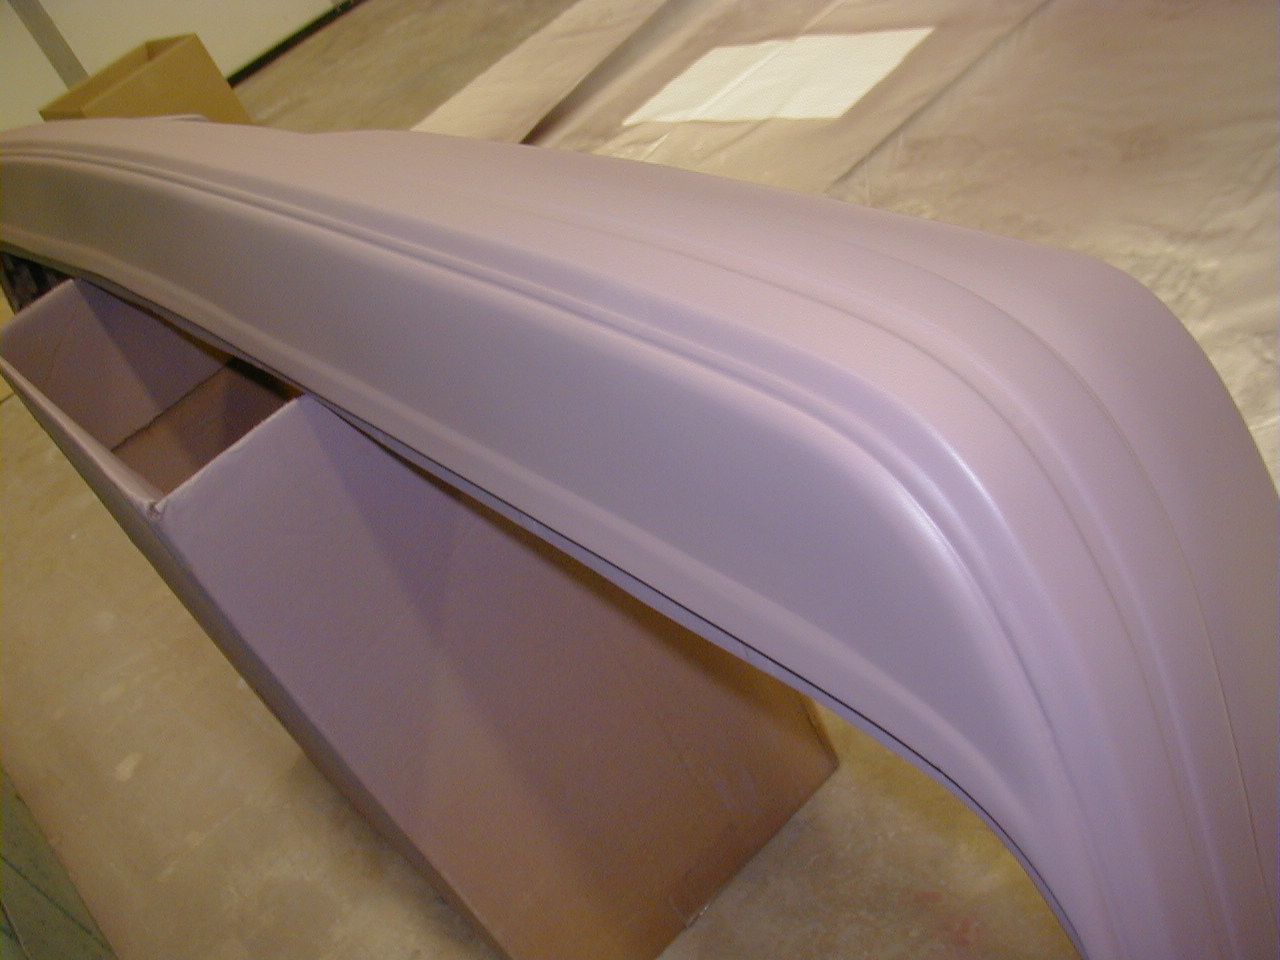
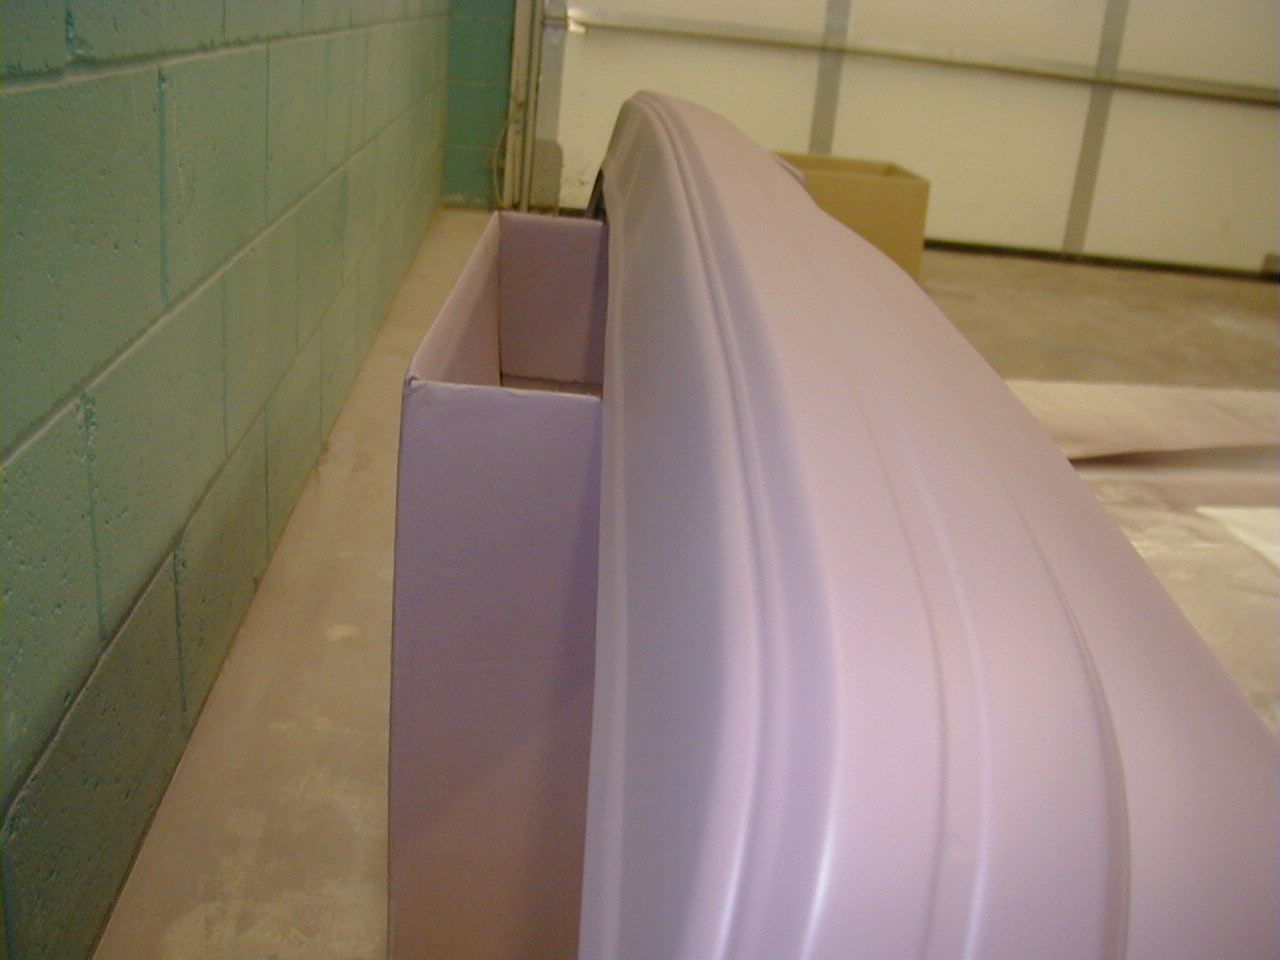
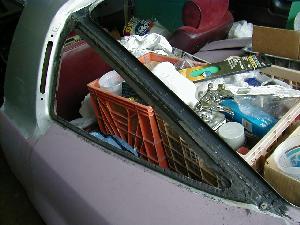
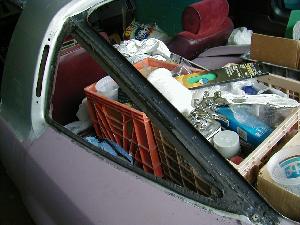
 Is this how DeLorean came up with his idea?

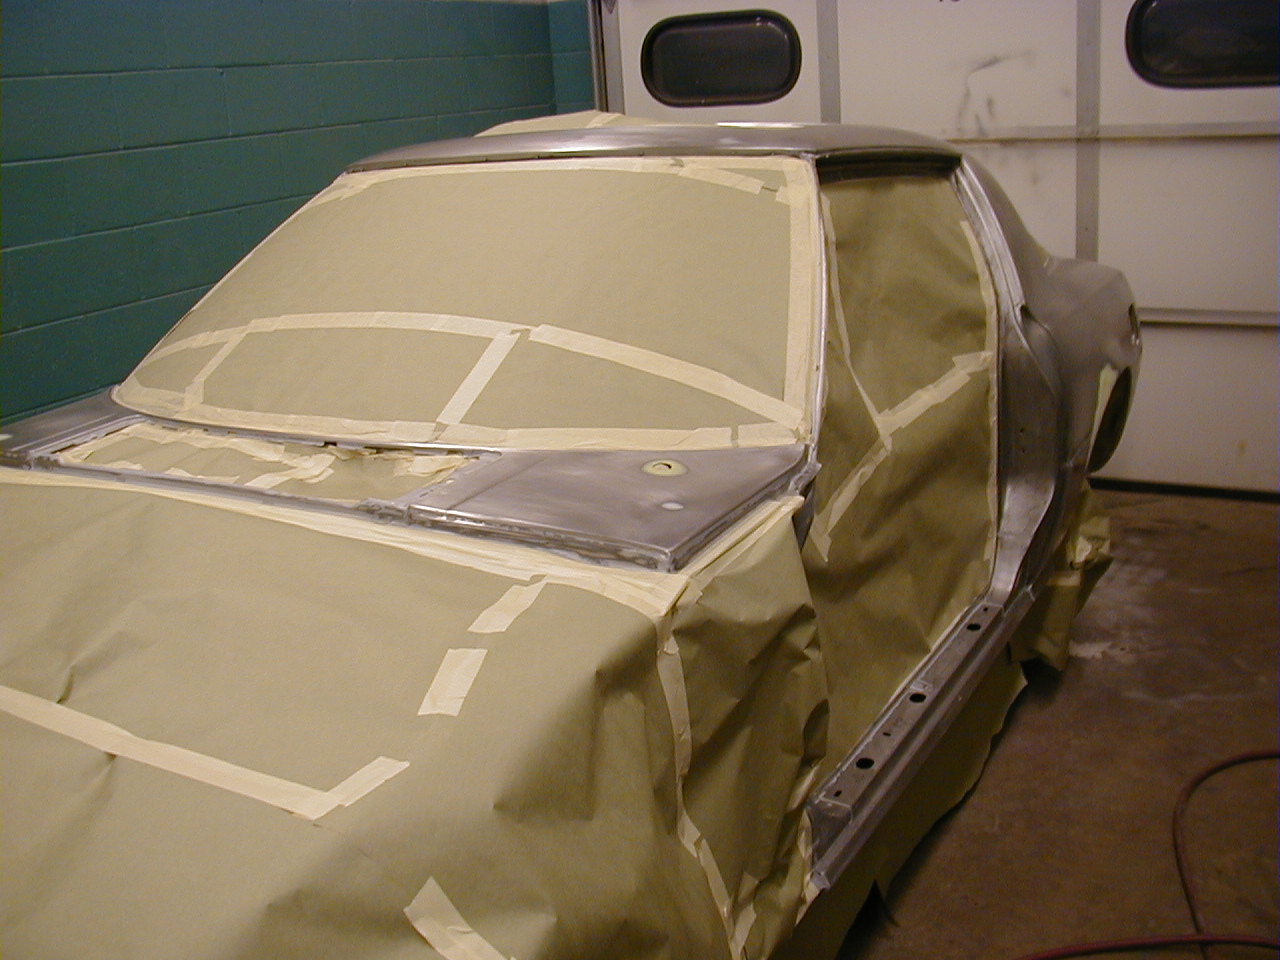
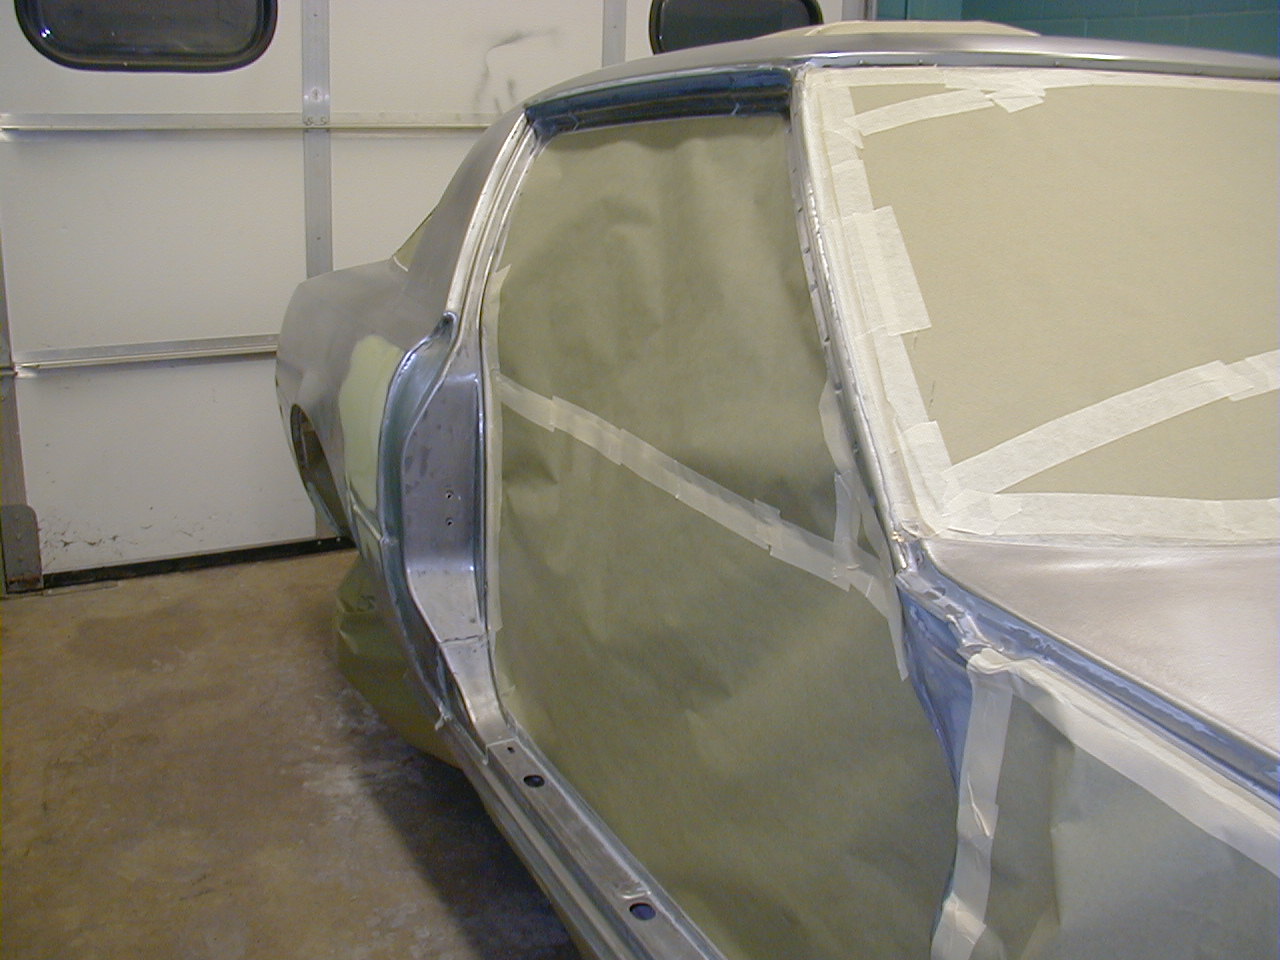
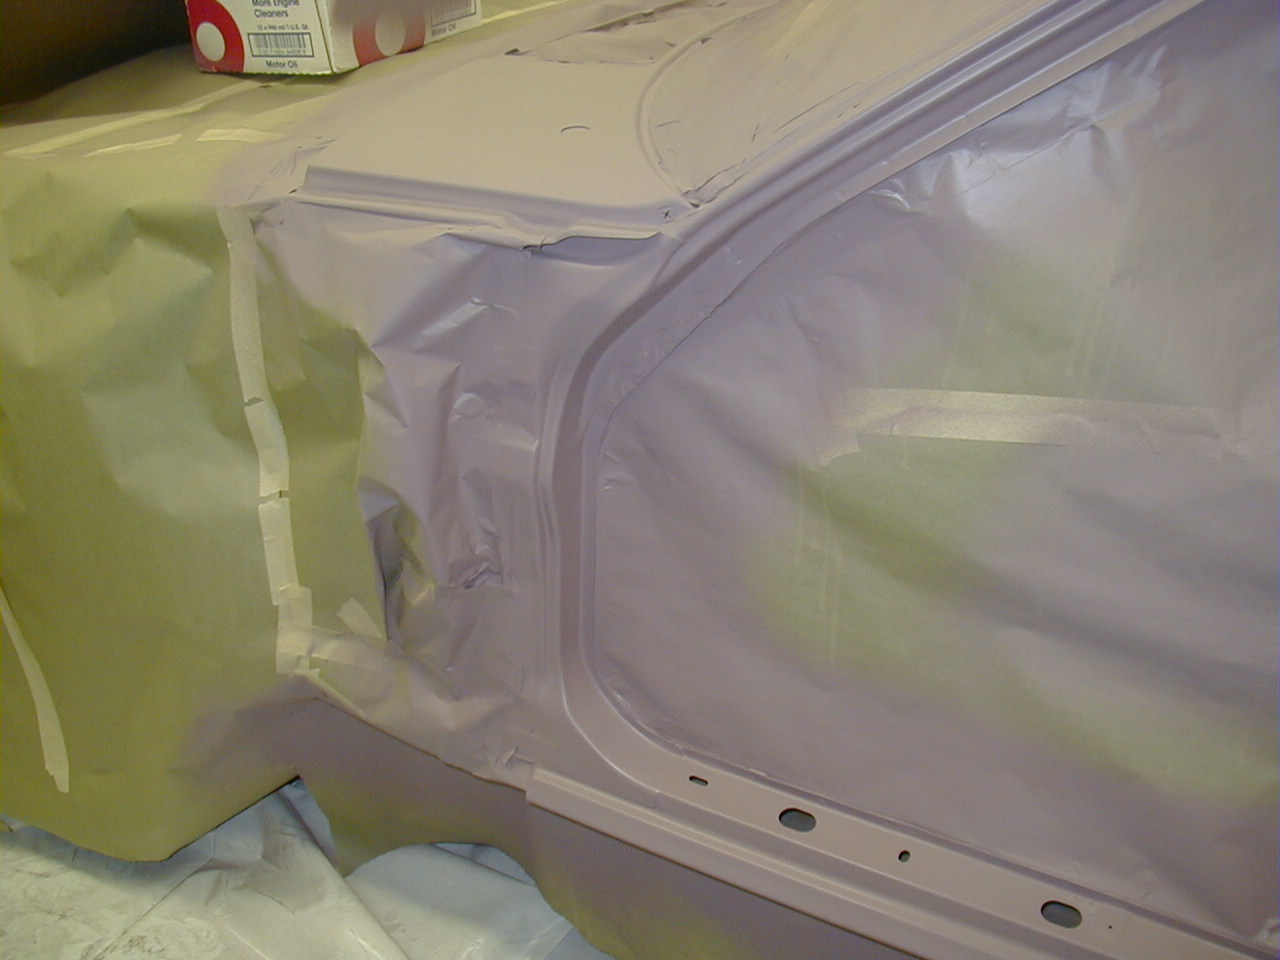
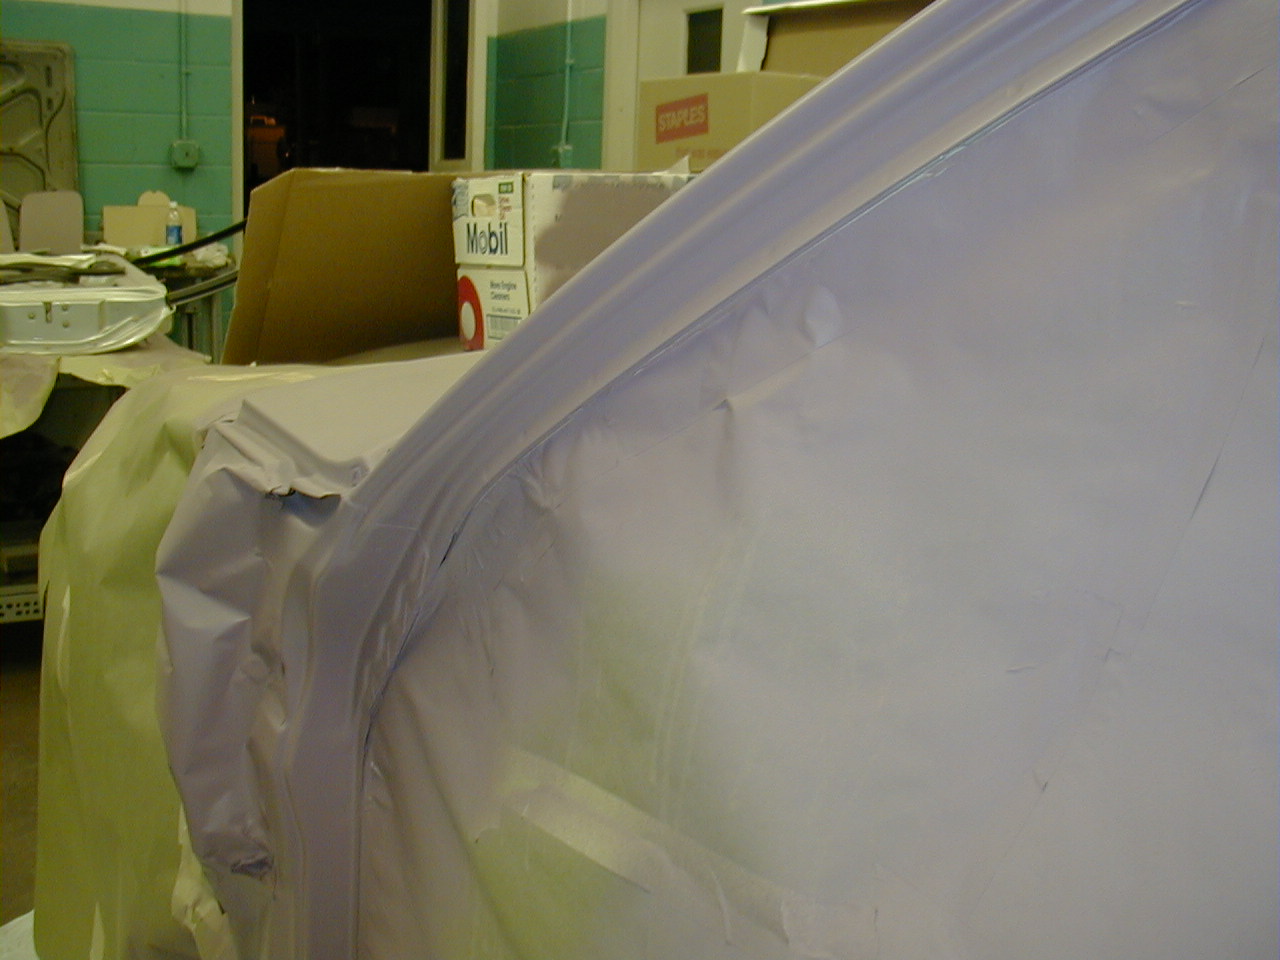
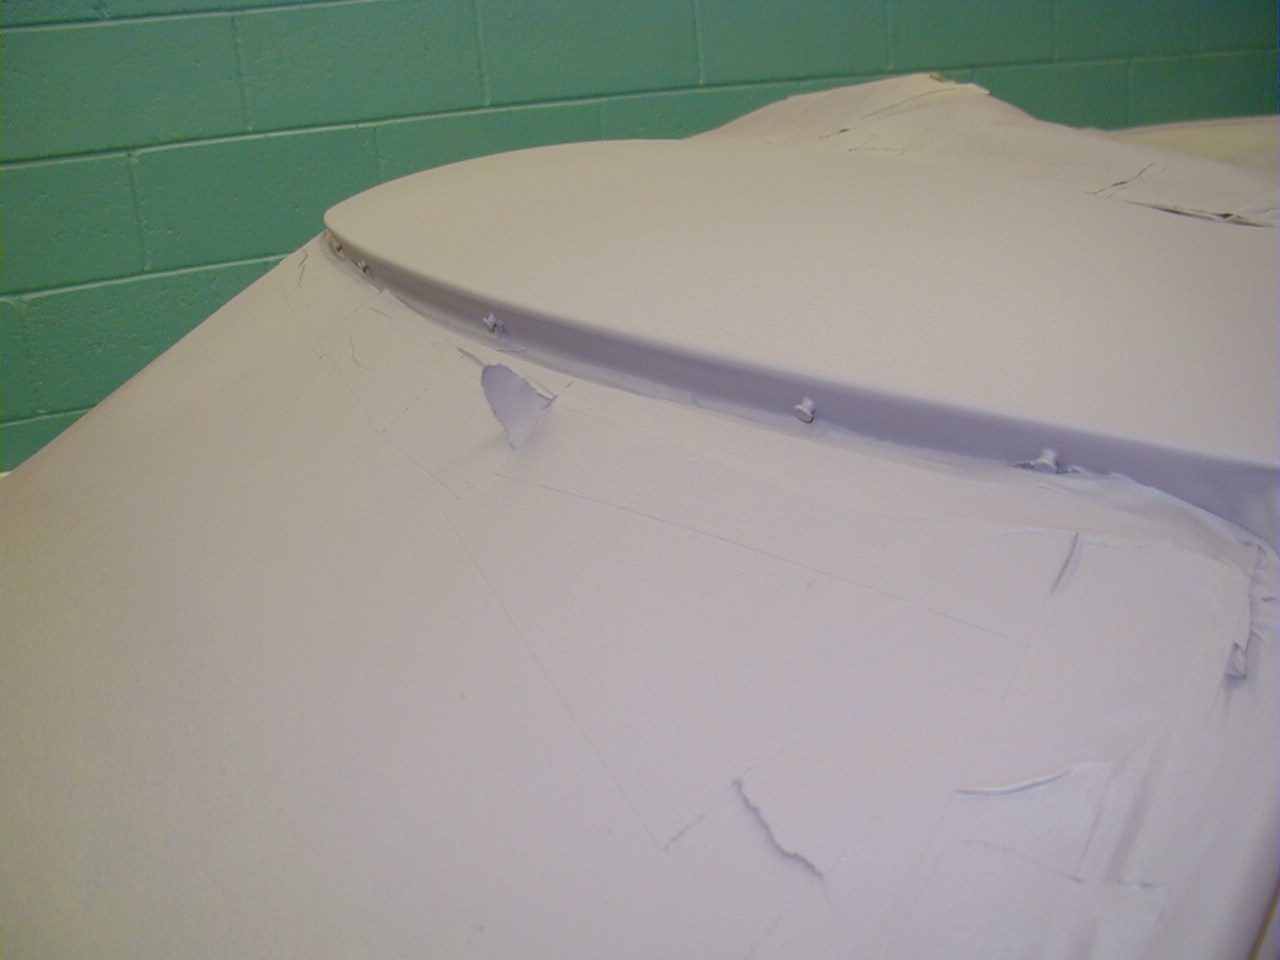
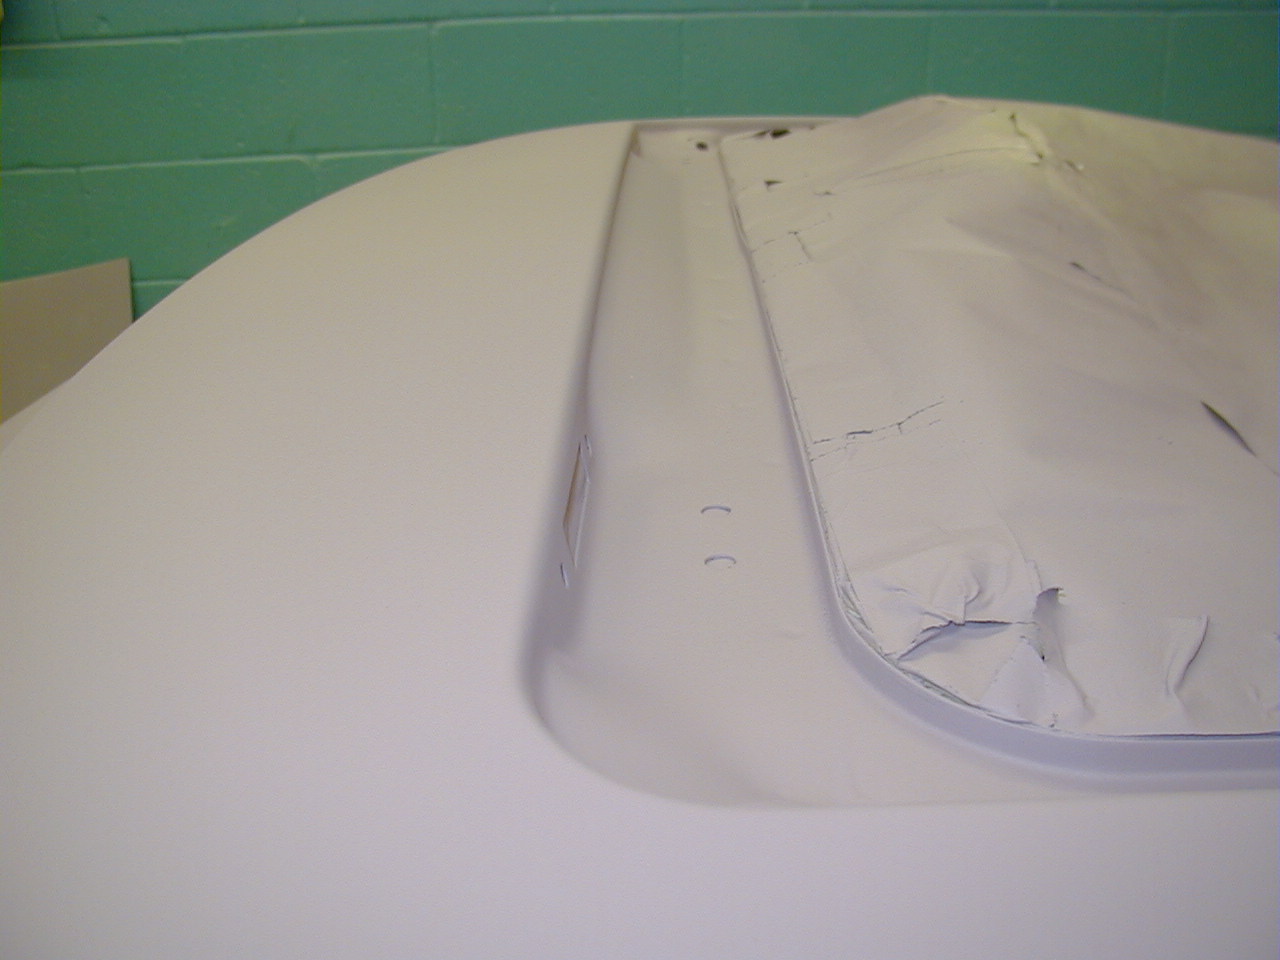
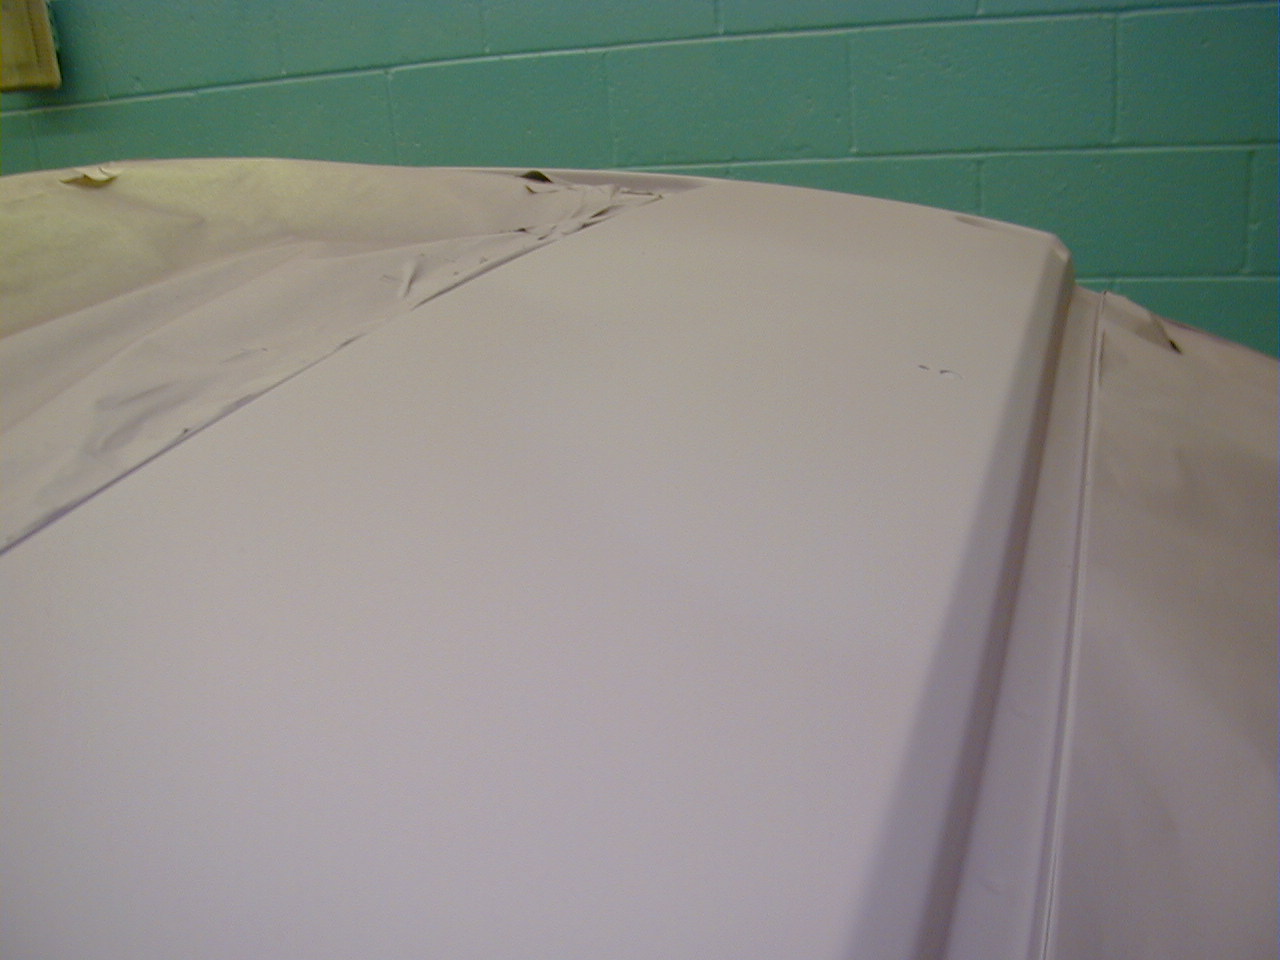
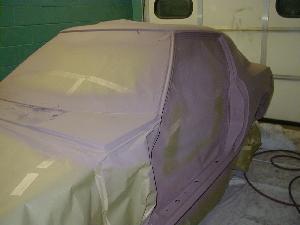
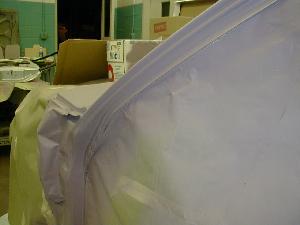
Once all of the bodywork was done, I masked off the entire unibody in preparation for primer. Prior to spraying the primer, I went over all of the metal with POR-15's Metal Ready. This is a zinc-phosphate solution that is supposed to help resist corrosion and etch the metal so that primer sticks to it better.
By the way, there are other companies that make similar metal treatments. PPG's Metal Treatment seems to have the same active ingredient, but is tinted green instead of the POR-15 brand's blue. They all seem to do the same thing, but if I had it to do over again, I would use an etching primer that has the metal treamtent built in.


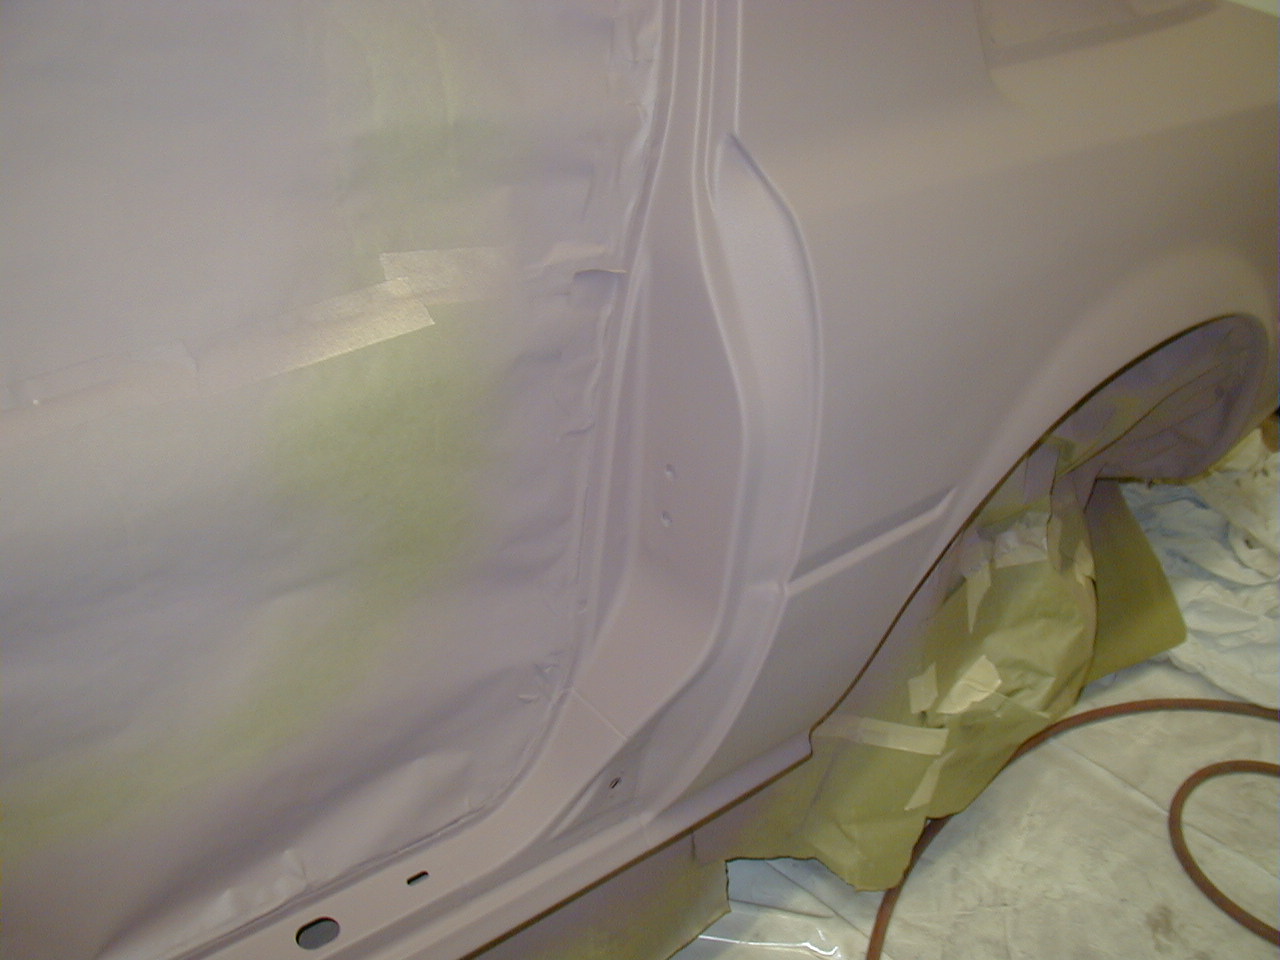
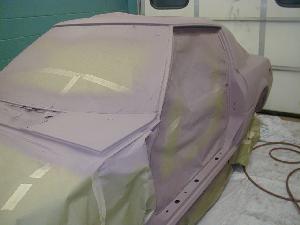
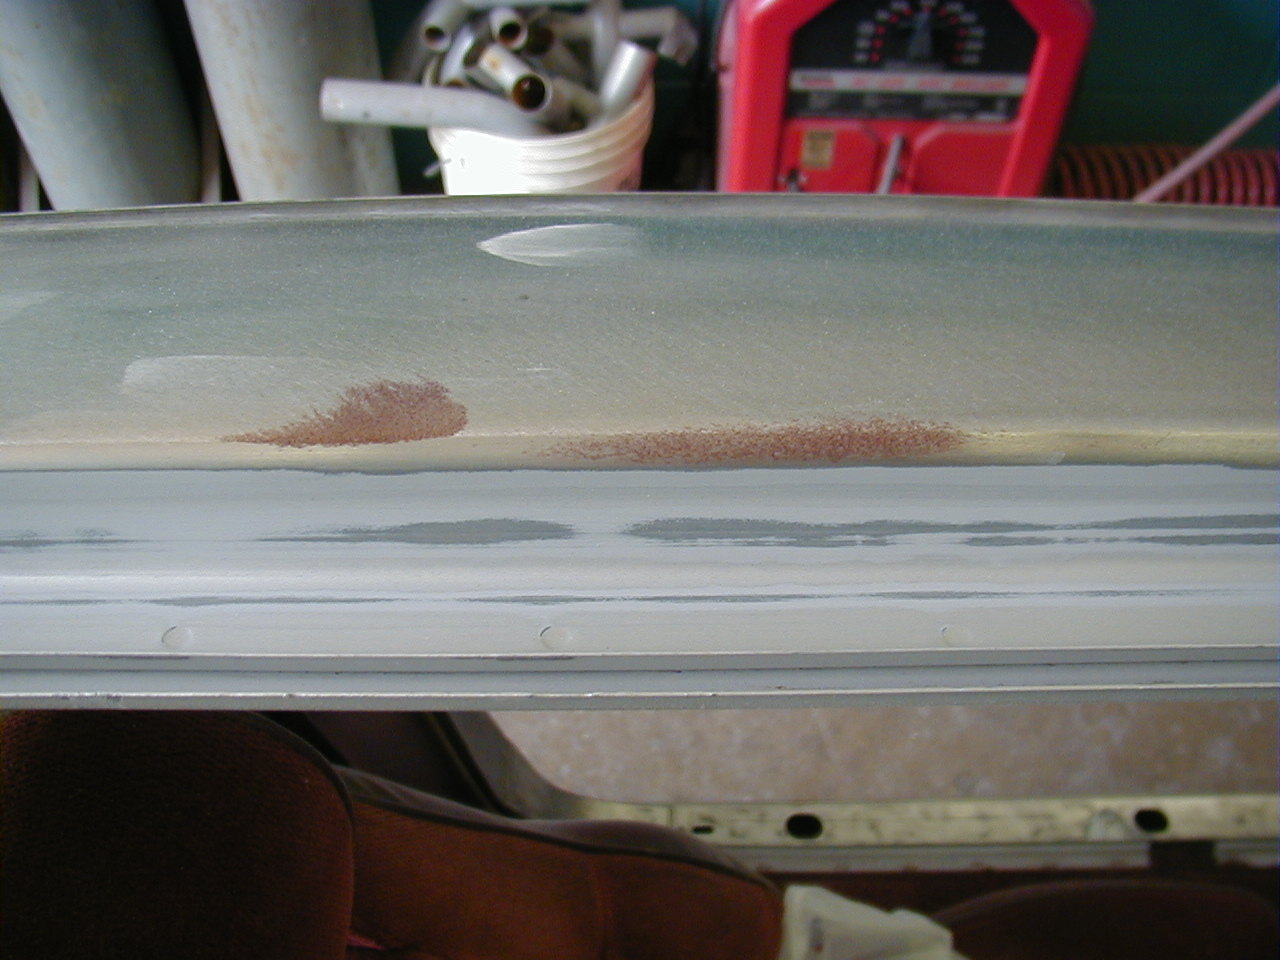
Note that some areas left this funky "striping" on the surface. I didn't even like the way those areas felt -- it was almost "sticky." Going over those areas with lacquer thinner and then re-applying the metal treatment eliminated the striping and the stickiness.


September to December 06
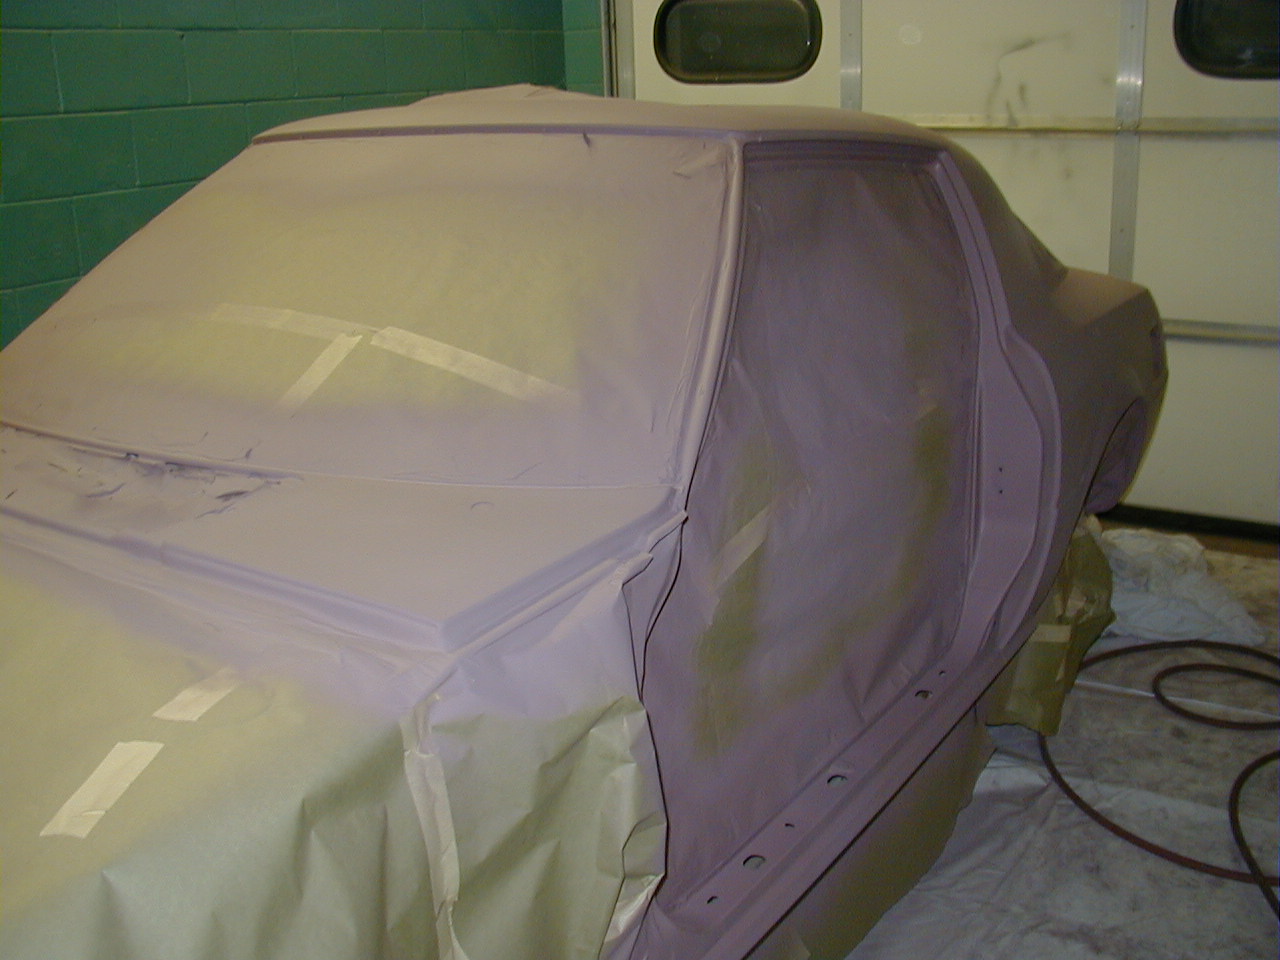
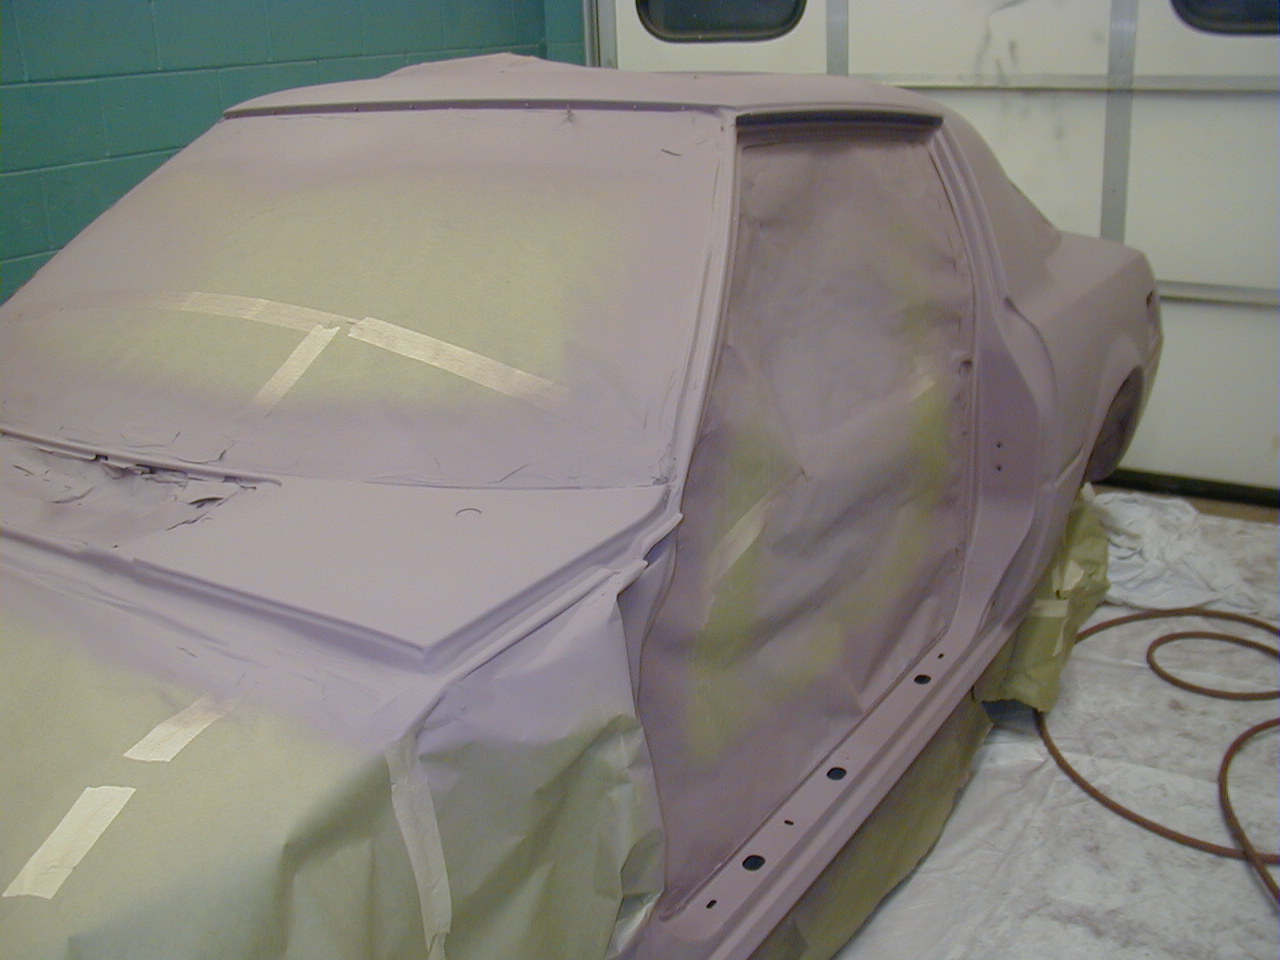
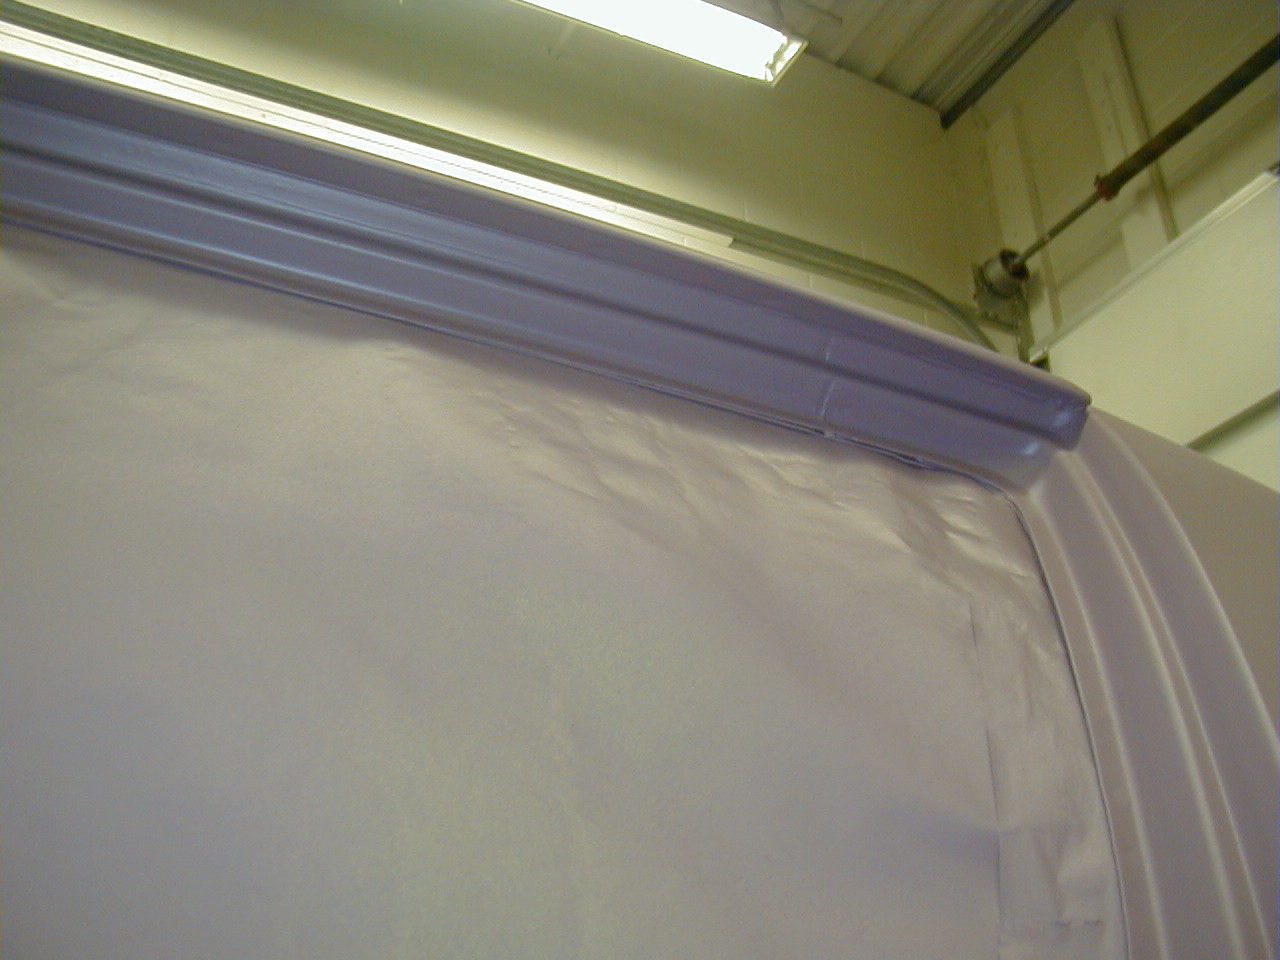
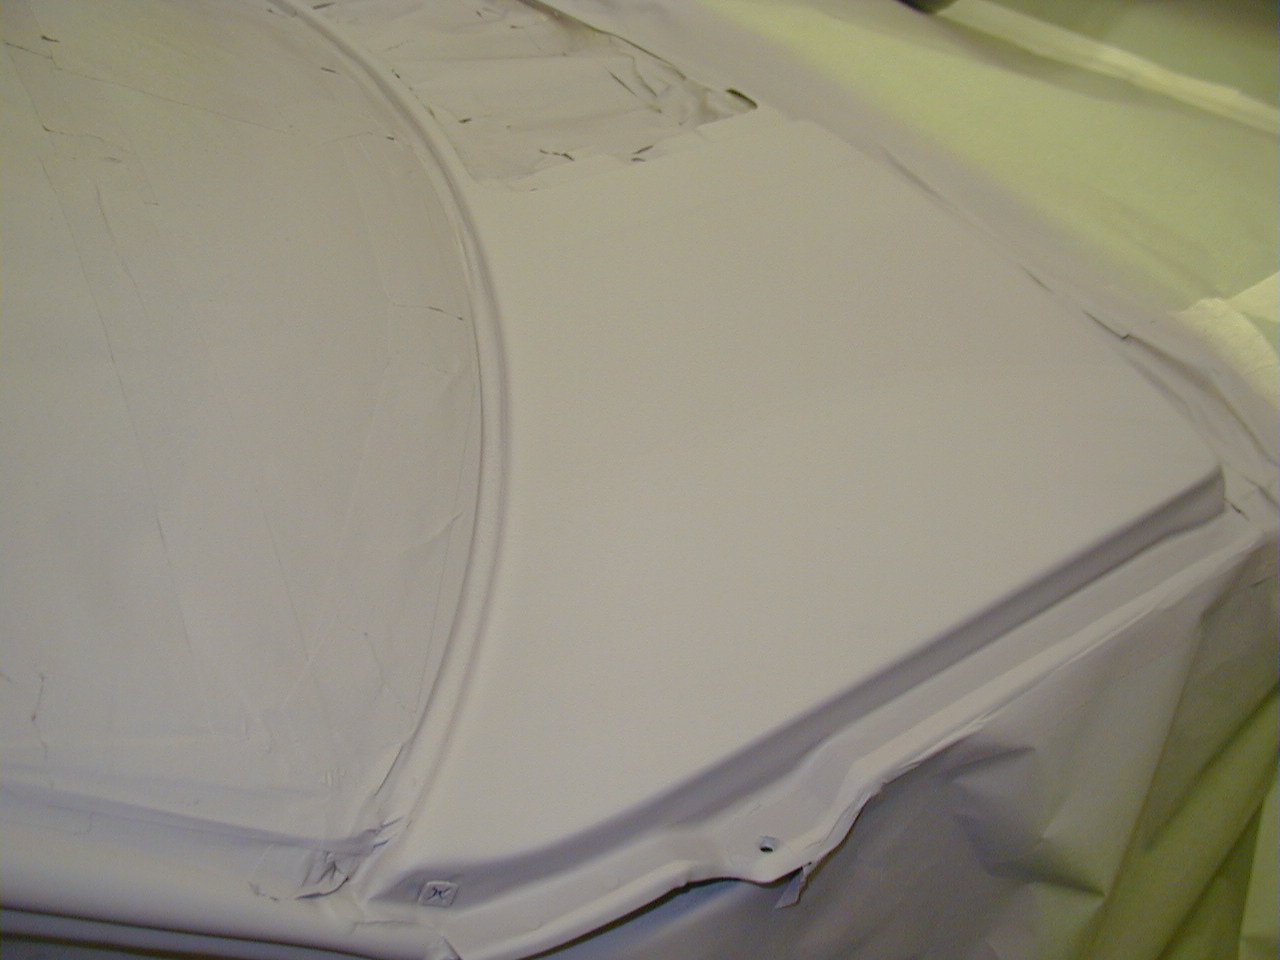
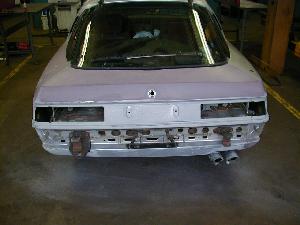
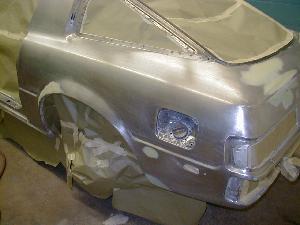
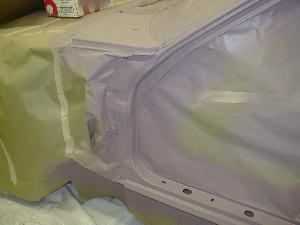
I finally got primer on the unibody!


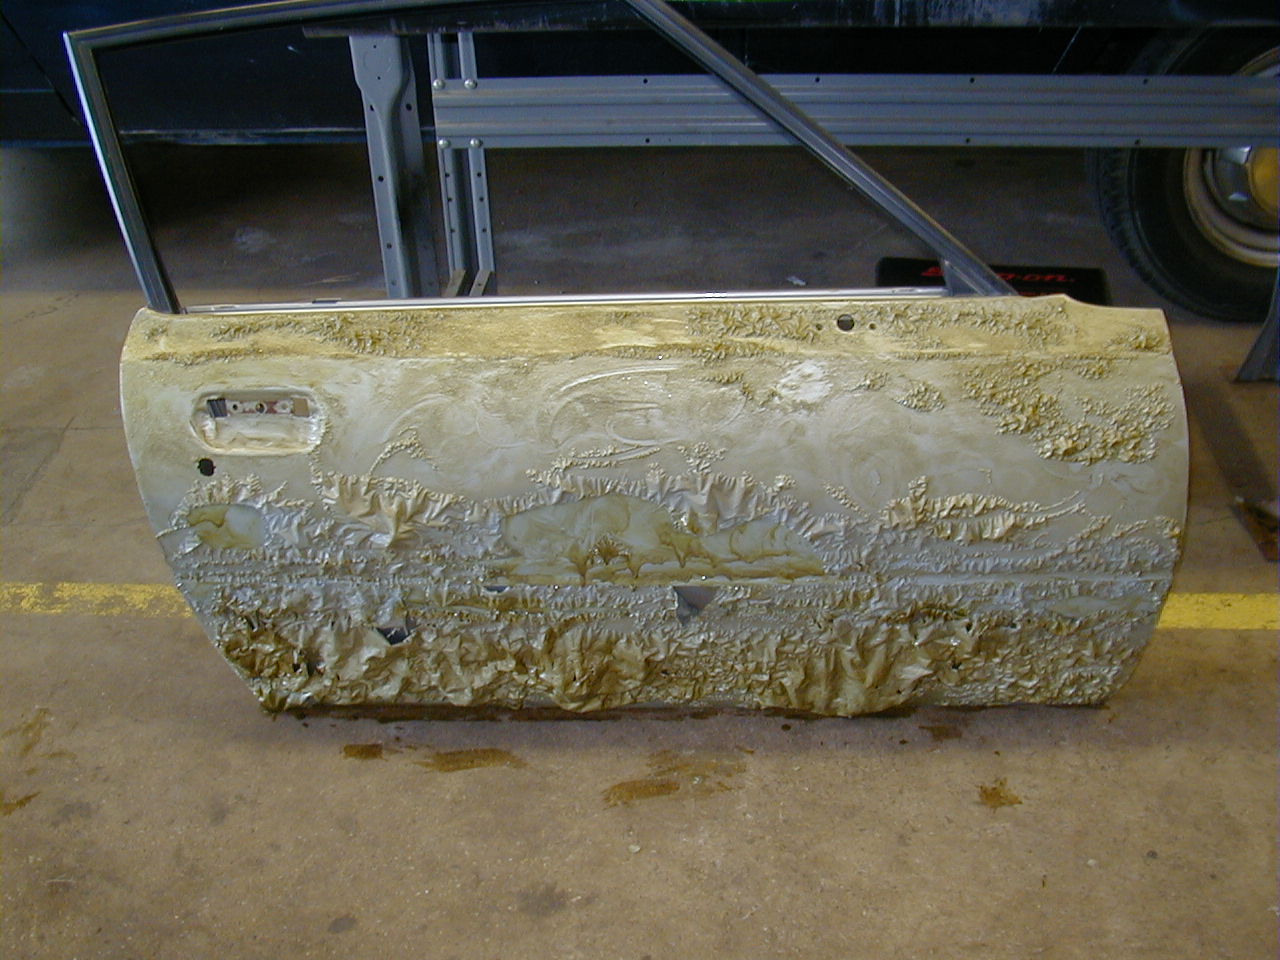
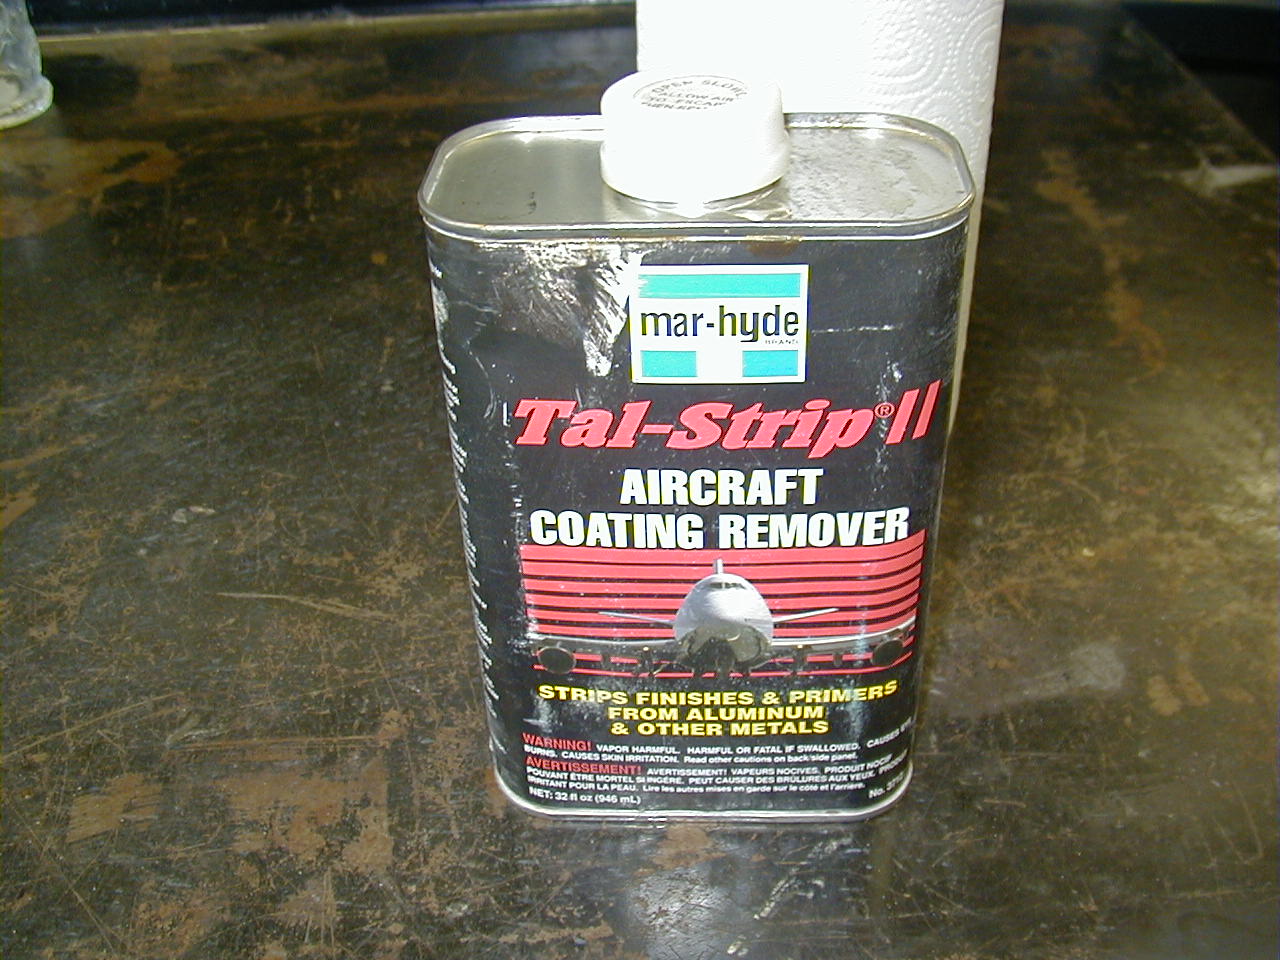
Paint stripper is amazing stuff! The paint just melts and practically falls off, provided that your shop temperature is warm enough. Here's a warning, though: wear double-gloves! Once that stuff gets on your gloves, you'll start feeling it until you peel off the gloves and put on two more.

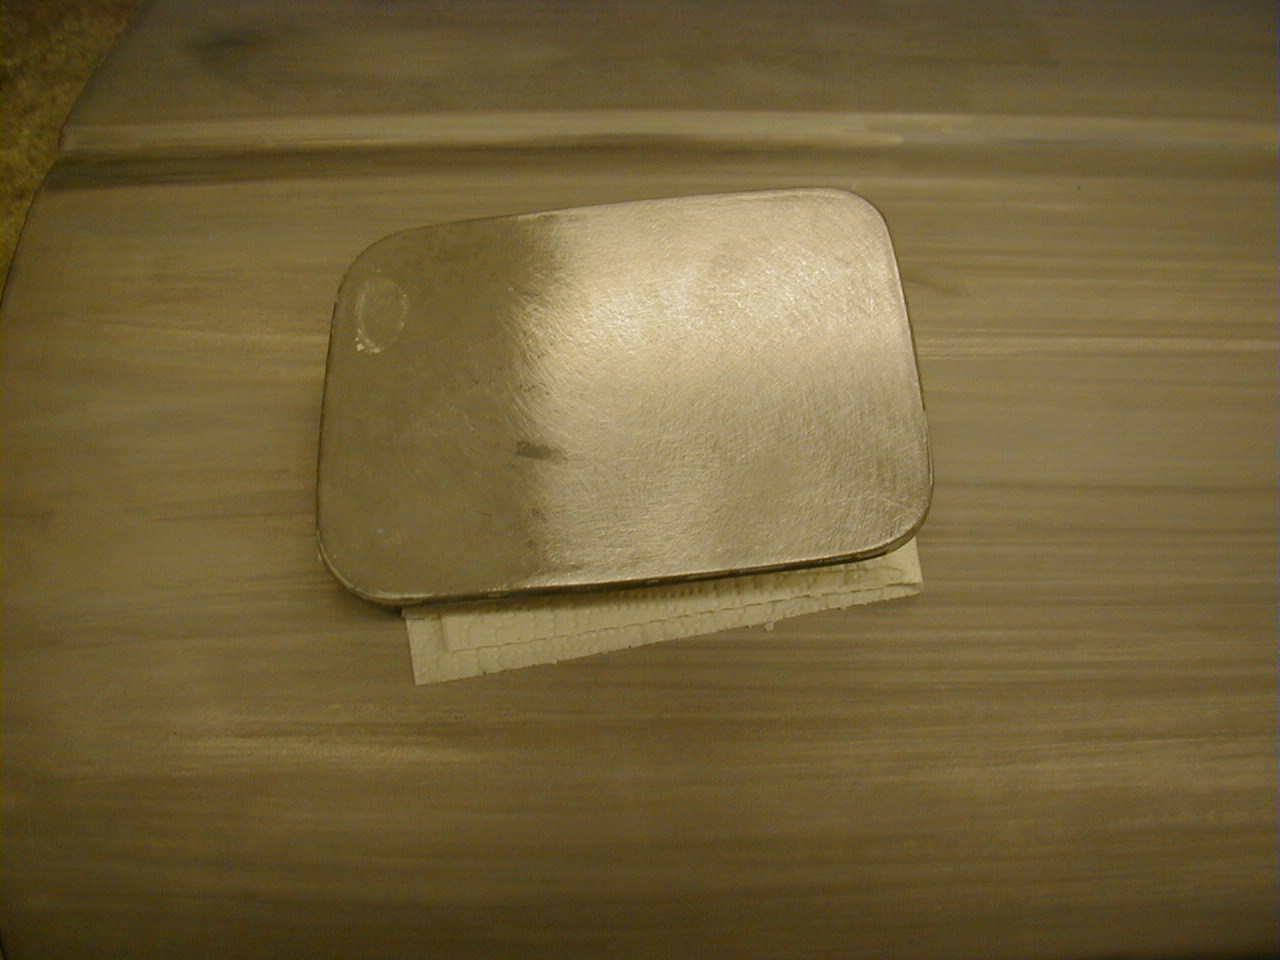
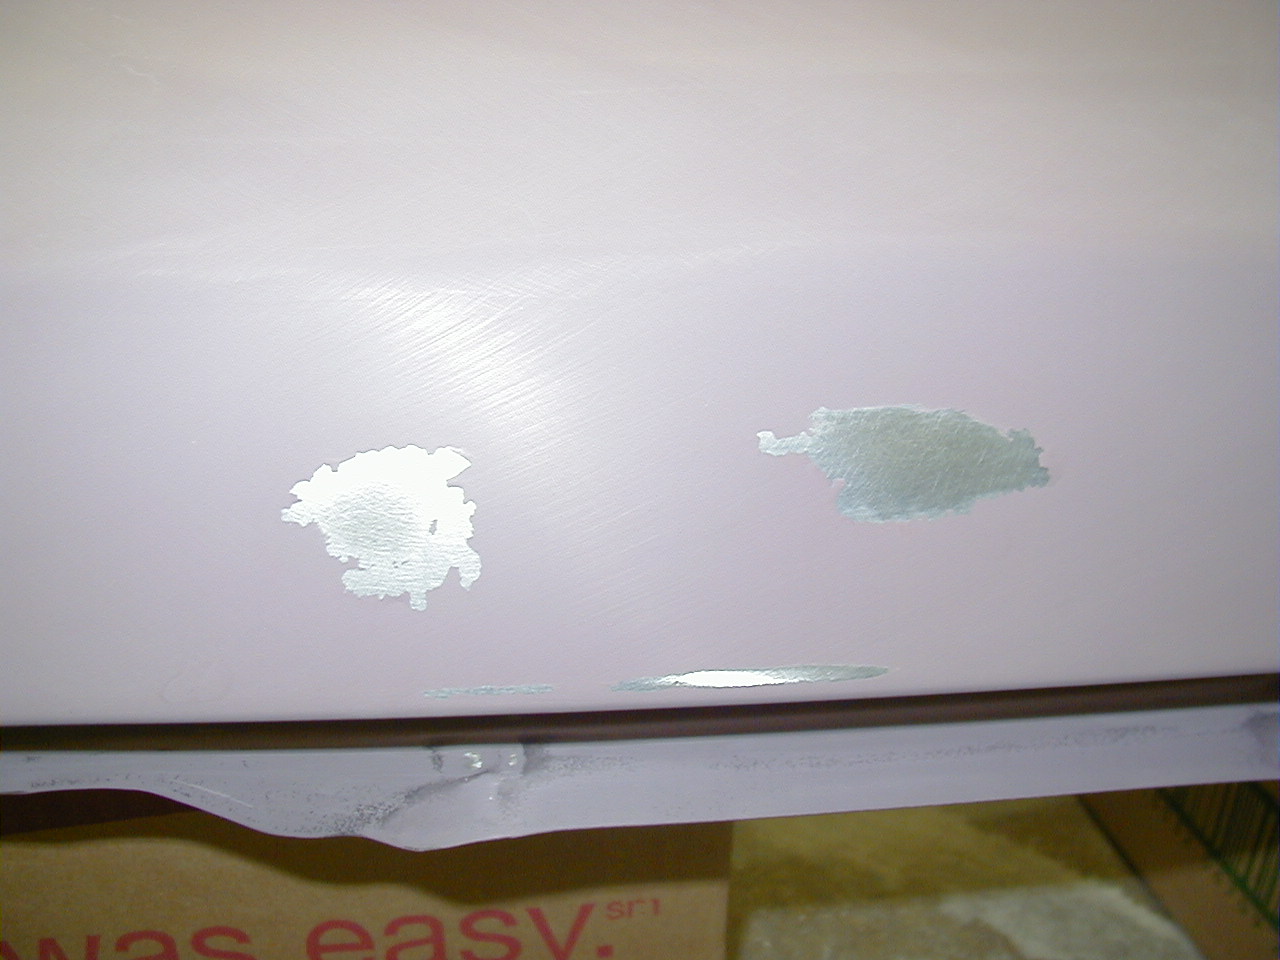
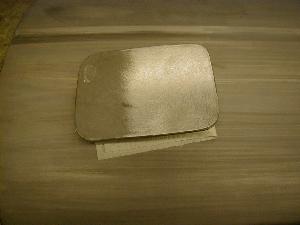
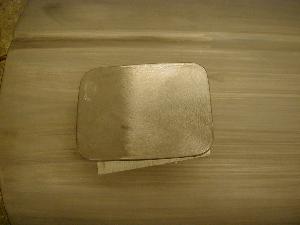
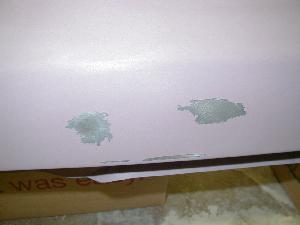
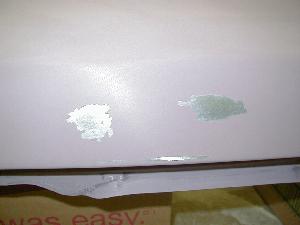
Note the color of the sanded, untreated gas cap cover as opposed to the sanded and metal-treated door behind it.
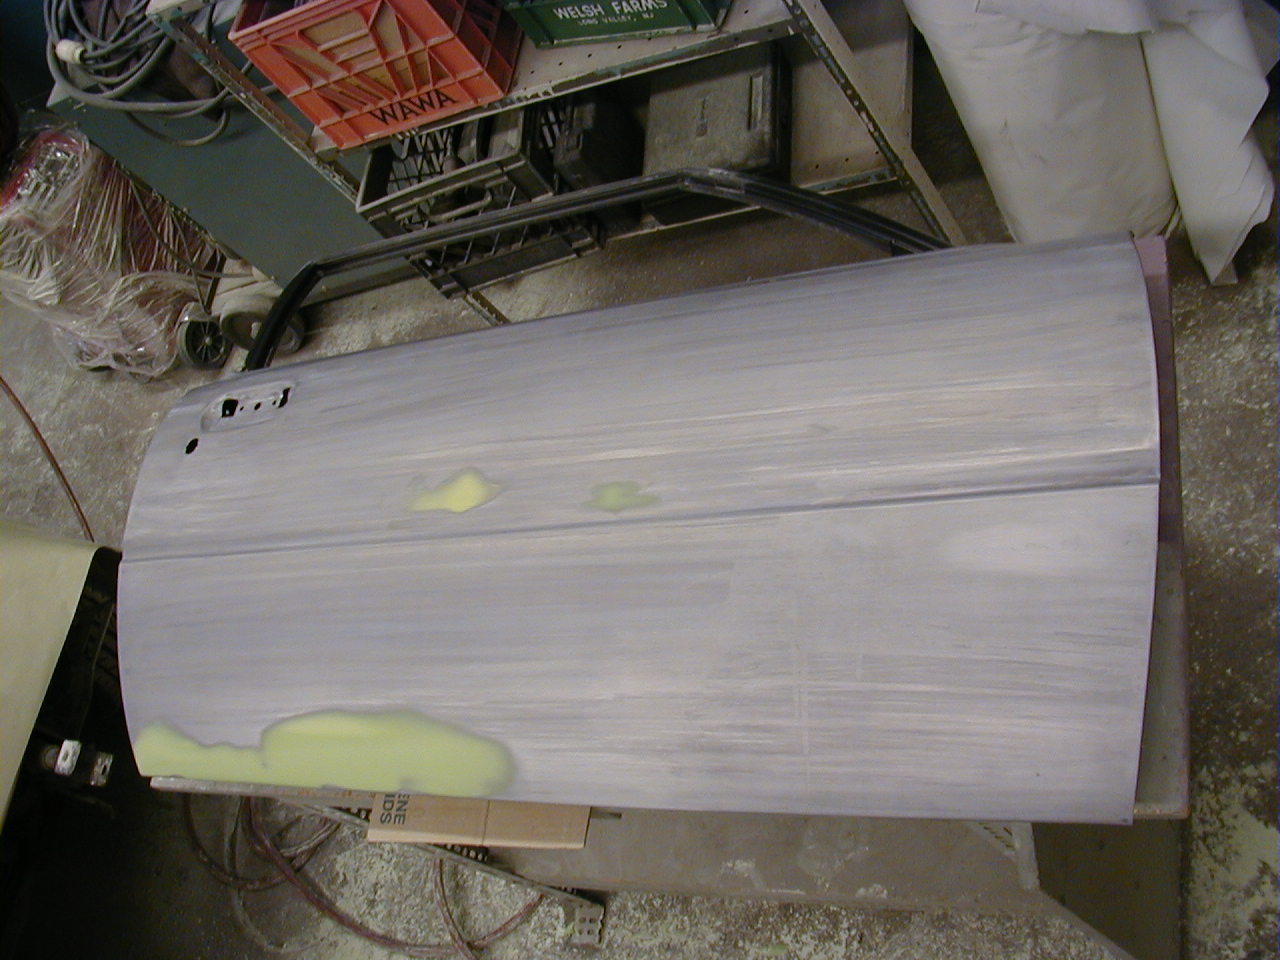
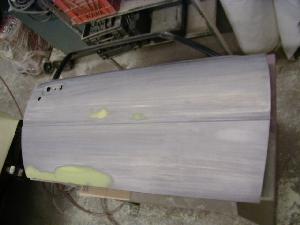
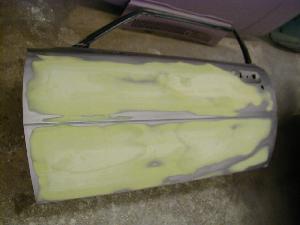
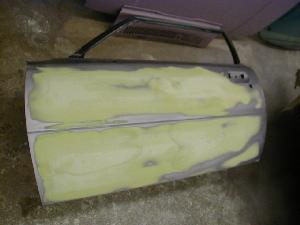
With the doors stripped down (again!), I was able to do a better job smoothing them out. Notice how much wider I had to apply the filler on the driver's side door vs. the passenger's side door. Recall that the driver's door was hit twice in separate places.

Even after all of that work, I still found two more small parking-lot dings in the passenger's side door when I was spraying primer. Once the surface has some gloss about it, such as from wet primer, it's much easier to see any dents. I sanded those sections down, filled them, and re-sprayed primer the following night.

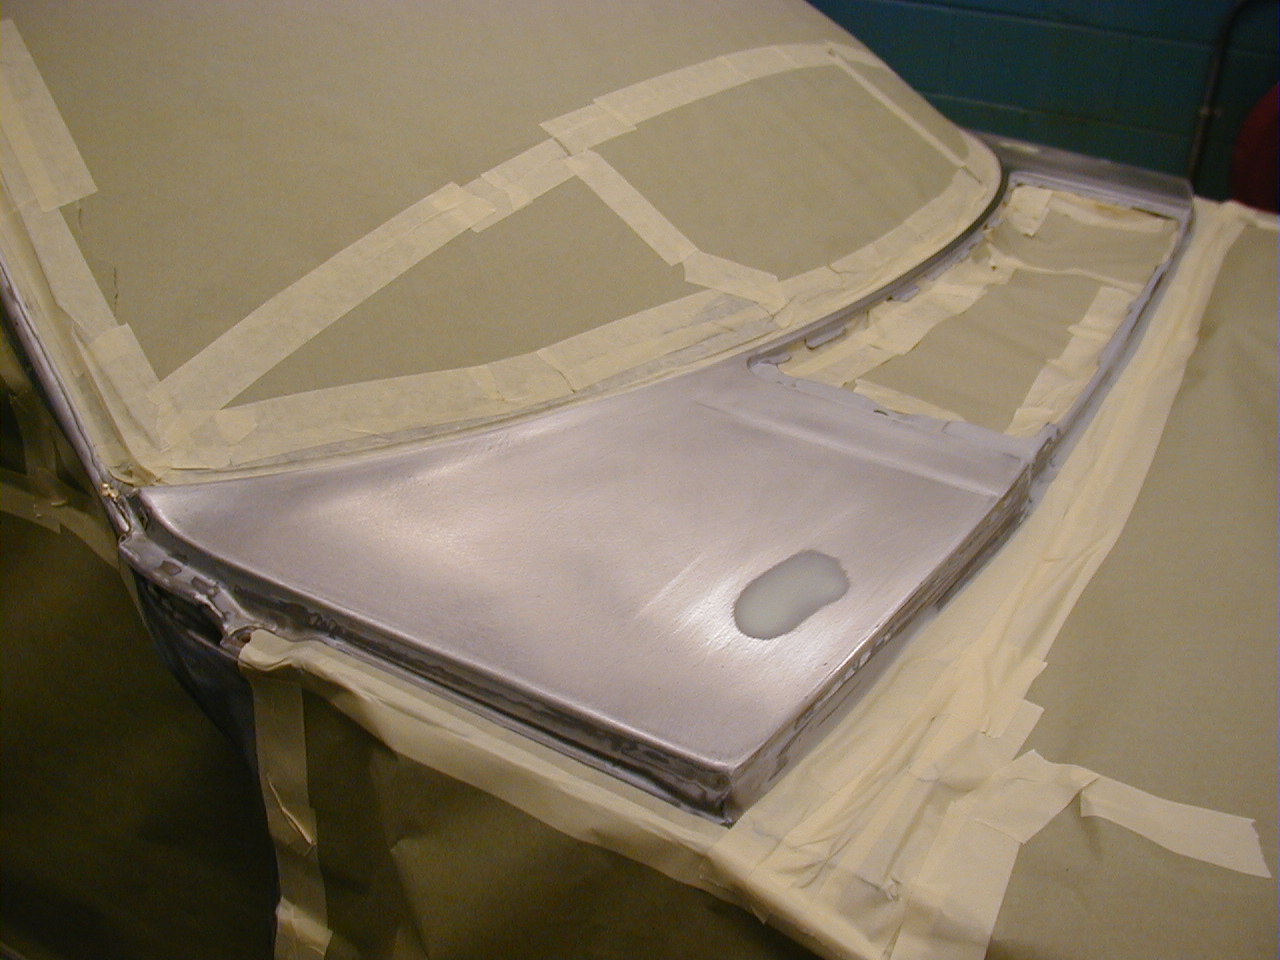
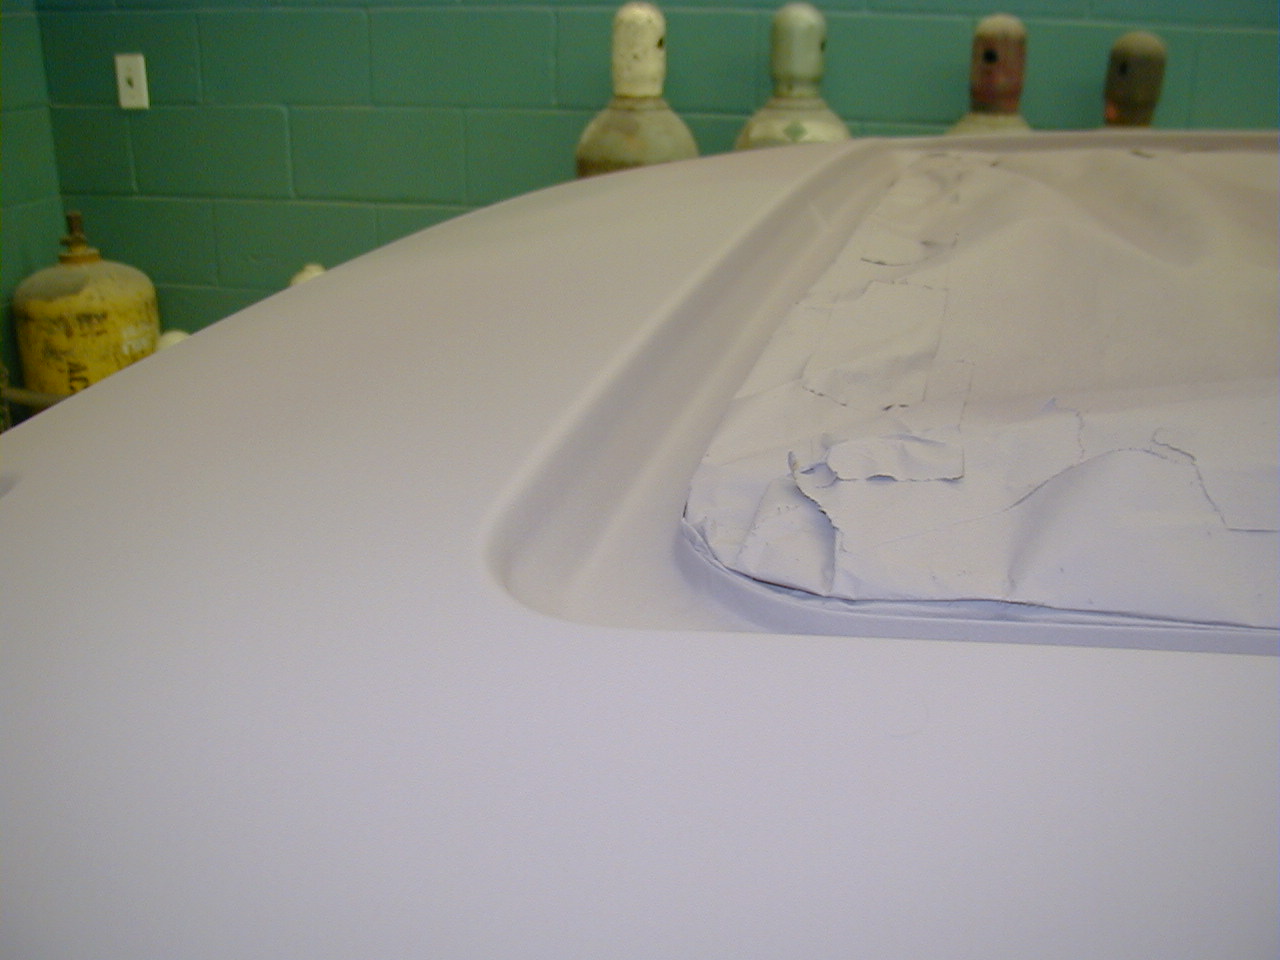
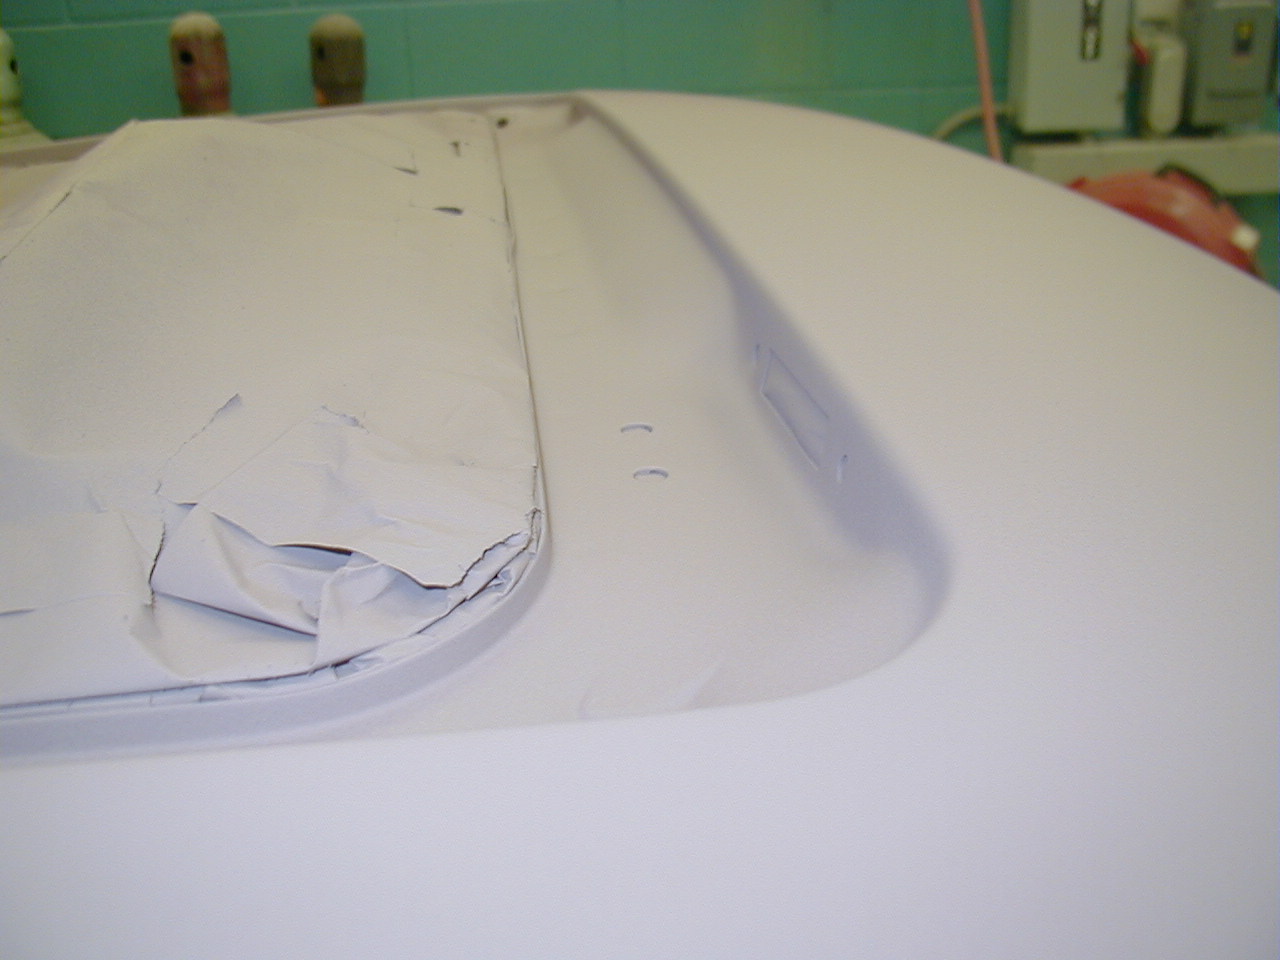
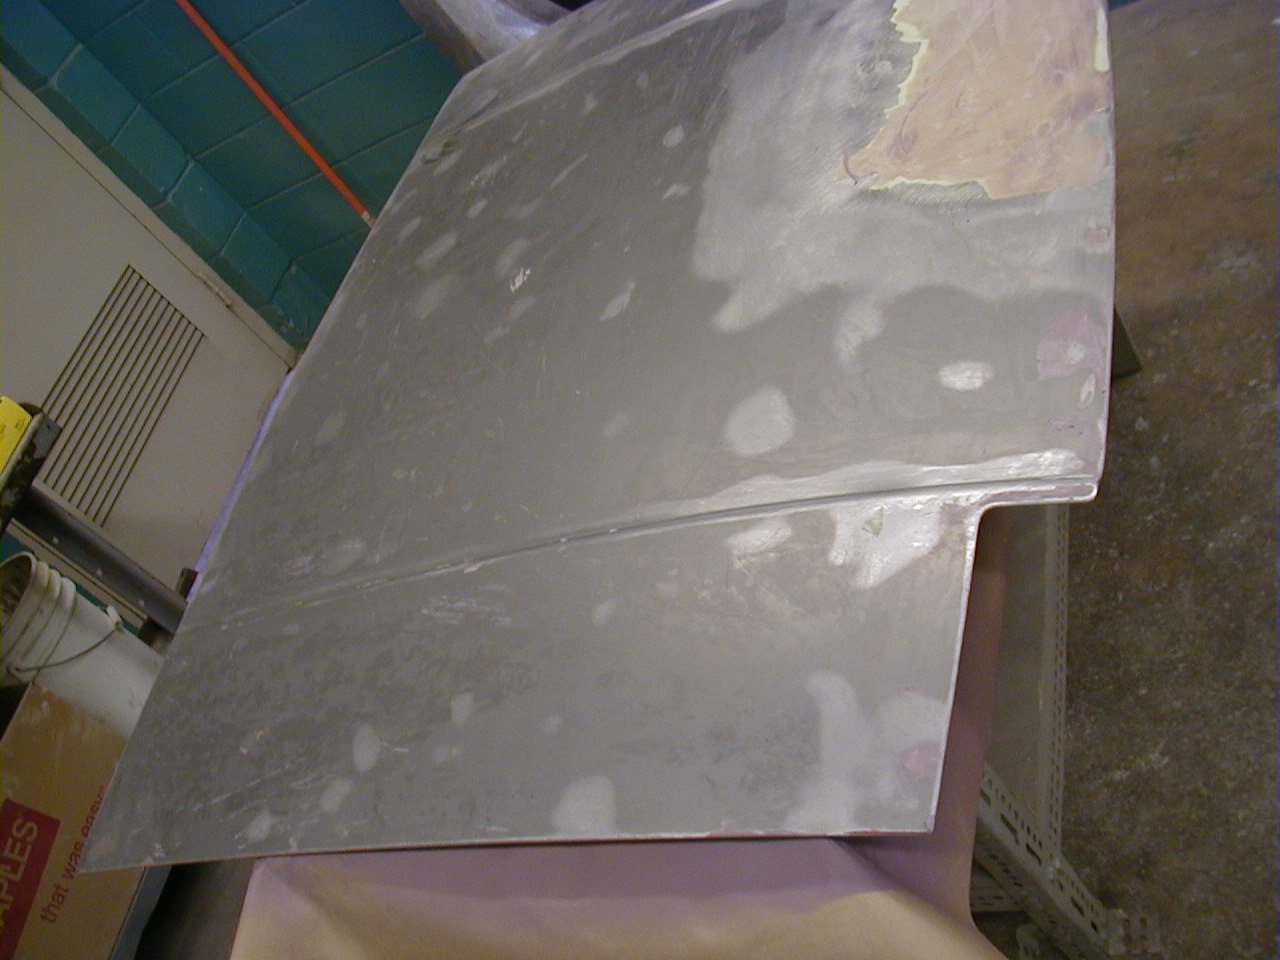
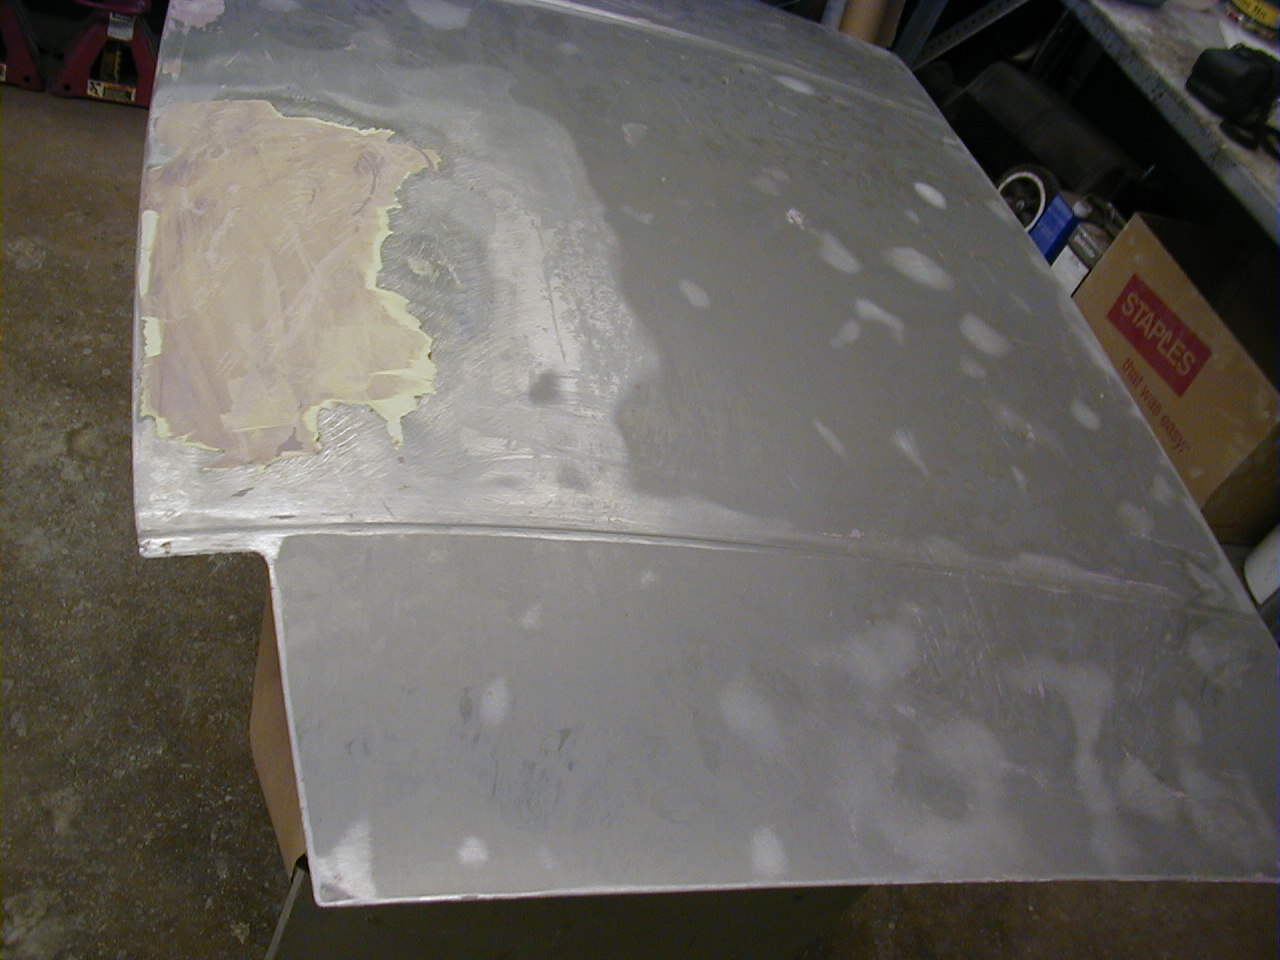
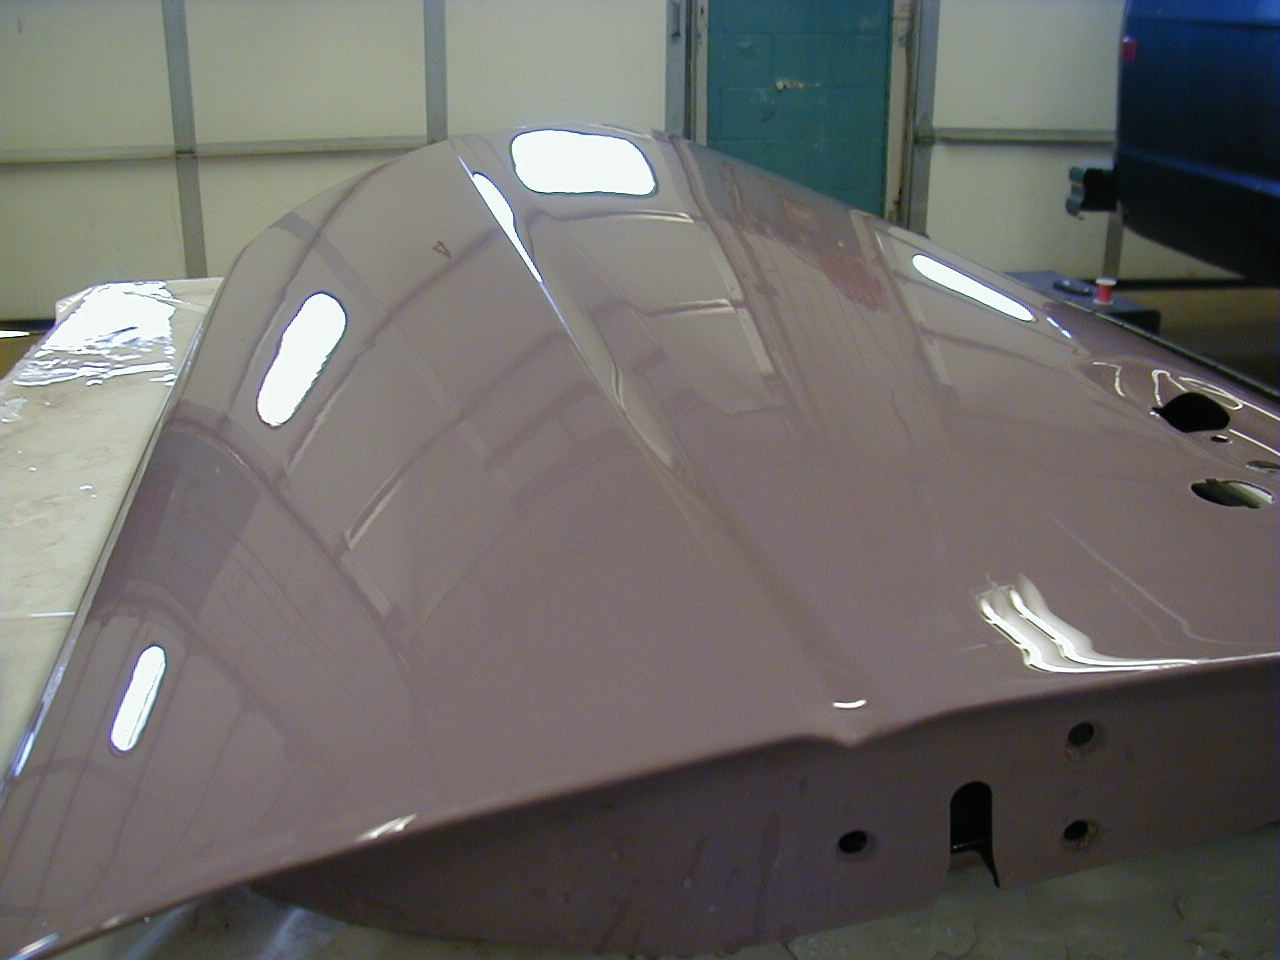
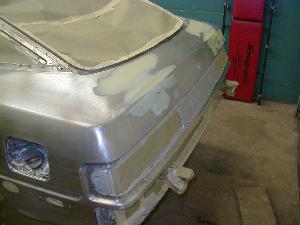
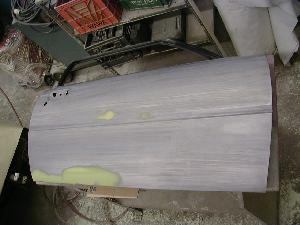
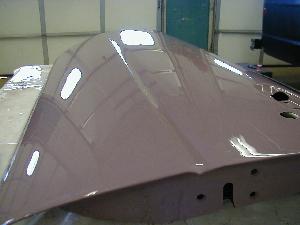
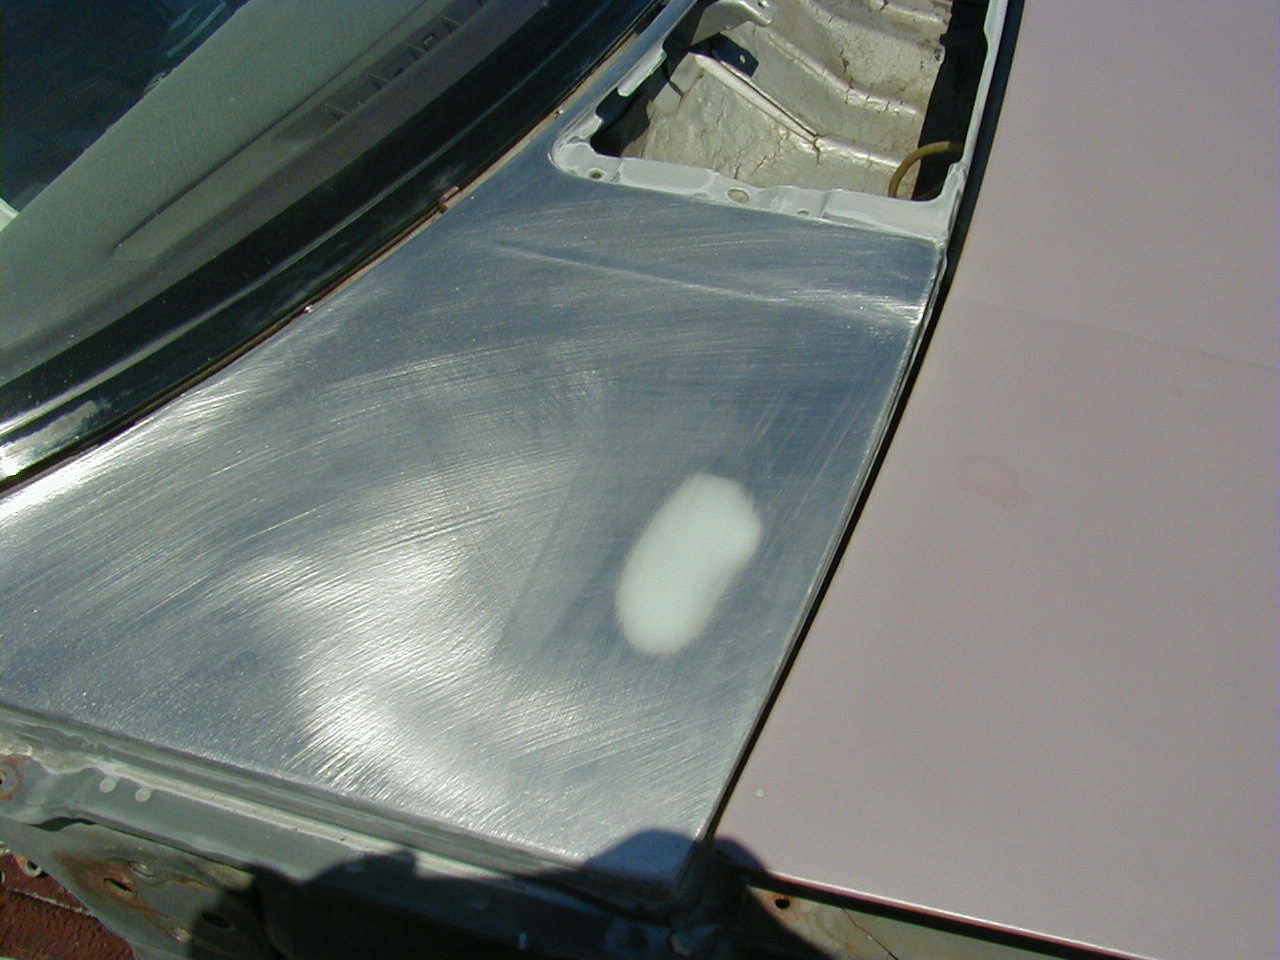
Again, stripping down the hood to bare metal and re-doing some prior repairs helped me to find some imperfections that I hadn't spotted previously.


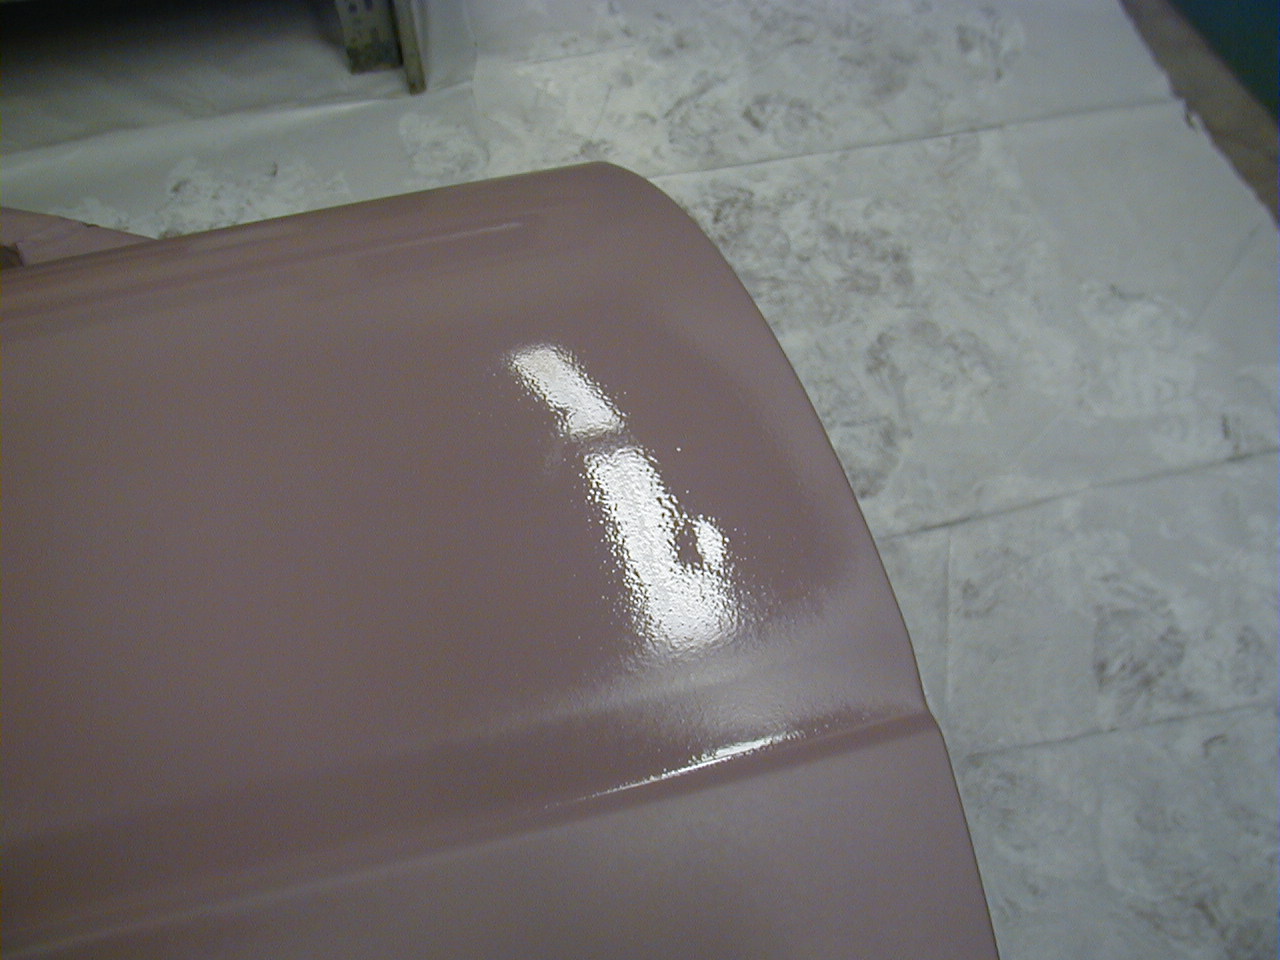
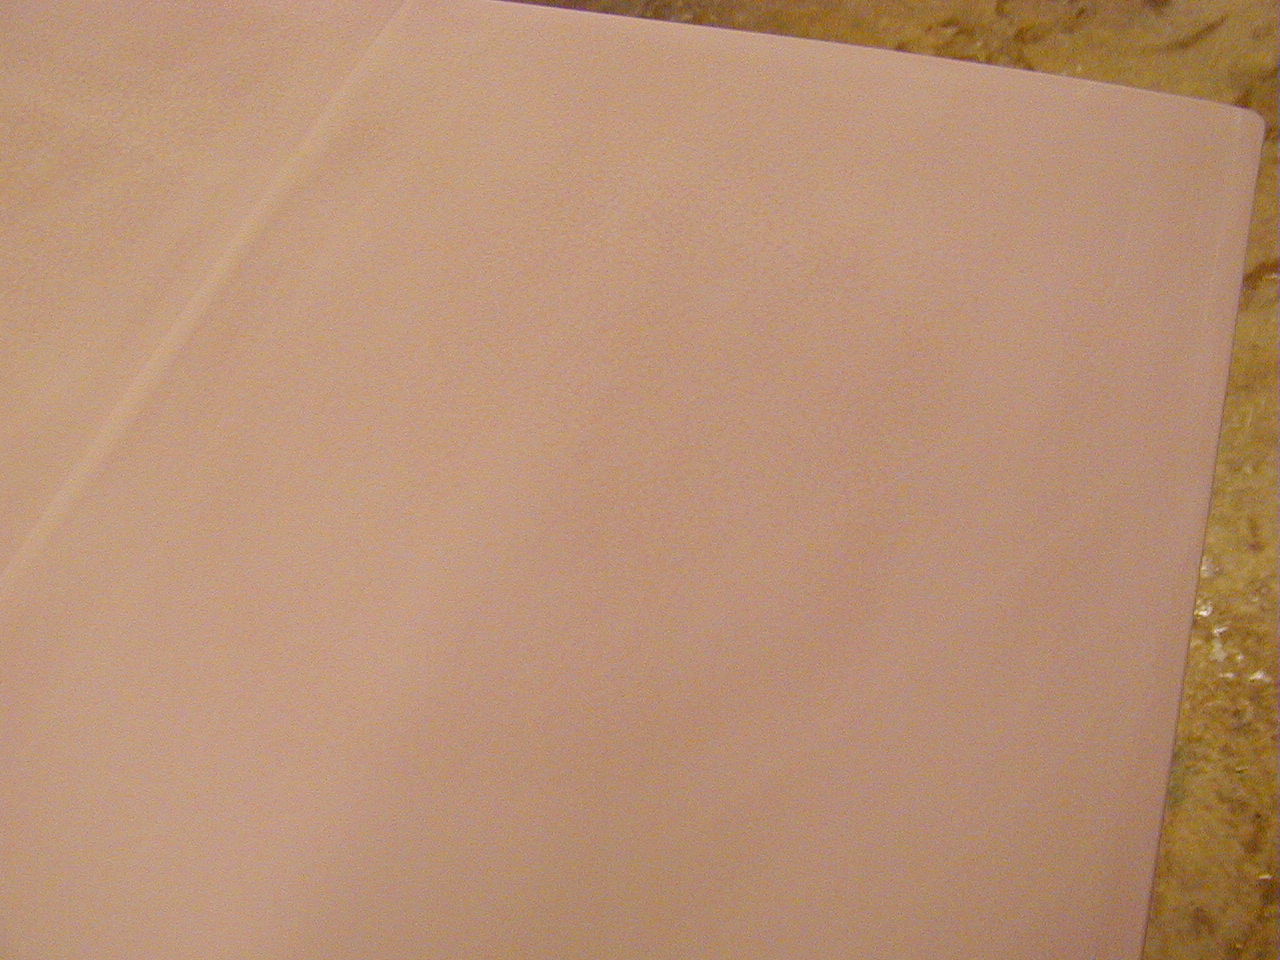
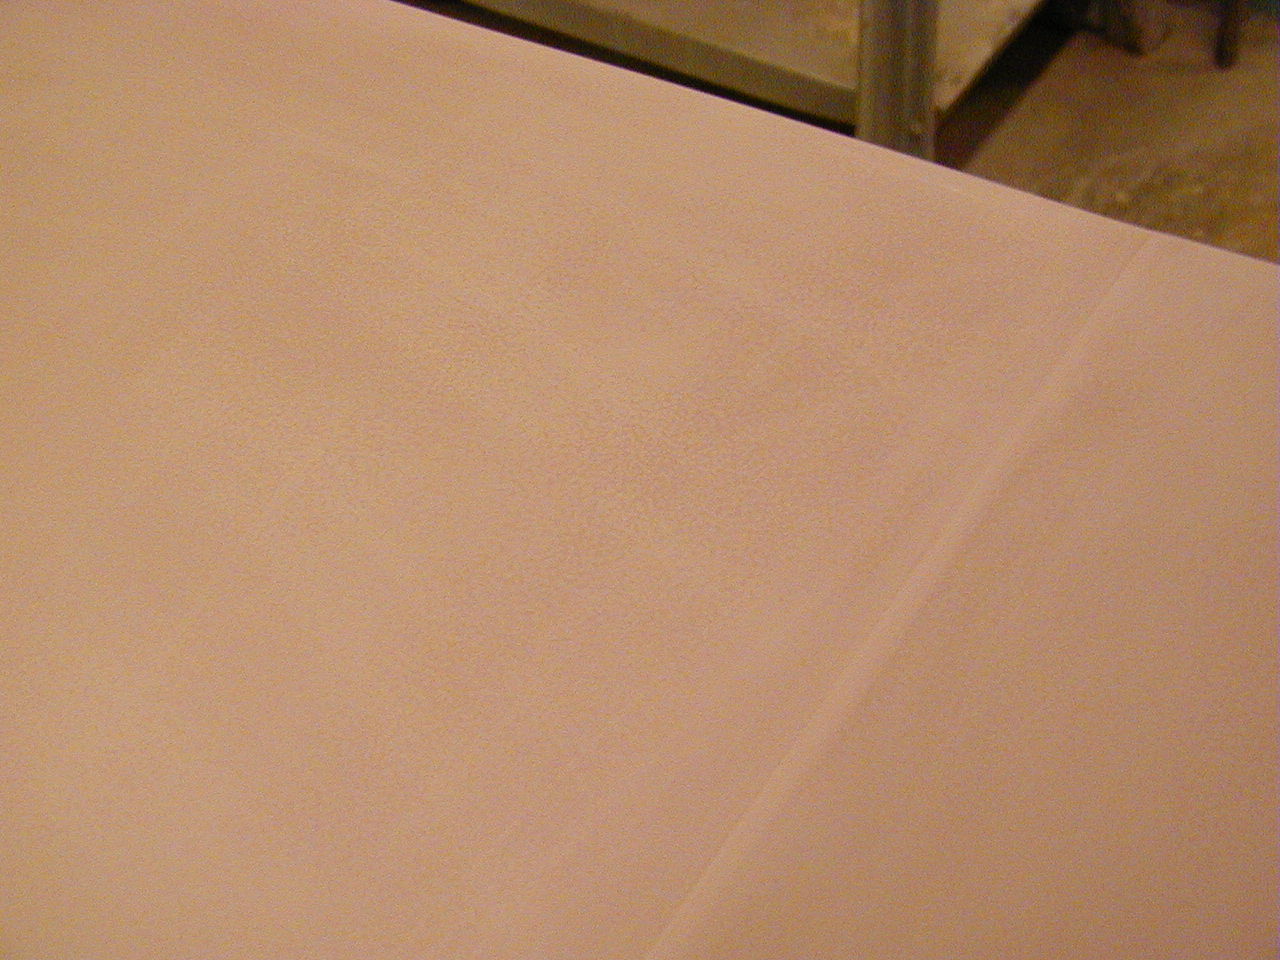
But even after those repairs, I found that there were some sections that weren't coming out as smooth as they should after wet sanding. The orange peel that's barely visible in these photos tells me that I have some low spots. The solution was to take it down yet again and do some more filler work.
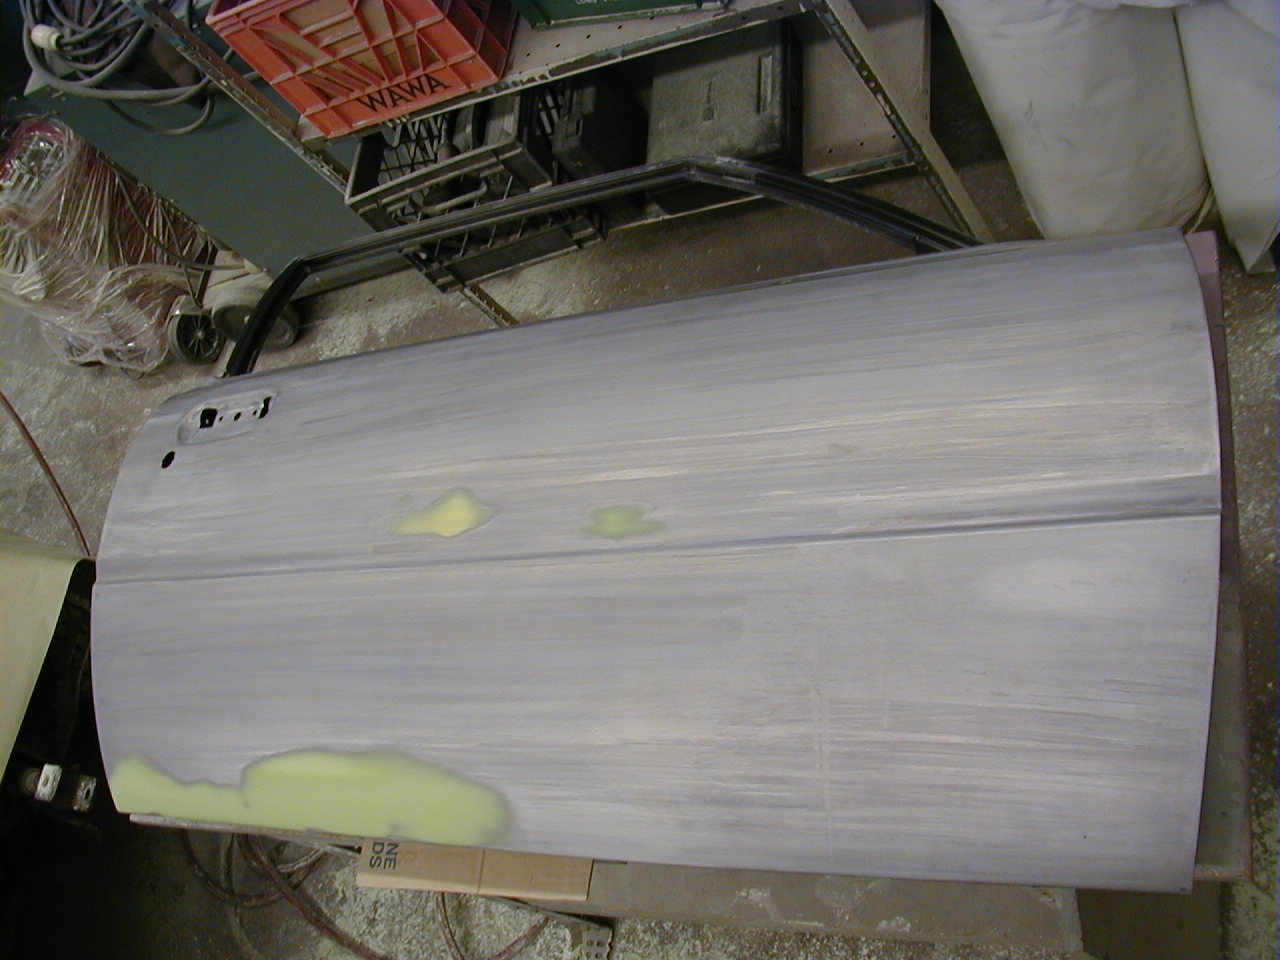
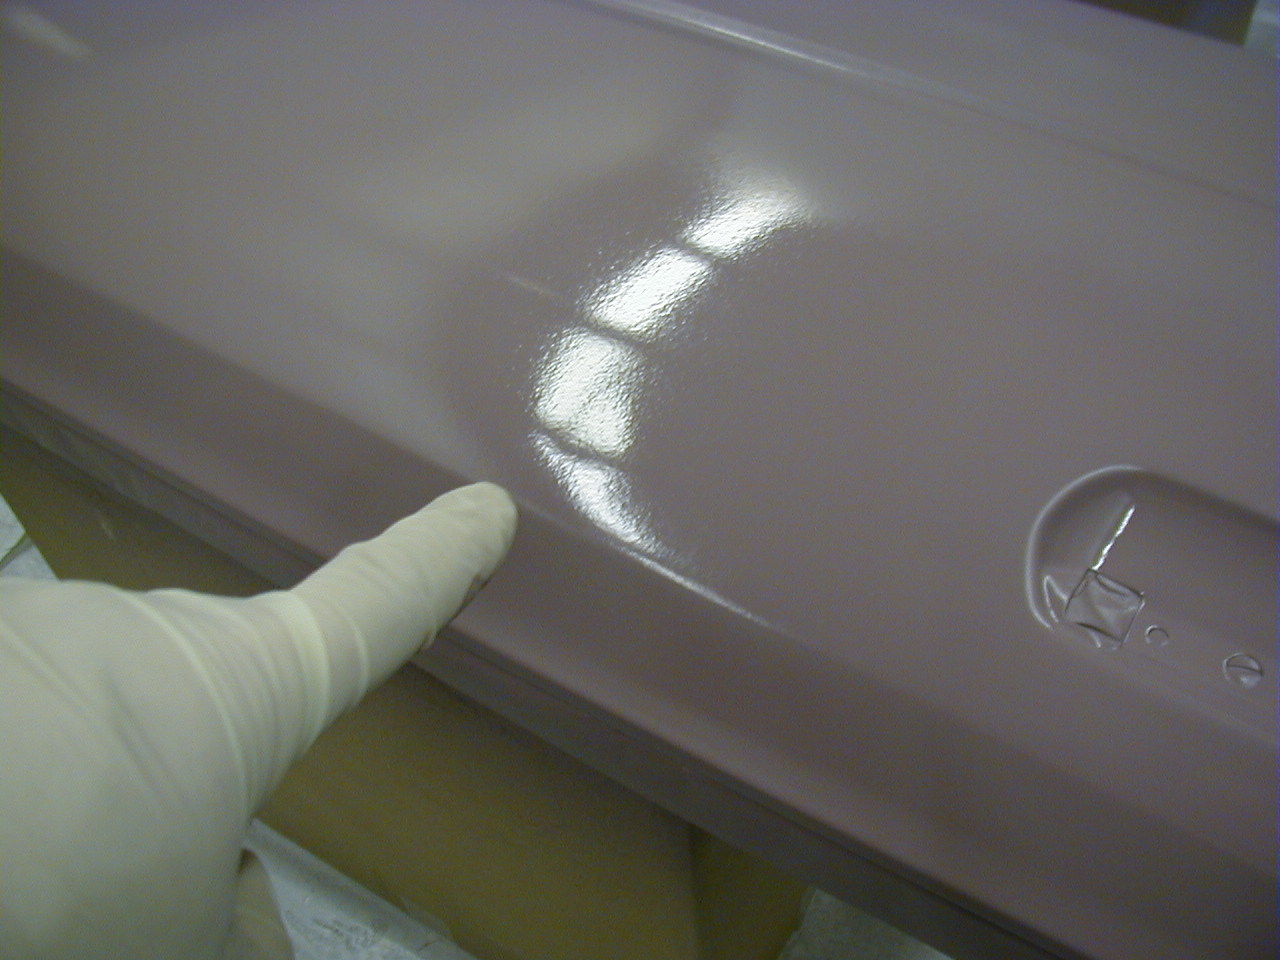
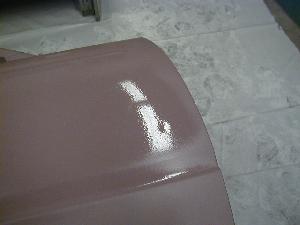
Check out the driver's side door! This is after wet sanding it, and then going over it with PPG Duraclean. (I think it's a mineral-spirits-based cleaner.) The cleaner supplied the wet look to the primer, so that I could really see how smooth my work turned out. I'm very pleased!
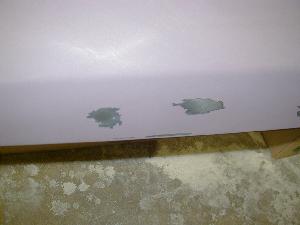
I did some spot repairs to the driver's fender. When I was done, I pulled the masking tape off of the top of the fender, and it pulled up the primer. It's almost like the primer was torn off of the metal. I'm wondering if this was caused by a misapplication of the metal treatment -- those stripes that we saw earlier -- or if this is just a normal by-product of leaving the tape on for too long. Regardless, I sanded the top of the fender down and re-applied primer.
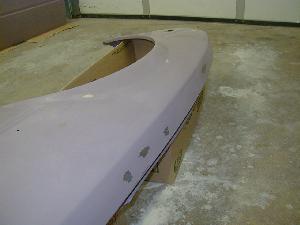
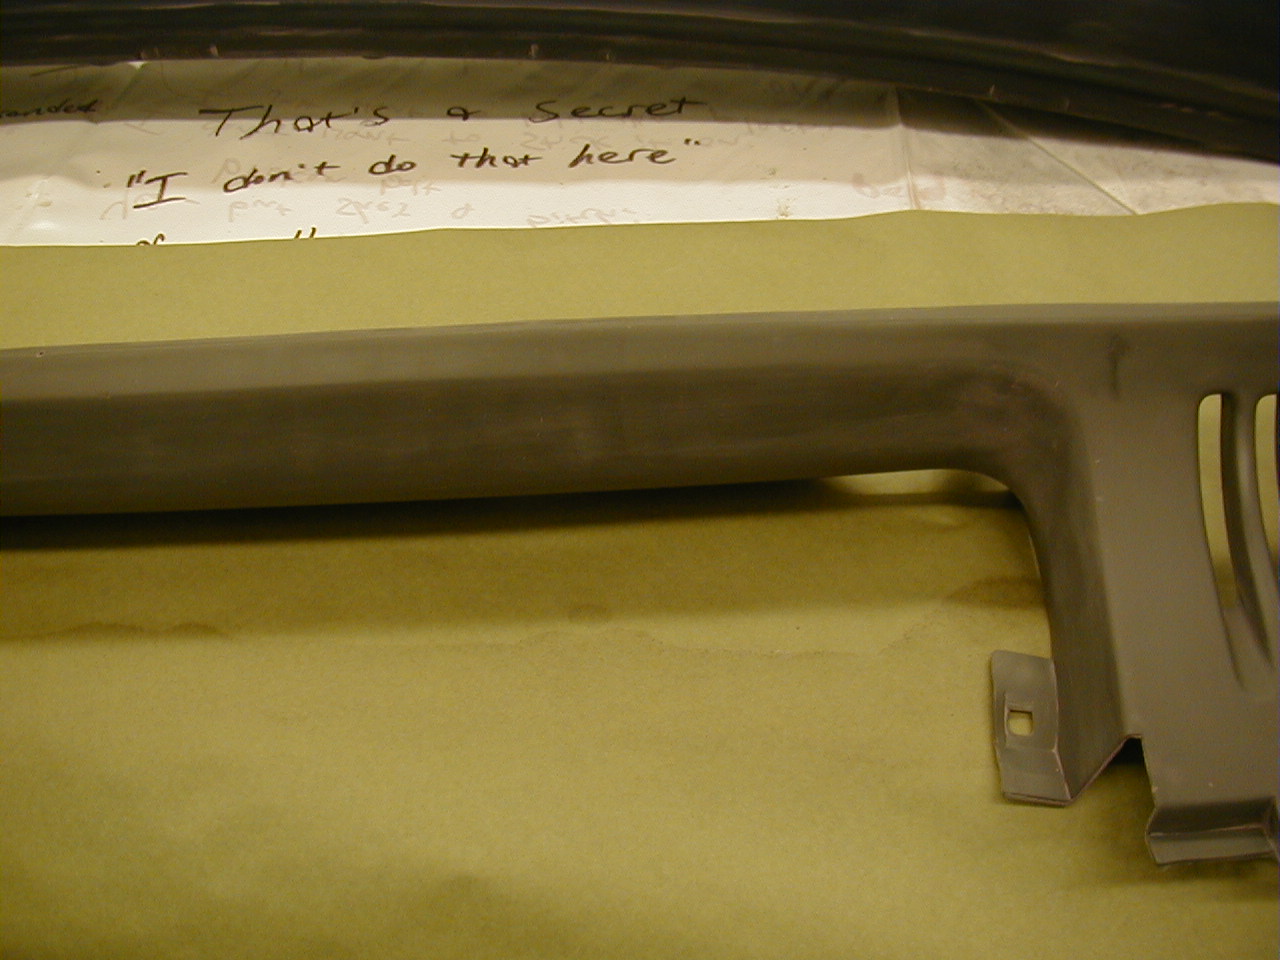
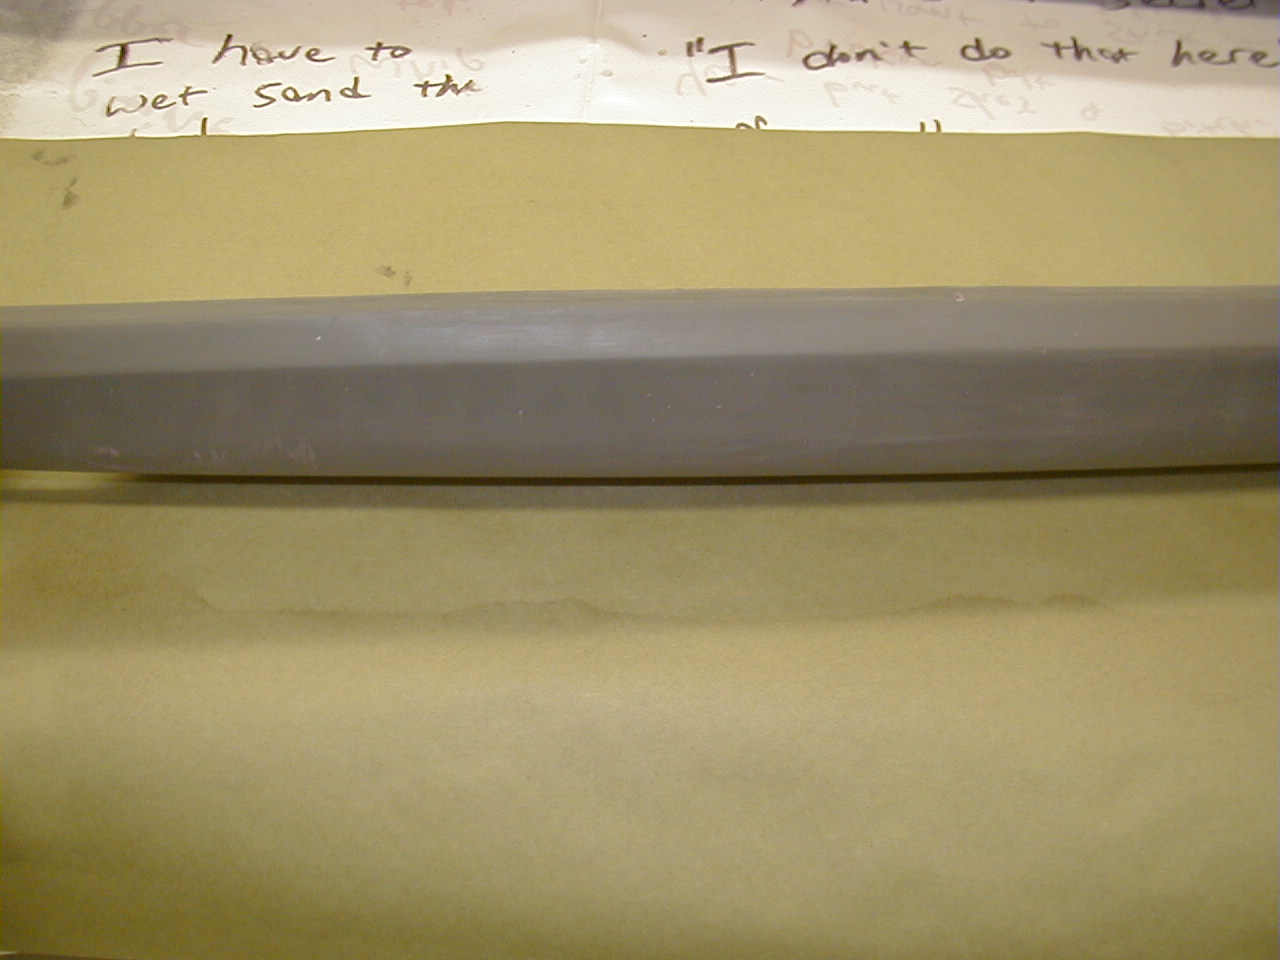
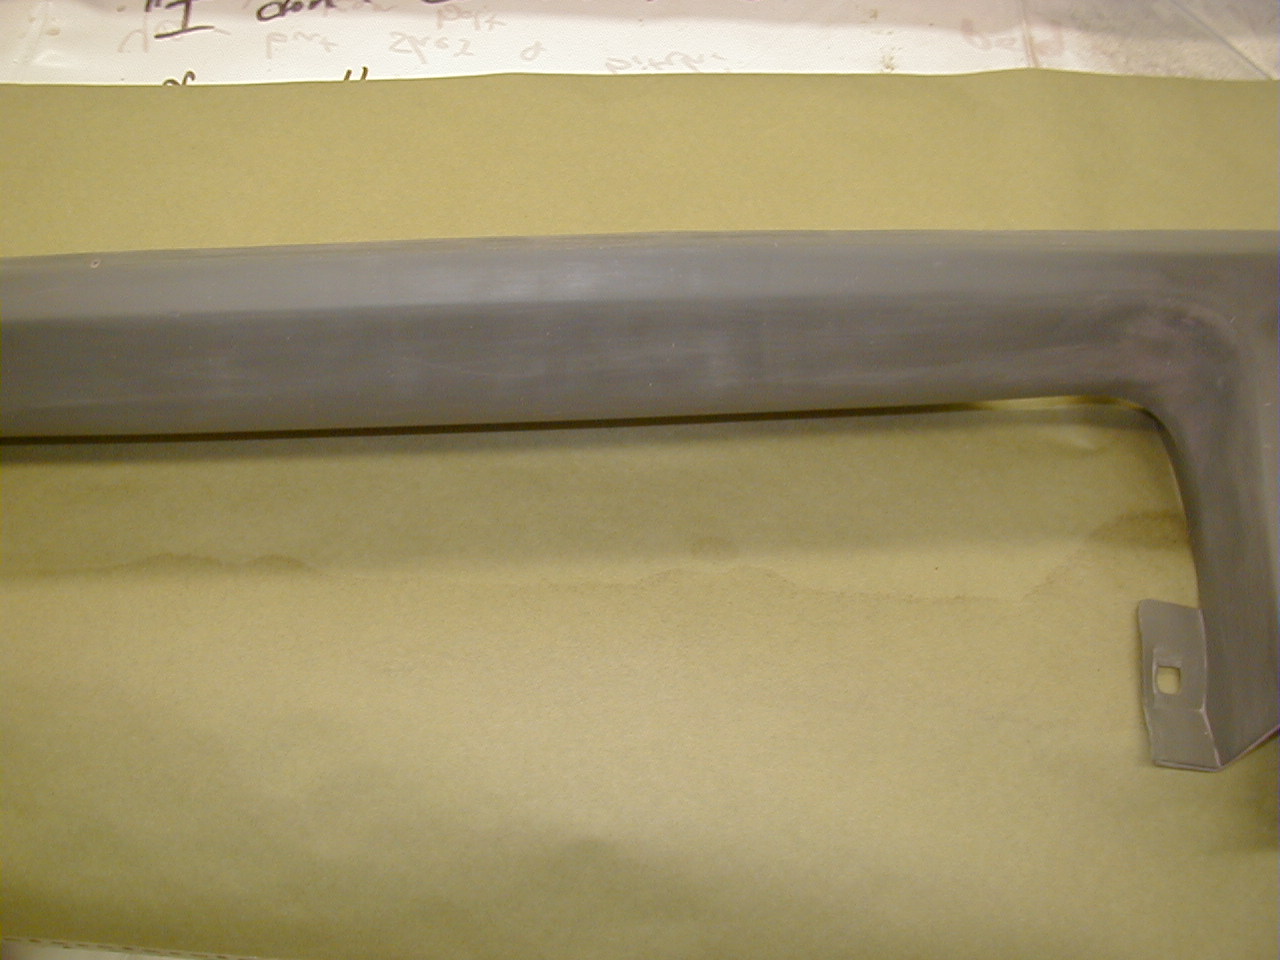
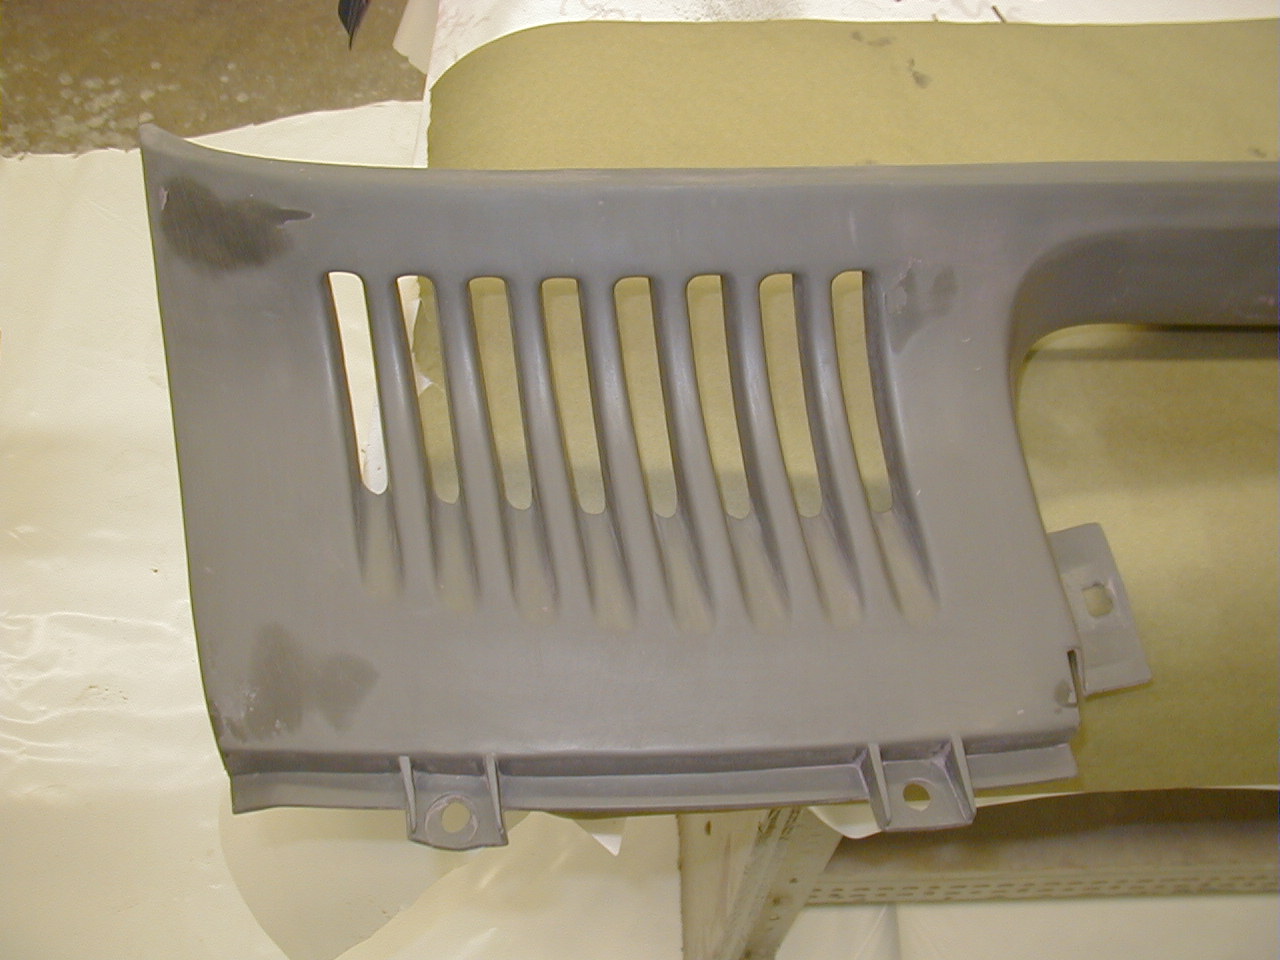
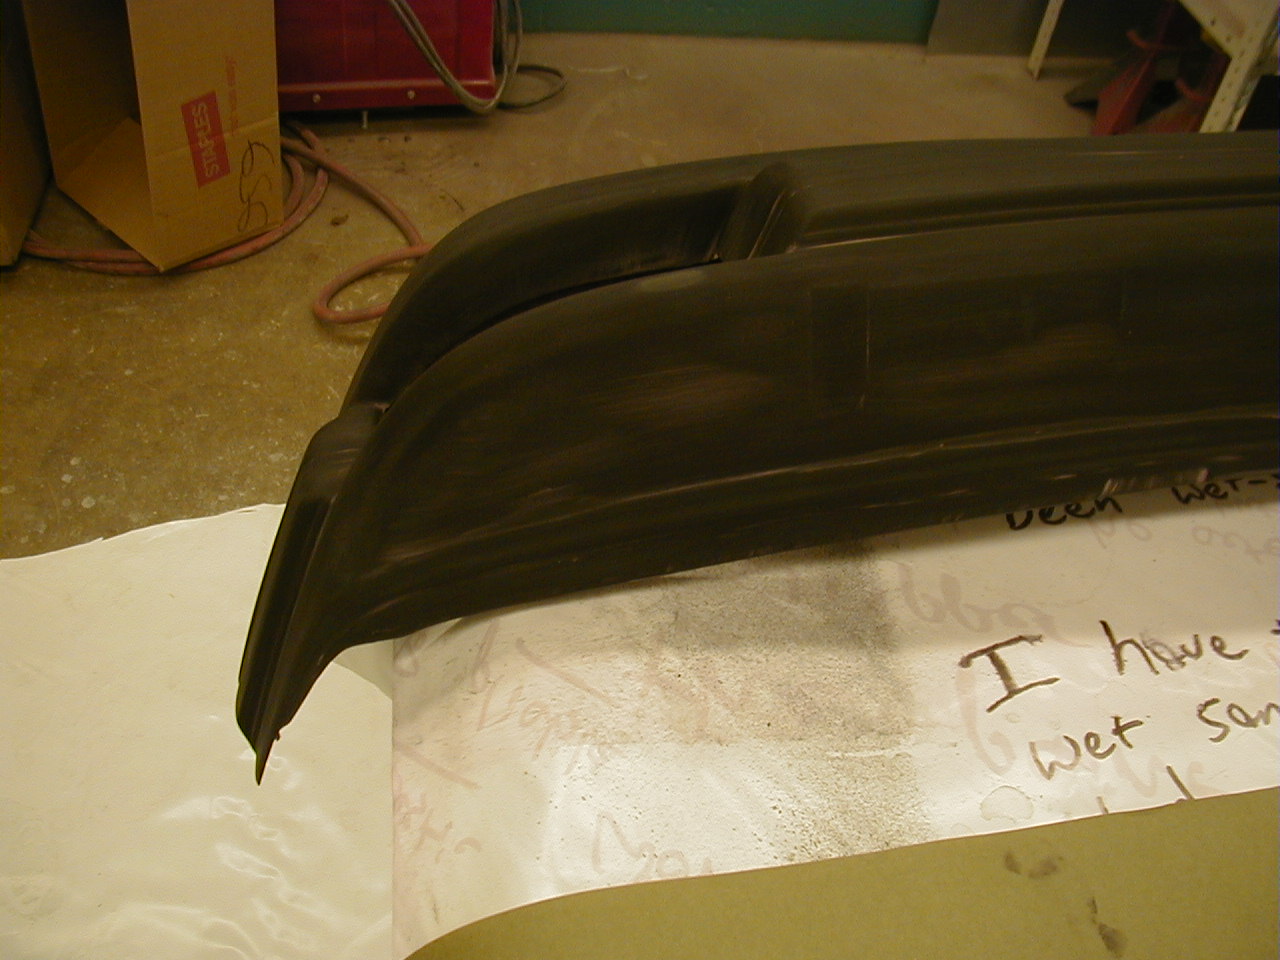
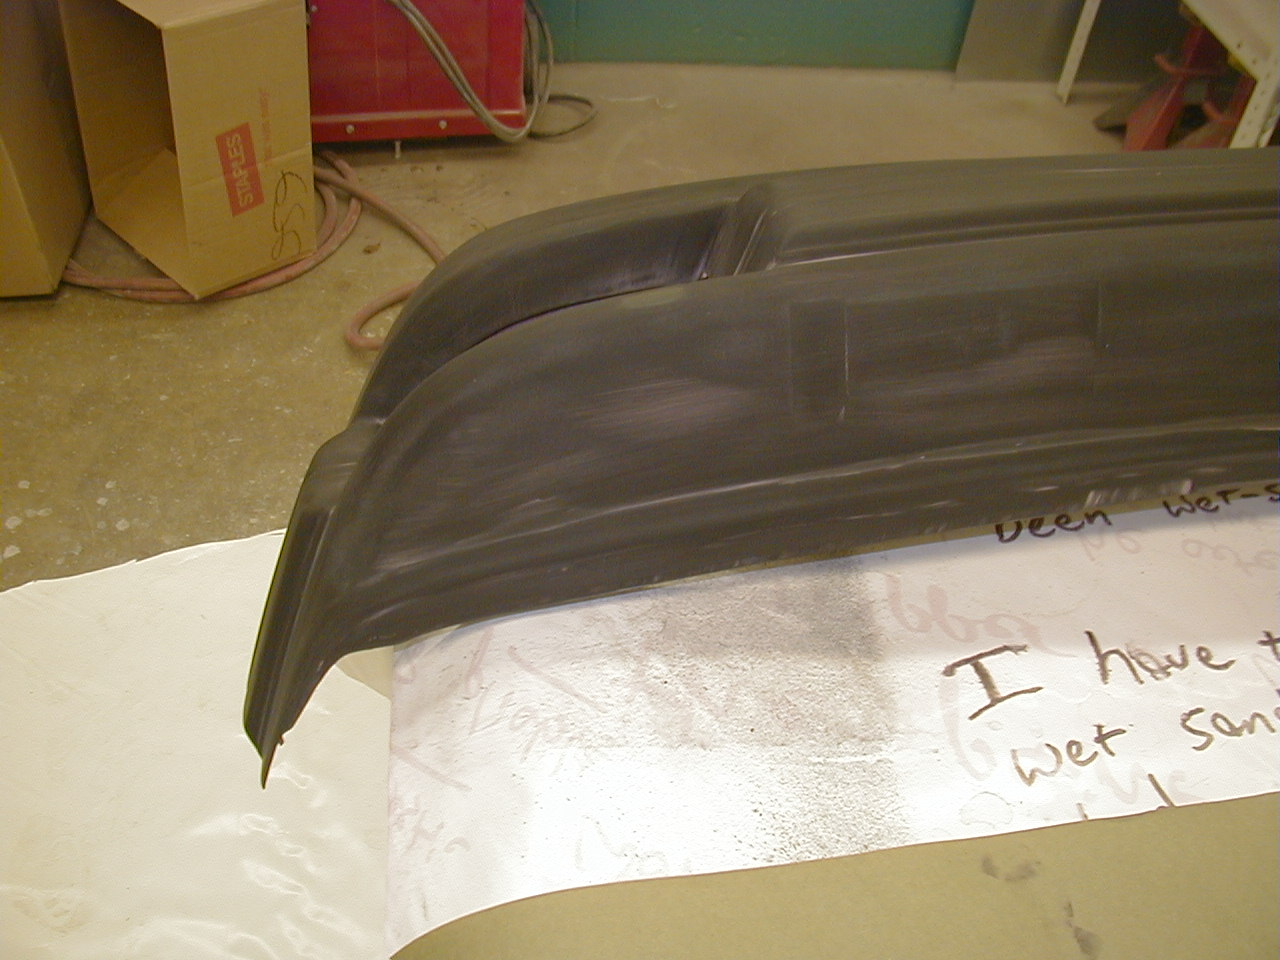
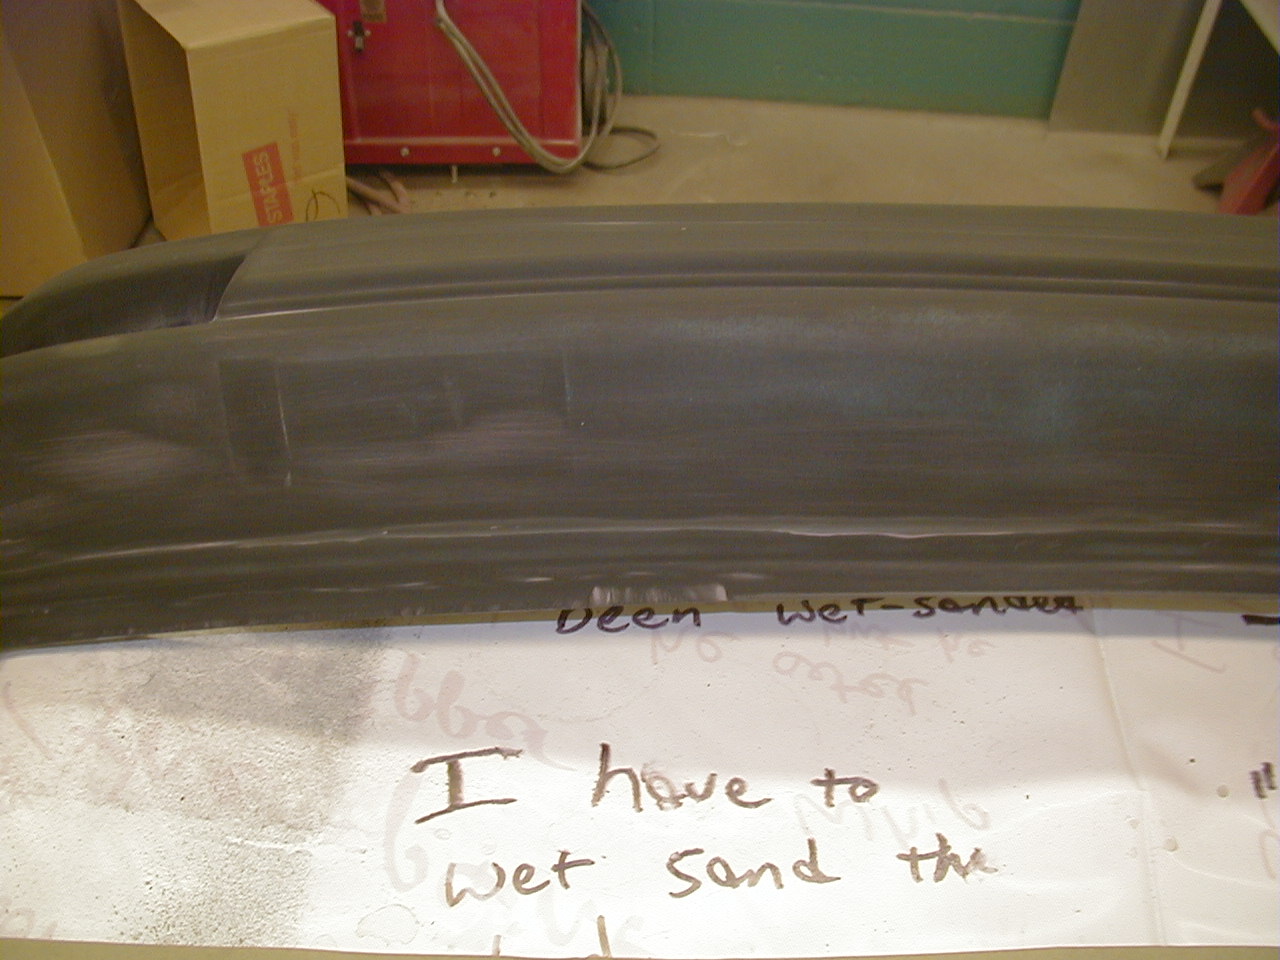
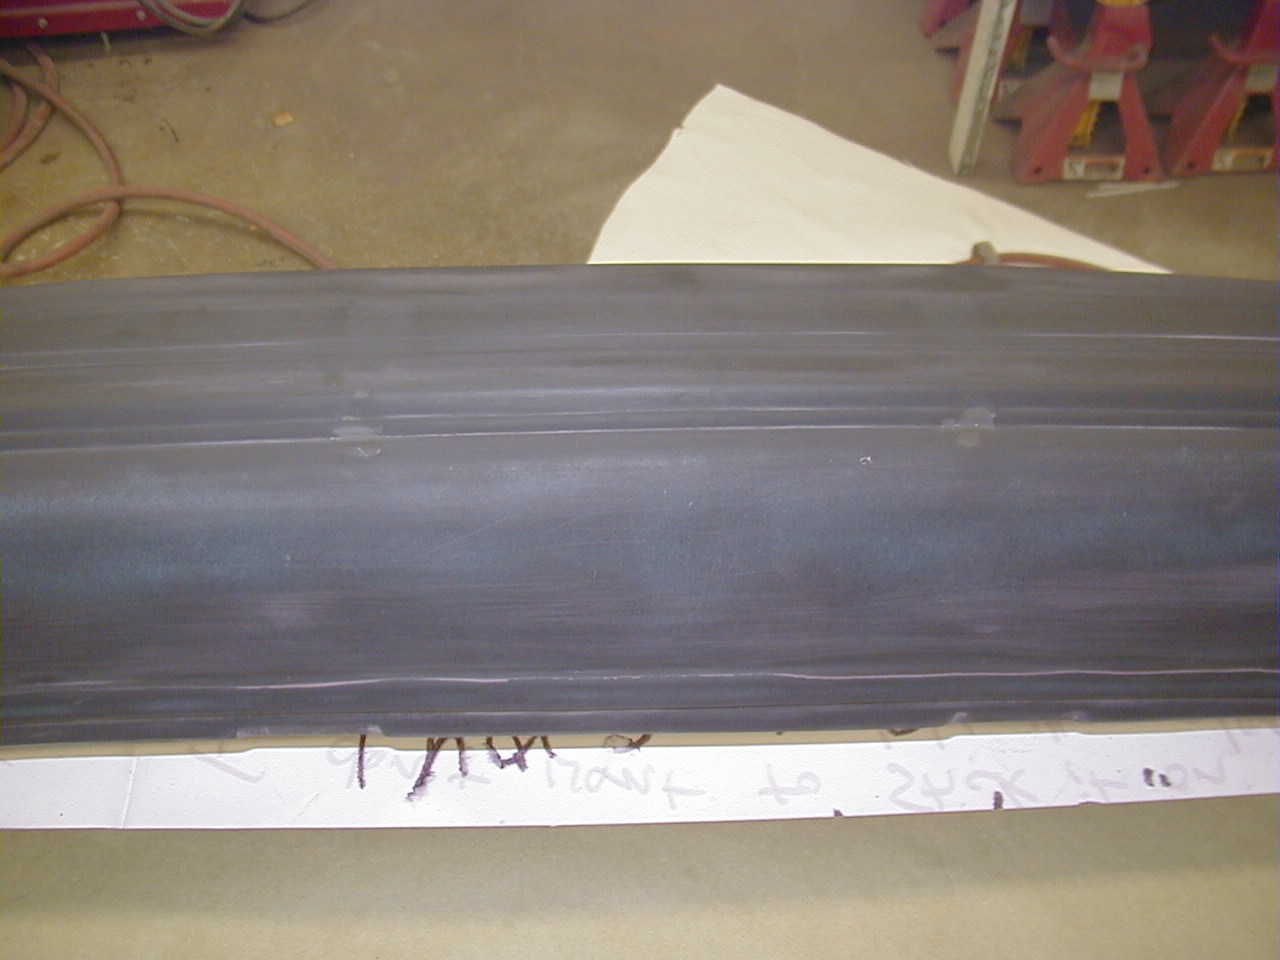
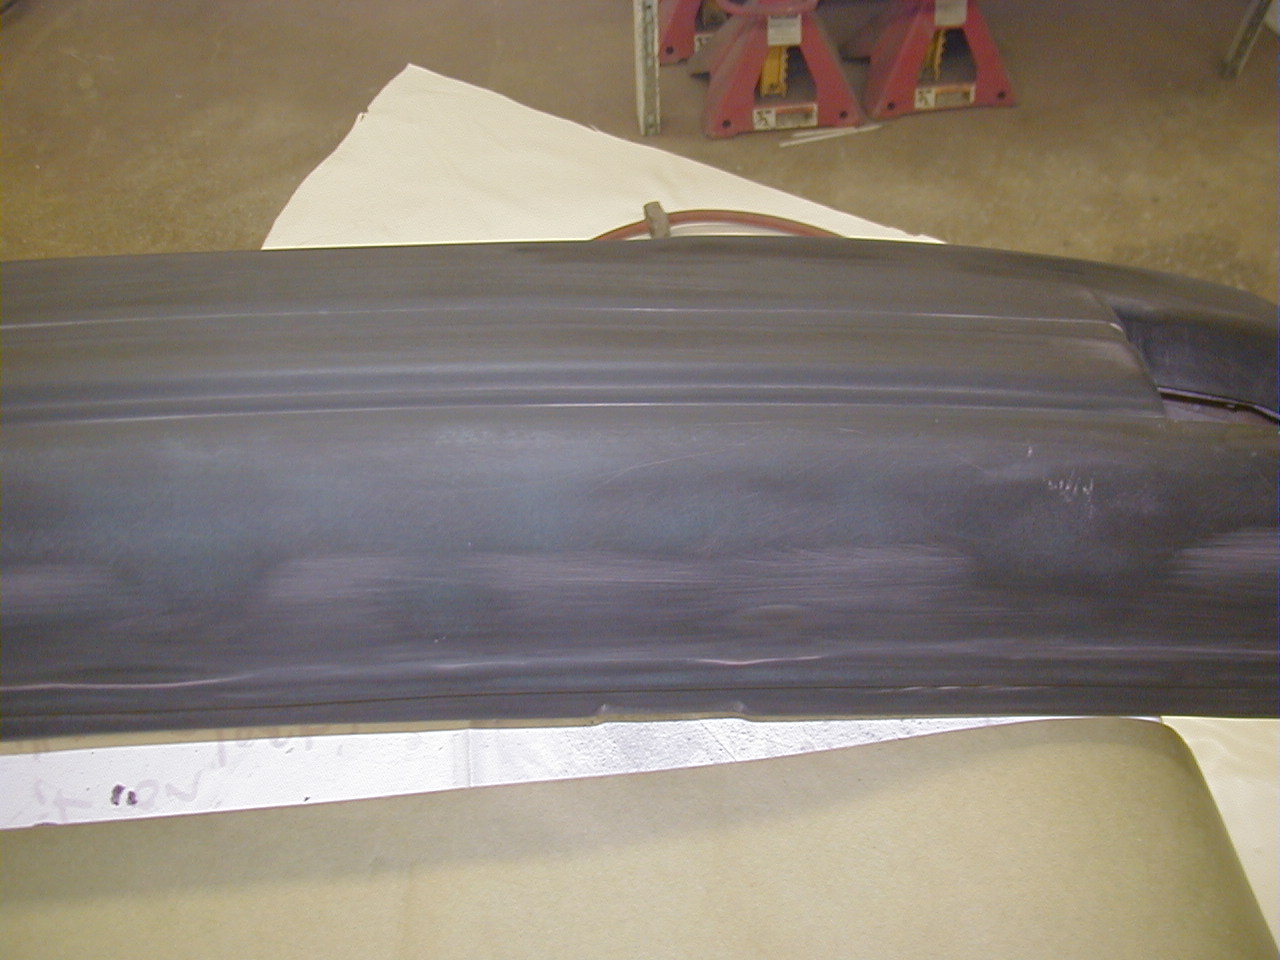
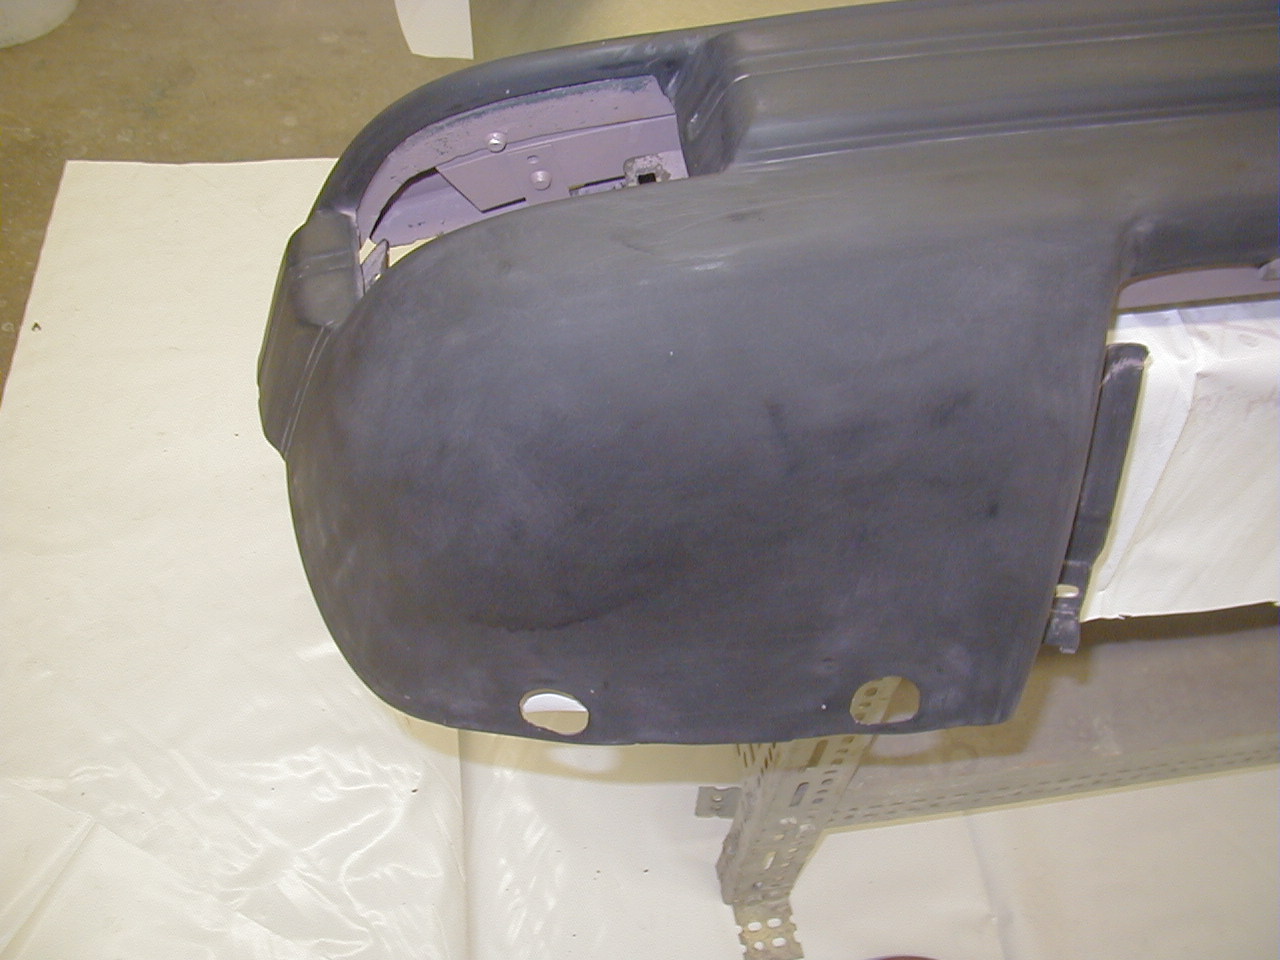
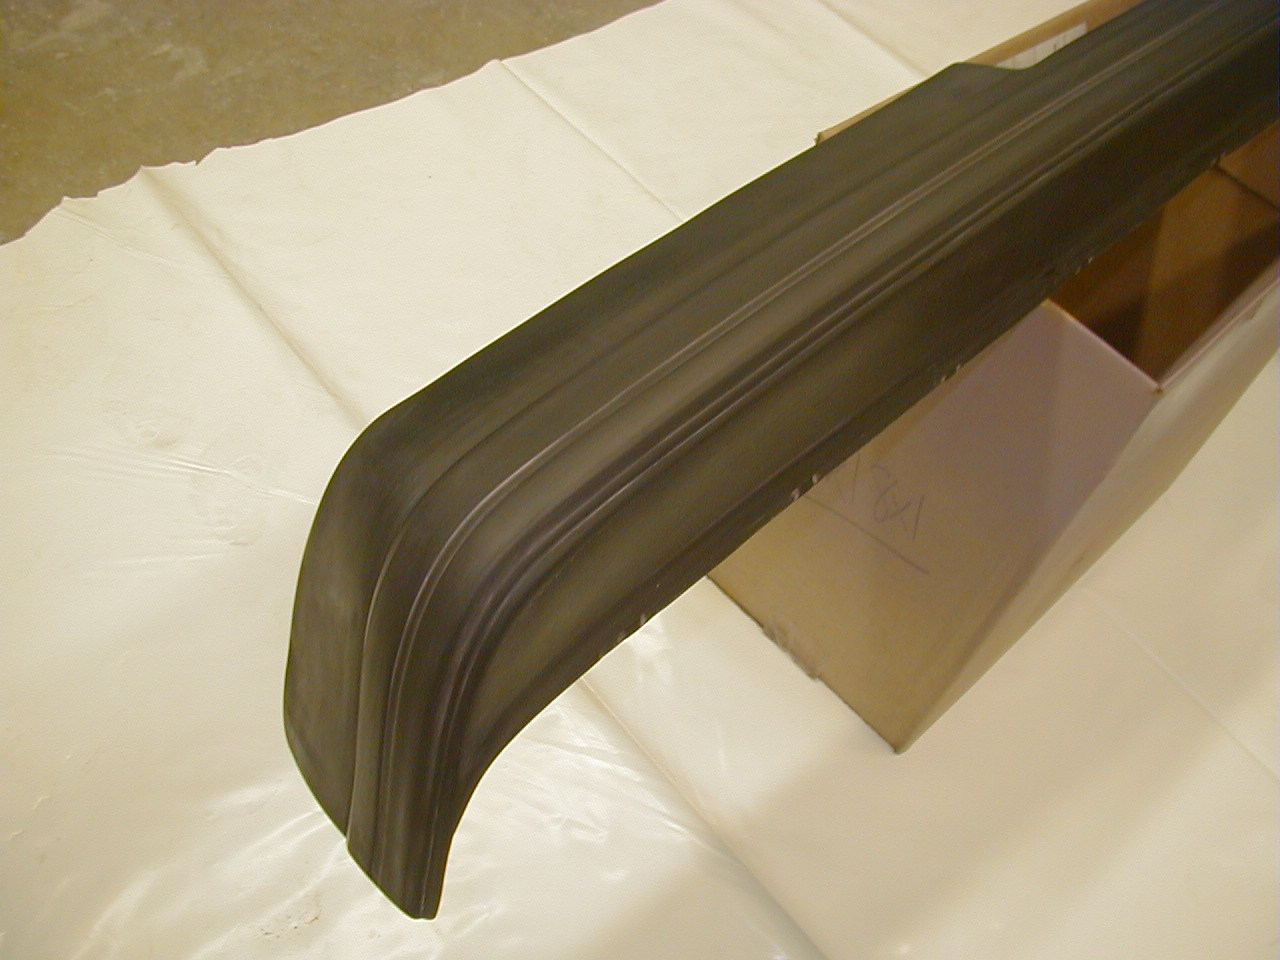
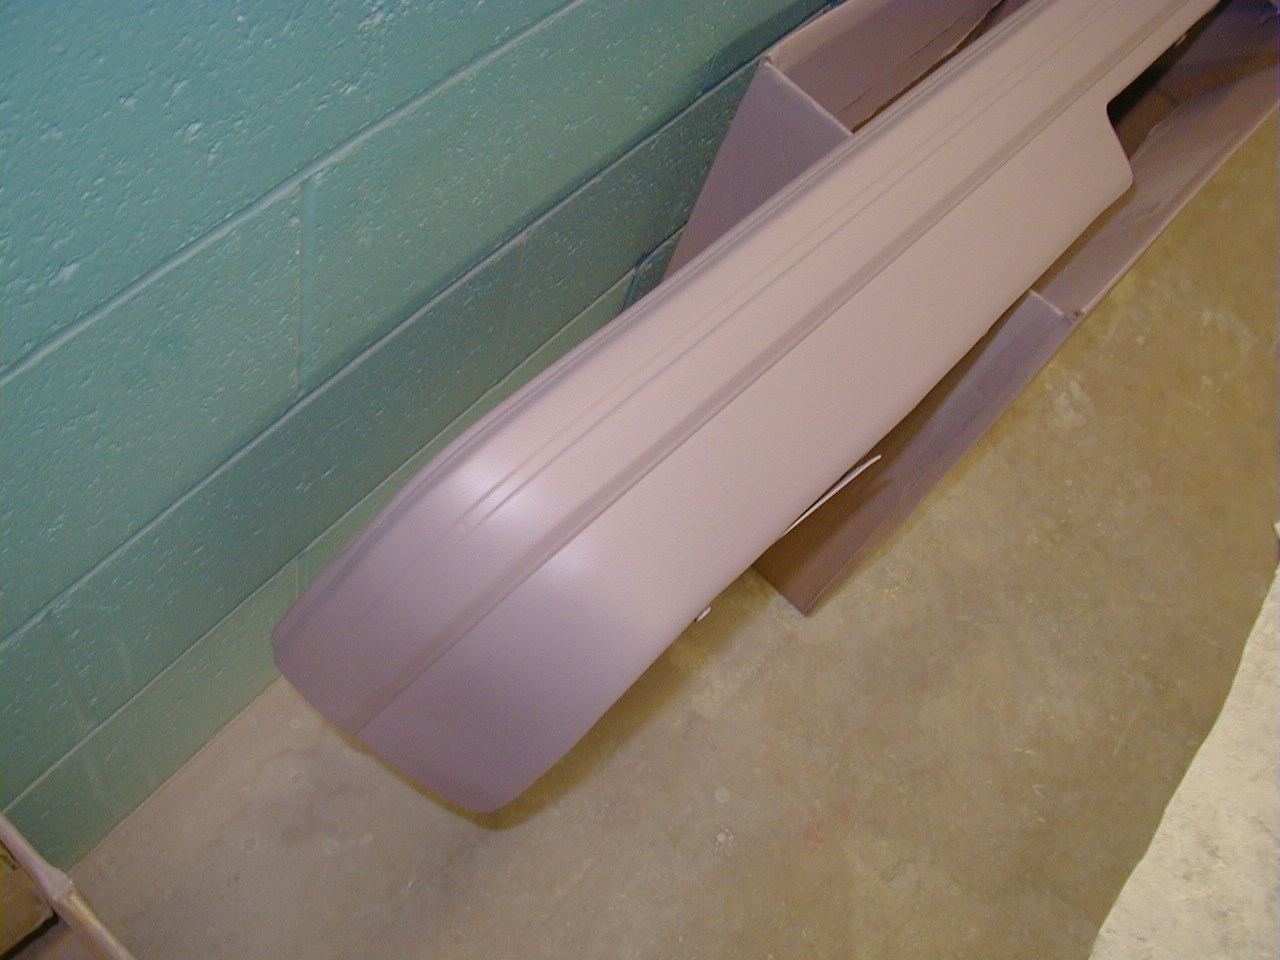
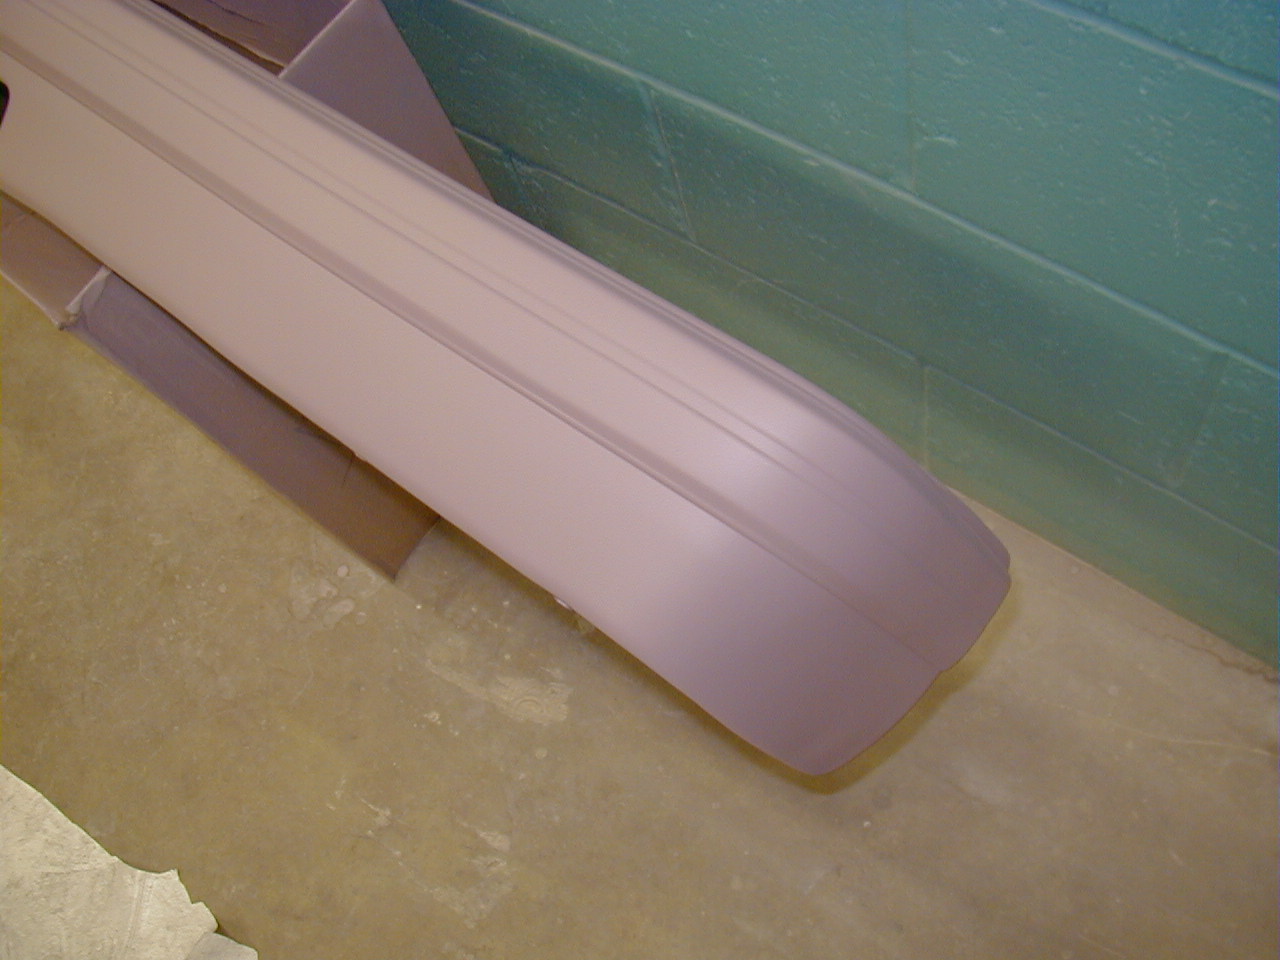
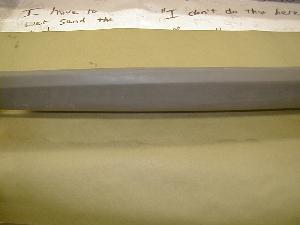
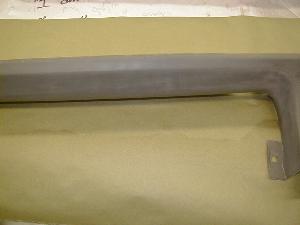
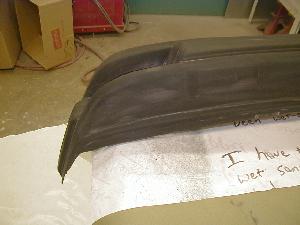
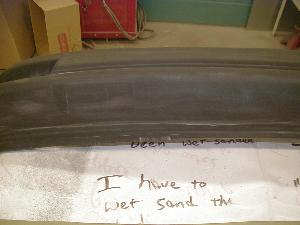
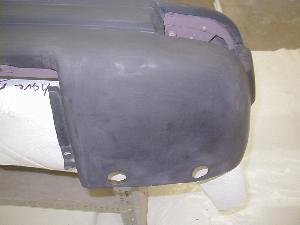
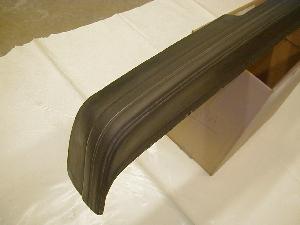
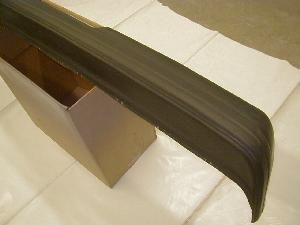
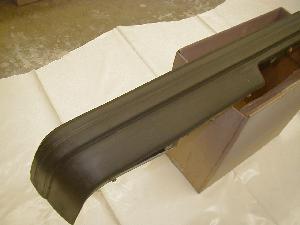
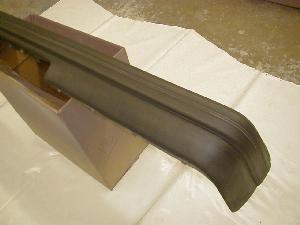
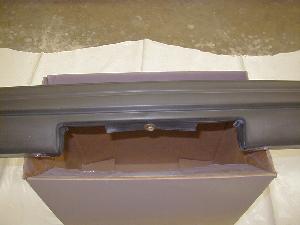
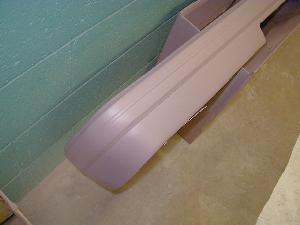
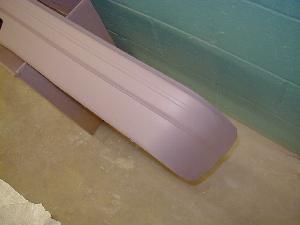
The plastic bumpers and valence needed some more attention. There were a few nicks in the valence that were repaired with a flexible bumper repair kit -- $20 for two epoxy-type tubes of material. Then I sprayed them with primer that had a proper flex additive mixed in.


March 07
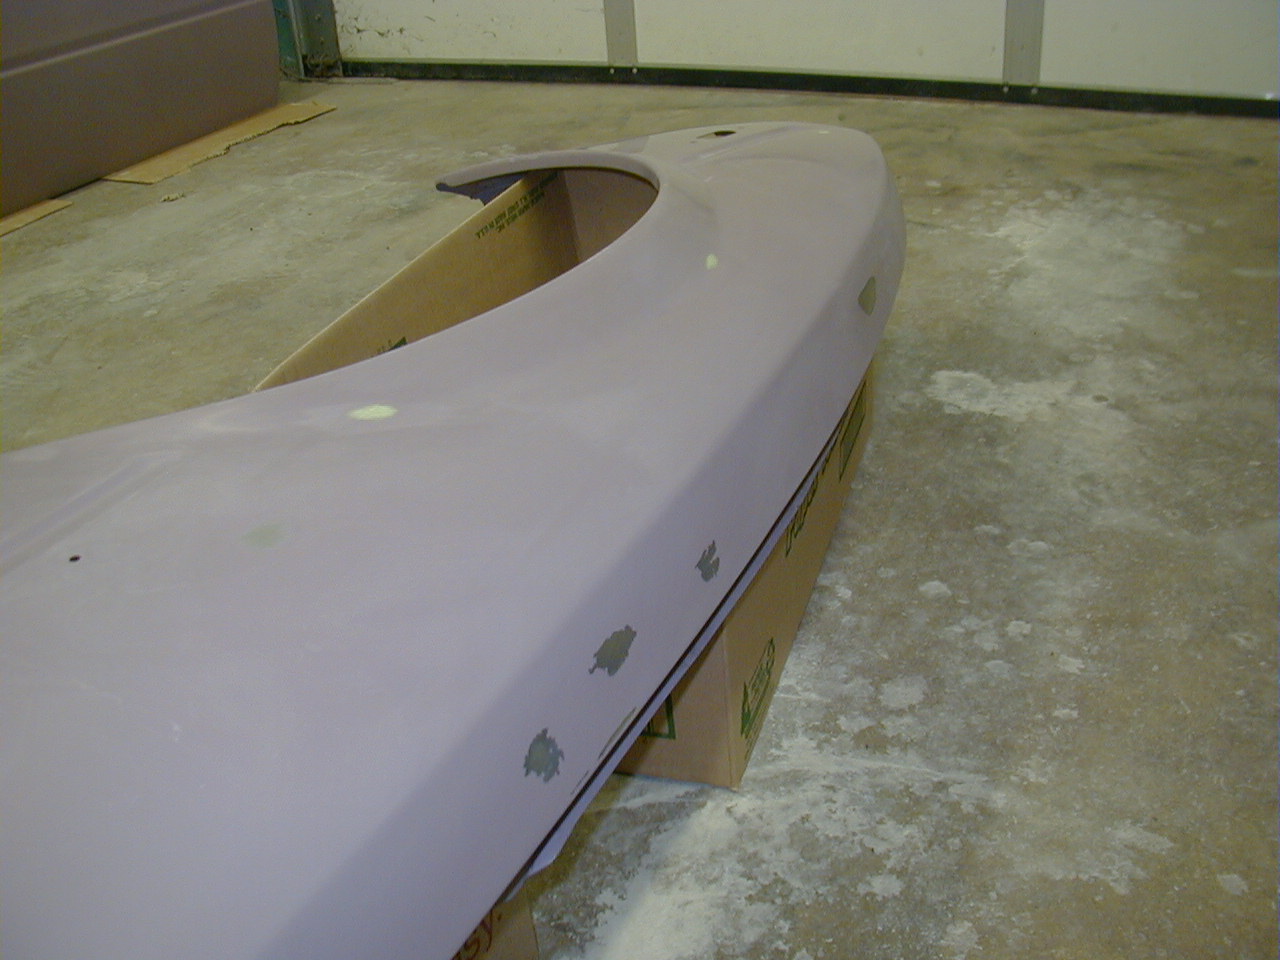
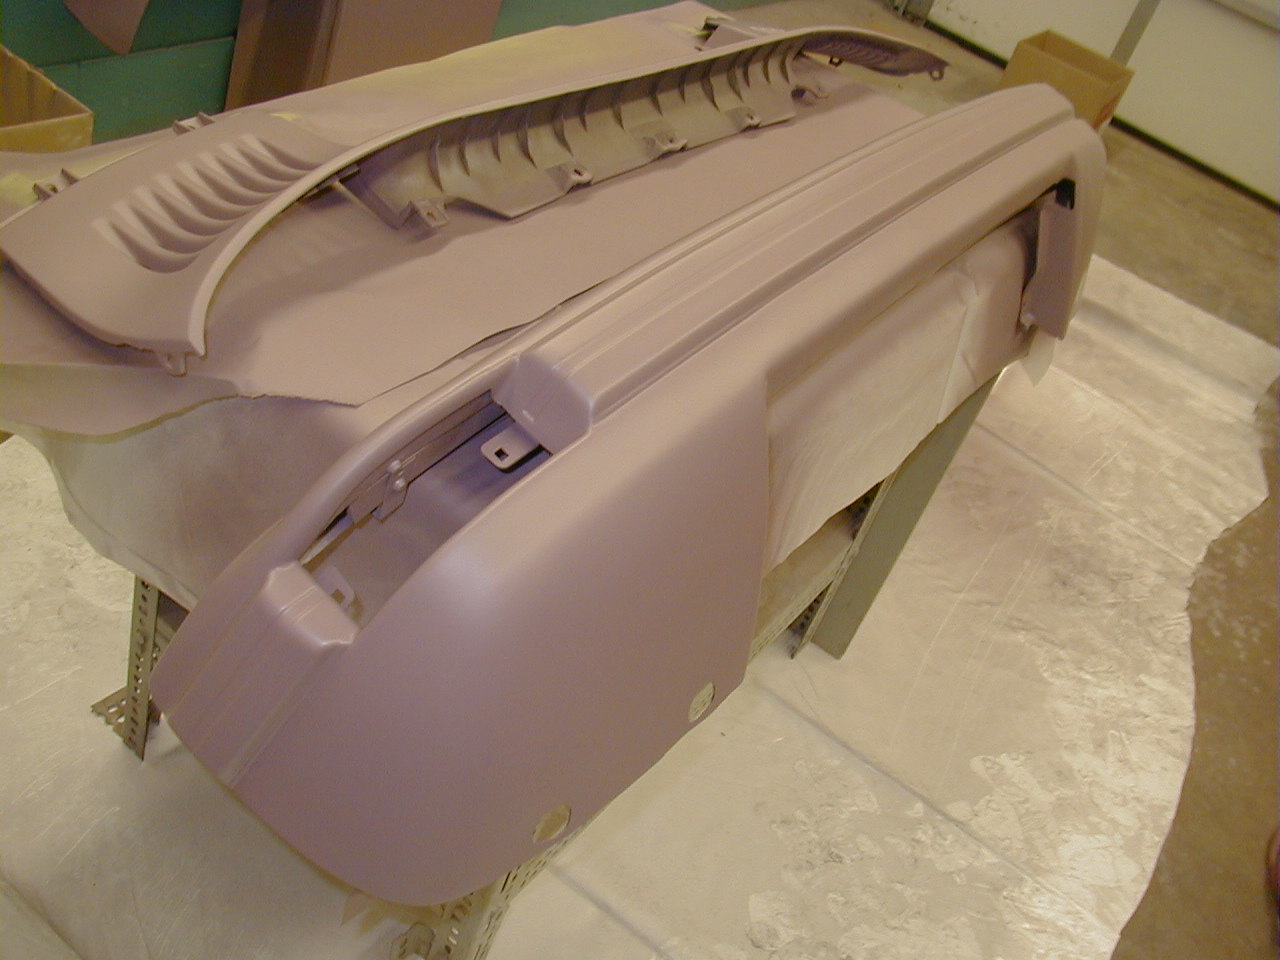
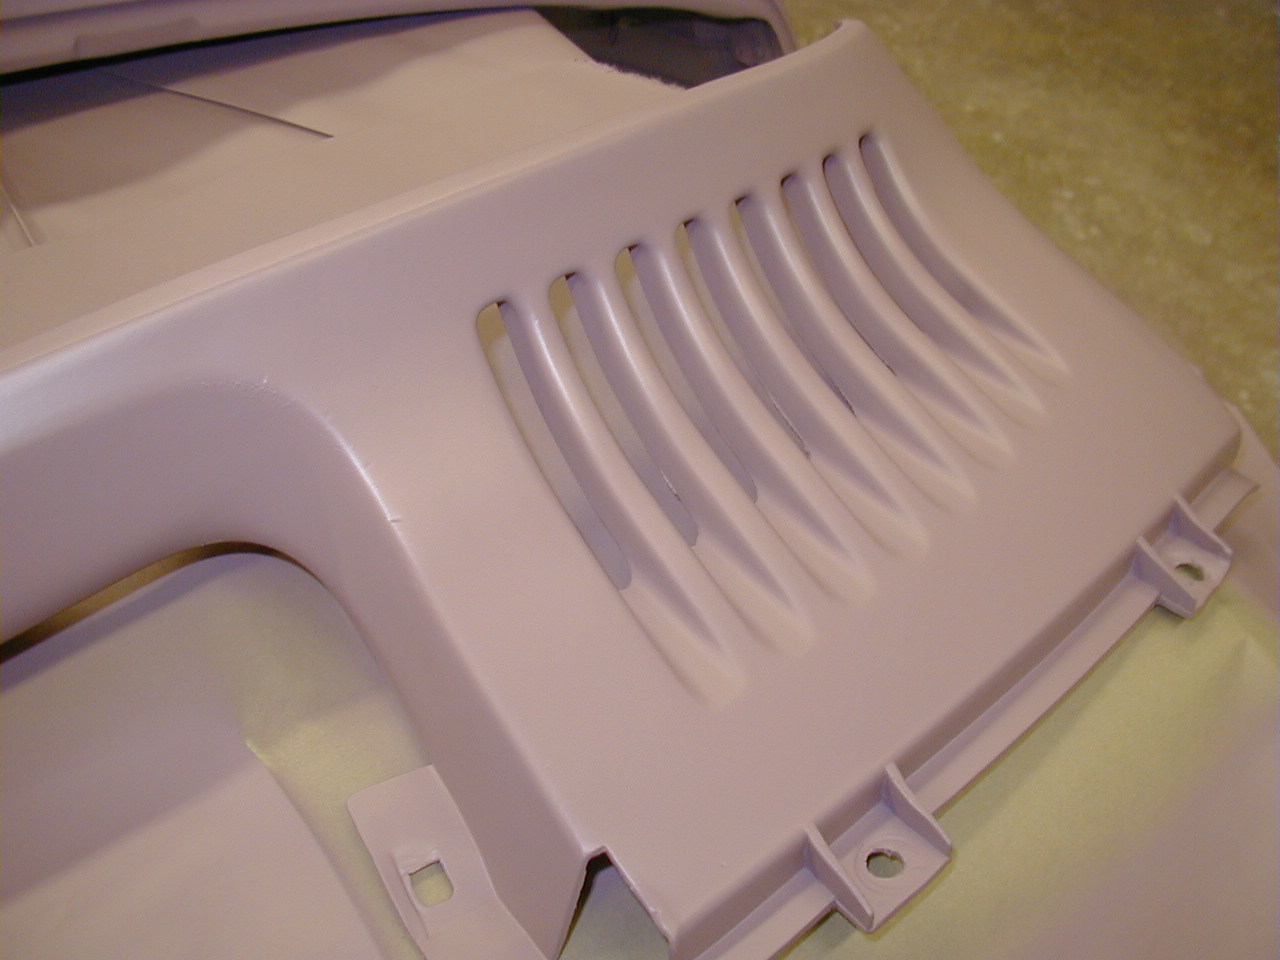
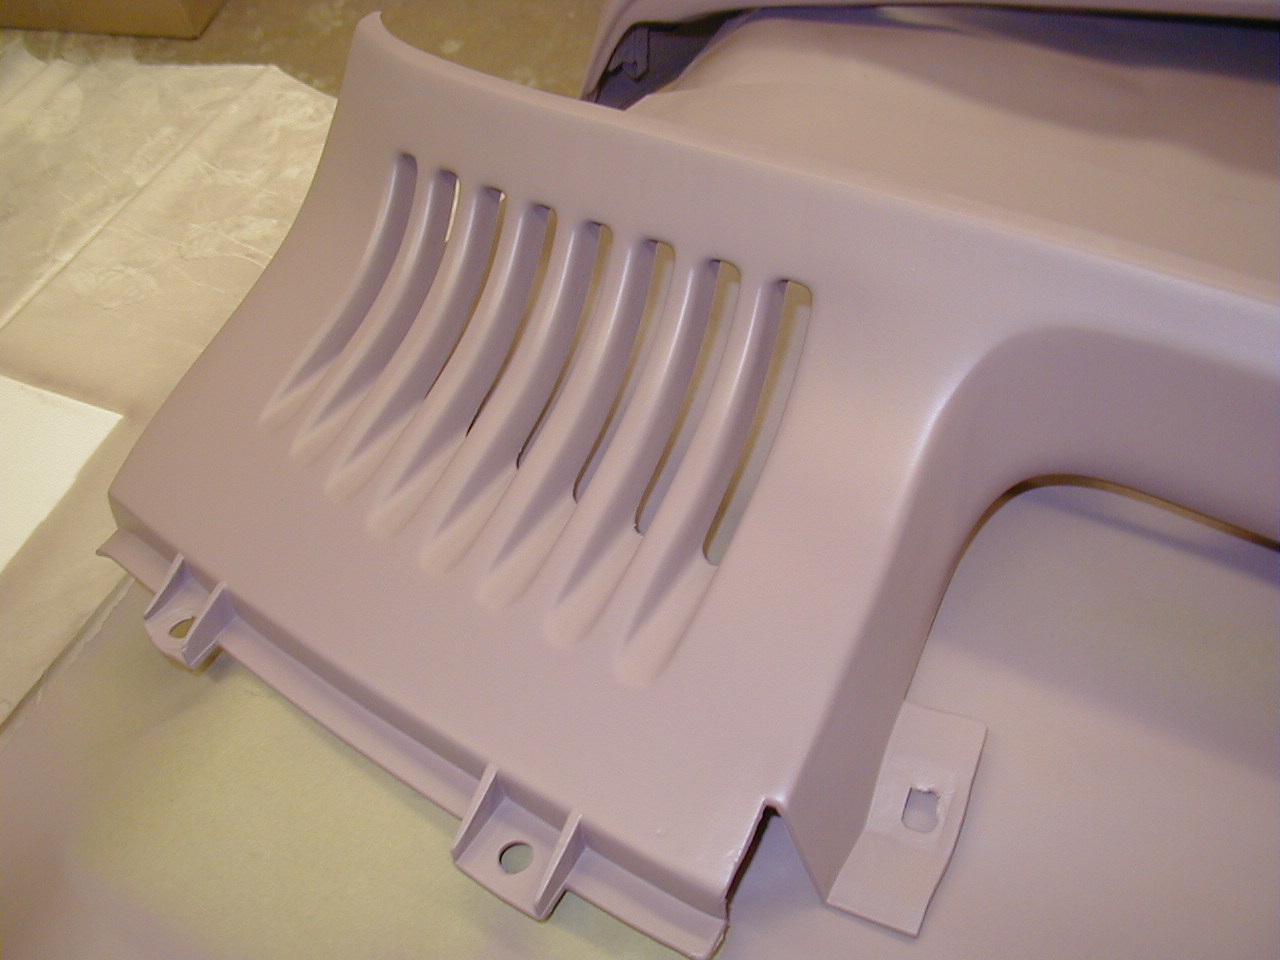
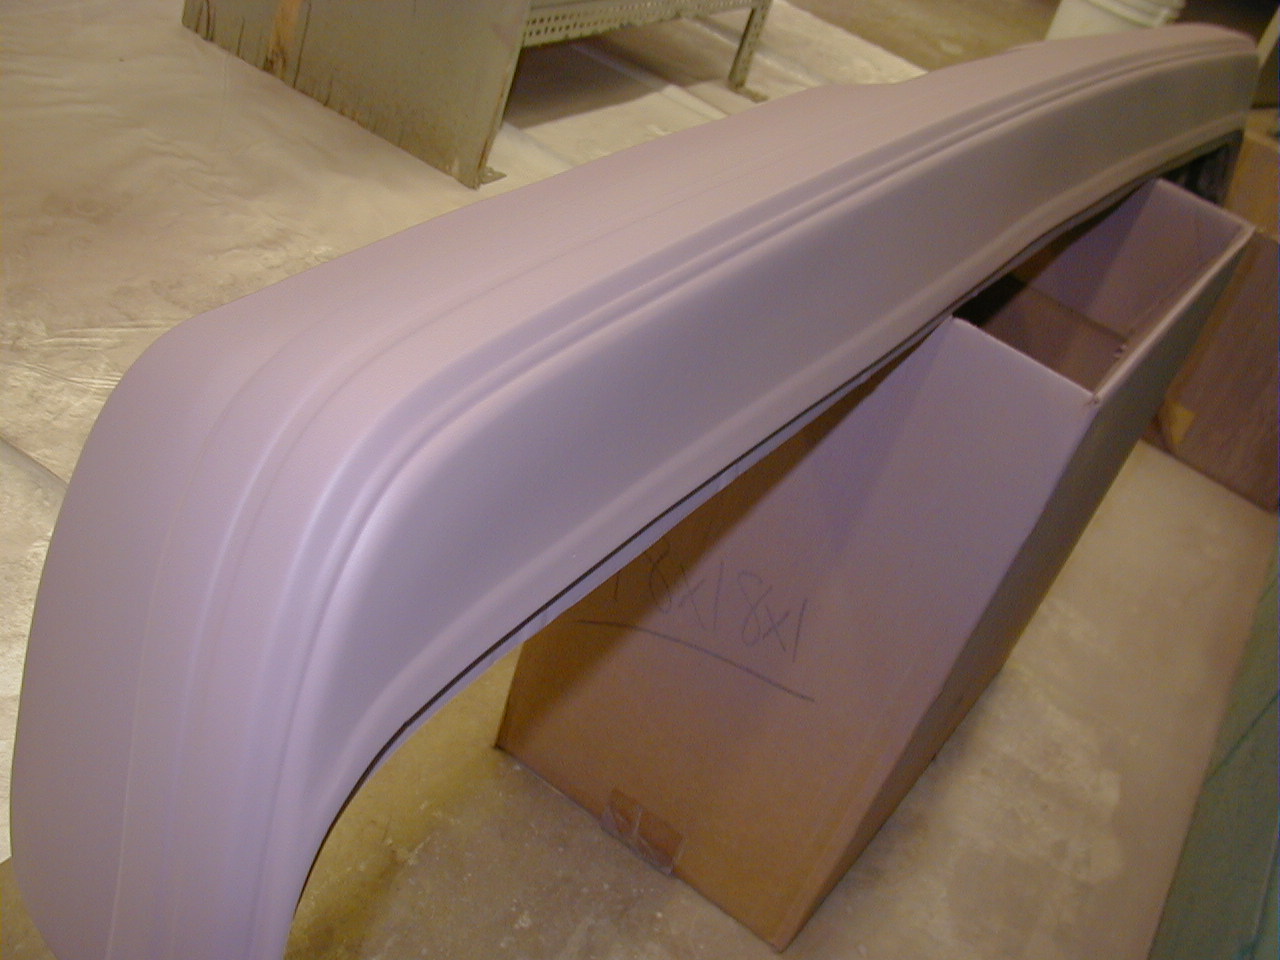
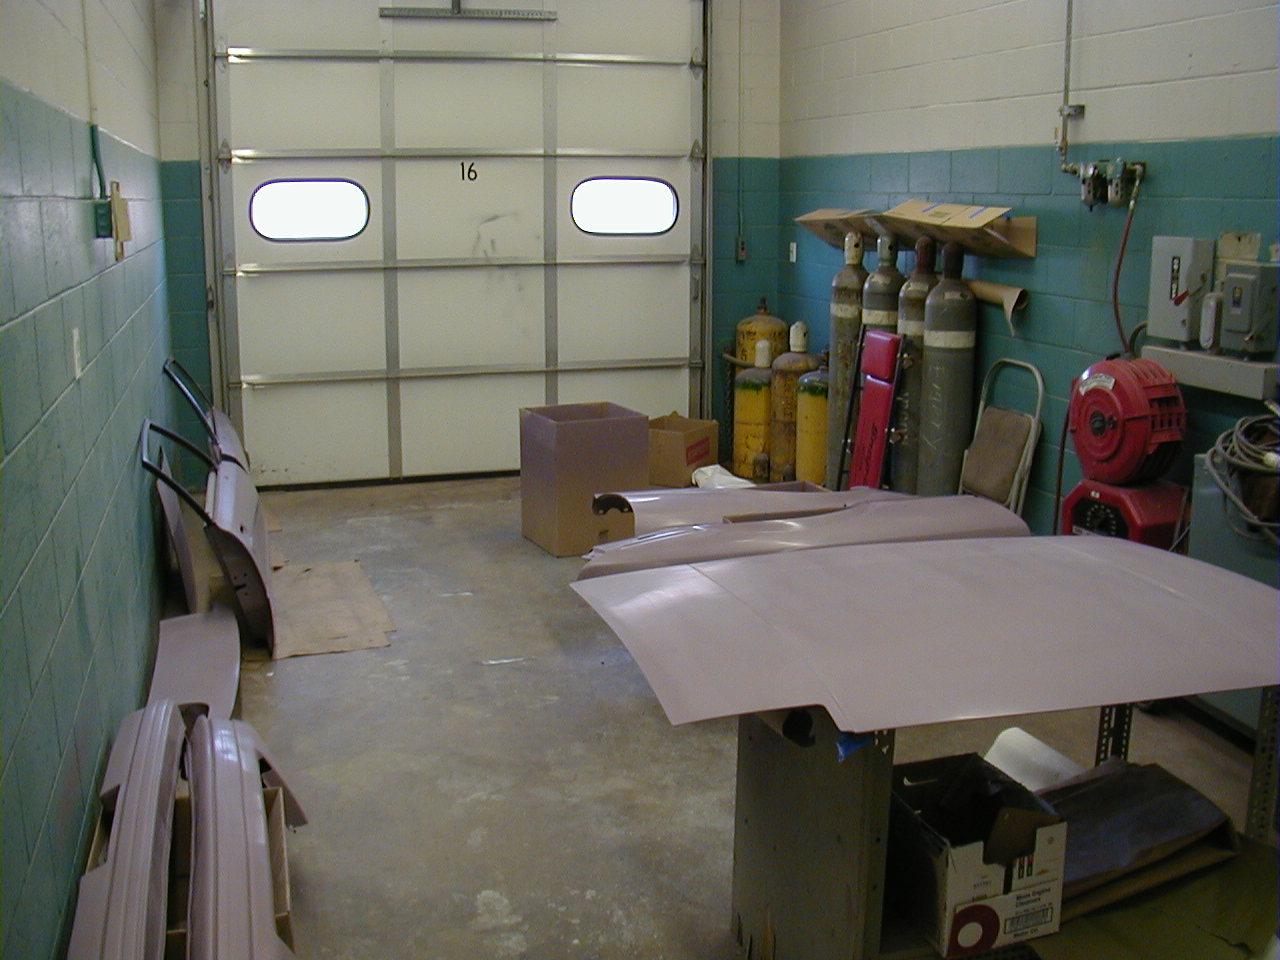
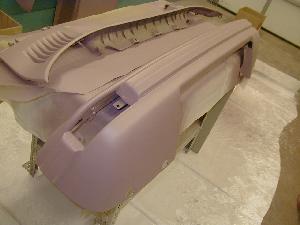
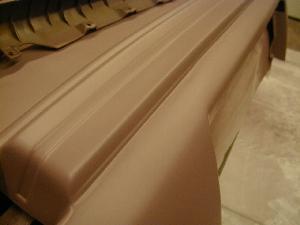
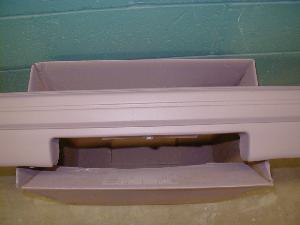
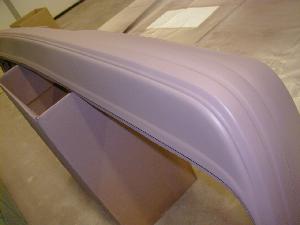
All of the removable body parts, after primer.


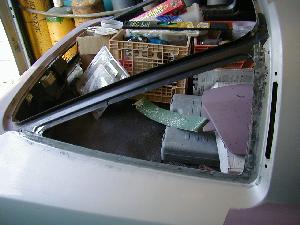
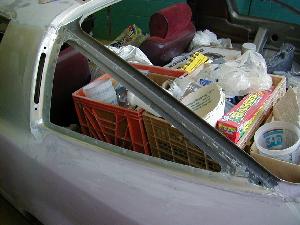
 Is this how DeLorean came up with his idea?