Body Restoration - Page 2
More photos of a work in progress...
If you haven't seen it yet, you might want to browse the first page in this set of three.
These photos are grouped together, roughly, by "repaired section." This page last updated June 7, 2007.
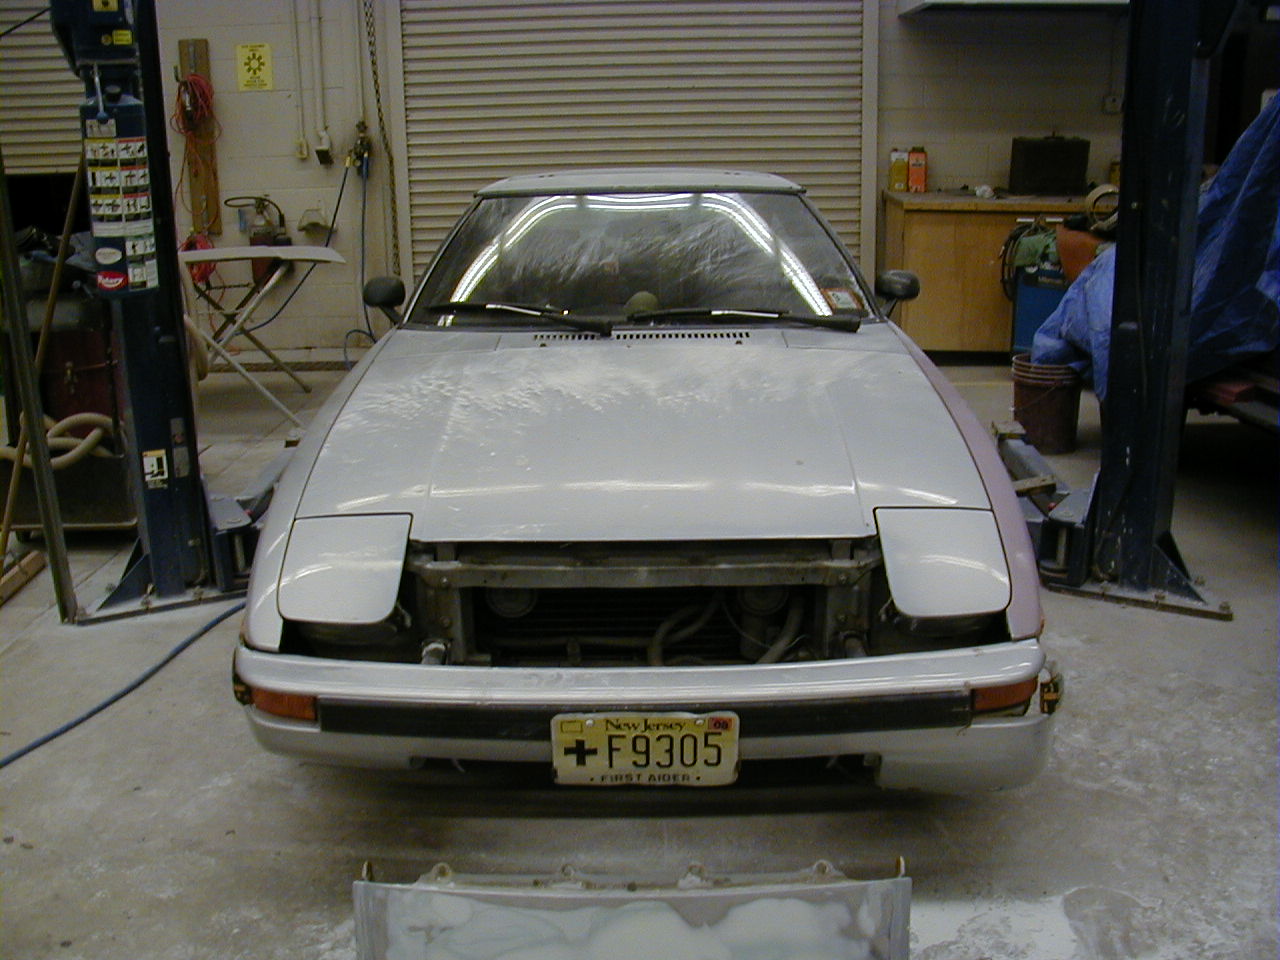
October, 04
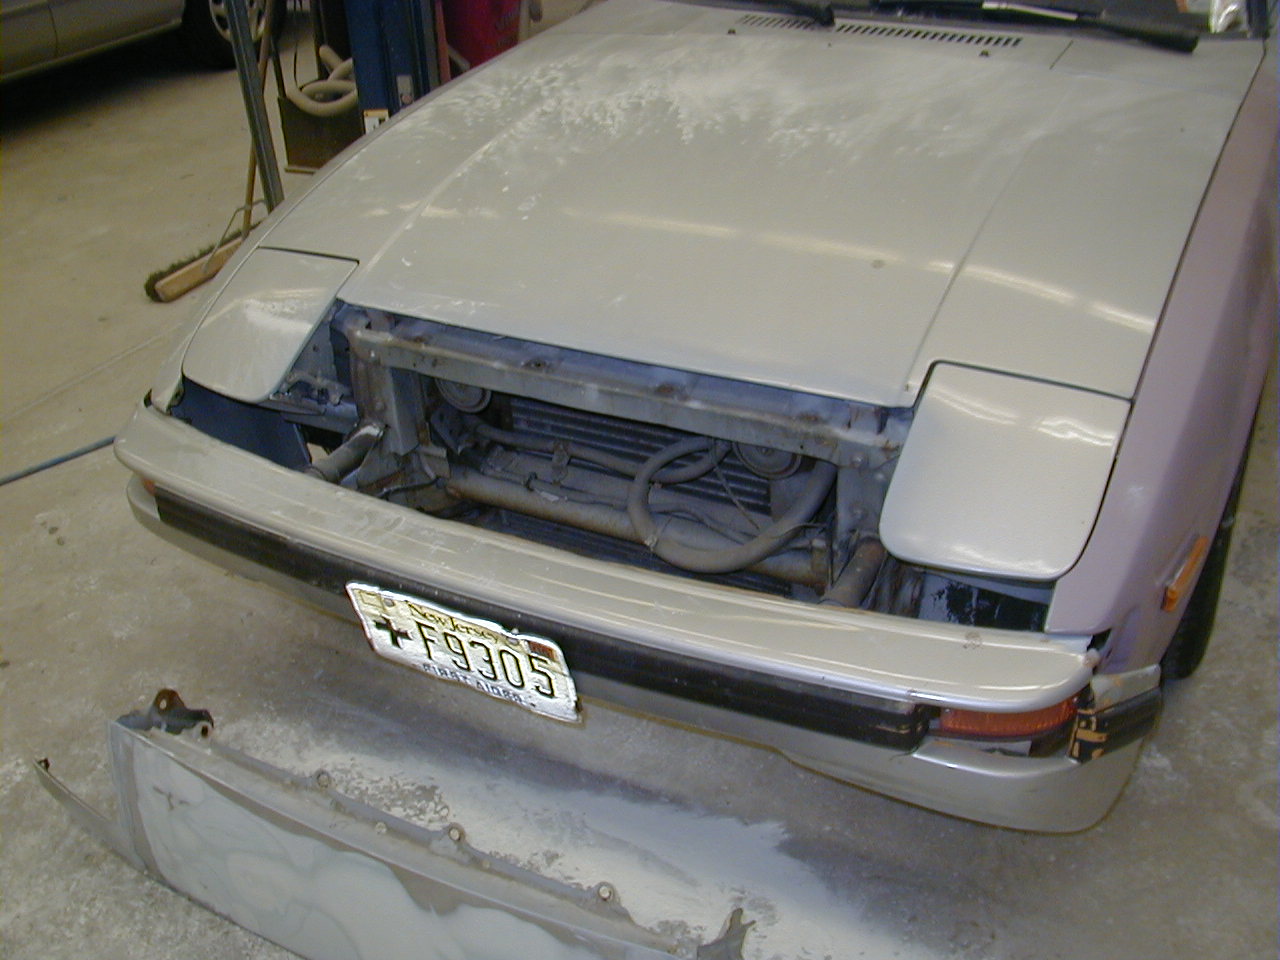
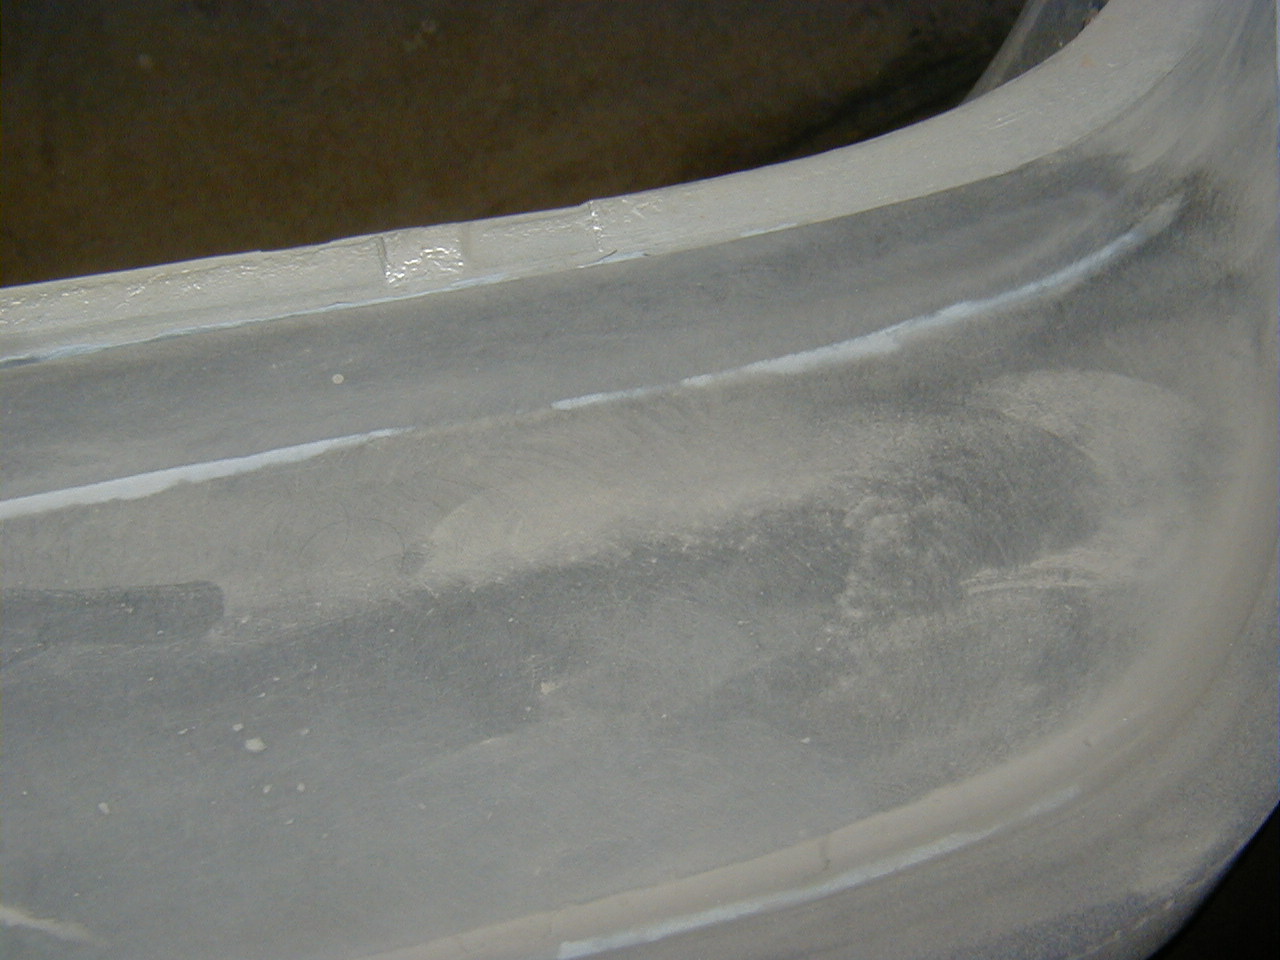
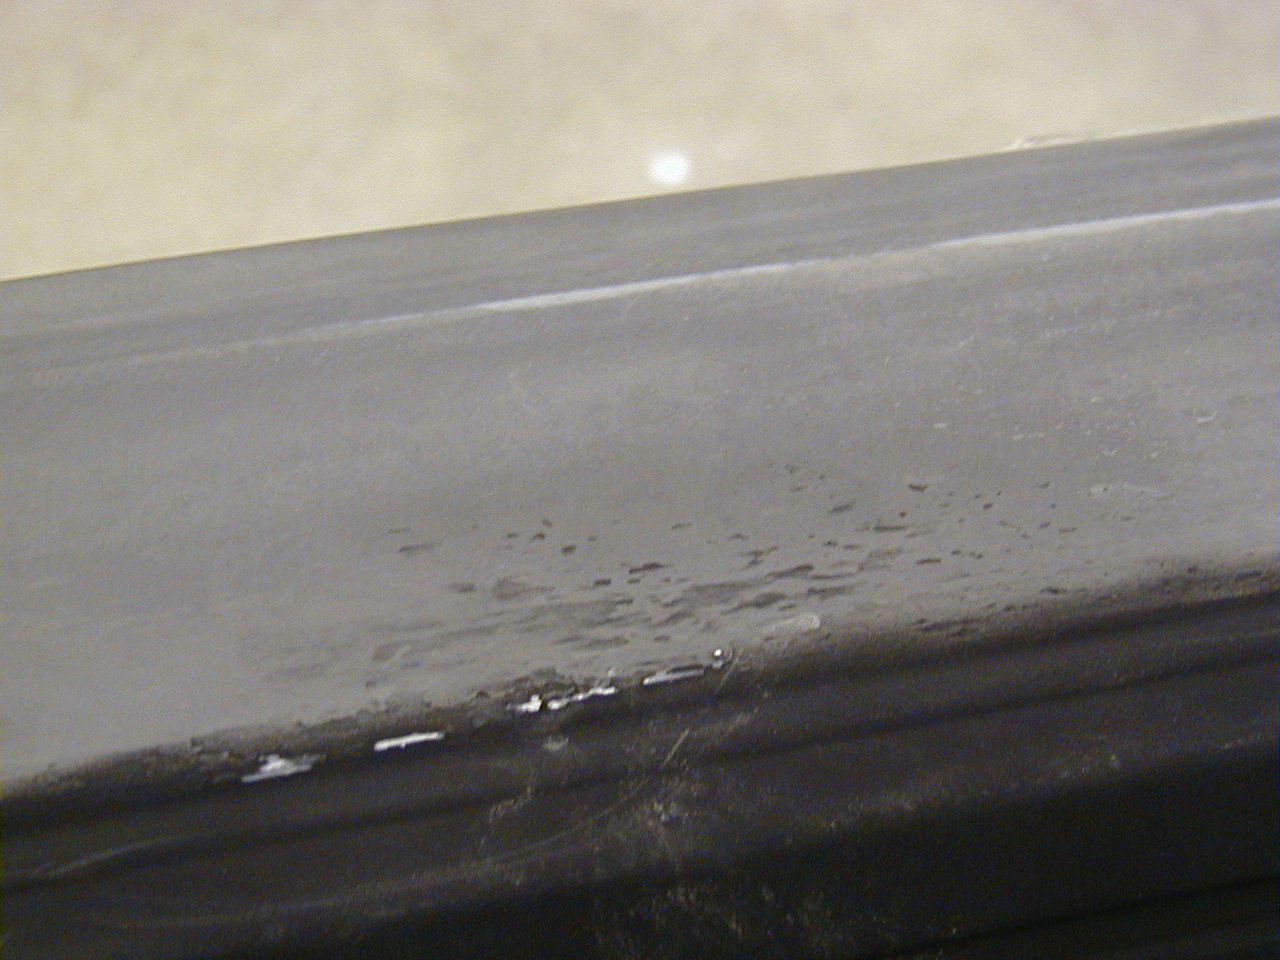
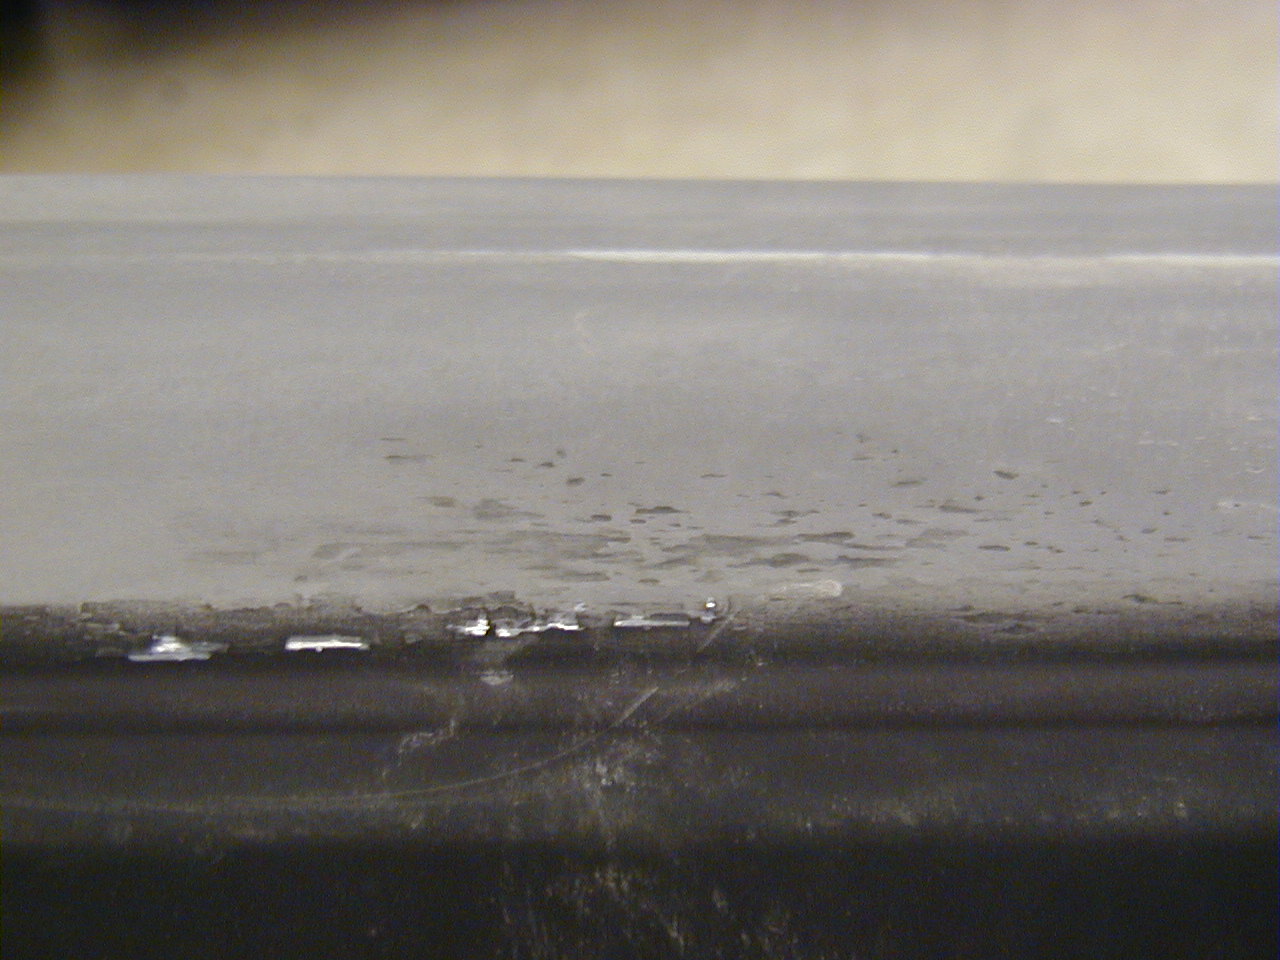
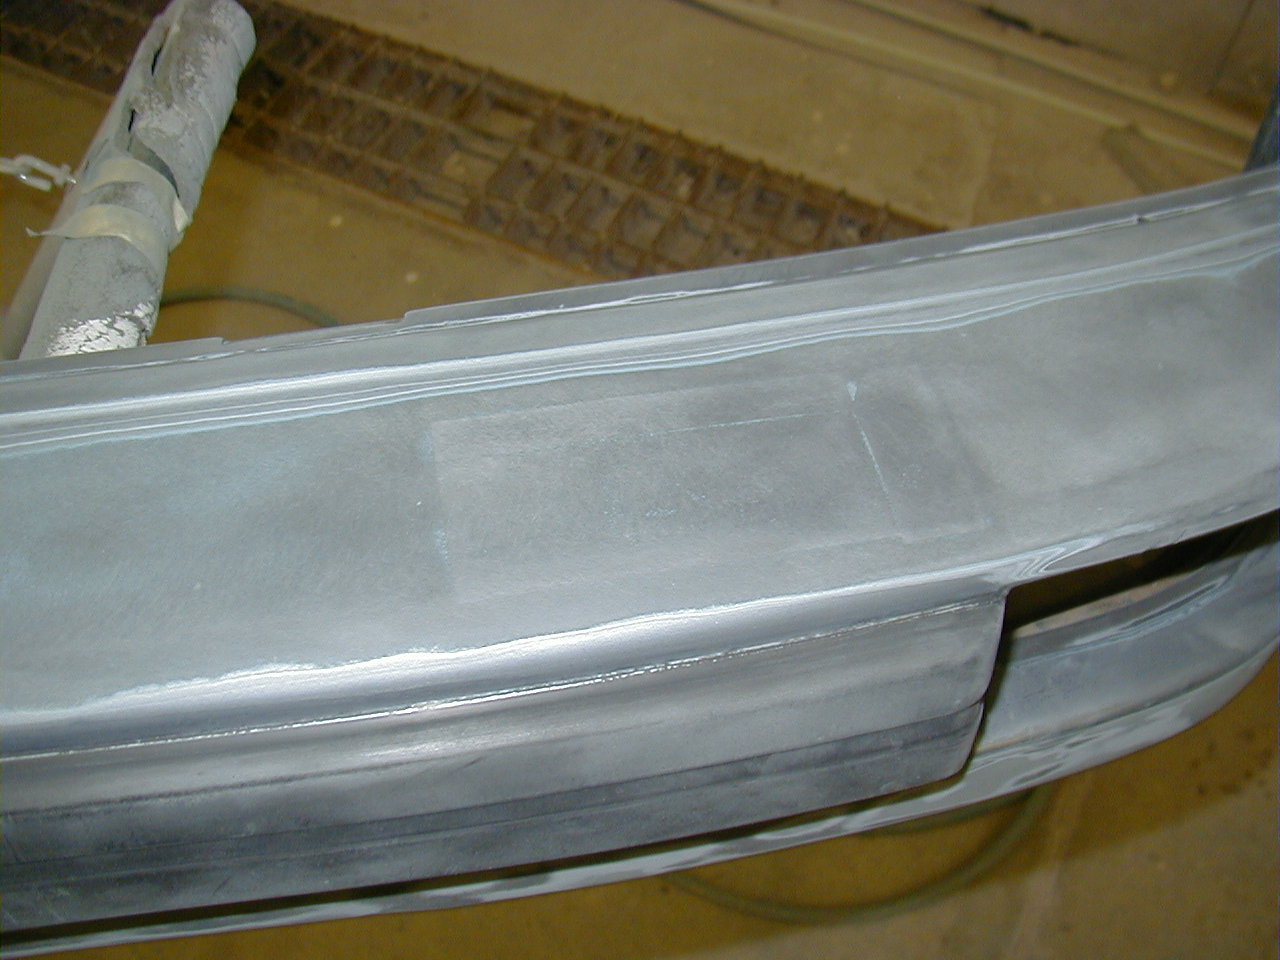
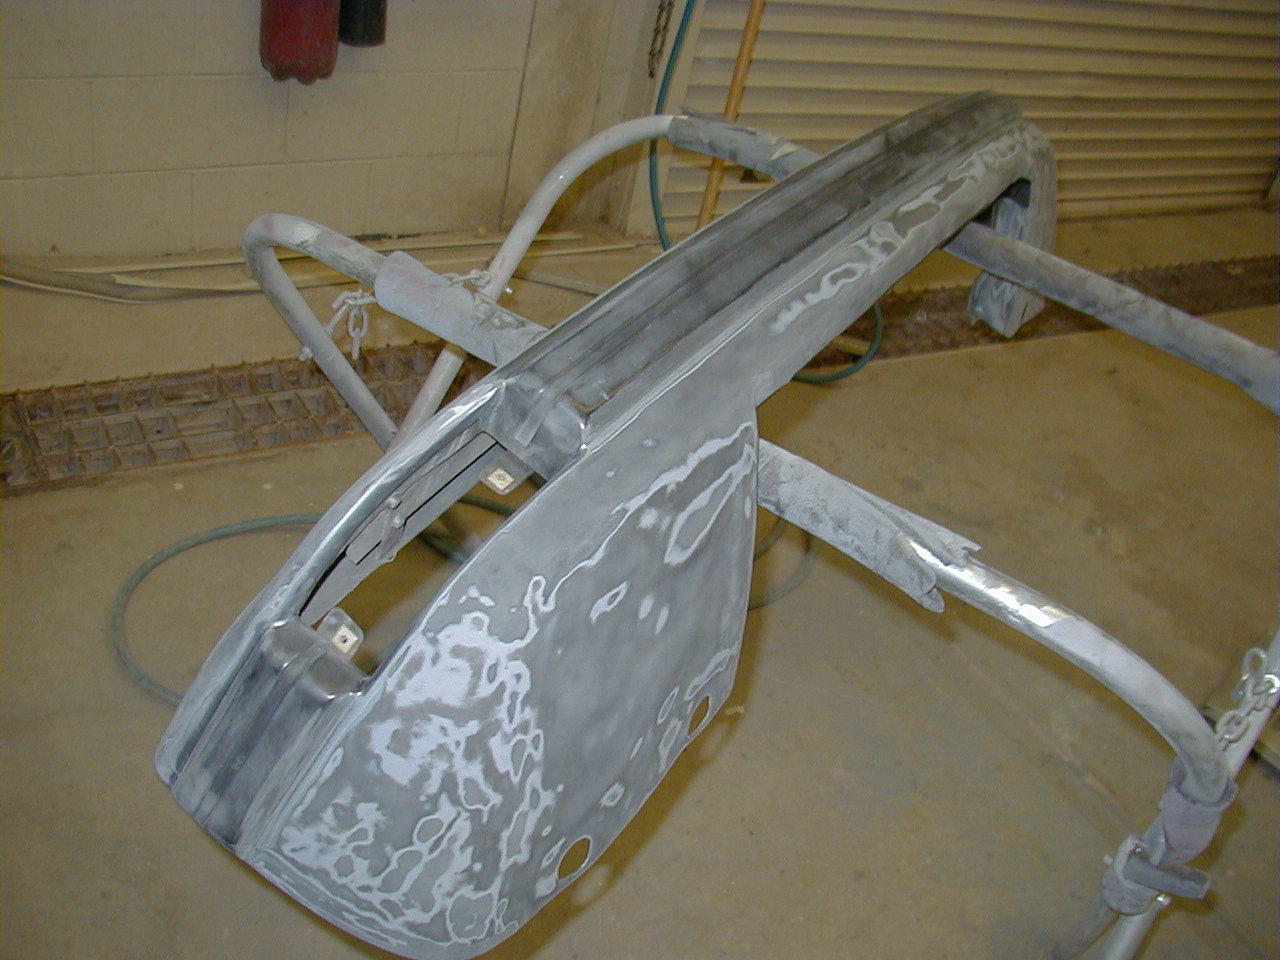
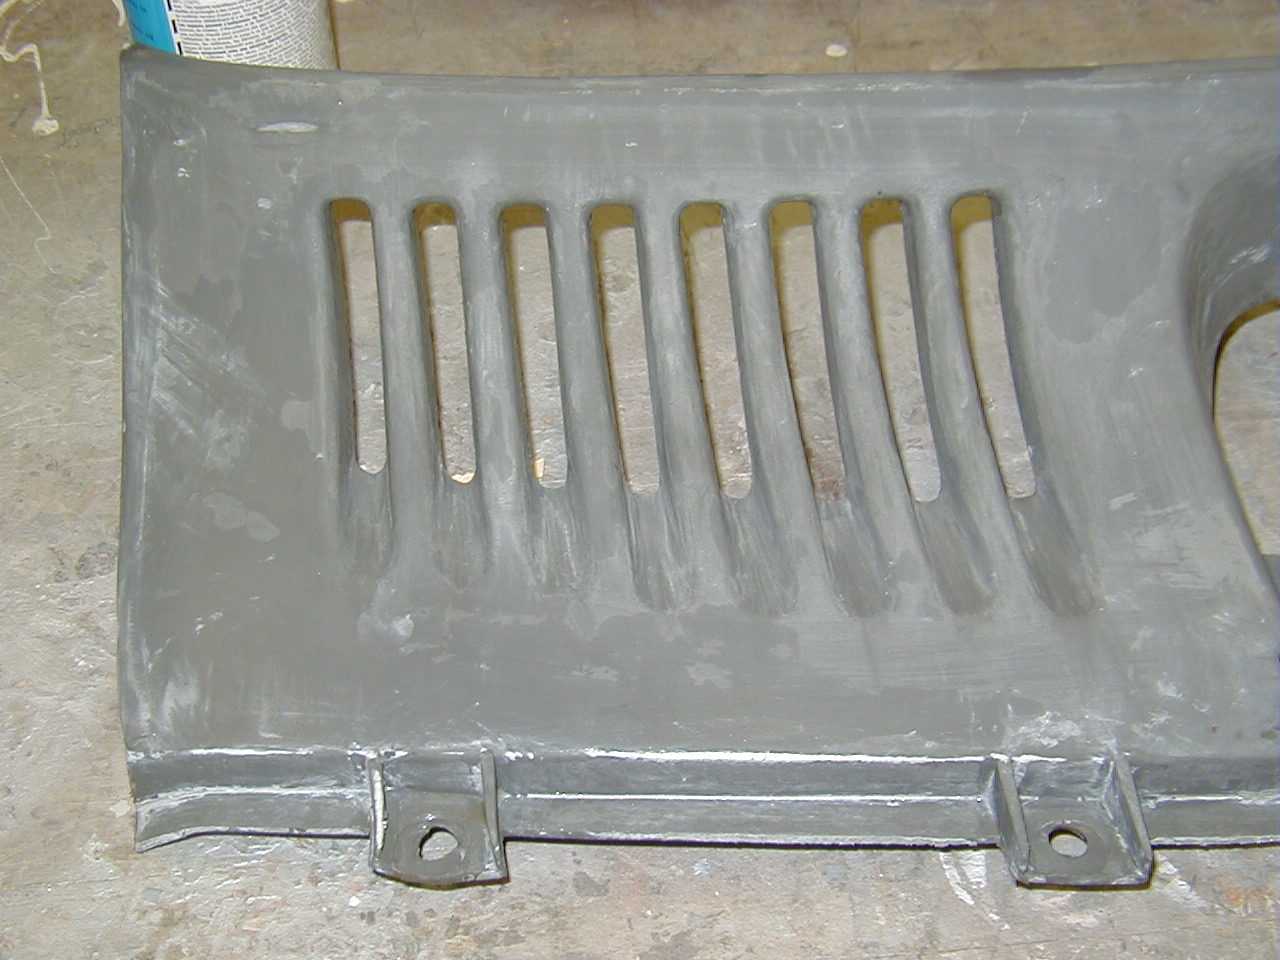
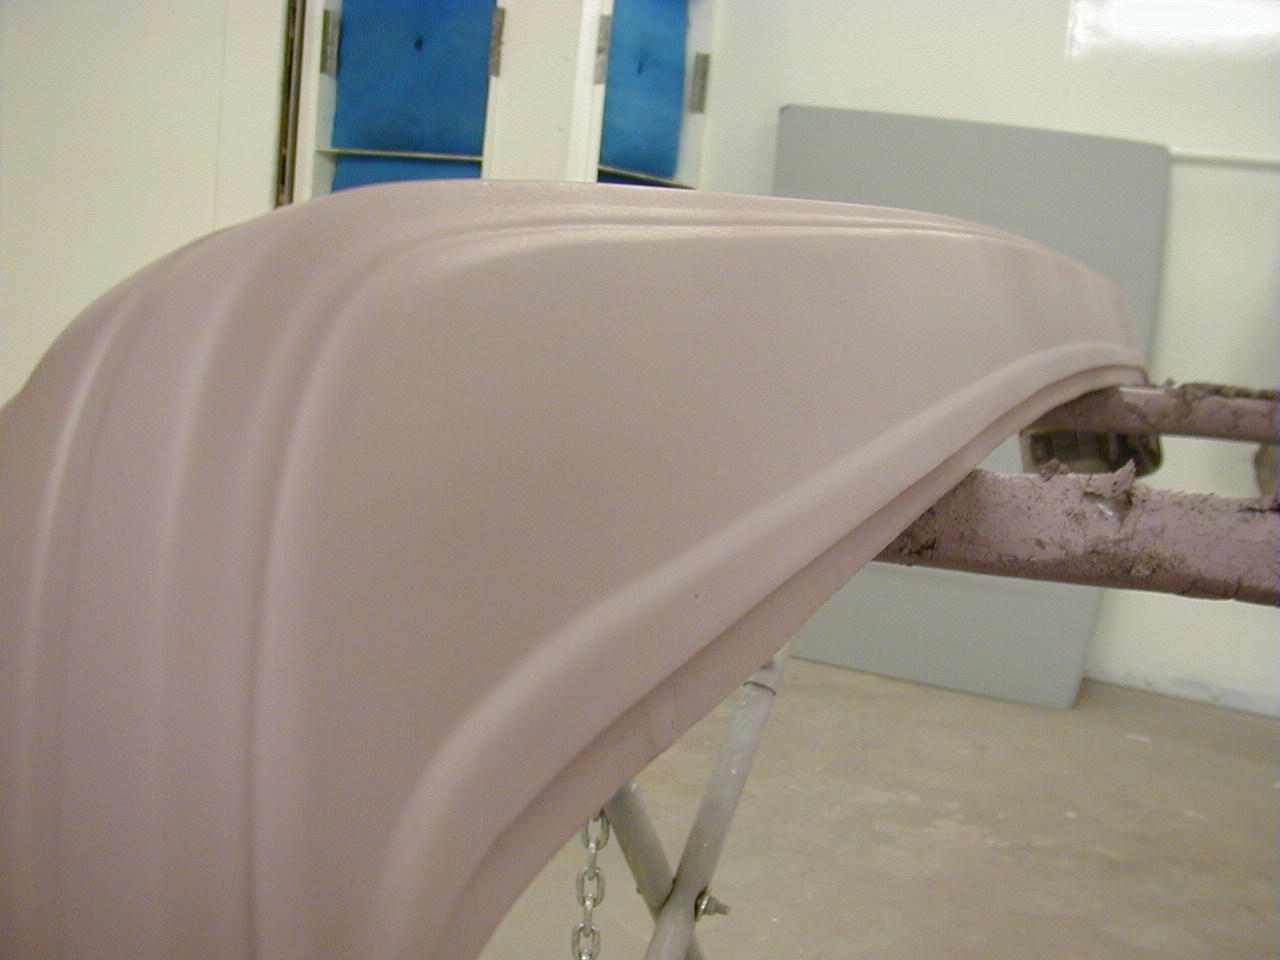
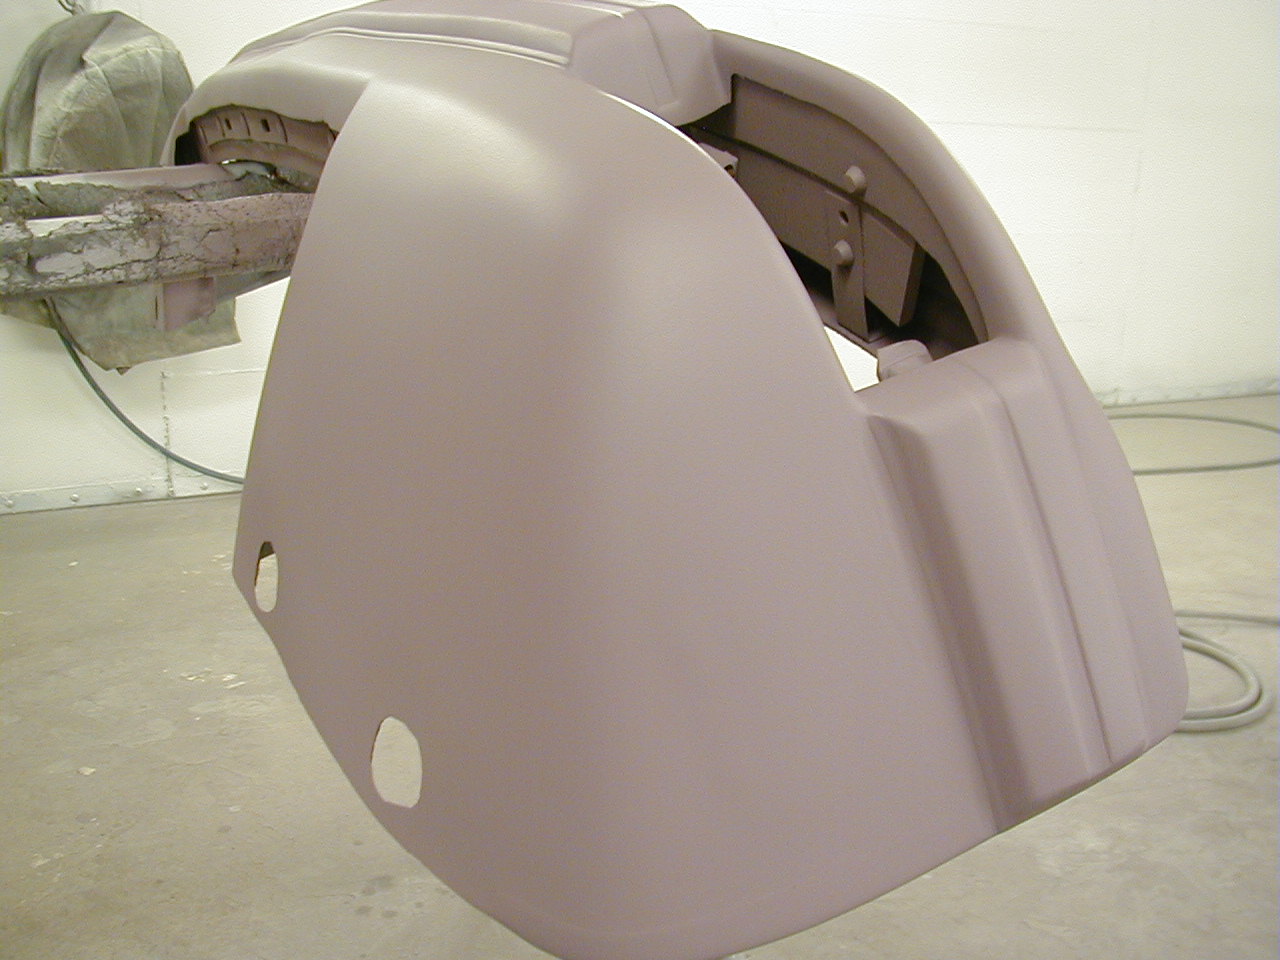
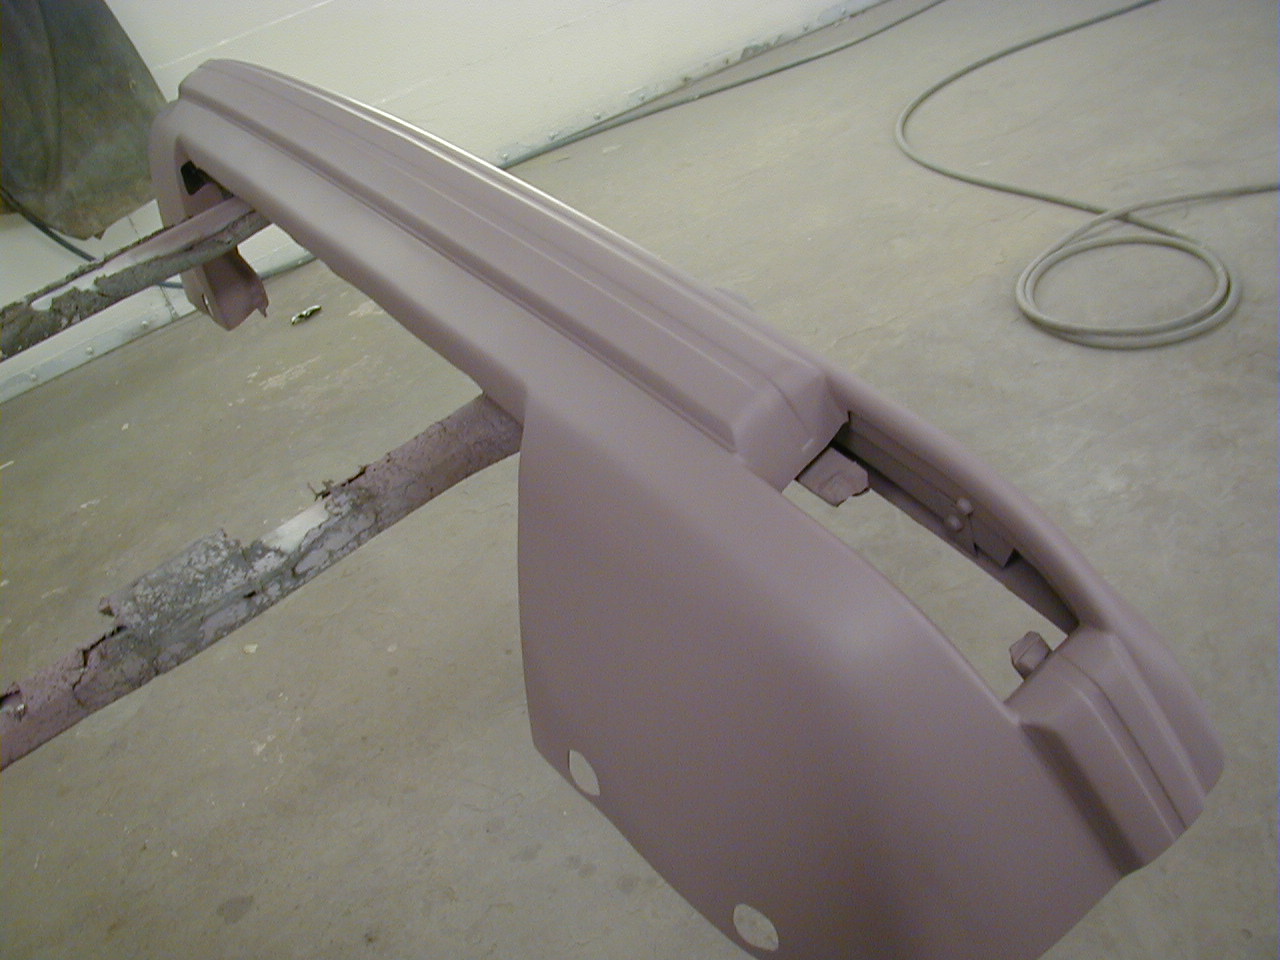
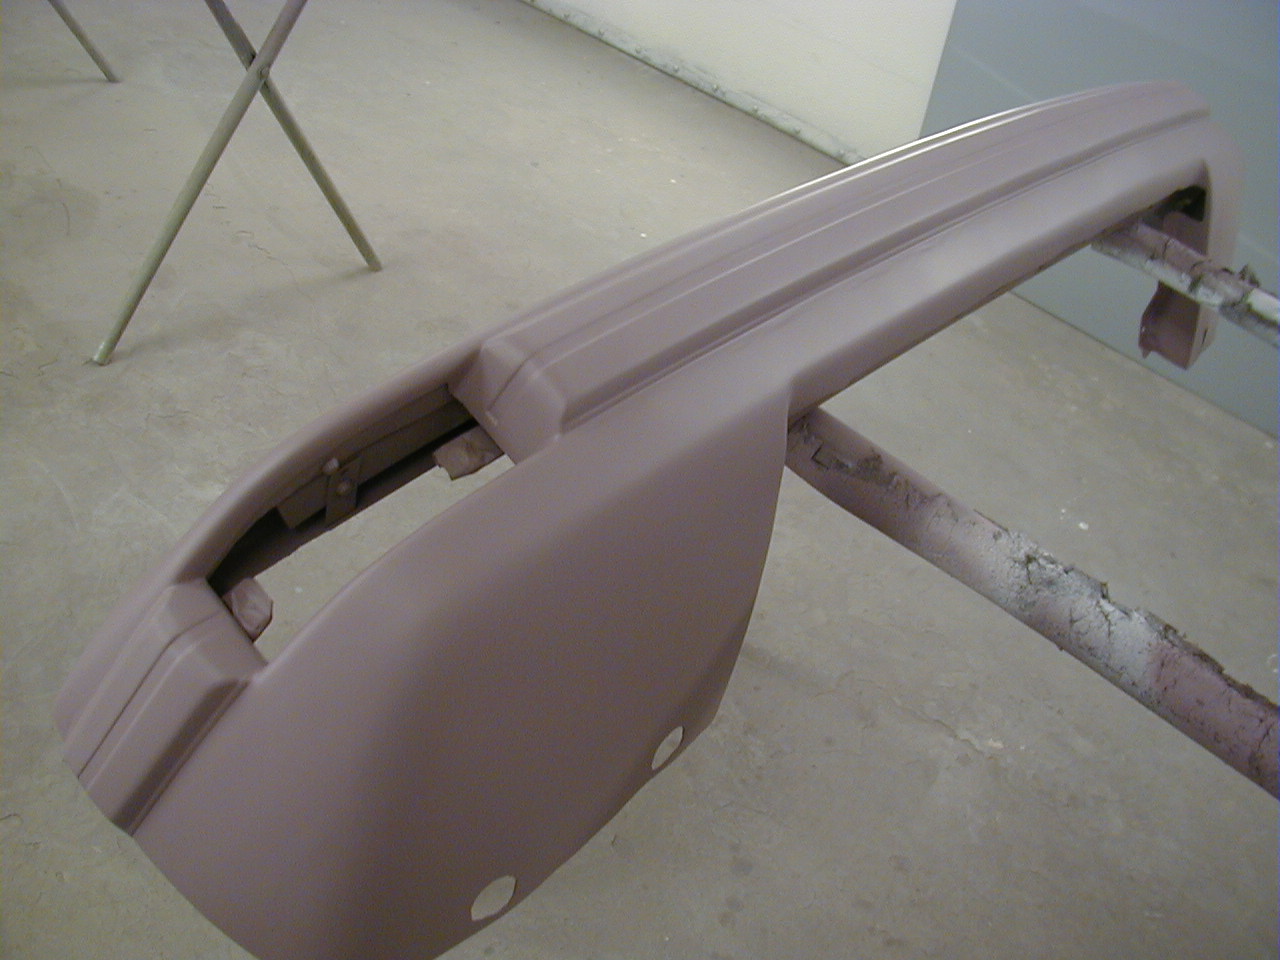
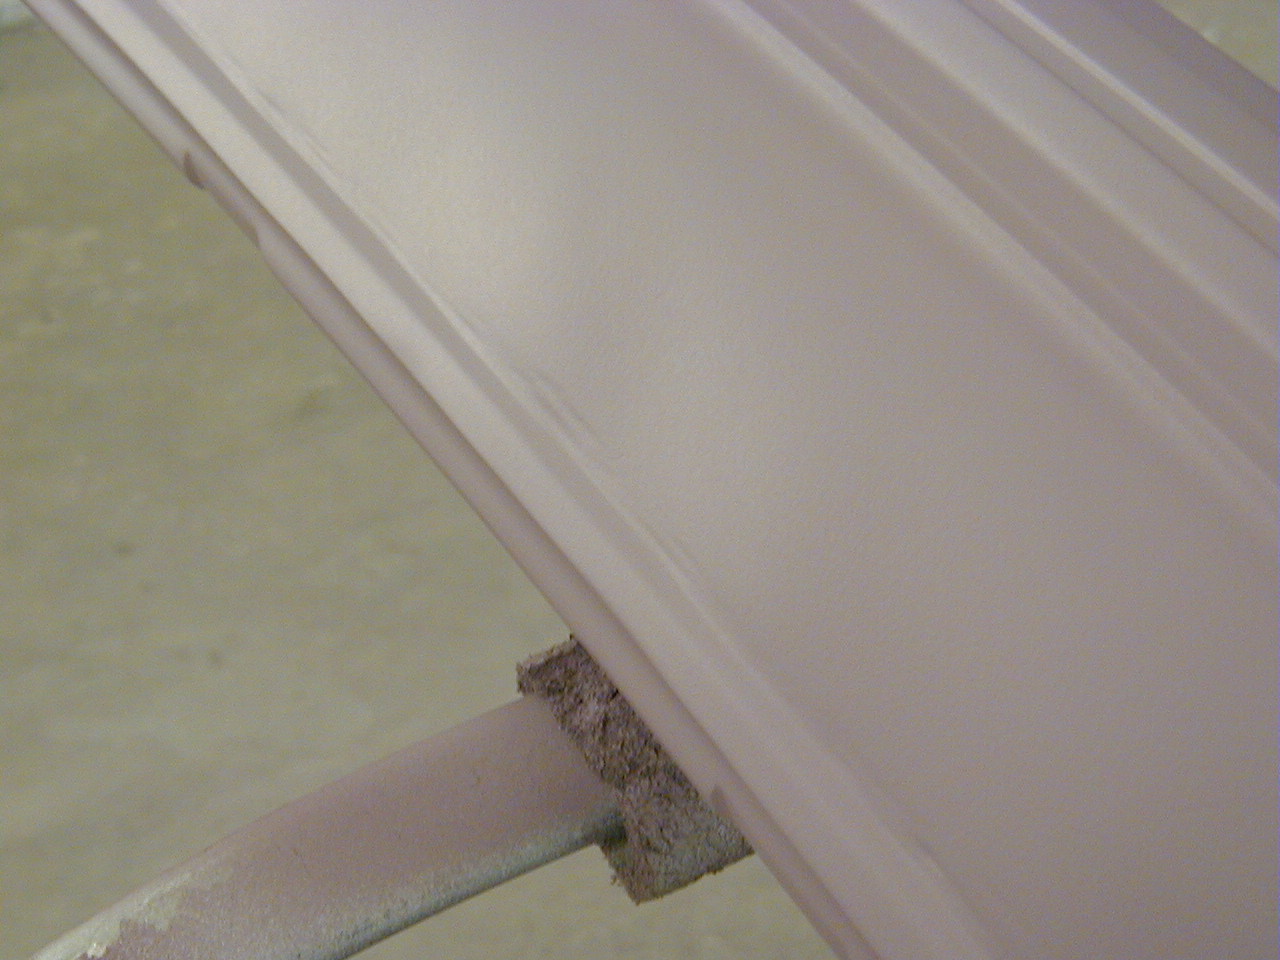
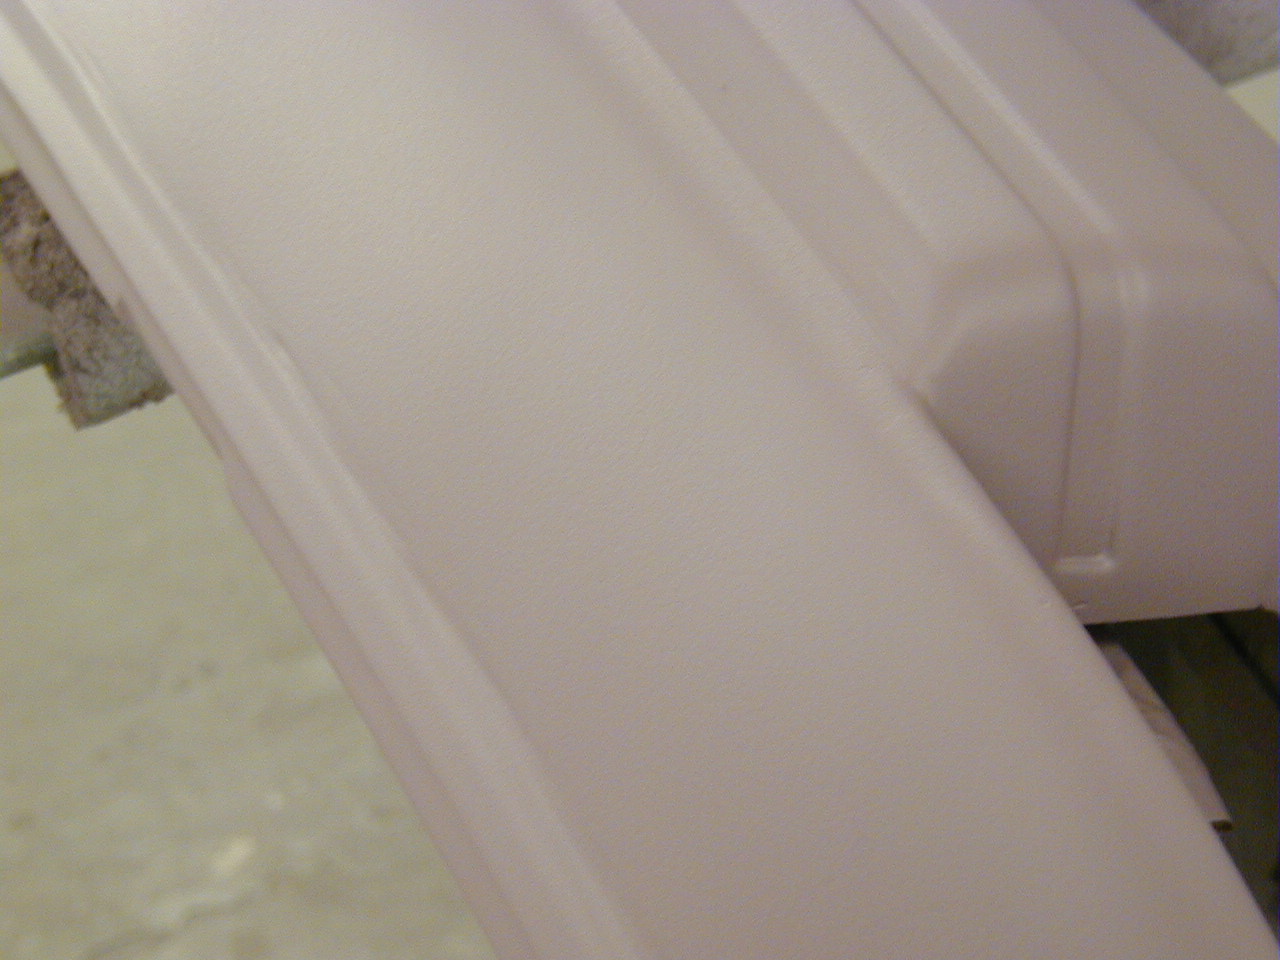
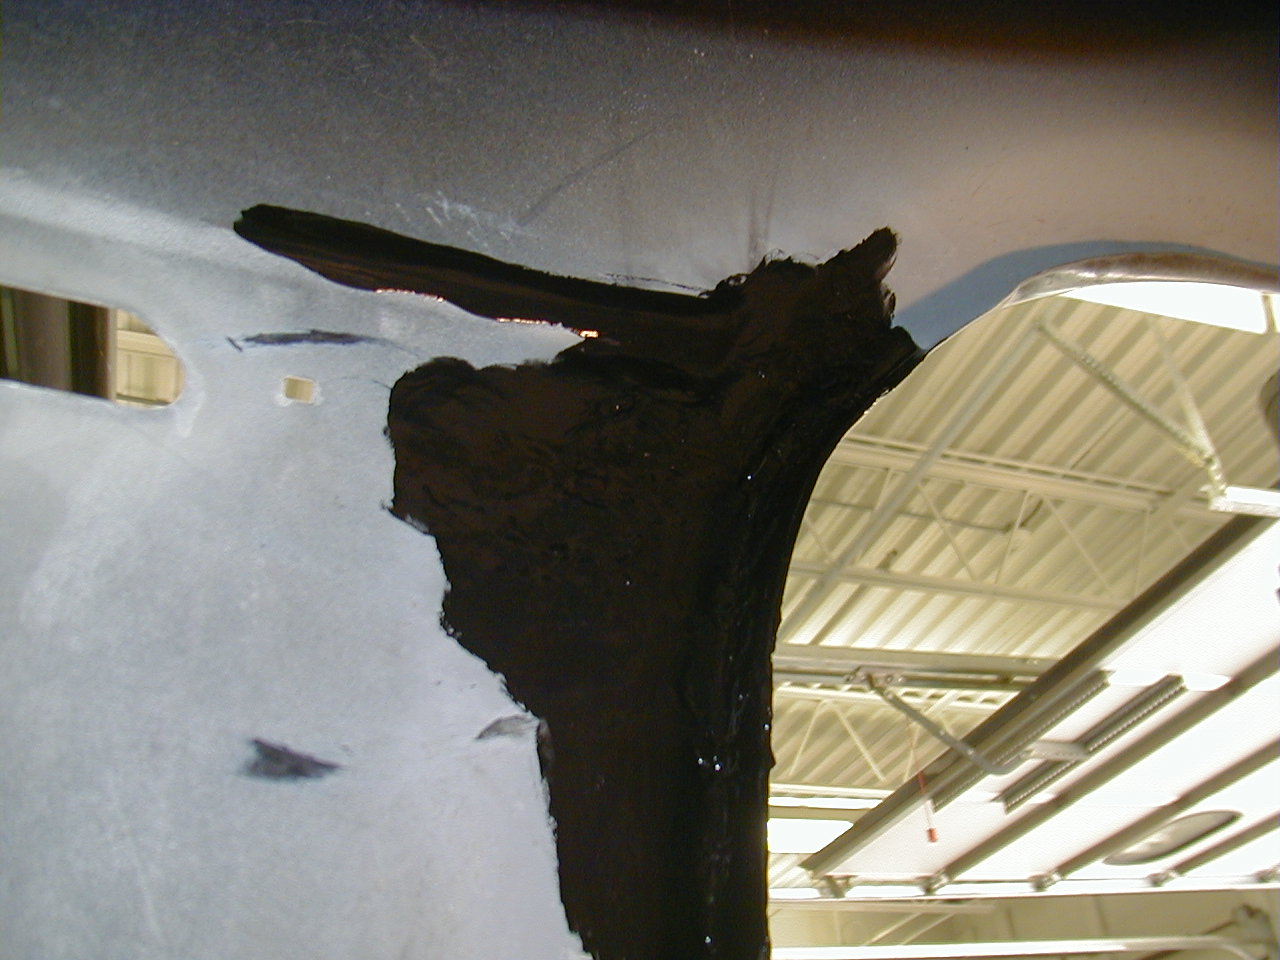
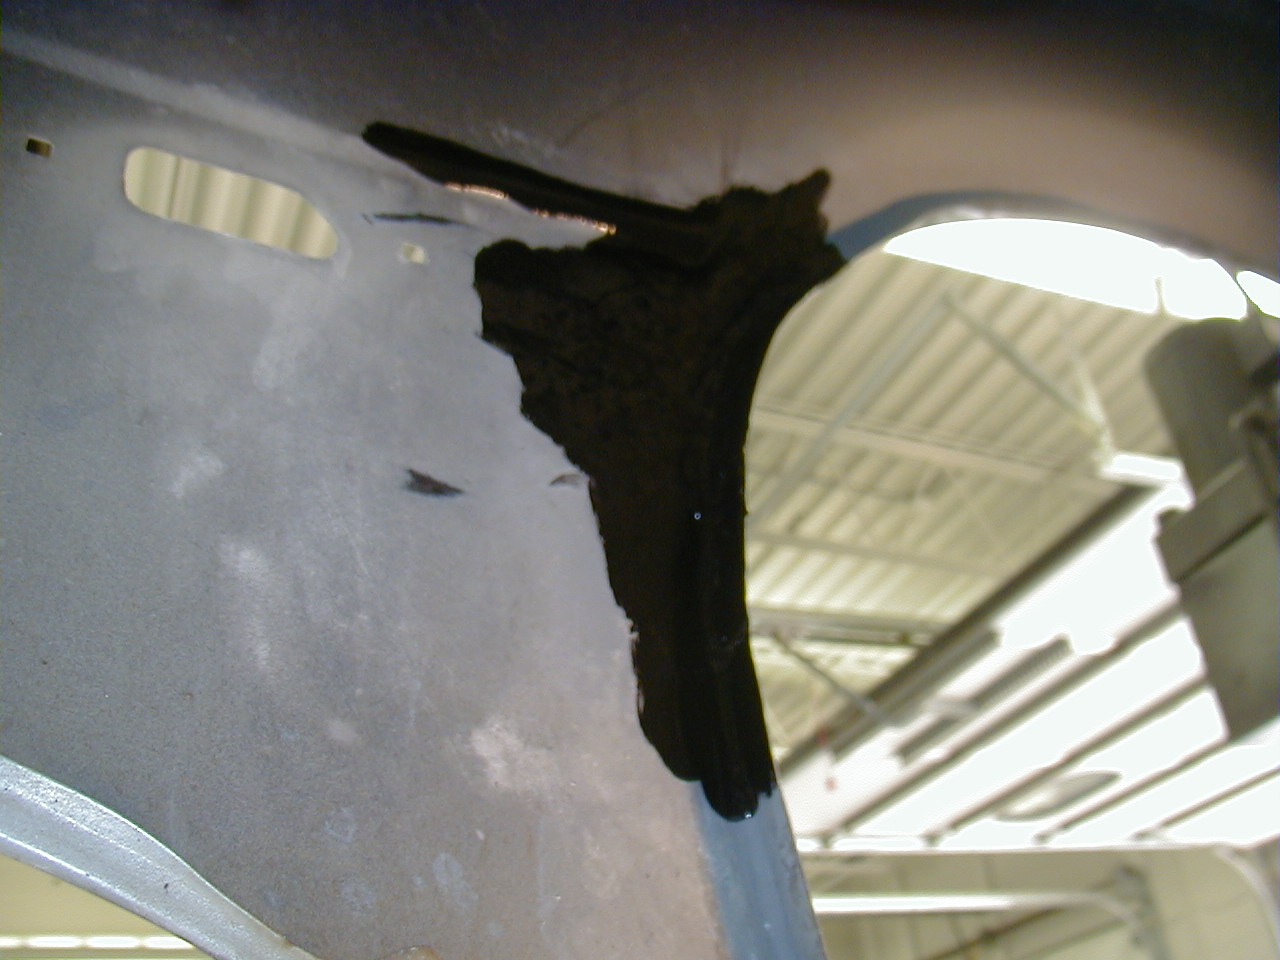
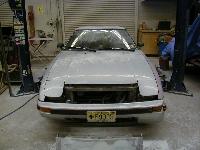
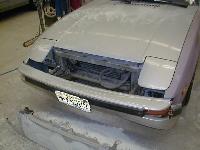
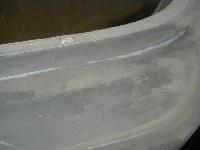
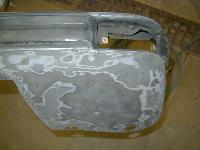
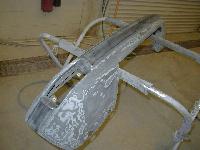
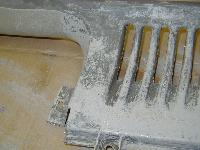
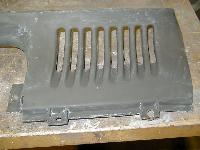
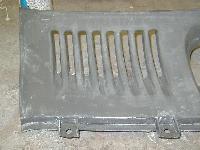
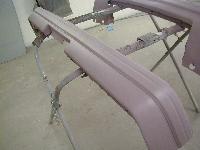
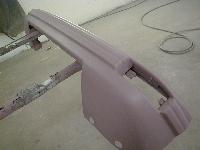
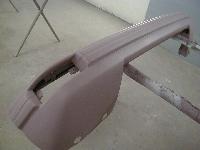
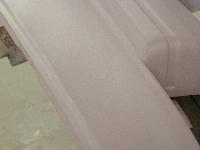
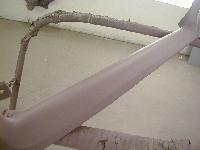
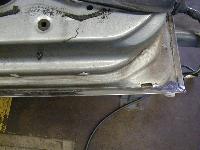
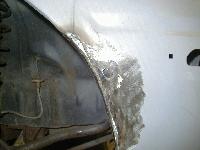
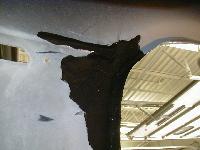
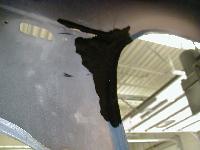
The "header" panel, above the bumper, was damaged by a truck that had backed into the car -- actually "over" the car -- before I bought it. That dent was actually pretty repairable, but some time earlier this year, another one of my neighbors backed her SUV up just a little bit too much. As seen below, one of my earliest repair attempts involved quite a lot of filler. Ultimately, I abandoned this effort and bought a used panel that needed much less preparation.
While this panel was off the car, it was interesting to see just how little metal there is between the bumper and the radiator. There are two beefy "shock absorbers" that support the bumper, but that's about it. Great brakes and an alert driver are still this car's best protection from obstacles in front.
April 05
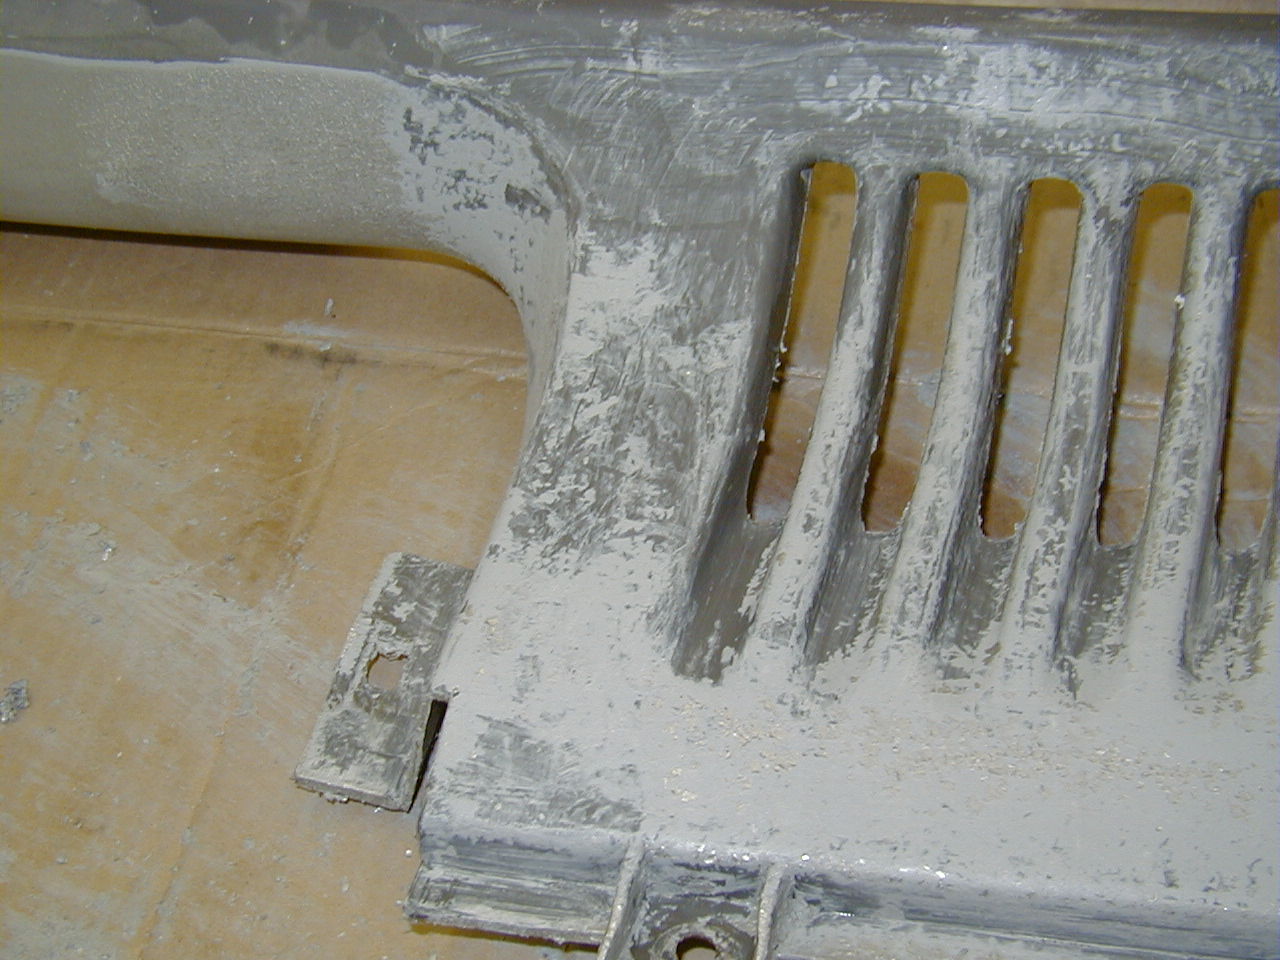
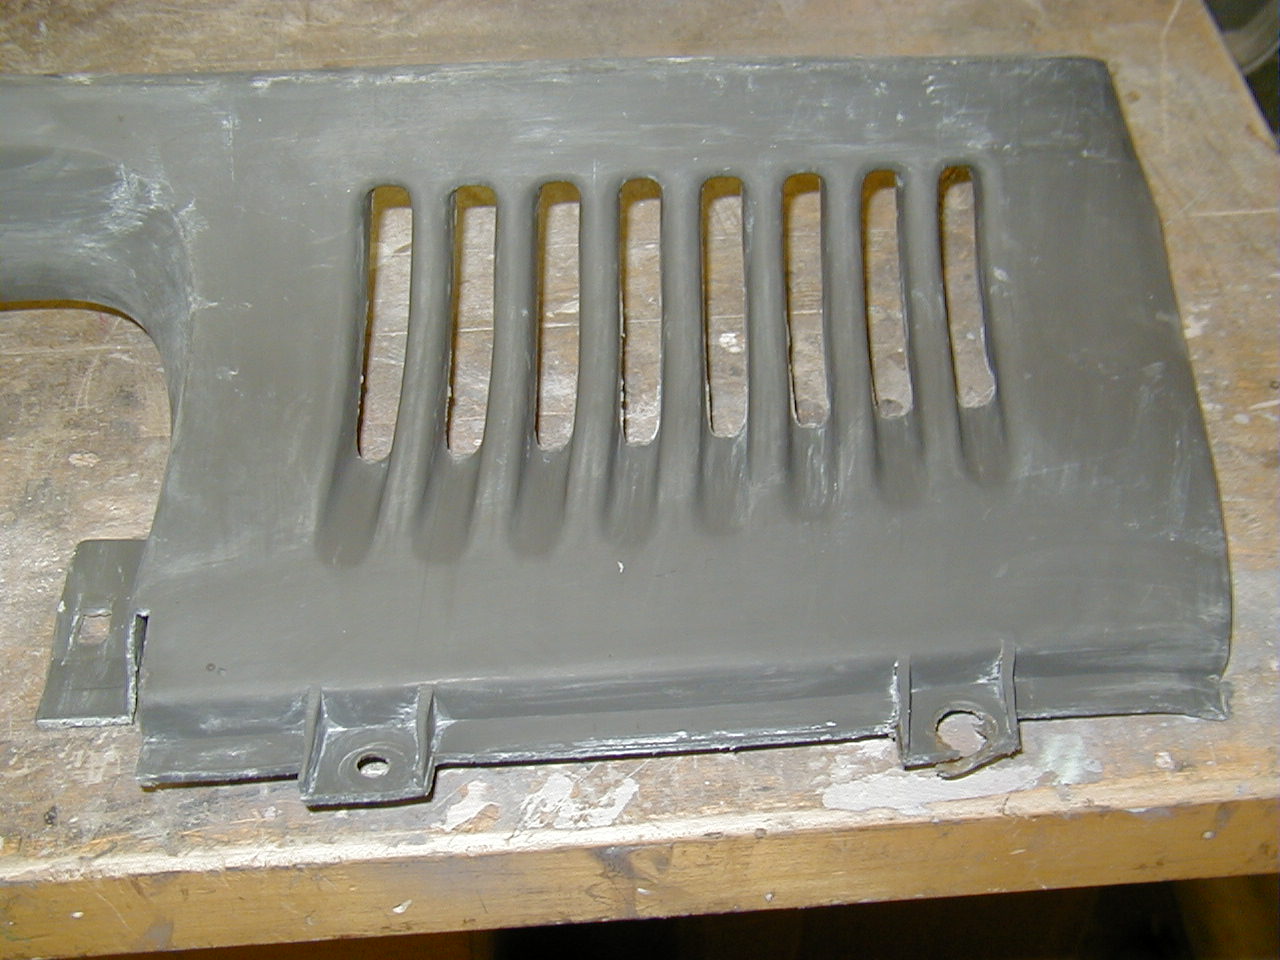
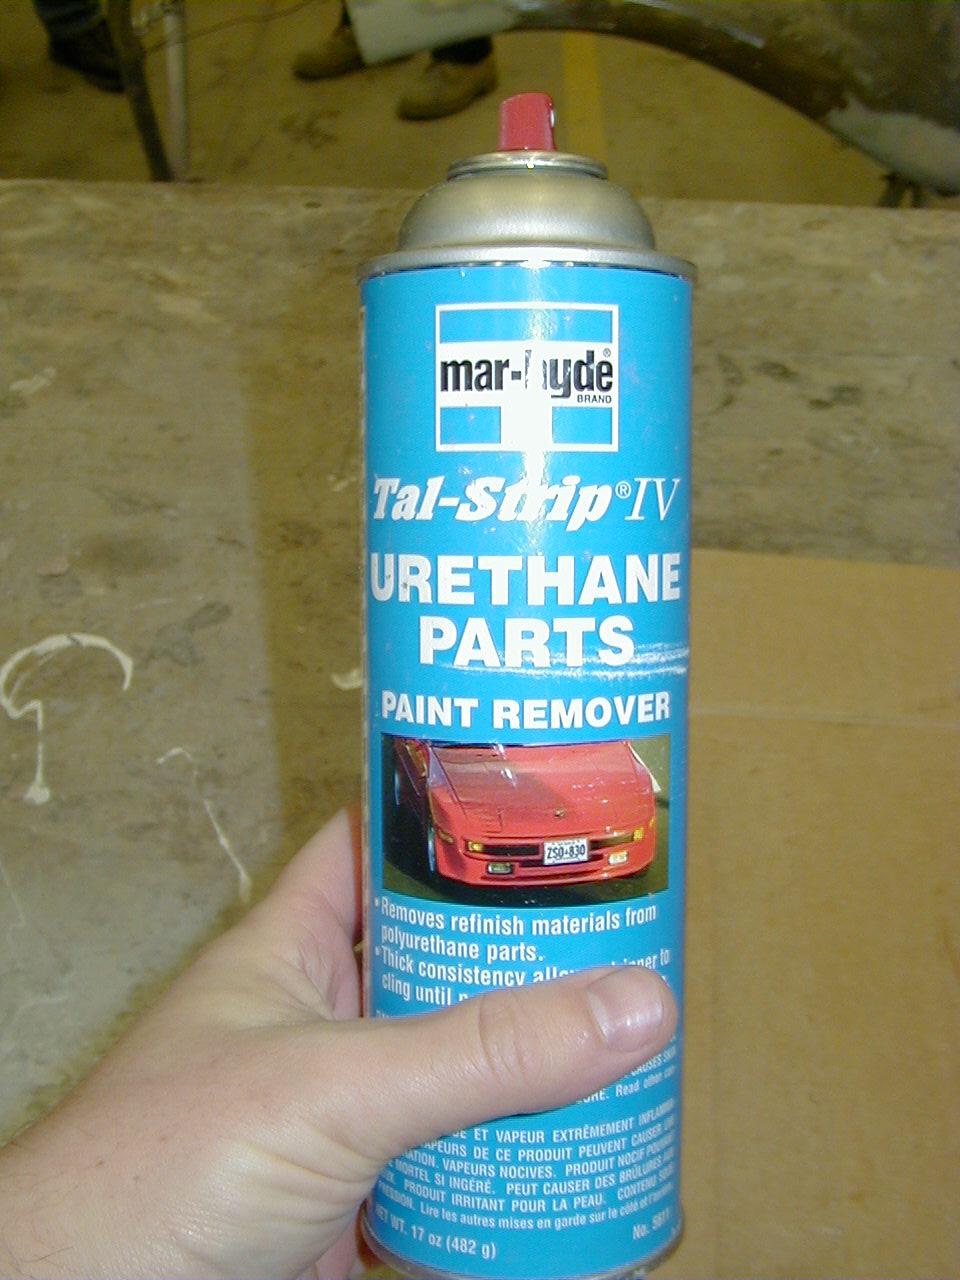
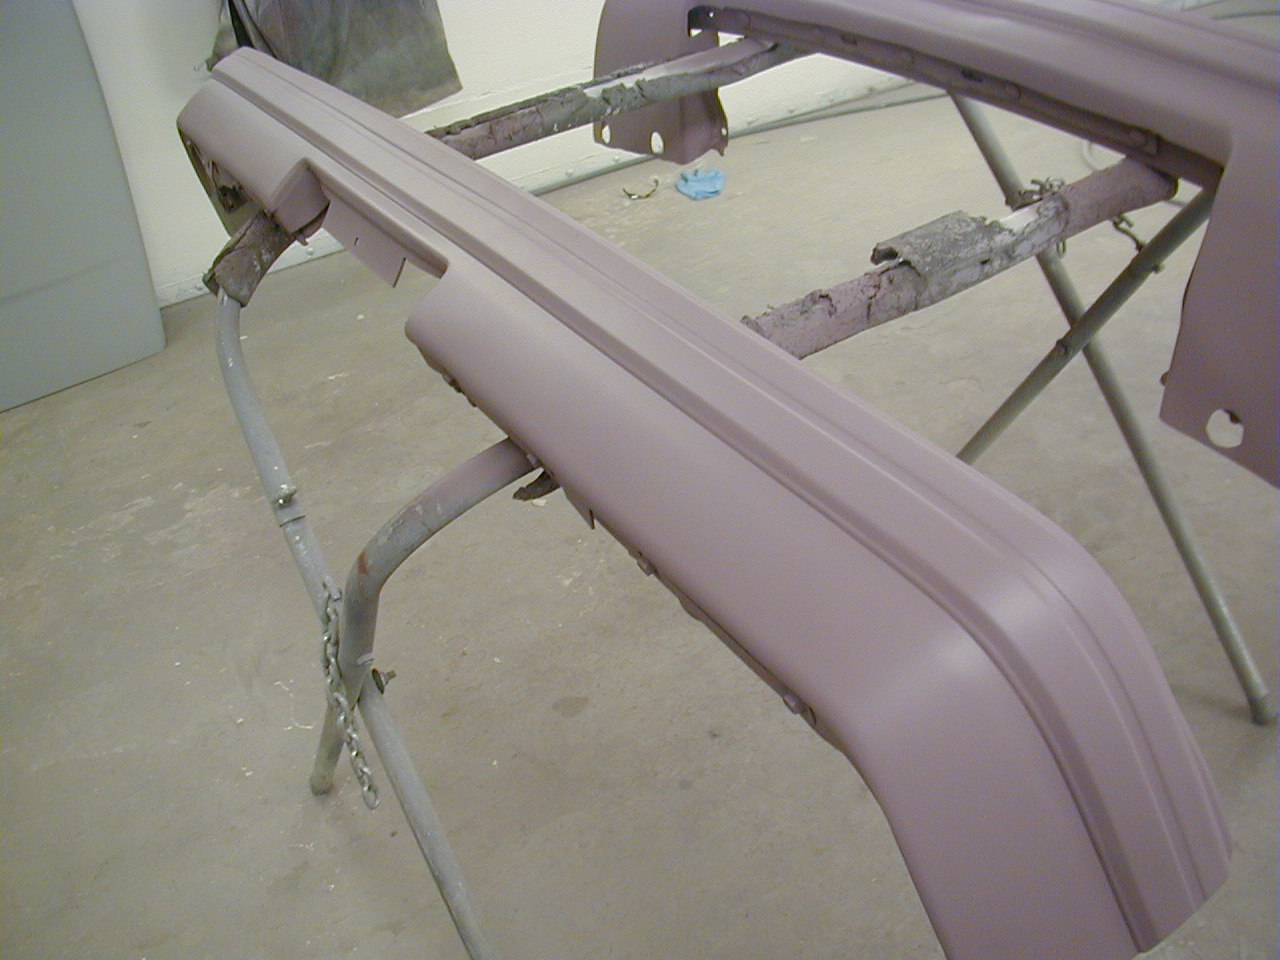
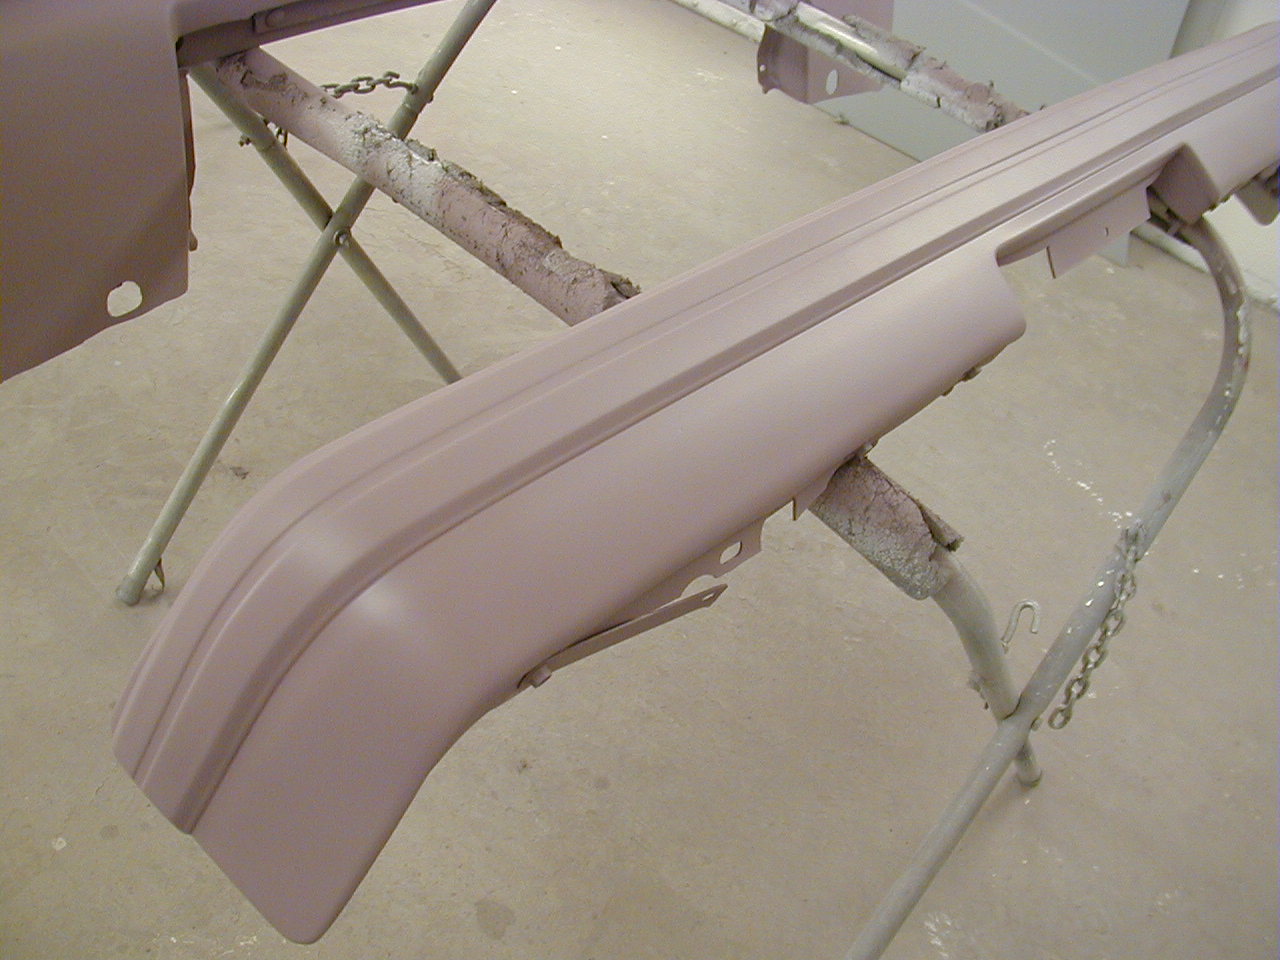
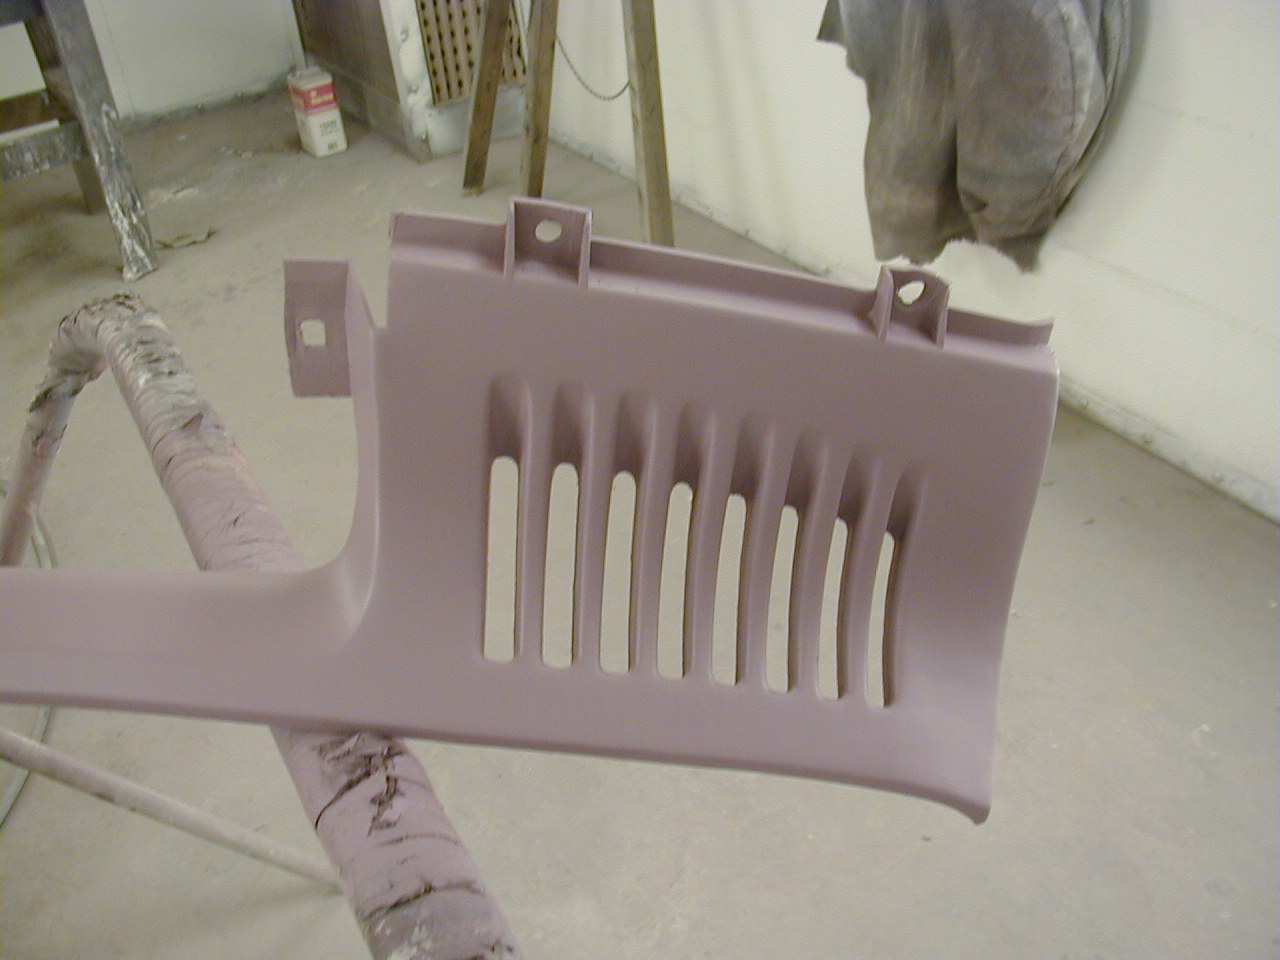
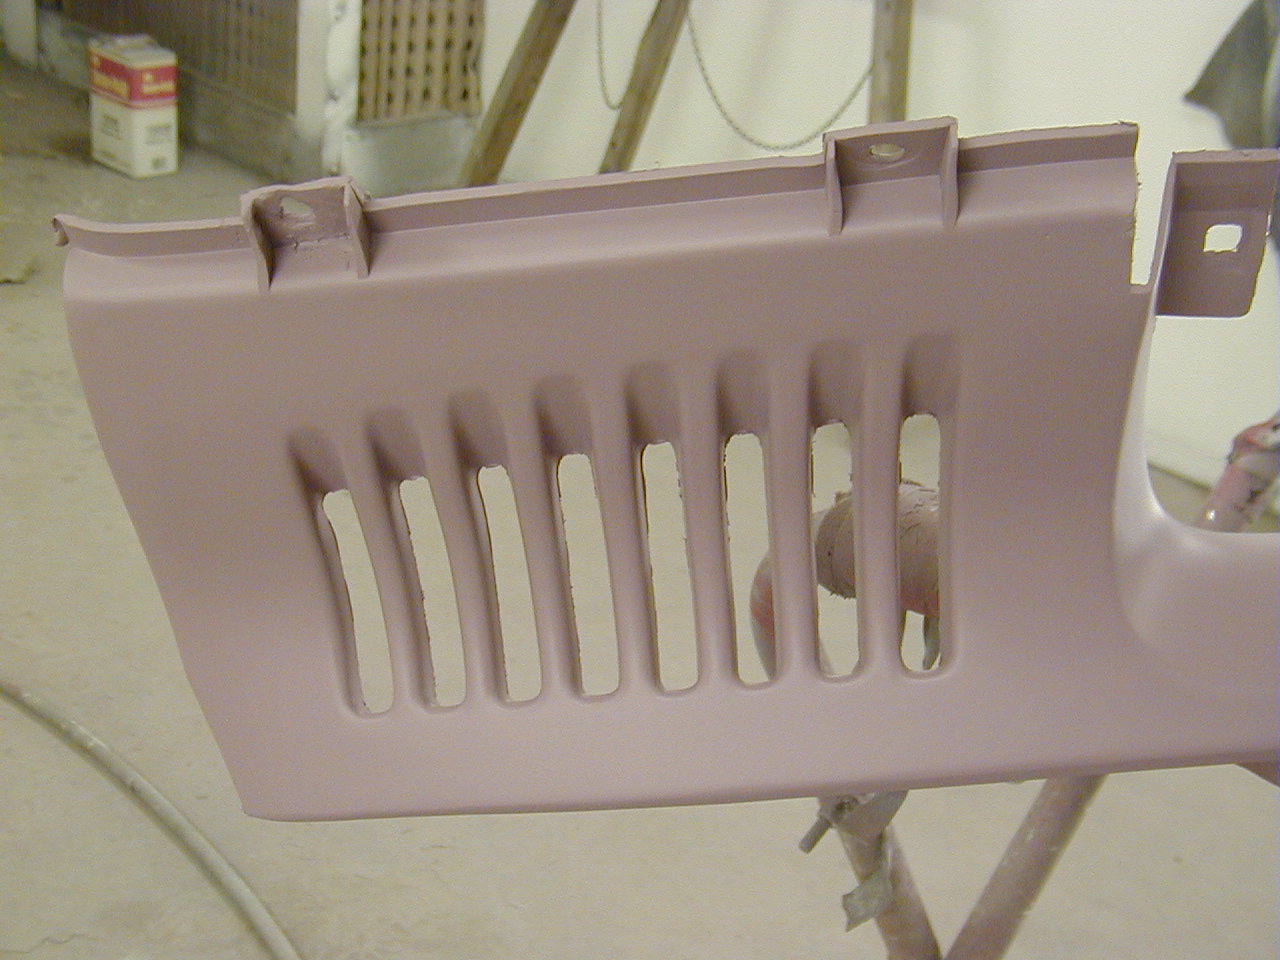
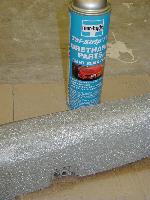
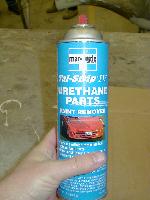
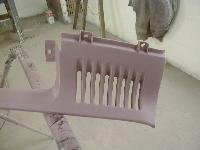
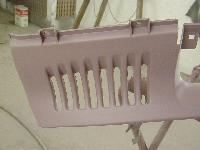
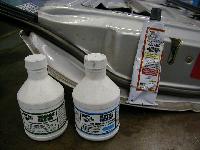
Don't bother trying to strip the plastic bumpers and valence by hand, with sandpaper. Fortunately, I discovered TalStrip Paint Remover for Urethane Parts. This stuff was amazing -- just spray it on and the paint just shriveles up. (The fumes are aweful! Use with plenty of ventilation.) Then rinse it off with water. You can go over the residual paint and primer that's left on the part with some fine sandpaper.
That worked great on the bumpers, but for some reason, the valence didn't clean up so easily just from chemical stripping. I ended up with sore, exhausted fingers from the hand sanding of all of the crevices and detail of the valence.
At one time, I tried using power tools to sand the bumpers. I ended up gouging the plastic in several places, which required more bumper repair as described below.
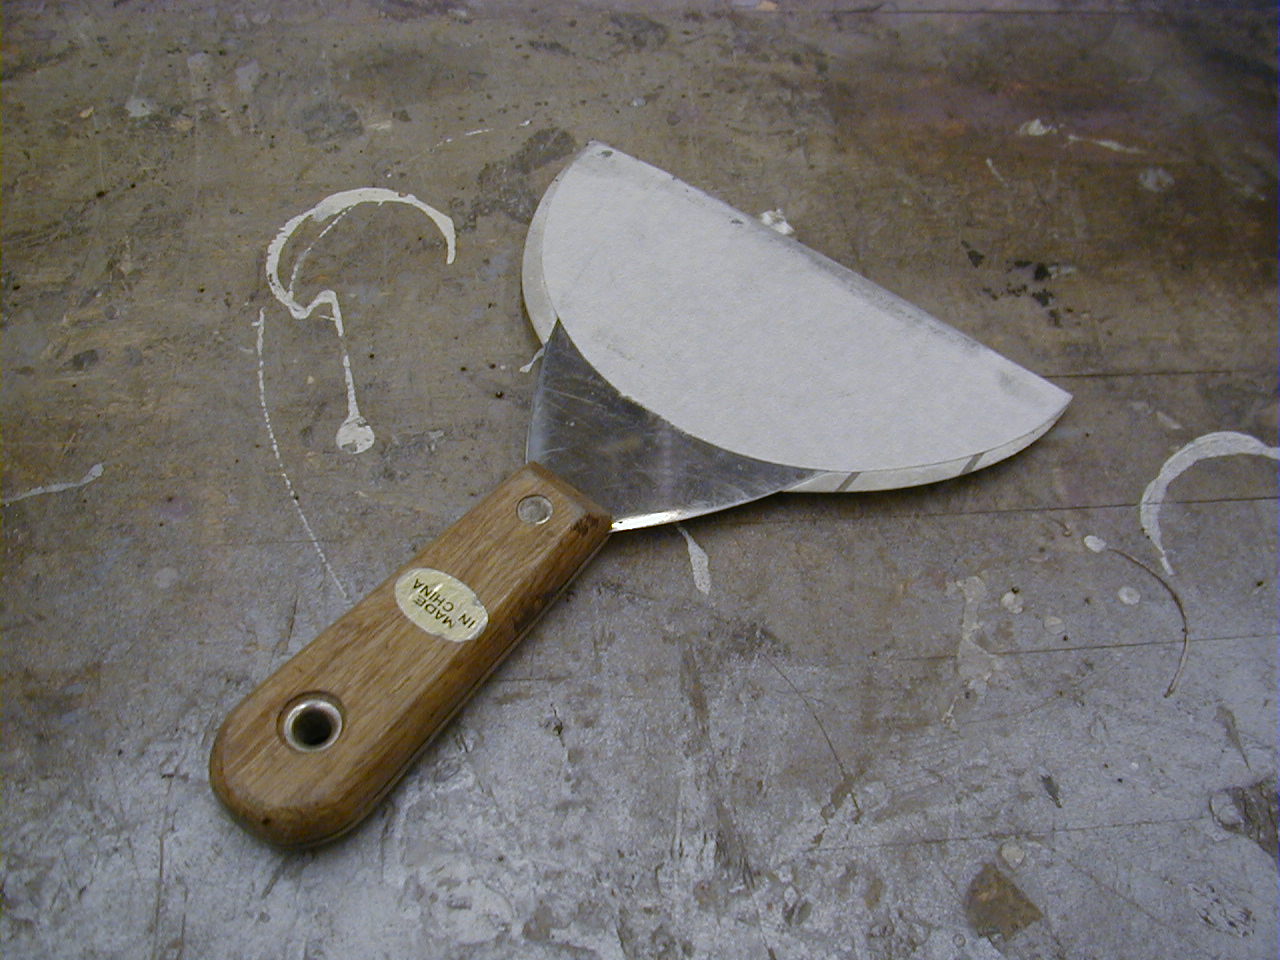
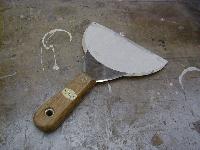
I also found that I could better sand some of the ridges on the bumpers by taking an adhesive-backed sanding pad that's meant for a dual-action sander, and wrap it around a scraper. This gave me a nice, firm, straight edge to sand with.
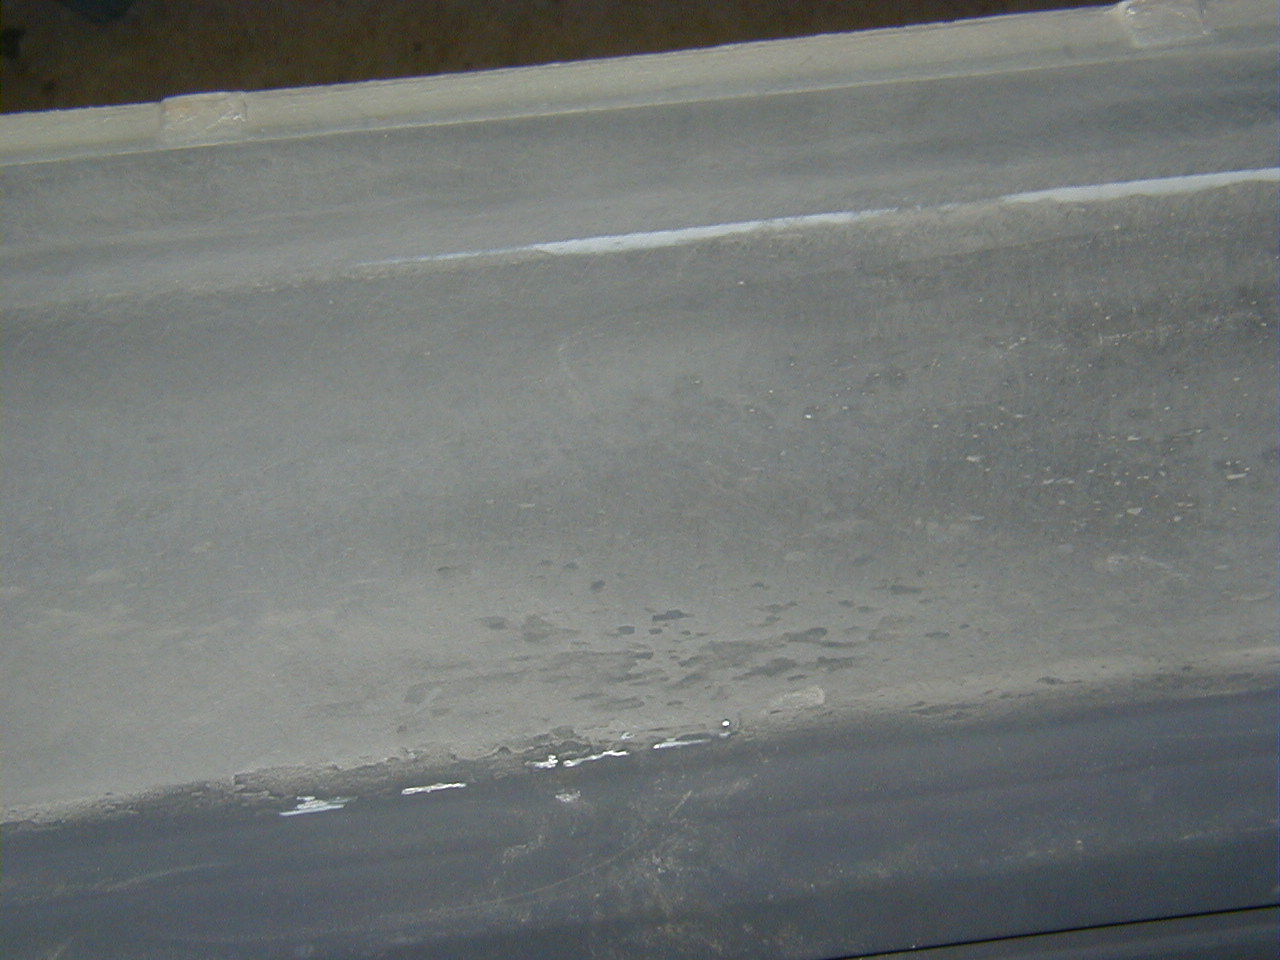
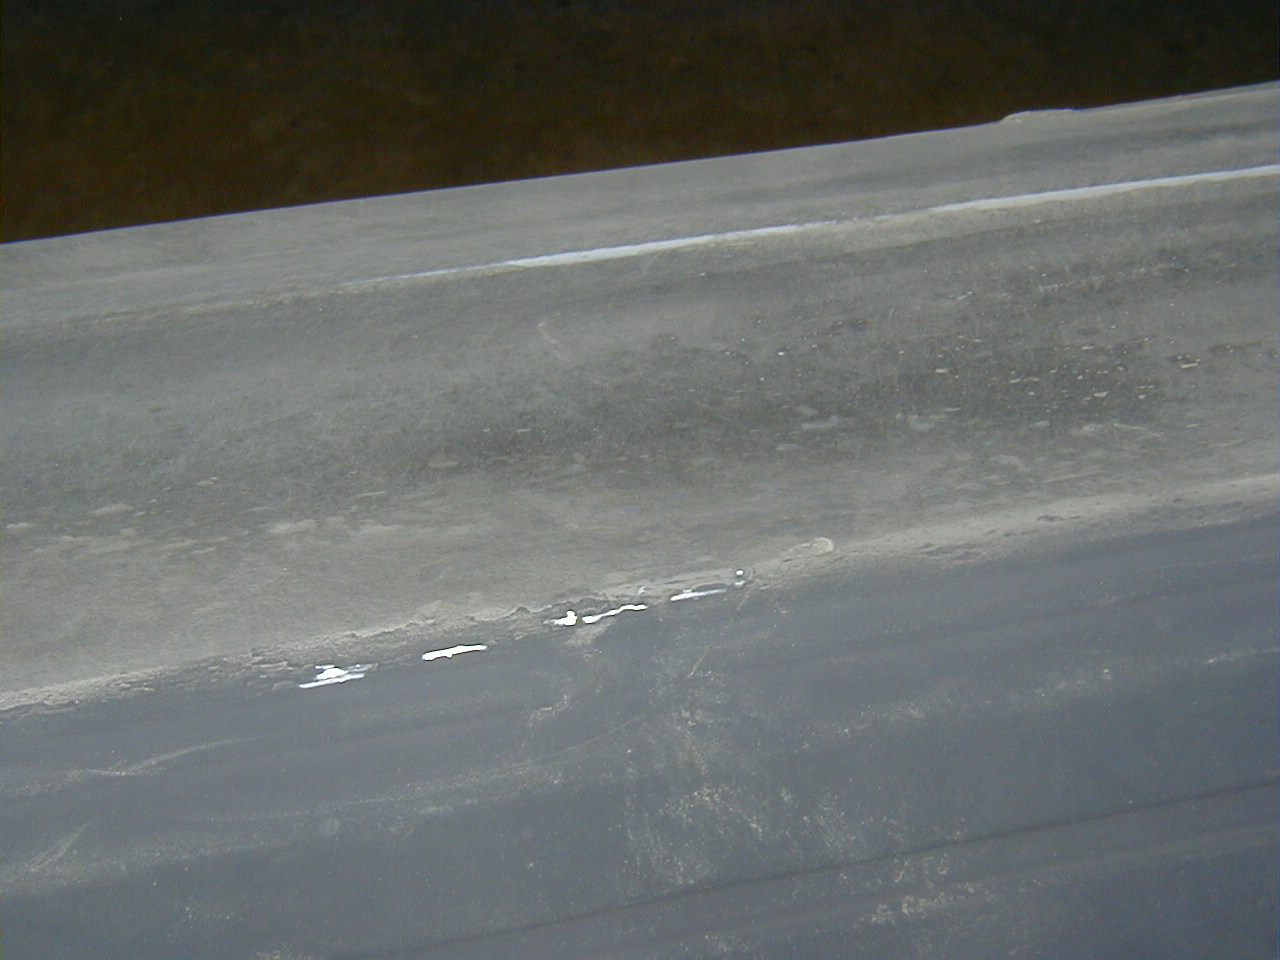
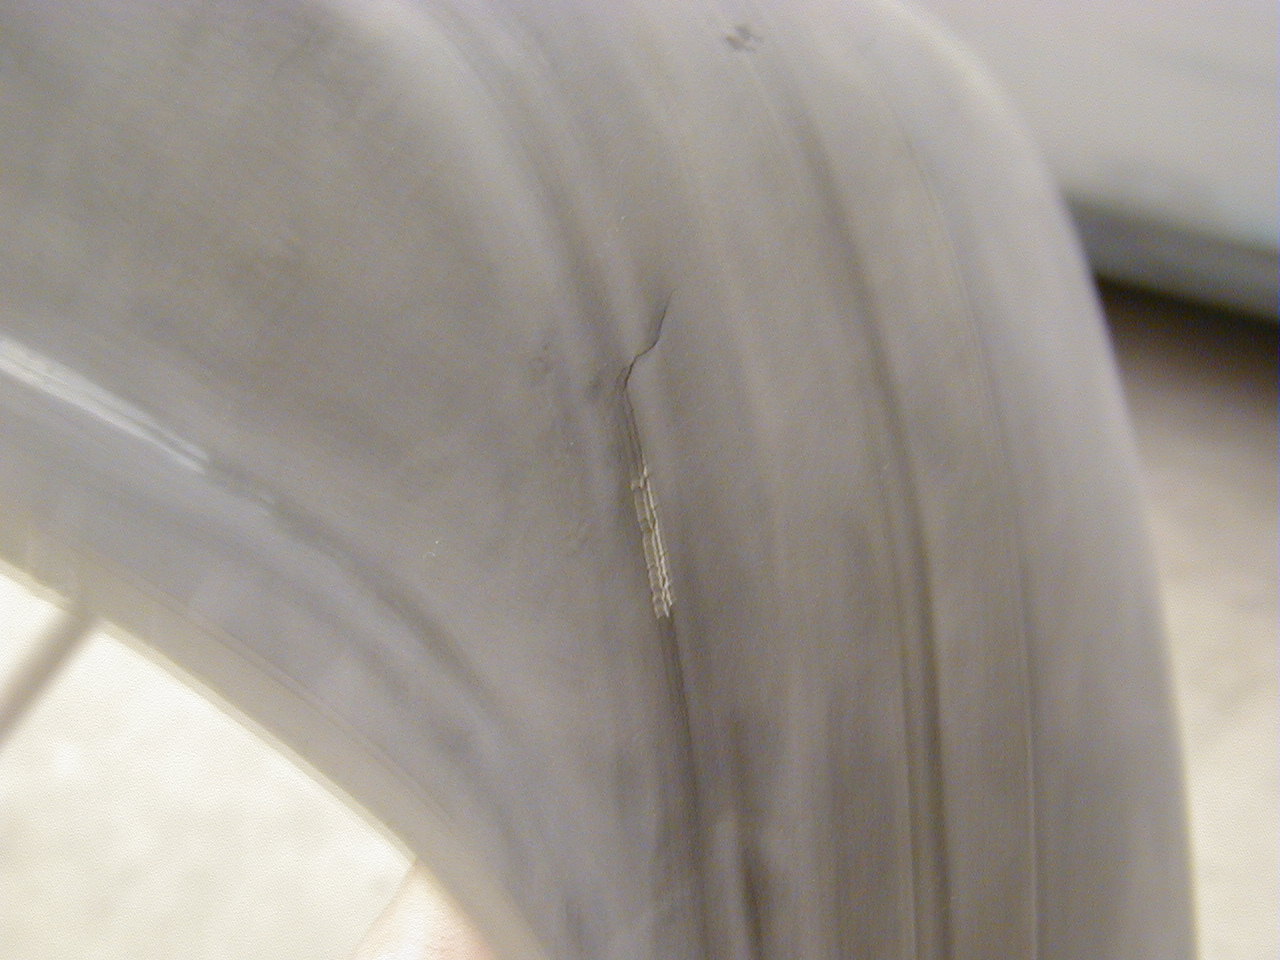
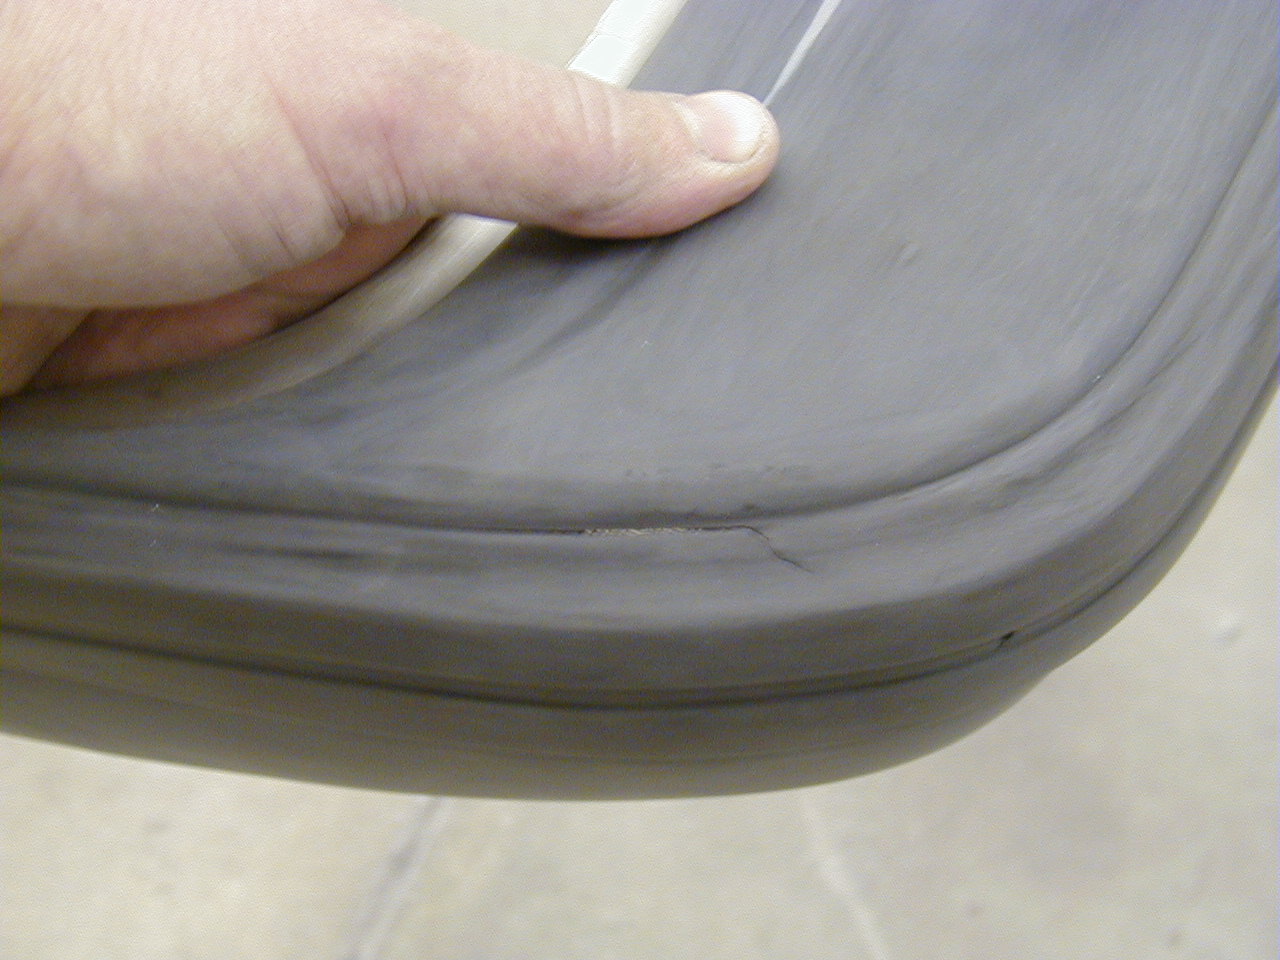
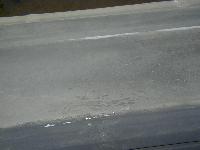
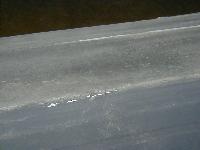
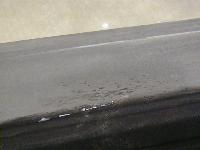
I found a few imperfections in the rear bumper: there was pitting all over the surface, as thought the plastic was eaten away by some chemical process over the previous twenty years, and there was a small crack in the left corner of the bumper. Both were fairly easy to repair with a plastic bumper repair kit for about $20. It's basically a black plastic/epoxy that you mix up and smear into the repair surface. It dries hard and flexible, and you can sand it smooth.
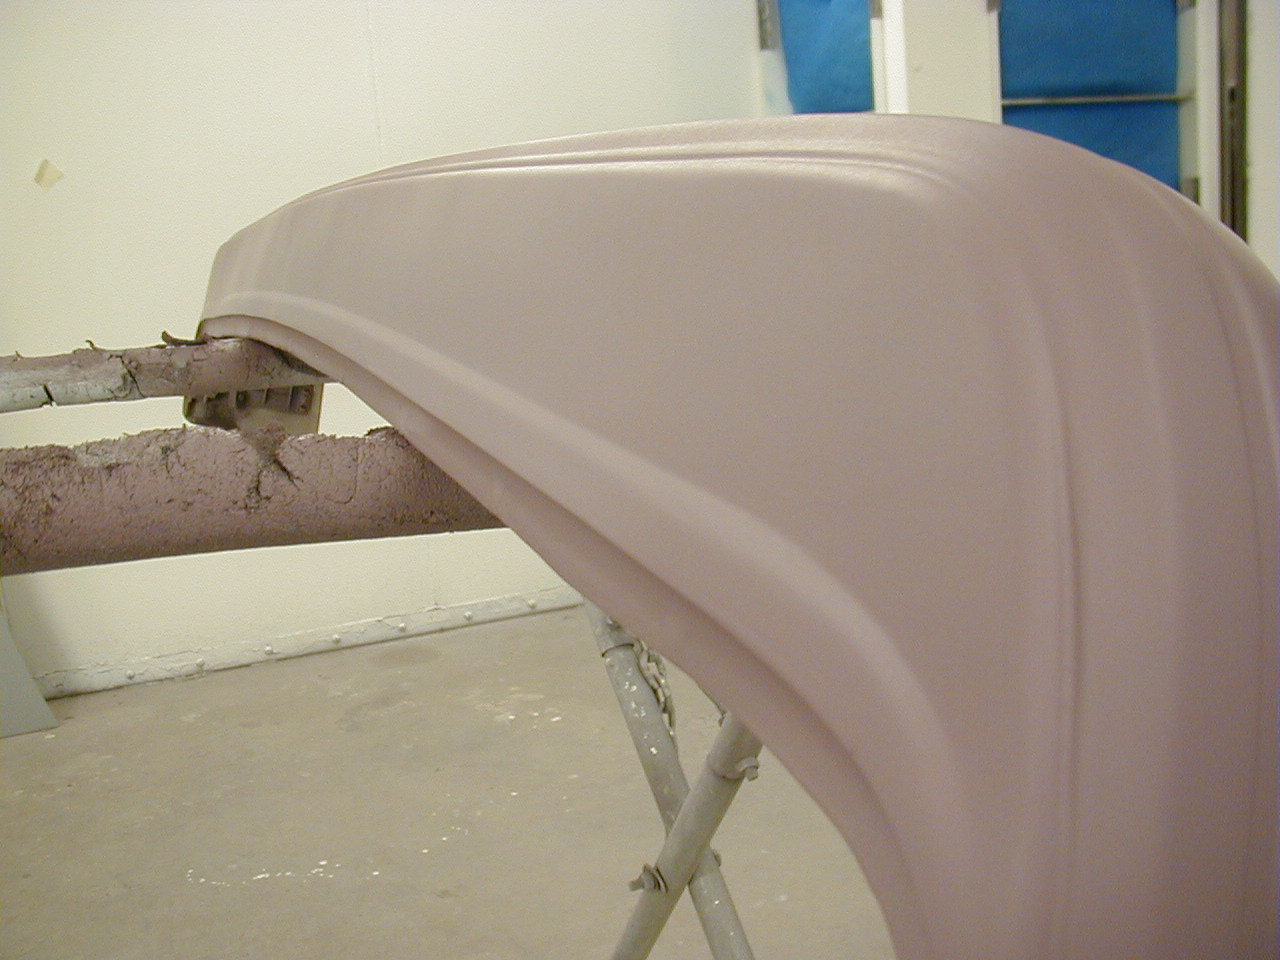
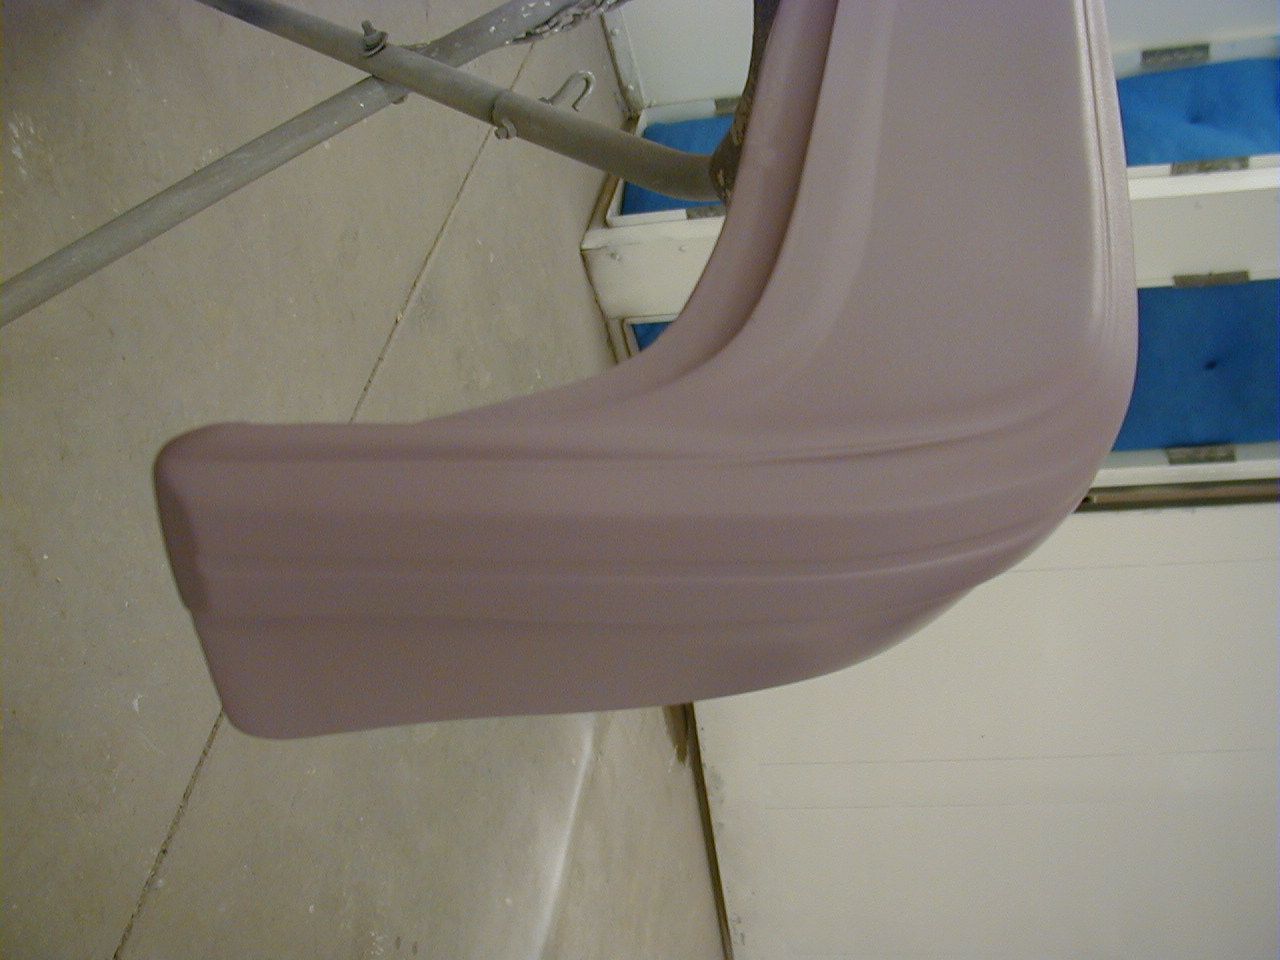
Any primer that you spray over these parts will need a flex additive in the mixture. Without it, the primer will crack as soon as you start handling the part after the primer is dry -- and probably flake off some day, just from weather and normal wear. I probably didn't mix this stuff quite right when I first sprayed it, because this application did crack and craze when I moved these parts around the shop a few months later. I ended up stripping them down and re-spraying with a properly mixed primer with flex additive. They've been fine ever since.


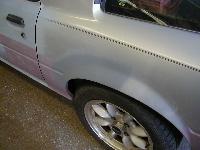
May '05
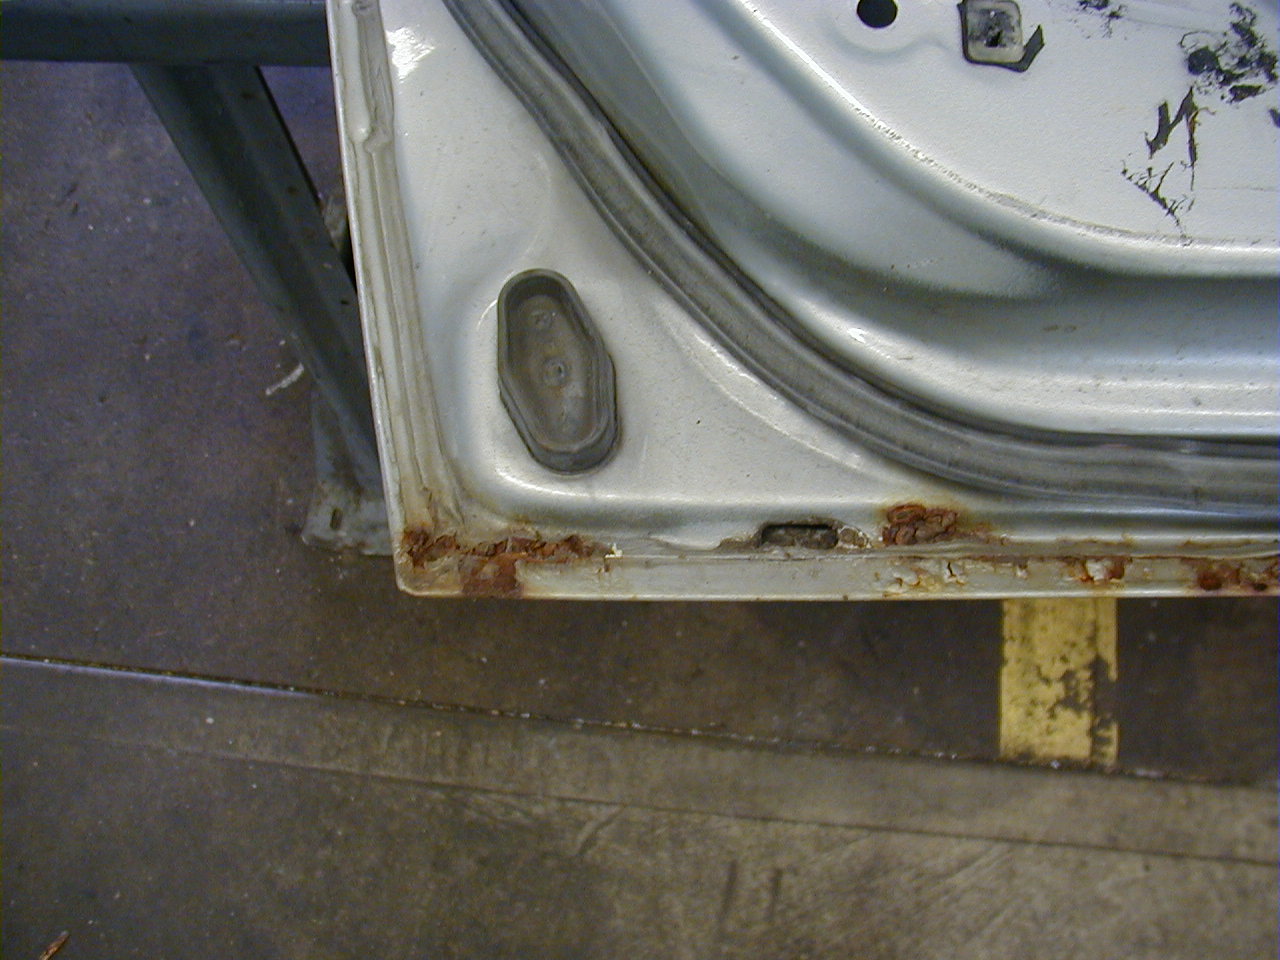
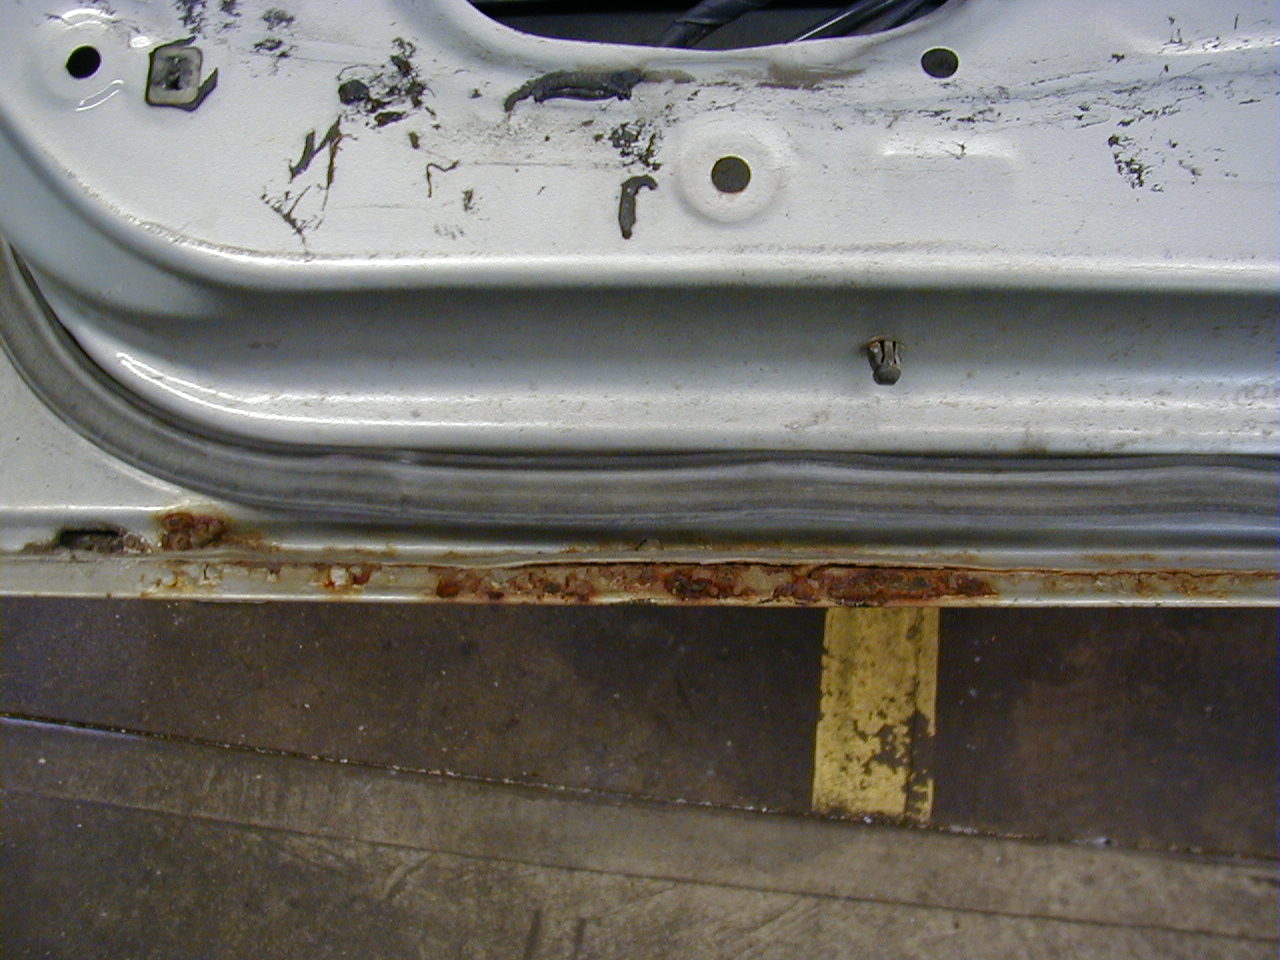
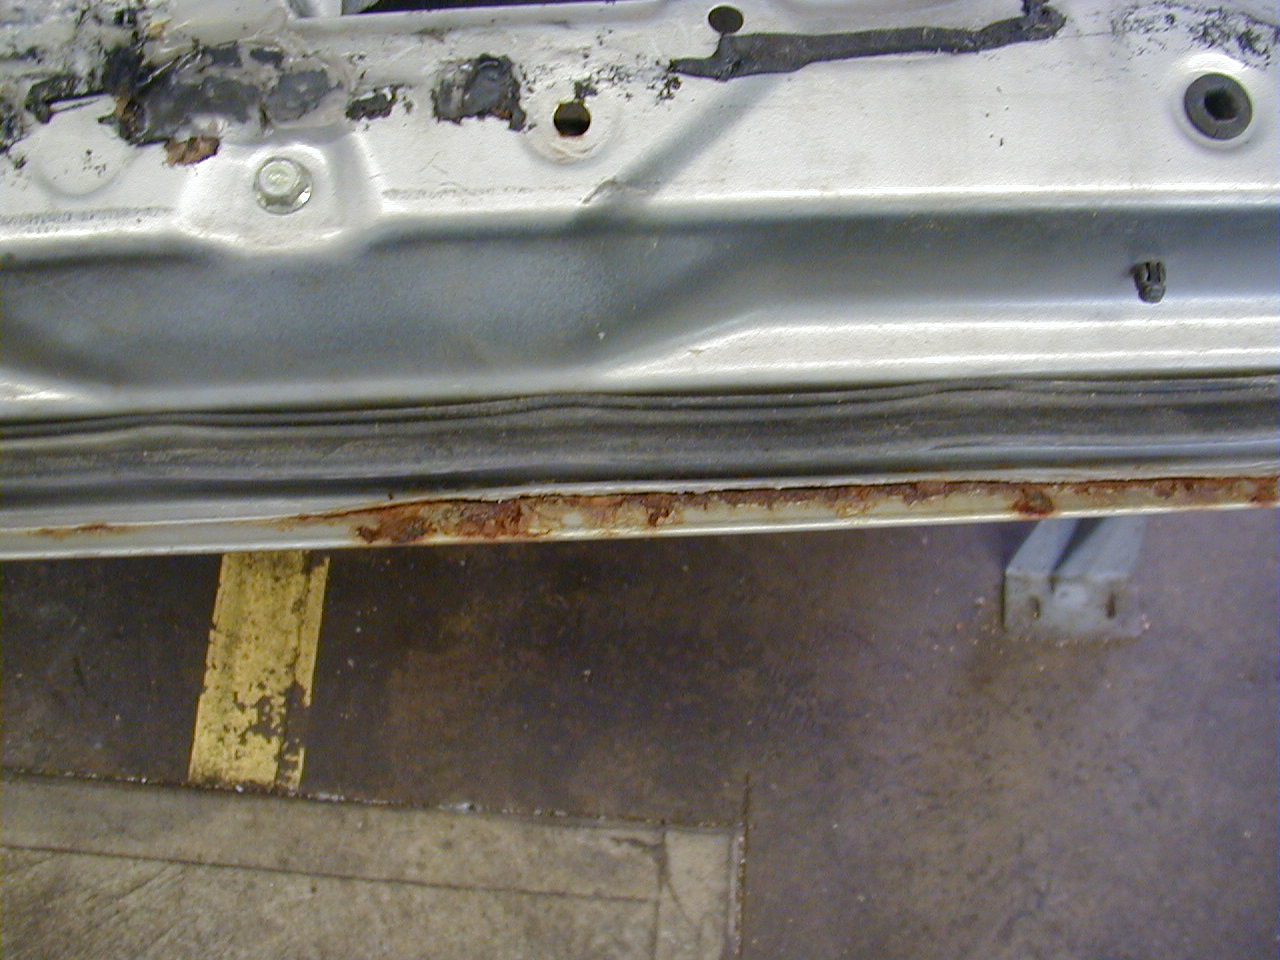
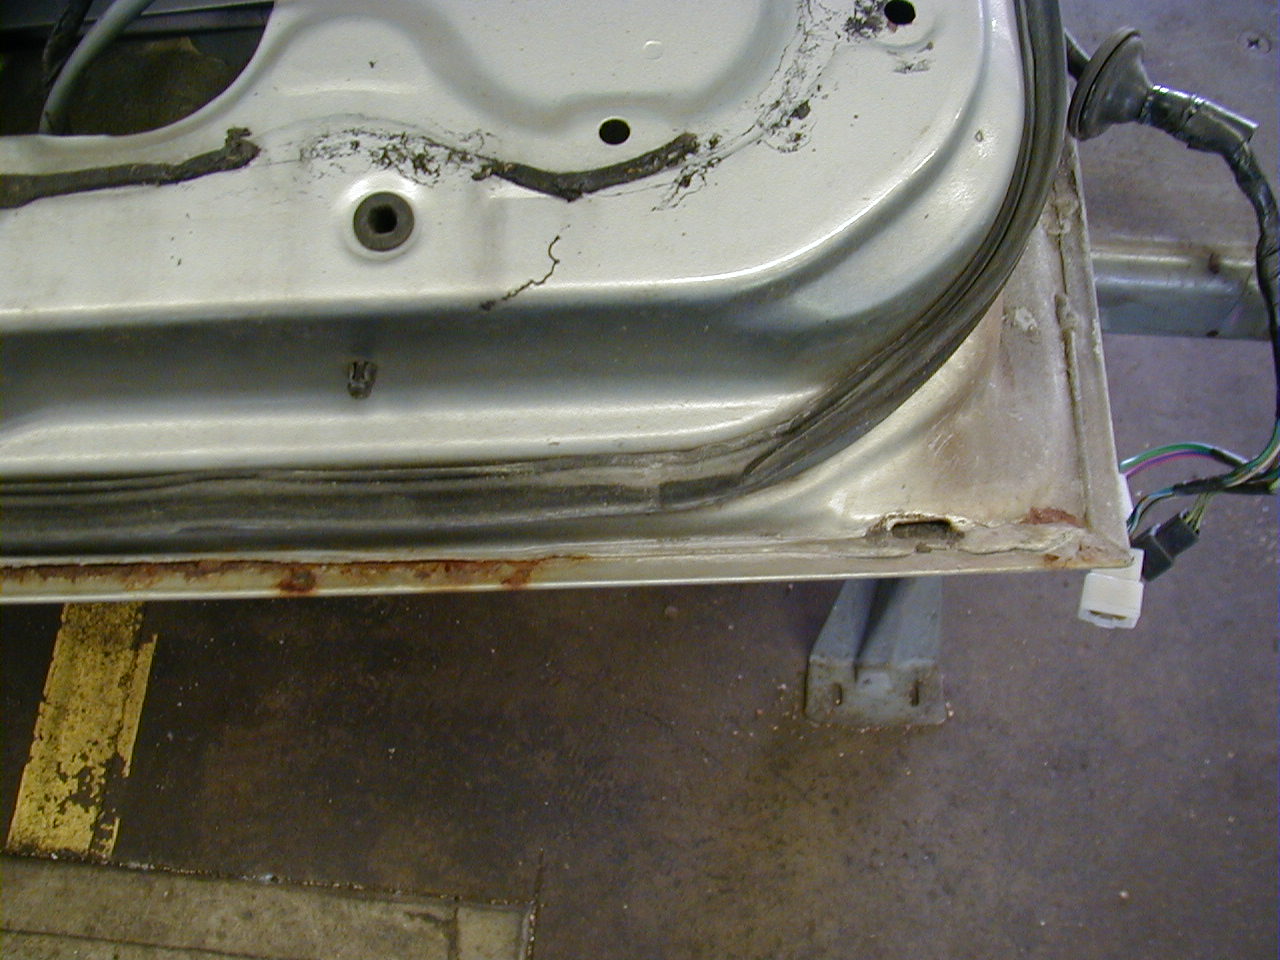
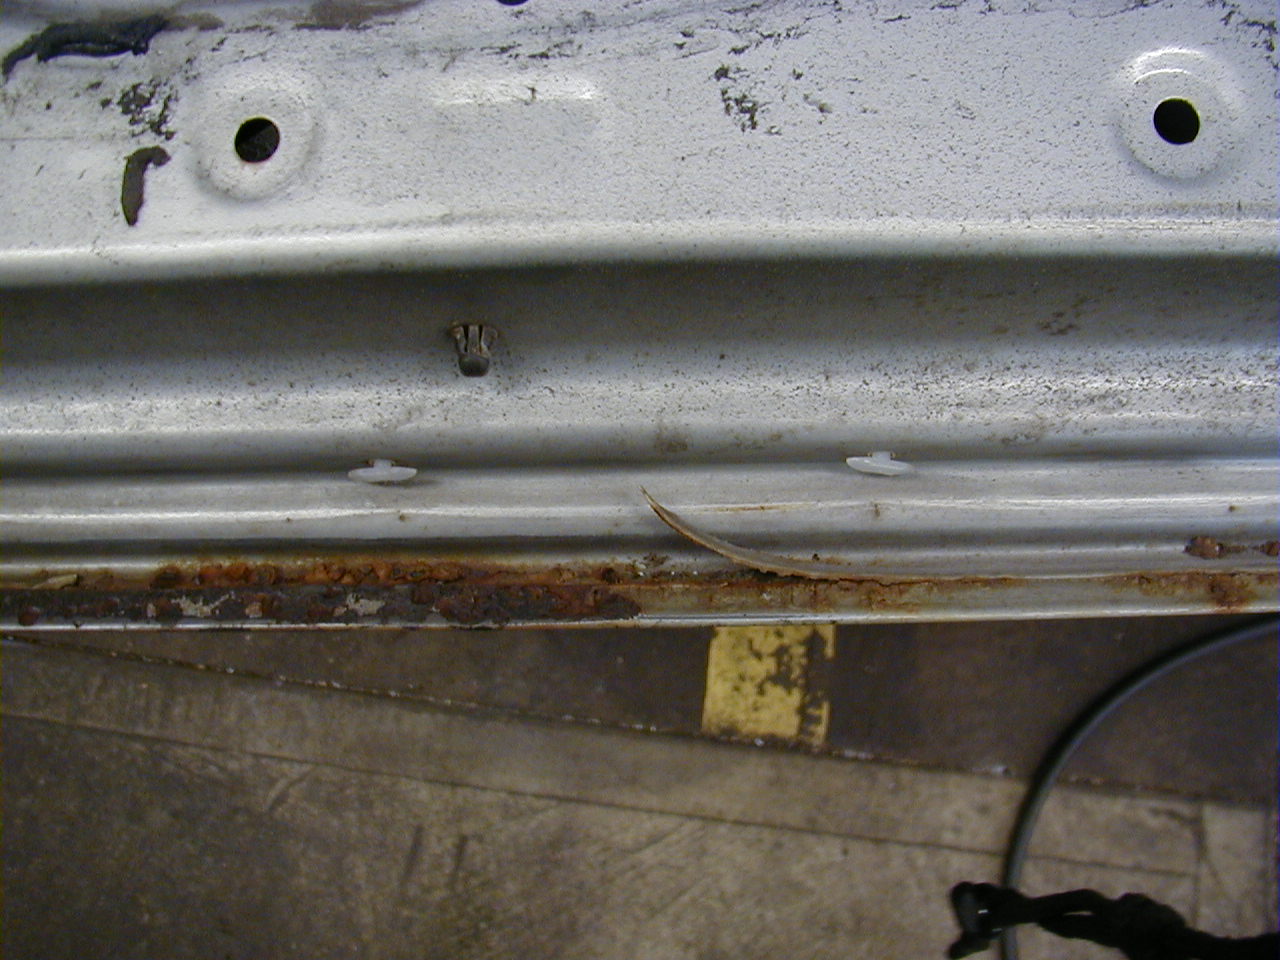
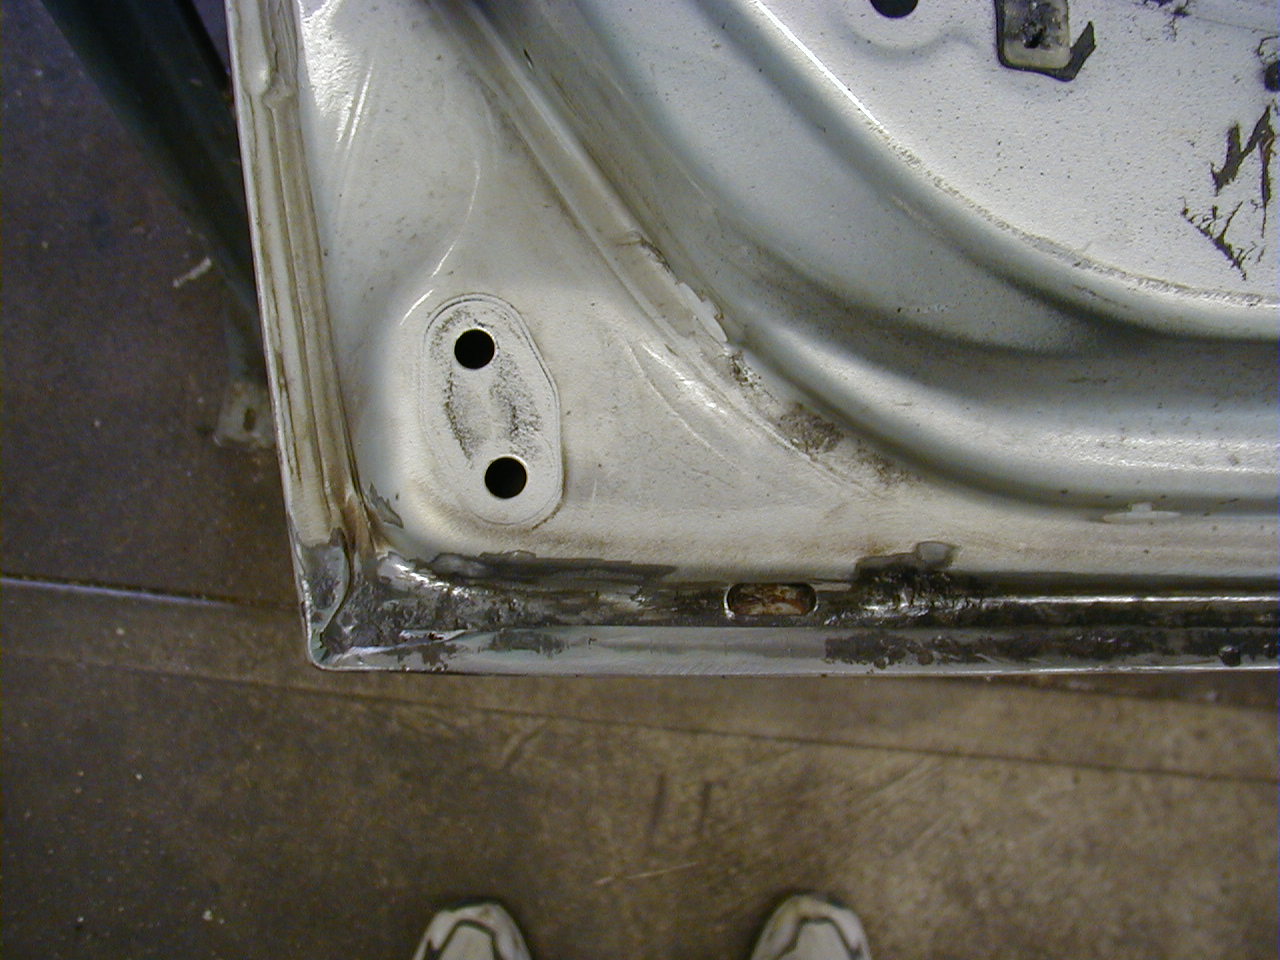
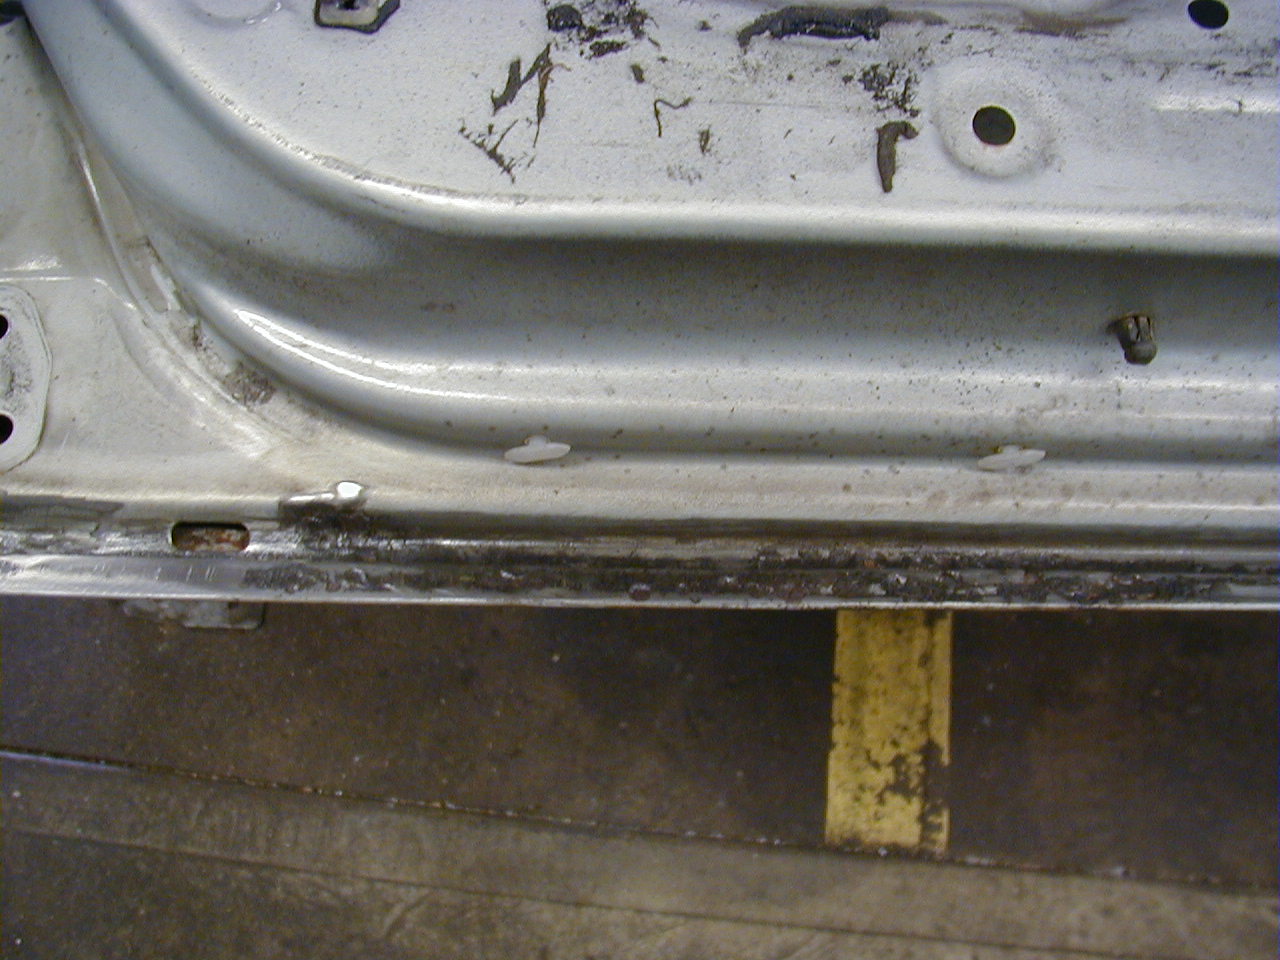
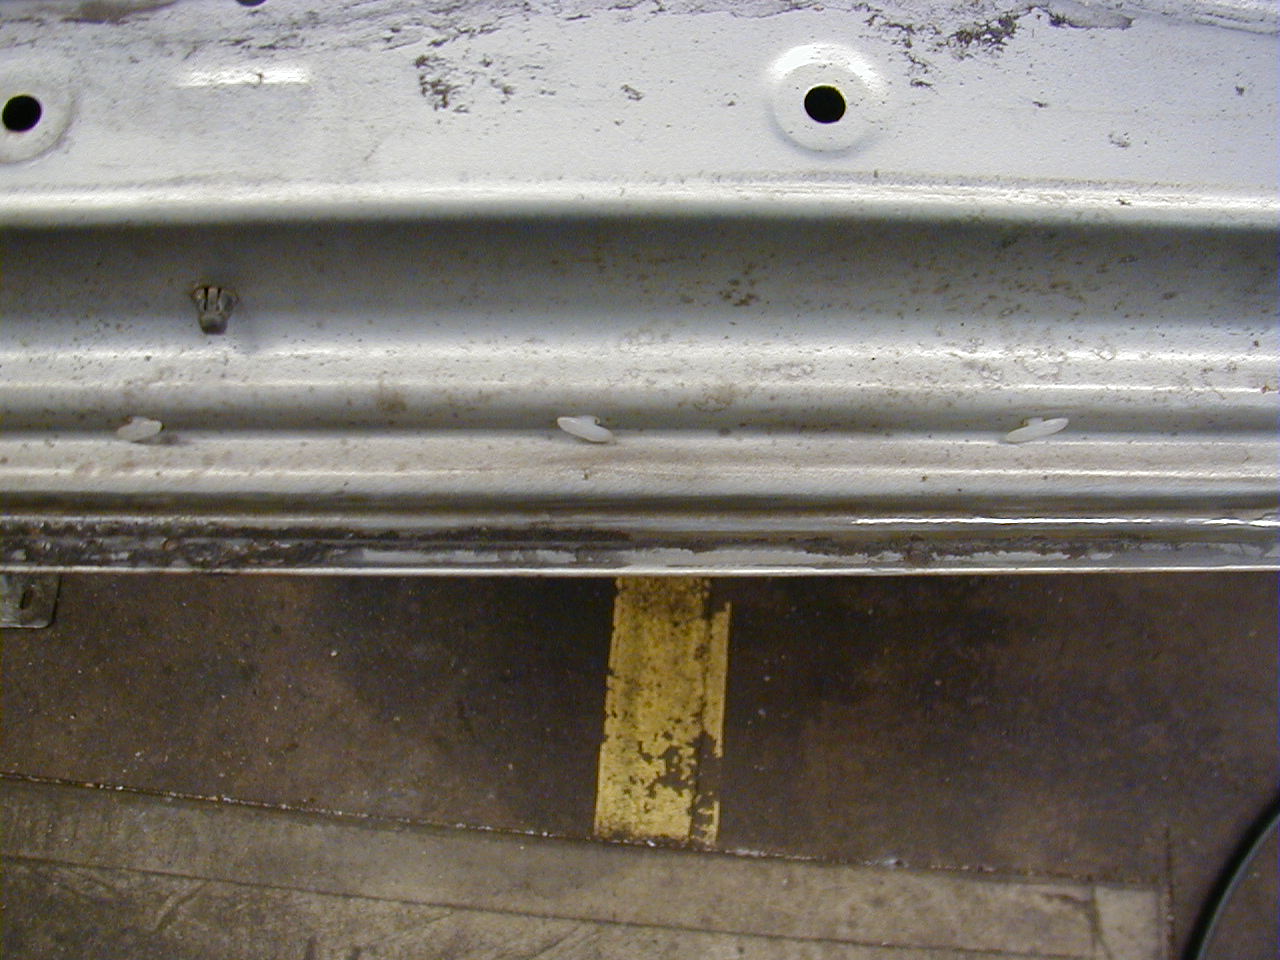
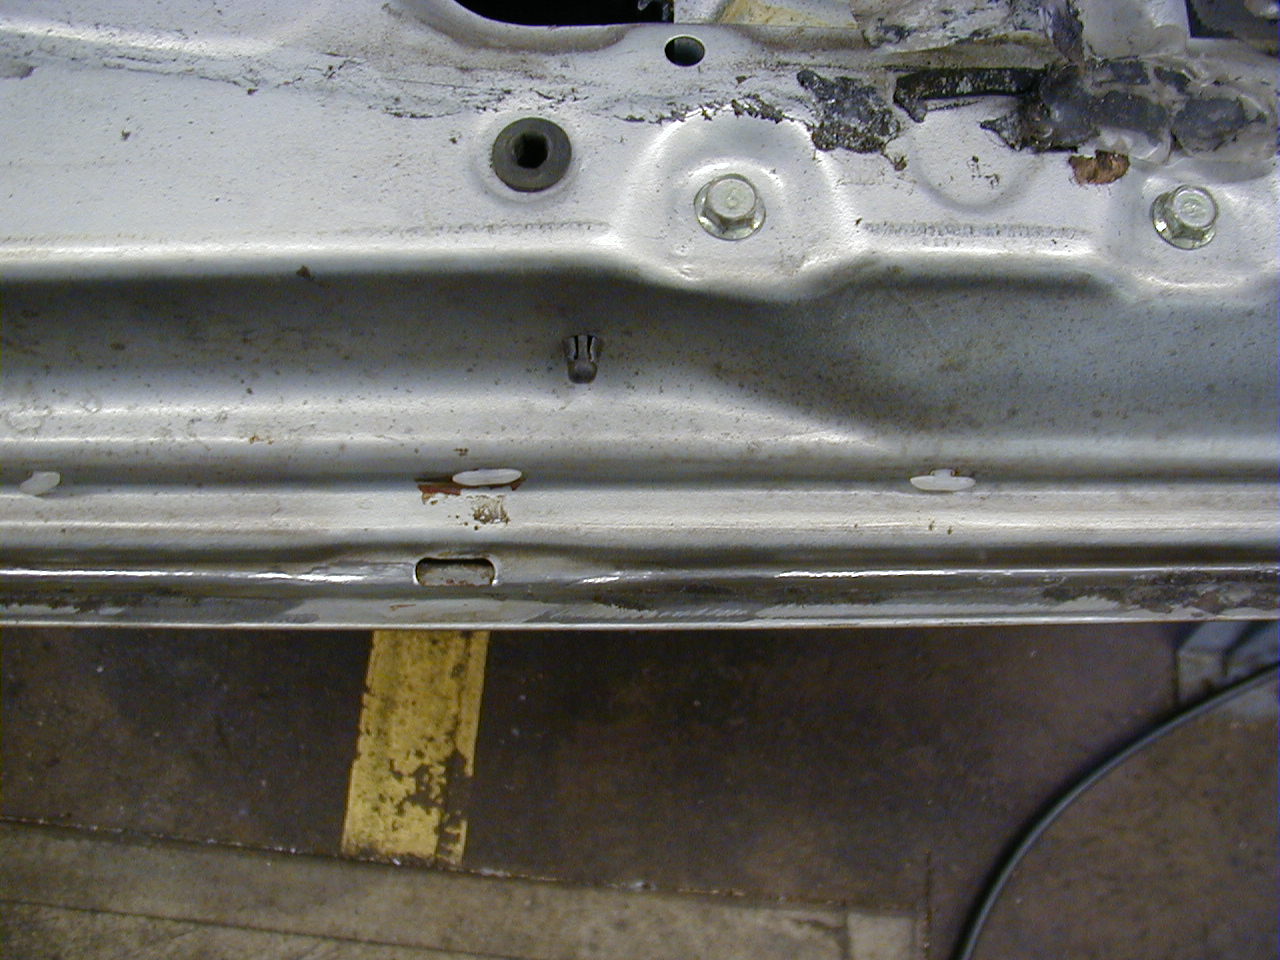
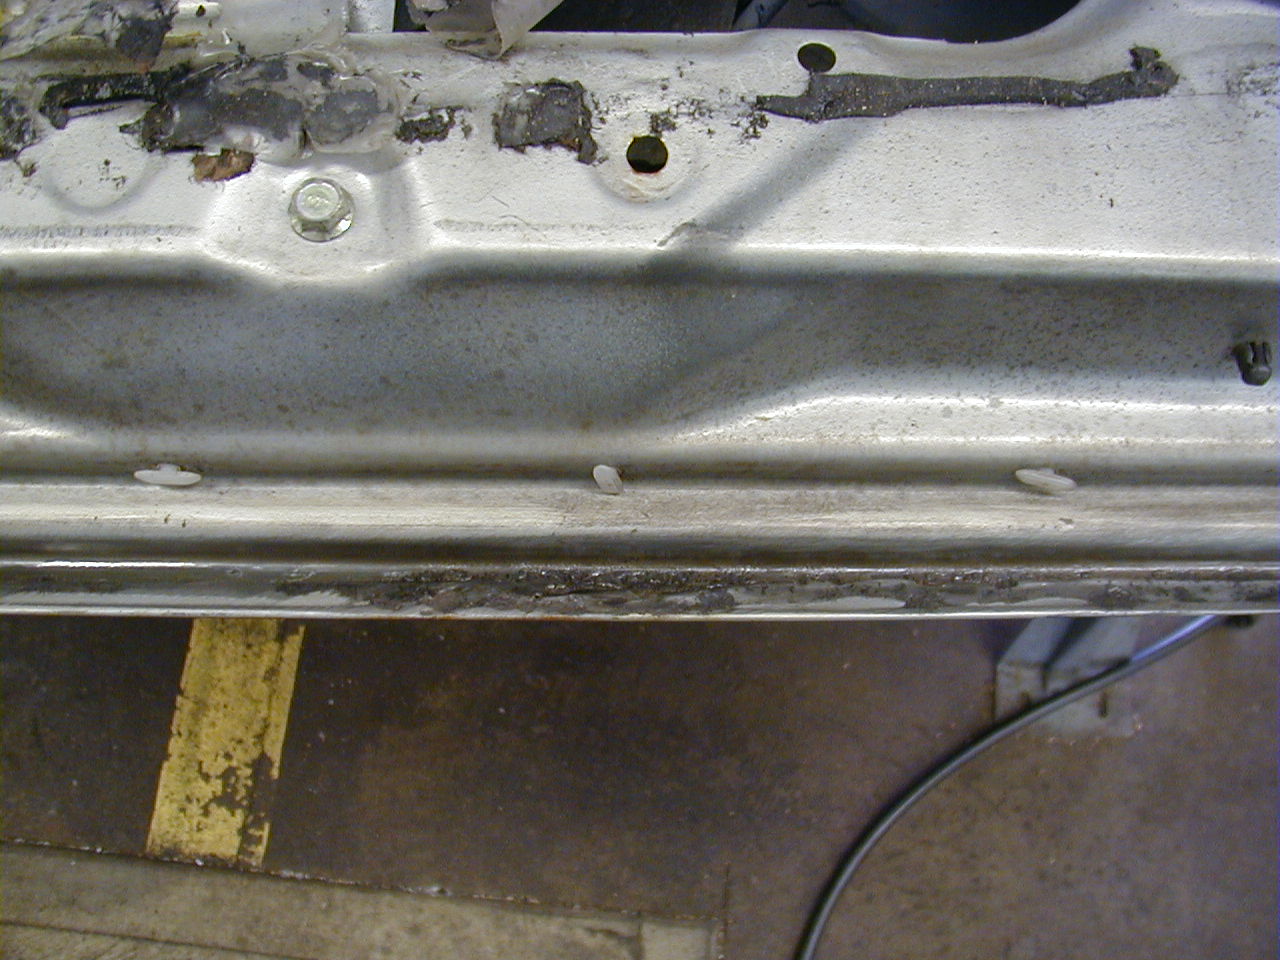
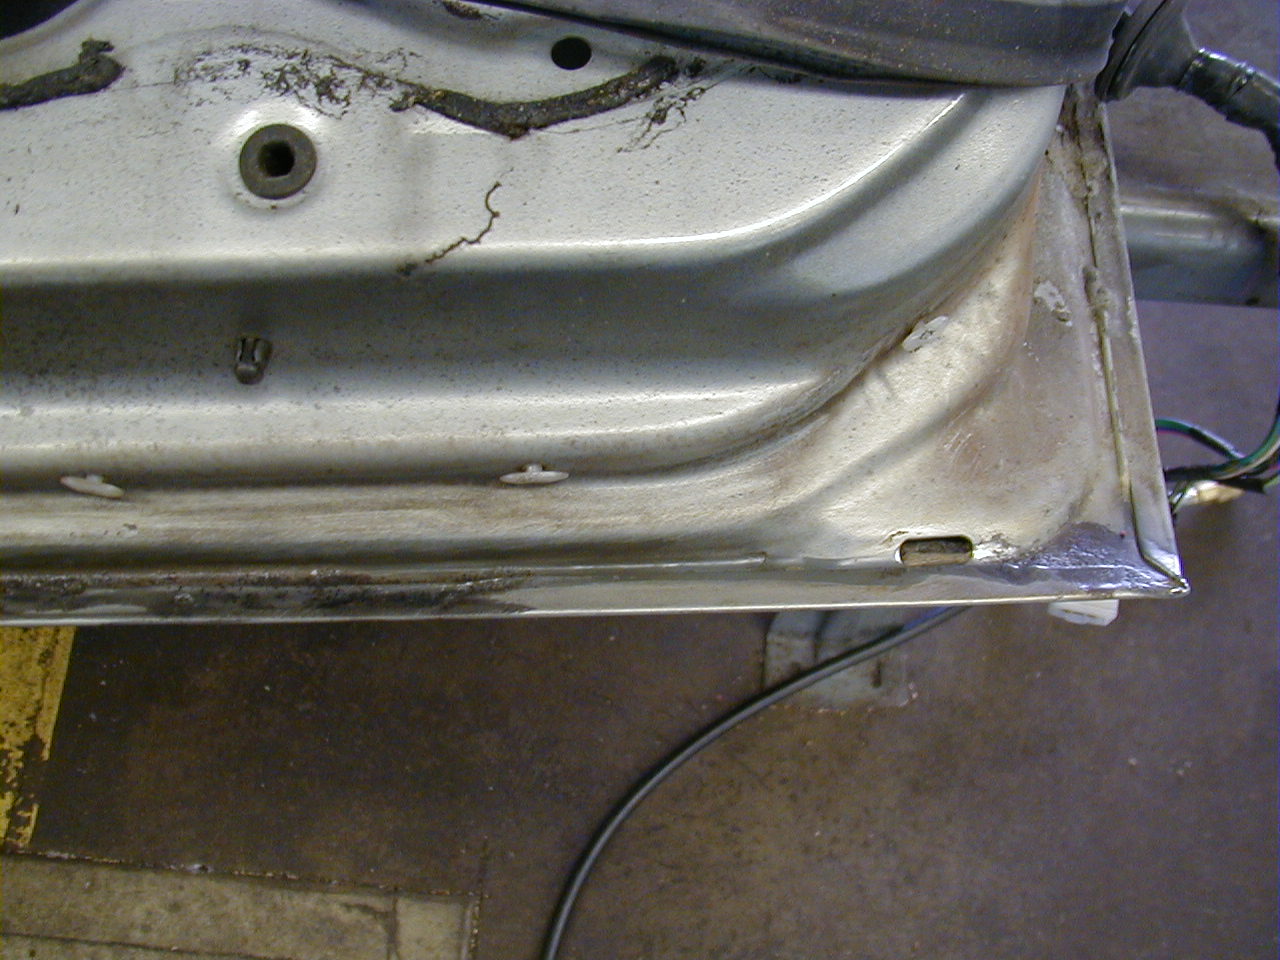
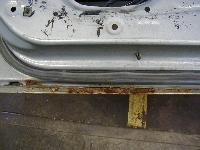
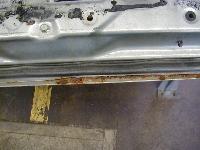
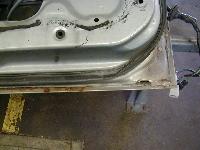
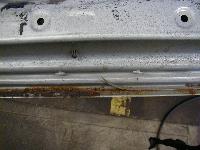
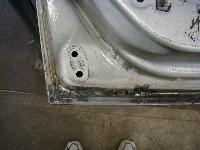
Fixing the doors.
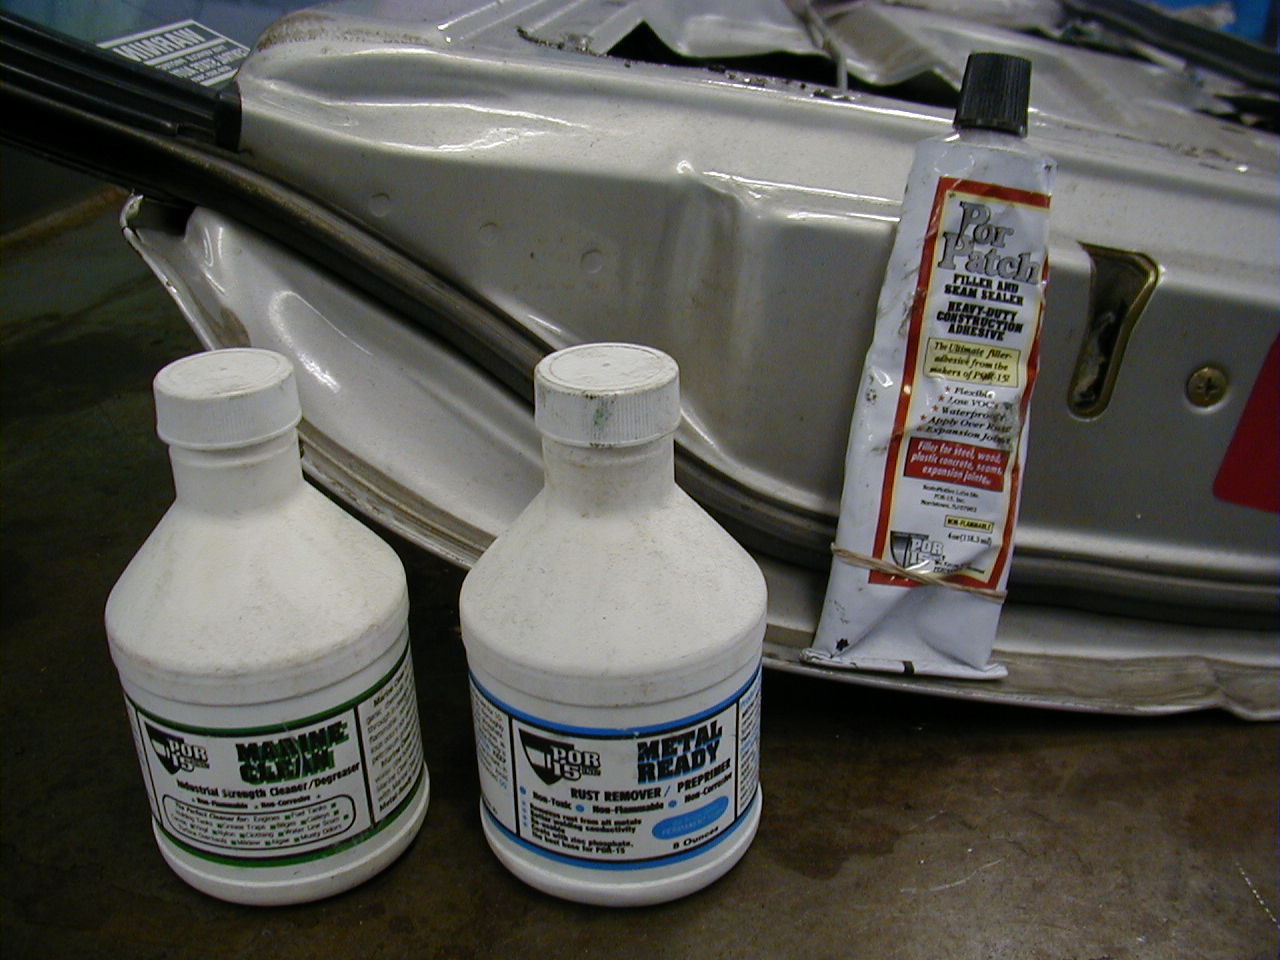
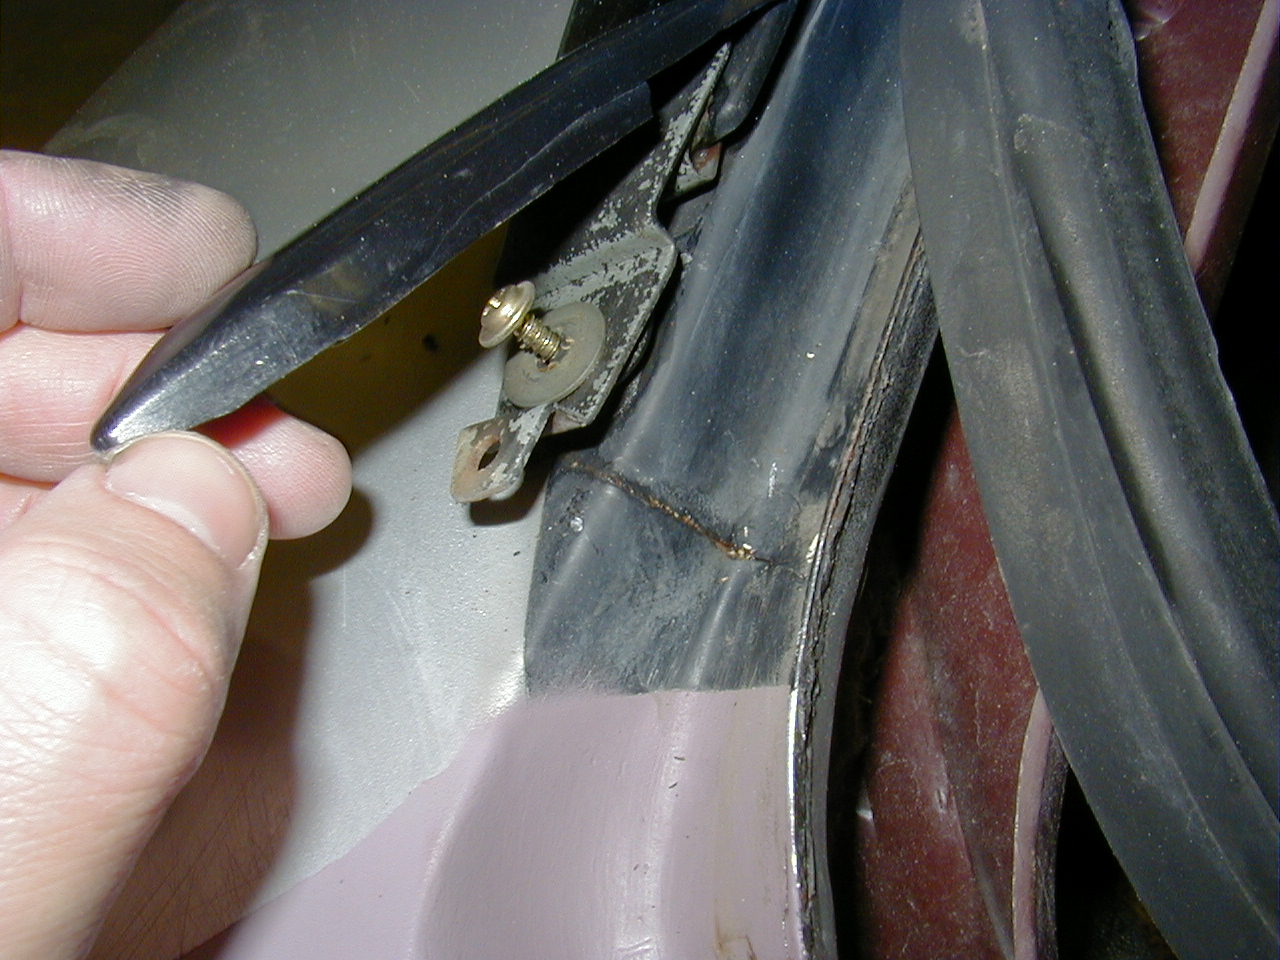
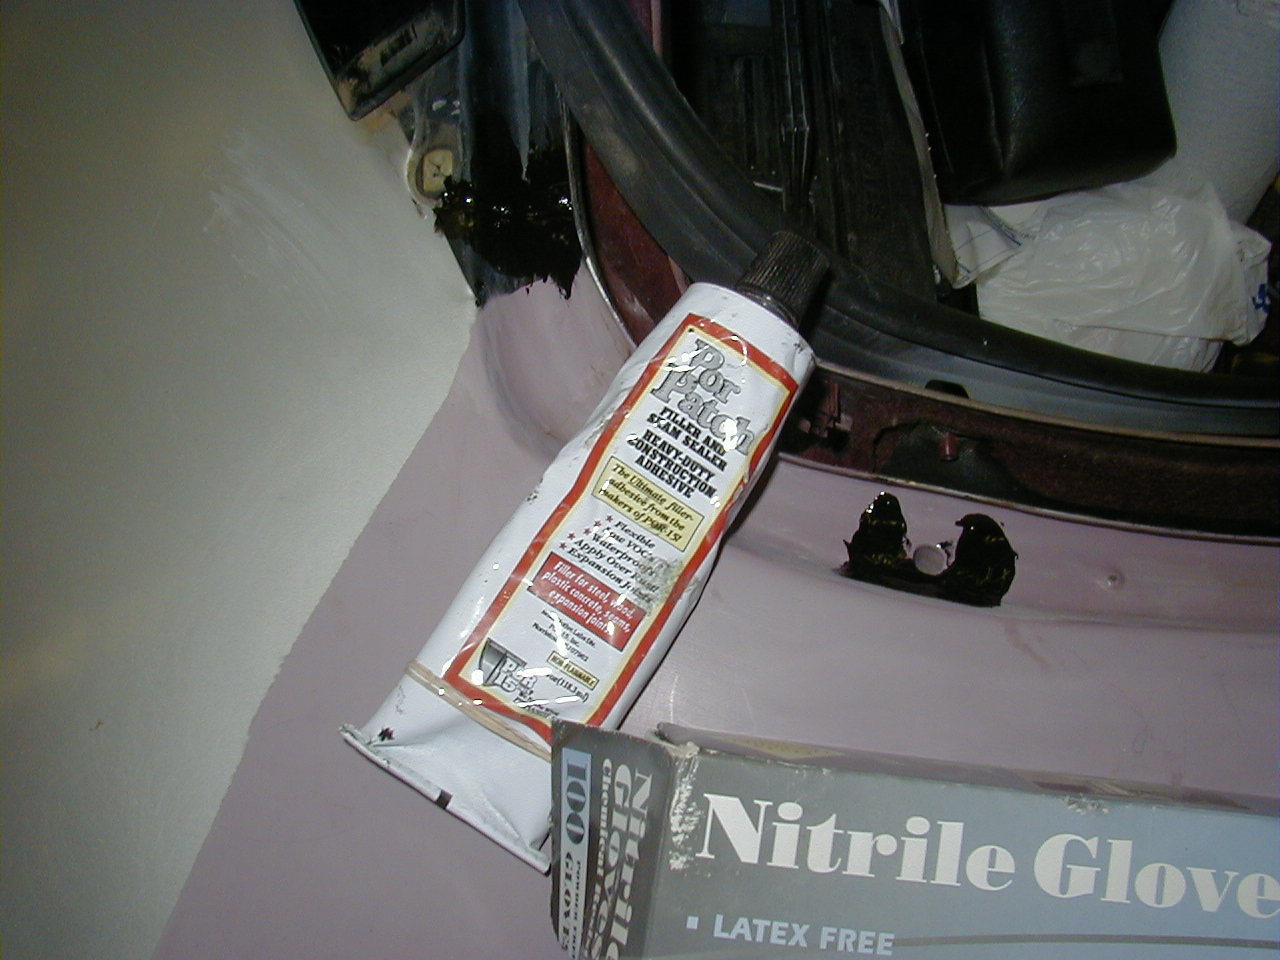
I removed the rust with a wire wheel on my angle grinder, and then treated it with POR-15's Metal Ready. I'll seal it with POR-15 Patch.

Unknown Date
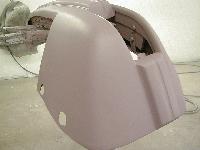
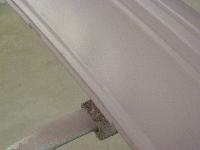
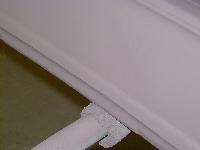
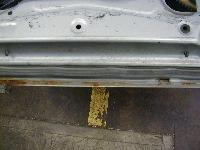
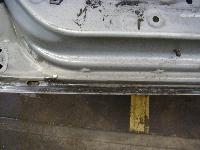
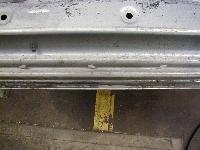
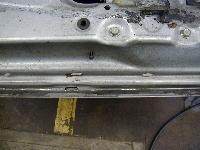
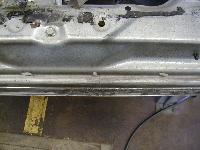
The hatch area had some very minor rust around the panel seams.
Again, I used POR15 Patch on these areas, but ultimately stripped it off and used regular seam sealer from my local body supplies store. The POR15 doesn't sand very easily, so it's difficult to smooth it in with surrounding sheet metal.


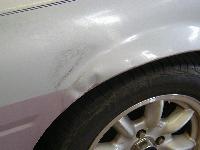
June 05
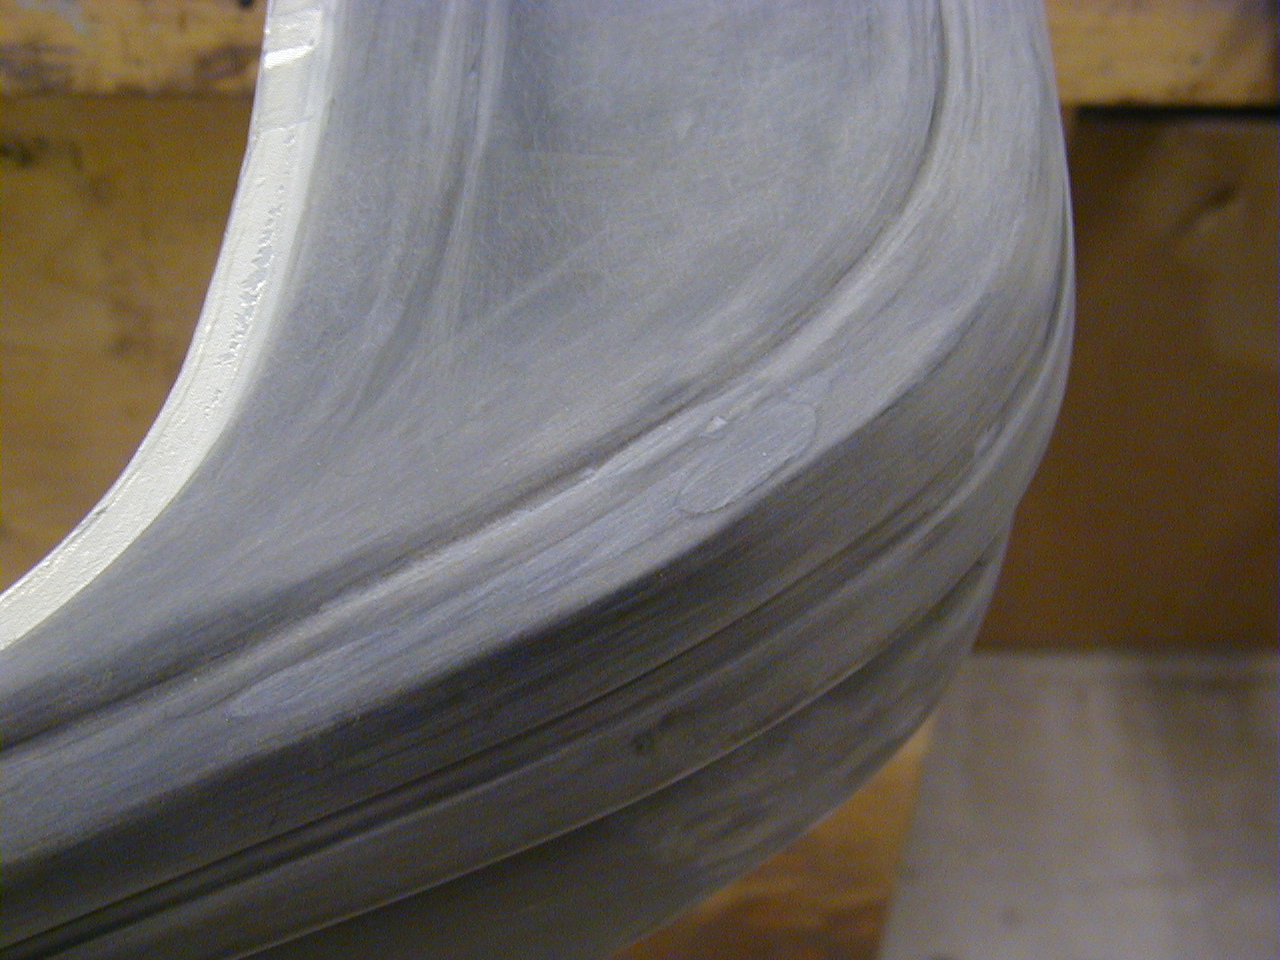
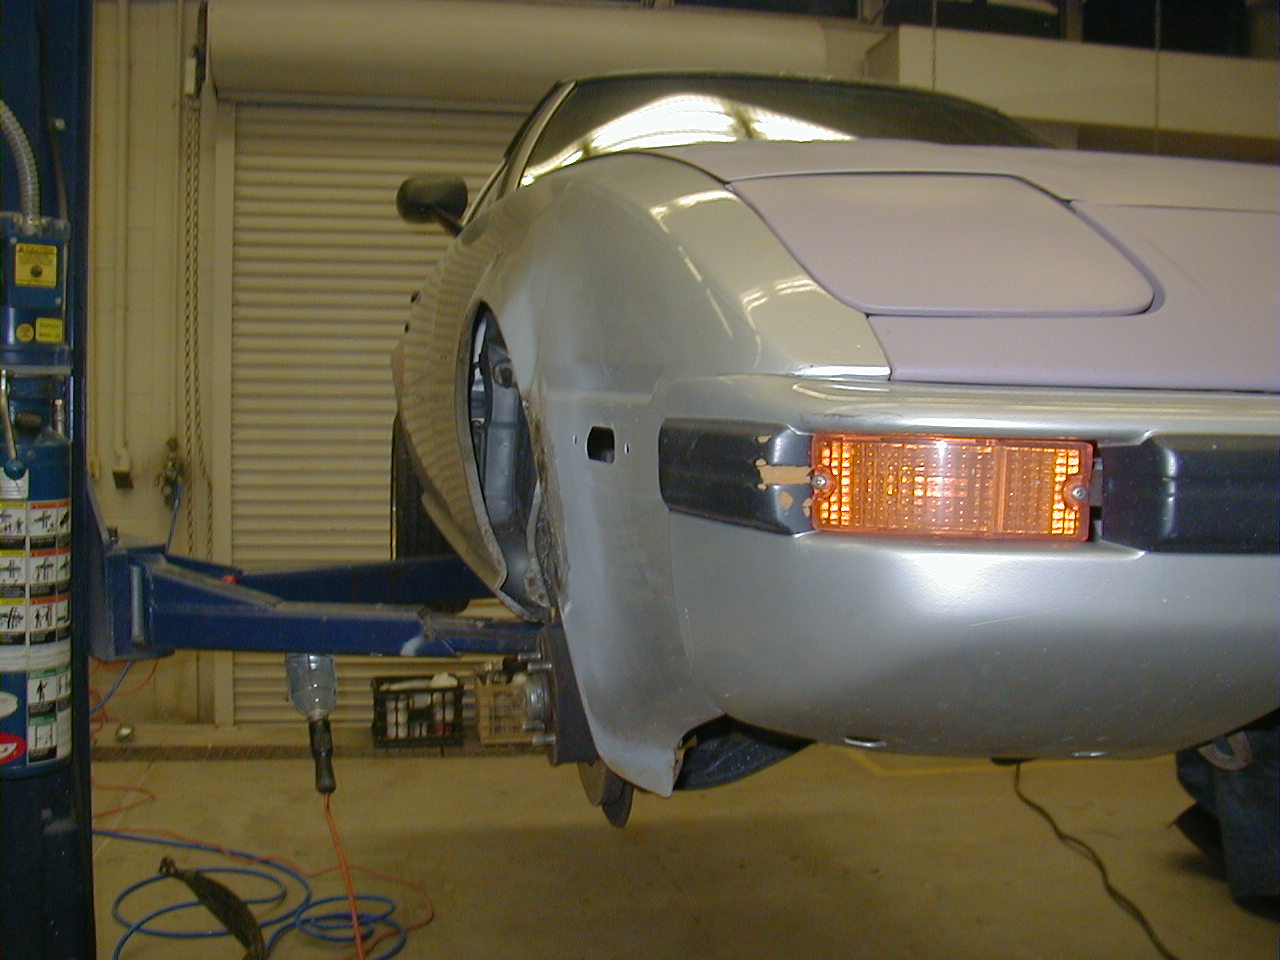
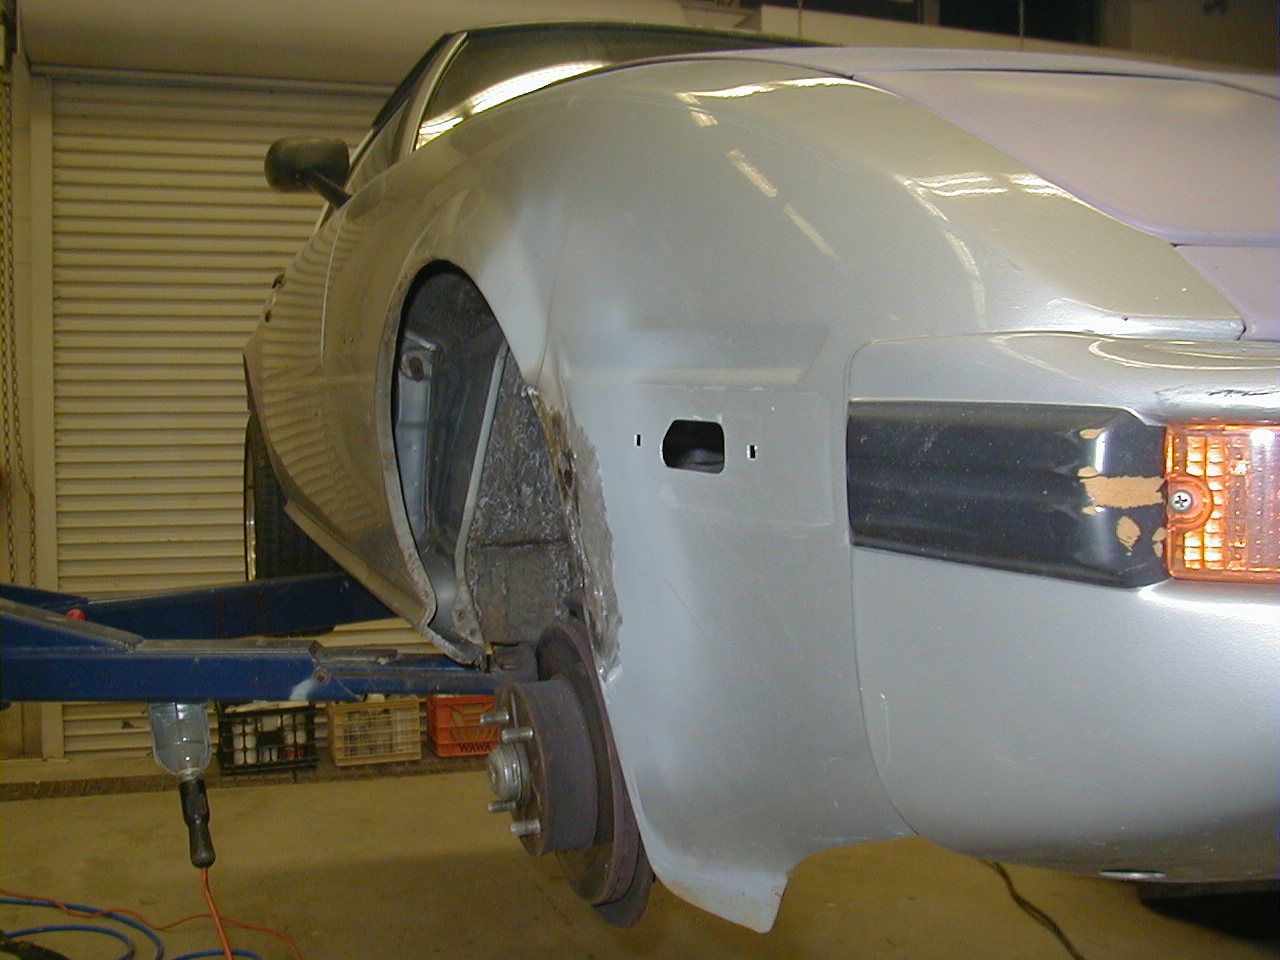
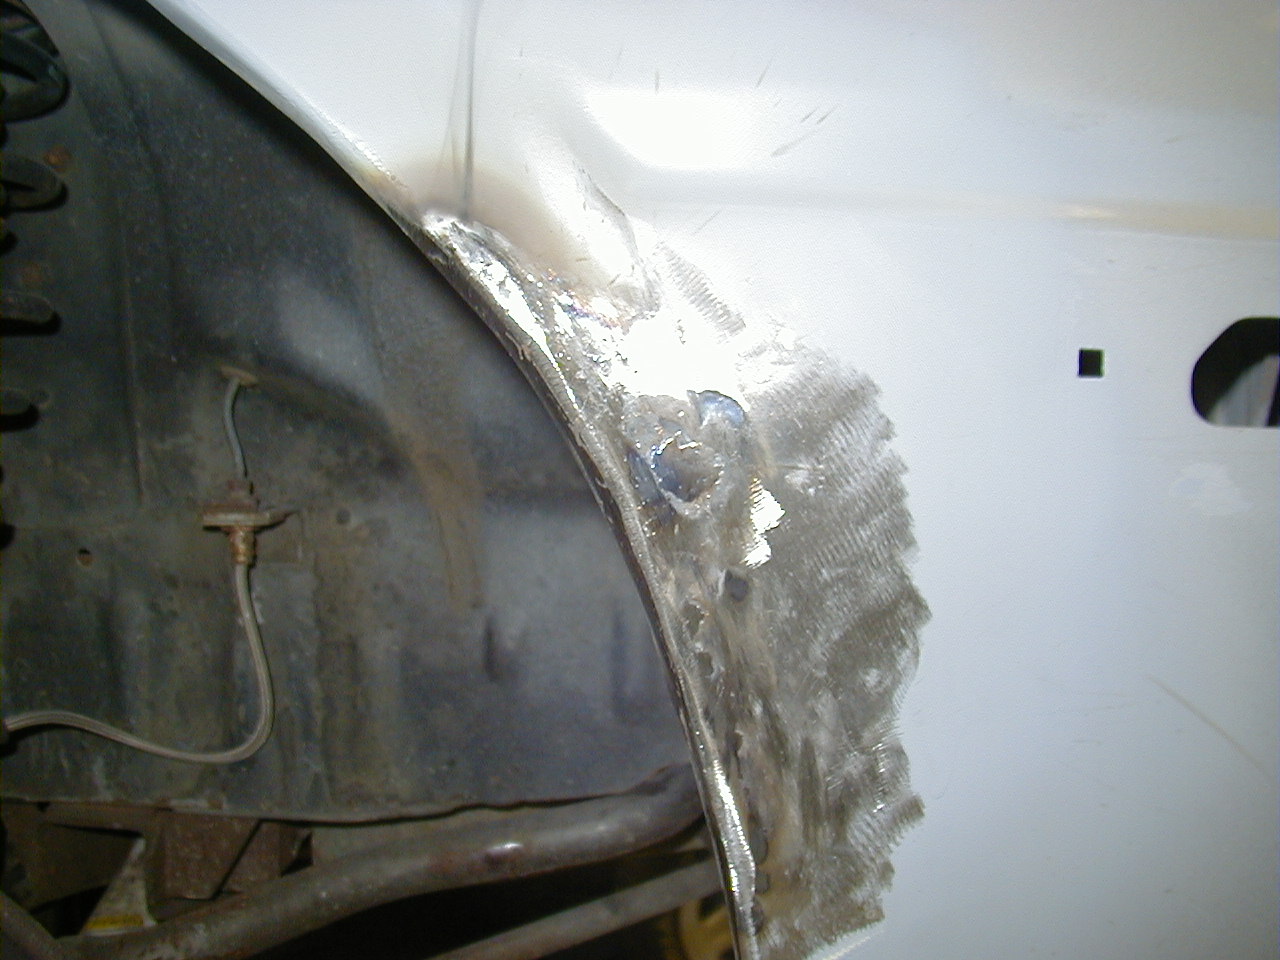
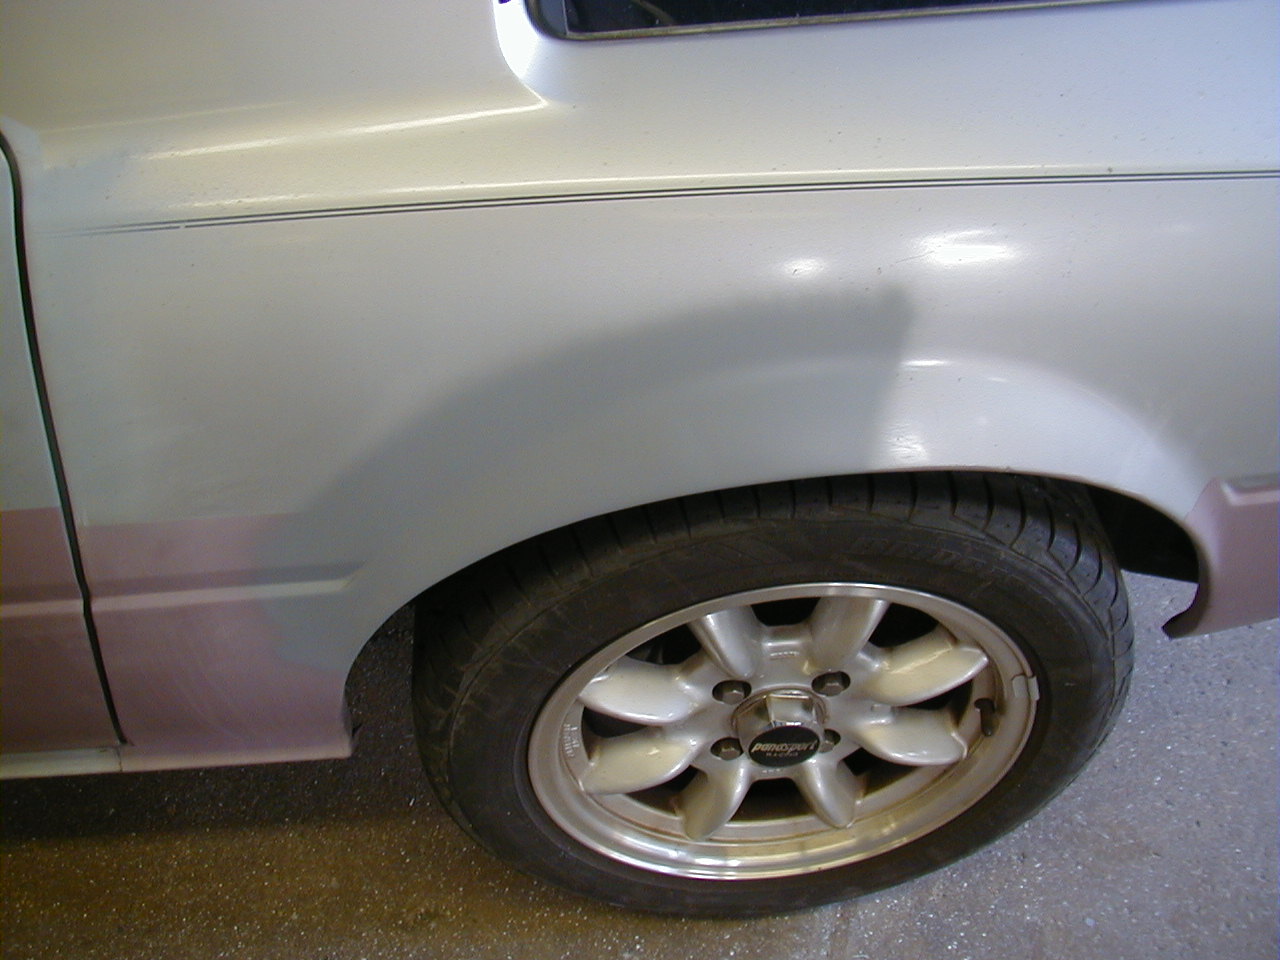
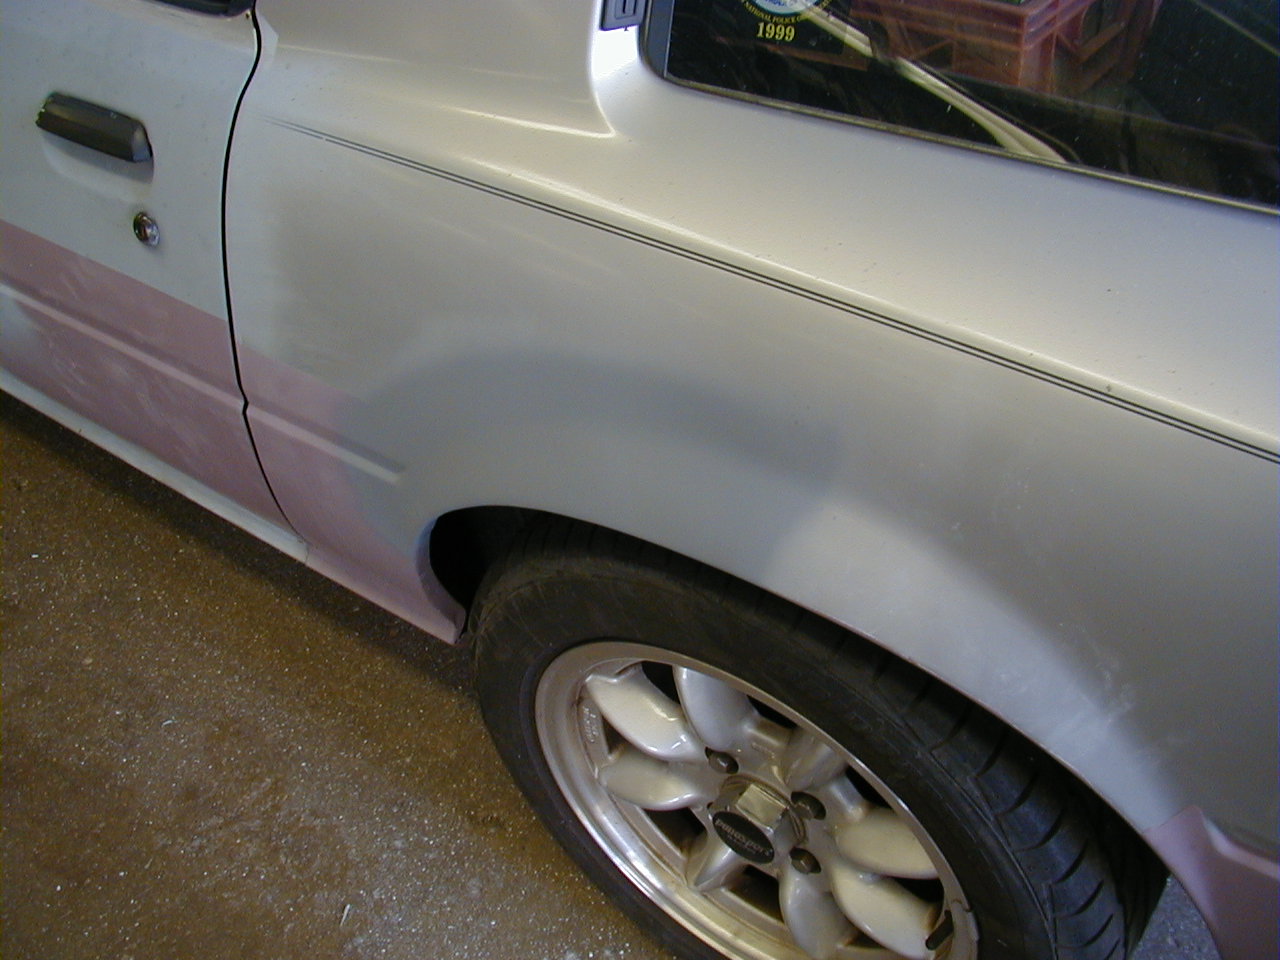
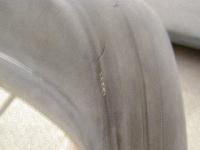
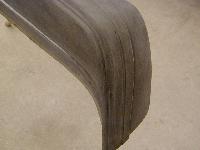
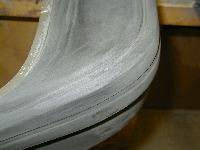
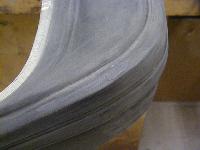
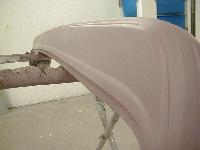
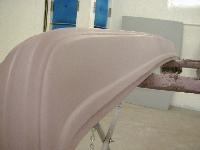
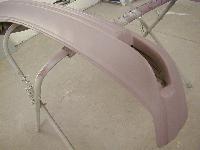
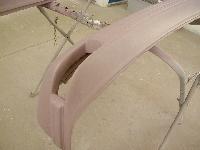
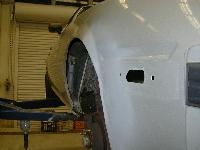
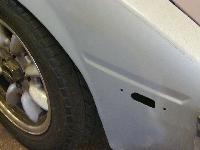
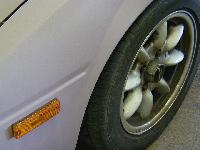
The right fender had some surprises about it -- apparently, somebody had repaired it once before, before I bought the car. After stripping down the old filler, it took a fair amount of welding and filler work to get an acceptable arc to the fender flare. Comparing the shape and arc to the left fender was very helpful. It's not perfect, but it's close.
A generous application of POR15 patch should help protect the fender from rusting from the inside out.


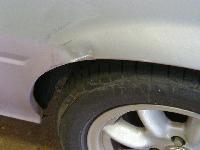
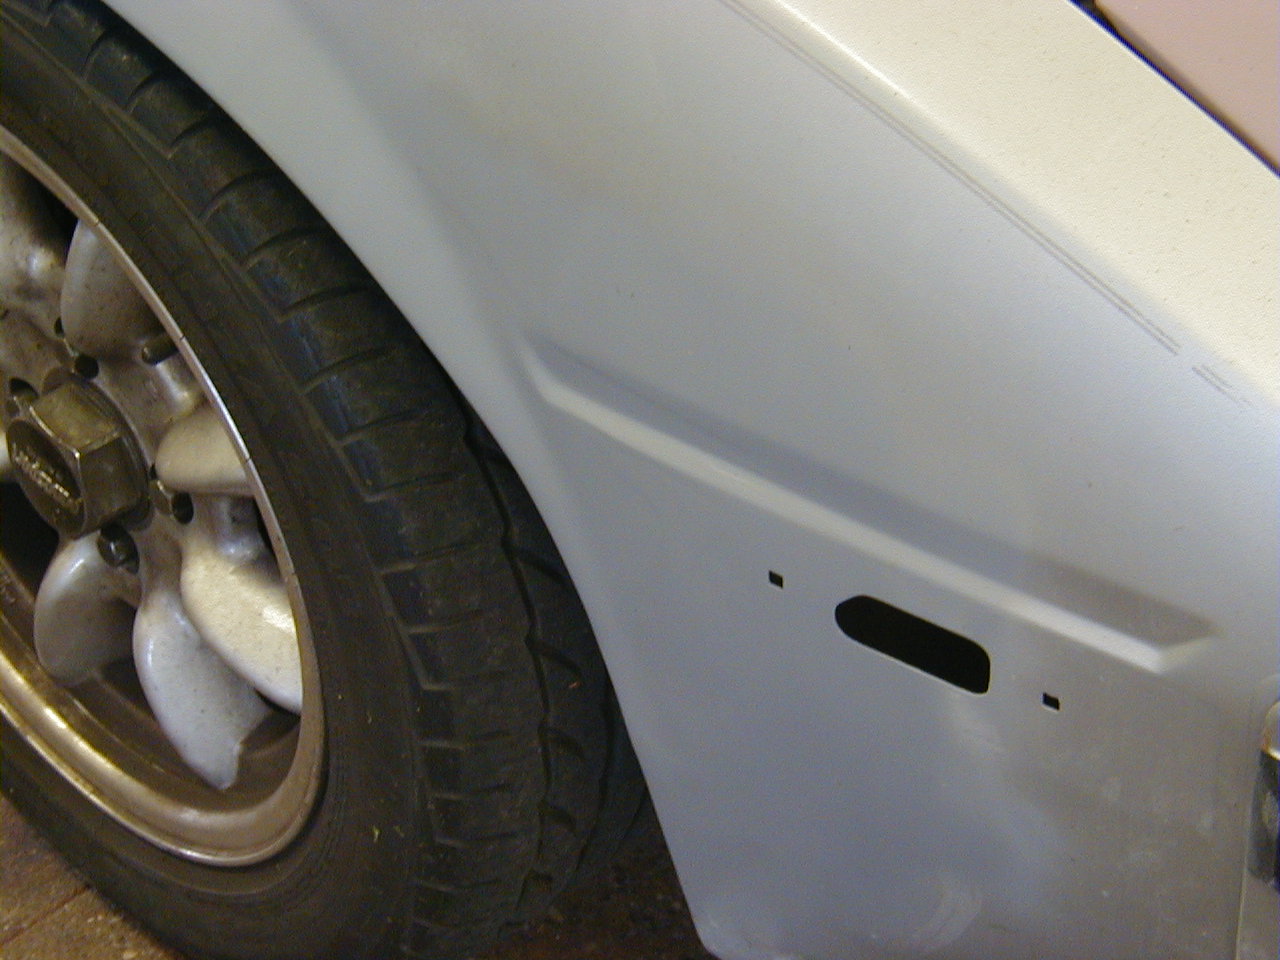
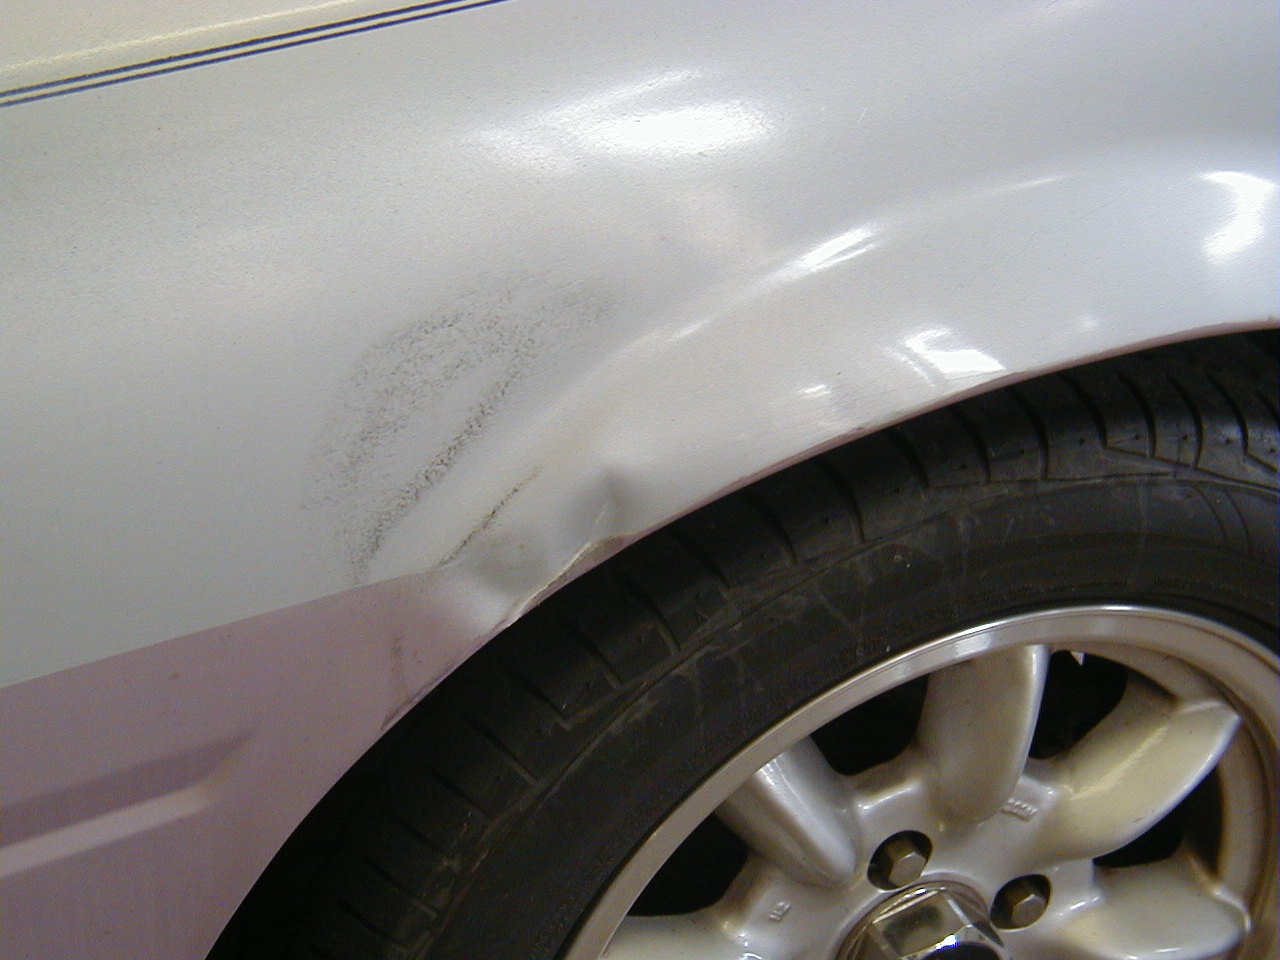
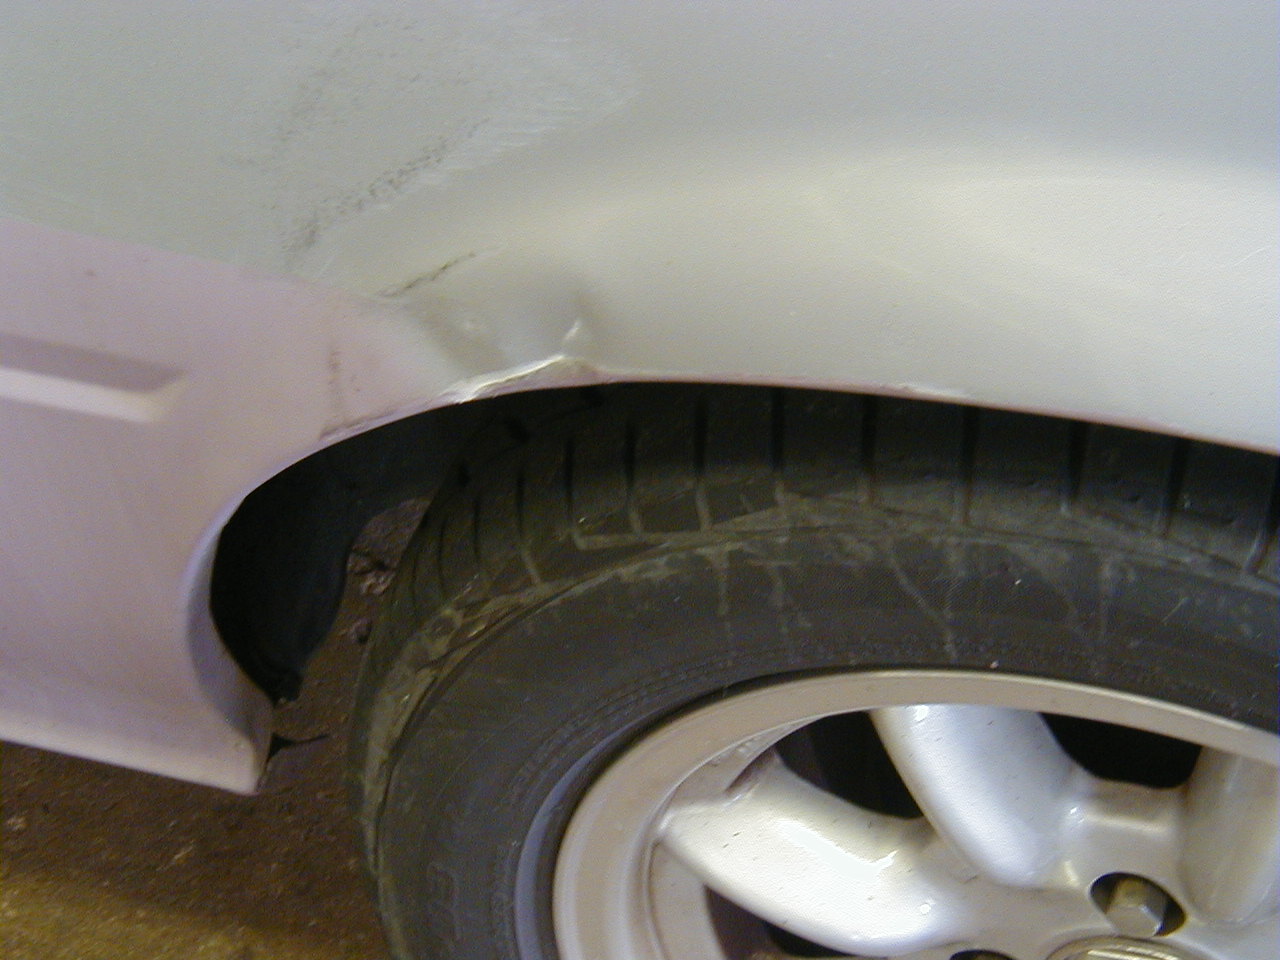
June 05
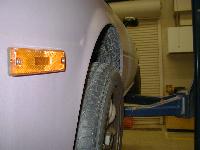
Yesterday, another one of my neighbors managed to back out of her driveway just an inch too far. She's pretty responsible, and felt horrible about this. I thanked her for her apology, and I appreciated her coming to me about this as quickly as she did, and told her not to worry about it since I was in the process of restoring the car anyway. It probably took me about $20 worth of materials and two or three hours of labor to have it fixed the next day.